

1. Simple Two-Stroke Butterfly
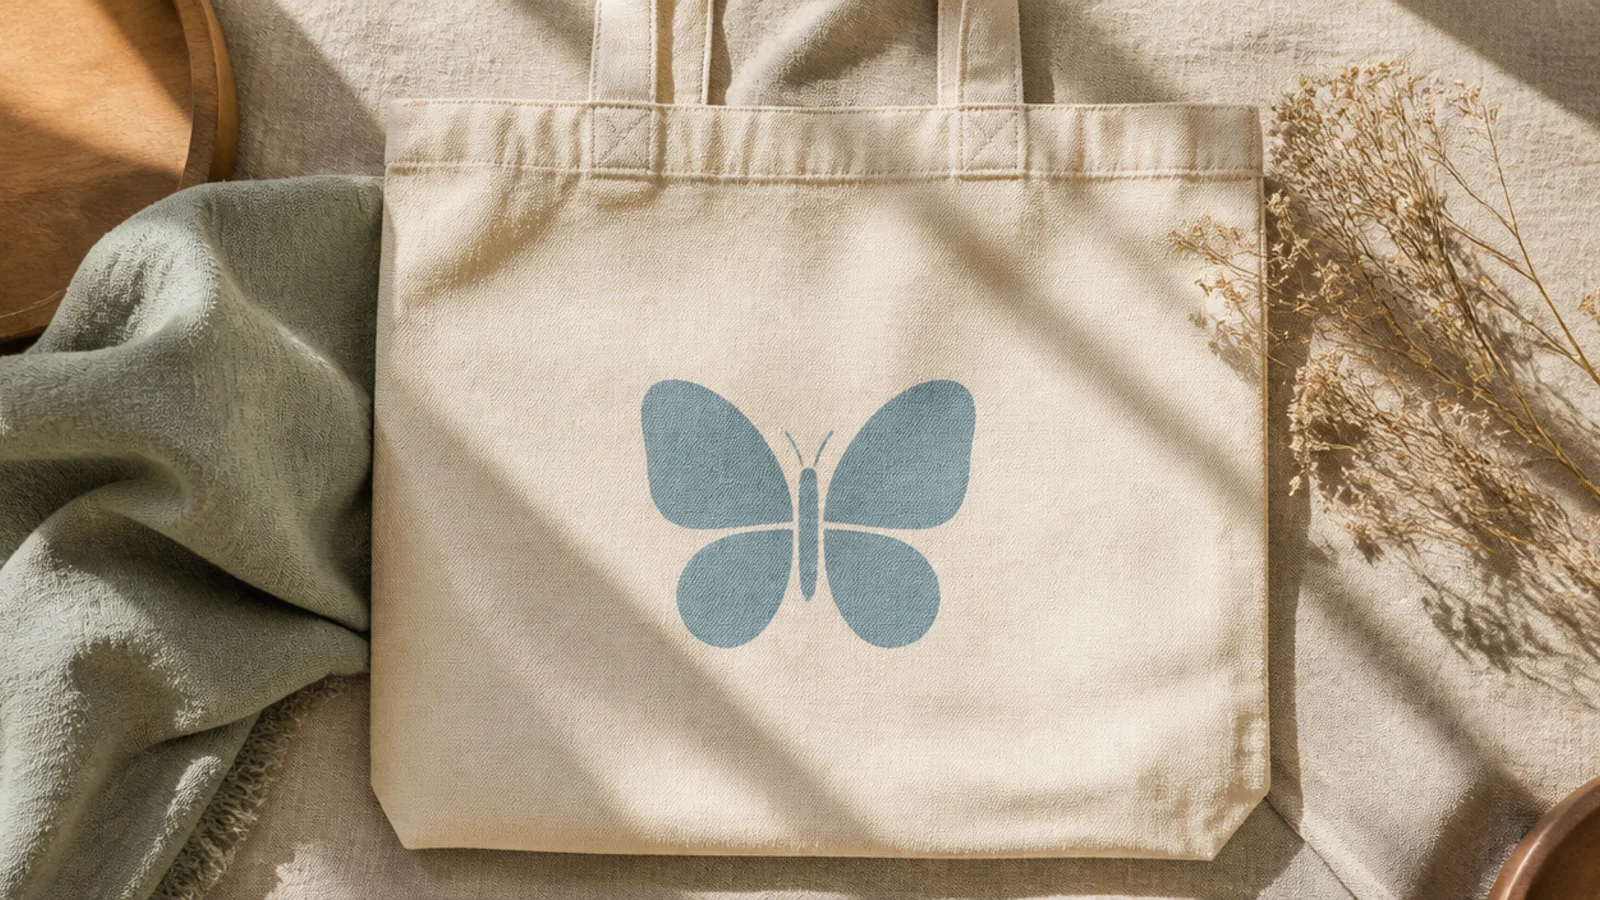
The two-stroke butterfly is the friendliest starting point — two rounded wings on each side of a slim body. It teaches the mirror move you will use for every butterfly. In one soft color it looks clean and modern.
Prep and iron the tote, then insert cardboard. Pencil a vertical center line. Press a larger upper wing and a smaller lower wing on one side with a size 6 round brush in dusty blue, then mirror them exactly on the other side. Paint a slim body down the center, add two fine antennae, cure, and heat-set.
Editor's notePaint both wings on one side, then match their size and angle on the other against the center line; mirroring beats freehanding each wing.
Skip thisDo not paint a fat body; a chunky body shrinks the wings, and the wings are what make it read as a butterfly.
2. Classic Monarch
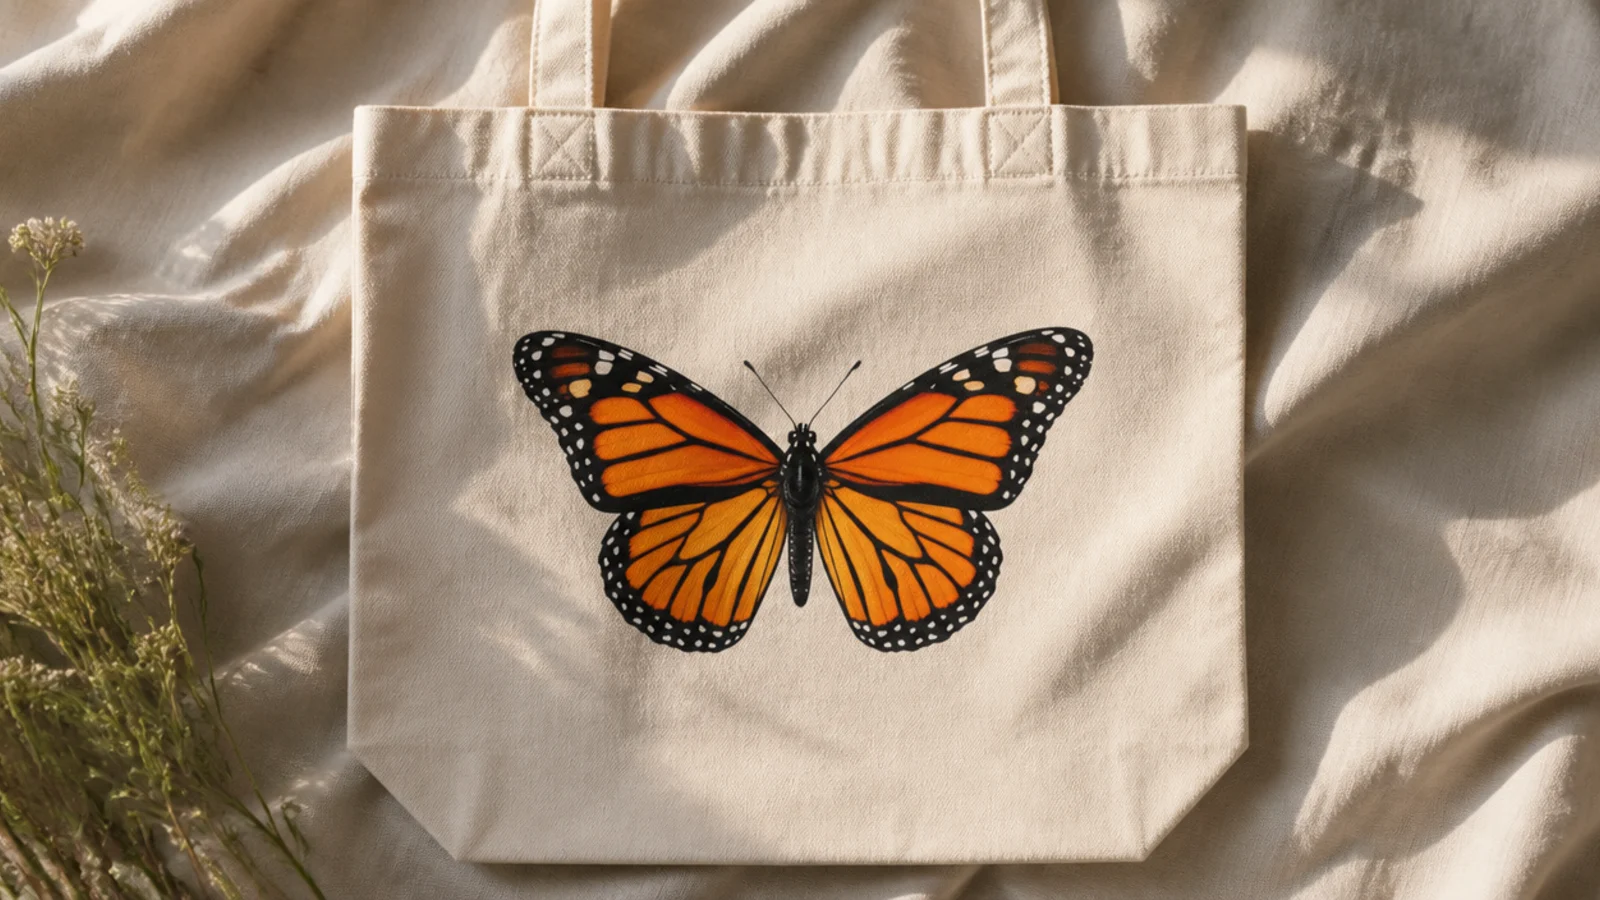
The monarch is the most recognizable butterfly, with orange wings, black veins, and white-dotted borders. The bold pattern looks impressive but is built in clear steps. It is a showstopper motif.
Prep the tote and insert cardboard. Pencil a center line and paint four orange wings, mirrored. Once dry, add black veins branching from the body and a black border around each wing edge with a liner brush. Dot small white spots along the black borders, paint a slim black body, cure, and heat-set.
Editor's noteAdd the black veins and dotted borders only after the orange dries; layering the black on top is what gives the crisp monarch pattern.
Skip thisDo not skip the white border dots; those little dots are a monarch signature, and without them it just looks like a generic orange butterfly.
3. Shimmering Blue Morpho
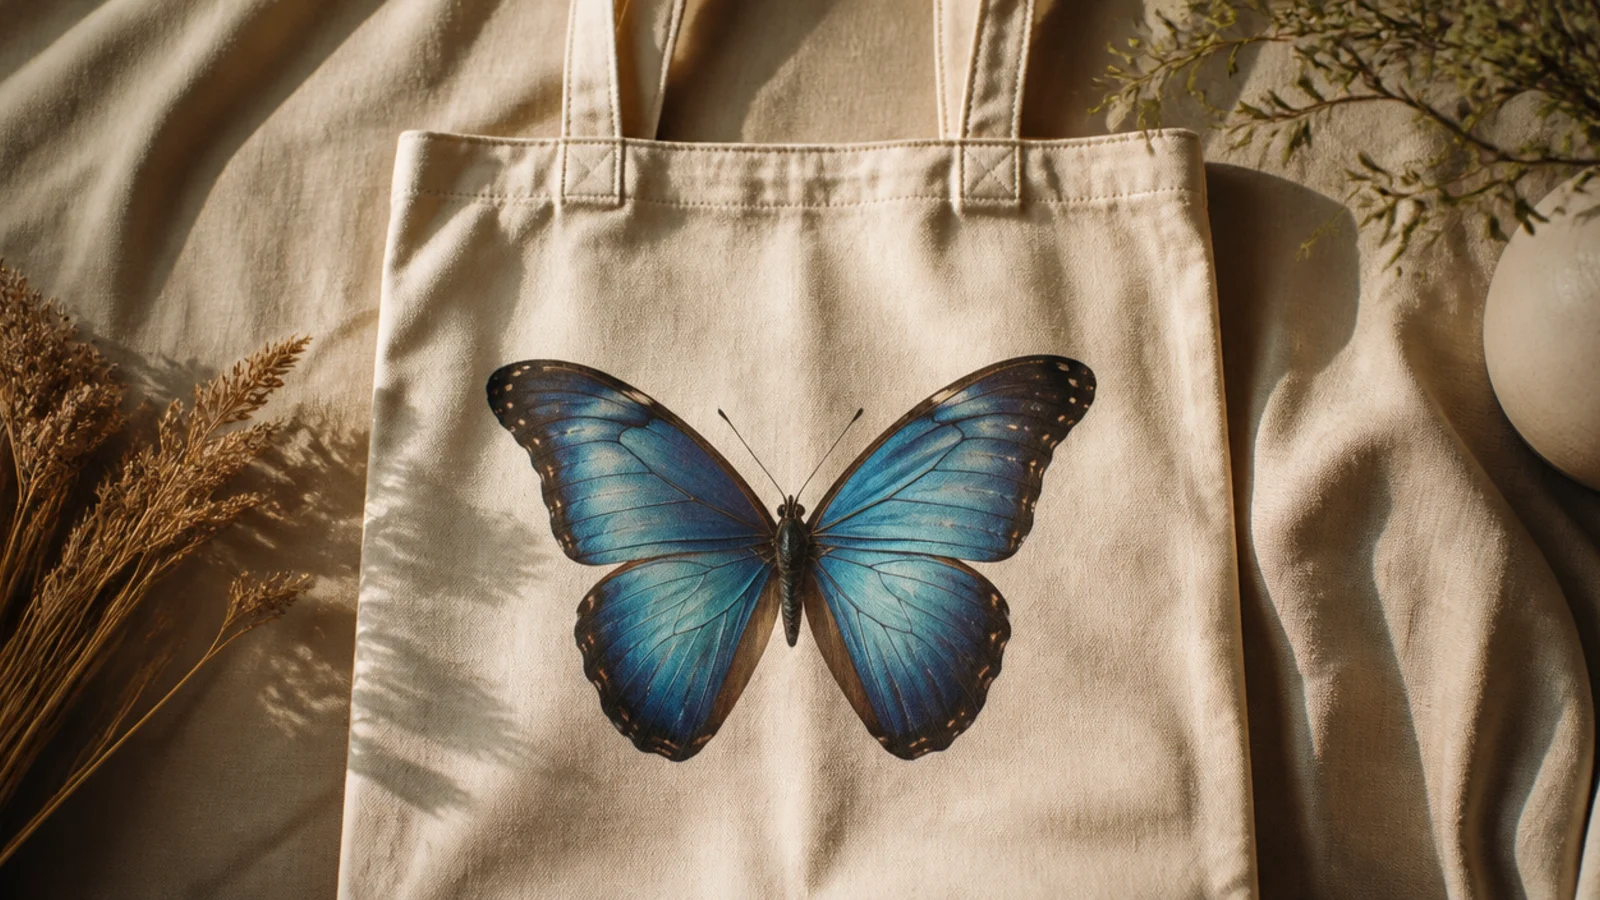
The blue morpho is a stunning tropical butterfly with iridescent blue wings and dark edges. A blend from bright blue to deep navy fakes the shimmer. It is bold and jewel-like.
Prep and iron the tote, insert cardboard. Pencil a center line and paint four wings, blending vivid blue near the body into deep navy at the outer edges while wet, mirrored side to side. Add a metallic blue highlight over the center once dry, then a fine dark border with tiny white edge dots, slim body, cure, and heat-set.
Editor's noteBrush a touch of metallic blue over the dried wings; that shimmer streak is what mimics the morpho’s iridescence.
Skip thisDo not use one flat blue; without the light-to-dark blend and shimmer, the morpho loses its signature glow.
4. Ascending Butterfly Trio
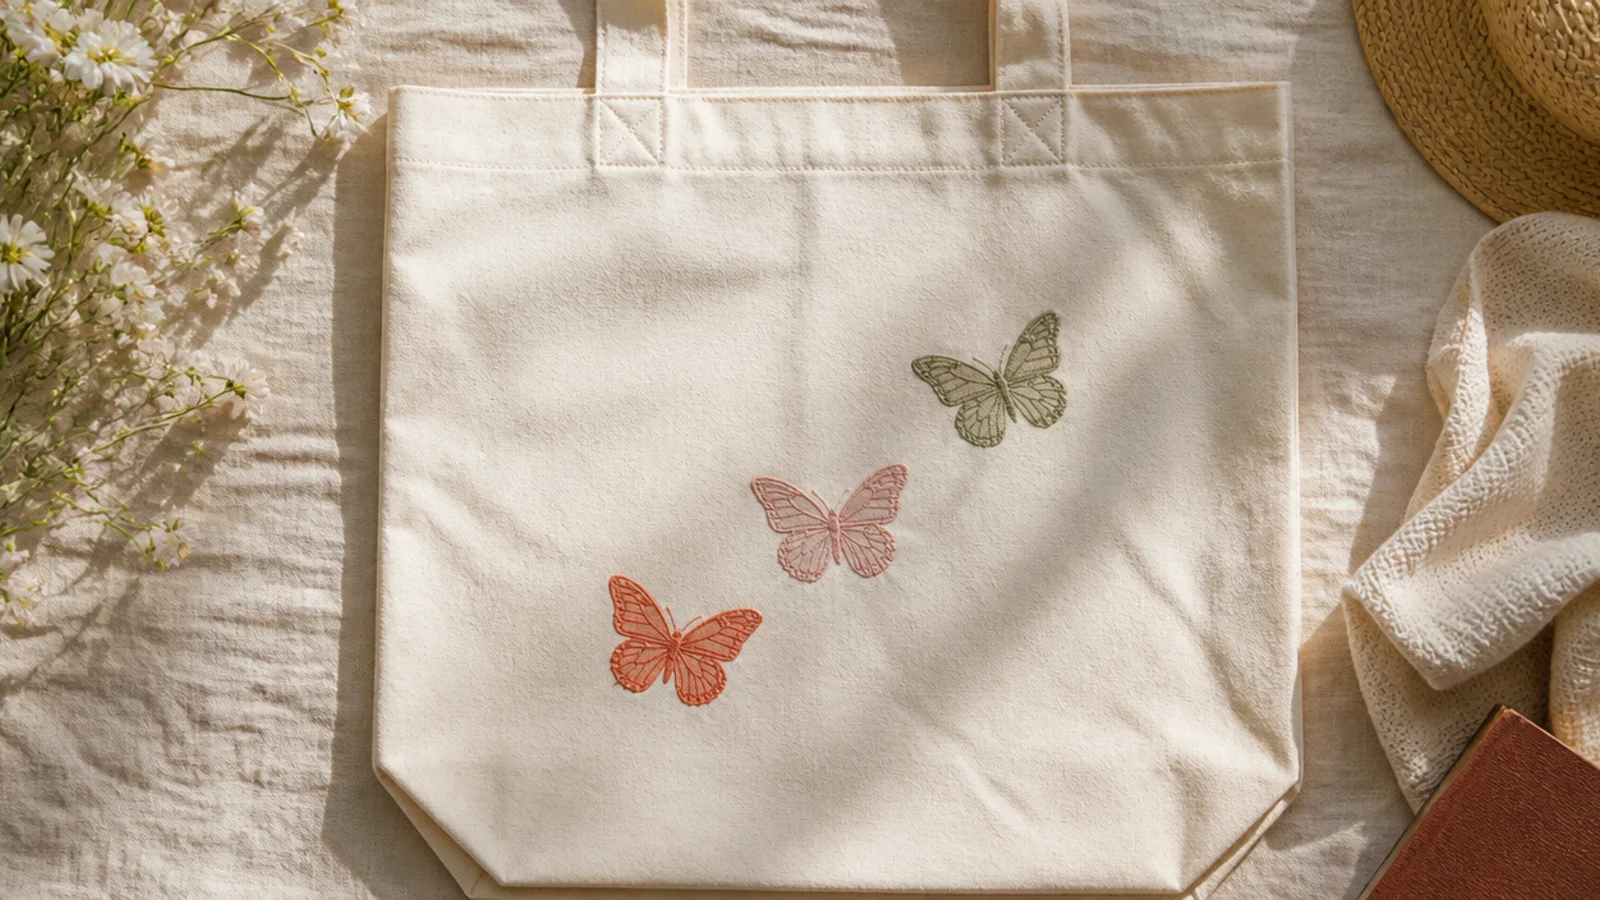
Three small butterflies rising diagonally look like they are fluttering upward — light and full of movement. Small simple butterflies in different soft colors keep it airy. The diagonal path adds energy.
Prep the tote and insert cardboard. Pencil a gentle diagonal path from lower left to upper right. Along it, paint three small two-stroke butterflies in coral, blush, and sage, each with its own tiny center line, getting slightly smaller toward the top. Add fine antennae and a faint dotted flight trail, cure, and heat-set.
Shrink each butterfly slightly as it rises and tilt them differently; the size change and varied angles create the sense of flight.
Do not paint all three the same size in a straight row; identical, level butterflies look static instead of fluttering.
5. Symmetrical Stencil Butterfly
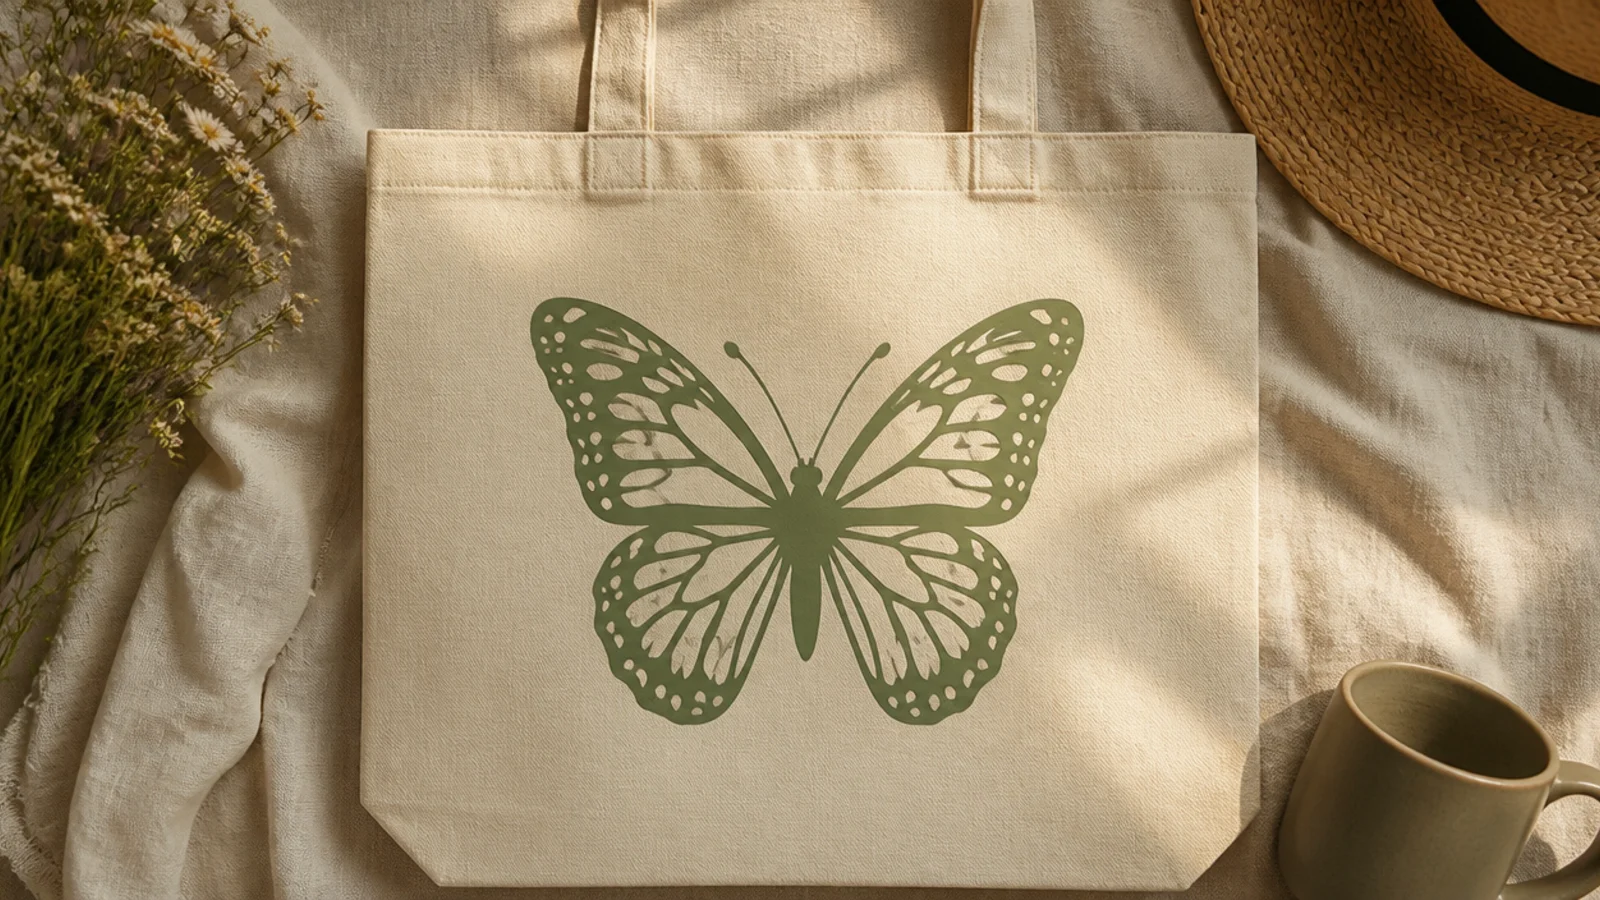
A freezer-paper stencil gives a flawlessly symmetrical butterfly with crisp cut-out patterns — the foolproof route to perfect wings. Fold the paper to cut both sides identically. It looks precise and clean.
Prep and iron the tote, insert cardboard. Fold freezer paper in half, draw half a butterfly against the fold, and cut it out to make a symmetrical stencil window. Iron it shiny-side down on the bag, dab fabric paint inside with a sponge, then peel while wet. Add a body and antennae, cure, and heat-set.
Cut the stencil on a fold so both wings are identical; folding is the surest way to get perfect butterfly symmetry.
Do not brush toward the stencil edge; dab straight down so paint can’t slip under and blur the crisp cut pattern.
6. Watercolor Butterfly
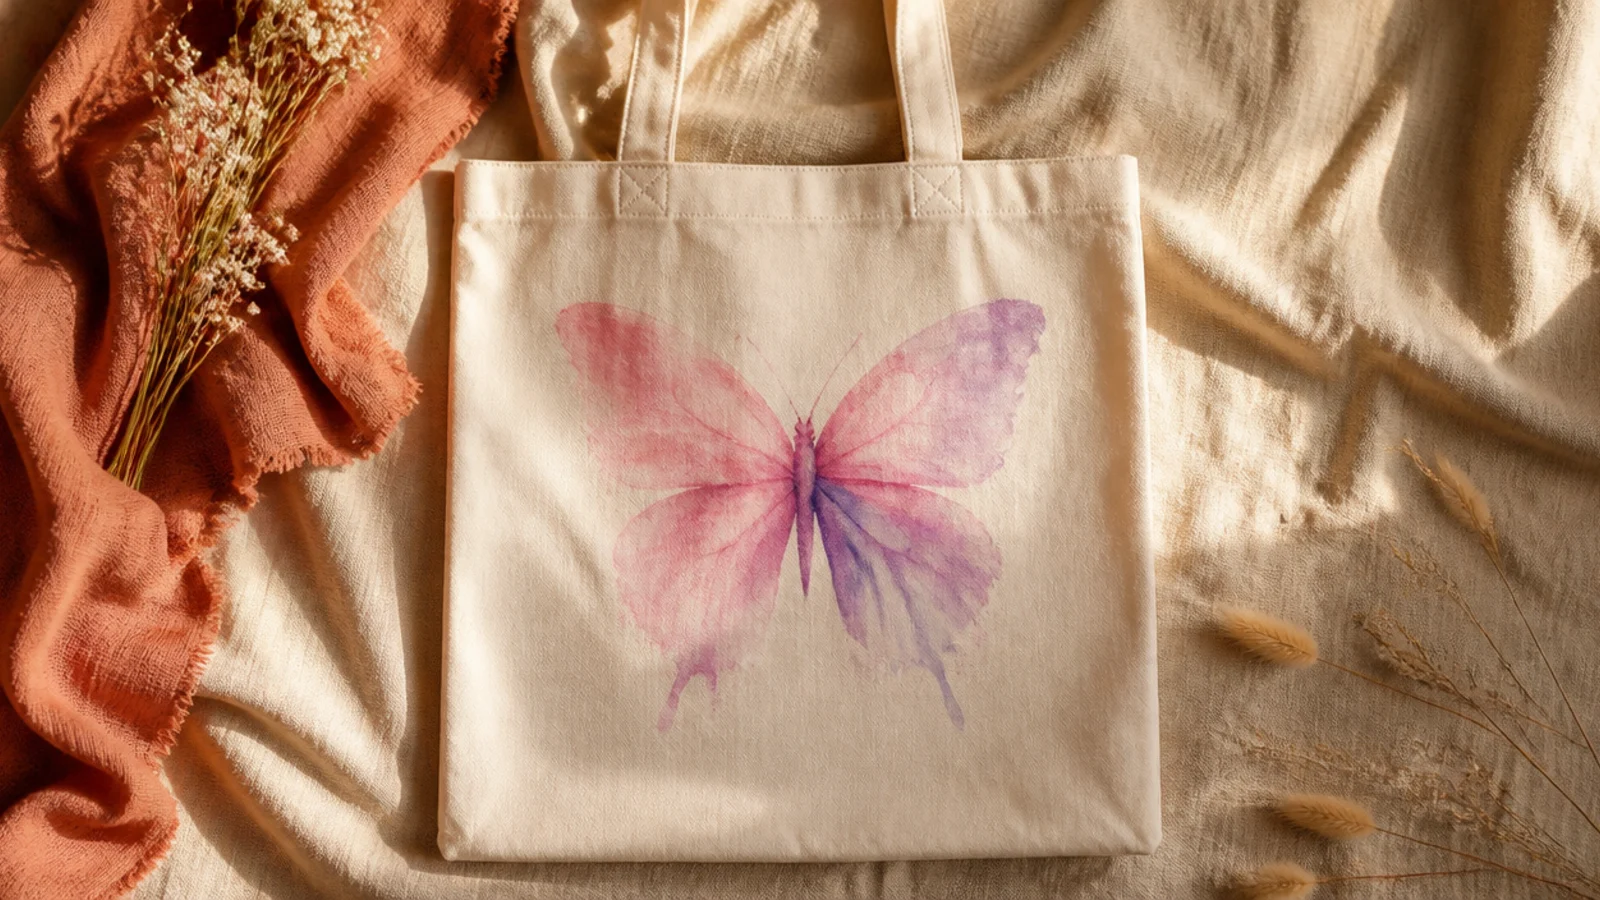
A watercolor-style butterfly has soft, blended wings with no hard edges — romantic and dreamy. Thinned fabric paint blooming on damp canvas fakes the effect. It is forgiving because soft edges hide wobbles.
Prep the tote and insert cardboard. Lightly dampen the wing areas with a clean wet sponge. Load thinned blush and lilac fabric paint and let them bloom into the damp canvas for each wing, mirrored, letting the colors bleed together. Add a soft body once dry, skip the hard outline, cure, and heat-set.
Editor's noteDampen the canvas before adding color so the wings bloom and feather; the soft bleed is the whole watercolor charm.
Skip thisDo not add a crisp outline or veins; a hard line kills the dreamy watercolor softness that defines this style.
7. Butterfly and Flowers
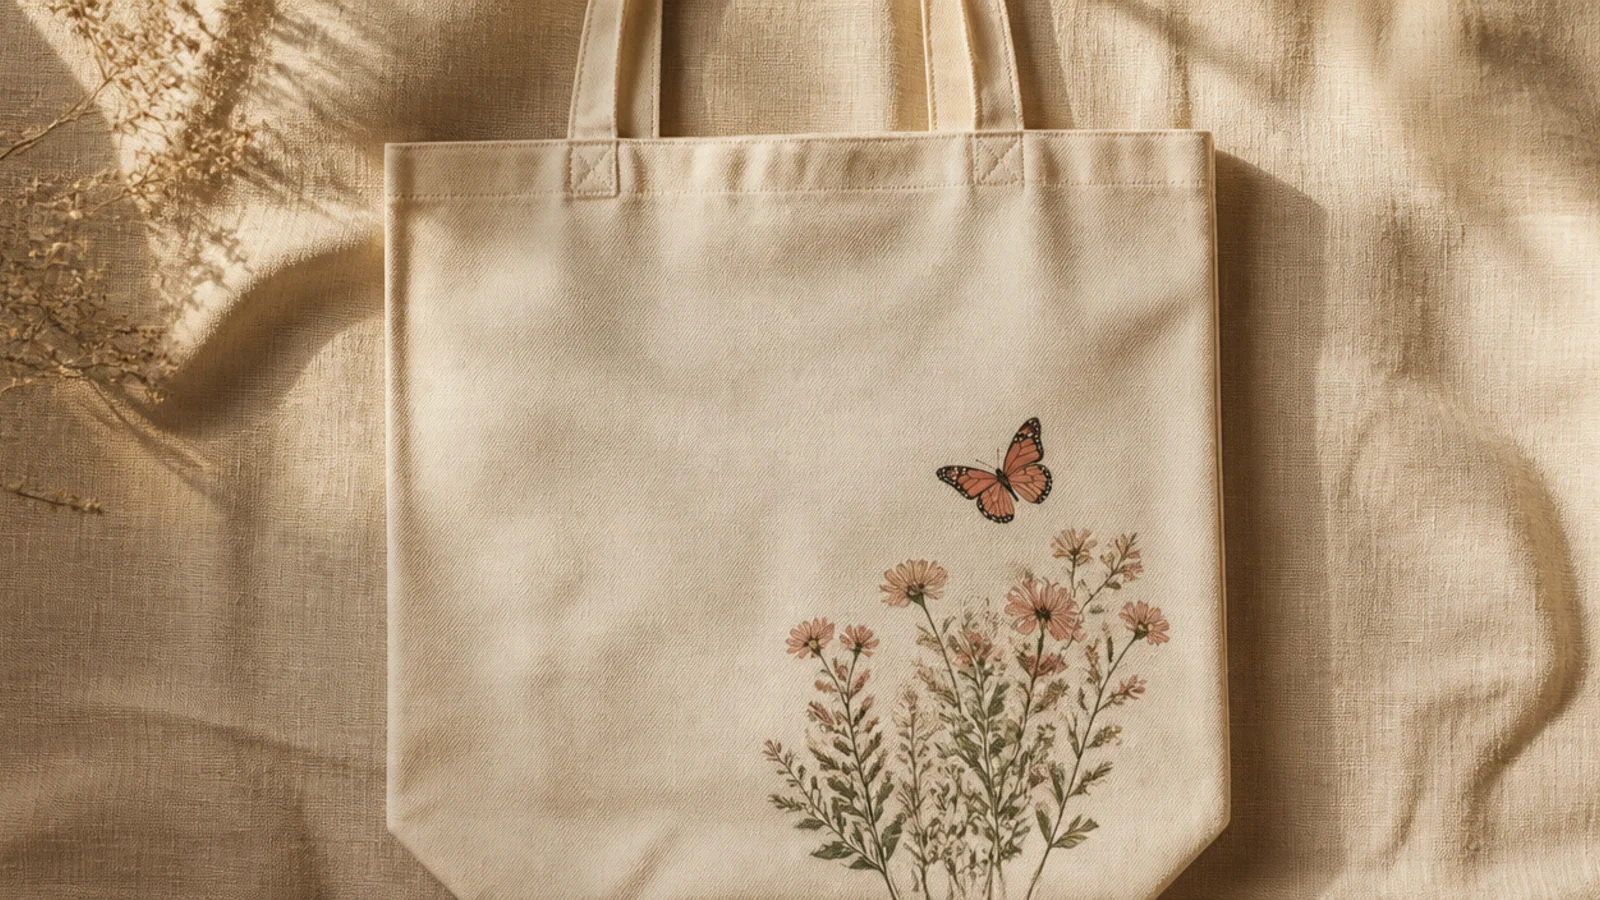
A butterfly hovering over a few blooms is a natural, storybook pairing. The flowers ground the butterfly in a little scene. Together they feel like a spring garden moment.
Prep and iron the tote, insert cardboard. Paint a small cluster of simple dab flowers and stems on the lower front in dusty pink and sage, and let dry. Above them, paint a coral two-stroke or monarch-style butterfly with its center line. Add a faint dotted line from a flower to the butterfly, cure, and heat-set.
Editor's notePaint the flowers first and let them dry before adding the butterfly on top; layering keeps both crisp instead of smearing together.
Skip thisDo not crowd in too many flowers; a small cluster with bare canvas keeps the butterfly the clear focal point.
8. Line-Art Butterfly Outline
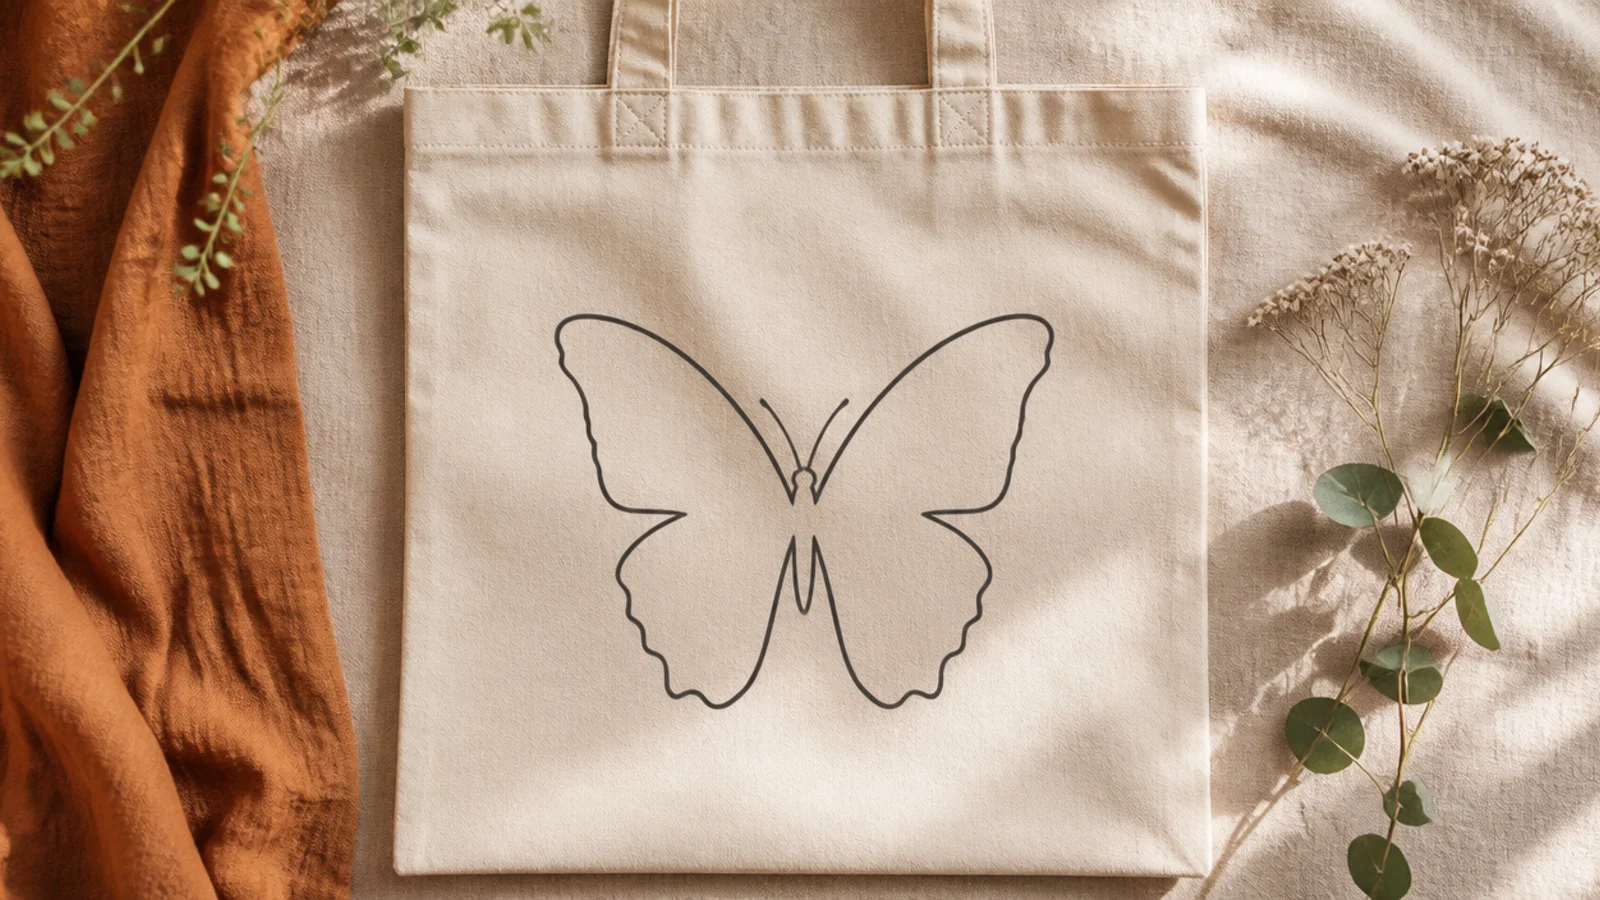
A butterfly drawn as a clean outline is modern and minimal — just the linework, no fill. It is elegant and quick with a fabric marker. The open wings feel light and current.
Prep the tote and insert cardboard. Pencil a symmetrical butterfly using a center line. Trace only the outline and a few interior wing lines with a fine-tip charcoal fabric marker, leaving the wings unfilled. Keep the line an even weight, add fine antennae, erase pencil, cure, and heat-set.
Editor's noteLeave the wings empty and add just a couple of interior lines; the open outline is what makes it read modern rather than childish.
Skip thisDo not fill the wings with color; a line-art butterfly loses its minimal elegance the moment it becomes solid.
9. Elegant Swallowtail
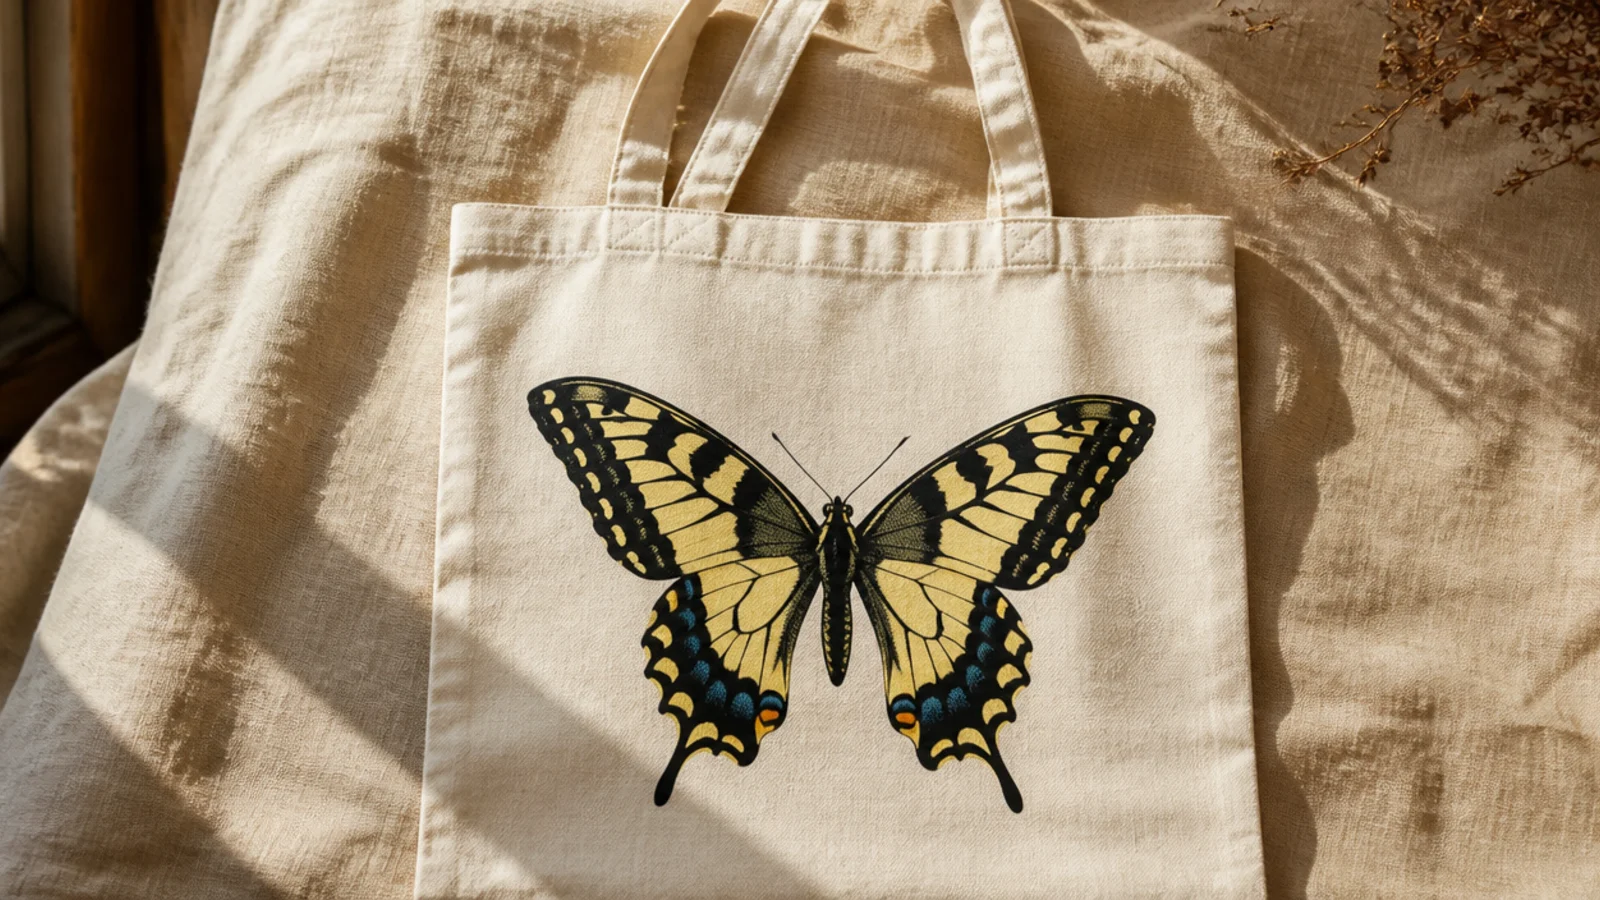
The swallowtail is a graceful butterfly known for its long tails on the lower wings. Those trailing tails make it instantly recognizable and elegant. Yellow with black stripes is the classic look.
Prep and iron the tote, insert cardboard. Pencil a center line and paint four yellow wings, extending the lower wings into pointed tails, mirrored. Once dry, add black stripe markings and a black border with small blue and orange edge spots. Paint a slim body, fine antennae, cure, and heat-set.
Editor's noteExtend the lower wings into long pointed tails; those tails are the swallowtail’s defining feature, so make them clear.
Skip thisDo not round off the lower wings; without the pointed tails it just looks like an ordinary butterfly, not a swallowtail.
10. Single Wing Close-Up
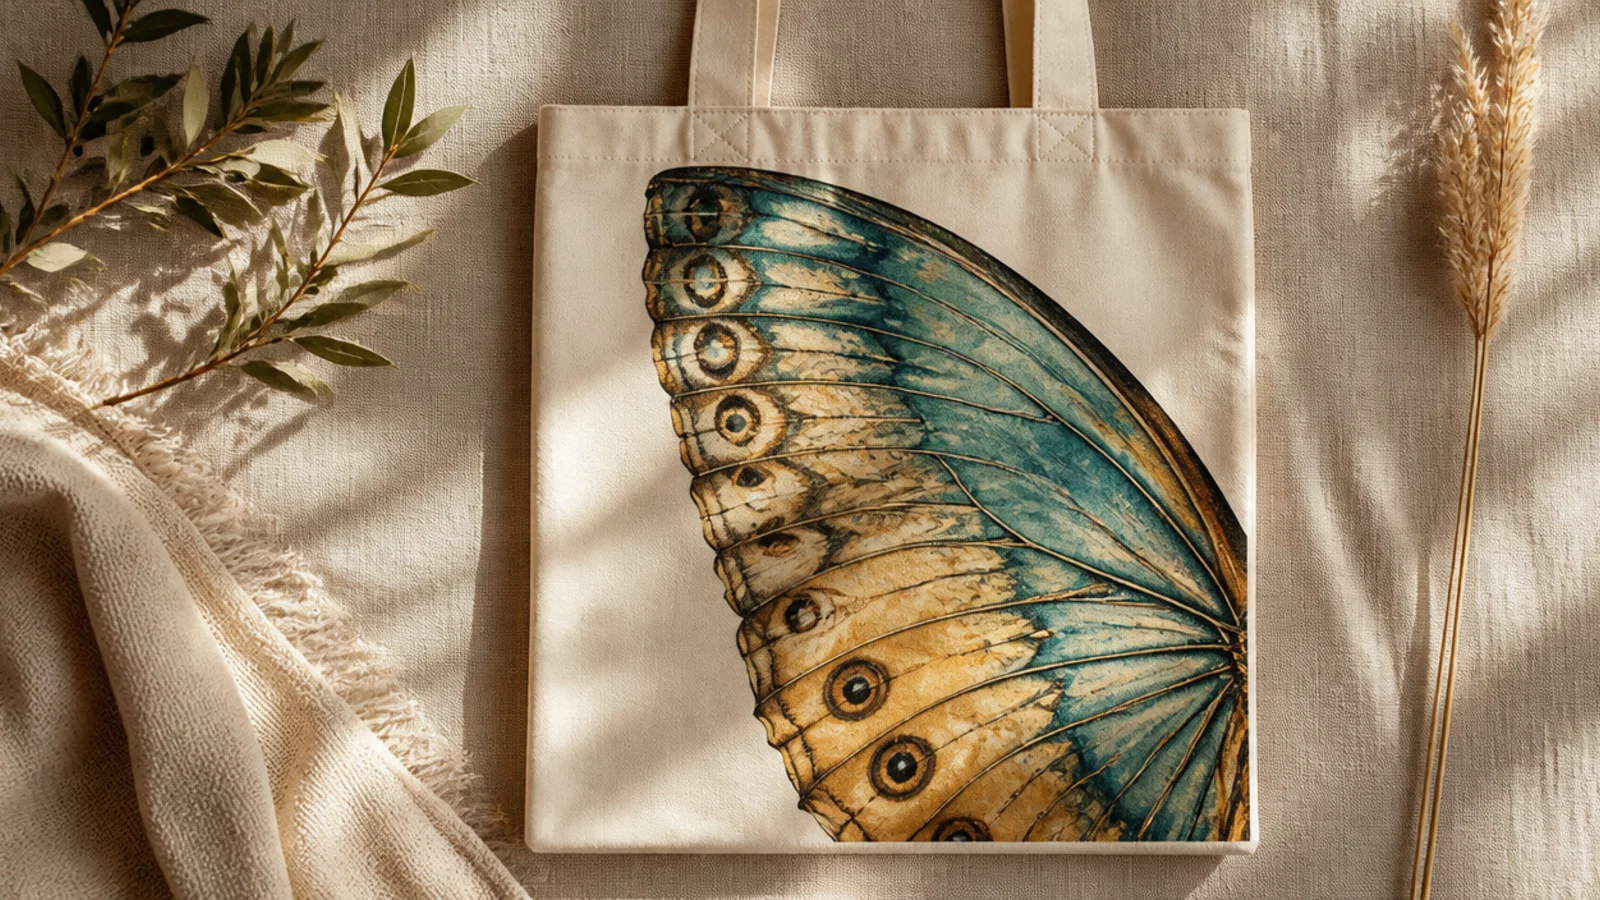
A single oversized wing filling the front is a bold, artistic crop — like a macro photo. The large scale shows off veins and eyespots. It is striking and unexpected.
Prep the tote and insert cardboard. Pencil one large wing shape filling most of the front, running off the edges. Blend two colors across it — teal into gold — while wet. Once dry, add branching veins, a border, and one or two eyespots with a liner brush. Suggest a bit of body at the base, cure, and heat-set.
Let the wing run off the edges of the bag; the cropped, oversized framing is what makes it look like an artistic close-up.
Do not shrink the wing to fit fully in the center; a small centered wing loses the dramatic macro-crop effect.
11. Thumbprint Butterflies
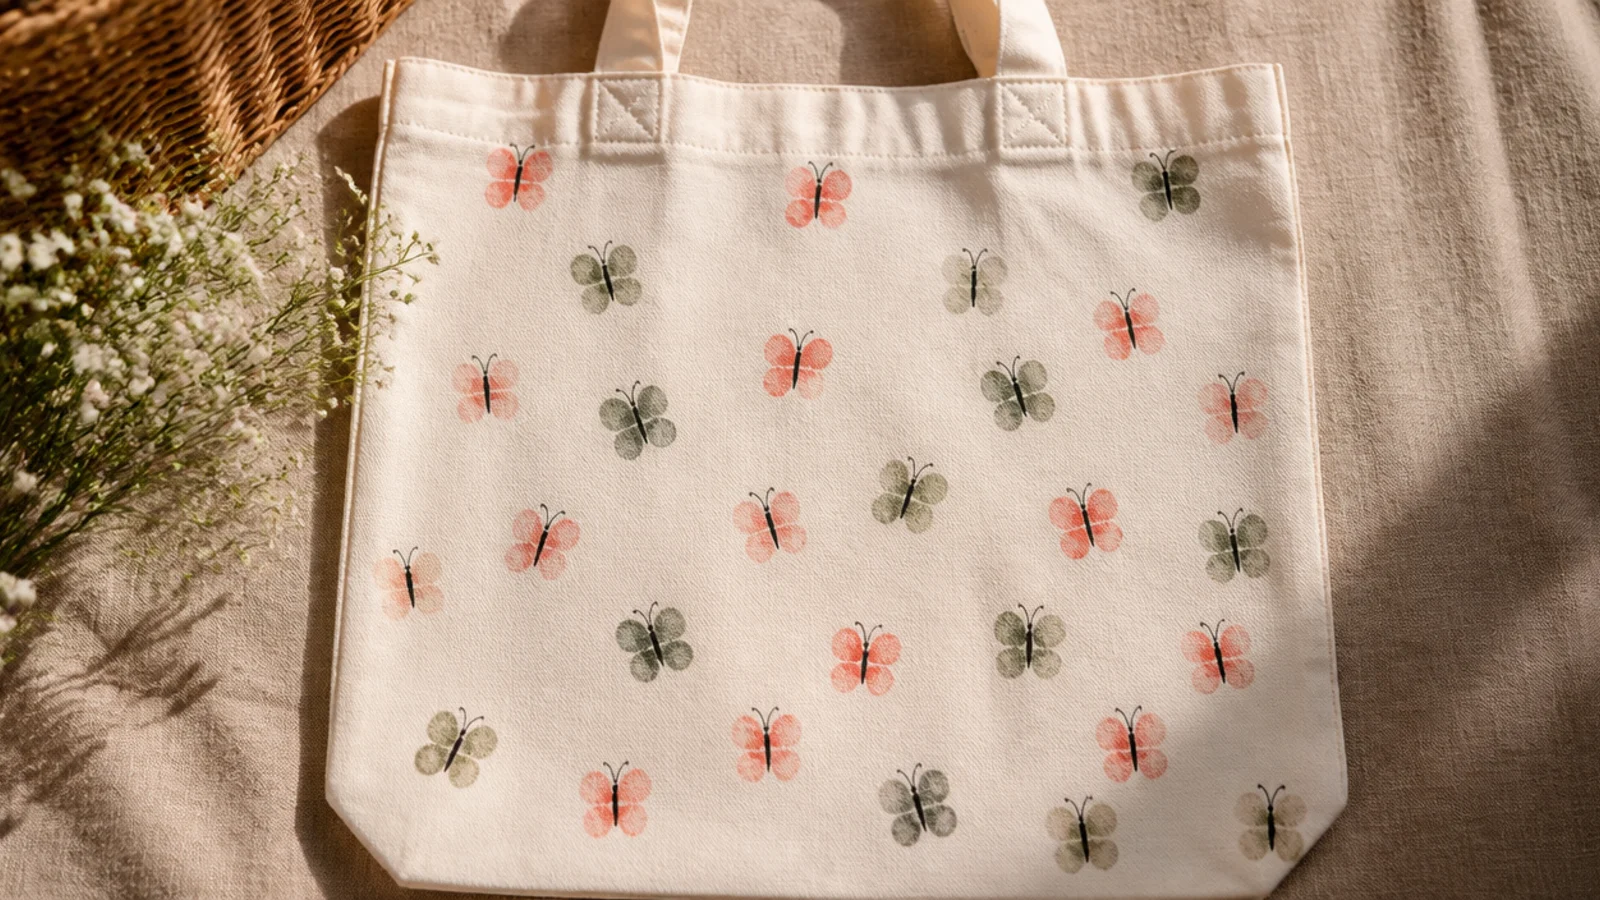
Tiny butterflies made from pairs of thumbprints are playful and personal — great to make with kids. Two prints angled together form the wings, then a drawn body finishes it. A scatter of small ones is charming.
Prep and iron the tote, insert cardboard. Press your thumb into a thin coat of fabric paint and stamp two prints angled together for each butterfly’s wings, in coral, blush, and sage. Once dry, draw a thin body between each pair and fine antennae with a fabric marker. Scatter several, cure, and heat-set.
Angle the two thumbprints so their bases nearly touch; that V shape reads instantly as a pair of open wings.
Do not overink your thumb; a heavy print loses the fingerprint texture and just looks like a paint blob.
12. Stained-Glass Butterfly
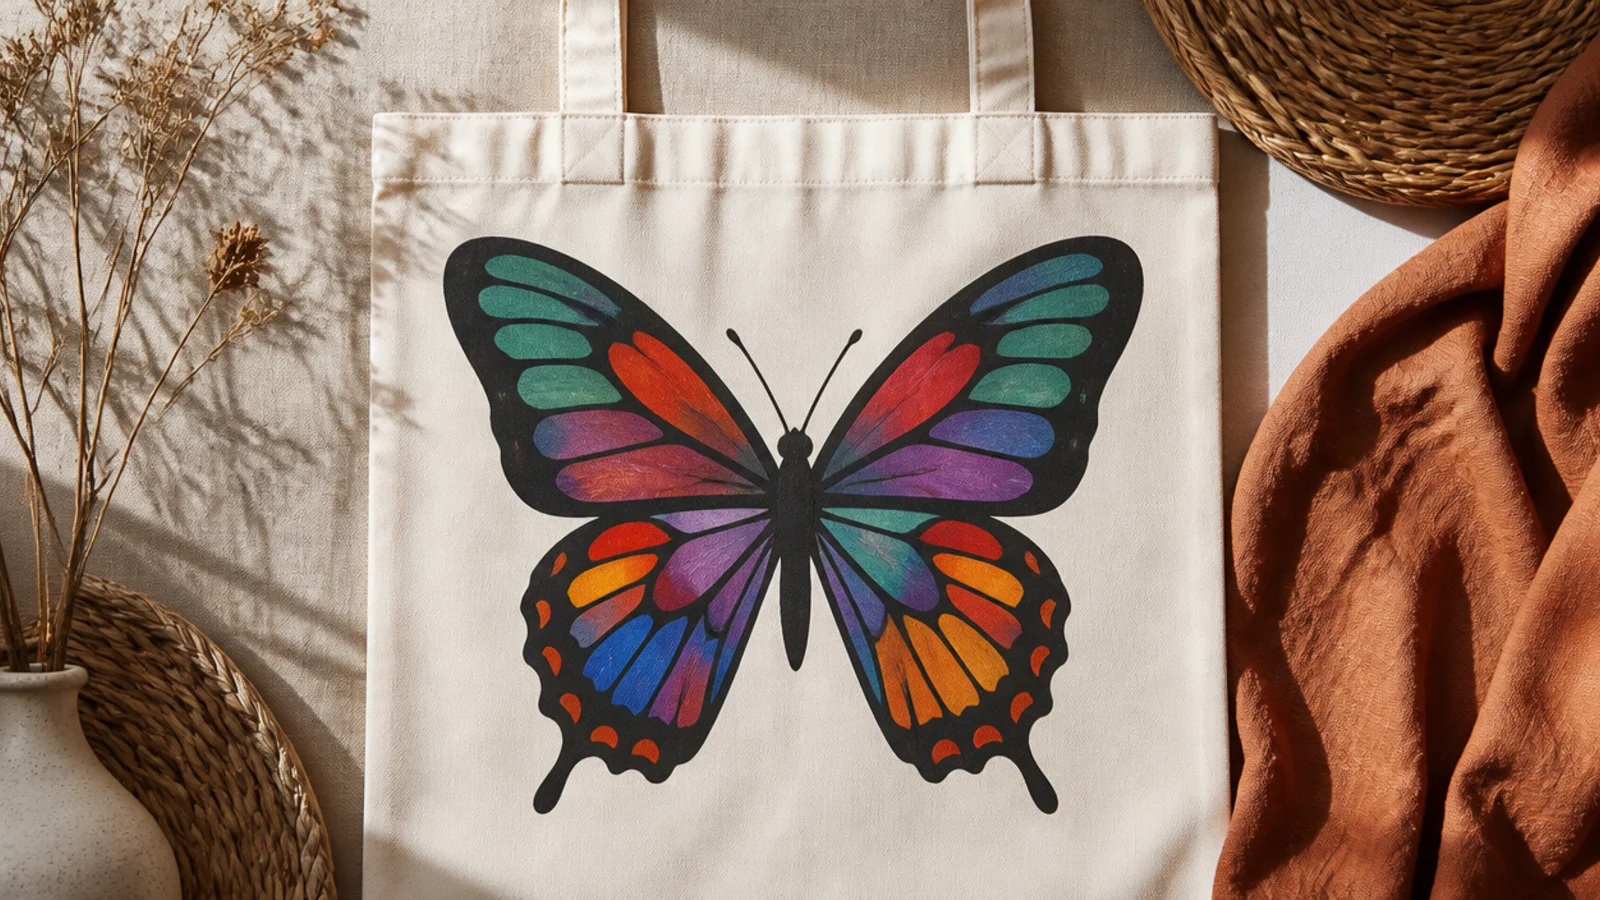
A stained-glass butterfly divides the wings into bright segments outlined in bold black lines. The mosaic of jewel tones looks intricate and vibrant. The black grid does the structuring for you.
Prep the tote and insert cardboard. Pencil a symmetrical butterfly and divide each wing into segments. Paint each segment a jewel tone — teal, purple, coral, gold — mirrored across the center. Once dry, outline every segment and the wings with thick black lines using a liner brush, add a black body, cure, and heat-set.
Add the thick black outlines around every color segment last; those bold leading lines are what create the stained-glass look.
Do not use pale or muted colors; stained glass needs bright jewel tones to glow between the black lines.
13. Delicate Butterfly Swarm
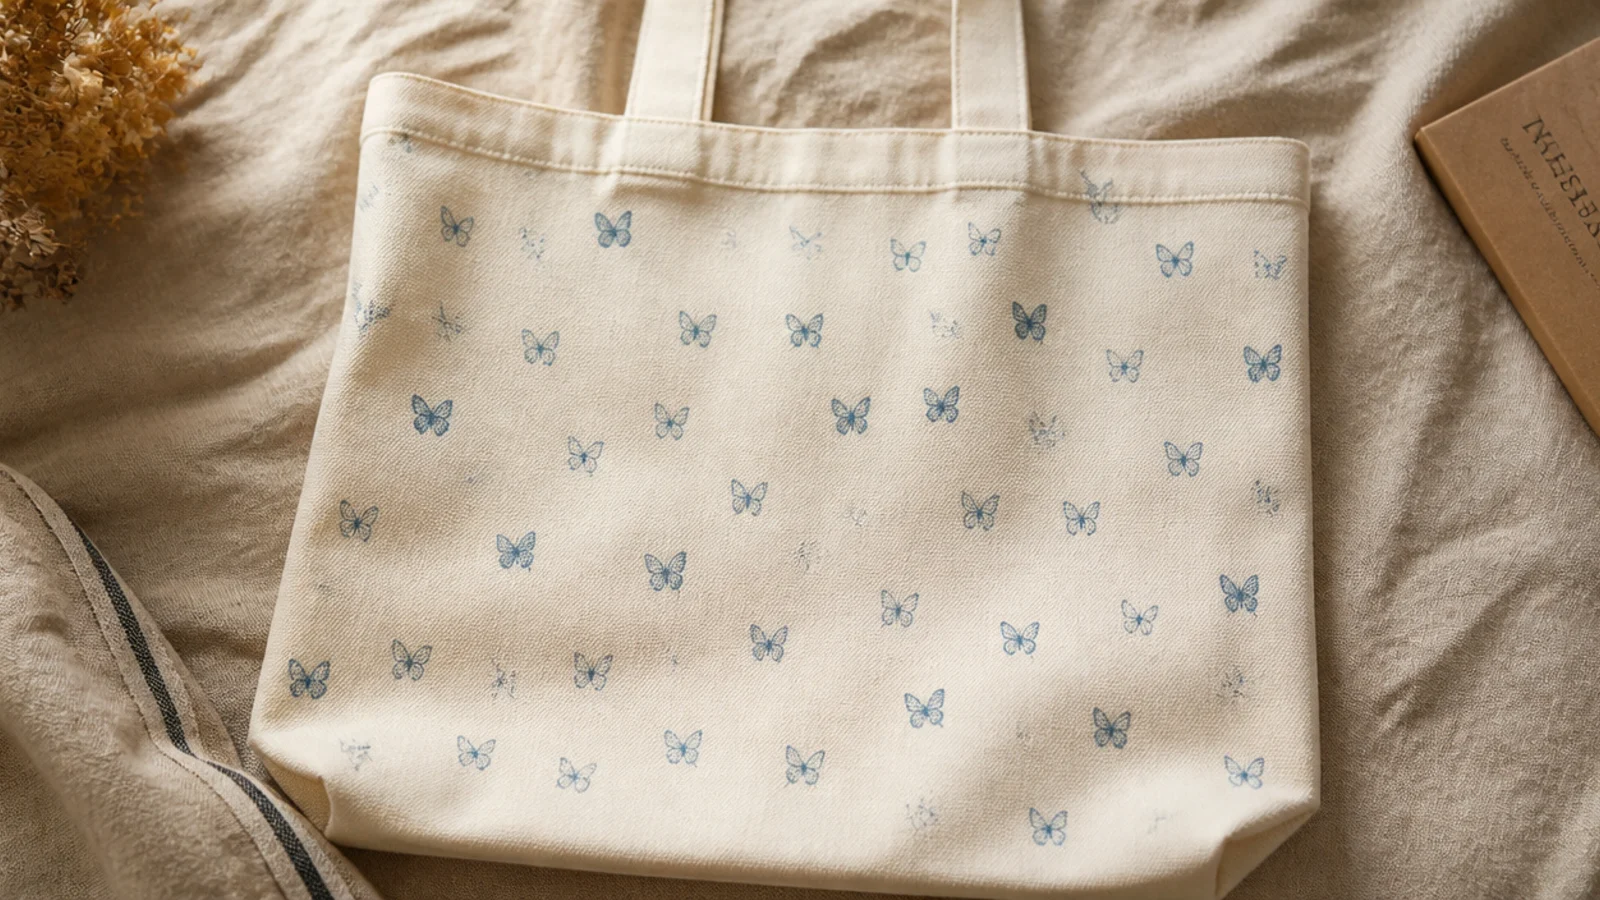
A swarm of many tiny butterflies in one soft color is delicate and dreamy — like a cloud of them drifting. Each is a simple two-stroke shape kept very small. The all-over scatter feels light and magical.
Prep and iron the tote, insert cardboard. Paint many small two-stroke butterflies across the whole front in one dusty-blue tone with a size 2 round brush, varying their angles and sizes slightly. Add a tiny body and antennae to each. Cluster some and let others drift apart, cure, and heat-set.
Keep every butterfly tiny and tilt them in all directions; the varied angles are what make a swarm feel like it is in motion.
Do not line the butterflies up in rows; an even grid looks like wallpaper, while a loose scatter looks like a real swarm.
14. Ombré Gradient Butterfly
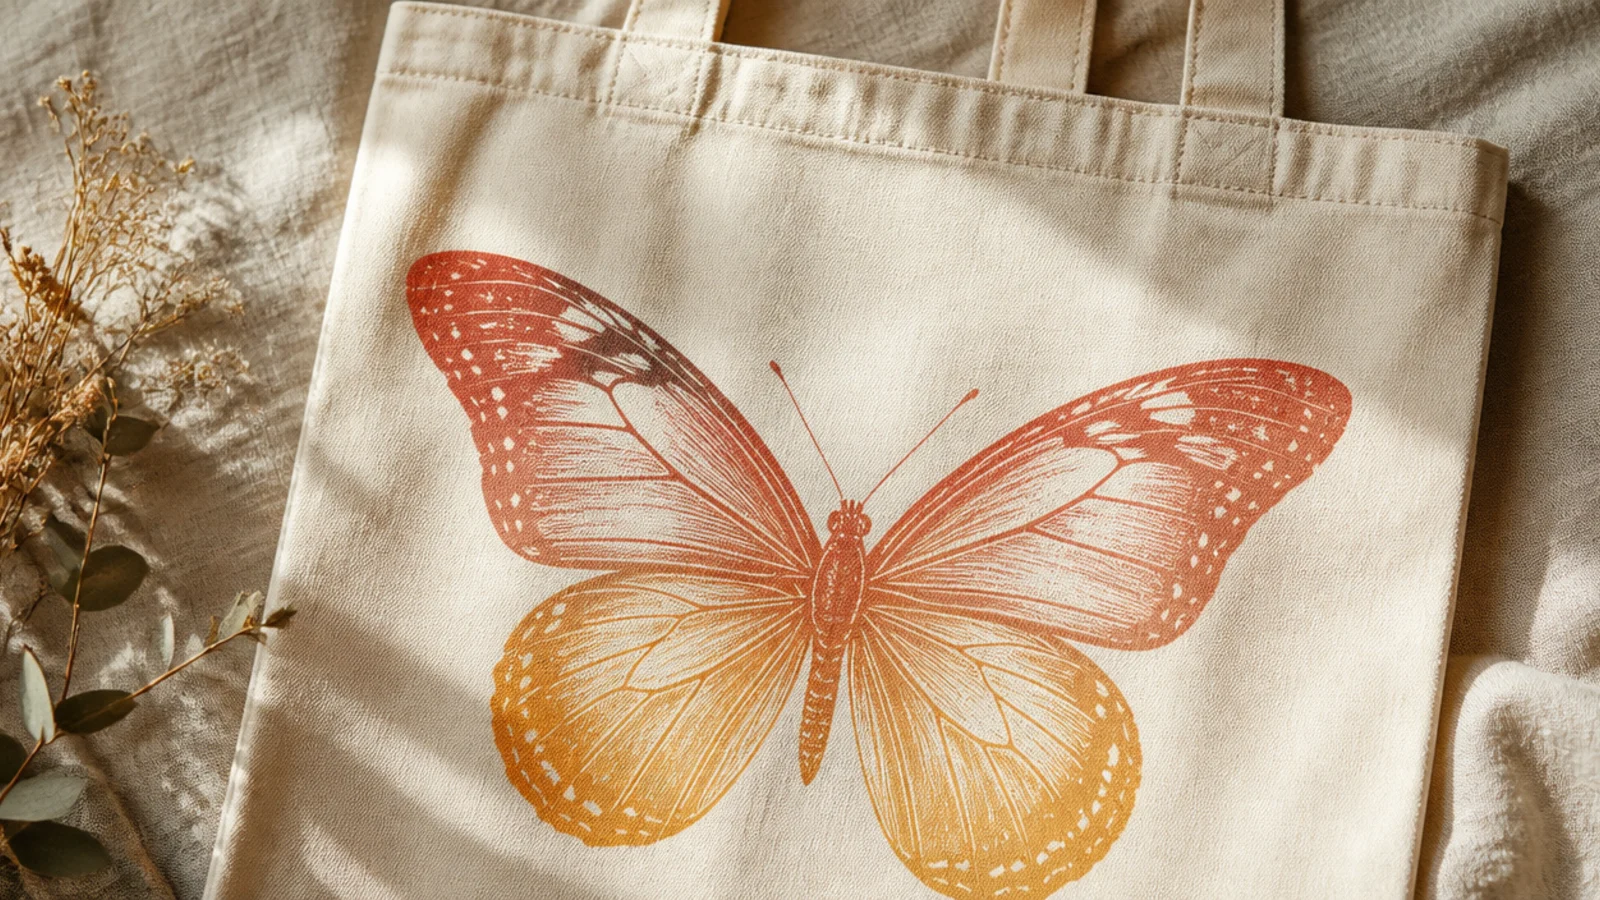
An ombré butterfly has wings that fade smoothly from one color to another — a modern, colorful take. The gradient across all four wings feels contemporary. It is eye-catching without needing fine detail.
Prep the tote and insert cardboard. Pencil a symmetrical butterfly. Paint the wings blending coral at the top into gold at the bottom, working across all four wings while wet so the gradient reads as one, mirrored. Add a fine dark outline and body once dry, cure, and heat-set.
Editor's noteBlend the gradient across all four wings together, not wing by wing; a continuous fade makes the whole butterfly feel unified.
Skip thisDo not let the wings dry before blending; a hard color jump breaks the smooth ombré that makes this design modern.
15. Gold Outline Butterfly
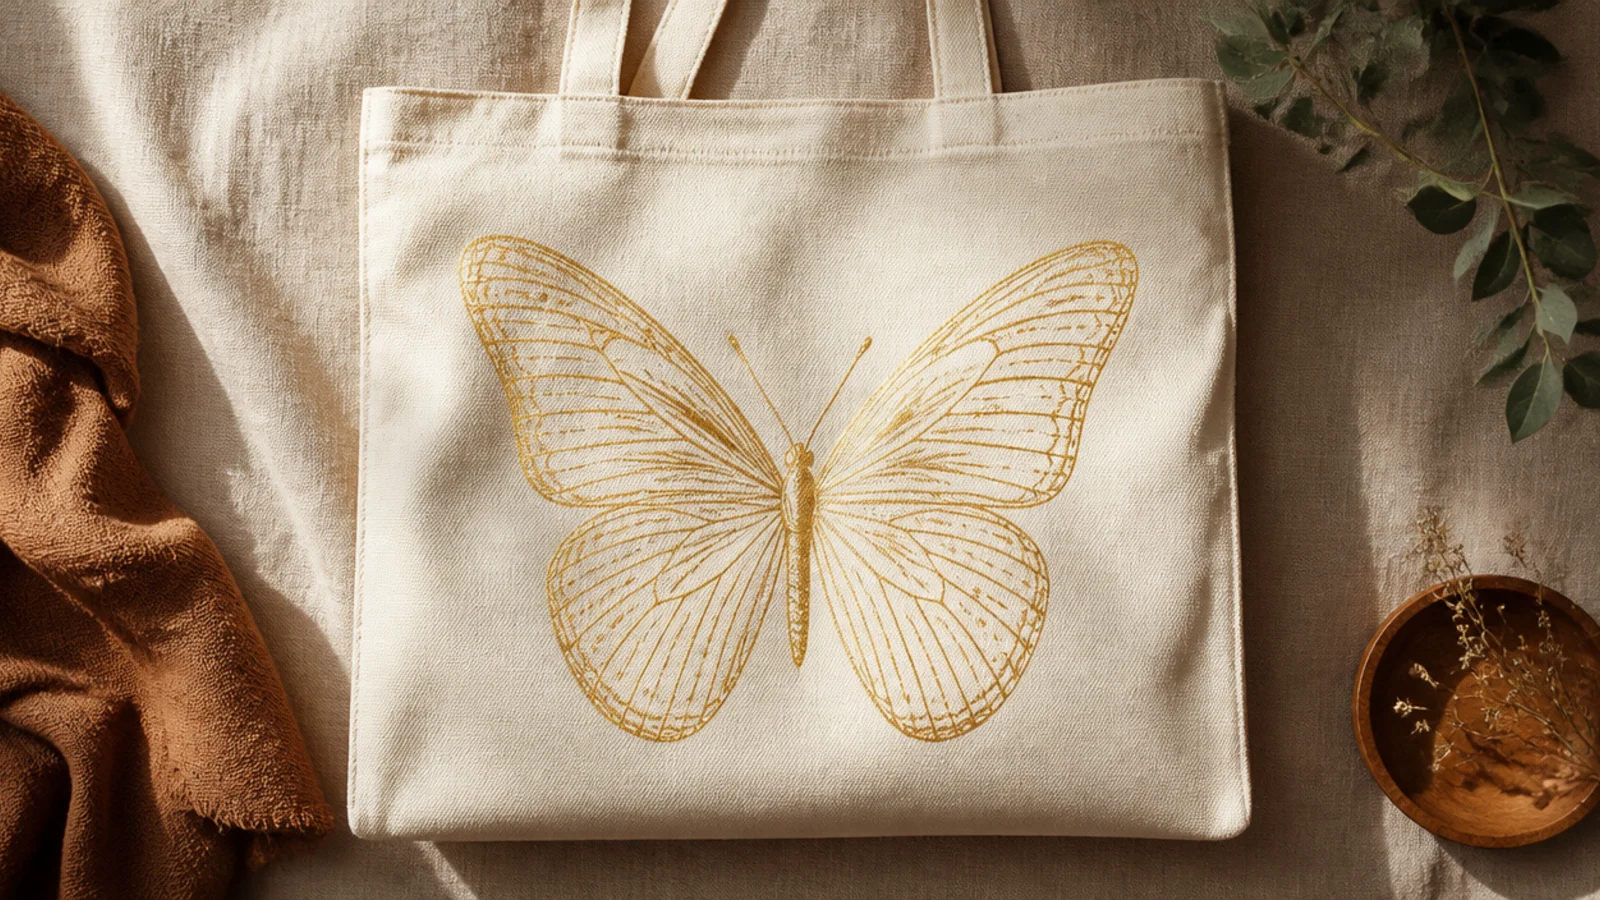
A butterfly rendered purely in fine gold lines is elegant and luxe — all shimmer, no fill. The metallic linework feels delicate and refined. It suits anyone who wants understated glamour.
Prep and iron the tote, insert cardboard. Pencil a symmetrical butterfly with a center line. Trace the outline and delicate interior wing veins with a metallic gold paint pen, keeping the lines fine and even, mirrored across the center. Add fine antennae, erase pencil, cure, and heat-set gently.
Keep every gold line fine and let the wings stay open; delicate metallic linework reads as elegant, thick gold reads as heavy.
Do not fill any part of the wings with gold; the whole appeal is the airy, shimmering outline, so leave the wings open.



