

1. Single Stripe Color Block
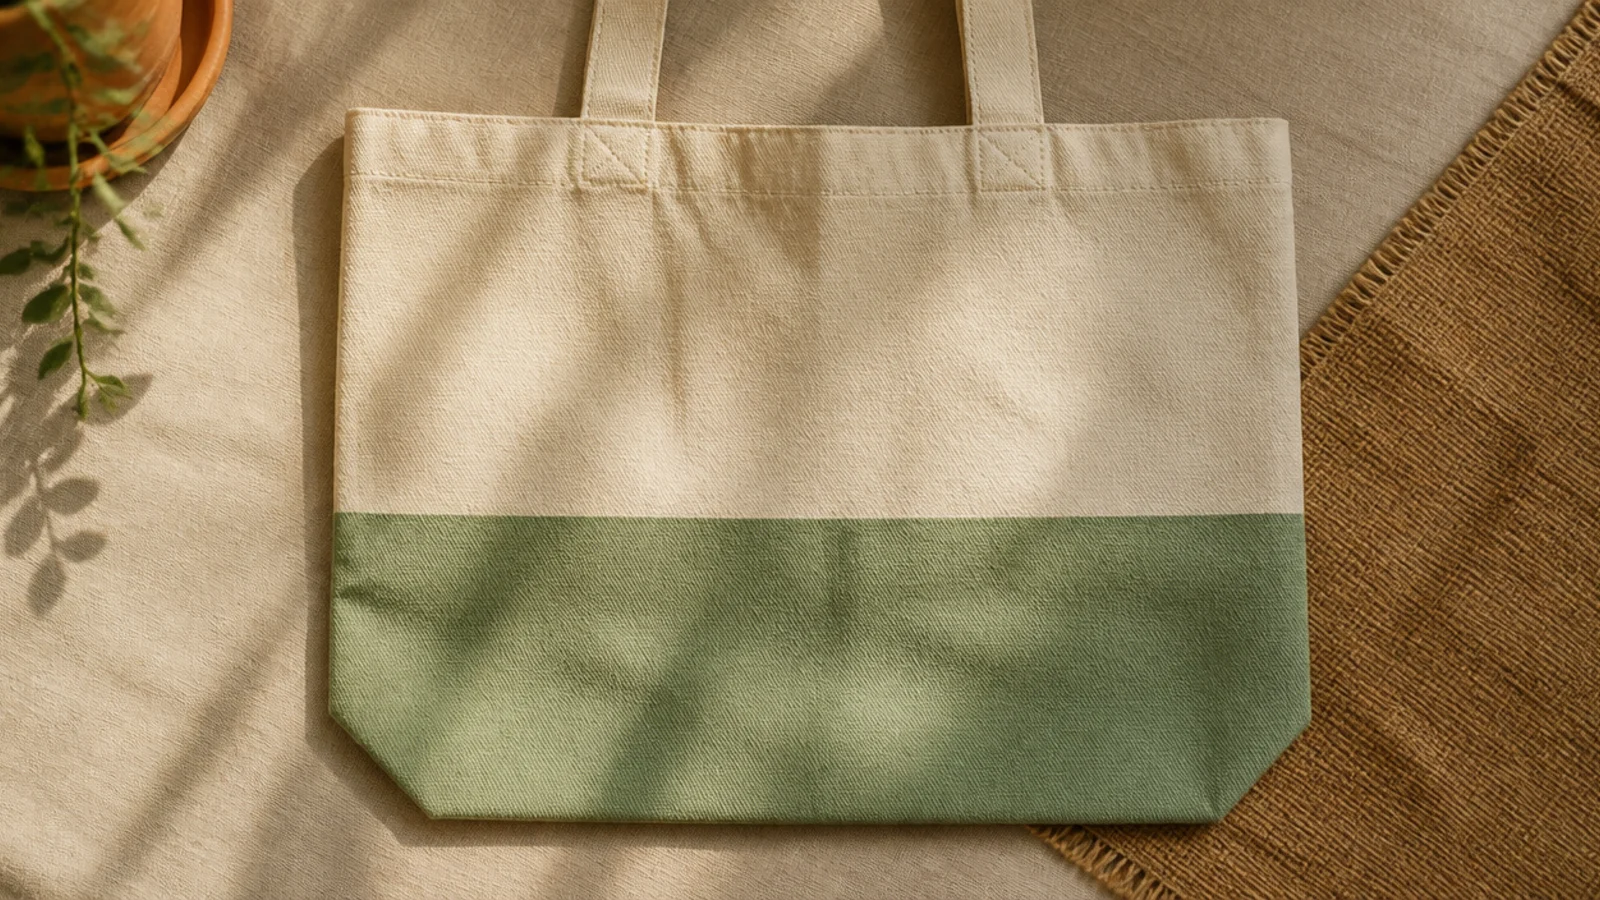
This is the easiest design that still looks intentional. You paint one wide band of color across the lower third of the bag and leave the natural canvas above it. The contrast between raw cotton and one clean color reads modern and boutique, and there is no pattern to get wrong. Pick one grounded color — sage, dusty blue, or terracotta — so it works with any outfit.
Pre-wash, iron, and slide cardboard inside the tote. Run a strip of painter’s tape level across the bag about a third of the way up, using the seams as your guide, and burnish the edge with a fingernail. Paint below the tape with two thin coats of fabric paint, letting the first dry before the second. Peel the tape while the second coat is still slightly wet for a crisp edge, then cure 24 hours and heat-set under a cloth.
Editor's noteLay the tote flat on the table and line the tape up with the bottom seam so the band stays perfectly level and parallel.
Skip thisDo not eyeball the tape line freehand — a crooked band is the one thing that makes a color block look sloppy.
2. Two-Tone Diagonal Split
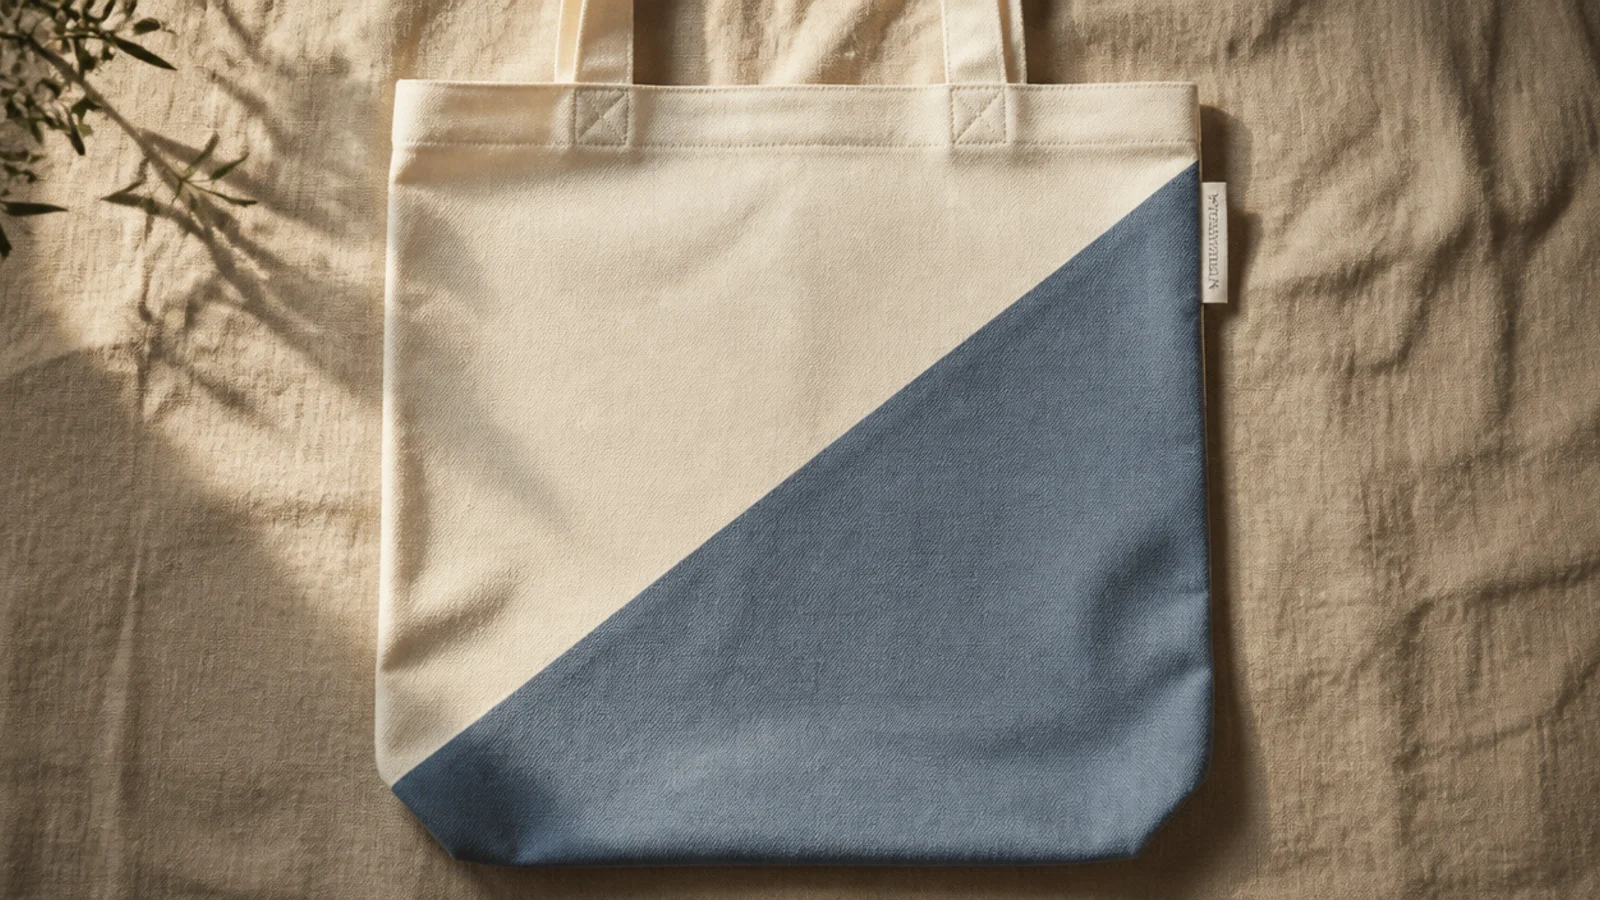
A single diagonal line splitting the bag into two zones looks graphic and current, and the tape does all the precision work. Beginners love it because there is only one edge to get right. Keep one half bare canvas and paint the other so the design feels light instead of heavy.
Prep the bag and insert cardboard. Run one long strip of painter’s tape corner to corner across the front and press the edge down hard. Paint the lower triangle in two thin coats of fabric paint, working from the tape line down so no paint pools at the edge. Peel the tape before it fully dries, touch up any bleed with a small brush, then cure and heat-set.
Run a dry fingernail firmly along the whole tape edge before painting so paint cannot seep under the diagonal.
Do not overload the brush near the tape; a heavy edge is where diagonal paint sneaks underneath and blurs the line.
3. Even Tape Stripes
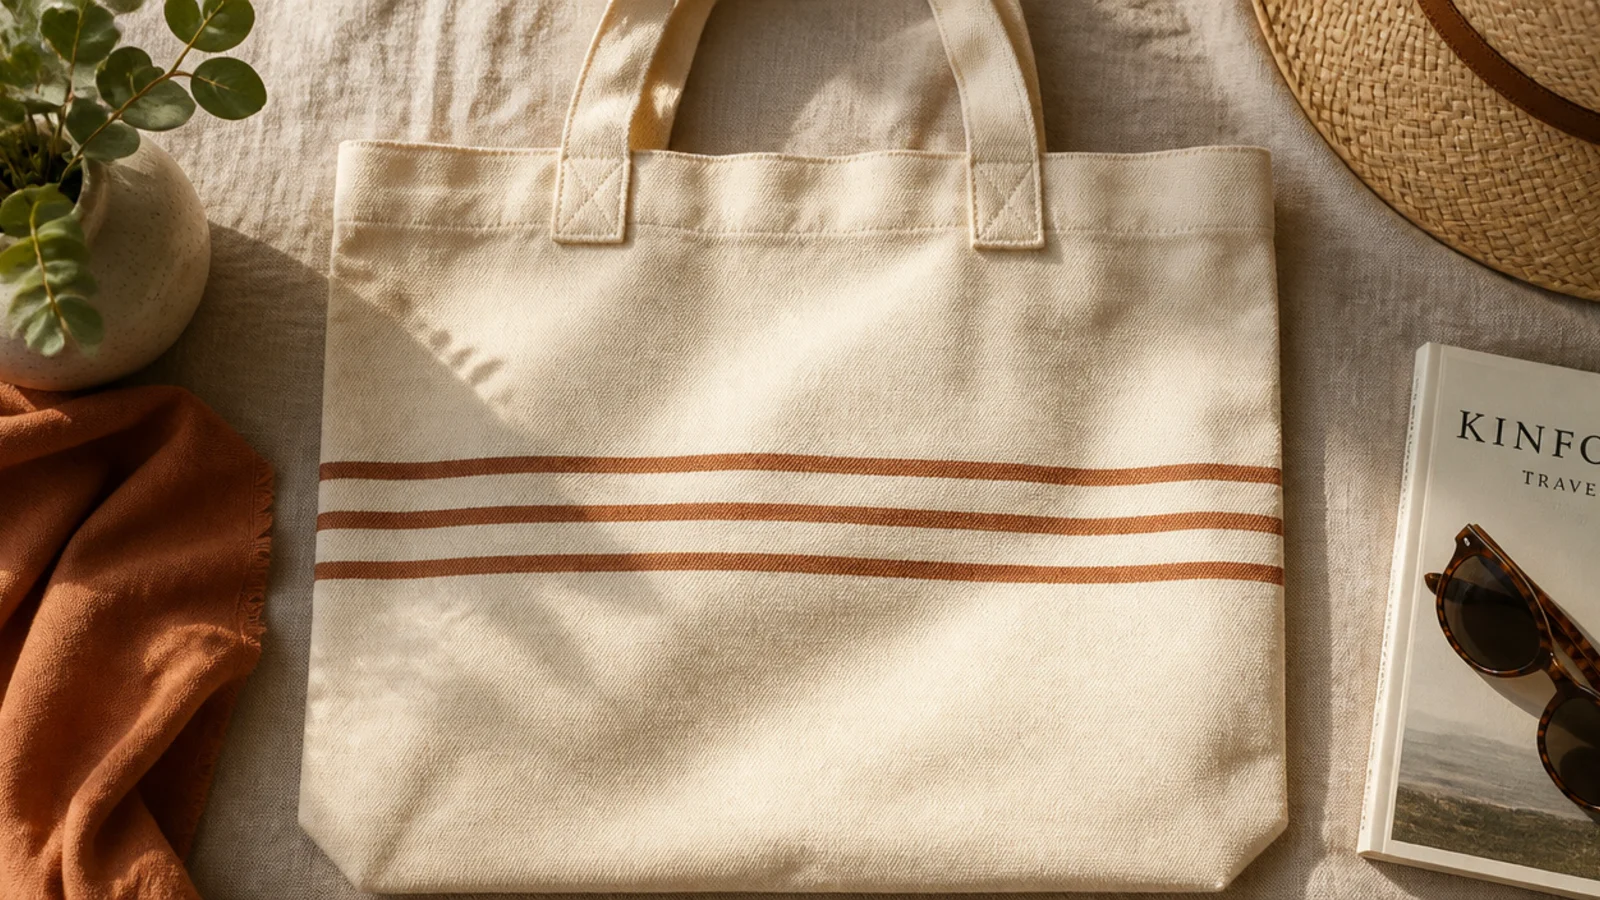
Even horizontal stripes look crisp and calm, and tape makes them foolproof. Two or three stripes is plenty — more starts to look busy. Thin stripes read more elegant than thick ones, so keep them slim and evenly spaced for a styled, repeatable look.
Prep the tote and insert cardboard. Lay strips of tape where you want the bare gaps between stripes, spacing them with a ruler so they match. Paint over the whole open area in your stripe color with a flat brush, then peel all the tape while the paint is slightly wet. The covered areas stay bare canvas, leaving clean stripes. Cure and heat-set.
Use thin washi or narrow painter’s tape for skinny stripes — wide tape leaves chunky bands that look heavier.
Do not paint stripes over an un-ironed bag; wrinkles let paint creep under the tape and the stripes come out fuzzy.
4. Eraser-Dot Grid
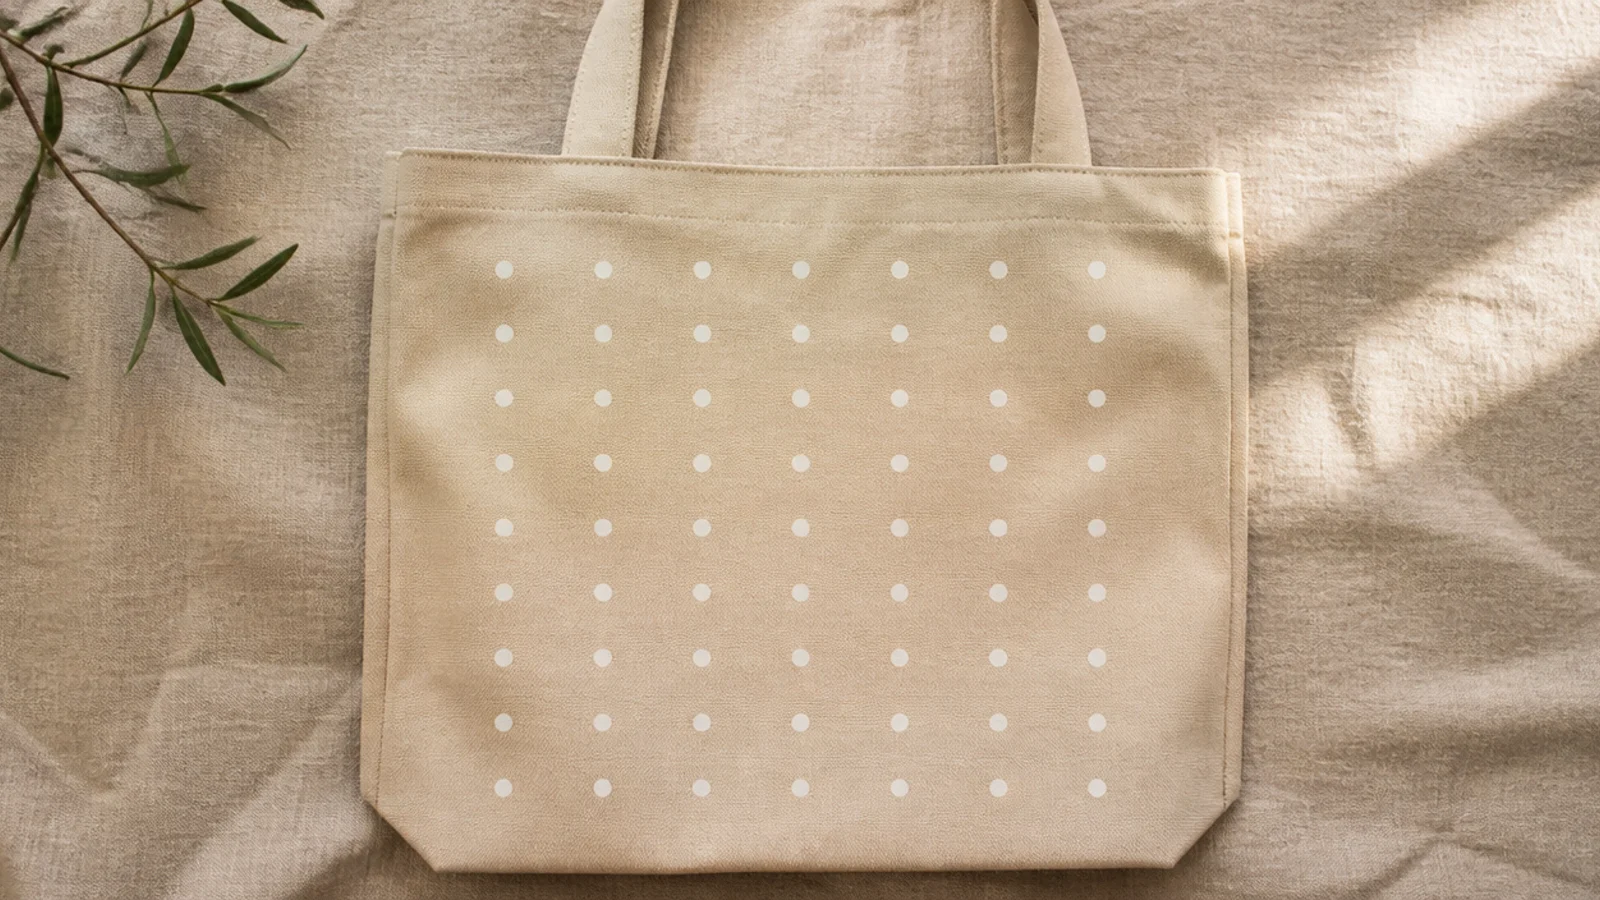
A tidy grid of dots is one of the most beginner-proof patterns there is. Because you stamp each dot with a pencil eraser, they come out the same size every time. A scattered field of dots looks playful; lined-up rows look modern and calm — pick whichever suits you.
Prep the bag and insert cardboard. Make faint pencil ticks in a grid so your rows stay even. Dip the flat end of a clean pencil eraser into fabric paint, tap off the excess on a paper towel, then press straight down onto the canvas. Re-dip for every dot so they stay uniform, let dry, then cure and heat-set.
Mark the grid with a ruler and pencil first — evenly spaced dots are what separate a designed look from a random sprinkle.
Do not drag the eraser sideways as you lift; press straight down and pull straight up or the dots smear into commas.
5. Painted Handle Dip
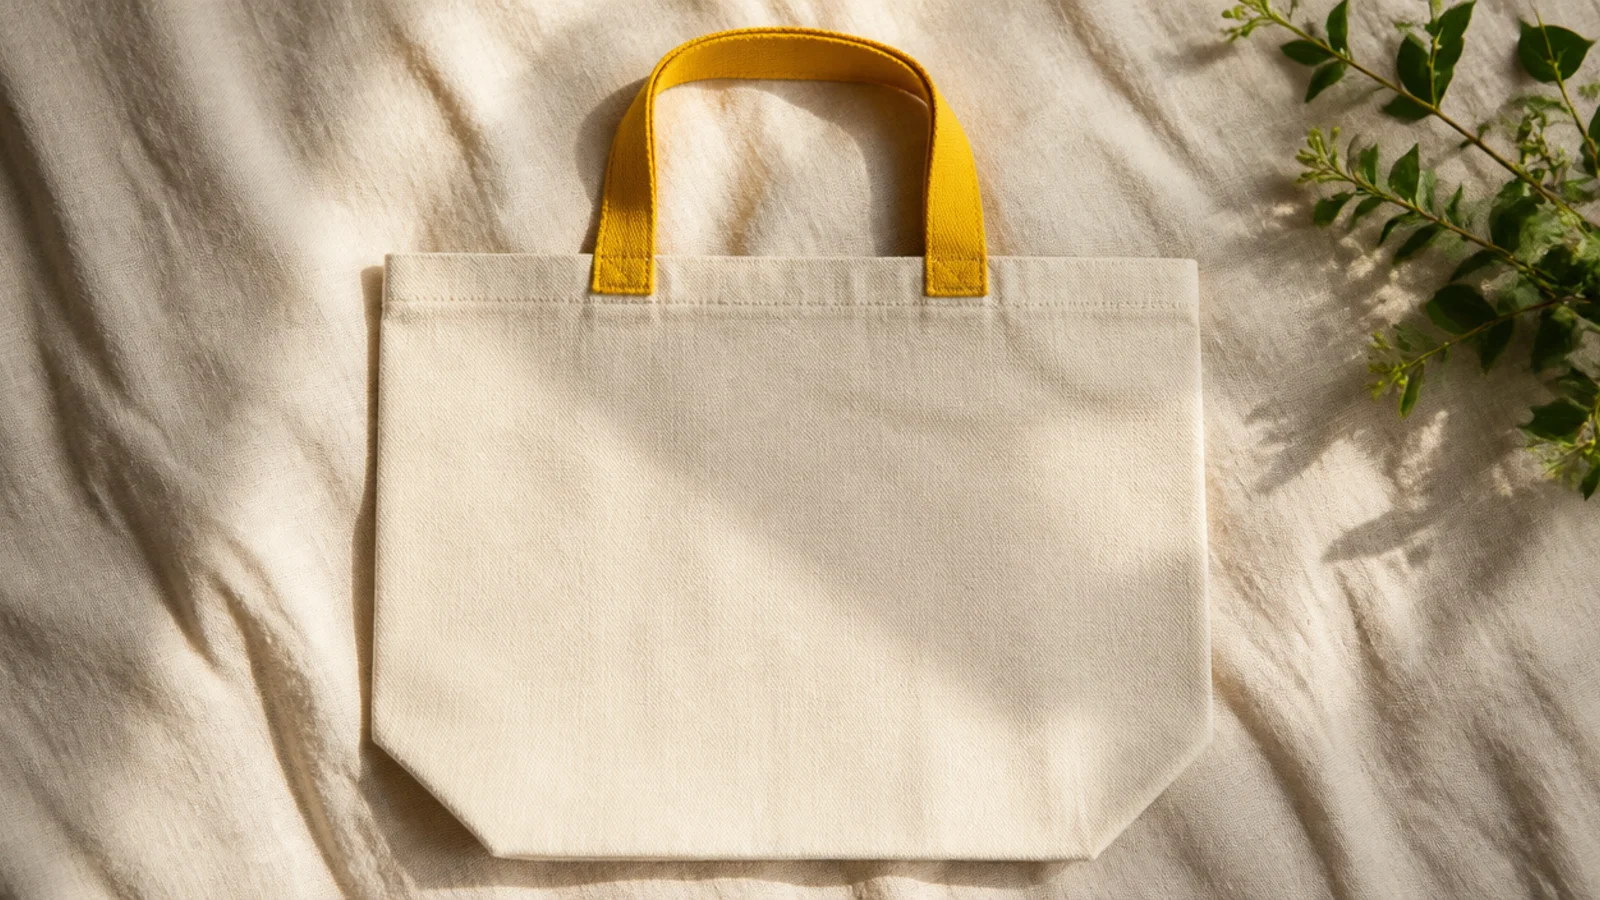
Painting only the handles in one bright color is a five-minute project with a big payoff. The colored straps frame the bag and add personality without covering the front. It is perfect when you want a pop but like the plain canvas as it is.
Prep the tote. Slip a strip of cardboard or scrap paper under each handle so paint does not touch the bag body. Paint the straps in two thin coats of fabric paint, wrapping all the way around each handle. Let the first coat dry before the second, then cure and heat-set the straps under a cloth, folding them as you press.
Editor's notePick a handle color that repeats something you wear often — a jacket, a scarf — so the bag looks styled with your wardrobe.
Skip thisDo not use runny, watered-down paint on the handles; drips onto the bag body are obvious against bare canvas.
6. Sponge Ombré Fade
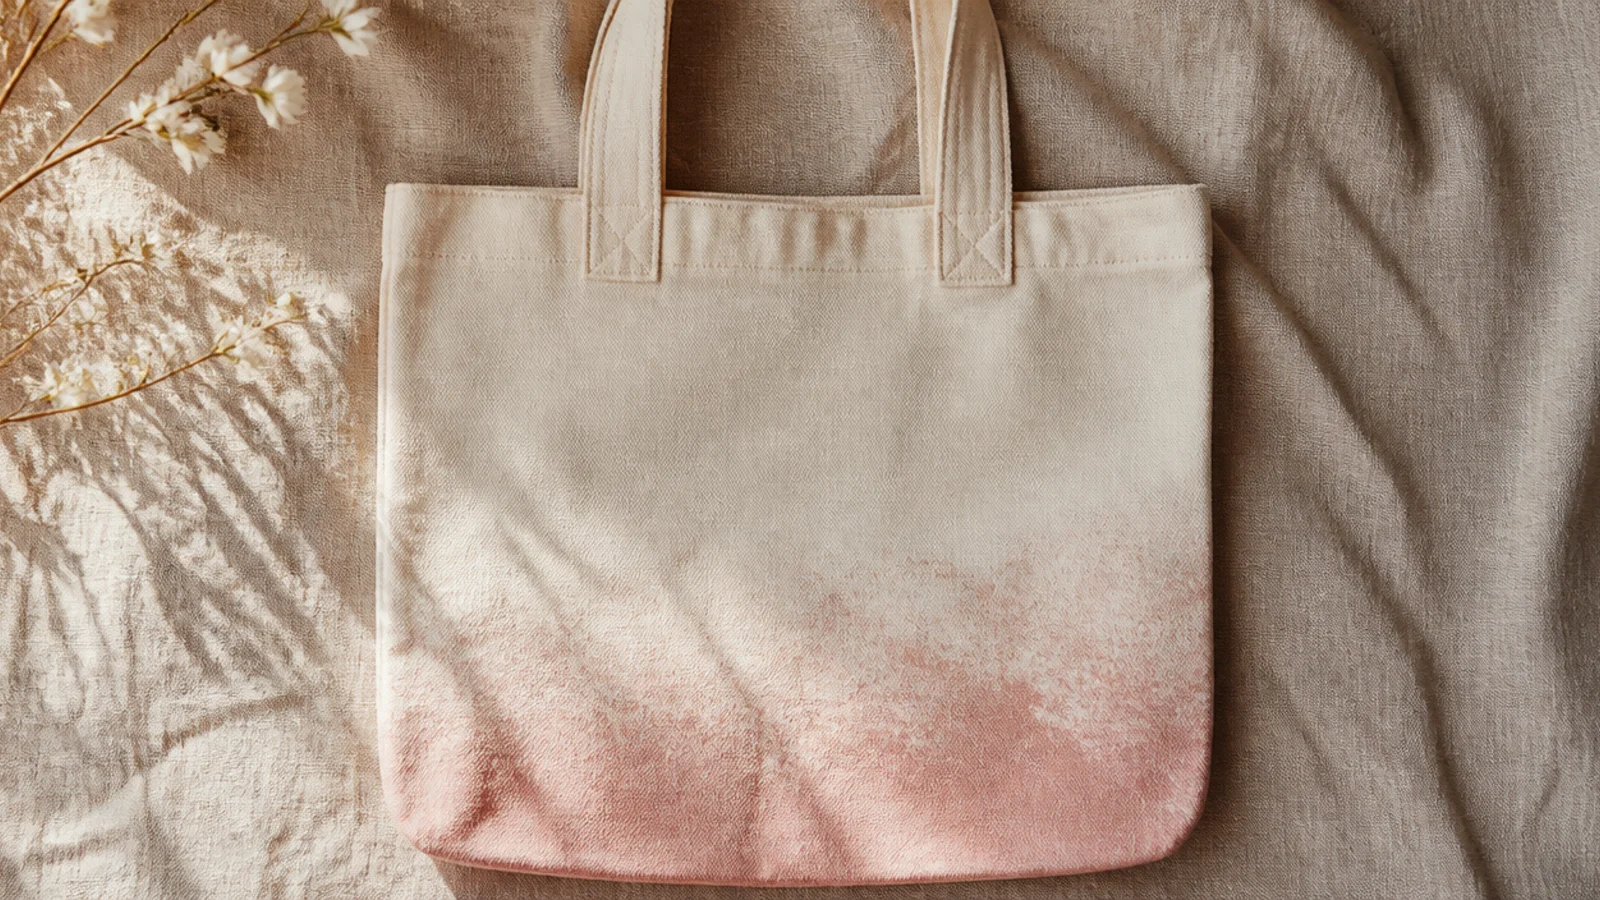
An ombré fade looks advanced but a makeup sponge does the blending for you. You dab the darker color at the bottom and lighter toward the top, then pounce where they meet so they melt together. Soft tonal colors — blush to cream, blue to white — blend the most forgivingly.
Prep the bag and insert cardboard. Dab your darker fabric paint along the bottom with a damp cosmetic sponge, then work upward with lighter pressure so it thins out. Pounce the transition zone with a clean part of the sponge to blur the line, adding a paler shade if you want more fade. Build it gradually, let dry, cure, and heat-set.
Editor's noteLightly mist the sponge with water first — a slightly damp sponge blends far smoother than a dry one.
Skip thisDo not pick two high-contrast colors for a first ombré; a hard jump between shades is very hard to blend cleanly.
7. Freezer-Paper Heart
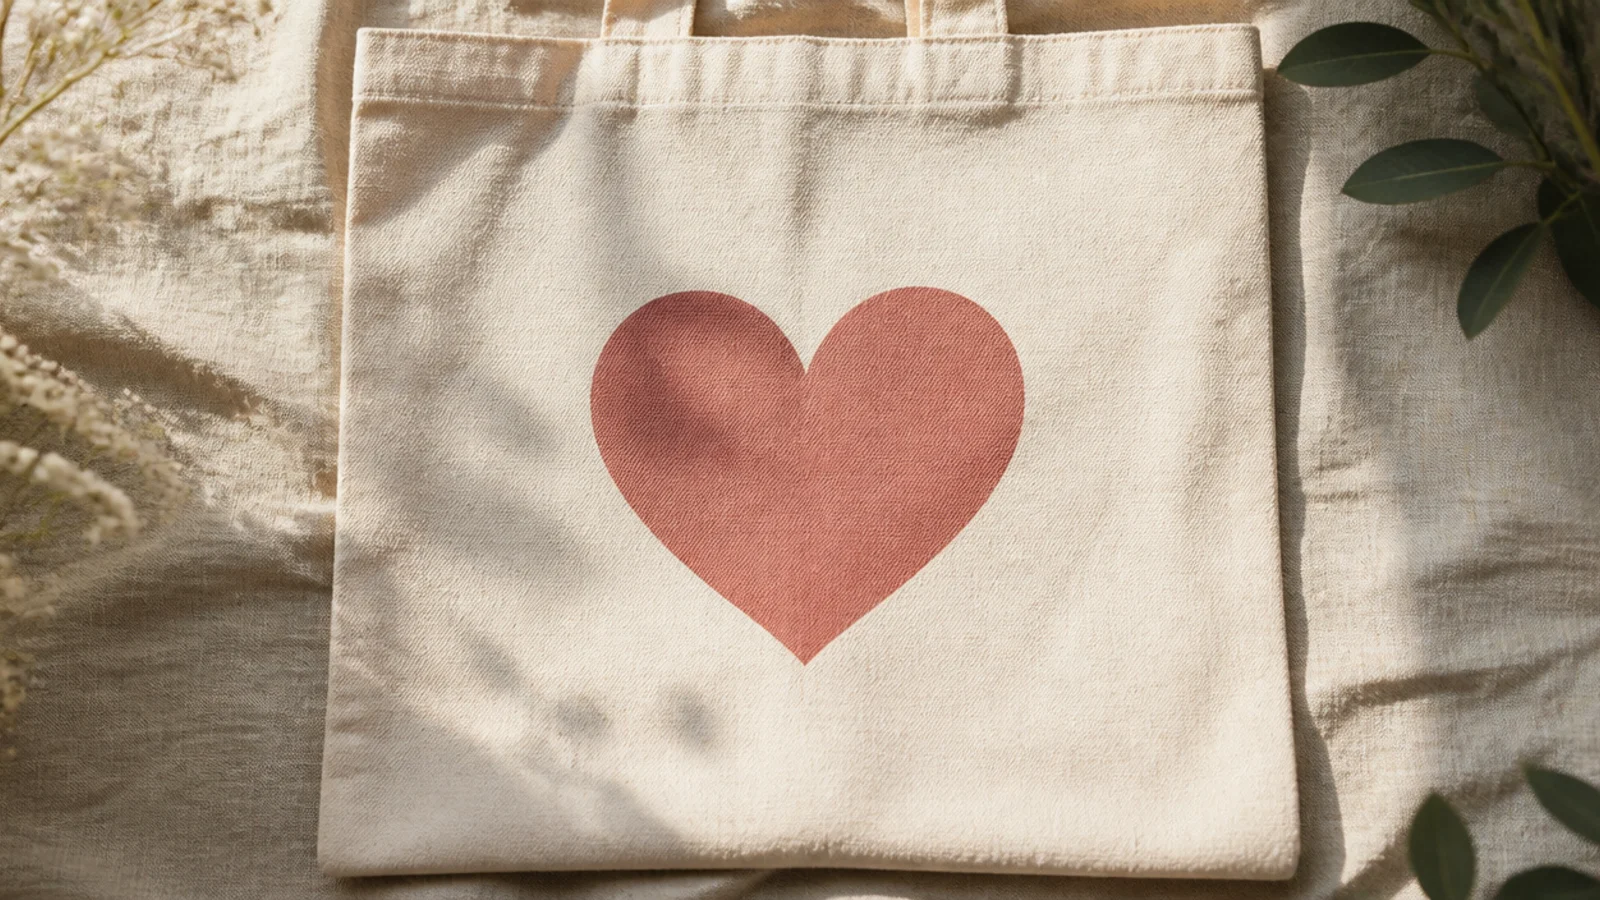
One clean shape stenciled in the center is the easiest way to get a crisp motif with no drawing. A heart is friendly and universal, but the same method works for a star, moon, or simple leaf. This is the first real motif most beginners can nail perfectly.
Draw or print a heart, trace it onto the dull side of freezer paper, and cut out the shape to leave a stencil window. Iron the freezer paper shiny-side down onto the ironed tote so the edges seal. Dab fabric paint inside the window with a sponge, keeping it thin, then peel the paper while the paint is wet. Cure and heat-set.
Editor's noteIron the freezer-paper stencil firmly for a few seconds — a fully sealed edge is what gives you a razor-clean shape.
Skip thisDo not brush paint outward toward the stencil edge; dab straight down or paint sneaks under the paper.
8. Checkerboard Corner
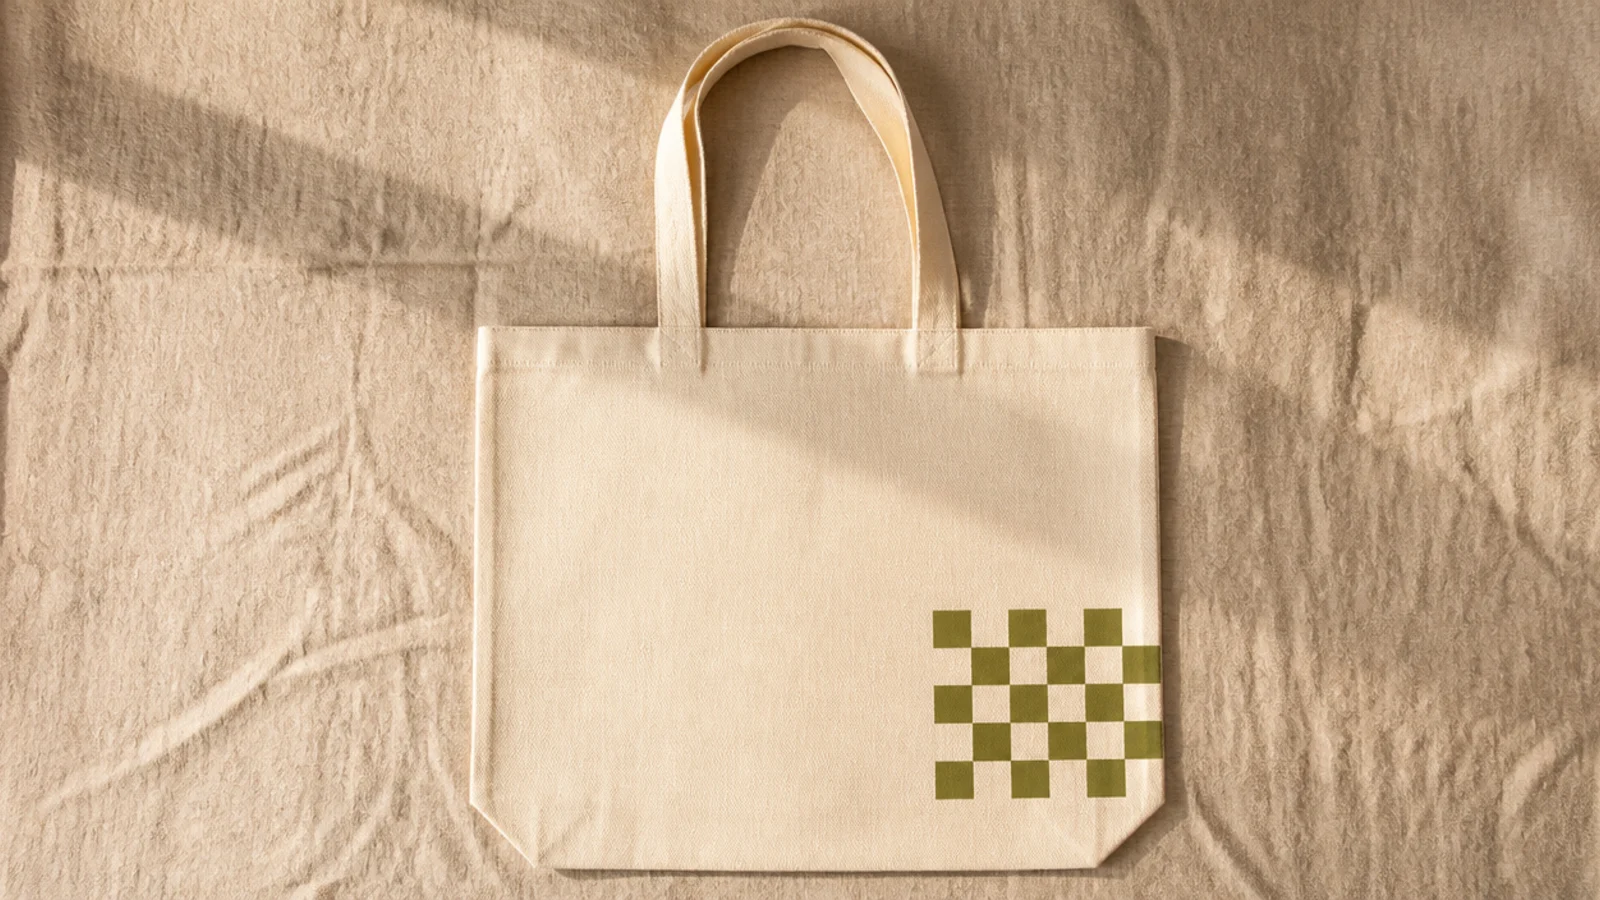
A little checkerboard block in one corner looks playful and current, and the grid hides small wobbles. Keeping it to a corner rather than the whole bag keeps it clean and quick. Olive and cream or black and white are easy, high-contrast picks.
Prep the tote and insert cardboard. Pencil a small grid of even squares in the lower-right corner. Paint alternating squares in your color with a small flat brush, following the grid lines. Two thin coats keep the squares solid, then erase visible pencil, cure, and heat-set.
A small flat brush matches the square edges, so each check fills with fewer, cleaner strokes than a round brush.
Do not checker the whole bag as a beginner; one corner block is faster, looks intentional, and is far easier to keep even.
9. Speckle Splatter Finish
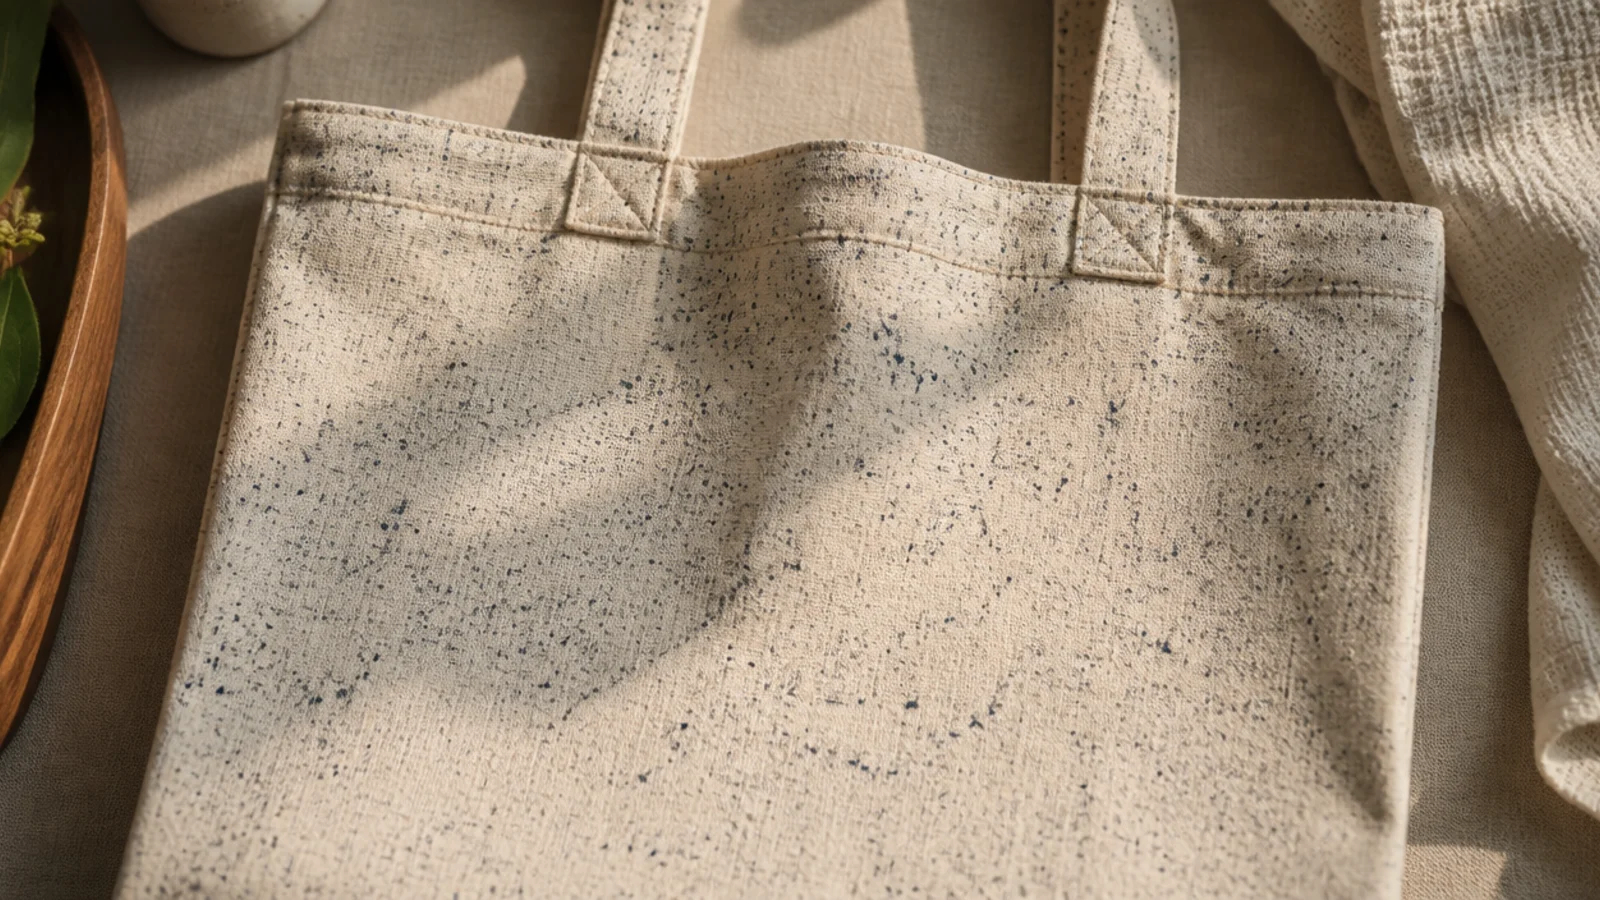
Fine speckles turn a plain tote into something that looks designed, and the scatter hides any unevenness in the canvas. You flick thinned fabric paint off a stiff brush to scatter tiny dots. It is messy but genuinely hard to get wrong.
Prep the bag and insert cardboard, then lay scrap paper around the edges to catch stray flicks. Thin a little dark fabric paint with a few drops of water to a milky consistency. Dip a stiff brush or an old toothbrush, then run your thumb across the bristles to flick speckles onto the canvas. Rotate the bag for even coverage, let dry, cure, and heat-set.
Do a few practice flicks on paper to dial in the paint thickness — too thick makes blobs, too thin makes runs.
Do not hold the brush too close or over-thin the paint; big wet splatters look like accidents, not speckles.
10. Simple Rainbow Arch
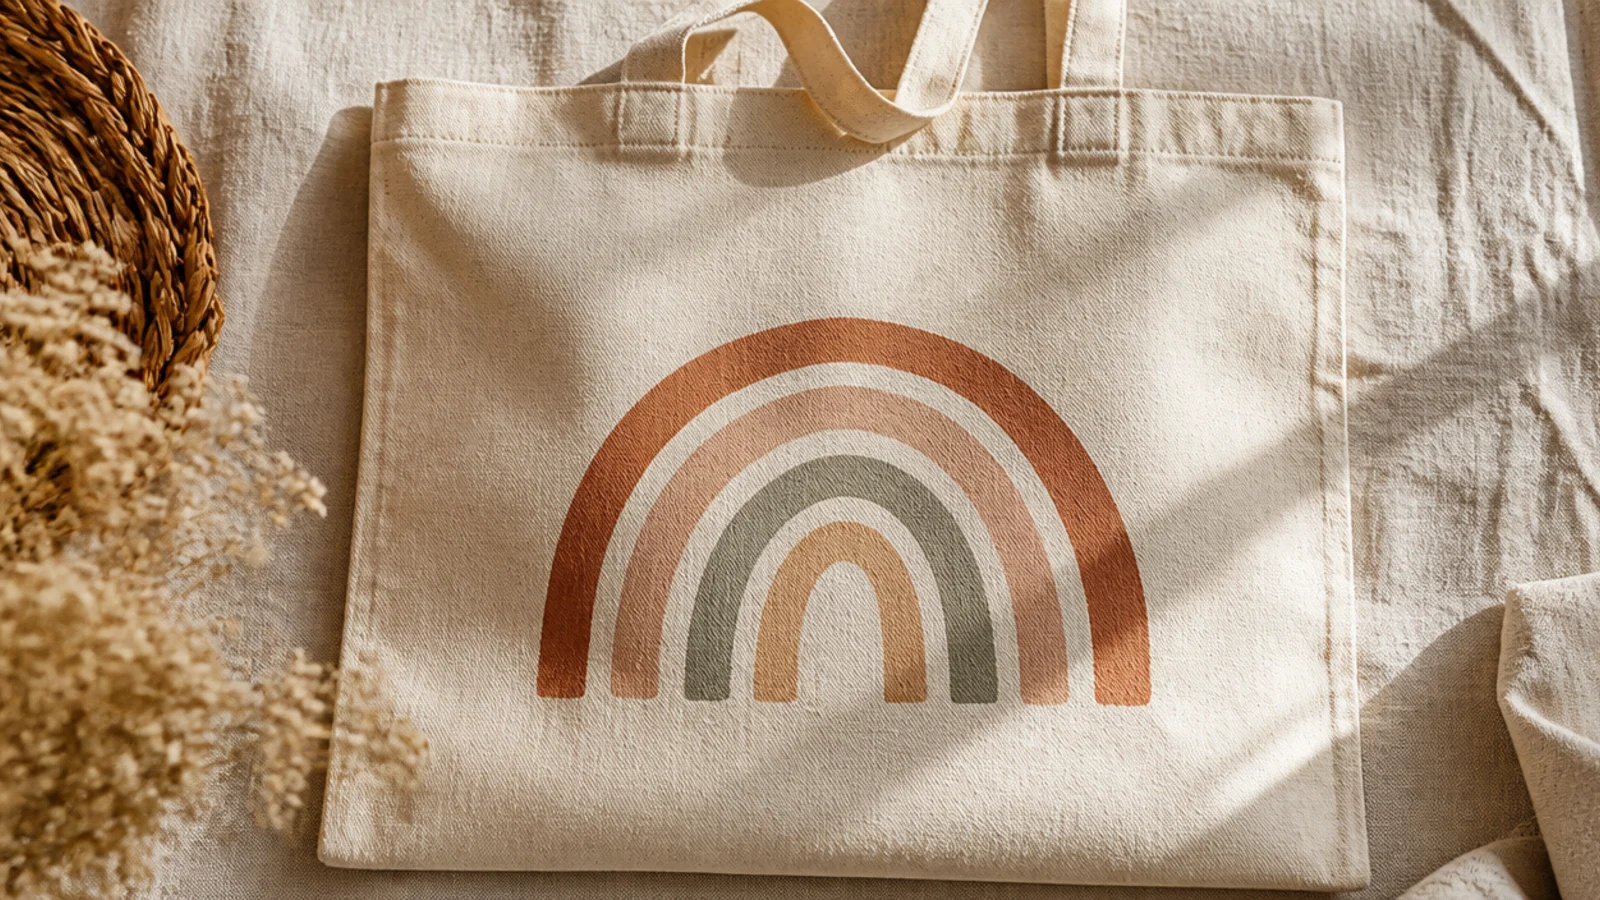
A single rainbow arch is cheerful and modern, especially in muted earth tones instead of bright primary colors. You draw nested arches and fill them in. Keeping it to one graphic on the center makes it look like an intentional print.
Prep the tote and insert cardboard. Lightly pencil four nested half-circle arches, tracing around graduated round objects like a cup and a jar lid for even lines. Fill each band with a small brush in muted colors — terracotta, mustard, sage, dusty blue — keeping the bands even. Let dry, erase stray pencil, cure, and heat-set.
Trace around a cup, a mug, and a bowl of graduating sizes to get clean nested arches without freehanding.
Do not use bright primary rainbow colors if you want it to look grown-up; muted tones read far more expensive.
11. Abstract Brushstroke
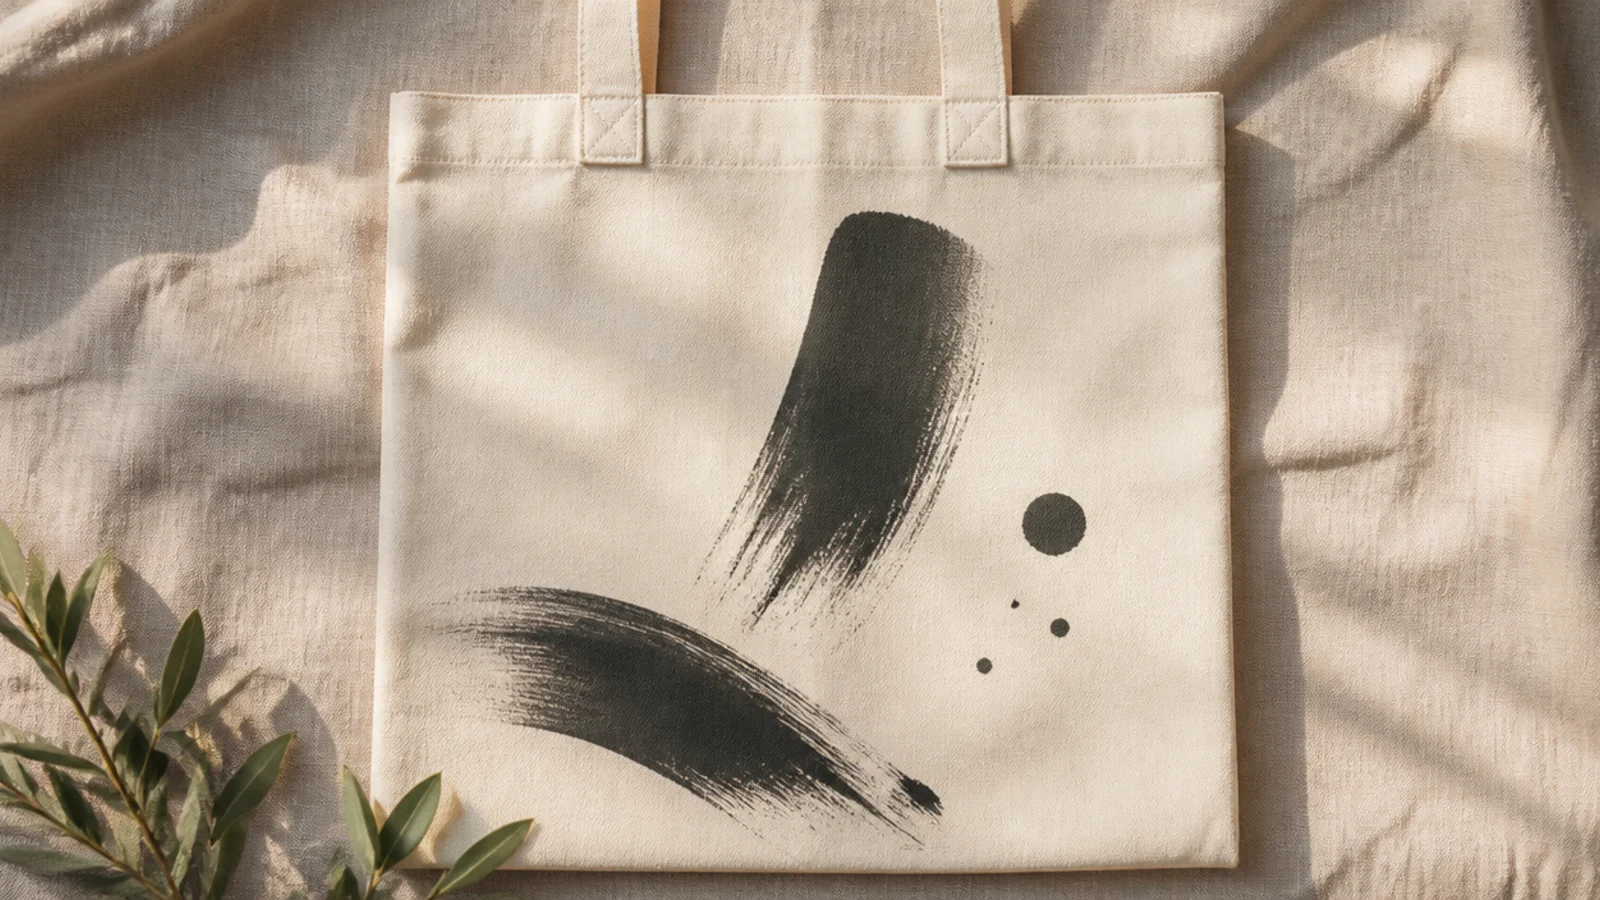
A handful of loose brushstrokes and dots looks like modern art and takes about ten minutes. The secret is confidence and restraint — three or four marks, not twenty. It is the most forgiving design because there is no right shape to hit.
Prep the bag and insert cardboard. Load a medium round brush with one accent fabric color and make a few quick, curved strokes on the front, lifting the brush as you go so the ends taper. Add two or three small dots to balance the strokes. Step back, resist adding more, let dry, cure, and heat-set.
Editor's noteMake each stroke in one quick motion instead of dragging slowly — fast strokes have that natural, tapered artist look.
Skip thisDo not keep adding marks to fix it; abstract designs die from overworking — stop while it still feels sparse.
12. Wavy Line Repeat
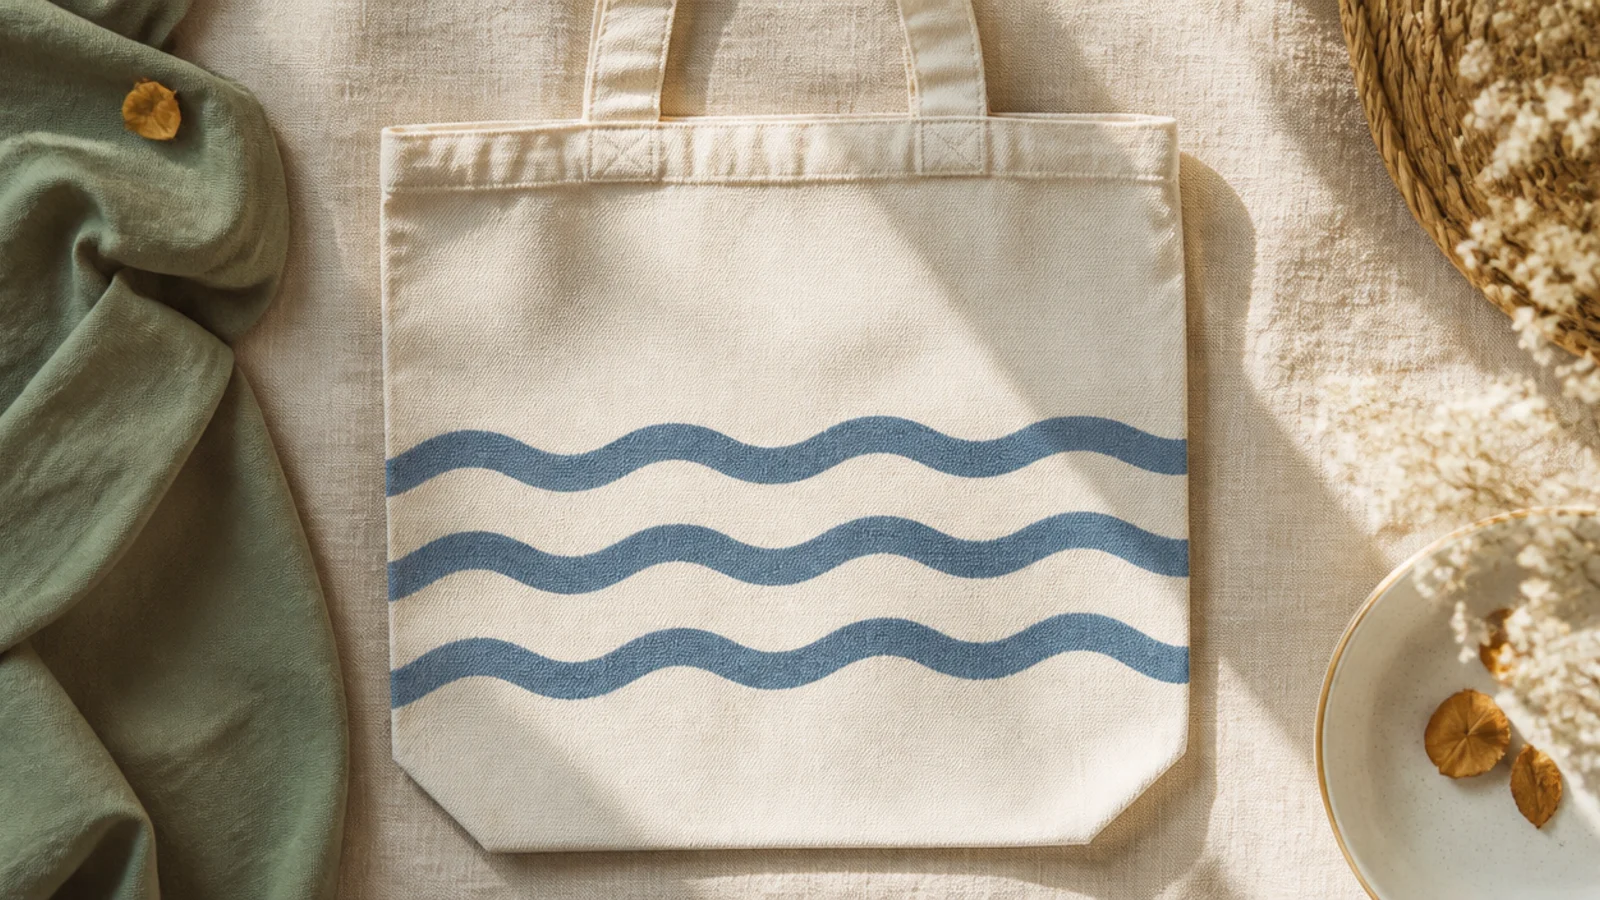
A few gentle wavy lines look calm and hand-drawn without needing steady hands. Three or four parallel waves across the front is a simple, soothing pattern. Keep the waves loose and even so they read like ripples, not scribbles.
Prep the tote and insert cardboard. Pencil three or four evenly spaced wavy guidelines across the front. Trace over each with a fine-tip fabric marker or a small round brush loaded with fabric paint, moving slowly for an even width. Let dry, erase stray pencil, cure, and heat-set.
A fabric marker gives the most even line width; if you use a brush, keep the paint slightly thick so it does not feather.
Do not crowd the waves too close together; even spacing is what makes repeated lines look like a designed pattern.
13. Half-Moon Motif
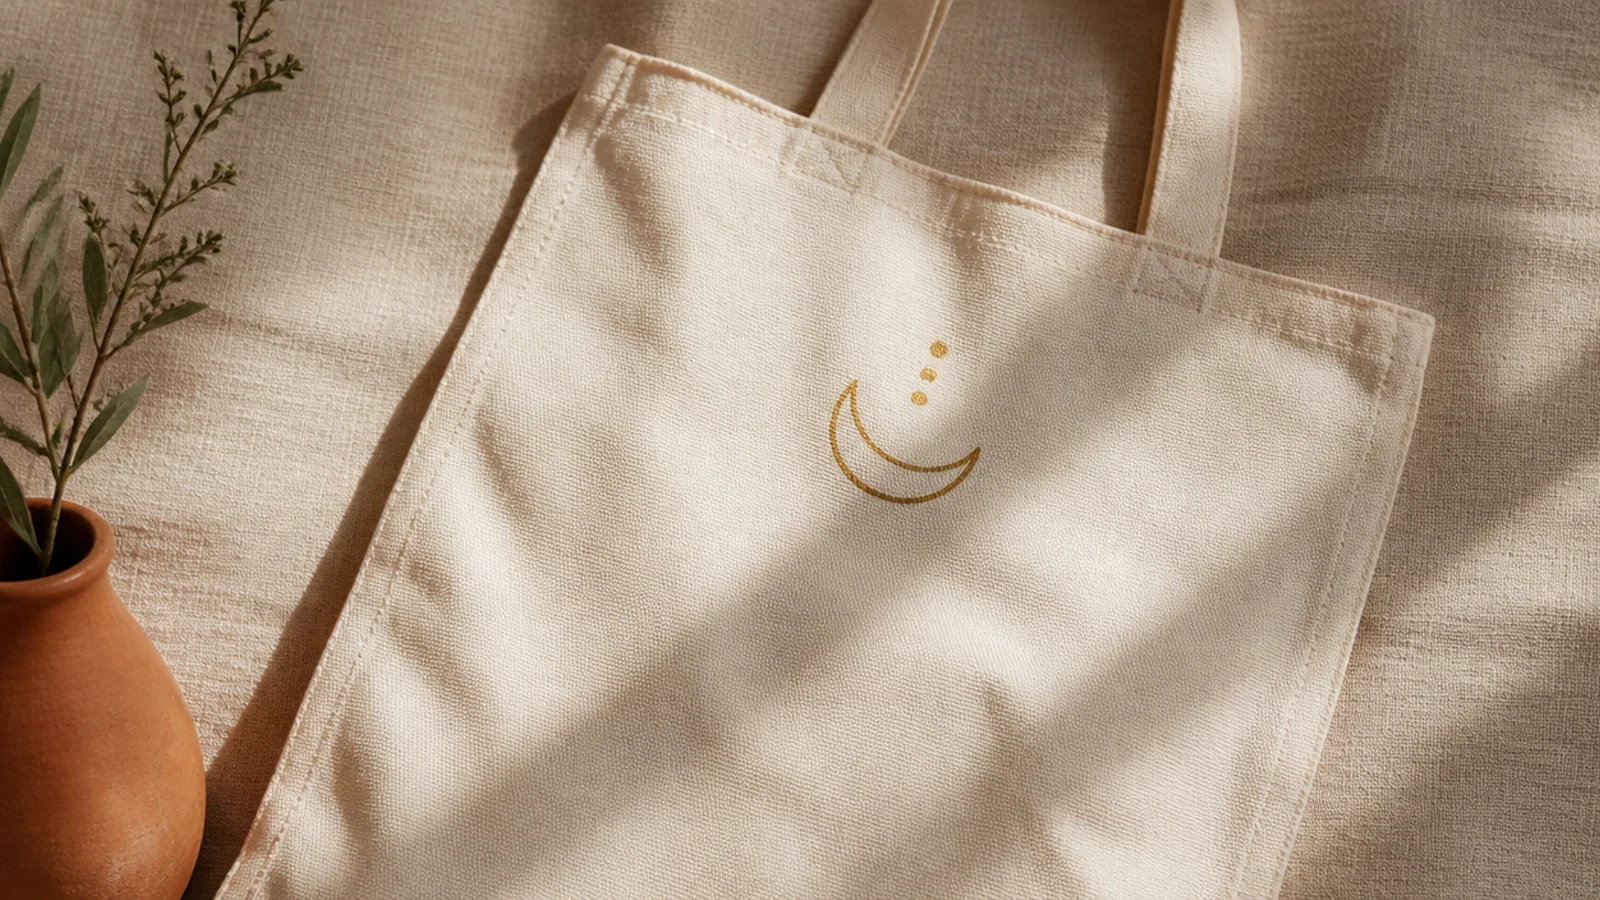
A crescent moon with a few star dots is a small, sweet motif that suits any bag. It is just one curved shape plus dots, so it stays simple. Placed in the upper area, it clears the handles and reads like a tiny celestial print.
Prep the bag and insert cardboard. Pencil a crescent by tracing a circle, then shifting the circle over and tracing again to carve the moon shape between the two lines. Fill the crescent with a small round brush in two thin coats. Add three small dots nearby for stars, erase stray pencil, cure, and heat-set.
Make the crescent by overlapping two traced circles — the sliver between them is a perfect moon with no freehand curve.
Do not make the moon too thin at the tips; very fine points fill unevenly and lose their crisp shape.
14. Real-Leaf Print
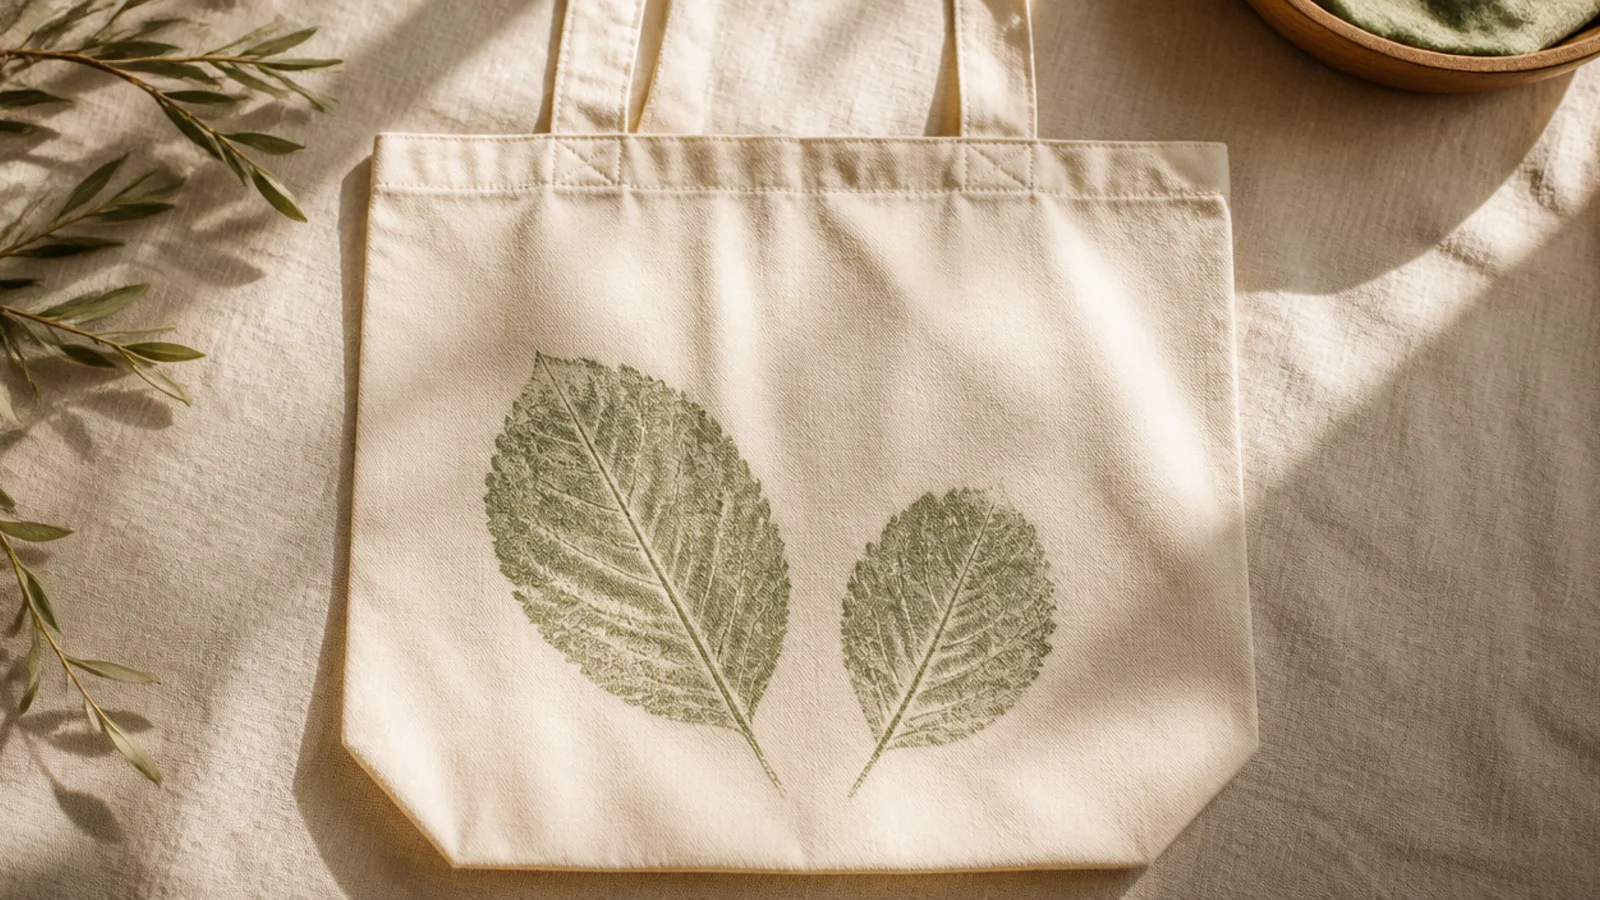
You can use a real leaf as a stamp to print a crisp botanical shape — no drawing needed. It looks organic and calm, perfect for a natural canvas tote. Flat leaves with clear veins, like a fern frond or a maple leaf, print the best.
Prep the tote and insert cardboard. Brush a thin, even coat of fabric paint onto the vein side of a flat leaf with a sponge. Press it paint-side down onto the canvas, lay a paper towel over it, and press evenly with your hand. Peel the leaf straight up to reveal the print, repeat with a fresh coat for a second leaf, then cure and heat-set.
Press through a dry paper towel over the whole leaf so even the veins make contact and print clearly.
Do not overload the leaf with paint; a thin coat prints crisp veins, while a heavy coat smears into a blob.
15. Bold Monogram Initial
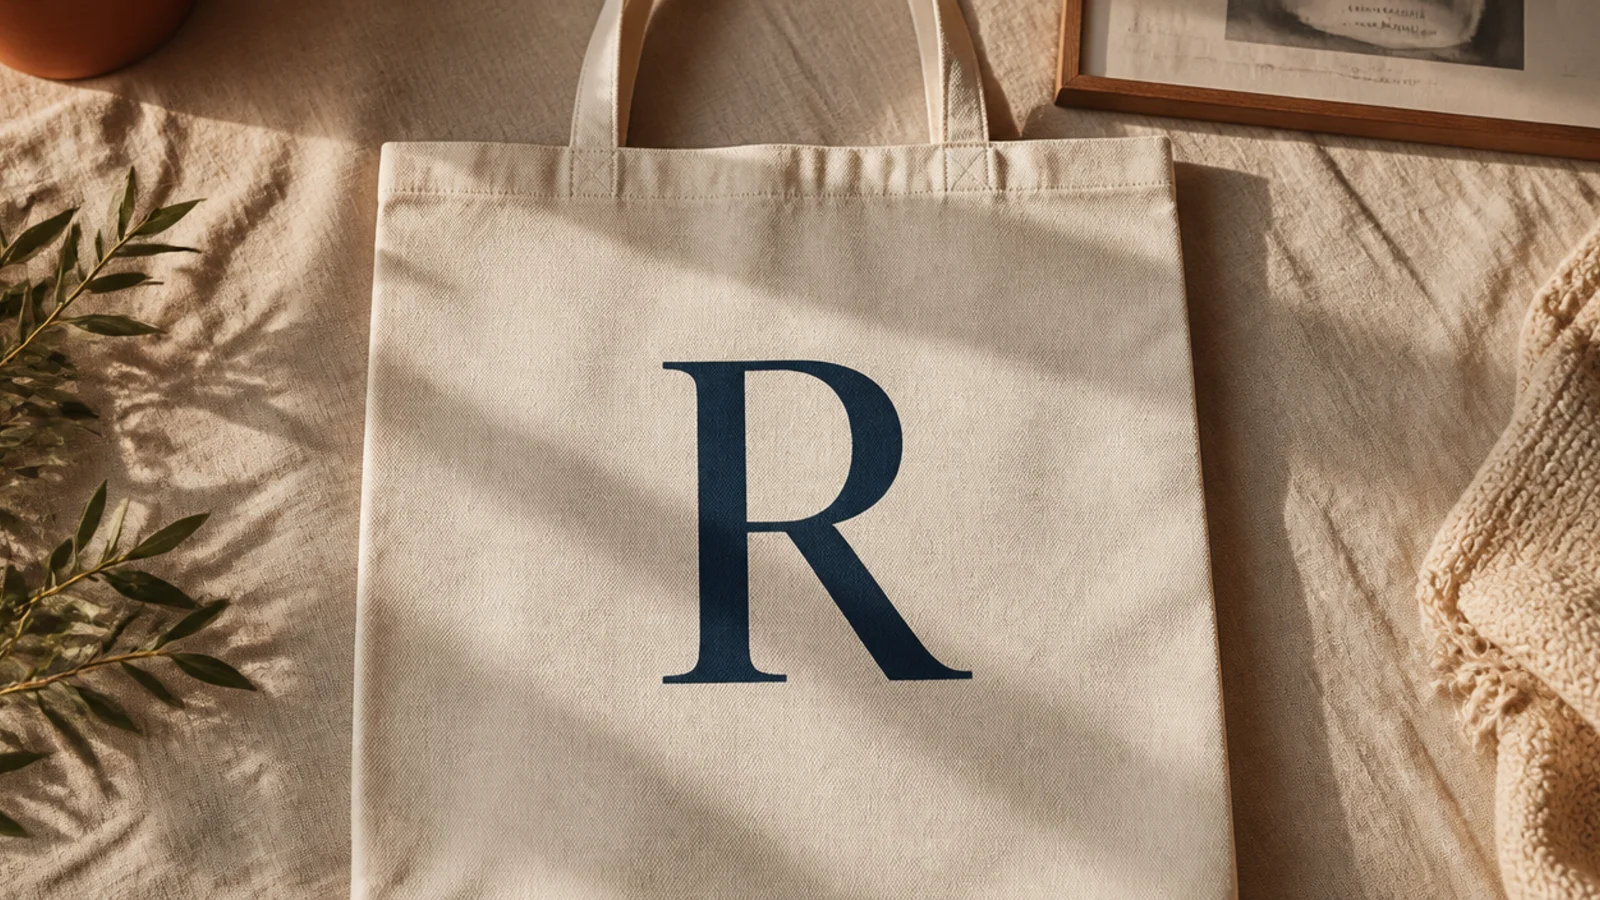
One large initial on the front turns a plain tote into a personalized gift. Use a printed letter as a stencil so the shape is perfect. A big, simple serif or block letter reads best — skip thin script, which is hard to paint cleanly.
Prep the bag and insert cardboard. Print your letter at the size you want, trace it onto freezer paper, and cut out the letter to make a stencil window. Iron the freezer paper shiny-side down onto the tote, dab fabric paint inside with a sponge in two thin coats, then peel while wet. Cure and heat-set.
Editor's noteSize the letter to fill about 60 percent of the front panel height — too small looks lost, too big looks cramped.
Skip thisDo not try freehand script for a first monogram; a clean block or serif letter cut from freezer paper is far more forgiving.
16. Dot-Flower Cluster
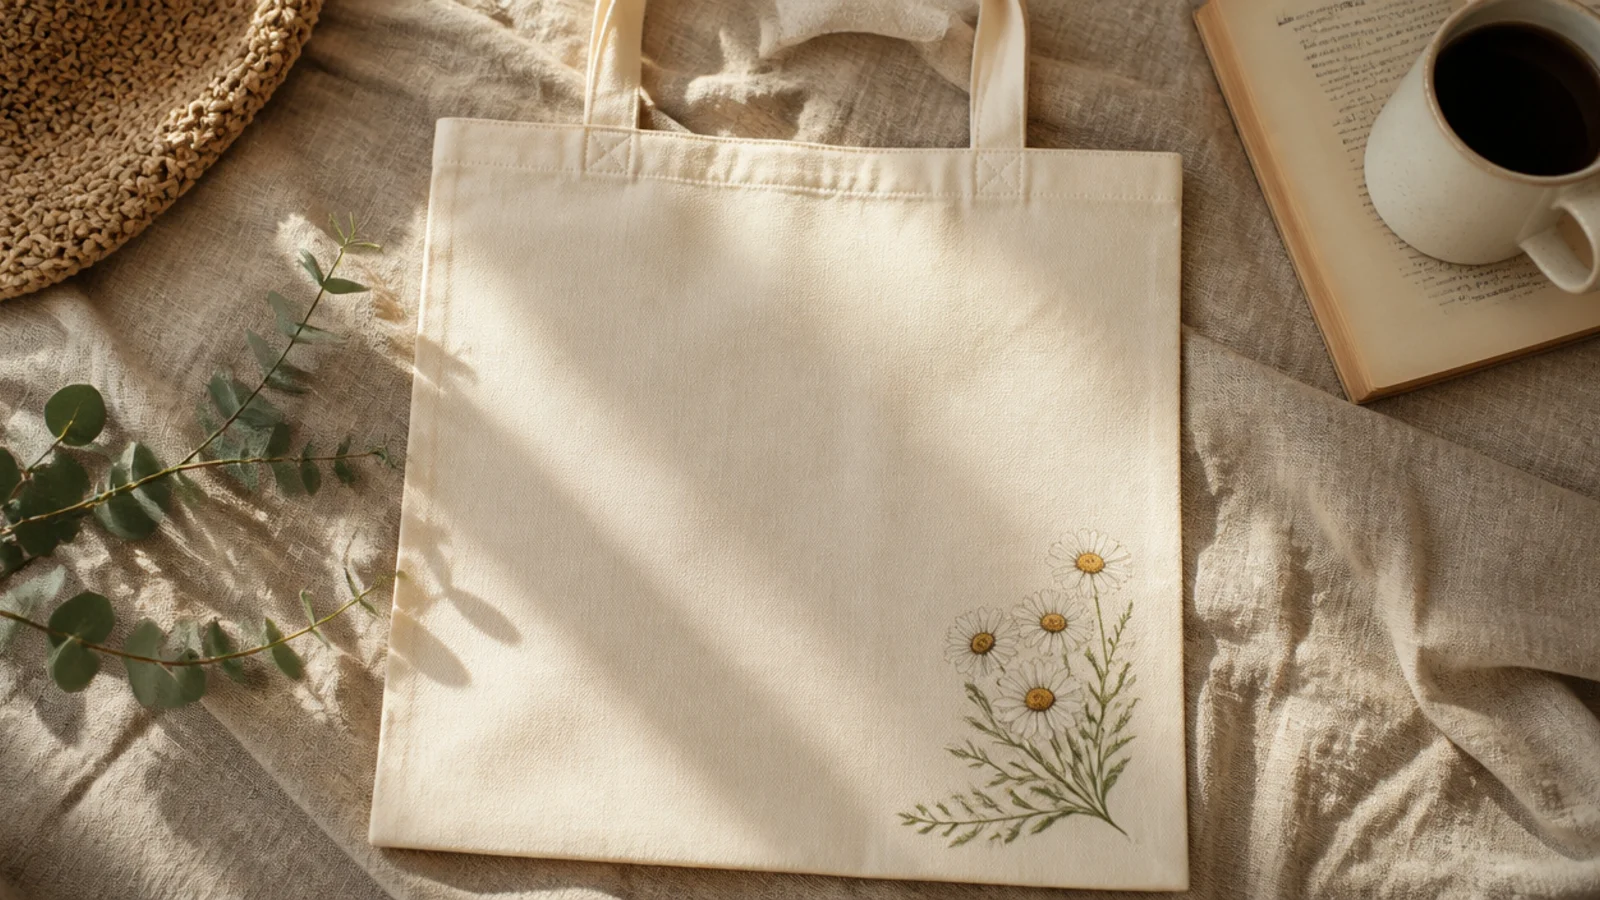
Little dot-flowers look hand-painted and sweet, but they are just five dots in a circle with one dot in the middle. A small cluster in one corner keeps it tidy. This is the first flower motif most beginners can nail because every part is a dot.
Prep the tote and insert cardboard. Using a cotton swab or small round brush, place five petal dots in a rough circle, then add a contrasting center dot. Keep petals close so they read as a flower, and cluster two or three blooms together. Add tiny green leaf dashes between them, let dry, cure, and heat-set.
Add the center dot last in a bold color; it pulls the five petals together into a clear flower shape.
Do not scatter flowers all over the bag; a small, well-spaced cluster looks intentional, a full field looks messy.
17. Geometric Triangle Row
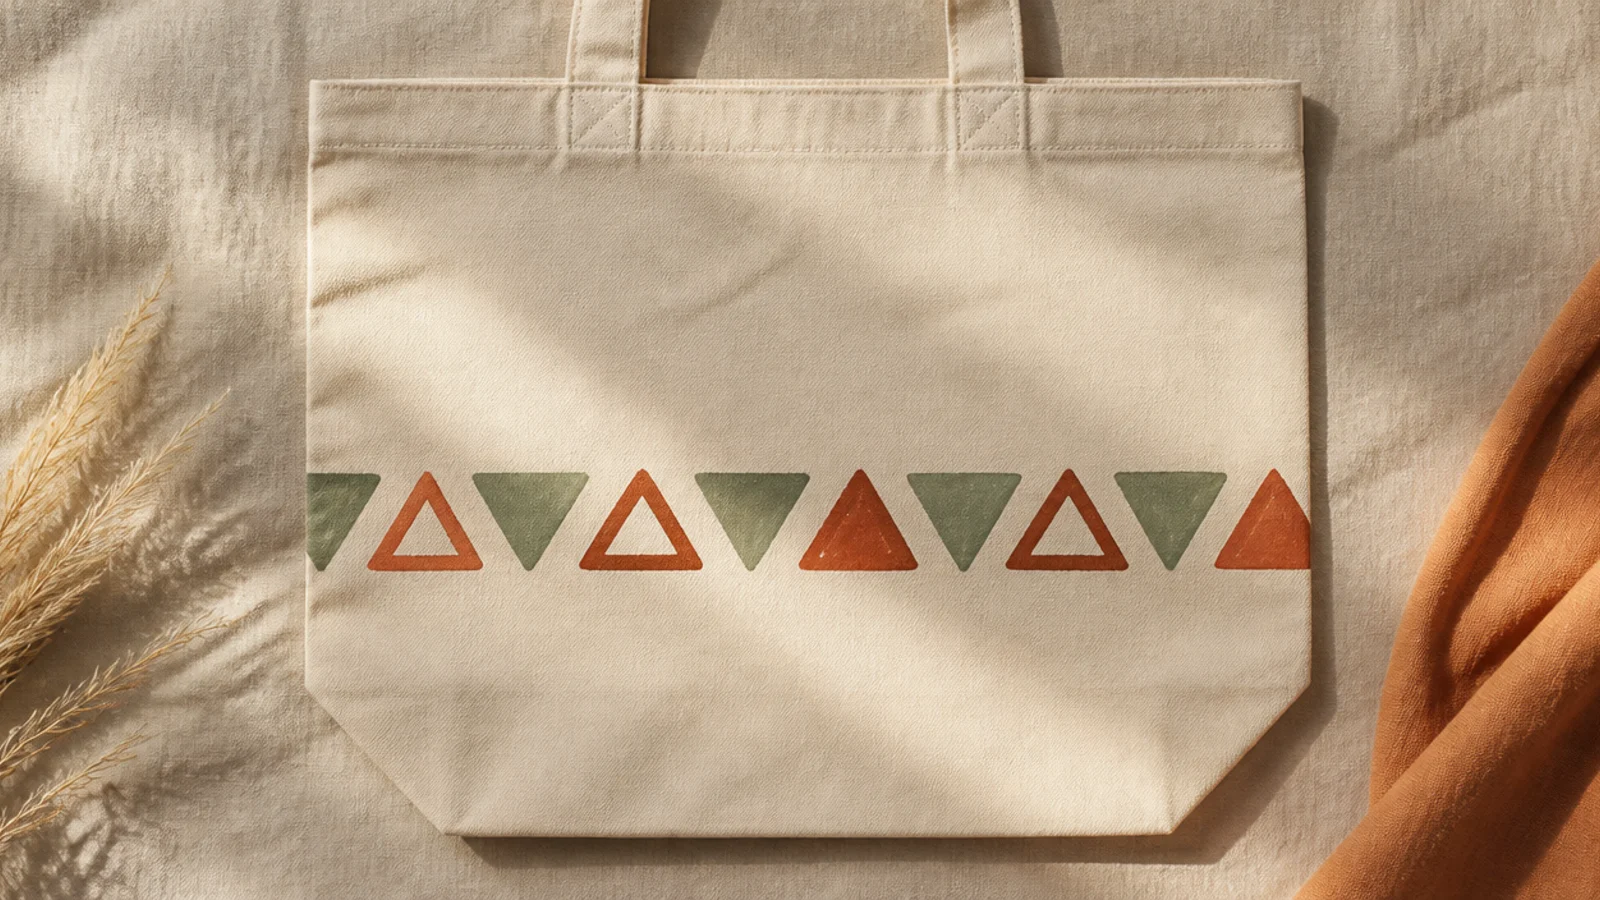
A row of crisp triangles looks graphic and intentional, and tape gives you the sharp points. Alternating a painted triangle with a bare-canvas one keeps it light. Two earthy colors is an easy, on-trend palette.
Prep the bag and insert cardboard. Lay strips of painter’s tape in a zigzag to mask a row of triangles, pressing every edge down hard. Dab paint into the exposed triangles with a sponge, then peel the tape while slightly wet. Fill alternating triangles with a second color if you like, cure, and heat-set.
Burnish every taped edge with a fingernail before painting — sharp triangle points only happen when the tape is fully sealed.
Do not reuse tape that has lost its stick; loose tape lets paint bleed and rounds off the points.
18. Mini Sunset Scene
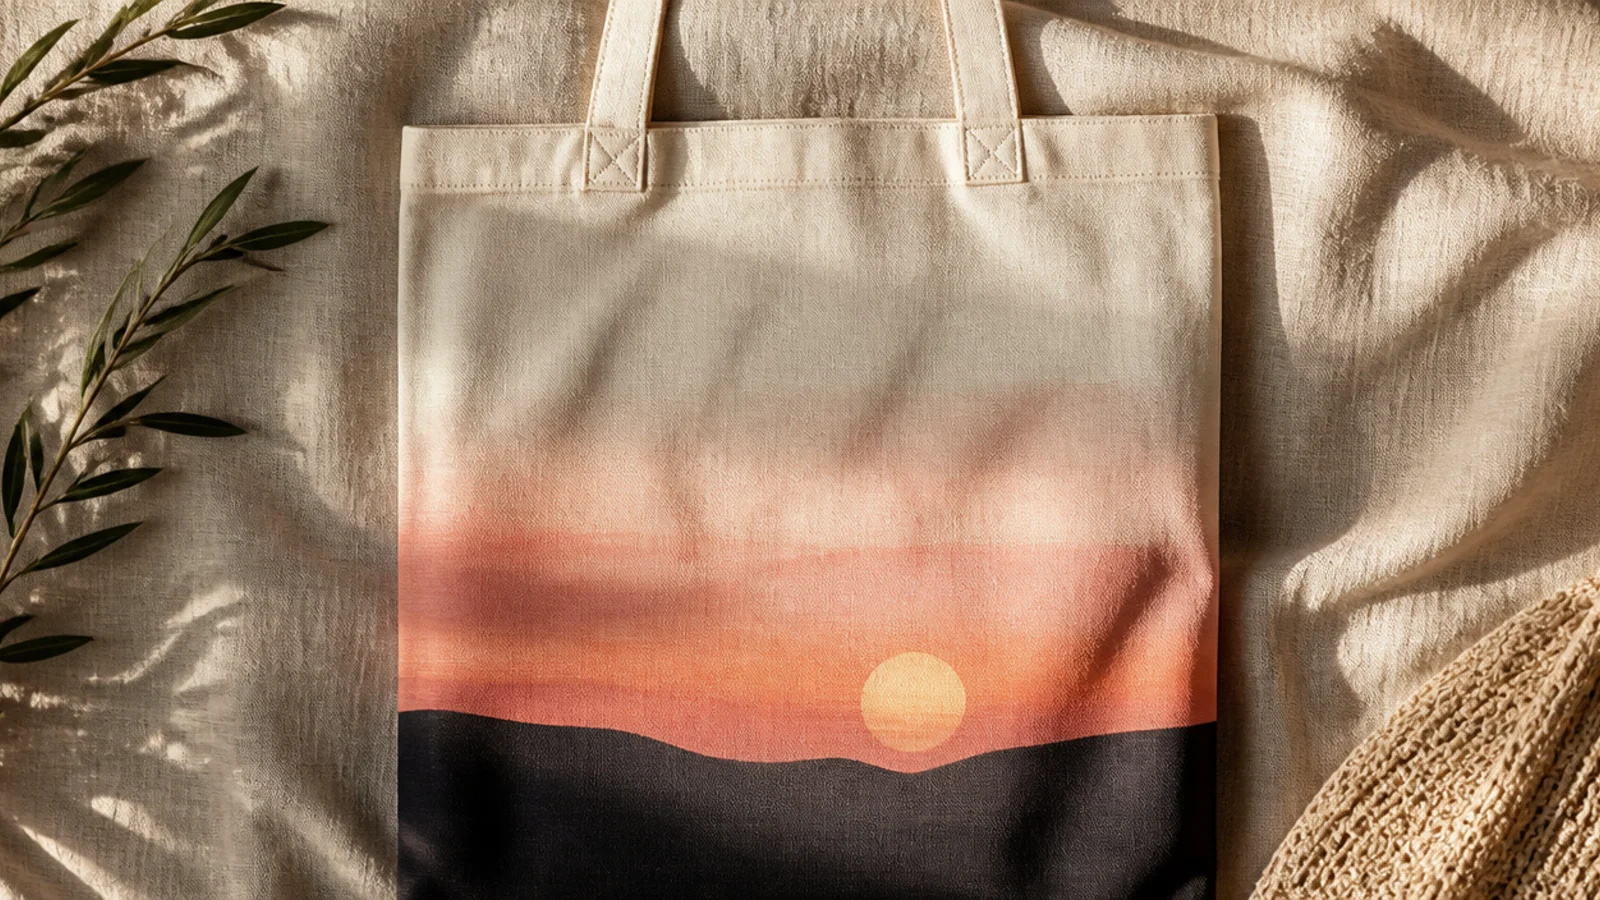
A simple sunset is just three or four color bands and a hill line, and it looks like a tiny painting. Blend the sky bands softly and keep the ground a solid silhouette. It feels artistic but relies only on stacked stripes, so beginners can pull it off.
Prep the tote and insert cardboard. Paint horizontal sky bands — pale peach at top fading to dusty pink — and blend where they meet with a dry brush while wet. Once dry, paint a simple dark hill silhouette across the lower third. Add a small circle sun if you like, let dry, cure, and heat-set.
Editor's noteBlend the sky bands while wet by lightly dragging a clean dry brush along each seam — it softens hard lines instantly.
Skip thisDo not add tiny details like birds or houses; the charm is in the simple silhouette, and small details get muddy fast.
19. Simple Quote Lettering
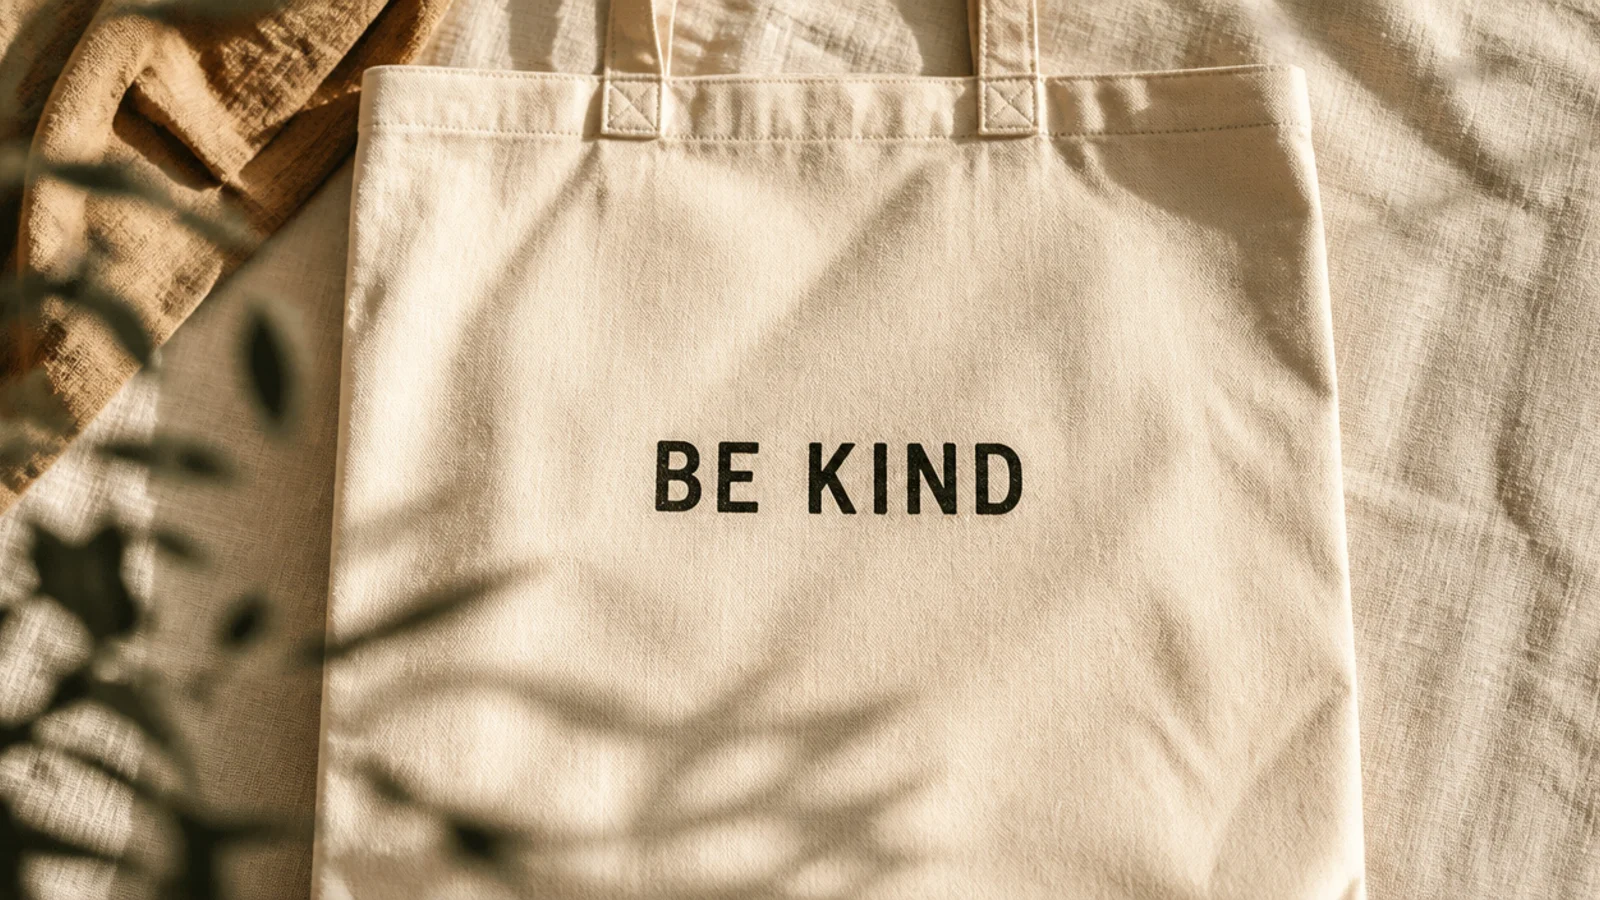
A short word or two in clean block letters is a classic tote look and needs no illustration skill. Keep it to one or two words so it stays bold and readable. Block capitals are far more forgiving than script for a first attempt.
Prep the bag and insert cardboard. Pencil your word in even block capitals using a ruler for consistent height and spacing. Trace the outline with a fine-tip fabric marker, then fill each letter with a small brush or the marker in two passes. Erase stray pencil, cure, and heat-set.
Draw two faint horizontal guidelines and keep every letter touching both — even letter height is what makes lettering look pro.
Do not freehand the spacing; cramped or drifting letters are the giveaway, so measure and mark before you paint.
20. Sheer Color Wash
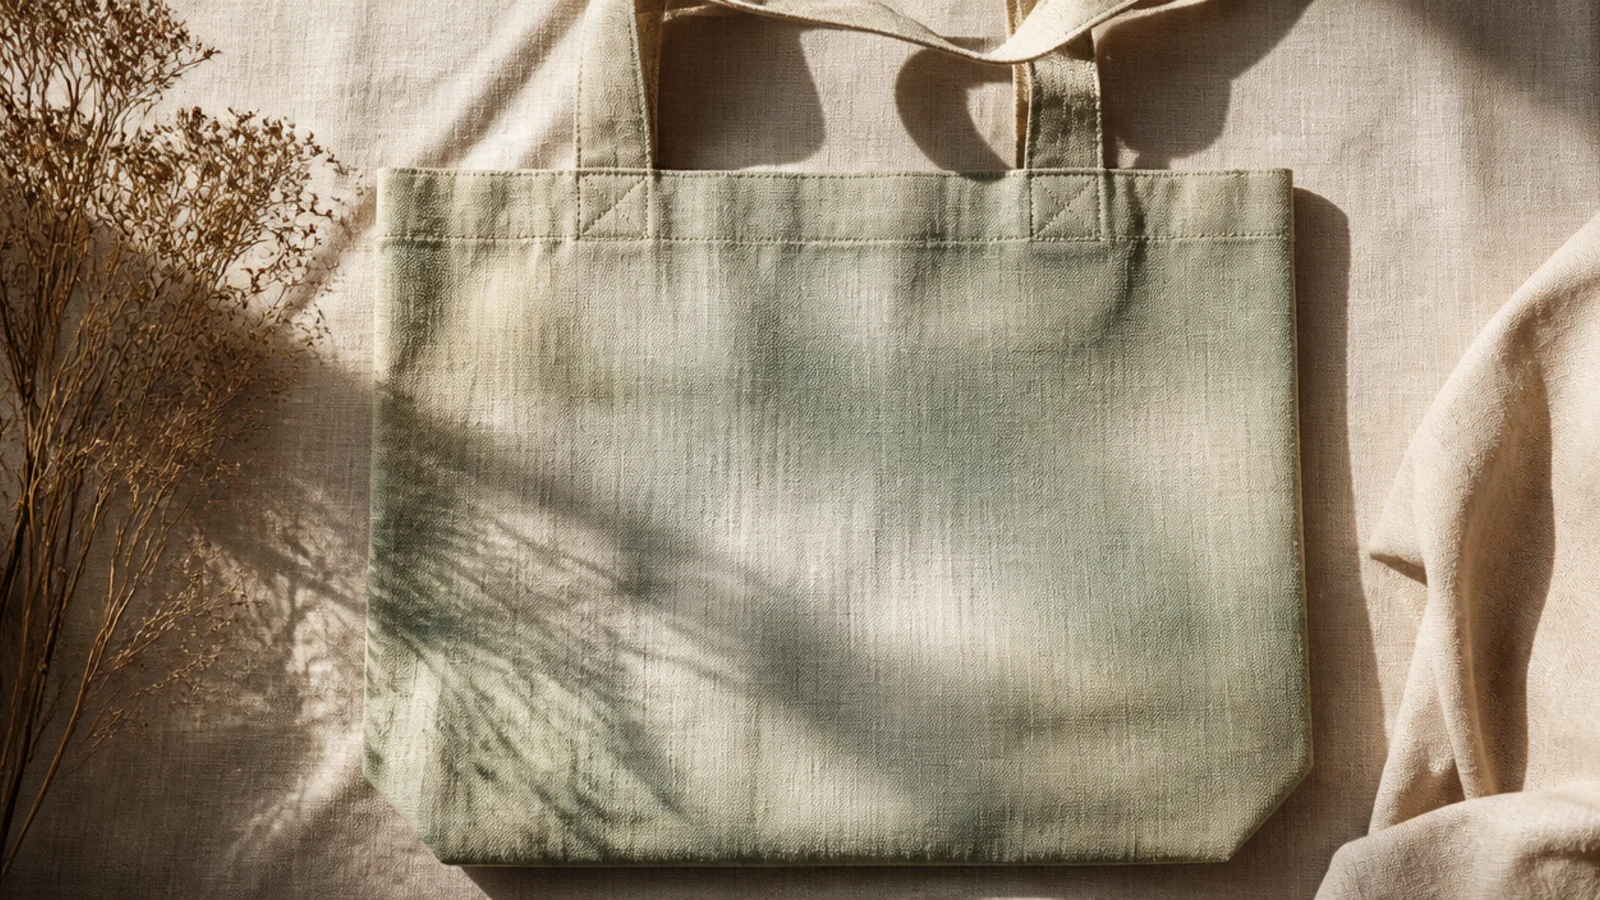
A watered-down wash lets the canvas texture show through for a soft, expensive, worn look — and it is the single easiest finish on this list. One sheer coat of a pale color over natural canvas tones it without hiding the weave. Great when you like the bag but want it a shade more colorful.
Prep the tote and insert cardboard. Thin fabric paint with water to a milky consistency. Brush it on in long, even strokes across the whole front, letting some areas stay lighter and others catch more color. Wipe back high spots with a cloth for a worn look, let it dry fully, cure, and heat-set with a cloth over the top.
Editor's noteKeep a damp rag in hand and wipe the wash back on the raised weave right away for an authentic, faded finish.
Skip thisDo not flood the canvas with a soaking-wet wash; too much water leaves tide lines as it dries unevenly.



