

1. White Outline Daisies
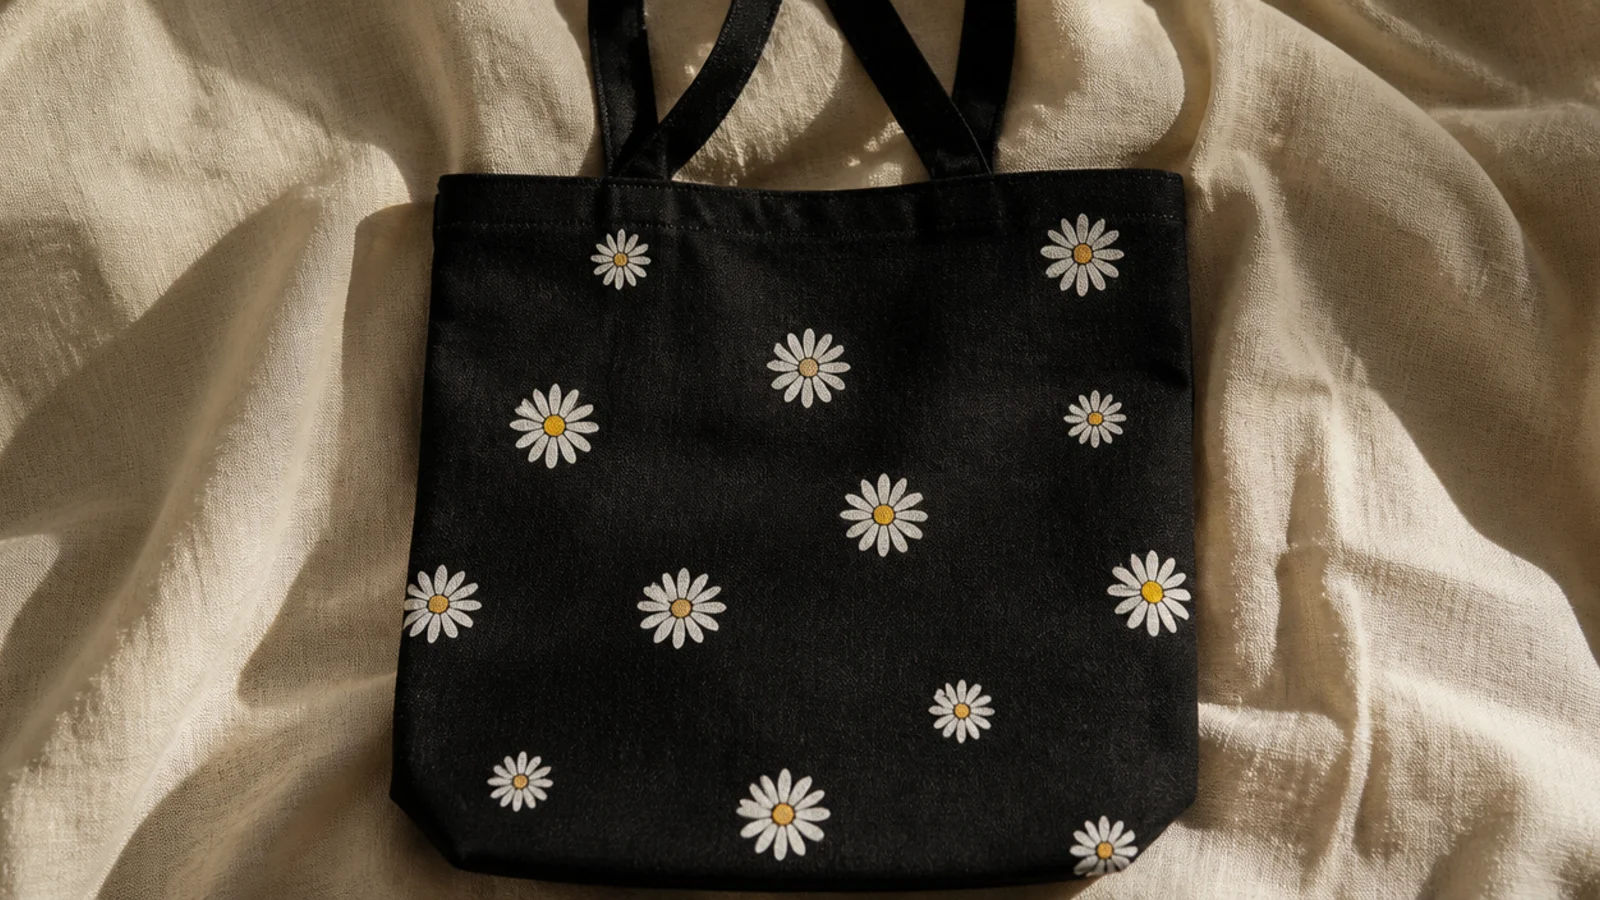
White daisies on black are high-contrast, cheerful, and the easiest place to start because white needs no base coat. Each bloom is just petal dabs around a center. The bright white against black looks graphic and modern.
Editor's noteGo over each white petal a second time after the first dries; the double pass is what makes white read bright instead of gray on black.
Prep and iron the tote, then insert cardboard. Load a size 4 round brush with opaque white fabric paint and press five or six petals in a circle for each daisy, going over each petal twice for full opacity. Add a pale yellow center once the white dries. Scatter a few daisies, add thin white stems, cure, and heat-set.
Skip thisDo not settle for one sheer coat of white; a single pass looks dull gray against the black and kills the contrast.
2. Gold Moon and Stars
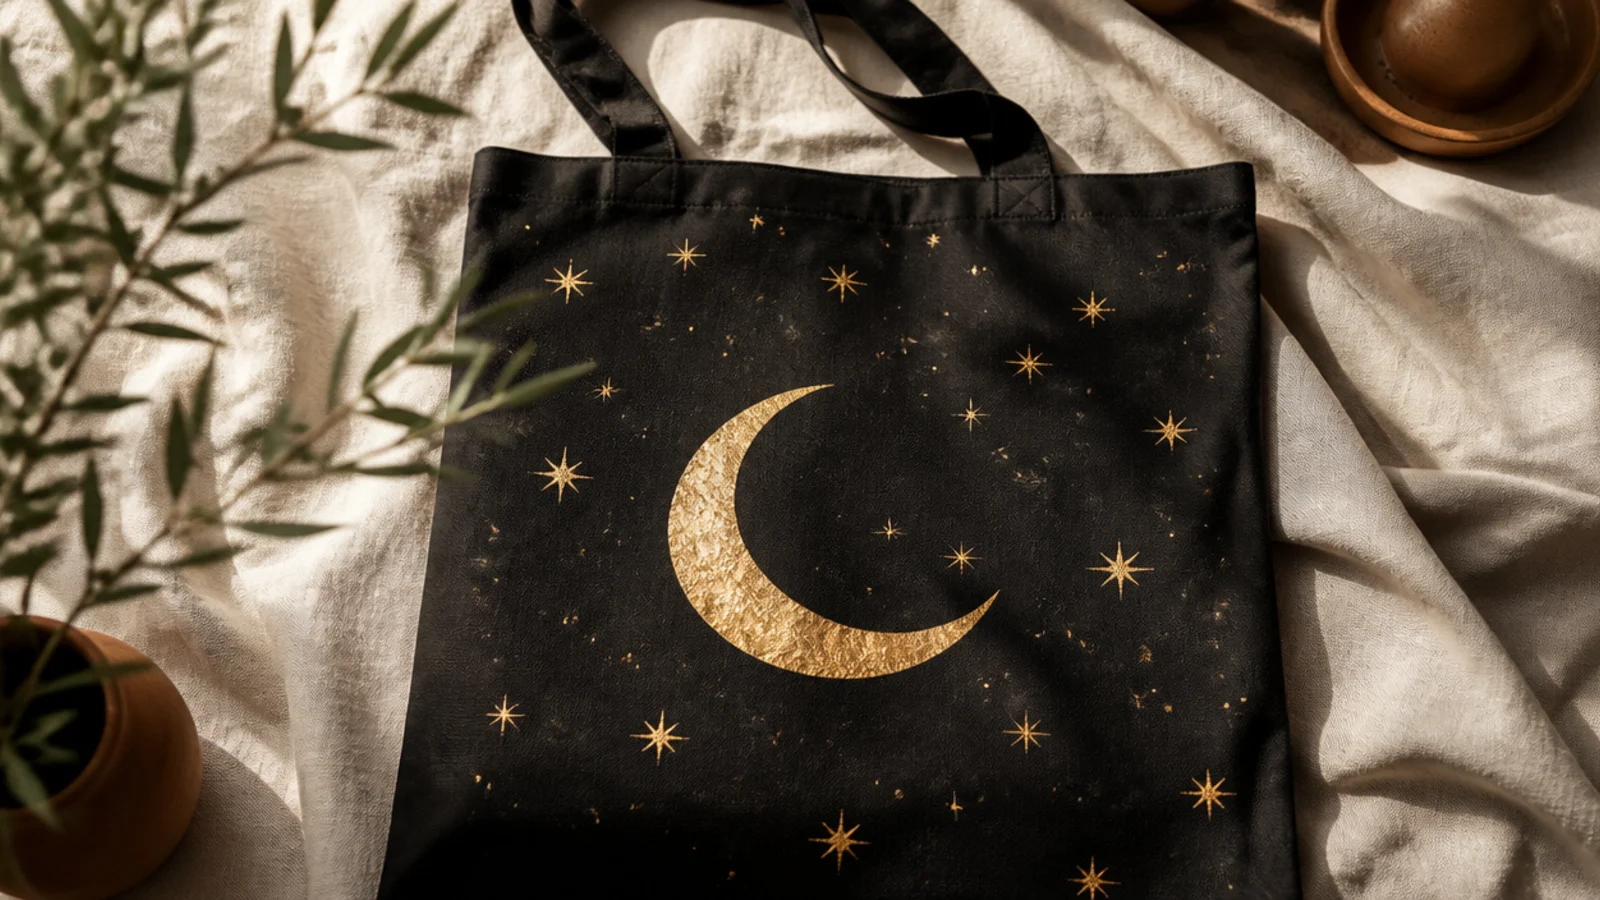
Metallic gold on black is instantly luxe, and a moon with stars is a timeless celestial motif. Gold paint is naturally opaque so it shines in one or two coats. The warm metallic against black feels rich and calm.
Editor's noteUse a metallic paint pen for the small stars; it lays crisp gold points far more easily than a brush on dark fabric.
Prep the tote and insert cardboard. Paint a crescent moon by overlapping two traced circles and filling the sliver with metallic gold fabric paint. Scatter small stars around it with a gold paint pen, varying their sizes. Add a few tiny dots between them, cure, and heat-set with a light touch so the metallic doesn’t drag.
Skip thisDo not seal or press metallic paint heavily; a hard brushed varnish or heavy iron can dull or drag the shimmer.
3. White Script Word
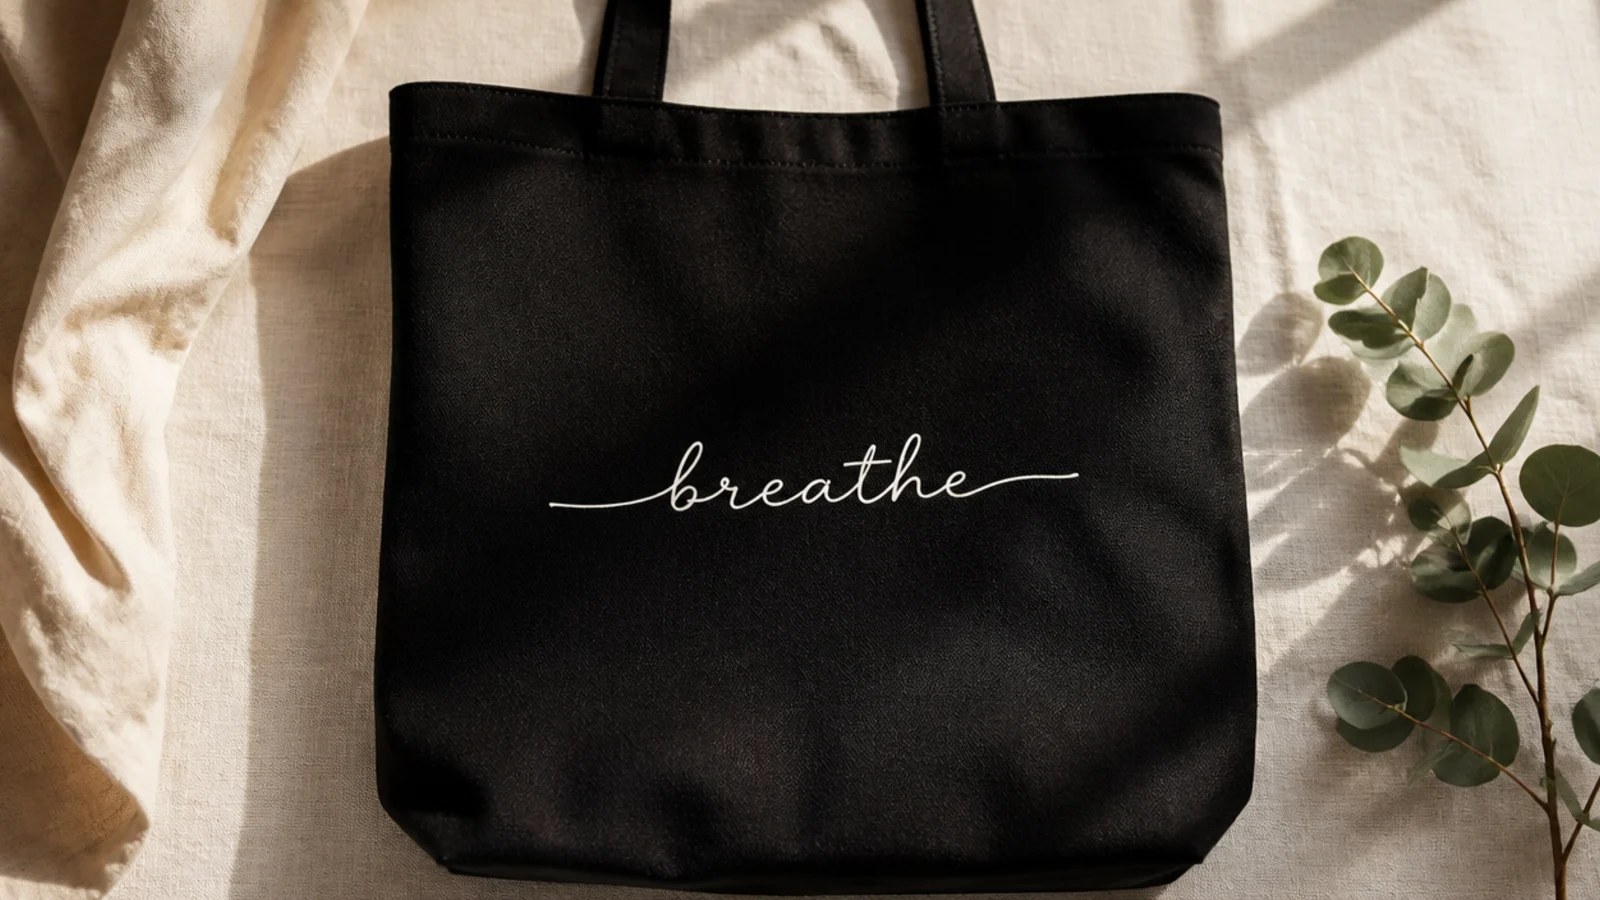
One short word in white script is a clean, bold statement that reads instantly on black. The white pops and the script feels personal. It is a five-minute design with big impact.
Editor's noteSlip the printed word inside the bag and trace the show-through in strong window light; it gives perfect lettering with no freehand risk.
Prep and iron the tote, insert cardboard. Print your word in a script font, tape it inside the bag behind the front, and trace the show-through with a white fabric marker, or pencil it freehand with a chalk pencil. Go over the letters twice with the white marker, thickening the downstrokes, then cure and heat-set.
Skip thisDo not write a long phrase; more than one or two words in script gets cramped and hard to read against black.
4. Bright Color Block
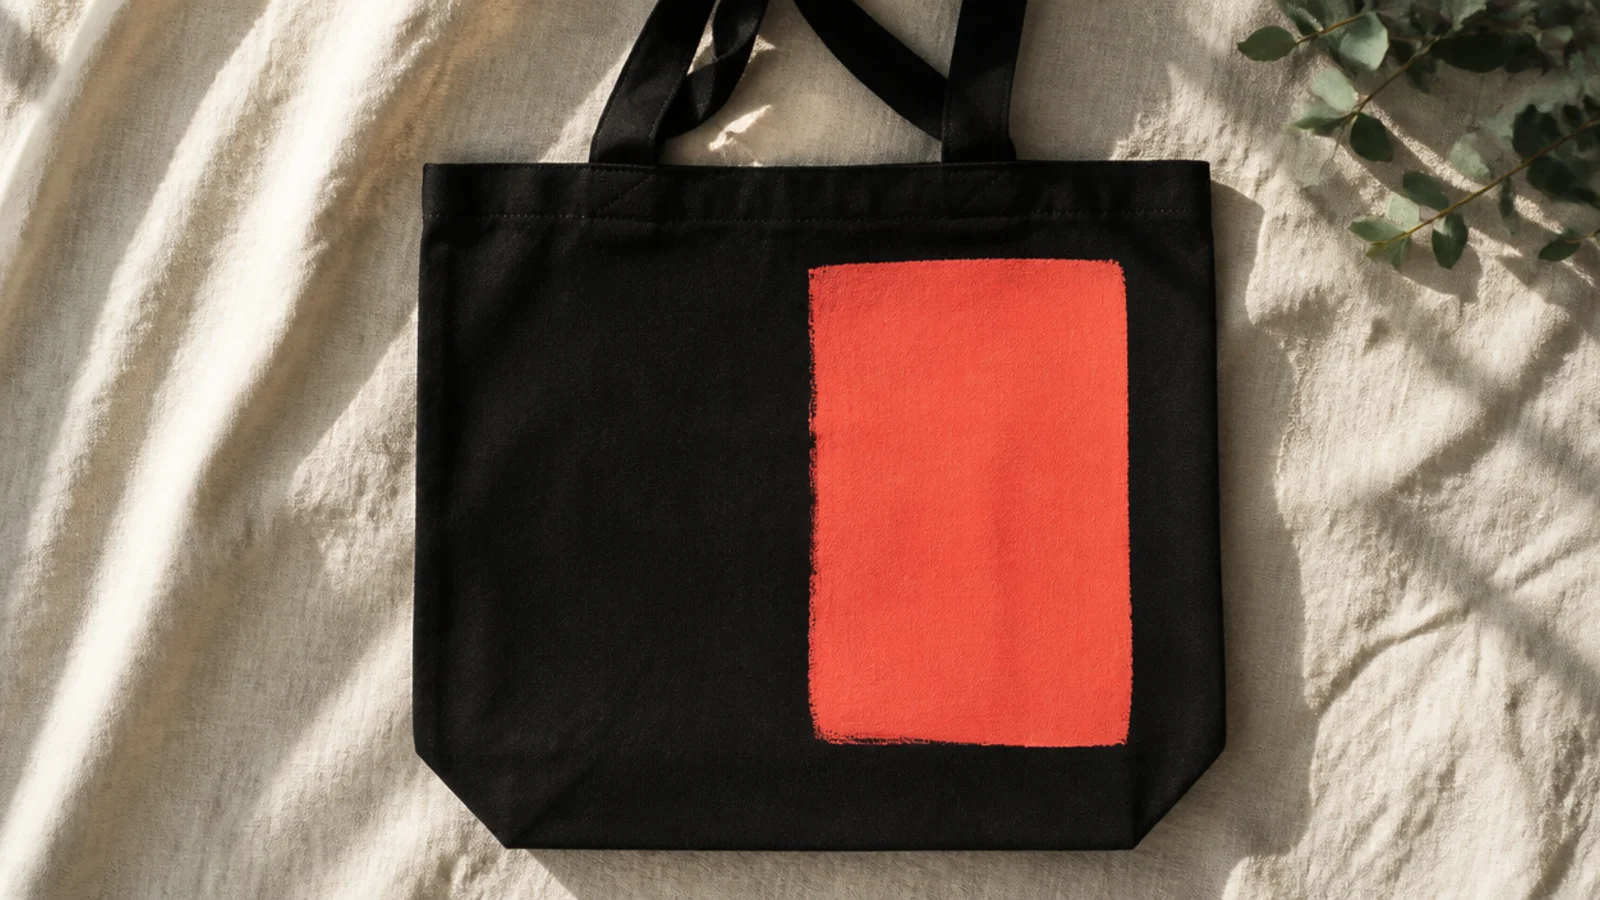
One bold rectangle of a bright, opaque color is a modern graphic statement on black. The high contrast makes even a simple block look designed. Coral, teal, or yellow all punch against dark canvas.
Editor's noteFor any color lighter or softer than the black, base-coat white first; the white underneath is what makes the color read true and vivid.
Prep the tote and insert cardboard. Tape off a clean rectangle off-center and burnish the edges. Paint a white base coat inside first if using a pastel; for a bright, paint two thin coats of opaque color directly. Let each coat dry, peel the tape while slightly wet, cure, and heat-set.
Skip thisDo not use one thick coat to force coverage; it cracks on the fold, so build the block in two thin layers instead.
5. White Botanical Branch
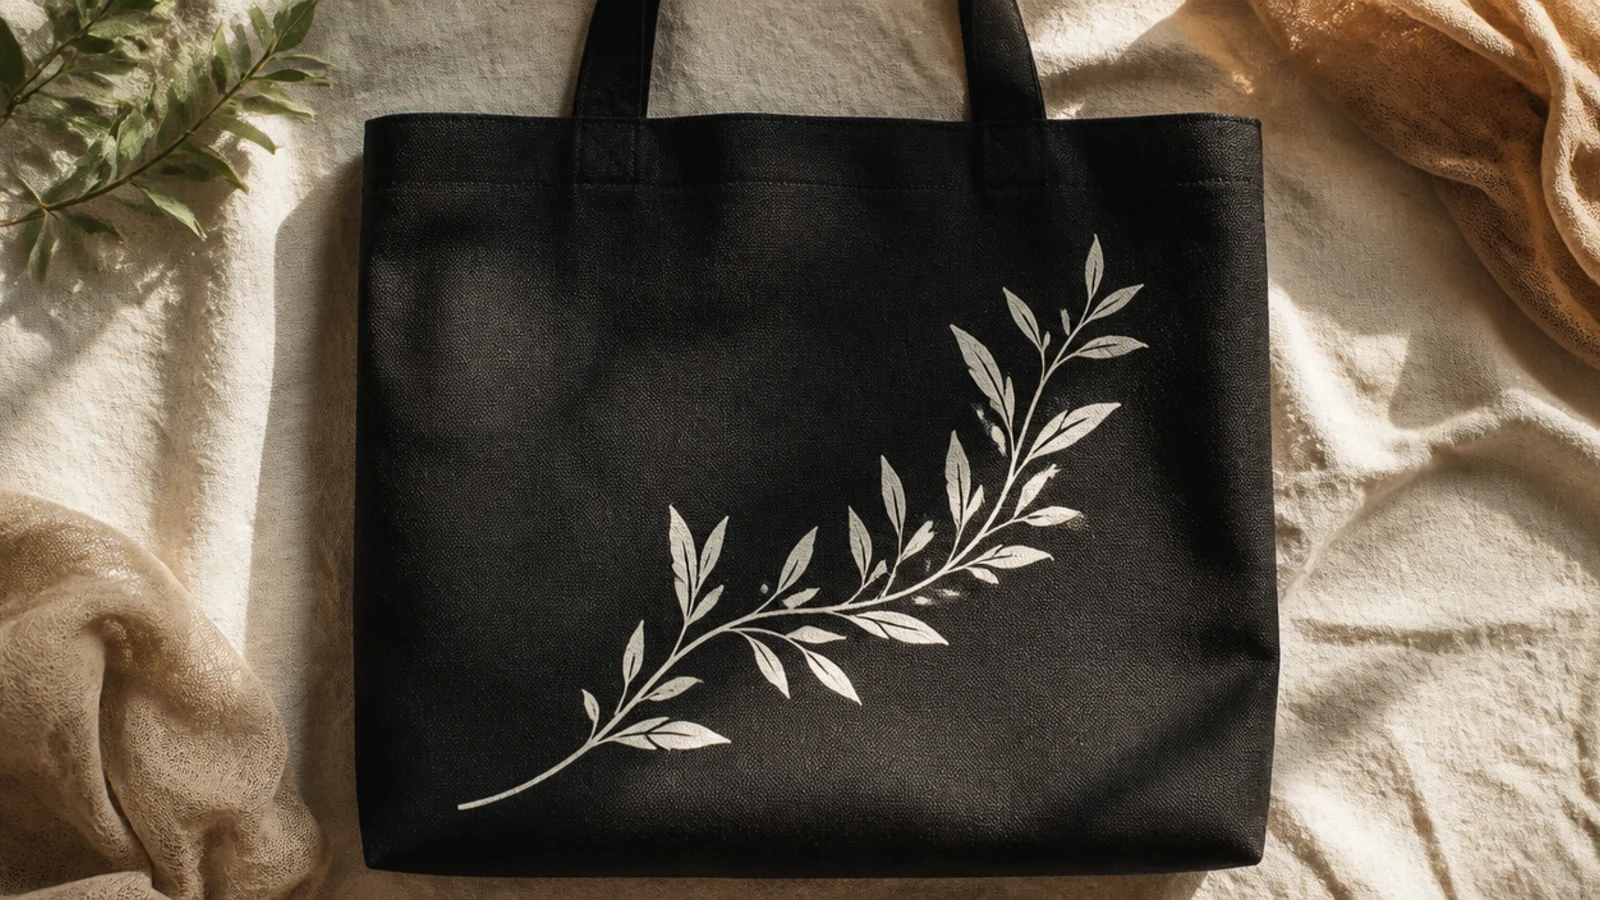
A fine white branch with small leaves is elegant and botanical, and the white line pops beautifully on black. The delicacy against the dark canvas feels refined. It frames the bag without covering it.
Prep and iron the tote, insert cardboard. Paint a thin arcing branch with a liner brush and opaque white, adding a few offshoots. Press small leaves along it as single brush dabs, going over each once more for opacity. Vary the leaf sizes toward the tip, cure, and heat-set.
Keep the branch thin and the leaves small; delicate white lines look most striking against a big field of black.
Do not overload the branch with leaves; empty stretches of dark canvas are what make the white read elegant.
6. Neon Abstract Shapes
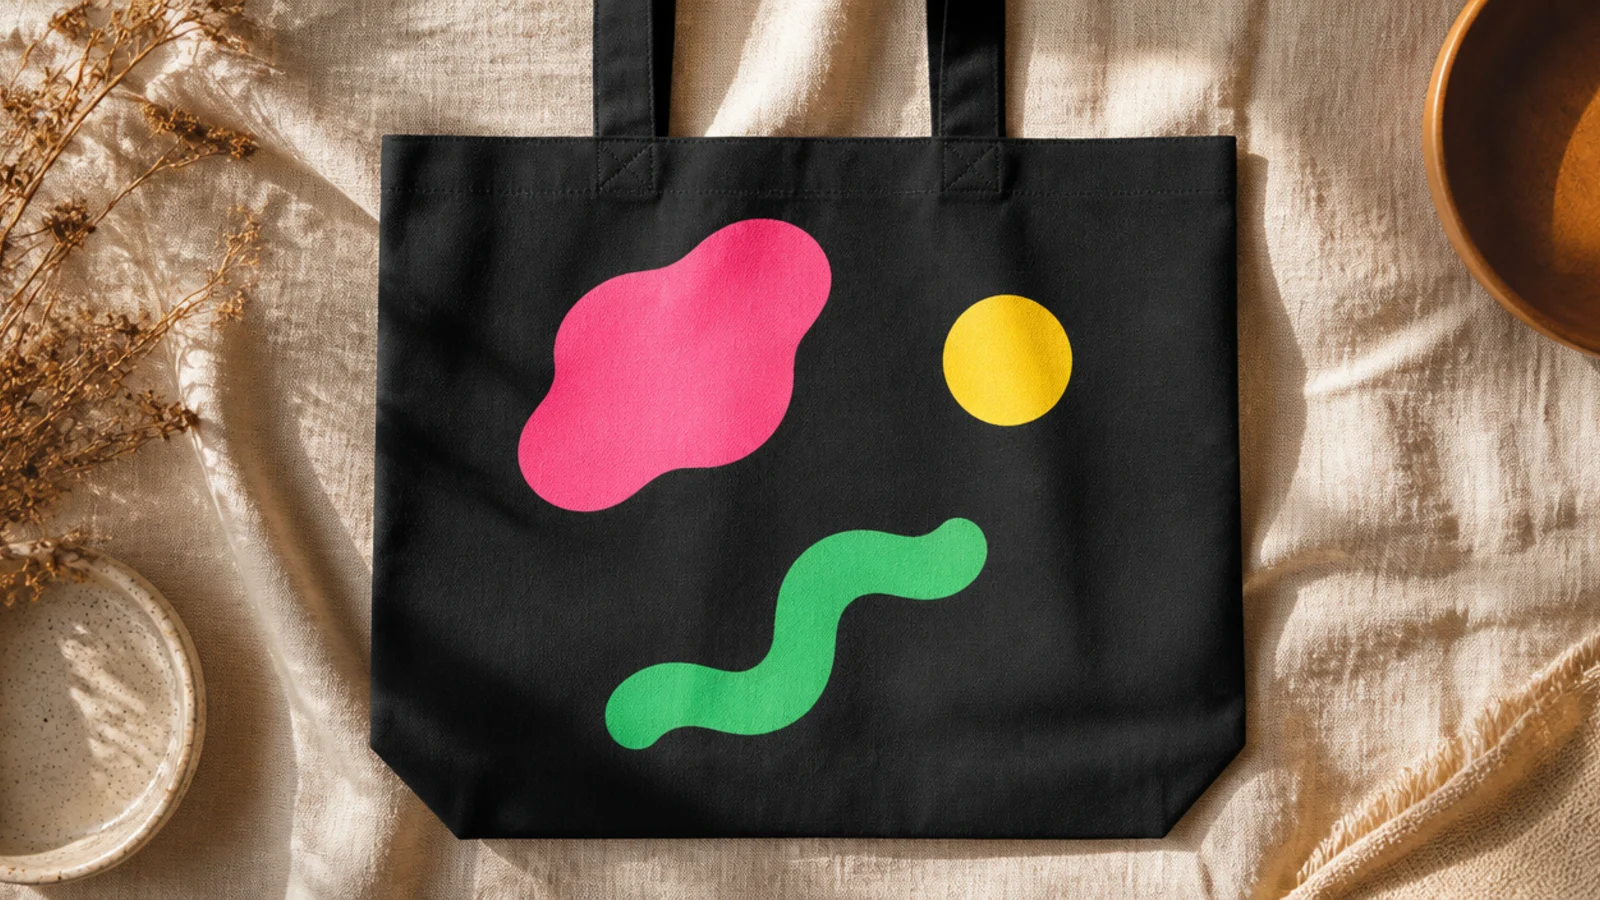
Neon paint glows on black, so a few bold abstract shapes look electric and current. The shapes need no drawing skill and the neons are naturally bright. It is playful, modern, and hard to get wrong.
Editor's noteNeon paint is already opaque on black, so two thin coats glow; a white base under neon actually dulls its punch, so skip it.
Prep the tote and insert cardboard. Press or paint a few loose shapes across the front with neon fabric paint — a blob, a squiggle, a dot, a short bar — in two thin coats for full glow. Keep the shapes spaced and varied, let dry, cure, and heat-set.
Skip thisDo not crowd the shapes; a few bold neon marks with black space between them look far more striking than a full front.
7. White Polka Dot Grid
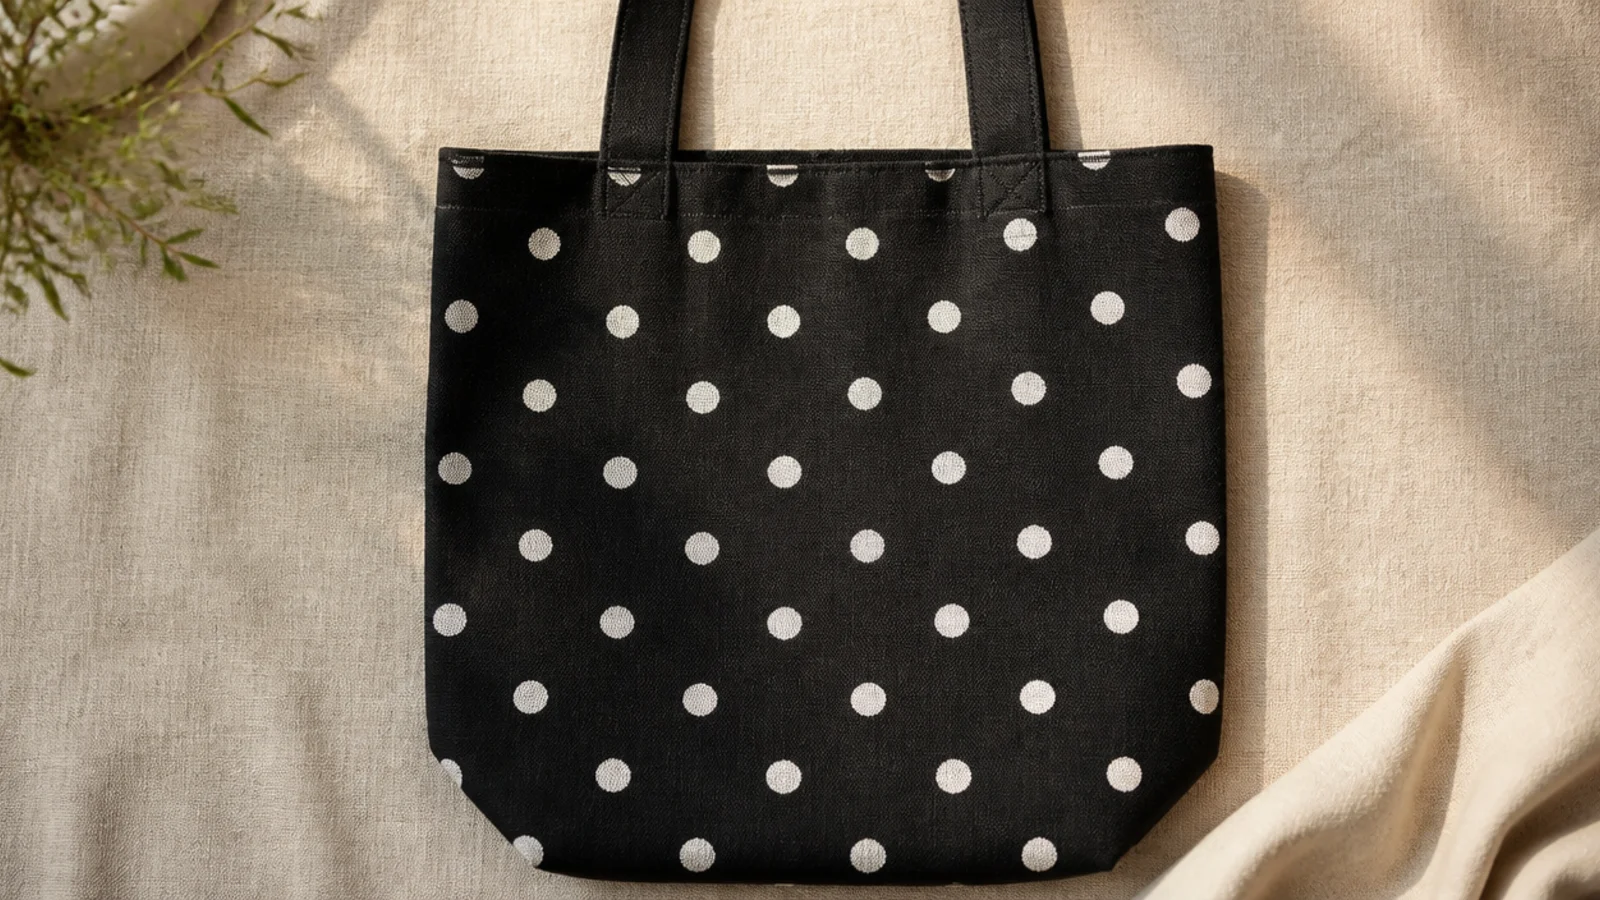
An even grid of white dots on black is a classic, graphic pattern that never dates. Stamped with a pencil eraser, the dots stay uniform. The high contrast makes a simple polka pattern look bold.
Prep and iron the tote, insert cardboard. Mark a faint grid with a chalk pencil. Dip the flat end of a pencil eraser in opaque white fabric paint, tap off excess, and press straight down at each grid point, re-dipping every time. Go over any thin dots a second time once dry, cure, and heat-set.
Re-ink the eraser for every single dot; consistent loading is what keeps a white polka grid even and bold on black.
Do not drag the eraser as you lift; on the grid pattern a smeared dot stands out sharply against the crisp ones.
8. Gold Sun with Rays
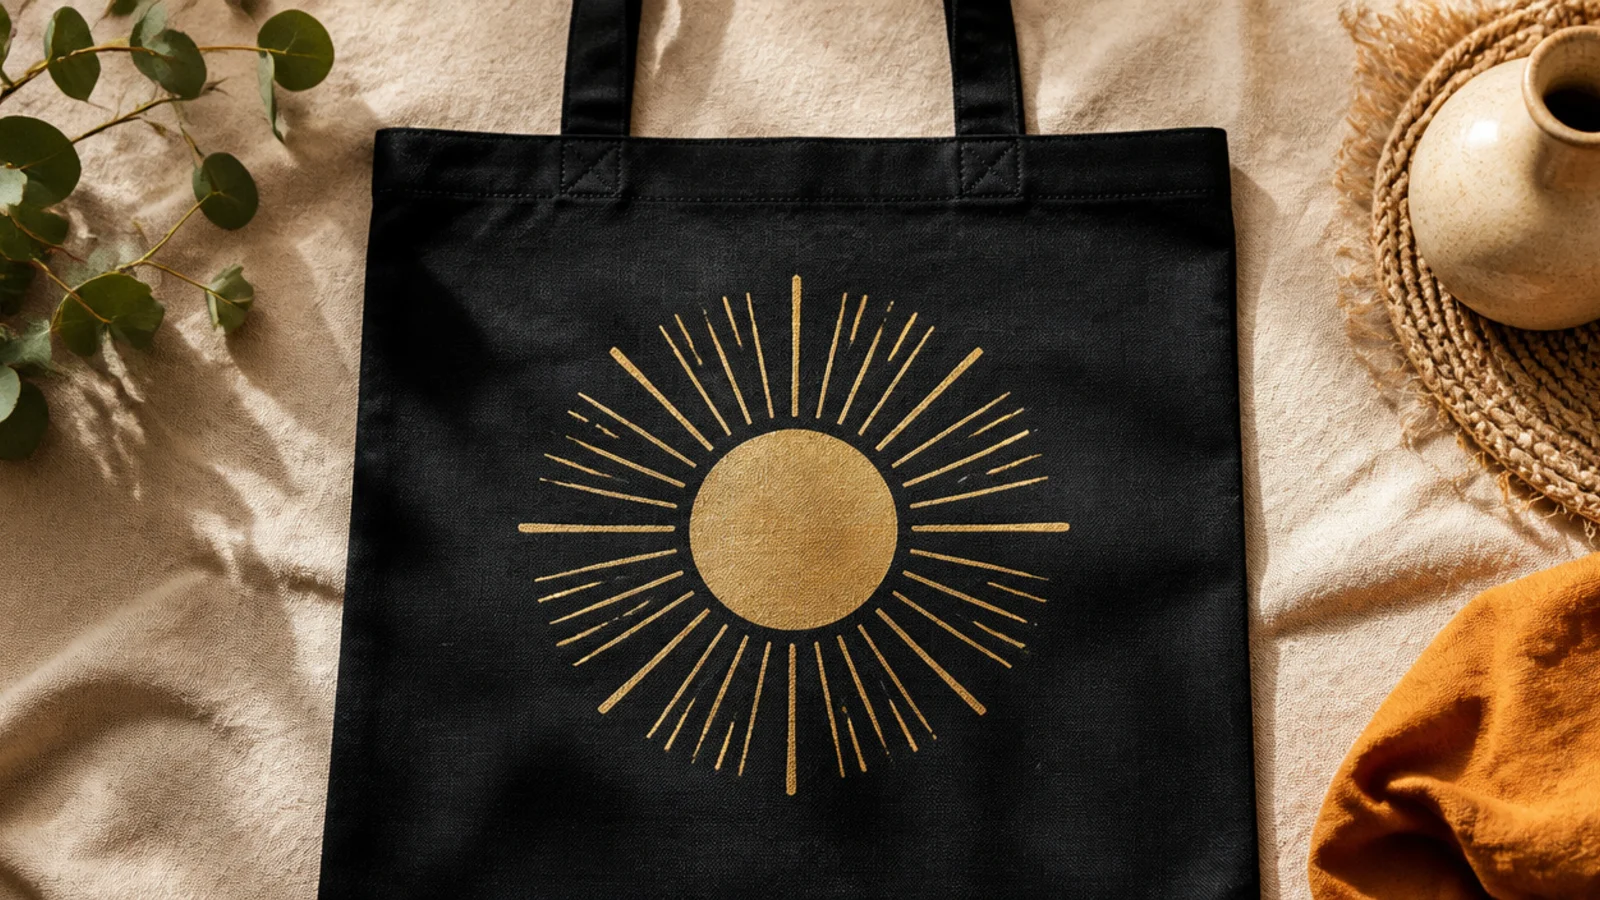
A gold sun with radiating rays is a warm, striking motif that gleams on black. The filled circle and simple straight rays are easy shapes. Metallic gold makes it look like an emblem.
Editor's noteAlternate one long ray with one short ray around the circle; the rhythm makes a hand-drawn sun look deliberate and balanced.
Prep the tote and insert cardboard. Paint a filled gold circle in two thin coats with a round brush. Once dry, draw straight rays radiating outward with a gold paint pen, alternating longer and shorter rays evenly around the sun. Add small dots between ray tips, cure, and heat-set gently.
Skip thisDo not space the rays unevenly; gaps and clusters make the sun look lopsided against the clean black background.
9. White Mountain Range
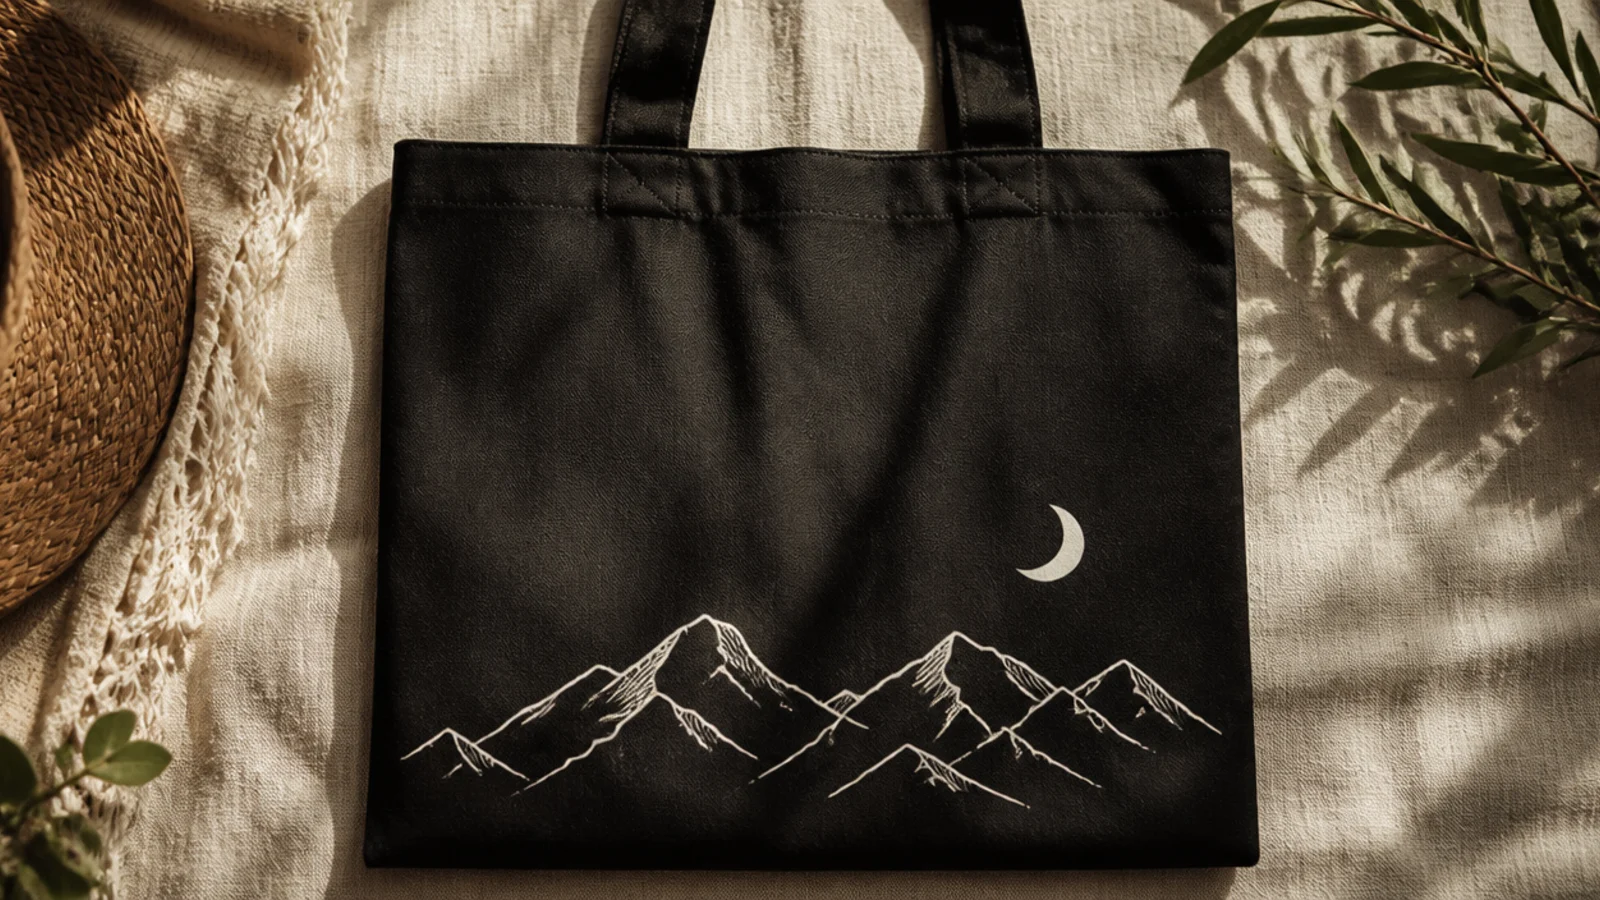
A white mountain range outline on black looks like a night landscape — calm and outdoorsy. The simple peaks plus a small moon tell a whole scene. White line work keeps it clean and modern.
Editor's noteLeave the mountains as clean outlines with a little snow-cap detail; the open black below reads as night sky and needs nothing.
Prep and iron the tote, insert cardboard. Draw a jagged mountain outline across the lower front with a white fabric marker or liner brush, adding a second lower range in front. Add a small filled white or gold moon above the peaks. Go over lines twice for opacity, cure, and heat-set.
Skip thisDo not fill the mountains solid white; a big white block loses the crisp night-landscape look that the outline gives.
10. Metallic Gold Leaf Scatter
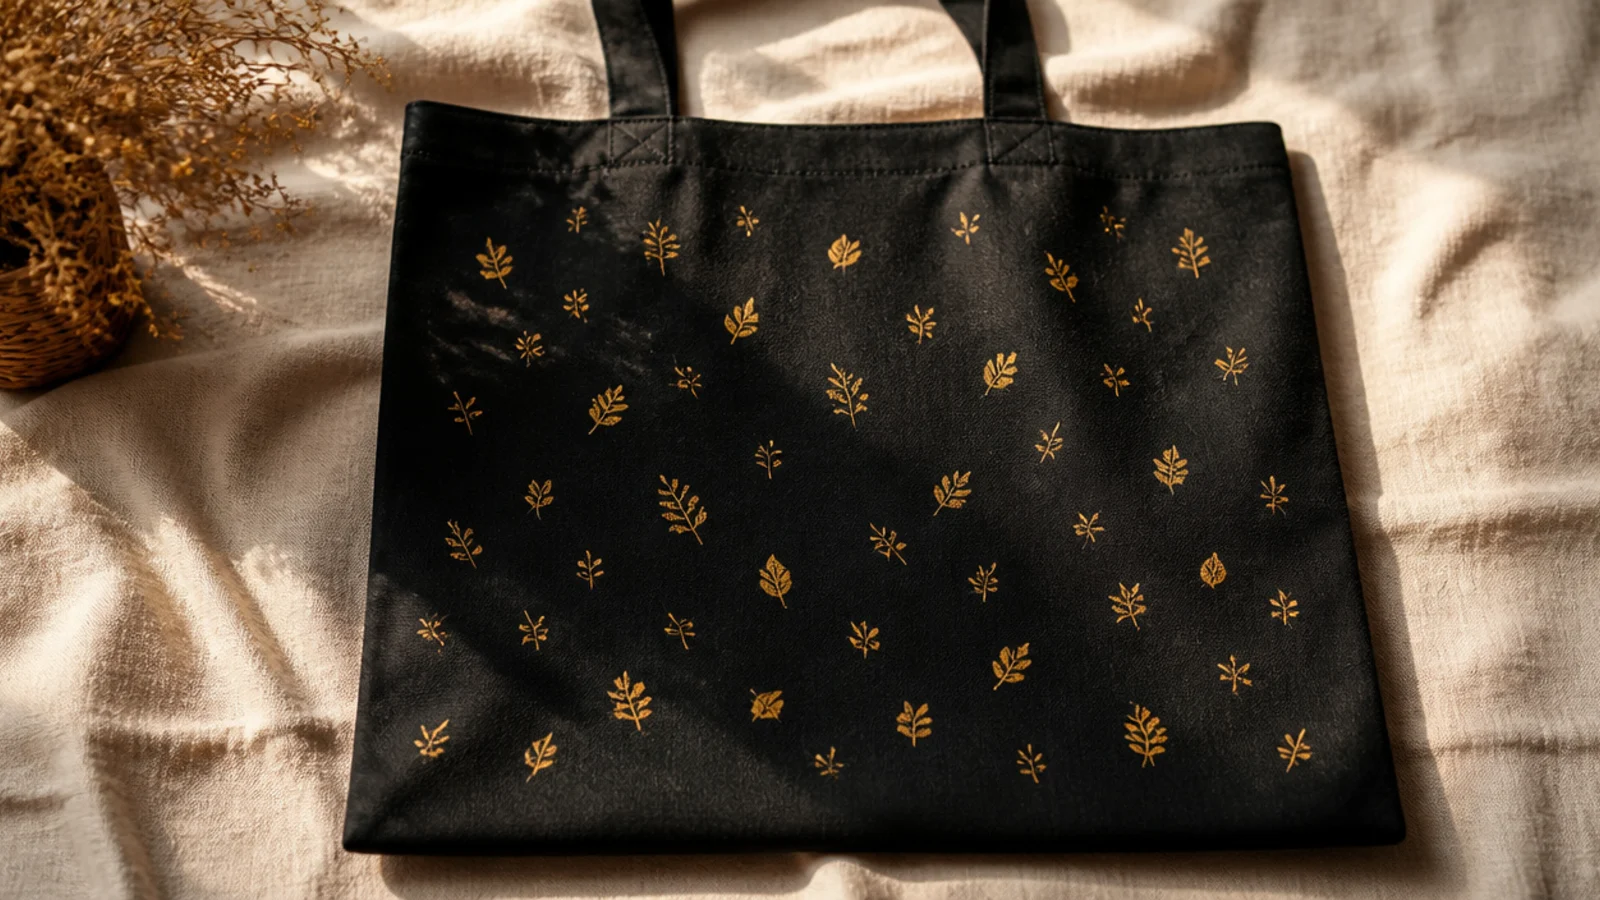
Small gold leaves scattered across the bag feel elegant and festive on black. Each leaf is a couple of brush pressings, and gold is opaque. The light scatter keeps it refined rather than busy.
Editor's noteAngle the leaves in different directions as you scatter them; varied angles make the scatter look natural rather than stamped.
Prep the tote and insert cardboard. Press small leaf pairs across the front with a size 2 round brush and metallic gold, each leaf a single dab with a thin stem line between pairs. Vary the angles and spacing. Go over any thin spots once dry, cure, and heat-set gently.
Skip thisDo not cluster all the leaves in one spot; an even, airy scatter across the whole front looks intentional and calm.
11. White Wavy Lines
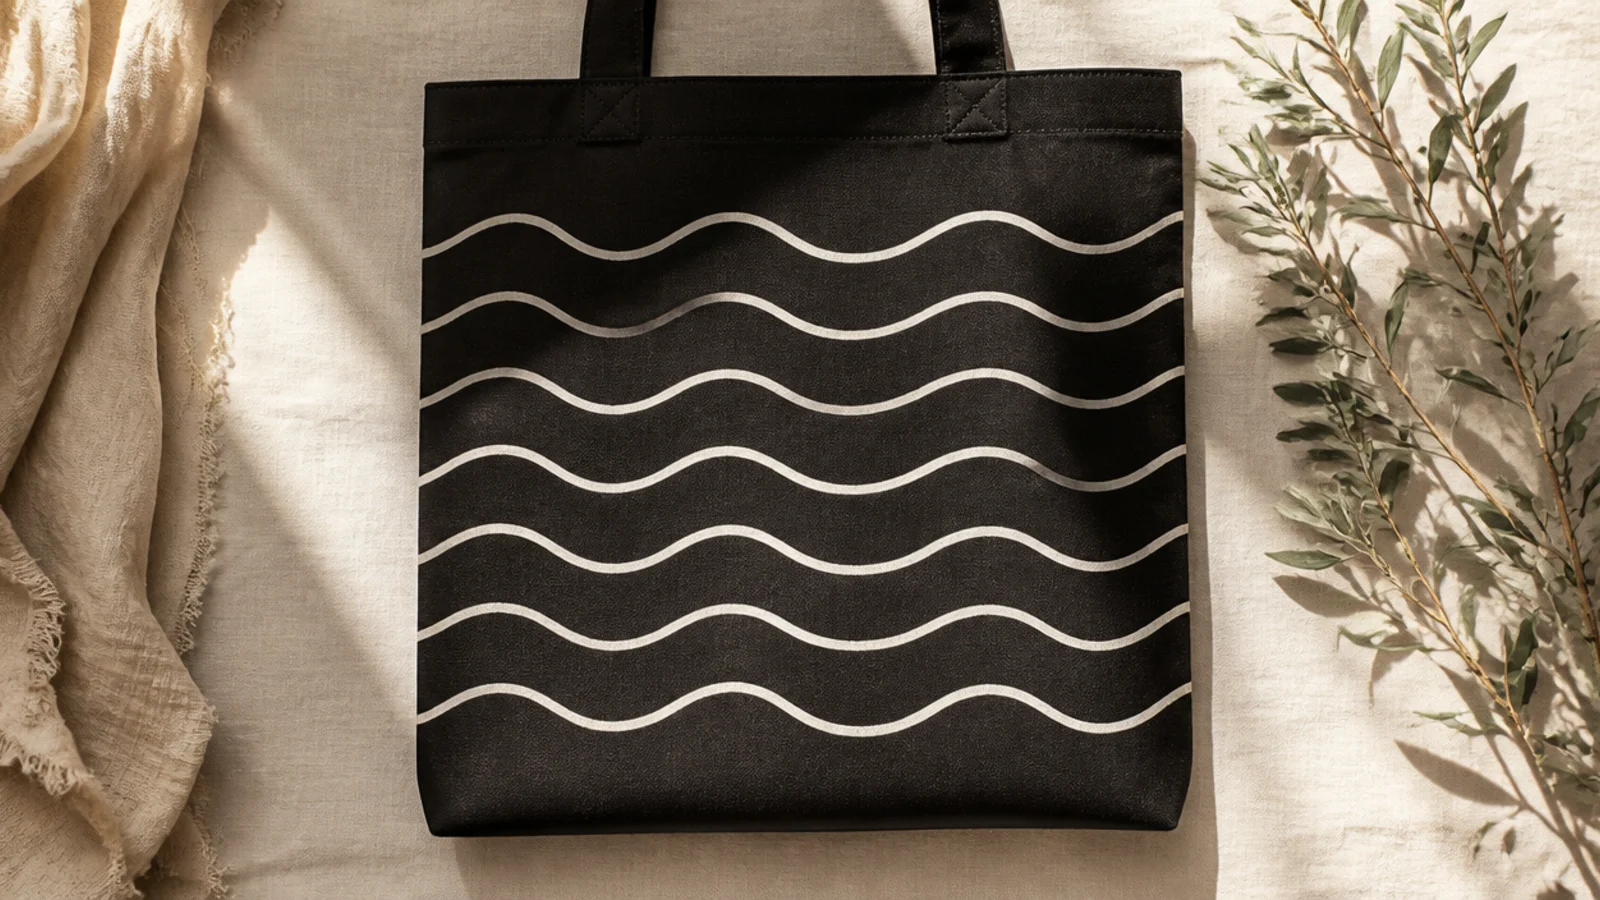
A few white wavy lines rippling across black is calm, modern, and simple. The even waves read like a designed pattern. White on black gives them a bold, graphic edge.
Prep and iron the tote, insert cardboard. Mark faint chalk guidelines. Trace three or four evenly spaced wavy lines with a white fabric marker, moving slowly for an even width and going over each once more for opacity. Erase chalk, cure, and heat-set.
Keep the waves the same amplitude and spacing; matching waves read as an intentional ripple pattern, mismatched ones look like scribbles.
Do not let the marker skip; a broken white line looks faint on black, so re-trace any gaps for a solid ripple.
12. Colorful Confetti Dots
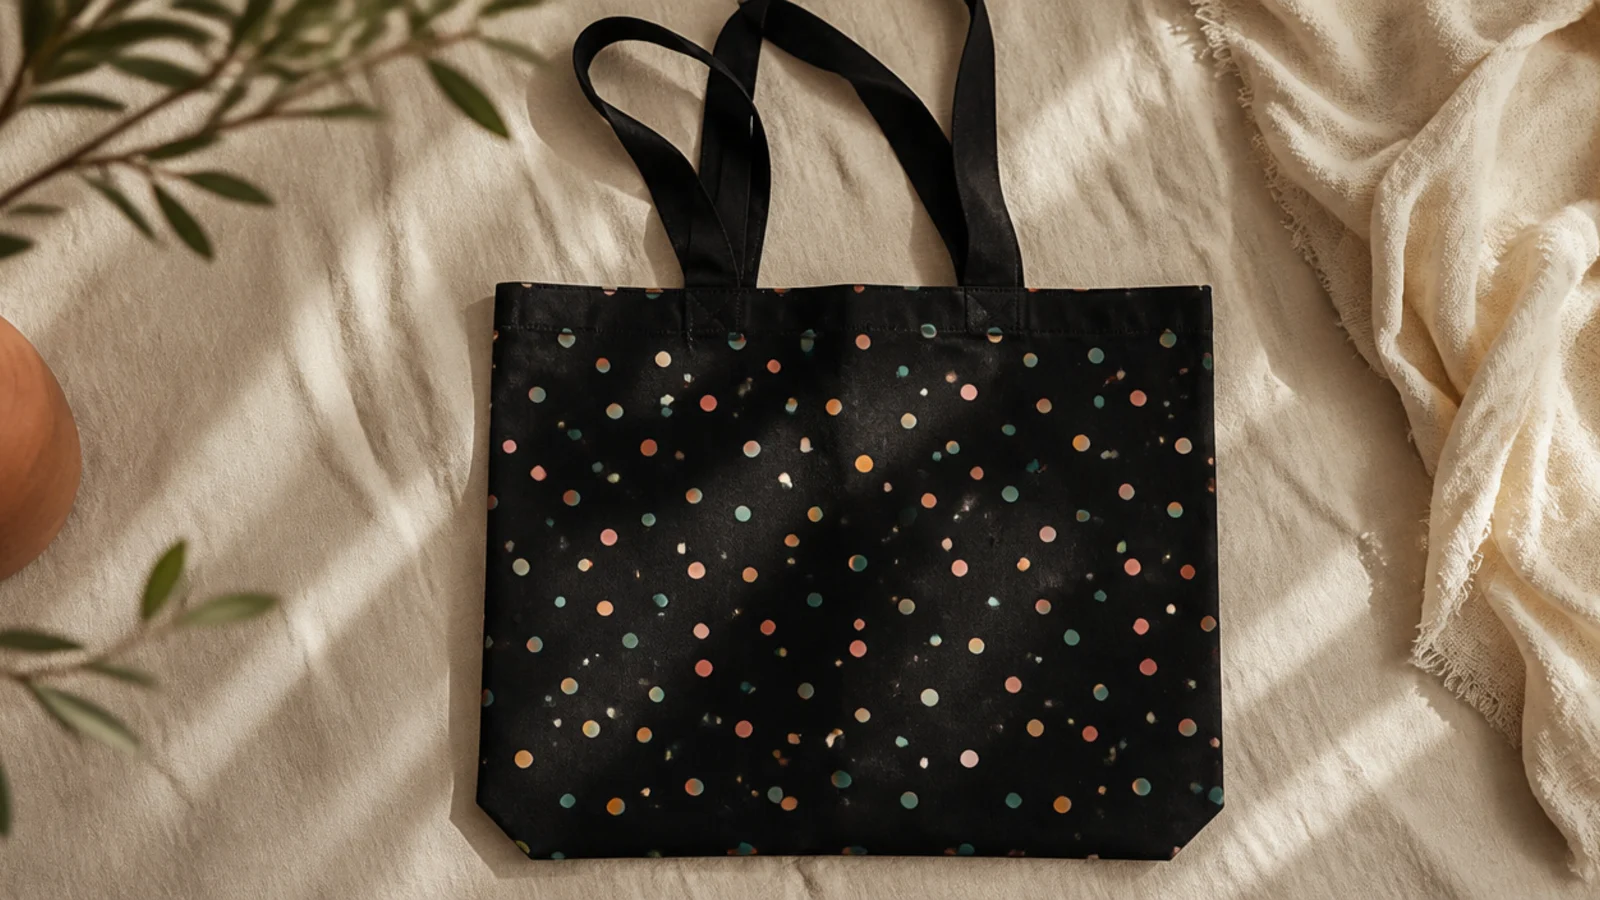
A scatter of small bright dots looks like confetti tossed across the black canvas — festive and playful. Opaque dots in several colors pop against the dark. It is celebratory and needs no skill beyond stamping.
Editor's noteMix warm and cool bright colors and scatter them randomly; the variety and irregular spacing are what make it read as confetti.
Prep the tote and insert cardboard. Using a pencil eraser or cotton swab, stamp small dots in several opaque colors — coral, teal, yellow, white — scattered unevenly across the front. Re-ink for each dot. Go over any dull ones a second time once dry, cure, and heat-set.
Skip thisDo not use transparent craft paint for the dots; on black they need opaque paint or they vanish into the fabric.
13. White Single-Line Face
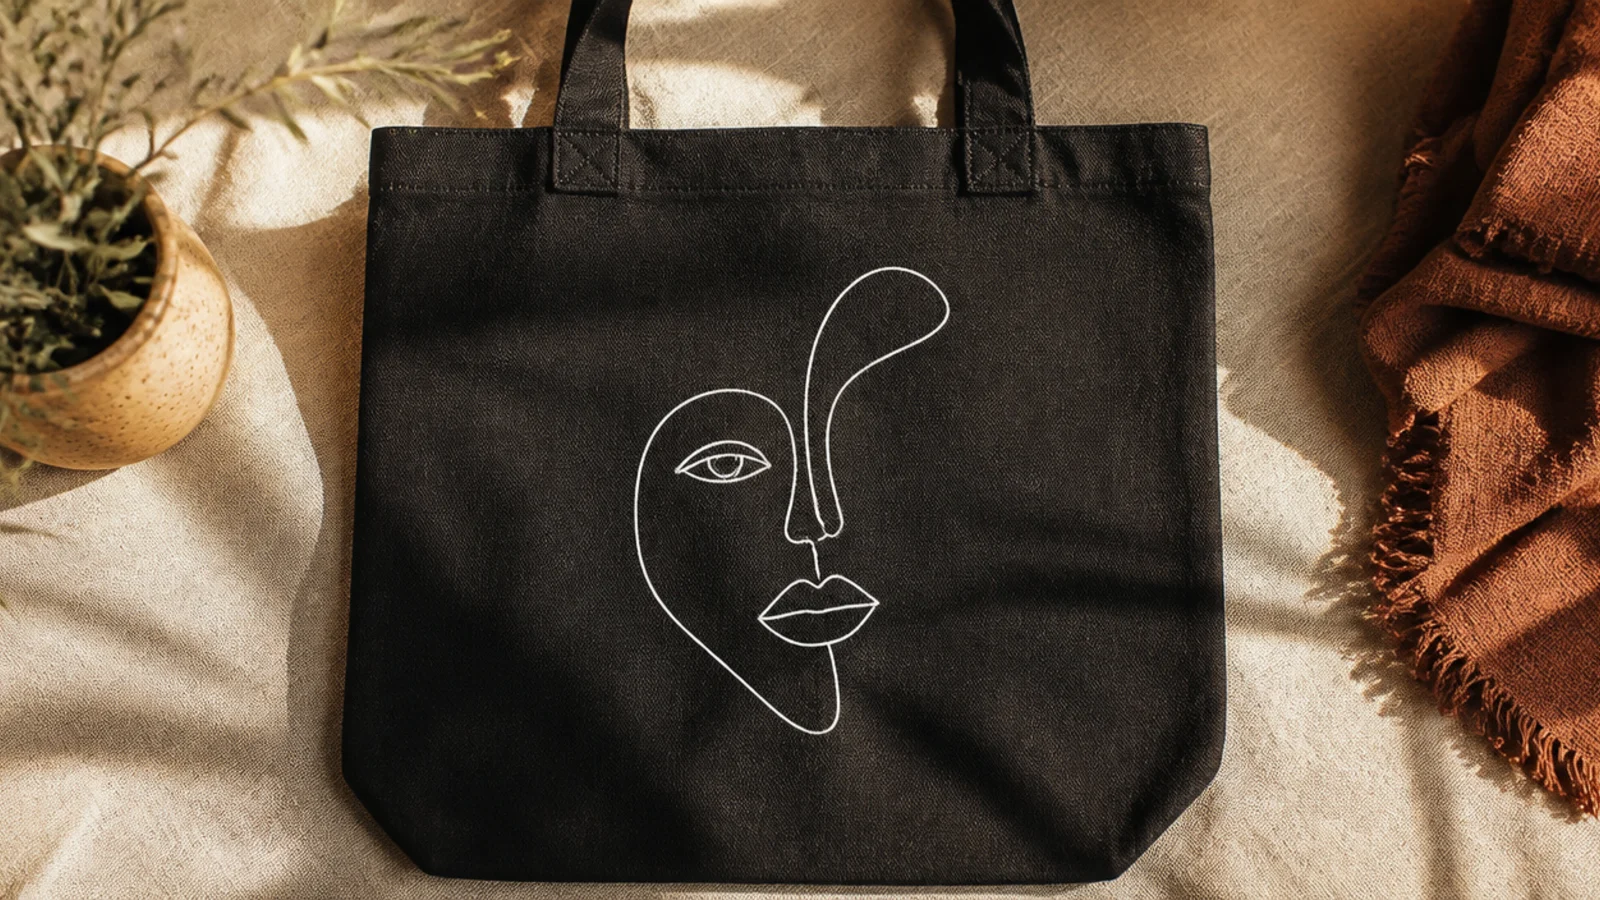
A continuous white line face is a gallery-shop look that shows up boldly on black. One unbroken line suggests a profile. The stark white on black makes it feel like modern art.
Editor's noteDraw the whole face in one unbroken line; the single continuous stroke is what gives it the effortless artist look on black.
Prep and iron the tote, insert cardboard. Practice the continuous line on paper. Sketch it lightly with a chalk pencil, then trace it in one smooth pass with a white fabric marker, keeping the line an even weight and going over it once for opacity. Wipe away chalk, cure, and heat-set.
Skip thisDo not double back messily; a shaky, retraced white line stands out against black, so plan the path before you commit.
14. Bright Rainbow Arch
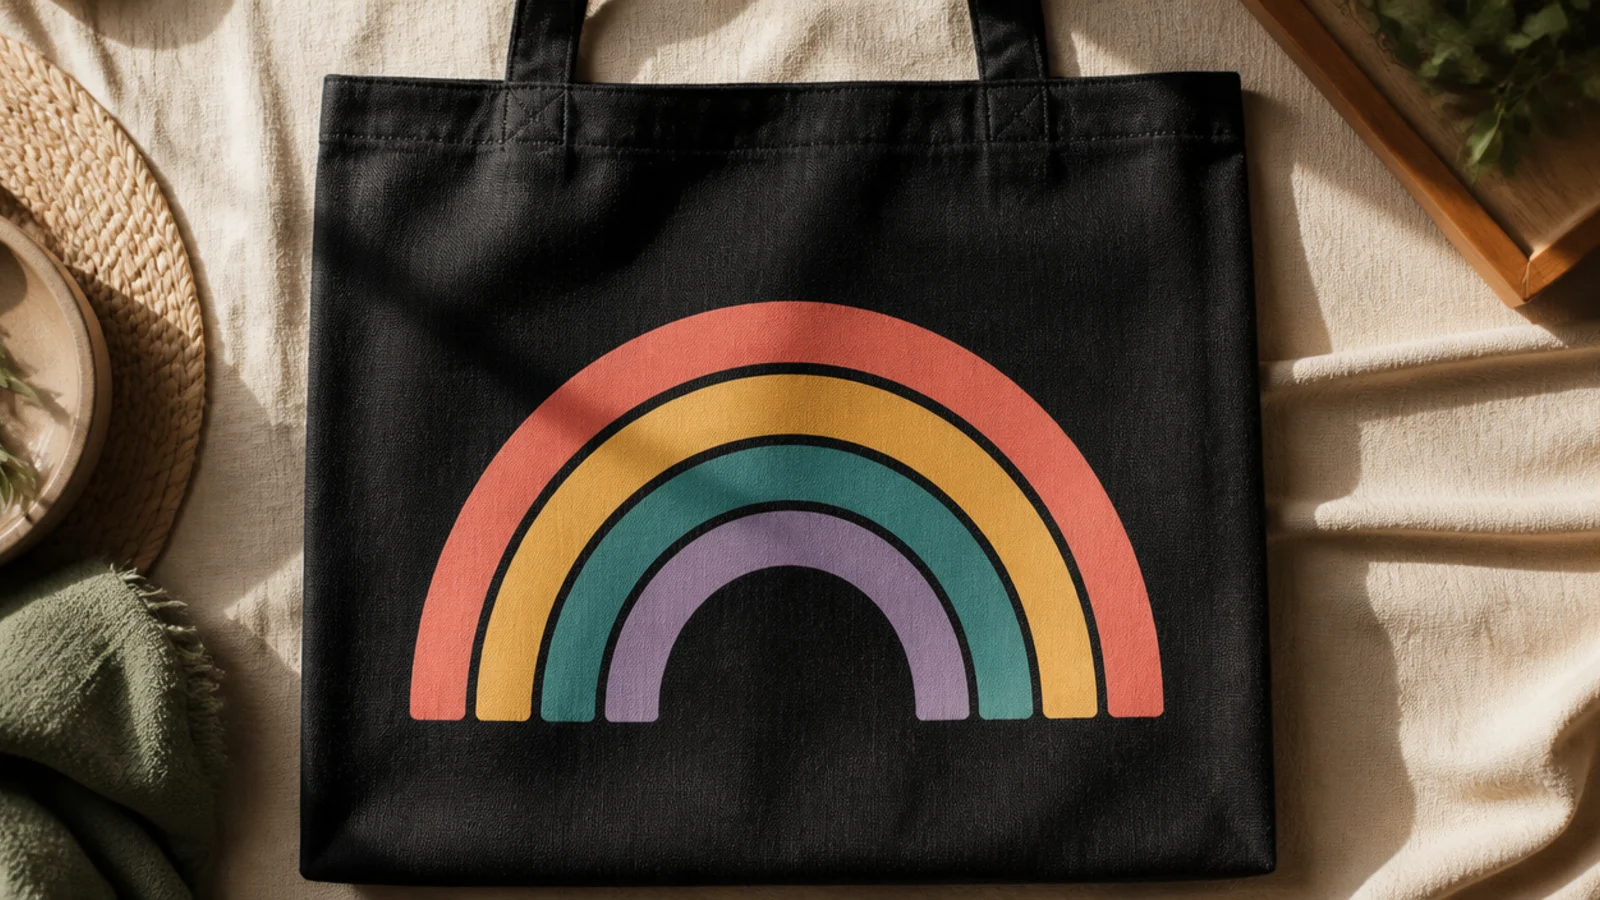
A bright rainbow arch pops vividly on black, where it would look ordinary on cream. The opaque bands glow against the dark. It is cheerful and bold in one simple graphic.
Editor's noteBase-coat the whole arch white before adding colors; the white underlayer is what makes bright bands glow instead of going dingy.
Prep the tote and insert cardboard. Trace nested arches with a chalk pencil around graduated round objects. Base-coat the arch area white first, let it dry, then fill each band with a bright opaque color. Two thin coats keep them vivid, then wipe chalk, cure, and heat-set.
Skip thisDo not paint colored bands straight onto black; without the white base they turn muddy and lose the rainbow punch.
15. White Block Quote
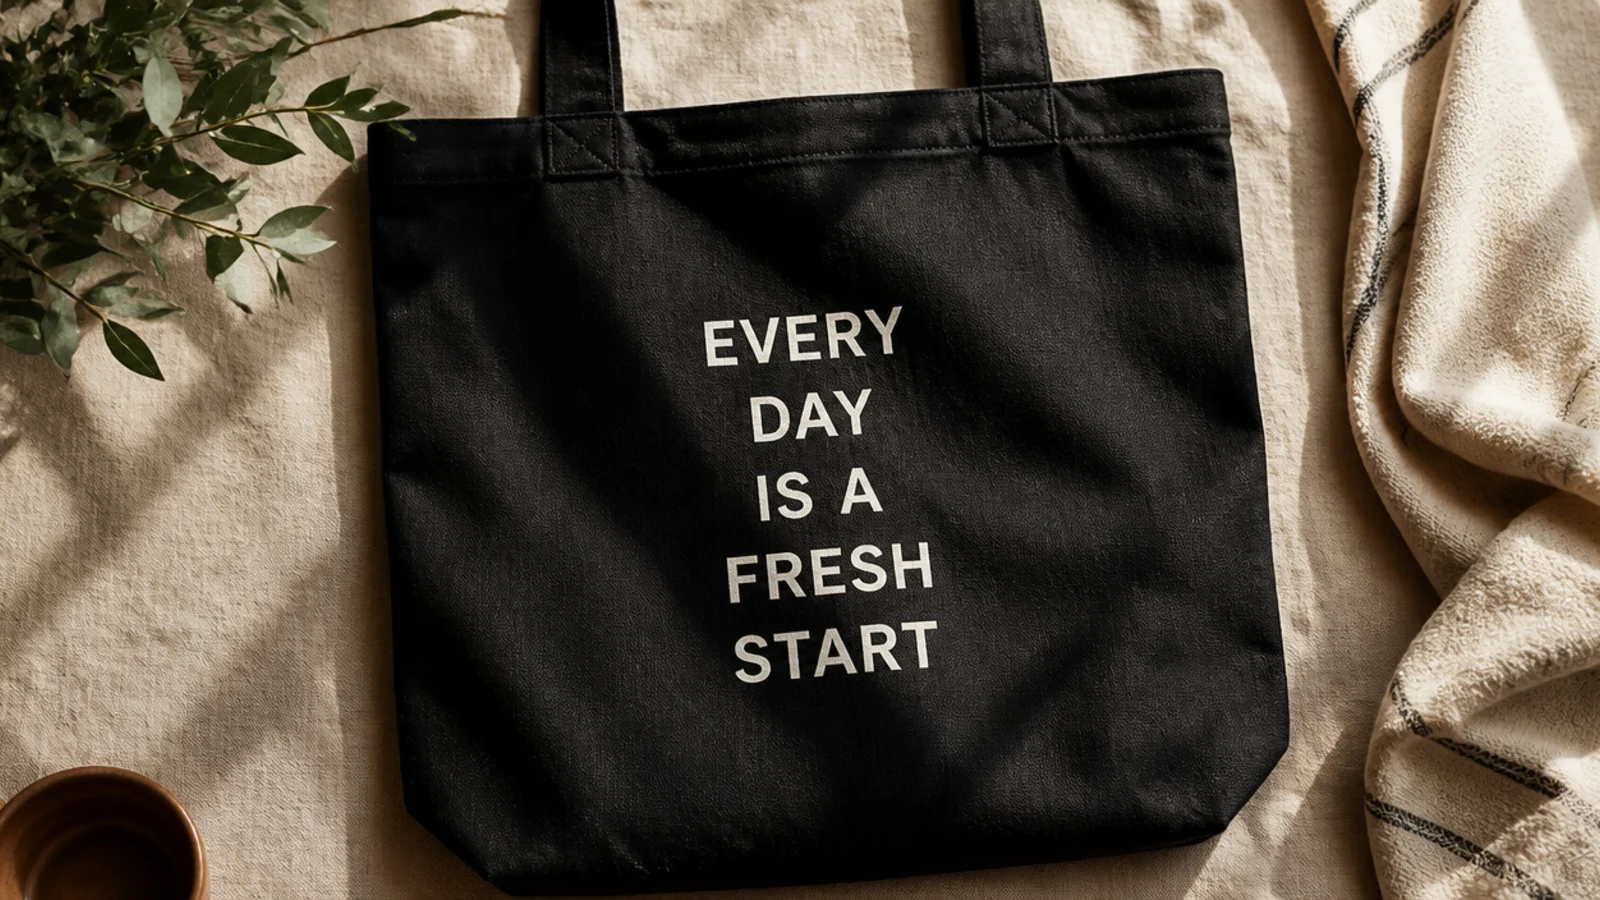
A short phrase in white block capitals is a bold, readable statement on black. Block letters are more forgiving than script. Stacking two or three short words centers the design nicely.
Prep and iron the tote, insert cardboard. Rule faint chalk guidelines for even letter height. Pencil the words in block capitals, then fill each letter with a white fabric marker or small brush in two passes for opacity. Keep spacing even, wipe chalk, cure, and heat-set.
Draw two guidelines per line of text and keep every letter touching both; even height is what makes block lettering look professional.
Do not crowd the words edge to edge; leaving black margin around the text keeps it bold and easy to read.
16. Gold Constellation Lines
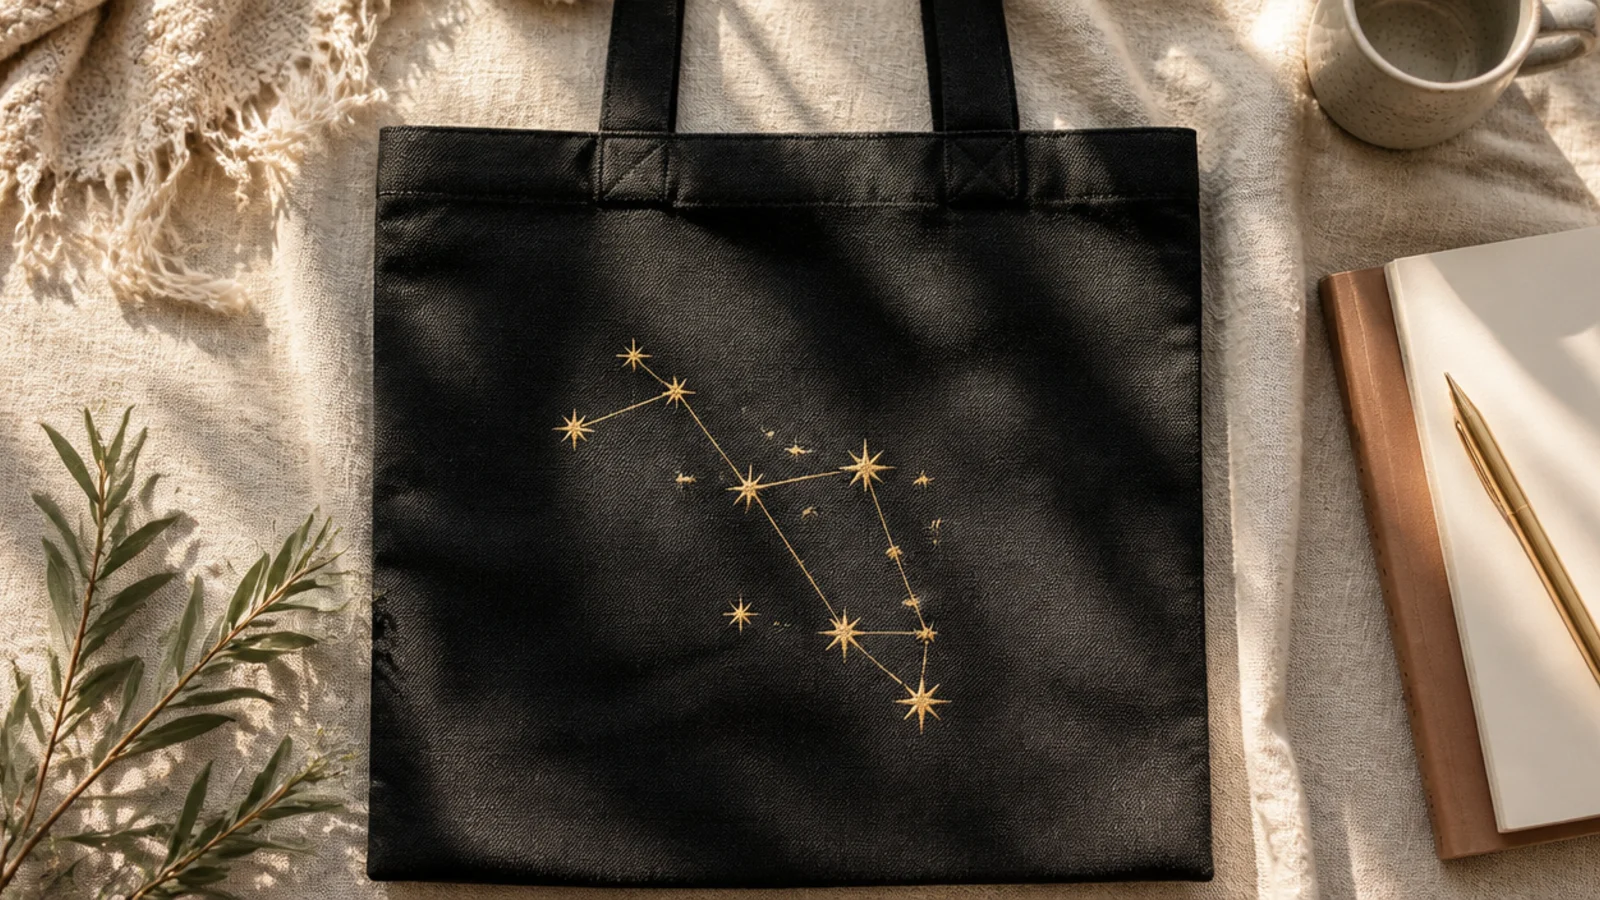
A gold constellation of star dots joined by fine lines looks celestial and refined on black. The connect-the-dots structure is easy and precise. Gold makes it glow like a real star map.
Prep the tote and insert cardboard. Mark a few star points with a chalk pencil in a loose constellation shape. Dab a gold star dot at each with a paint pen, then connect them with fine straight gold lines. Add a scatter of tiny background stars, cure, and heat-set gently.
Vary the star-dot sizes and keep the connecting lines thin; big glowing stars linked by fine lines read as a real constellation.
Do not make the connecting lines thick; heavy lines overpower the stars and turn a delicate constellation into a shape.
17. White Cat Outline
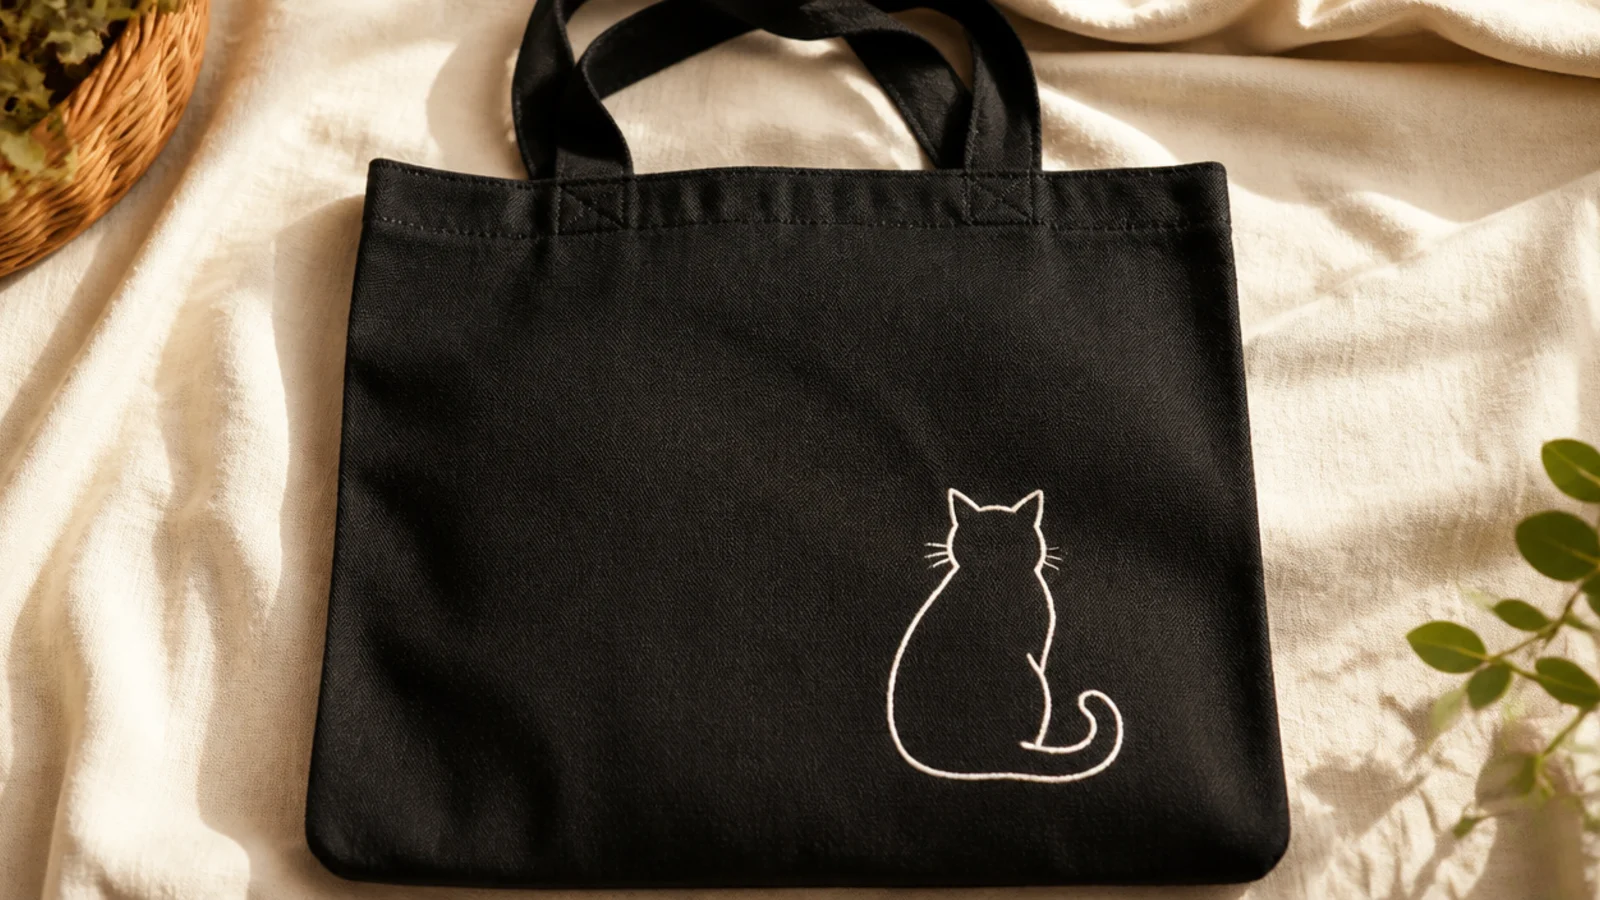
A minimal white cat outline is playful and charming on black, and it is just one continuous silhouette line. The simple shape reads instantly. It suits anyone who wants a friendly motif without detail.
Editor's noteKeep the cat as a clean outline with just dot eyes; the minimal silhouette is friendlier and more modern than a detailed drawing.
Prep and iron the tote, insert cardboard. Sketch a simple sitting-cat outline with a chalk pencil — a rounded body, two ears, a curled tail. Trace it with a white fabric marker or liner brush, going over the line twice for opacity. Add two tiny dot eyes, wipe chalk, cure, and heat-set.
Skip thisDo not add whiskers, stripes, and fur detail; small extras clutter the clean silhouette and muddy it against the black.
18. Terrazzo Speckle
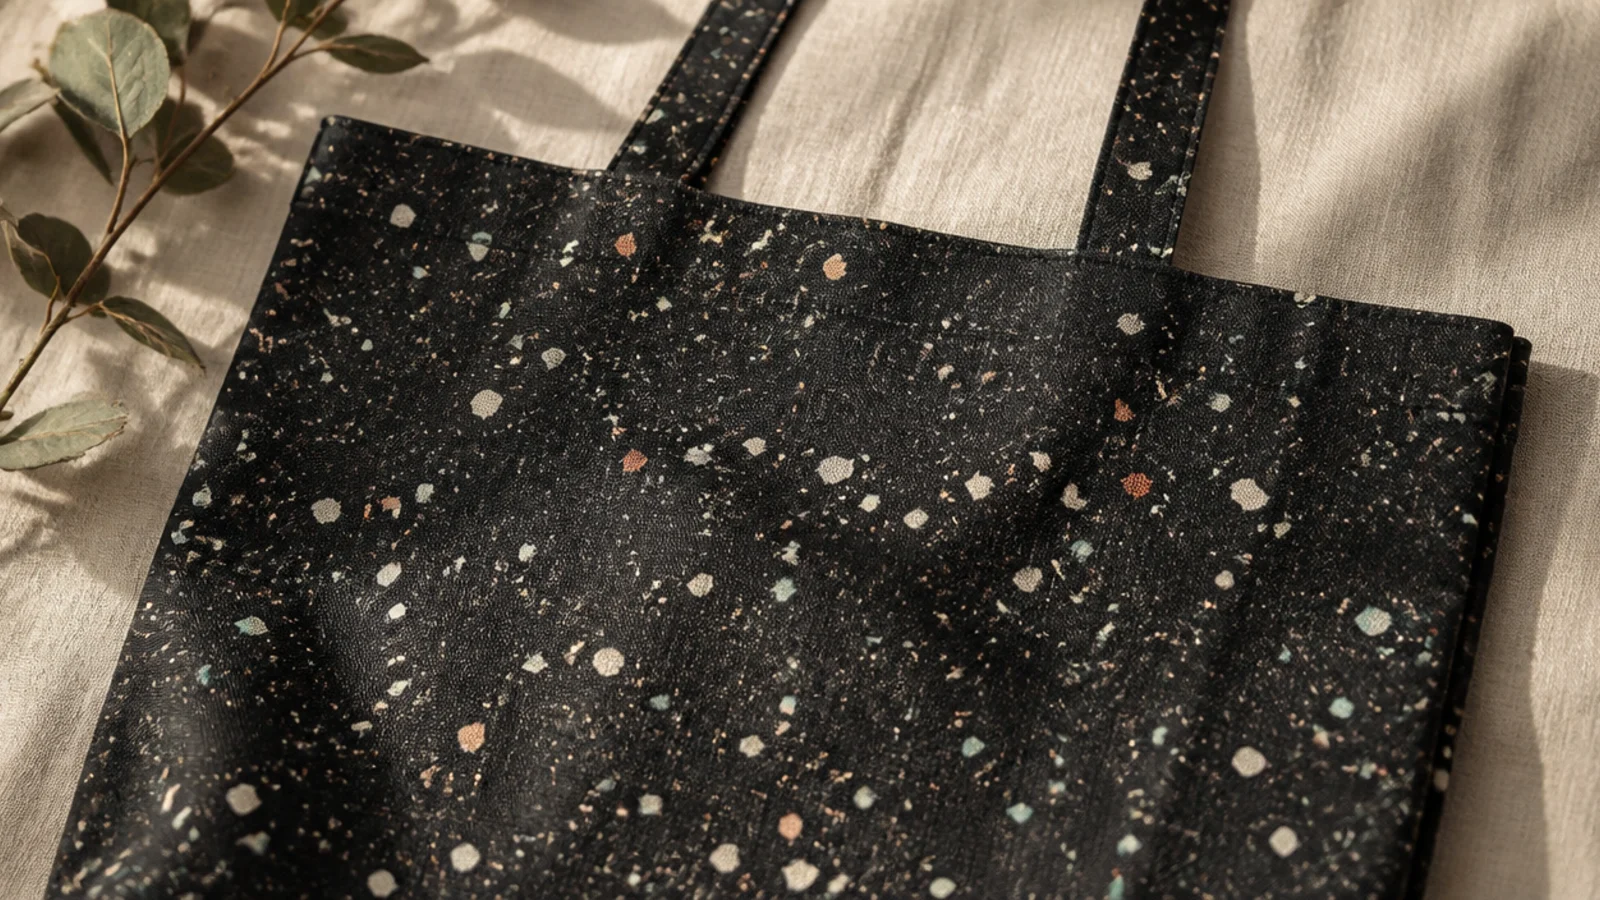
Terrazzo chips scattered on black look like a chic speckled stone surface. Small irregular flecks in a few colors do all the work. It is trendy, forgiving, and covers the bag evenly.
Editor's noteKeep the chips small, angular, and irregular; matching sizes look like polka dots, while varied flecks read as real terrazzo.
Prep the tote and insert cardboard. With a small brush, paint tiny irregular chip shapes scattered across the front in opaque white, coral, and teal, keeping them small and angular. Space them fairly evenly with black gaps between. Go over any dull chips once dry, cure, and heat-set.
Skip thisDo not pack the chips too densely; terrazzo needs visible black between the flecks to read as a speckled surface.
19. White Fern Print
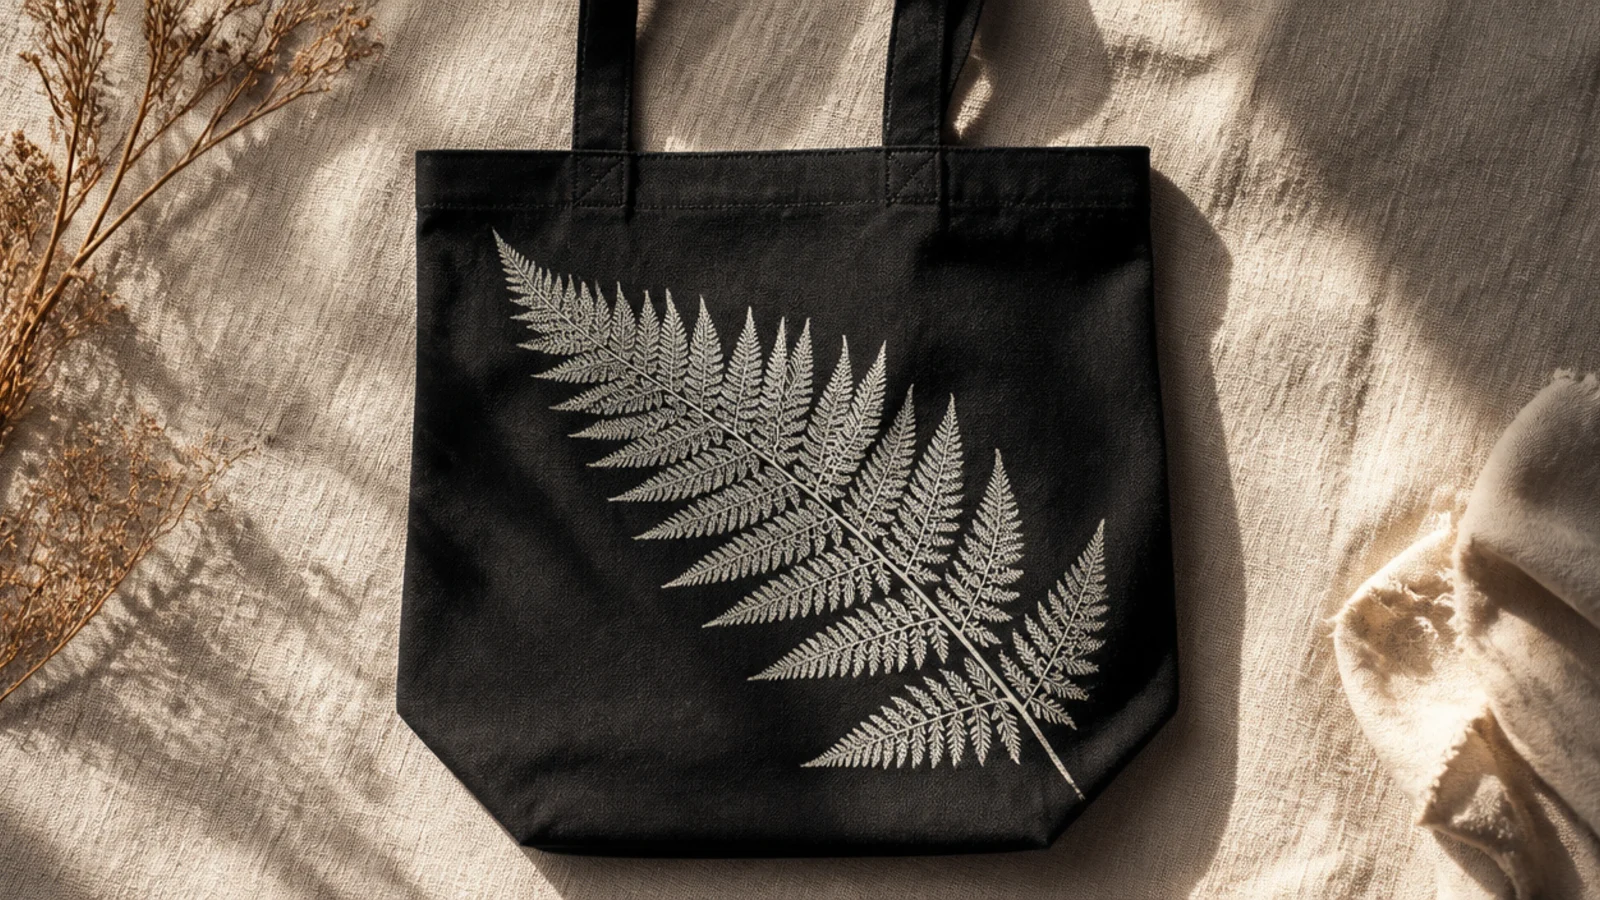
A white fern frond printed on black is striking and botanical, the pale veins glowing against the dark. Using a real leaf as a stamp gives crisp detail with no drawing. The single stem across bare black is elegant.
Editor's noteUse opaque white and press firmly through a paper towel; full contact plus opacity is what makes the fine veins glow on black.
Prep and iron the tote, insert cardboard. Brush a thin even coat of opaque white fabric paint onto the vein side of a flat fern frond. Press it paint-side down diagonally, cover with a paper towel, and press evenly. Peel straight up, touch up faint veins with a fine brush, cure, and heat-set.
Skip thisDo not use sheer paint on the leaf; a thin transparent coat prints gray and loses the crisp white detail against black.
20. Metallic Marble Veins
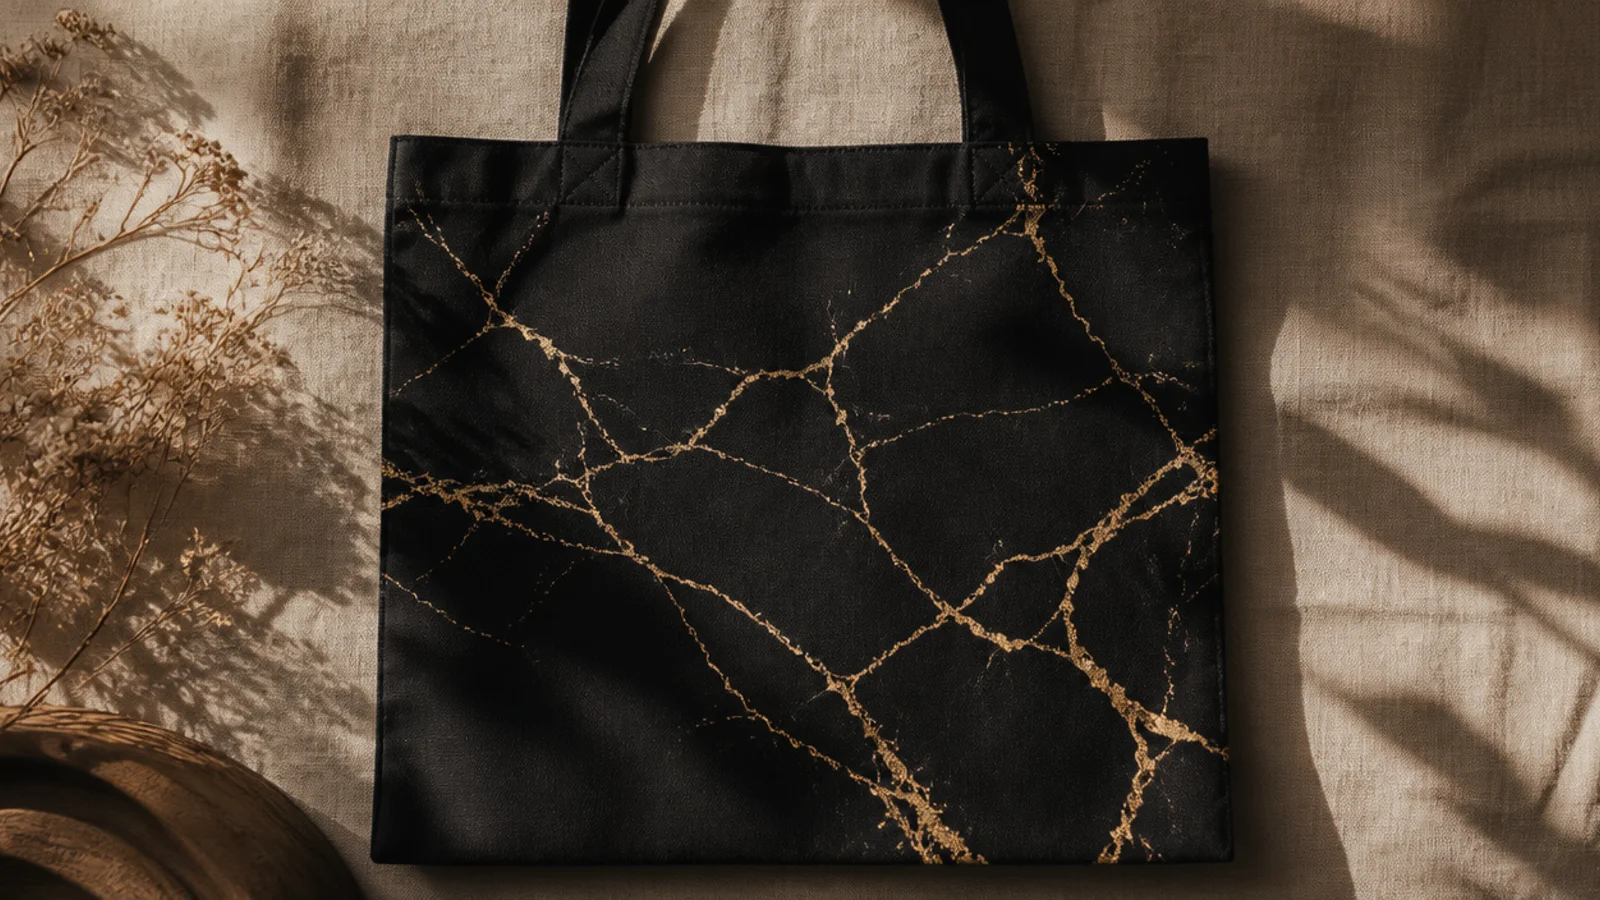
Fine gold veins branching across black mimic luxe black marble. The thin metallic lines look expensive and take minutes. It is an all-over effect with no repeating pattern to keep even.
Prep the tote and insert cardboard. With a gold paint pen or fine liner brush, draw thin branching veins that split and taper across the front, like cracks in marble. Vary their thickness slightly and let them wander. Add a few finer offshoot veins, cure, and heat-set gently.
Let the veins branch and taper unevenly like real cracks; irregular, wandering lines are what sell the marble effect.
Do not draw the veins as even parallel lines; regular lines look like a stripe pattern, not natural marble veining.
21. White Checkerboard Band
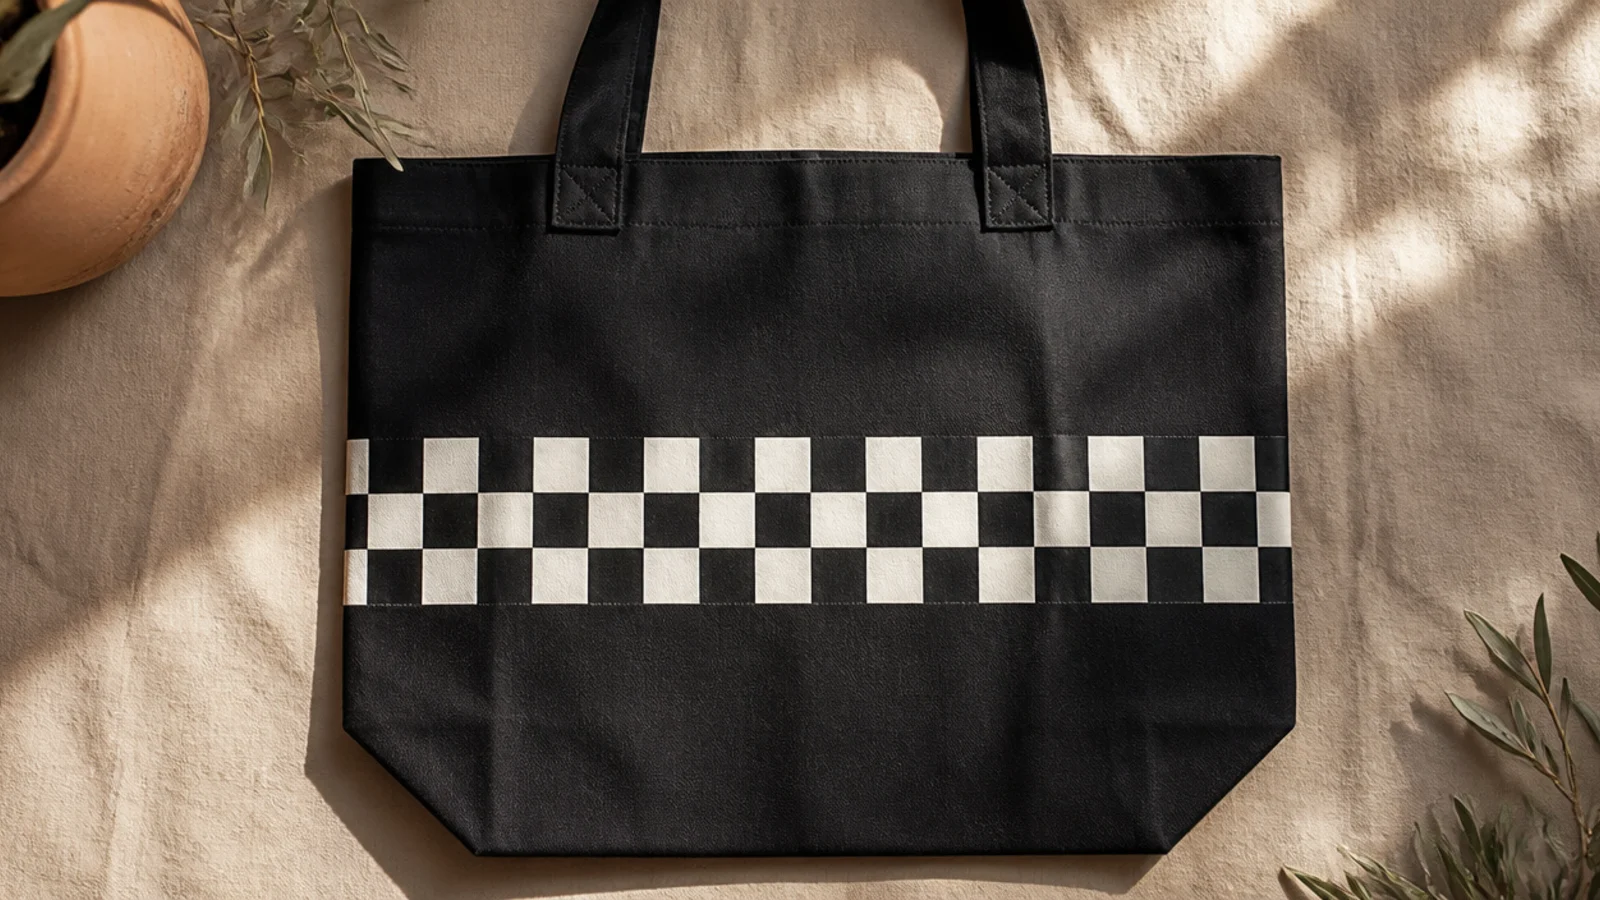
A white checkerboard band on black is bold, current, and graphic — the black squares are just the bare canvas. Only the white squares need painting. It fills a band with high-contrast pattern fast.
Editor's noteOnly paint the white squares and let the black canvas be the dark ones; skipping half the squares makes it twice as fast.
Prep and iron the tote, insert cardboard. Chalk an even grid for one horizontal band. Paint alternating squares white with a small flat brush in two thin coats, leaving the rest as bare black. Keep edges crisp, wipe chalk, cure, and heat-set.
Skip thisDo not let the white squares bleed into the black ones; crisp square edges are the whole point of a checkerboard.
22. Neon Sunset Gradient
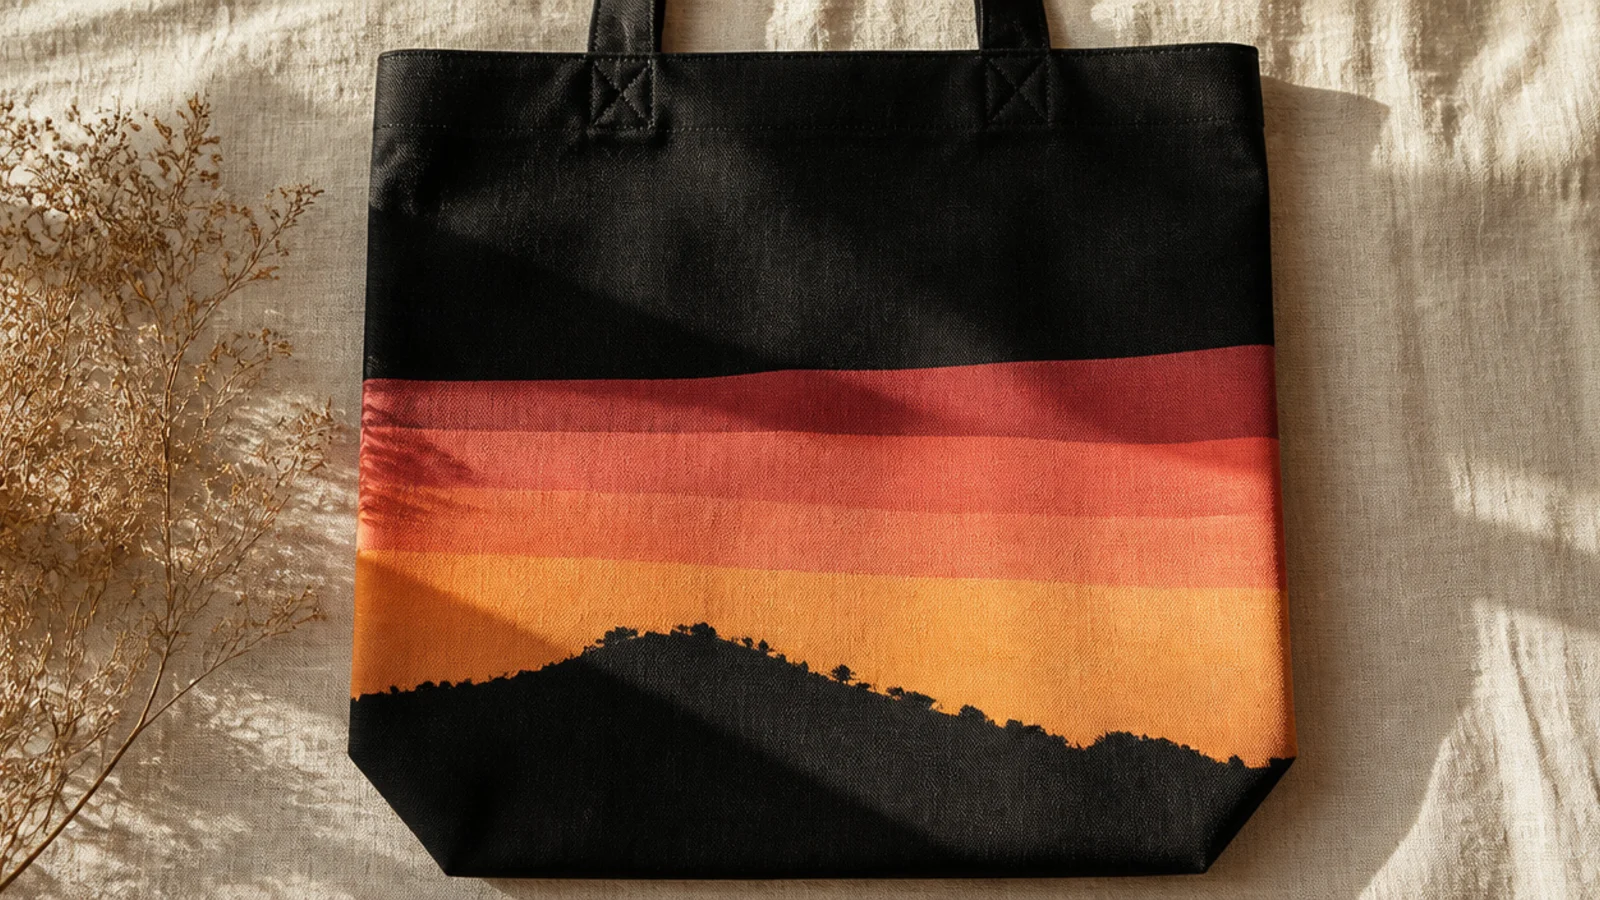
A glowing sunset over black looks like dusk, the bright bands blazing against the dark hill. The black canvas becomes the land silhouette for free. It is a scene with built-in drama.
Prep the tote and insert cardboard. Base-coat a rectangle white where the sky goes, let it dry, then paint horizontal bands of coral, pink, and gold, blending seams while wet. Leave the lower front black as the hill silhouette, add a gold sun, cure, and heat-set.
Base-coat the sky area white first so the sunset colors glow; let the bare black below serve as the hill with no paint at all.
Do not paint the sunset colors directly on black; without a white base the bright bands dull and the glow disappears.
23. White Heart Outlines
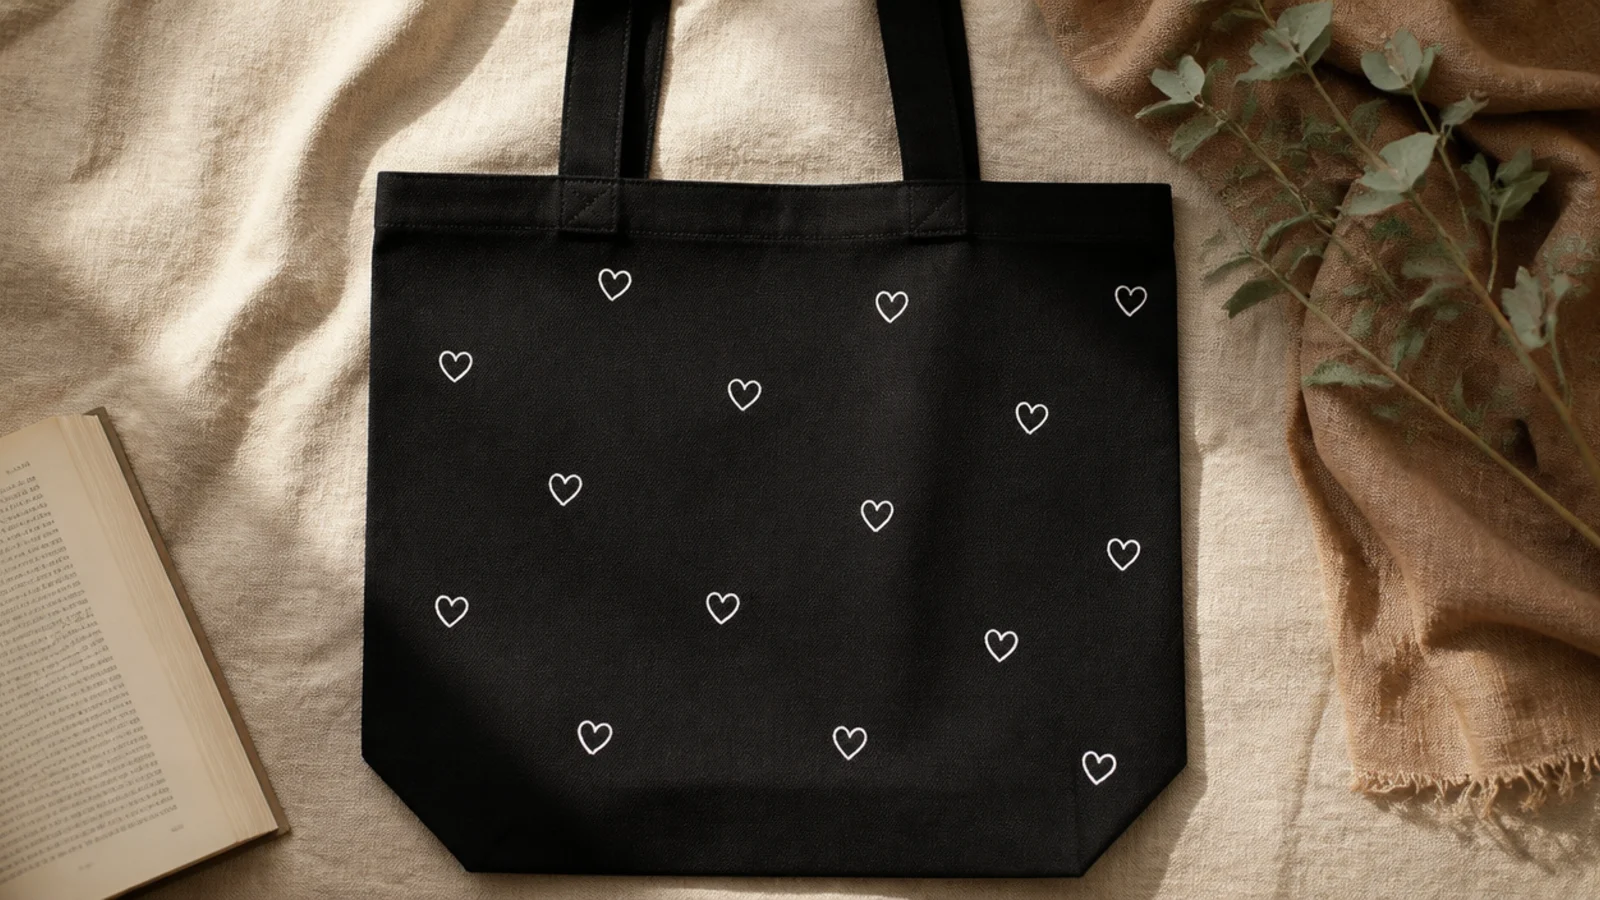
Small white heart outlines scattered on black are sweet but modern — the outlines keep them from being cutesy. White pops boldly and hearts are simple. A light scatter feels playful and clean.
Editor's noteLeave the hearts as outlines and vary their sizes; open outlines look modern and let more black show through as contrast.
Prep and iron the tote, insert cardboard. Draw small heart outlines with a white fabric marker, scattered evenly across the front and left unfilled. Go over each outline once more for opacity. Vary their sizes slightly, wipe any marks, cure, and heat-set.
Skip thisDo not fill the hearts solid; solid white hearts read like stickers, while outlines keep the design graphic and current.
24. Gold Geometric Triangles
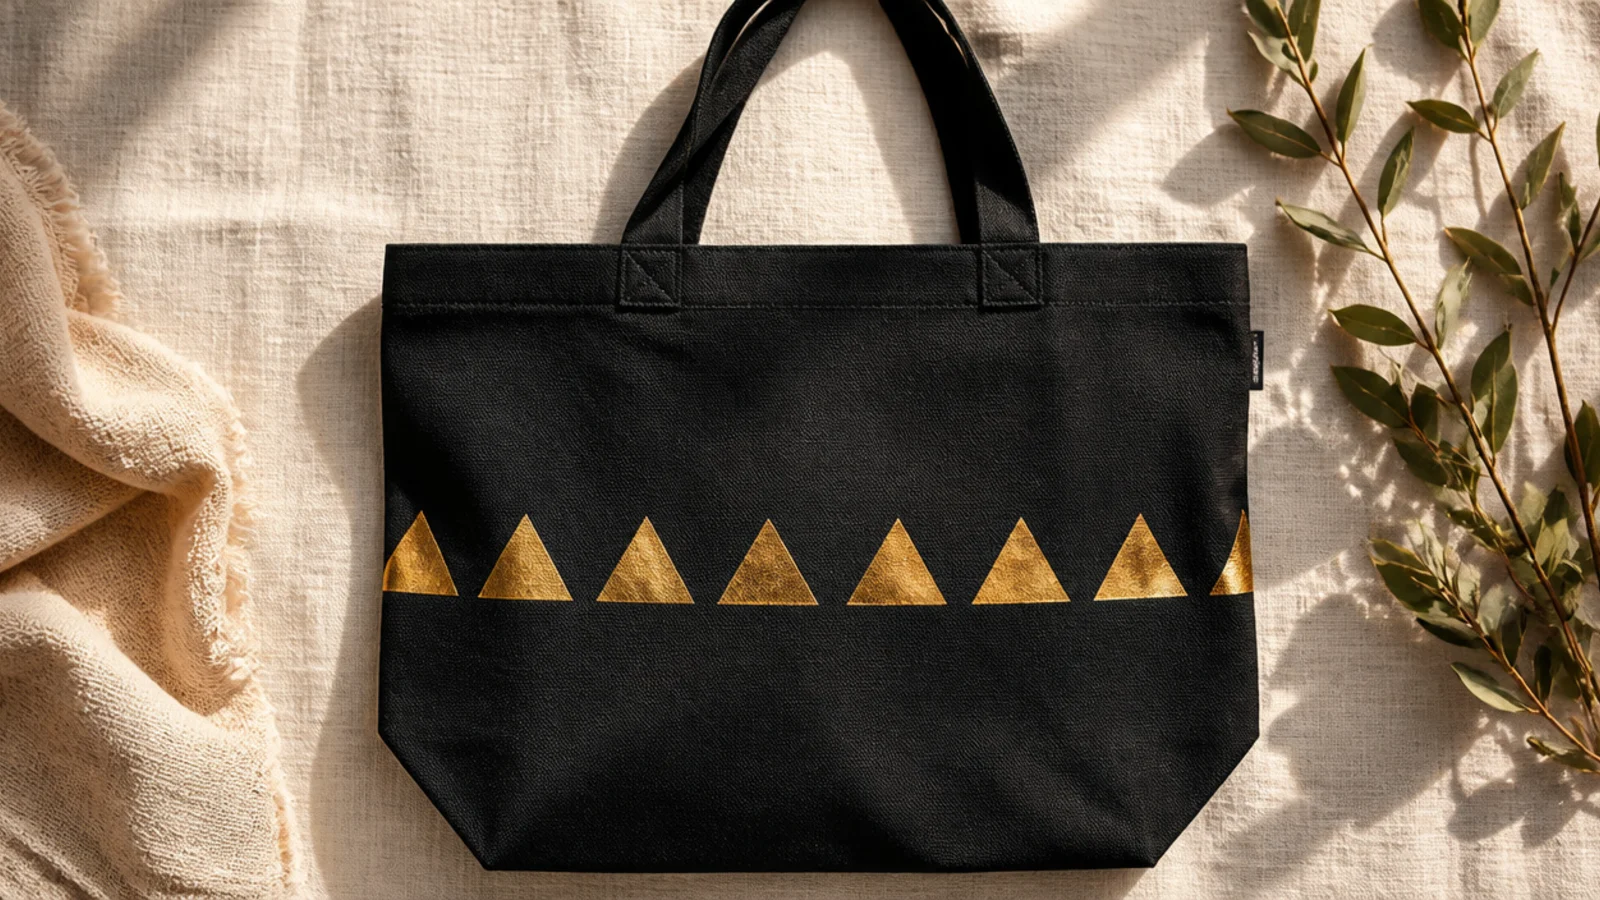
A row of gold triangles on black is sharp, geometric, and glamorous. Tape gives clean points and gold is opaque. The simple repeat looks like a designer print.
Editor's noteBurnish every taped edge hard before painting; on metallics a sealed edge is essential for the crisp points to shine.
Prep the tote and insert cardboard. Lay painter’s tape in a zigzag to mask triangles, burnishing every edge. Dab metallic gold into the exposed triangles with a sponge in two thin coats. Peel the tape while slightly wet, touch up points, cure, and heat-set gently.
Skip thisDo not brush the gold toward the tape; dab straight down so the metallic doesn’t creep under and round off the points.
25. White Line Mushroom
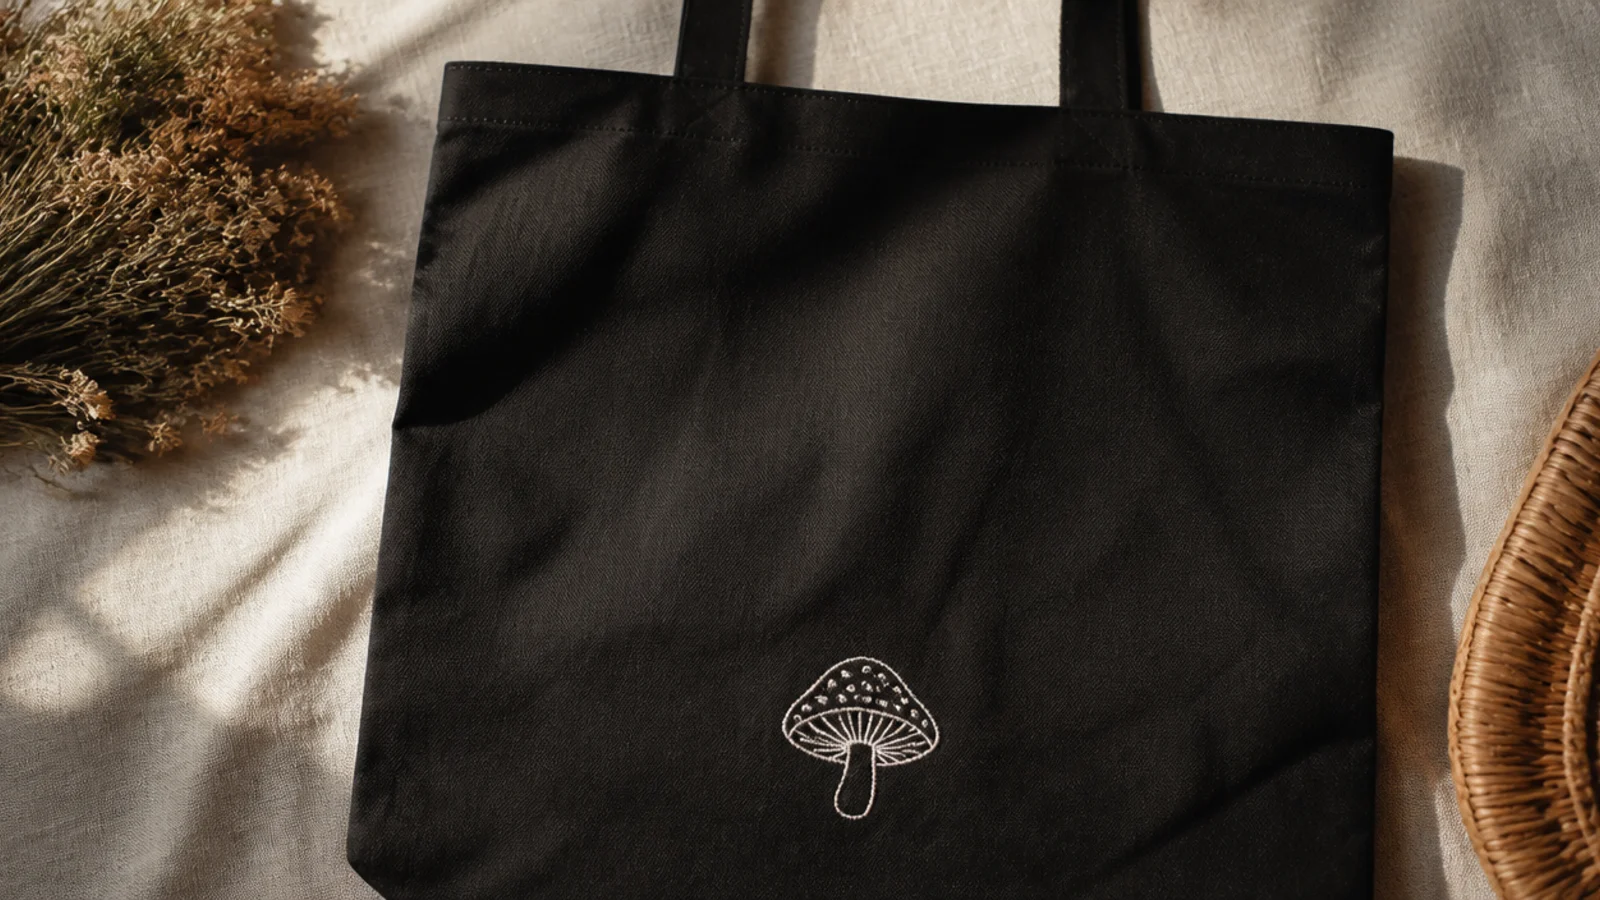
A little white mushroom outline is whimsical and cottagecore on black. It is a simple cap-and-stem shape with a few dots. The white line makes it charming without color.
Prep and iron the tote, insert cardboard. Sketch a mushroom with a chalk pencil — a domed cap and a short stem. Trace it with a white fabric marker, going over the line twice, and add a few open dots on the cap. Add small grass dashes at the base, wipe chalk, cure, and heat-set.
Draw the cap spots as open circles rather than filled dots; hollow spots keep the mushroom light and line-art rather than heavy.
Do not fill the cap solid white; a filled cap becomes a blob, while the outline keeps it a clean illustration.
26. Color-Pop Flower Cluster
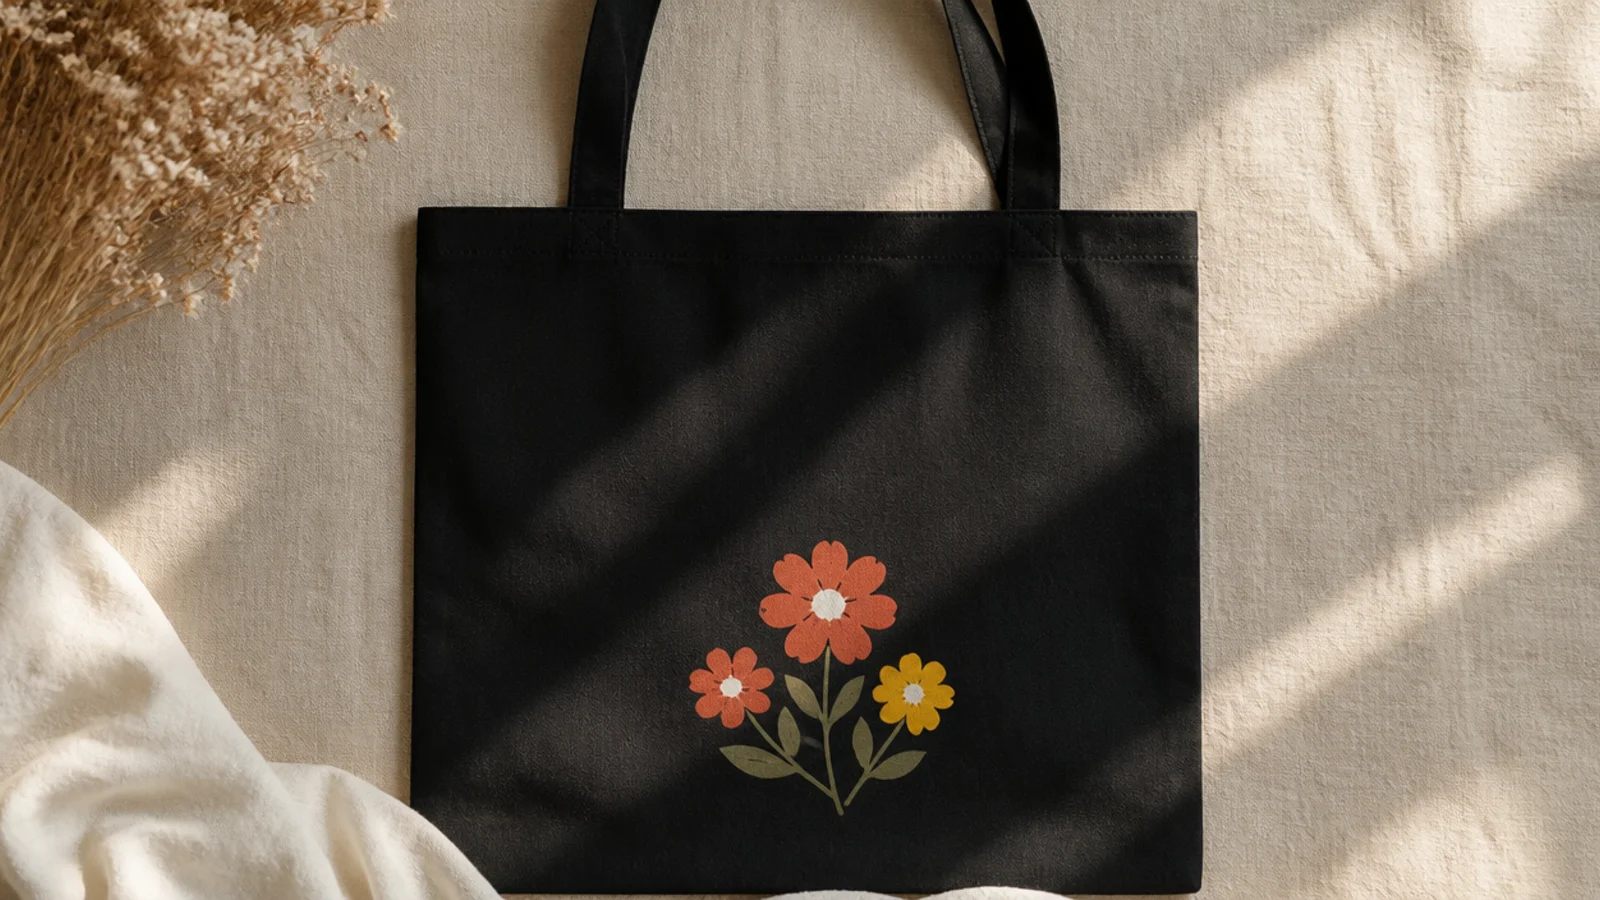
A cluster of bright, opaque flowers glows against black like a neon garden. Simple dab flowers in vivid colors pop where muted ones would vanish. A small cluster keeps it bold but tidy.
Prep the tote and insert cardboard. Base-coat small flower shapes white if using softer colors, or use opaque brights directly. Press petal dabs in coral and yellow with a size 4 round brush, add white or contrasting centers, and tuck in a few green leaves. Cluster them low, cure, and heat-set.
Use the brightest, most opaque flower colors you have; on black, vivid coral and yellow read as a pop where pastels go gray.
Do not use muted, dusty flower tones here; the soft colors that look aesthetic on cream disappear into black canvas.
27. White Dash Pattern
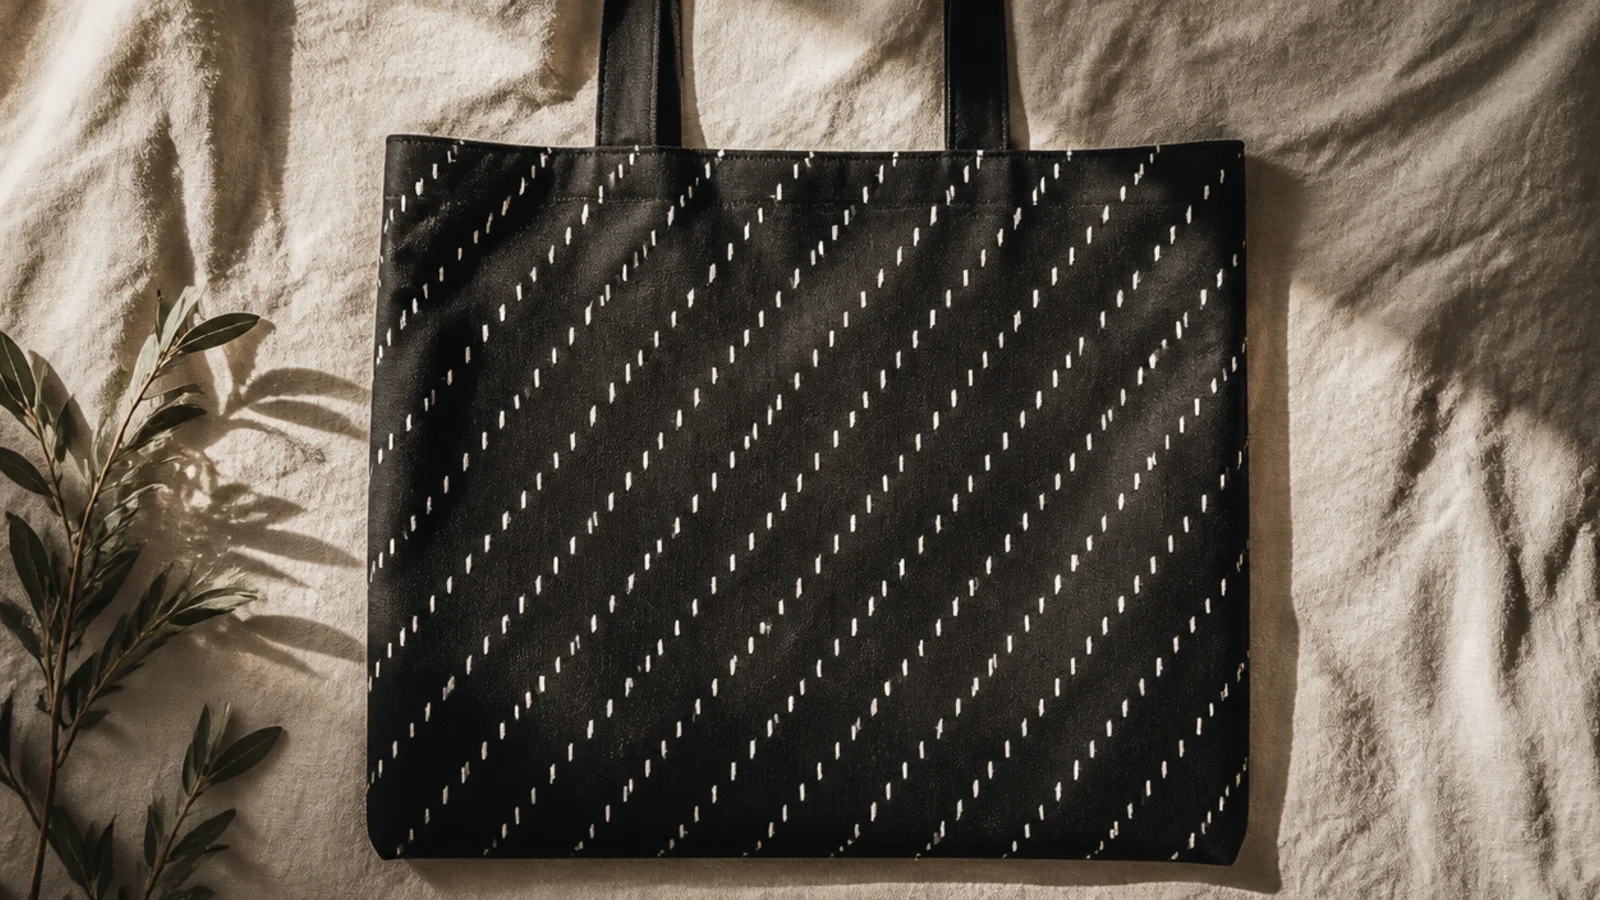
An all-over field of short white dashes is a minimal, modern texture on black. The little marks read as a subtle pattern and fill the bag evenly. It is fast, forgiving, and graphic.
Editor's noteKeep every dash the same length and tilt them at the same angle; uniform dashes on a grid read as a designed pattern.
Prep and iron the tote, insert cardboard. Mark a faint diagonal grid with chalk. At each point, paint a short white dash with a size 2 round brush or fabric marker, keeping them all the same length and angle. Go over faint ones once dry, wipe chalk, cure, and heat-set.
Skip thisDo not vary the dash angle randomly; mismatched dashes look like scattered marks rather than an intentional texture.
28. Gold Half-Moon Arches
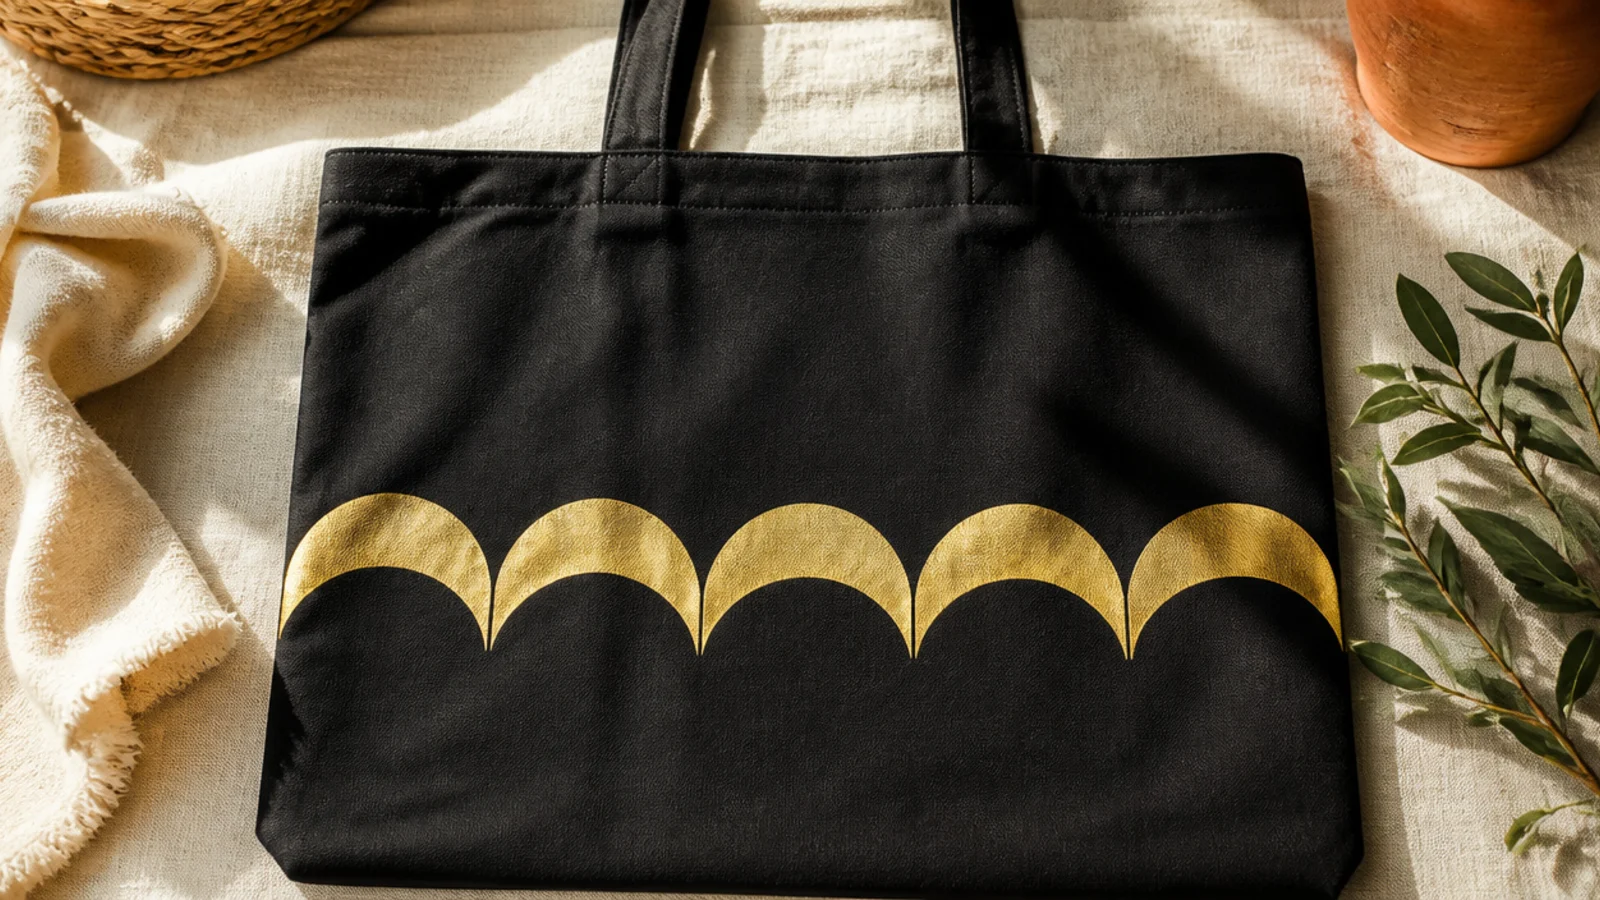
Overlapping gold half-moons form a scalloped, art-deco band on black. The repeated arches look intricate but come from one stamped shape. Gold gives it a rich, deco feel.
Editor's noteOverlap each half-moon slightly with the next; the overlap is what turns a row of arches into a continuous scalloped band.
Prep the tote and insert cardboard. Find a round lid the size you want. Dip its rim in metallic gold and stamp overlapping half circles in a row, or trace and fill them with a brush. Keep spacing even for a scalloped band, cure, and heat-set gently.
Skip thisDo not space the arches with gaps; separated half-moons lose the deco scallop effect and look like random bumps.
29. White Star Scatter
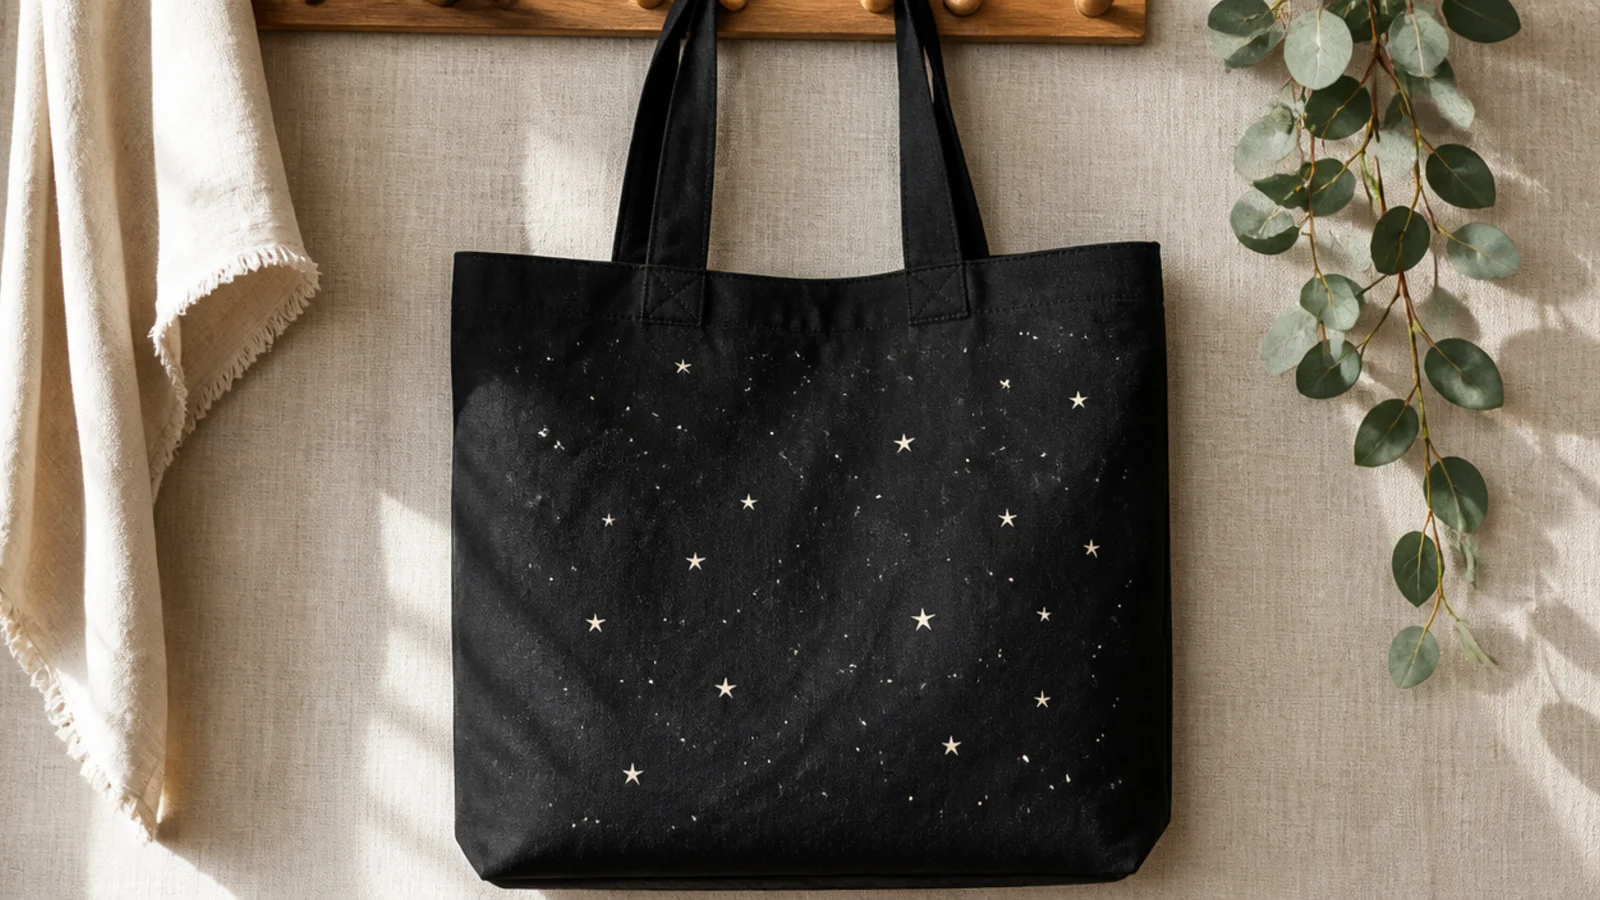
A scatter of white stars turns the black canvas into a night sky — simple, dreamy, and bold. Varying the star sizes makes it feel real. White pops brightly with no base coat.
Editor's noteMix a few larger stars with many tiny dots; the range of sizes is what makes the scatter read as a night sky, not a grid.
Prep and iron the tote, insert cardboard. Paint small four- and five-point stars across the front with a white fabric marker or fine brush, varying their sizes and spacing. Add a few tiny dots between the larger stars. Go over faint ones once dry, cure, and heat-set.
Skip thisDo not space the stars evenly; a regular grid of stars looks like a pattern, while a random scatter looks like real sky.
30. White Abstract Brushstrokes
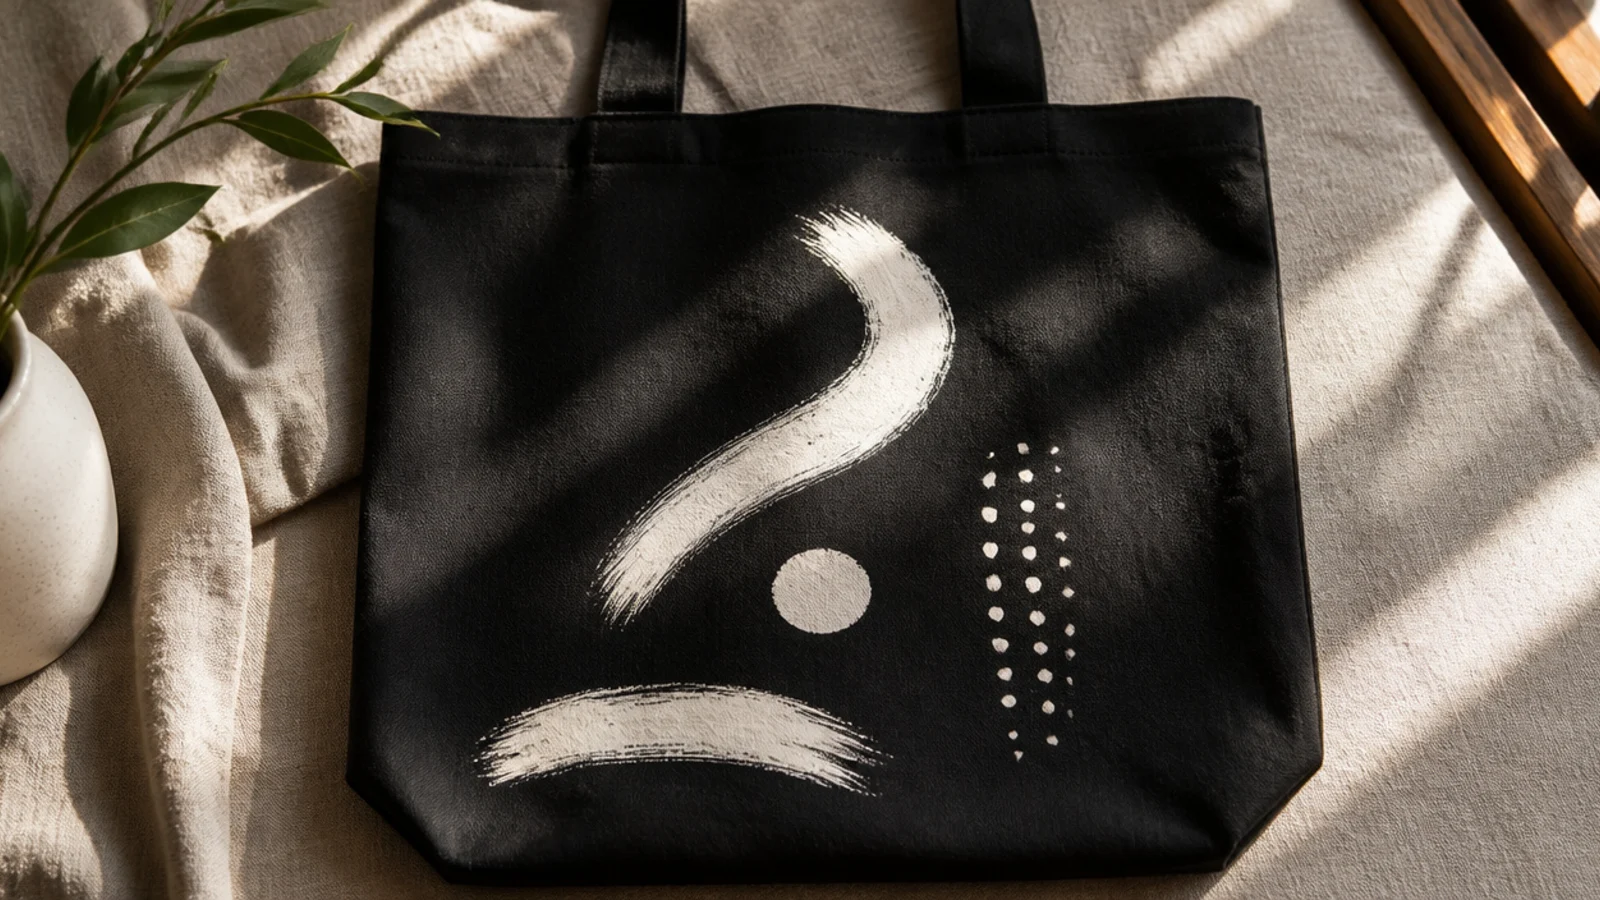
A handful of bold white brushstrokes on black looks like modern gestural art. The restraint — three or four confident marks — is the whole design. White on black makes each stroke dramatic.
Editor's noteMake each stroke in one fast confident motion; quick tapered strokes read as gestural art, while slow ones look labored.
Prep the tote and insert cardboard. Load a medium round brush with opaque white and make a few quick curved strokes on the front, lifting as you go so the ends taper. Add two or three white dots to balance them. Go over any thin strokes once dry, resist adding more, cure, and heat-set.
Skip thisDo not keep adding strokes to fill the black; the empty dark space is what makes the few white marks feel intentional.



