

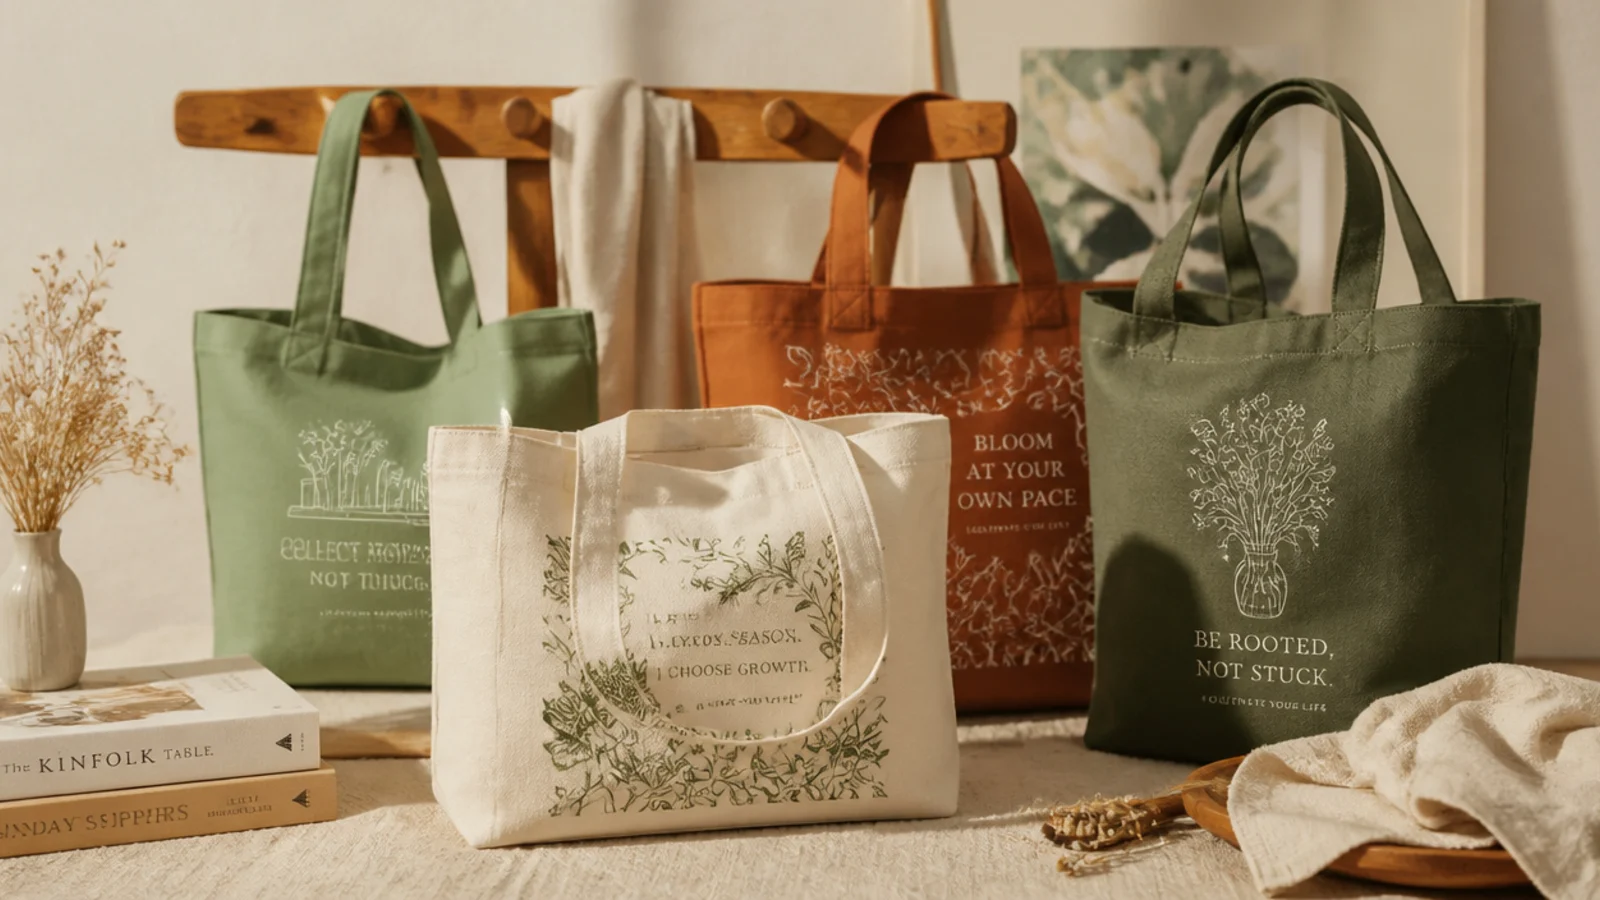

1. Step 1: Wash, Dry, and Iron the Tote
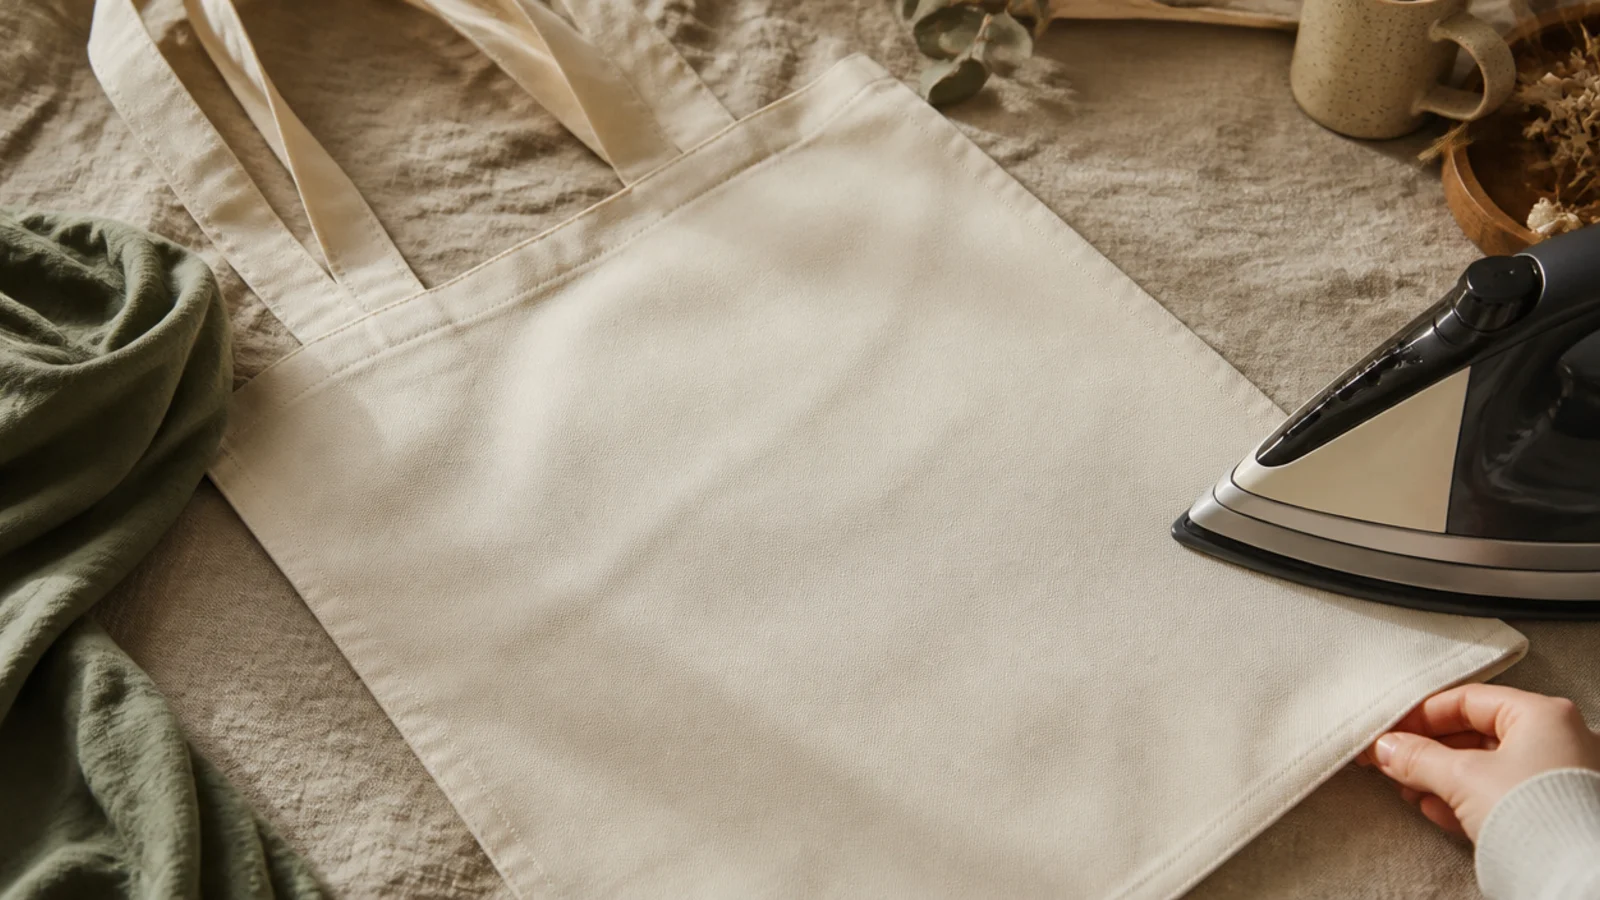
The first step is the one most people skip and the one that matters most. Washing strips the factory sizing that repels paint, and ironing gives you a smooth surface. Get this right and everything after it goes better.
Machine-wash the plain canvas tote in warm water with a little detergent and no fabric softener, which would coat the fibers again. Tumble or line dry it fully, then iron the front and back flat on the cotton setting to remove every wrinkle. Do not use starch. The bag should feel clean, matte, and smooth before any paint touches it.
Editor's noteSkip the fabric softener entirely; it leaves a slick coating that stops paint from gripping, undoing the whole point of washing.
Skip thisDo not paint a brand-new, unwashed tote; the sizing will make your design crack and peel within a wash or two.
2. Step 2: Plan the Design and Insert a Barrier

Before painting, lock in your design and stop paint from bleeding through. Sketching first prevents mid-project regret, and a barrier inside keeps the back clean. Two minutes here saves a ruined bag.
Slide a piece of cardboard, a cutting board, or several layers of wax paper inside the tote so paint can’t seep to the back, and smooth the front panel taut. Lightly pencil your design, or position stencils and tape, and step back to check placement and that it clears the handles. Keep pencil lines faint so they don’t show through light paint.
Place motifs in the lower two-thirds of the front so the handles don’t cover them when the bag is carried.
Do not paint without a barrier inside; canvas is thin and absorbent, so paint bleeds straight through to the back panel.
3. Step 3: Choose and Mix Your Paint
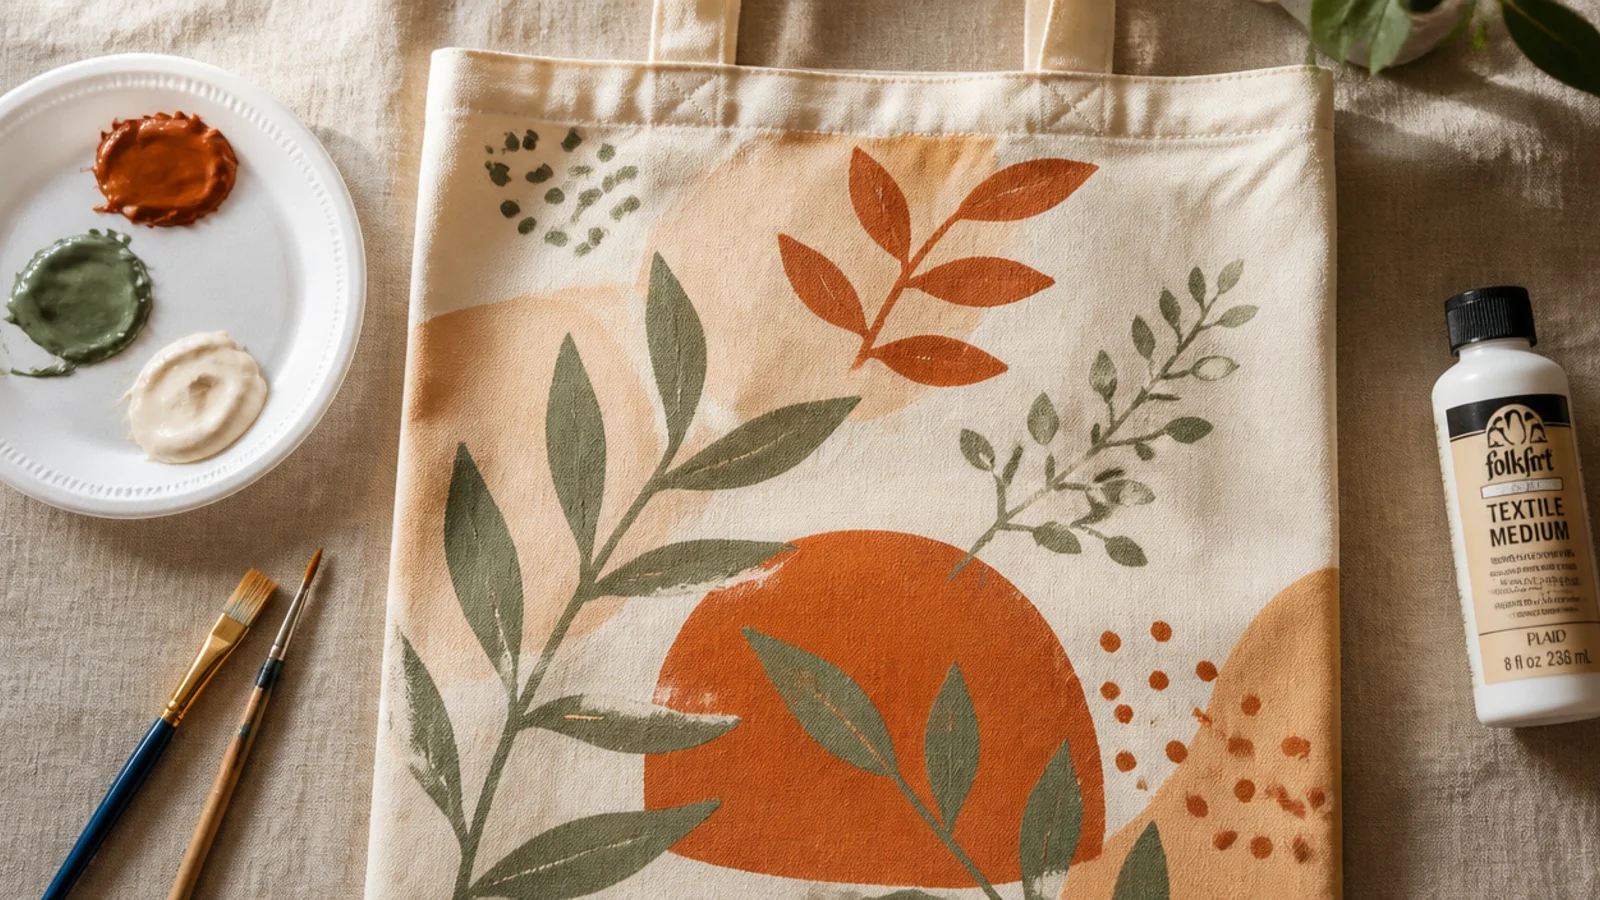
The right paint is what keeps a design flexible and wash-safe. Fabric paint is ideal; craft acrylic works only if you soften it with textile medium. Mixing your palette now means smooth, uninterrupted painting.
Use bottled fabric paint straight from the bottle, or mix craft acrylic two parts paint to one part textile medium on a foam plate until smooth. Test each color on the bag’s inside hem, since fabric paint often dries a shade deeper than it looks wet. Keep the paint at a creamy consistency — thin it with a drop of water only if it drags, never to a runny wash unless you want a sheer effect.
Editor's noteAlways test colors on the inside hem first; fabric paint dries darker and slightly duller than the wet color on the plate.
Skip thisDo not use plain craft acrylic without textile medium; it dries stiff and cracks the first time the bag folds.
4. Step 4: Paint the Base Coats and Color Blocks
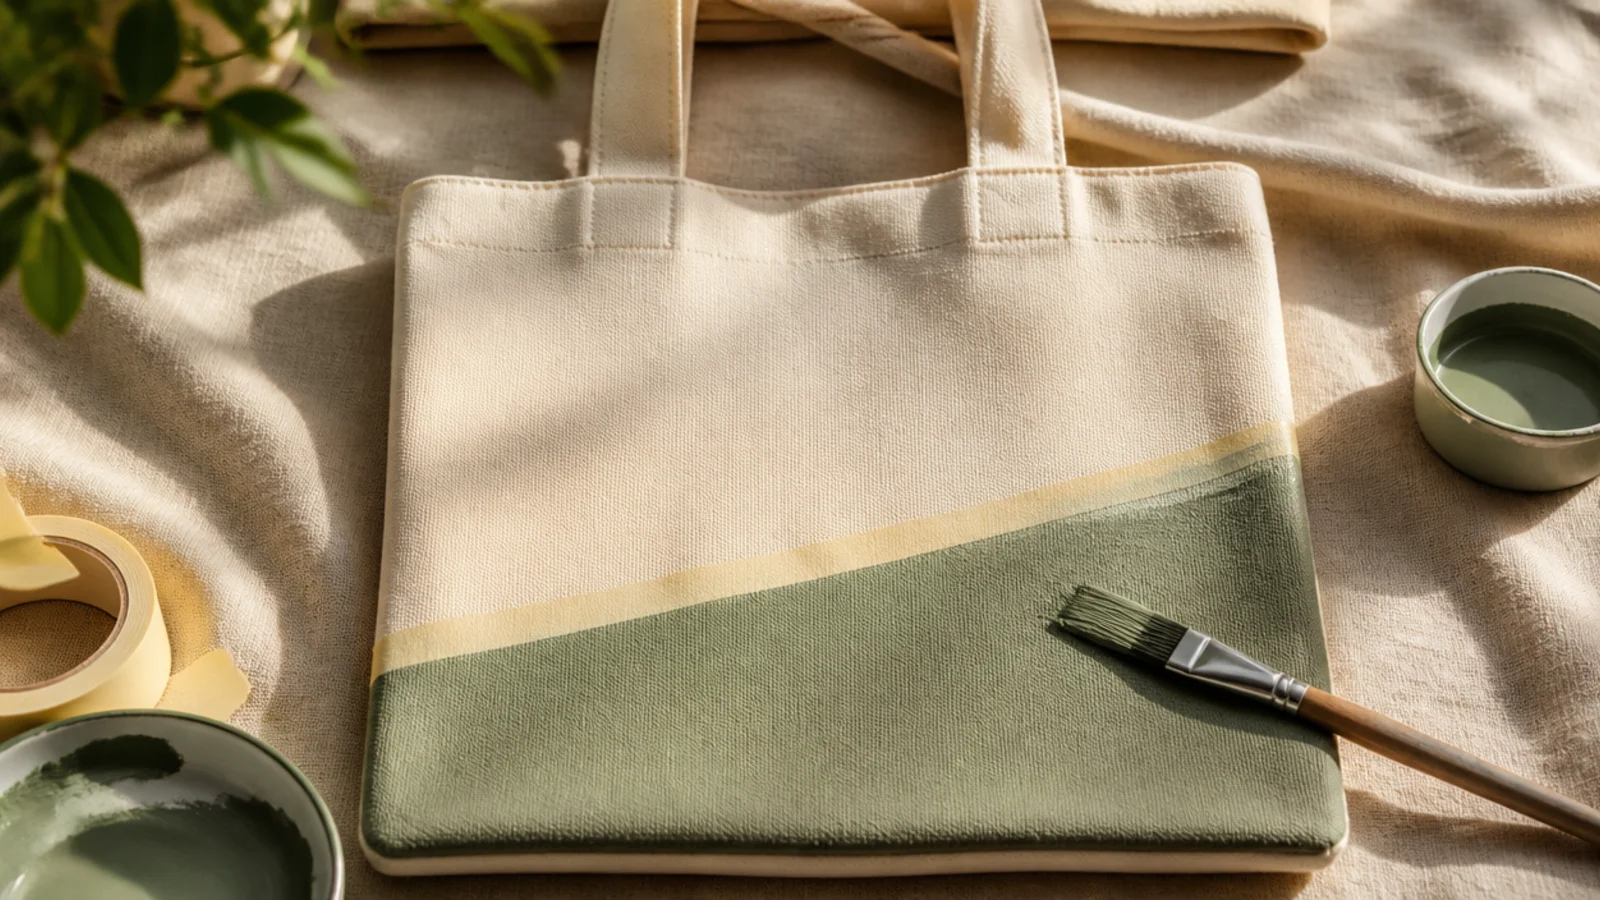
Now you lay down the large areas of color first, before any detail. Painting big shapes and backgrounds in thin coats builds even, crack-free color. This is the foundation the details sit on.
Paint your largest areas and color blocks first with the flat brush, using two thin coats rather than one thick one and letting the first dry before the second. Use painter’s tape for any straight edges, burnishing the tape down hard so paint can’t creep under, and peel it while the paint is still slightly wet. Let all base areas dry fully before moving to details.
Editor's noteTwo thin coats always beat one thick coat; thin layers dry even and flexible, while a thick coat streaks and cracks.
Skip thisDo not rush to details over wet base coats; smudging a half-dry background undoes all your careful blocking.
5. Step 5: Add Details, Outlines, and Accents
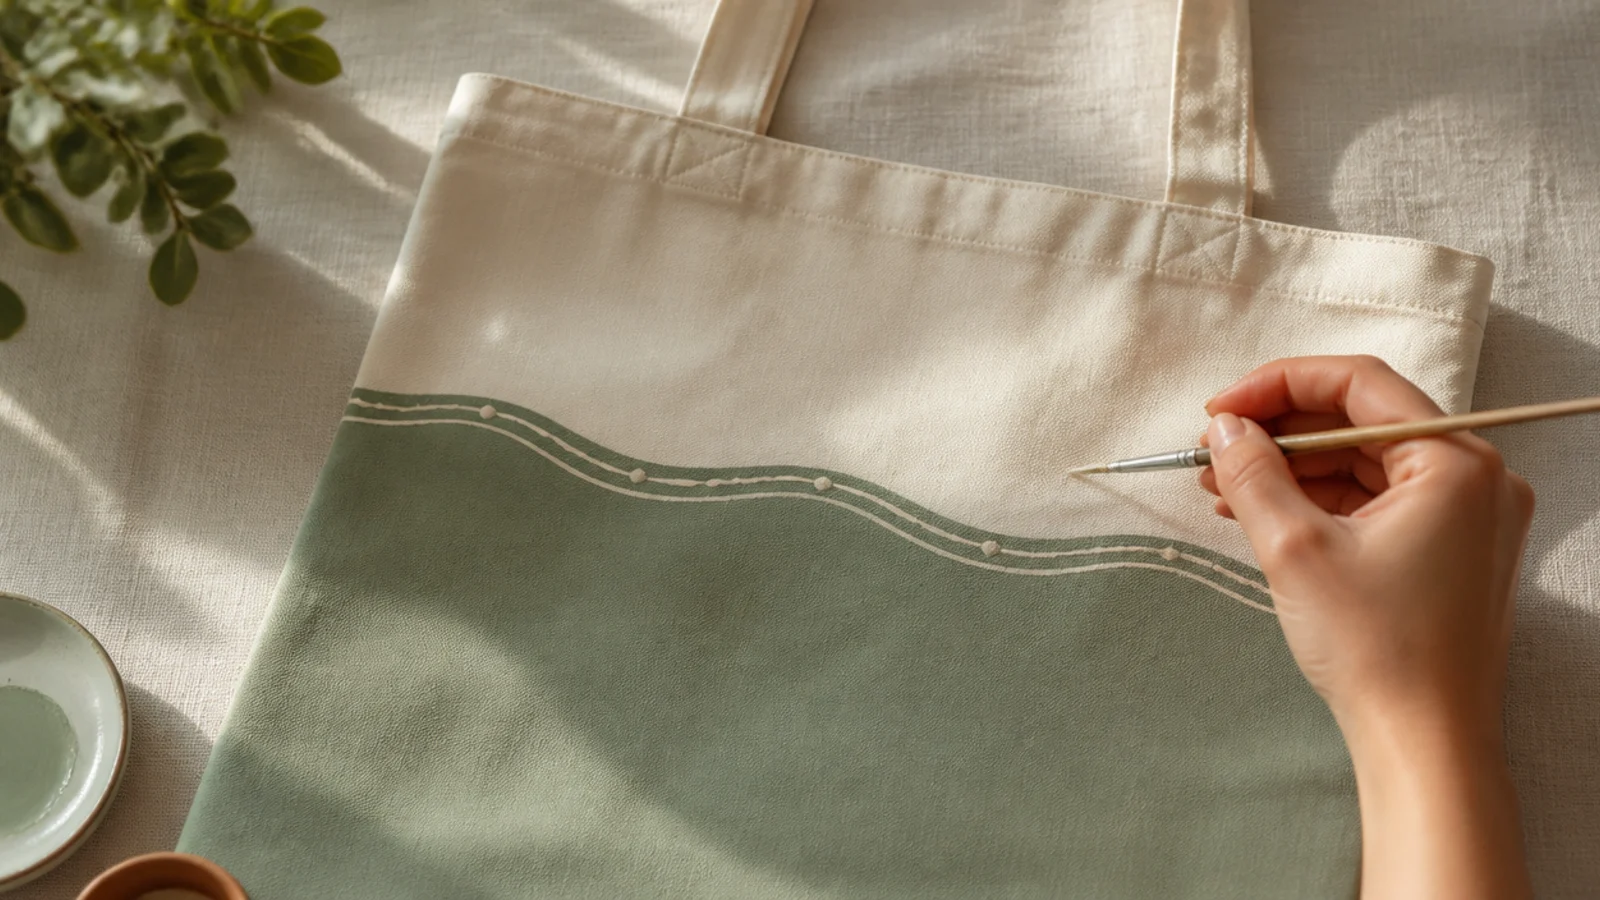
With the base dry, you add the details that bring the design to life. Fine lines, dots, outlines, and lettering go on last so they stay crisp. This is where a plain shape becomes a finished piece.
Switch to the small round brush, liner, or fabric marker for veins, dots, outlines, and lettering, working on top of the fully dry base. Steady your hand on the table, and go over fine lines a second time if they look thin. Add the smallest accents — dots, highlights — dead last. Erase any stray pencil marks once everything is dry.
Rest your painting hand on the tabletop and pull the bag toward you for long lines; an anchored wrist beats a floating hand every time.
Do not add fine details before the base is fully dry; wet base paint will smear and muddy every crisp line you add.
6. Step 6: Cure and Heat-Set the Design
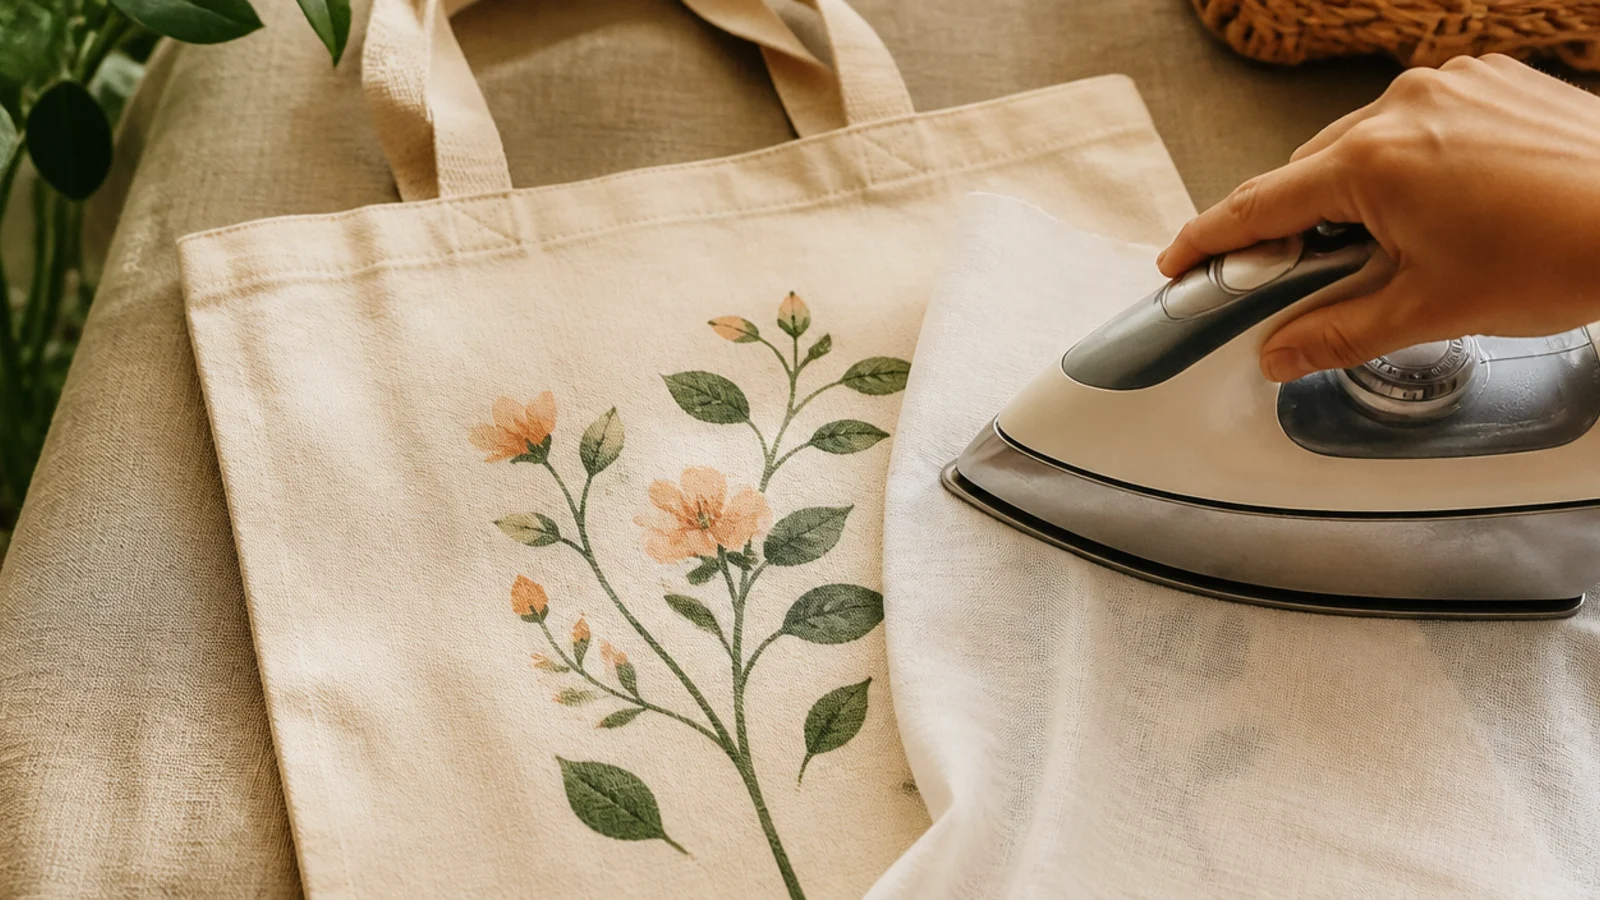
The final step makes the whole thing permanent. Curing lets the paint bond, and heat-setting locks it in so the bag is wash-safe. Skip this and even a beautiful design fades fast.
Let the finished design cure untouched for a full 24 hours. Then lay a thin cotton cloth, pillowcase, or parchment over the design and press with a dry iron on the cotton setting for 3-5 minutes, keeping the iron moving so nothing scorches; you can also press from the back. Wait another day if you can, then wash the bag inside out on cold and hang to dry.
Editor's noteKeep the iron moving the whole time and always use a cloth between iron and paint; direct heat can scorch or gloss the design.
Skip thisDo not use or wash the bag before heat-setting; unset fabric paint lifts and fades the first time it gets wet.



