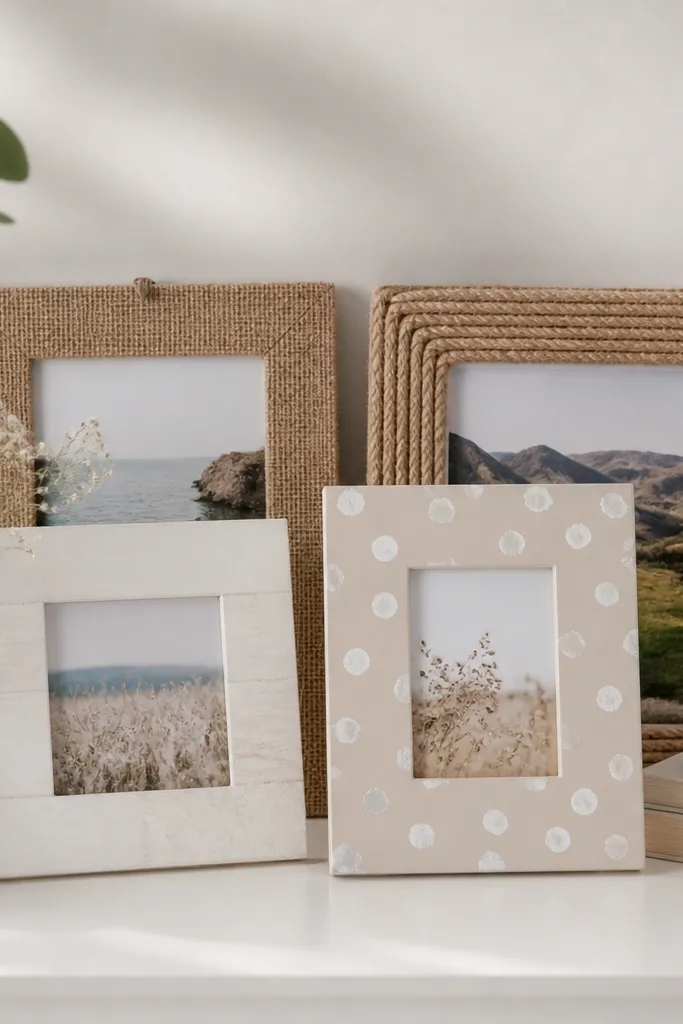
1. Cardboard Mat Frame
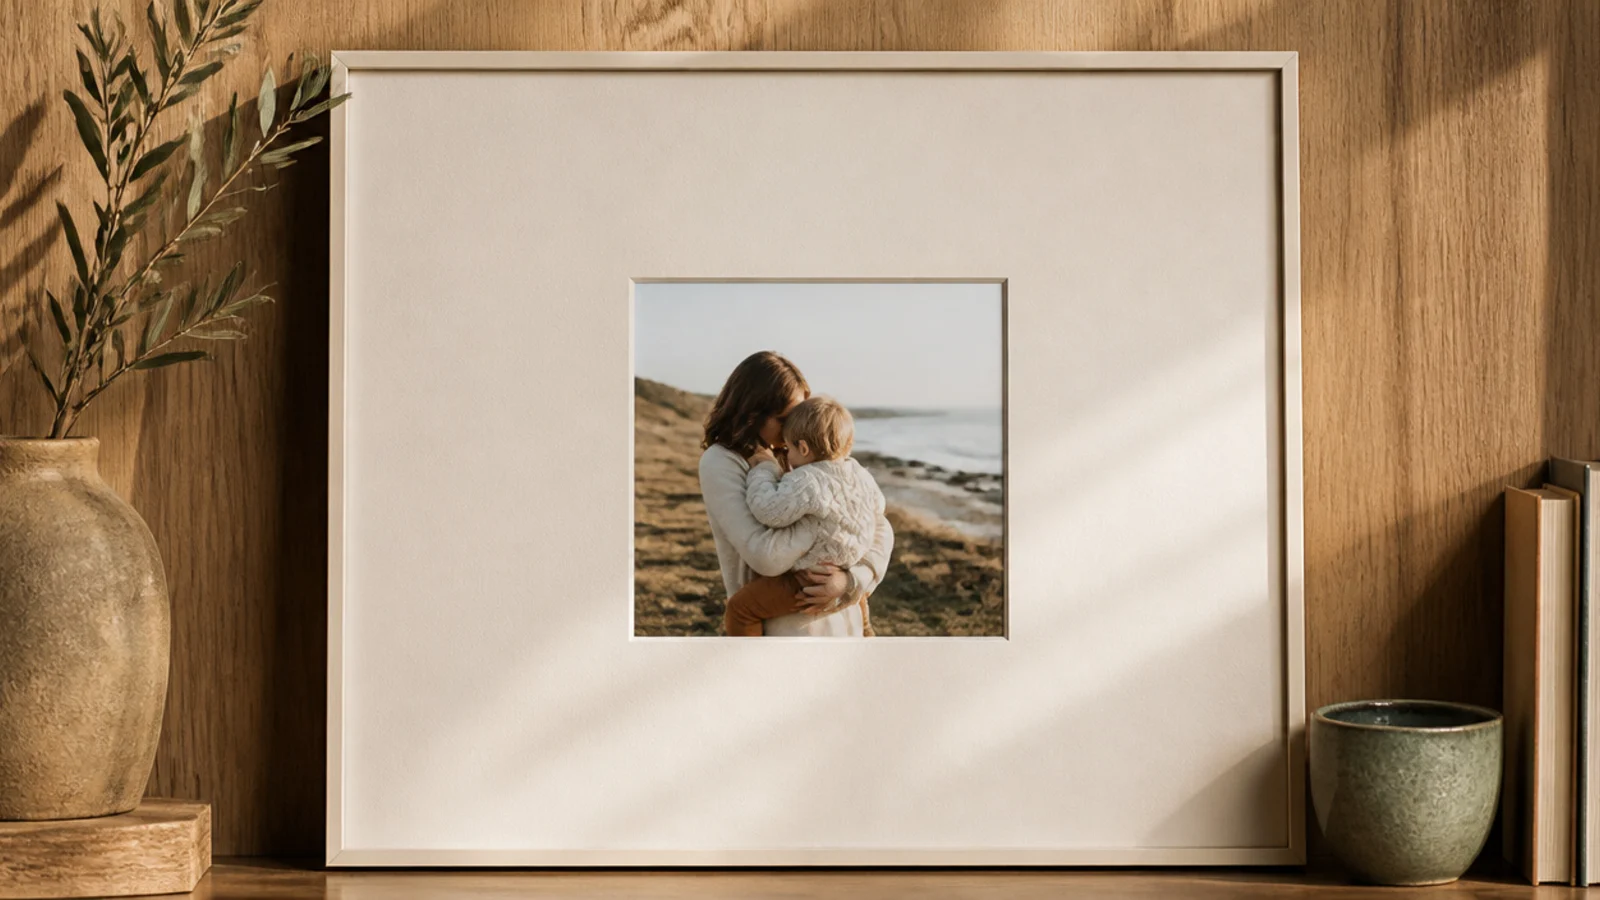
A wide-mat frame cut from a cereal box is the best first budget craft — free, forgiving, and gallery-like. It suits total beginners and kids. The generous border around the photo is what makes cheap cardboard read as an intentional mat.
Editor's noteMake the bottom border a few millimeters wider than the top, the way real gallery mats are cut, so it looks balanced.
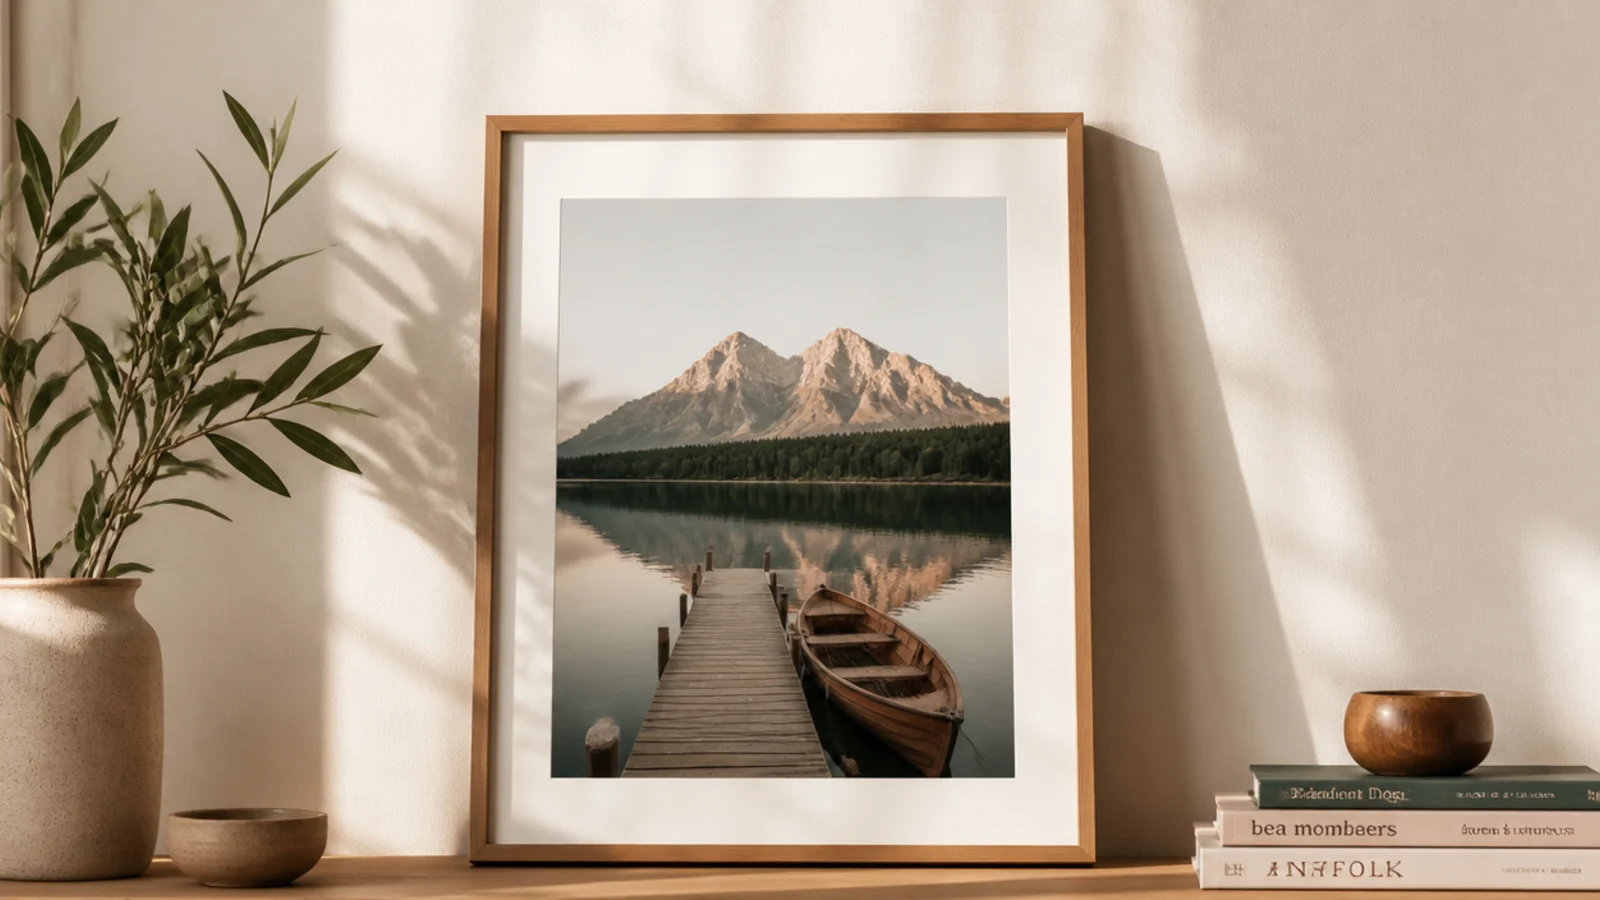
Cut a cardboard rectangle for the base and a second piece with a centered window opening a half inch smaller than your print. Cover both in cream or kraft paper and glue. Tape the photo behind the window, glue the layers together leaving the top open as a slot, and add a cardboard kickstand or hanger to the back.
Skip thisDon’t cut the window with a dull blade; ragged cardboard edges show through and give the craft away.
2. Paint-Stick Frame
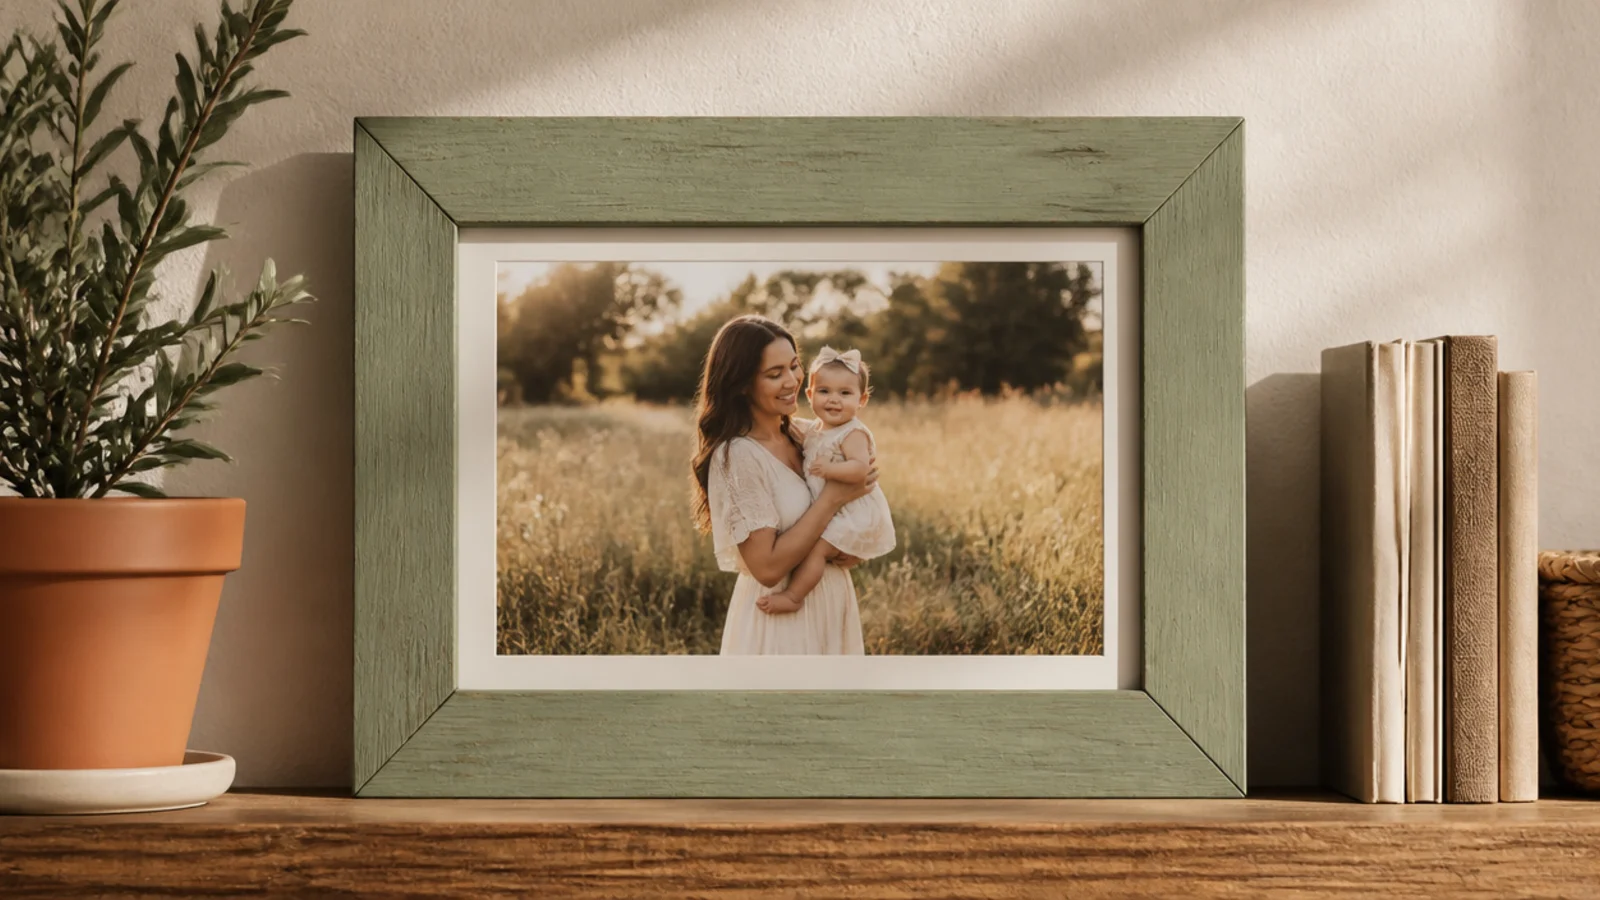
Free paint stir sticks make a sturdy, flat frame for almost nothing. It suits beginners and quick gifts. Painted one calm color and sealed, the humble sticks look like a real slim wood frame.
Editor's noteOverlap the stick ends in a consistent pinwheel pattern at all four corners so the frame looks deliberately built.
Get free paint stir sticks from a hardware store. Paint them a muted color and let dry. Lay four in a square, overlapping the ends, and hot-glue the corners. Glue a cardboard backing across the rear with a photo slot. Sand any rough ends, seal with matte clear, and add a hanger or stand.
Skip thisDon’t leave the sticks raw; unpainted, unsealed stir sticks look exactly like what they are — free hardware scraps.
3. Clothespin Frame
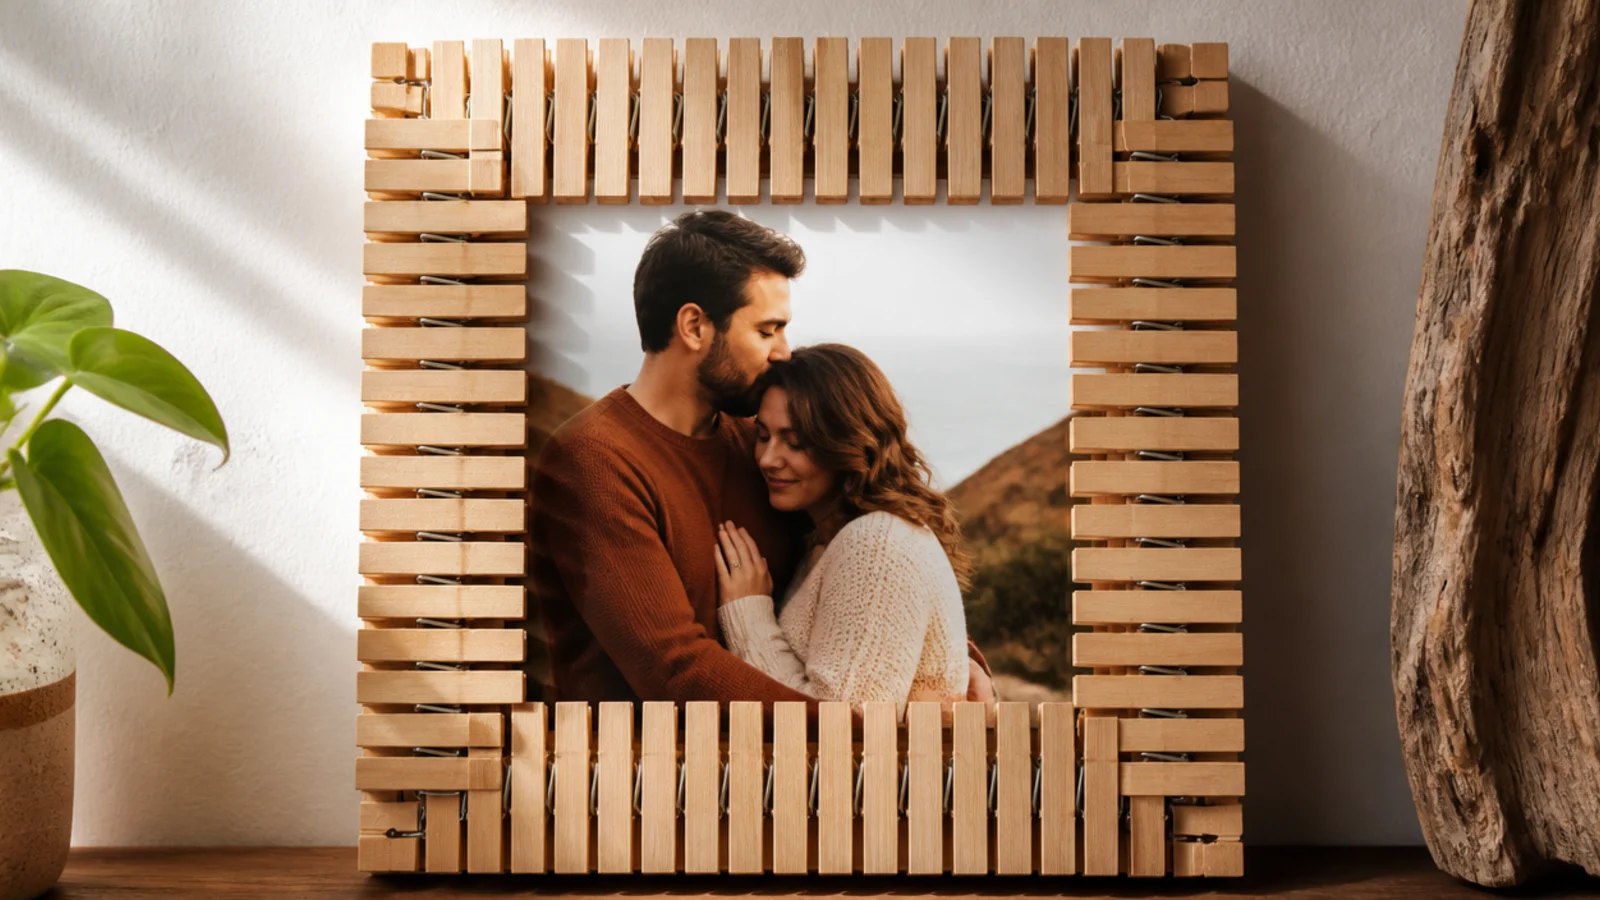
Wooden clothespins clipped around a base make a textured, playful frame for pennies. It suits kids and rustic decor. The repeated clip shapes give a fun, uniform border with zero cutting.
Editor's noteSpace the clothespins evenly and all facing the same way so the border reads as a pattern, not a jumble.
Cut a square cardboard base slightly larger than your photo. Clip wooden clothespins side by side around all four edges of the base, or hot-glue them for permanence. Paint them one color if you like. Mount the photo in the center and add a stand or hanger. The clips can even hold a swappable photo.
Skip thisDon’t mix cheap plastic and wooden clothespins; one material throughout looks intentional, a mix looks scrappy.
4. Twig Frame
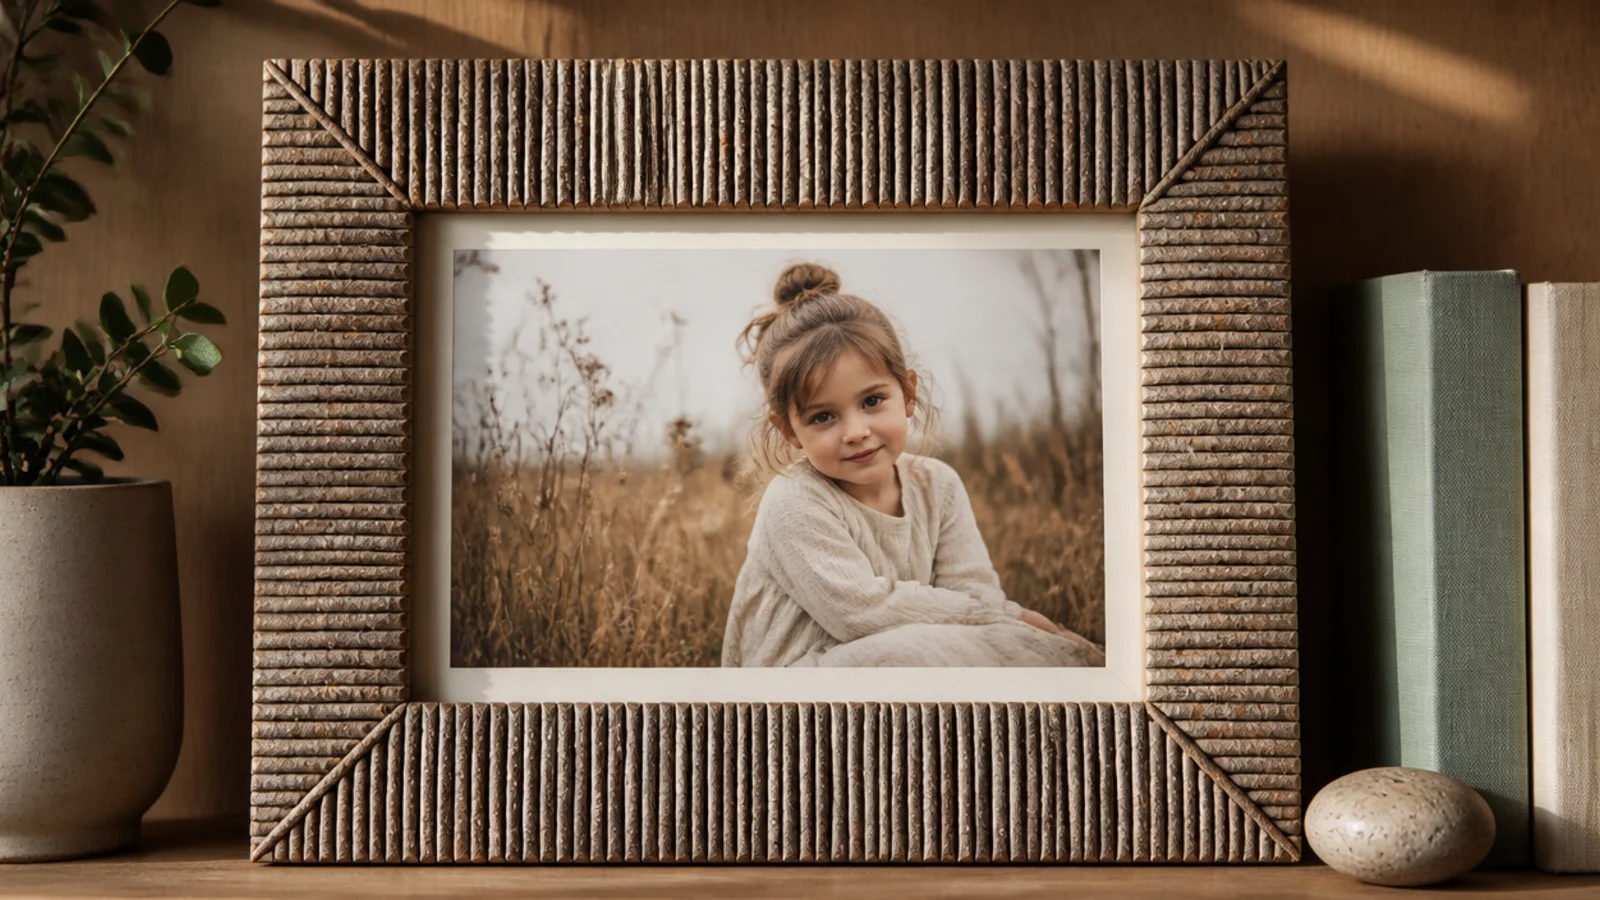
Free straight twigs glued around a base make an organic, cabin-cozy frame. It suits nature photos and rustic rooms. Real bark texture costs nothing and looks warm against a plain wall.
Editor's noteBake collected twigs at a low temperature for an hour to kill insects and dry them so they don’t shrink loose later.
Collect pencil-thick straight twigs and dry them fully. Build a flat cardboard base. Cut twigs slightly longer than each side and hot-glue them across the face, trimming corners at rough angles to interlock. Fill gaps with shorter pieces. Spray with matte sealer to lock them and cut shedding, then mount the photo.
Skip thisDon’t use green, fresh-cut twigs; they shrink as they dry and pop off the glue within weeks.
5. Wine-Cork Frame
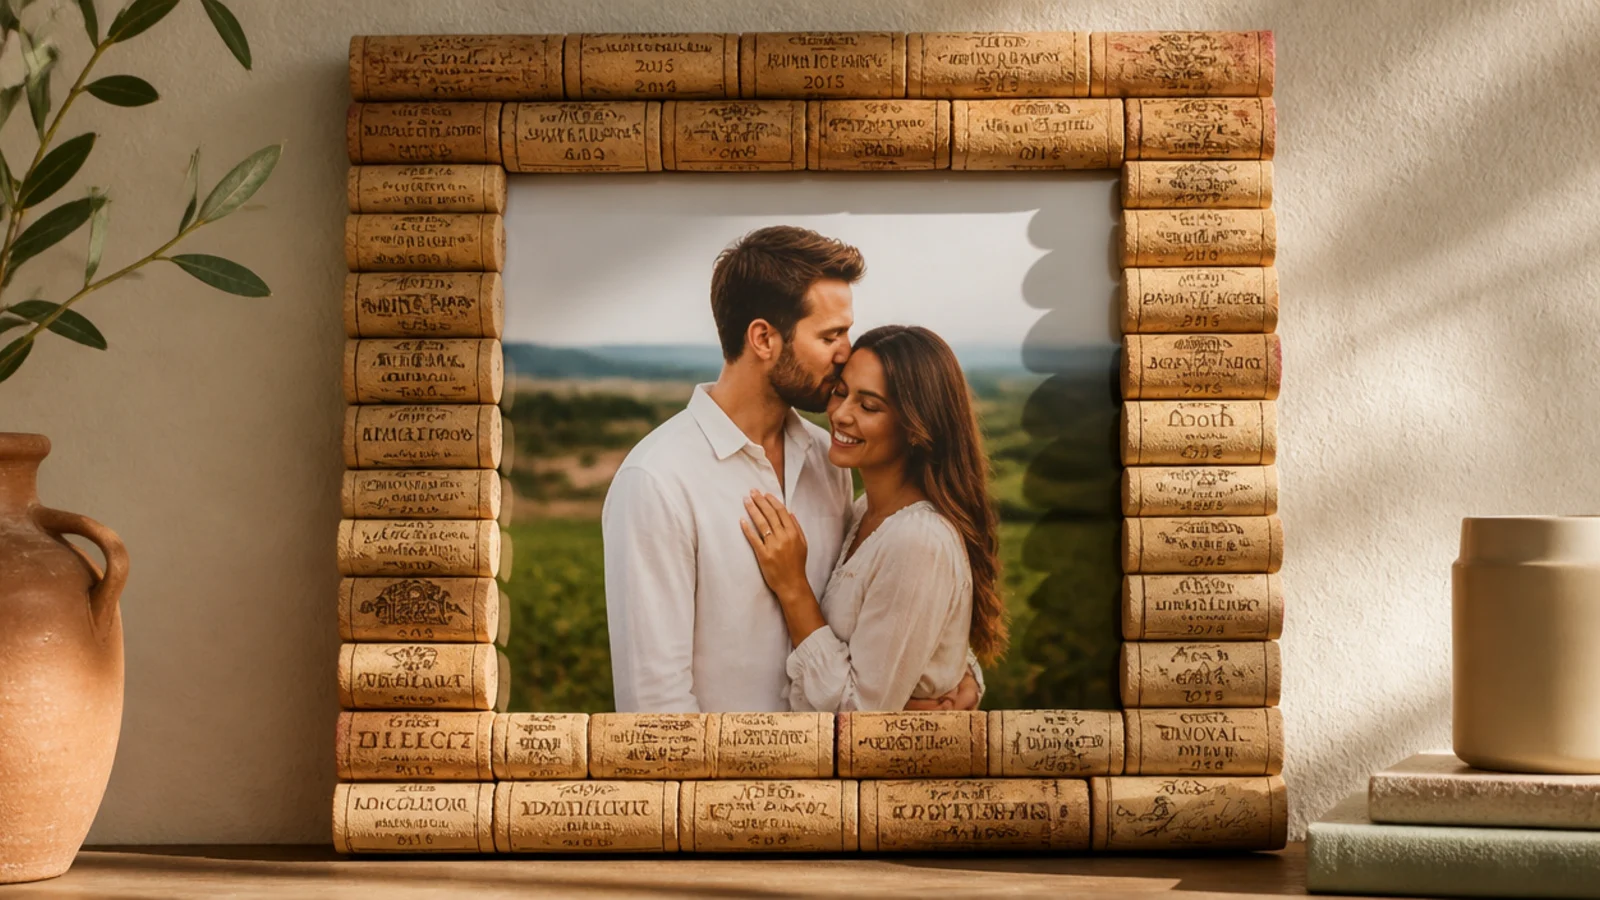
Saved wine corks glued around a base make a warm, textured frame from waste. It suits kitchens and bar carts. The uniform cork ends give a tidy, collected border for free.
Editor's noteLay all corks the same direction with ends aligned so the border looks like a designed pattern, not random gluing.
Collect corks and a flat cardboard base. Cut some corks in half lengthwise for a flatter face if you like. Hot-glue them side by side around the border, keeping them aligned. Mount the photo in the center opening. Add a hanger. A cork frame doubles as a mini pin surface for notes.
Skip thisDon’t leave big gaps between corks; tight, aligned placement is what separates a craft from a mess.
6. Popsicle-Stick Frame
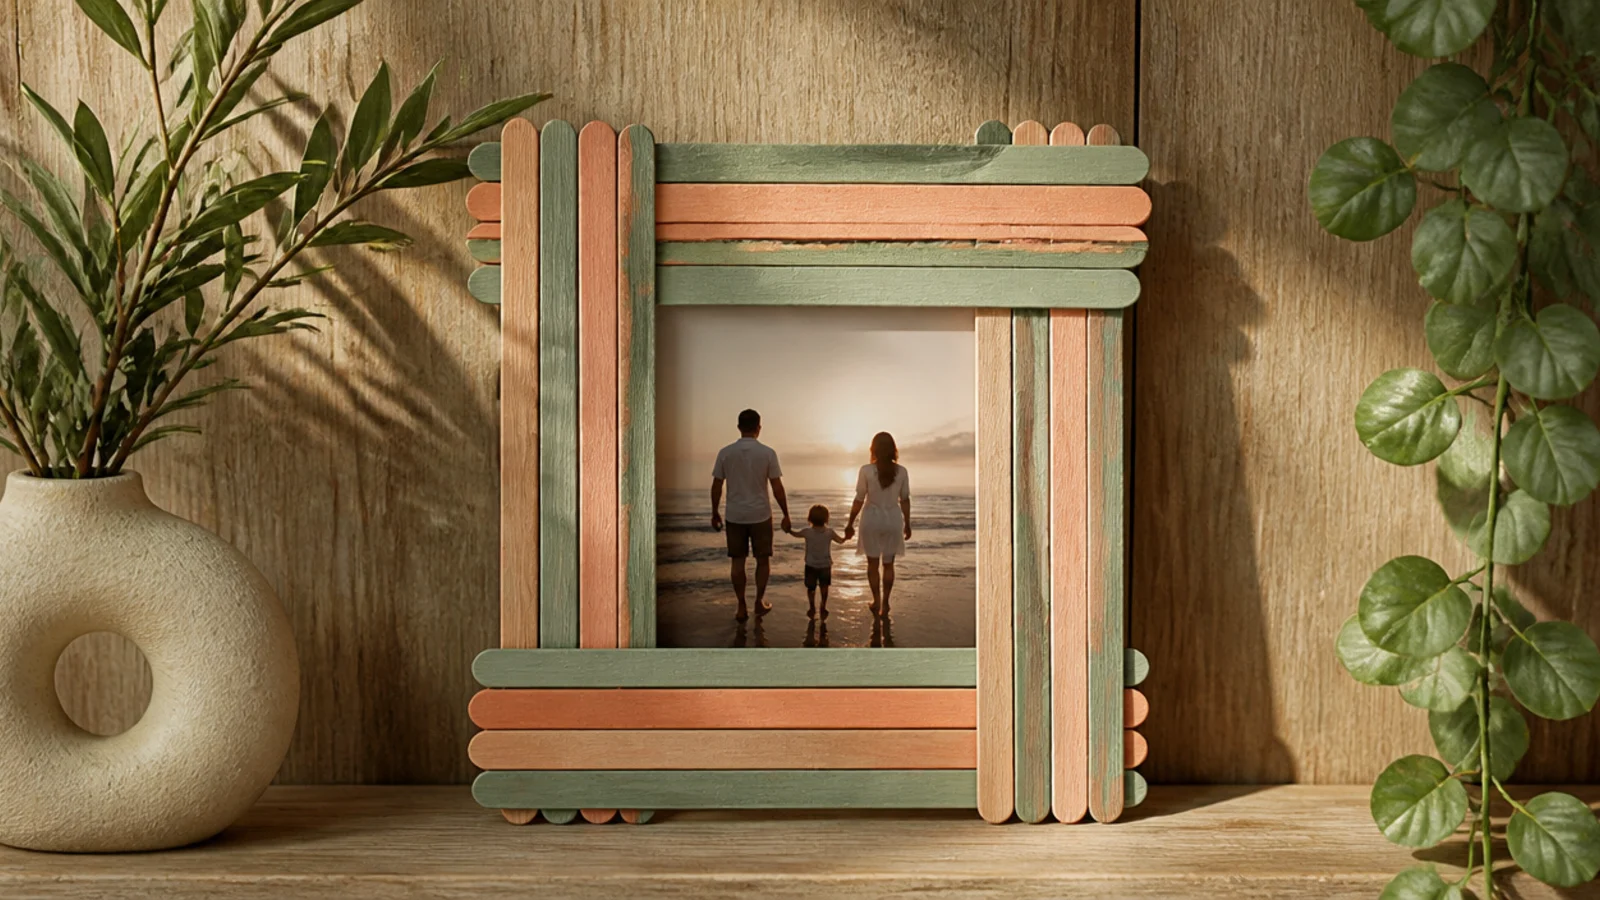
Craft sticks make a cheerful, sturdy little frame that’s a classic kid craft done right. It suits children’s photos and desks. Painted in two muted tones and stacked, they look designed, not classroom.
Editor's noteStack two layers of sticks for a chunkier frame that reads as substantial instead of flimsy.
Paint craft sticks in two calm colors and let dry. Lay four in a square, overlapping ends, and glue the corners. Add a second stacked layer for depth and glue on. Glue a cardboard backing with a photo slot to the rear. Seal with matte clear and add a stand or hanger.
Skip thisDon’t use bright primary paint; muted earthy tones lift the humble sticks out of craft-project territory.
7. Book-Page Frame
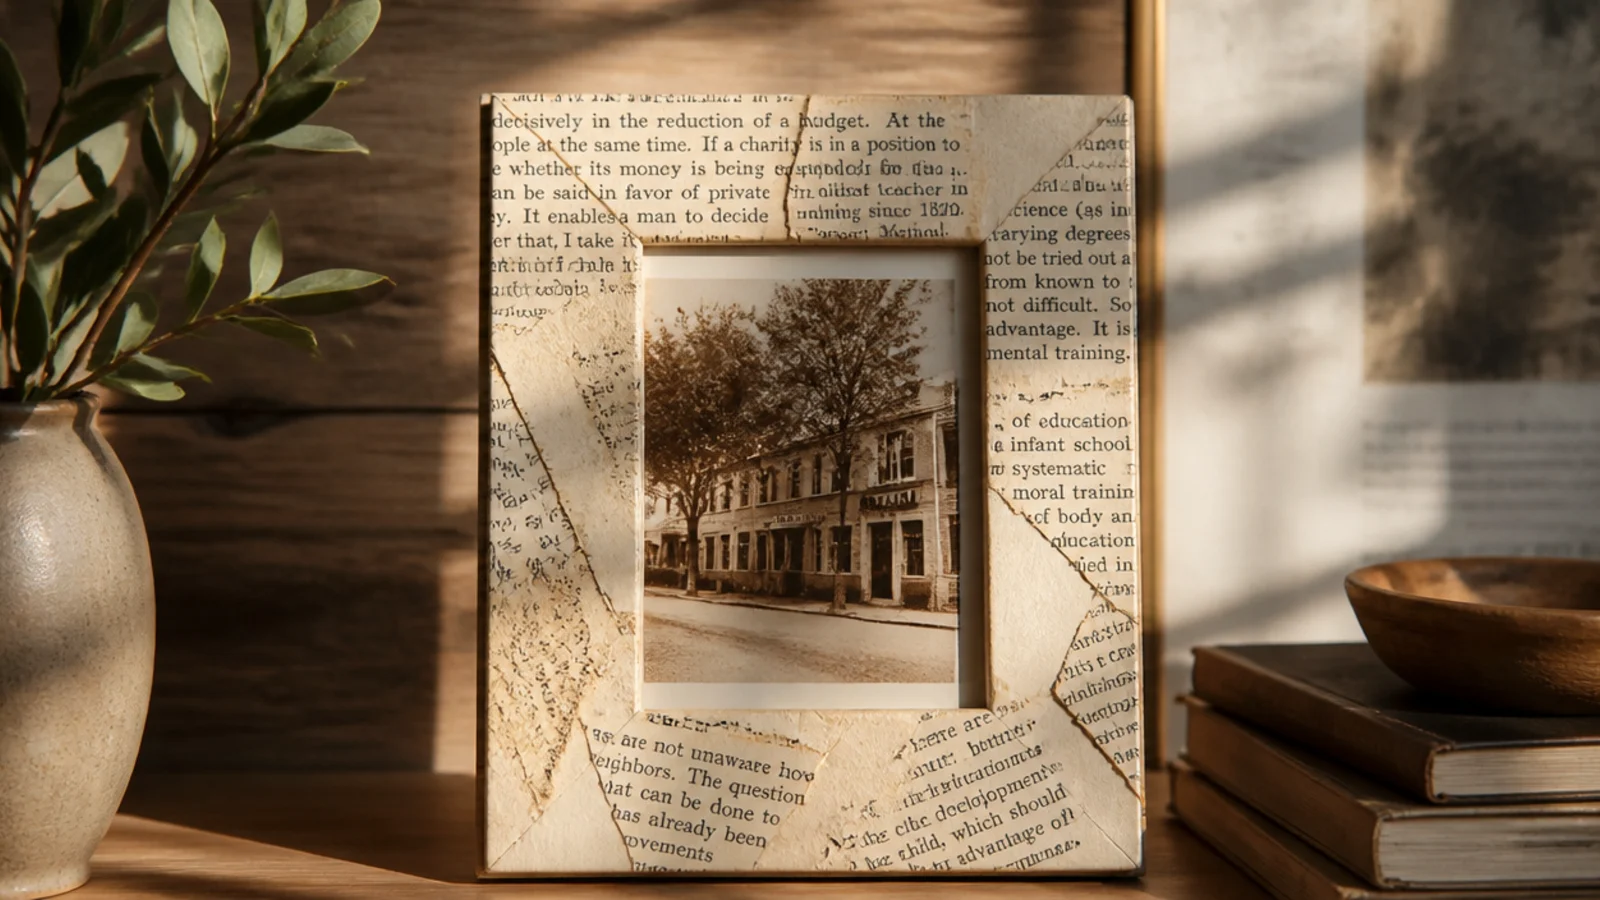
A frame covered in old book or sheet-music pages gets warm vintage texture for free. It suits black-and-white and sepia photos. The printed pages give character no paint can match.
Editor's noteTea-stain the pages before gluing so they read as intentionally aged rather than like scrap paper.
Use a flat cardboard or thrift frame. Tear pages into pieces and brush decoupage medium or watered white glue onto the frame. Lay pages down overlapping, smoothing bubbles, then seal the whole surface with two topcoats. Cure fully and mount the photo. Tea-stain pages first for a warmer, older tone.
Skip thisDon’t skip the topcoat; unsealed paper wrinkles, lifts at the edges, and yellows unevenly.
8. Button Mosaic Frame
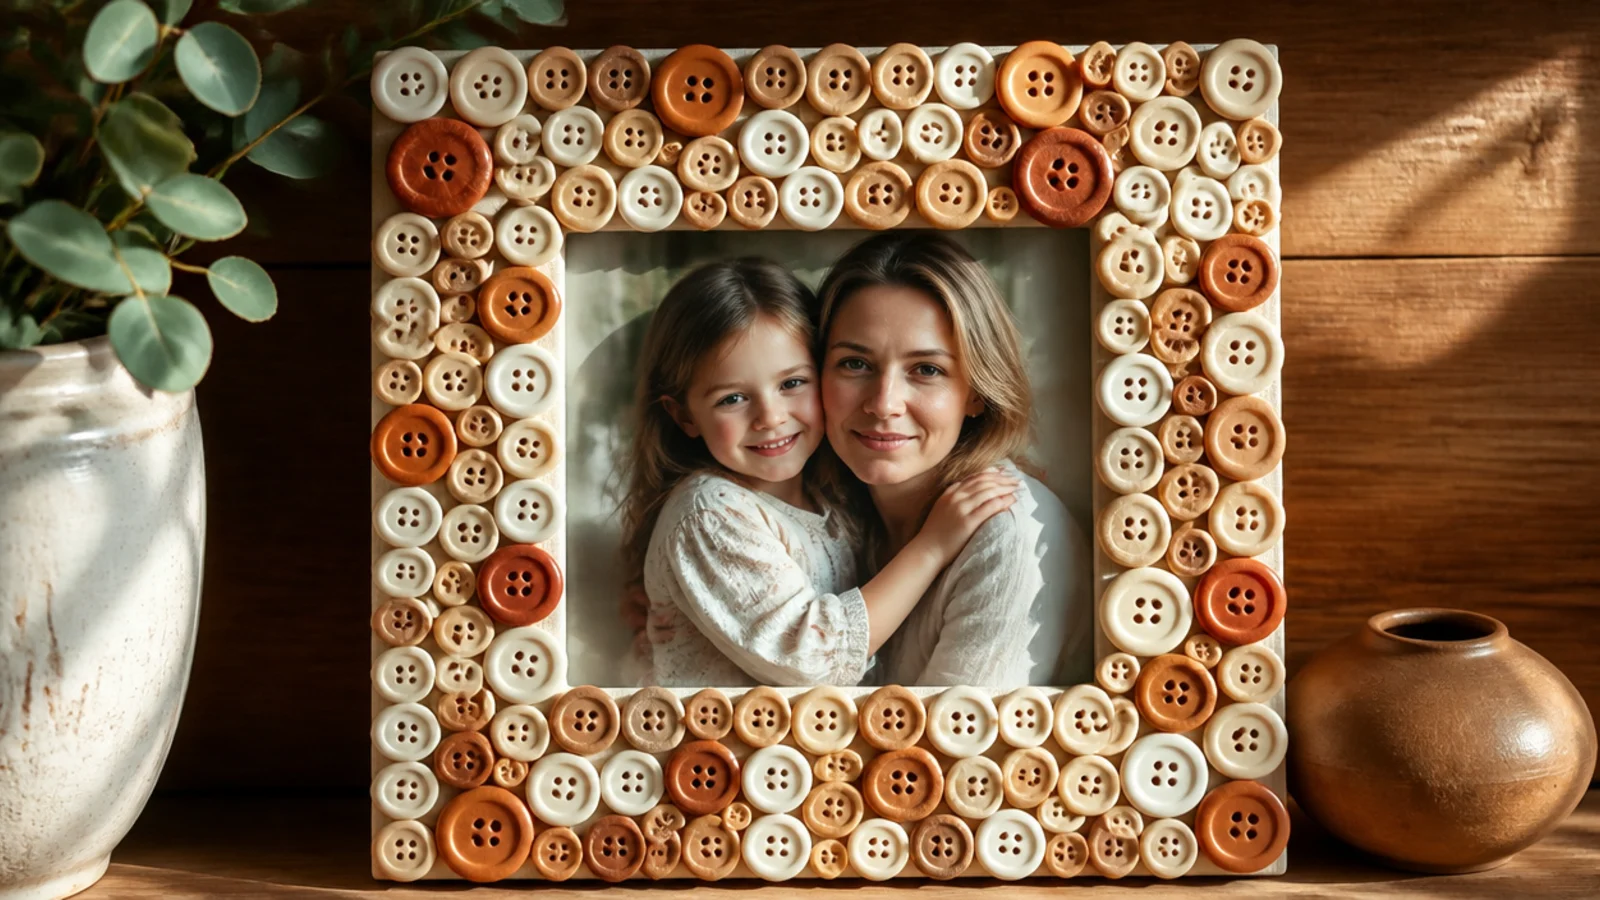
A jar of odd buttons becomes a colorful mosaic frame for free. It suits craft-room and kids' decor. Buttons in a tight tonal palette look like a deliberate mosaic rather than a random pile.
Editor's noteStick to a tight color palette — all creams and tans, say — so the mosaic looks curated instead of chaotic.
Use a flat-faced frame base. Sort buttons into a two- or three-color palette. Hot-glue them across the face, fitting big buttons first and filling gaps with small ones so no base shows. Keep them level-faced. Once set, mount the photo. Layer a few buttons for subtle depth if you like.
Skip thisDon’t leave the base showing between buttons; fill every gap or it looks unfinished and cheap.
9. Seashell Frame
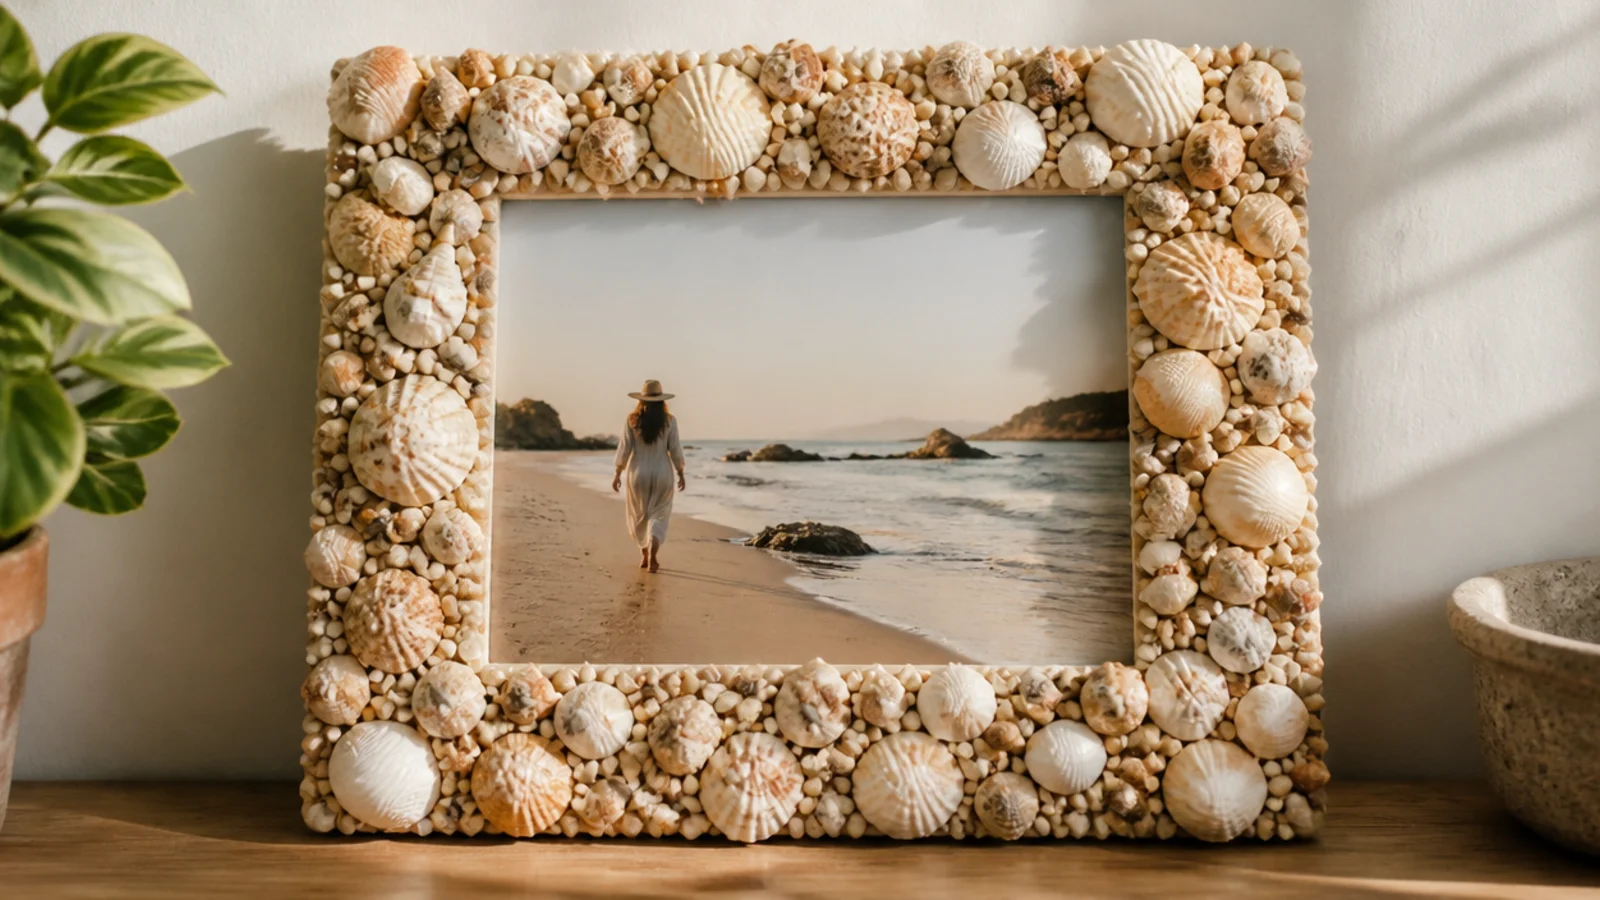
Free collected seashells make a coastal frame that’s a literal souvenir. It suits beach photos and bathrooms. Real shells in natural sandy tones look breezy and personal.
Editor's noteGlue the biggest shells at the corners first, then fill inward with smaller ones for a balanced, professional layout.
Rinse and fully dry collected shells. Use a flat frame base. Hot-glue larger shells first around the border, then fill gaps with smaller shells and a little sand pressed into wet glue. Keep the arrangement flowing. Seal with matte spray to lock the sand and add shine. Mount the beach photo behind the opening.
Skip thisDon’t glue shells in a rigid single-file line; a flowing, layered arrangement looks natural and beachy.
10. Tin-Can Lid Frame
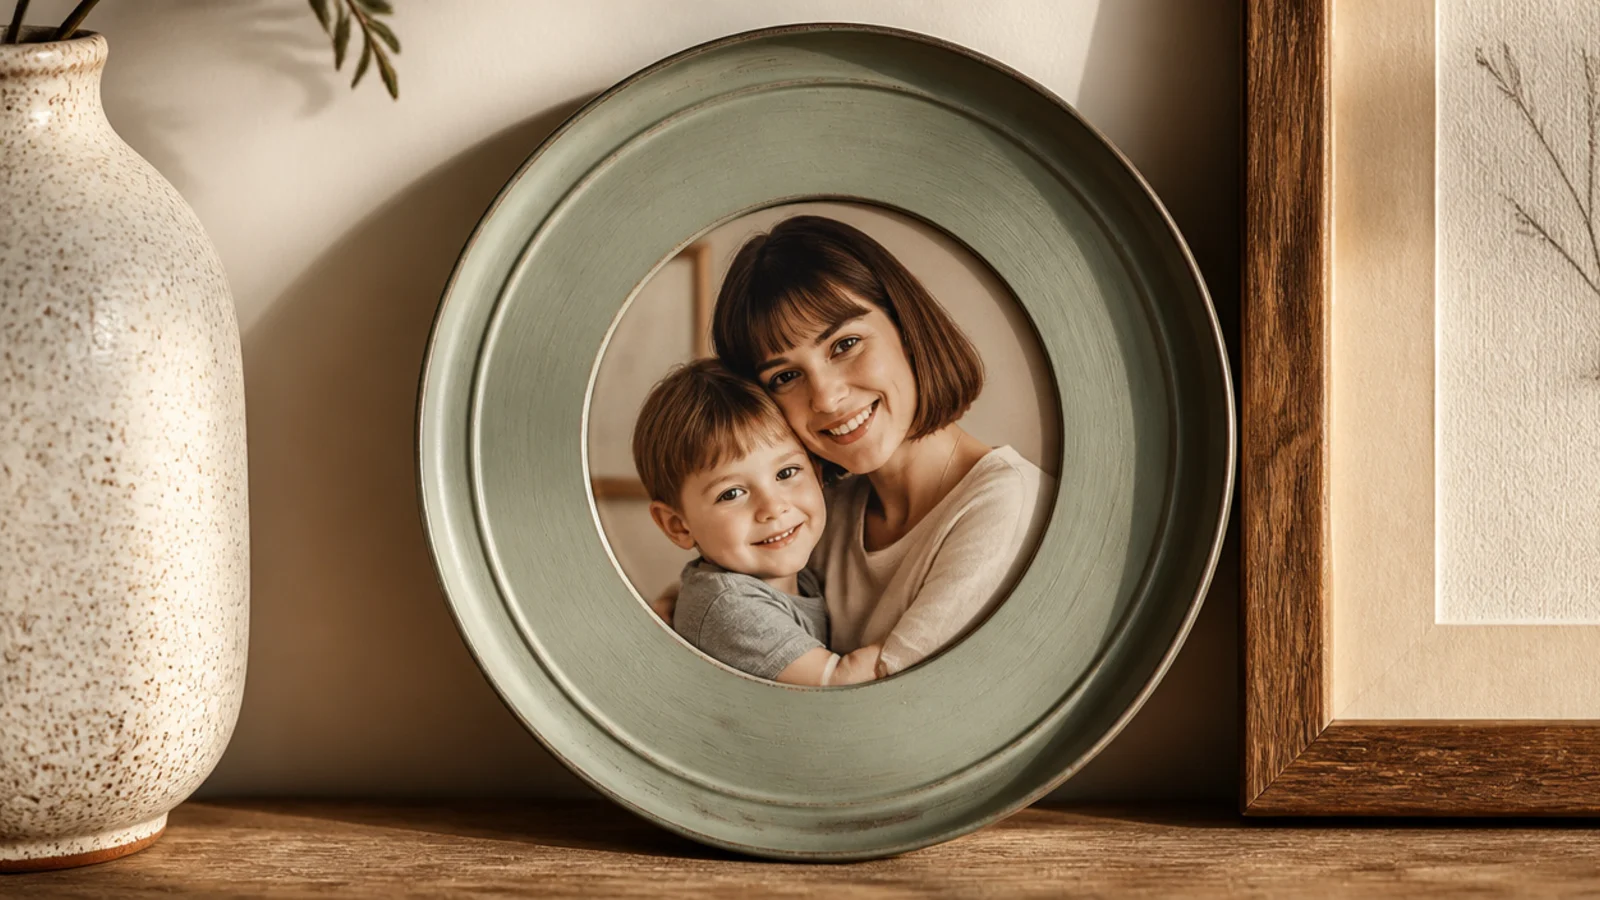
A saved can lid becomes a small round metal frame for free. It suits industrial and kitchen decor. Painted matte, the round metal disc looks like an intentional mini frame.
Save a clean can lid with smooth edges (or file sharp ones and tape them). Sand and spray-paint it a matte color. Cut a round photo slightly smaller than the lid and glue it centered, or glue a magnet strip to the back so it doubles as a fridge frame. Seal the paint. Add a hanging loop if wall-mounting.
File and tape any sharp cut edge on the lid before you handle it — can edges cut easily.
Don’t use a lid with jagged edges; smooth or cover them, both for safety and a clean finished look.
11. Denim-Pocket Frame
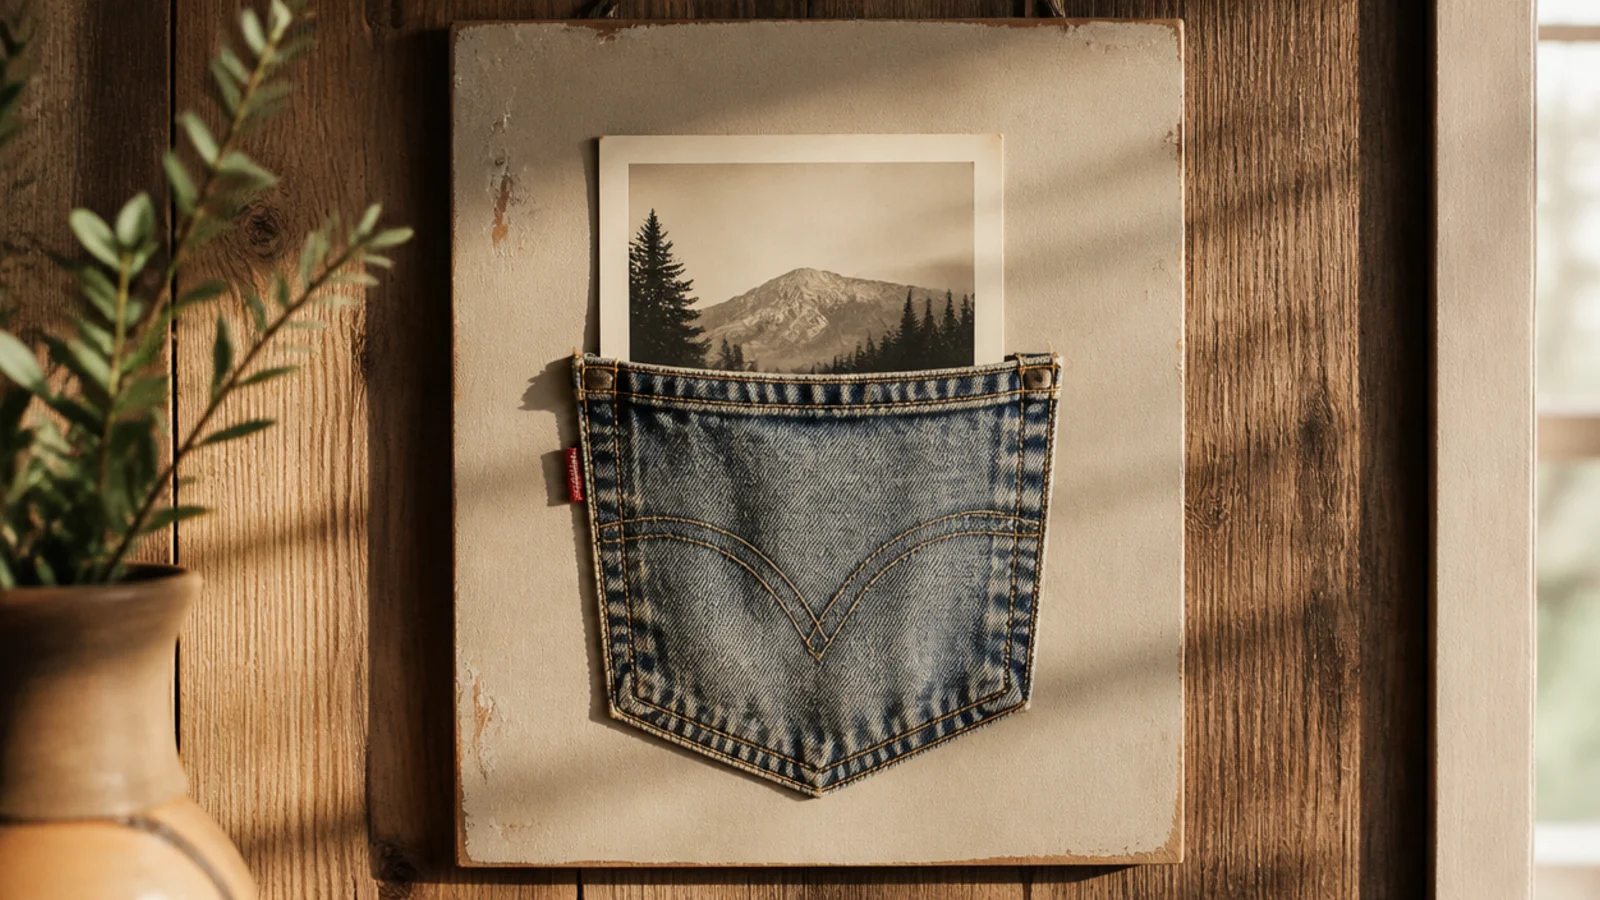
A back pocket cut from worn-out jeans becomes a casual pocket frame. It suits teen rooms and casual spaces. The pocket holds a swappable photo and repurposes clothing headed for the bin.
Cut a back pocket, with a backing layer, off a pair of old jeans. Mount it flat onto a stiff cardboard or wood board with glue, keeping the pocket opening usable. Trim and fray the edges for a relaxed look. Slot a photo into the pocket so it peeks out. Add a hanger to the board.
Keep the original stitching and rivets on the pocket — those details are what make it read as intentional upcycling.
Don’t glue the pocket shut; the whole point is a working pocket you can swap photos in and out of.
12. Lego-Brick Frame
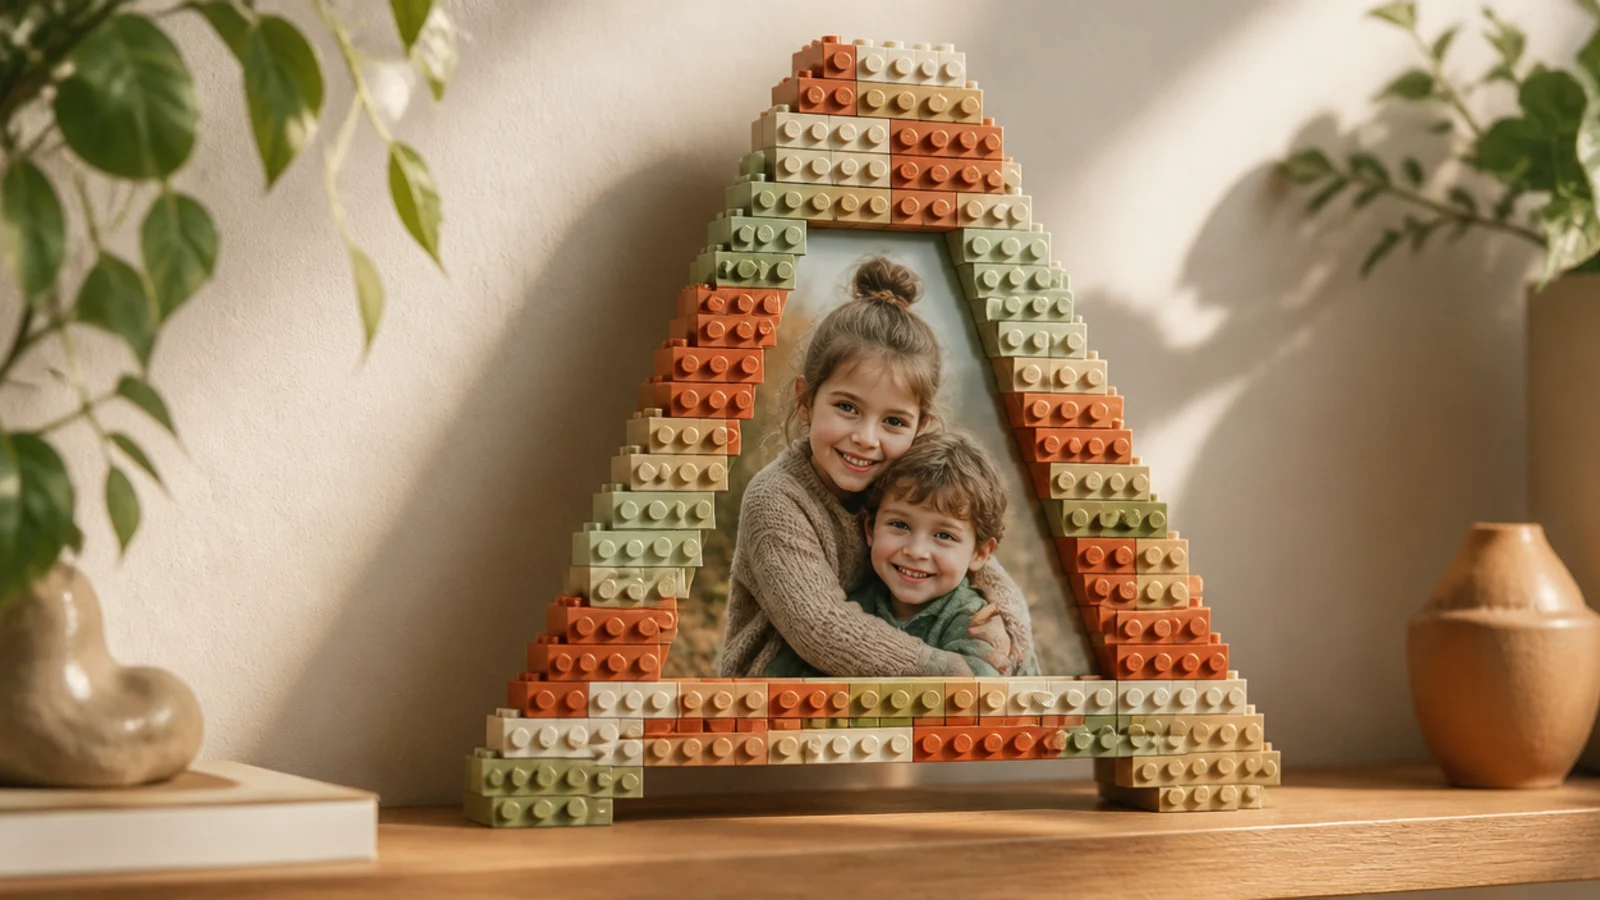
Building bricks make a fun, sturdy, no-glue frame kids love. It suits playrooms and kids' photos. Bricks in a calm color mix look playful but tidy and can be rebuilt anytime.
Use a flat baseplate as the backing. Build a raised brick border around a photo-sized opening, two or three bricks deep. Slot the photo under the border lip. No glue needed — the bricks hold it. Add a brick kickstand at the back to prop it up, or lean it on a shelf.
Choose bricks in two or three coordinating colors rather than a rainbow so it looks styled, not like a toy bin.
Don’t build the border too tall; a low border frames the photo while a tall wall hides it.
13. Rolled-Magazine Frame
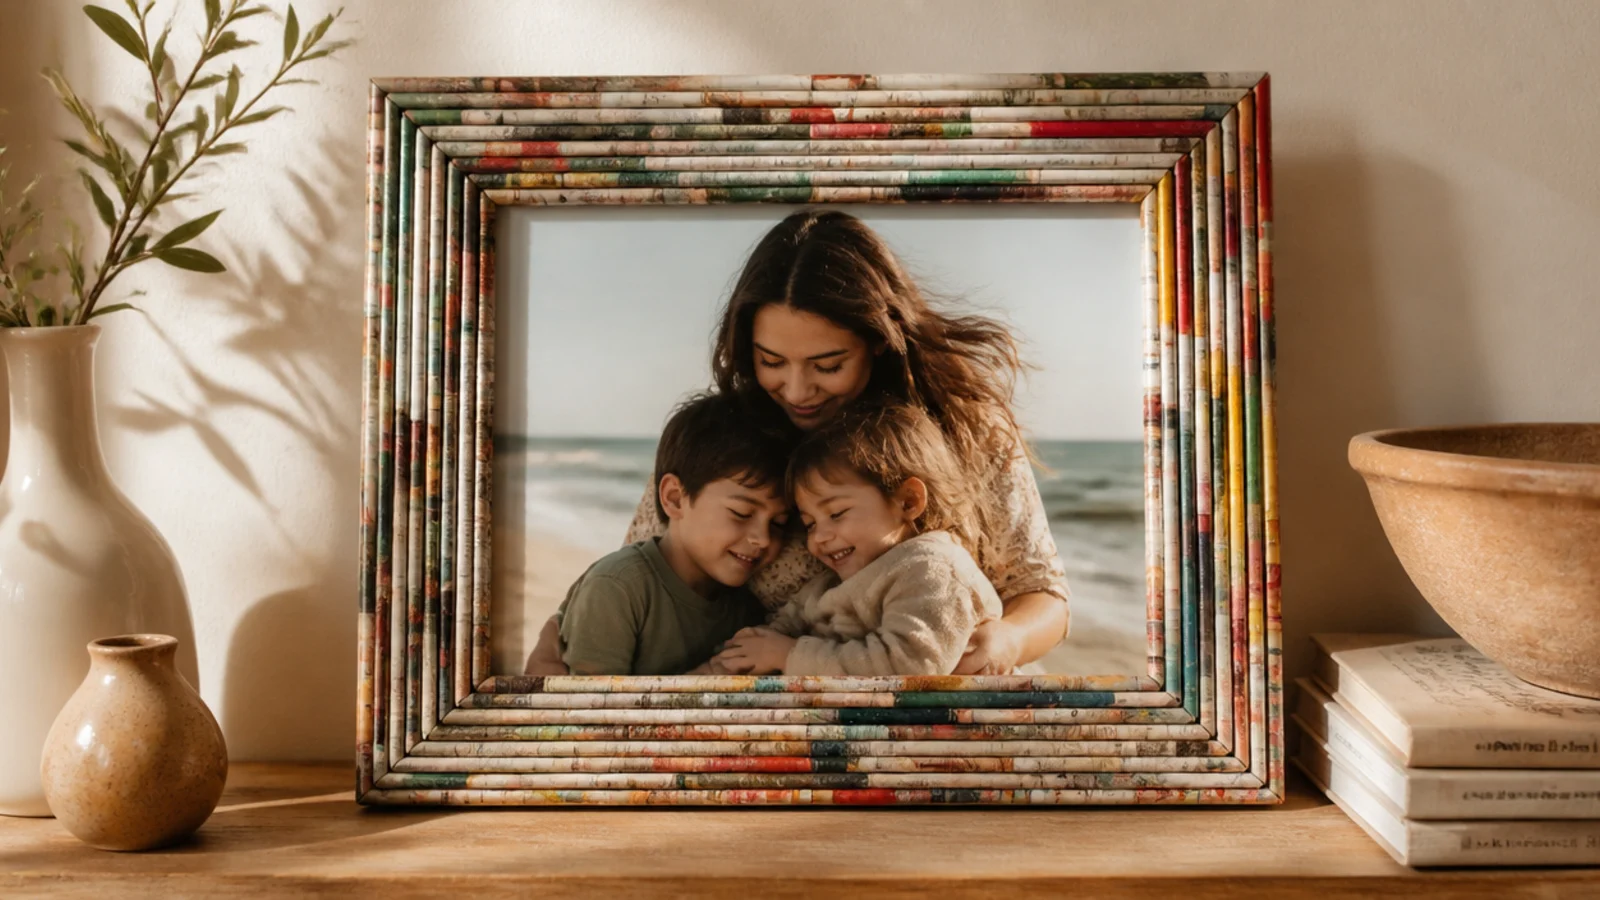
Tightly rolled magazine pages become paper 'beads' or tubes for a textured frame from recycling. It suits eco crafts and kids. The rolled tubes give surprising structure and a pop of color for free.
Editor's noteRoll each tube as tightly as you can and seal the whole frame with a clear coat so the paper doesn’t unravel or soften.
Roll magazine pages tightly around a skewer into thin tubes and glue the ends. Cut them to length. Glue the tubes side by side around a cardboard frame base, or coil them into rounds and glue those on. Seal with a topcoat for durability and mount the photo. A tight roll is the key to a clean look.
Skip thisDon’t use loose, sloppy rolls; tight uniform tubes look crafted, while loose ones look like litter.
14. Rope-Wrapped Frame
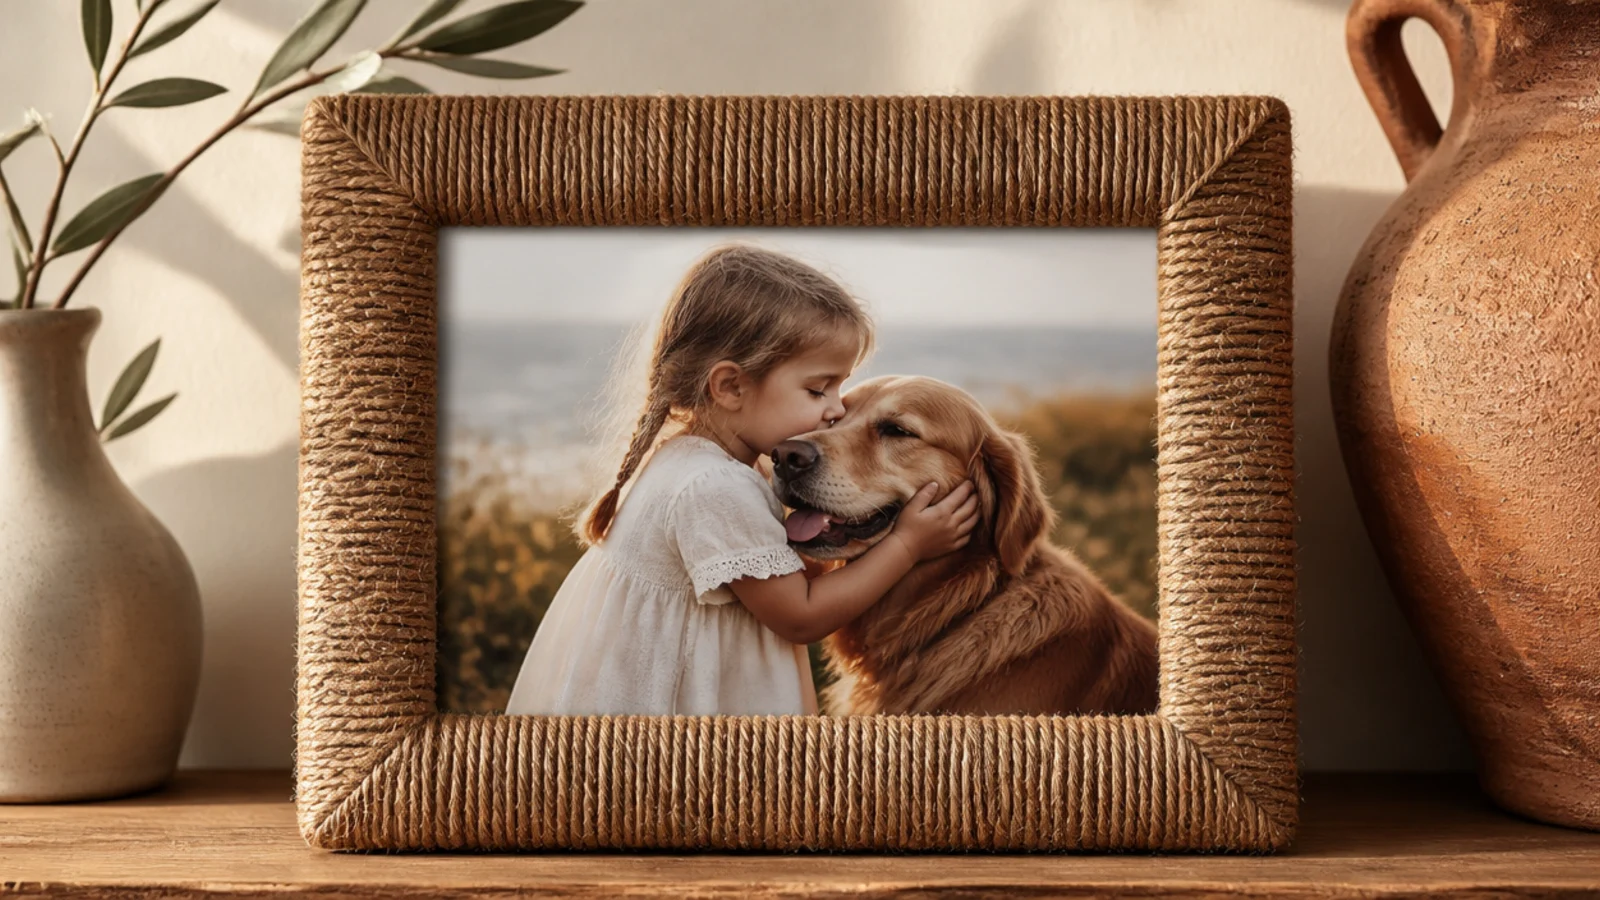
Cheap jute rope coiled around a frame gives warm coastal texture. It suits neutral and beachy rooms. Natural rope does the decorating so the frame stays simple and inexpensive.
Start with a flat-faced frame base. Run hot glue along an edge and press rope down, then wind it around the face, keeping coils tight against each other and gluing as you go. Continue around all sides, tuck the cut end under, and dab glue so it can’t unravel. Mount the photo.
Add extra glue at the corners and wrap them at a slight diagonal — corners are where rope wants to gap and lift.
Don’t leave gaps or glue strings between coils; tight, clean coils are what make it look finished.
15. Broken-CD Mosaic Frame
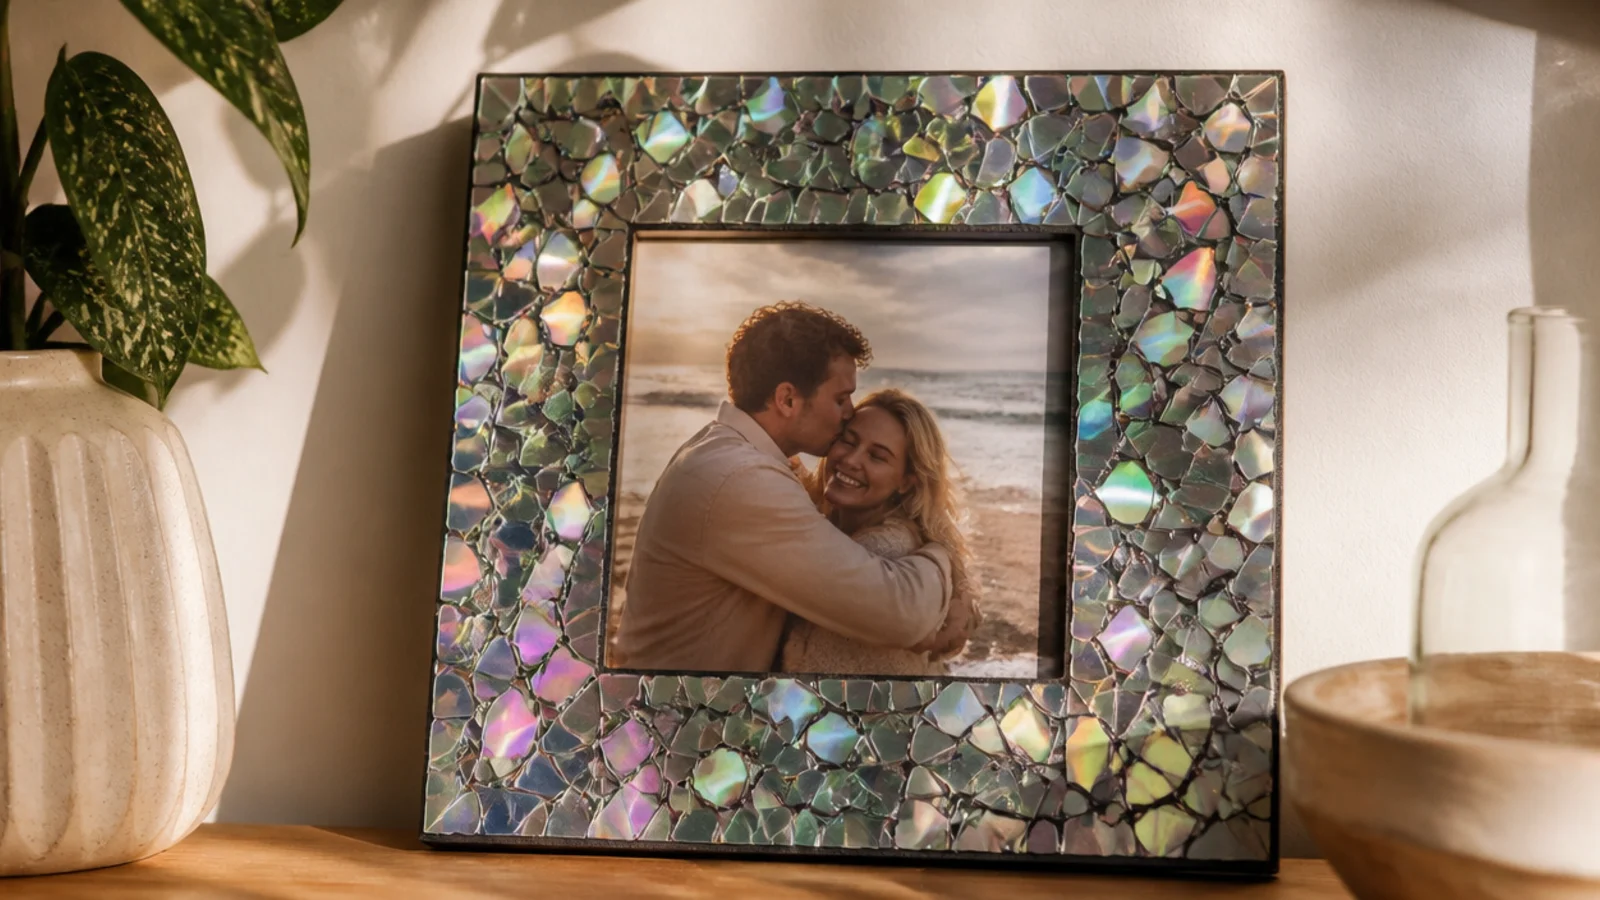
Old CDs broken into pieces make a shimmering iridescent mosaic frame for free. It suits eclectic and teen decor. The rainbow shimmer of the shards catches light beautifully around a photo.
Editor's noteBreak the CDs inside a zip bag and wear gloves — the shards are sharp — then glue shiny side up for maximum shimmer.
Snap old CDs into small pieces (score and break them inside a bag for safety, wearing gloves). Glue the shiny-side-up shards onto a flat frame base like mosaic tiles, leaving small even gaps. Fill in with smaller pieces. Optionally grout the gaps and wipe clean. Seal and mount the photo.
Skip thisDon’t handle raw CD shards bare-handed; they’re genuinely sharp, so gloves and careful edges matter.
16. Puzzle-Piece Frame
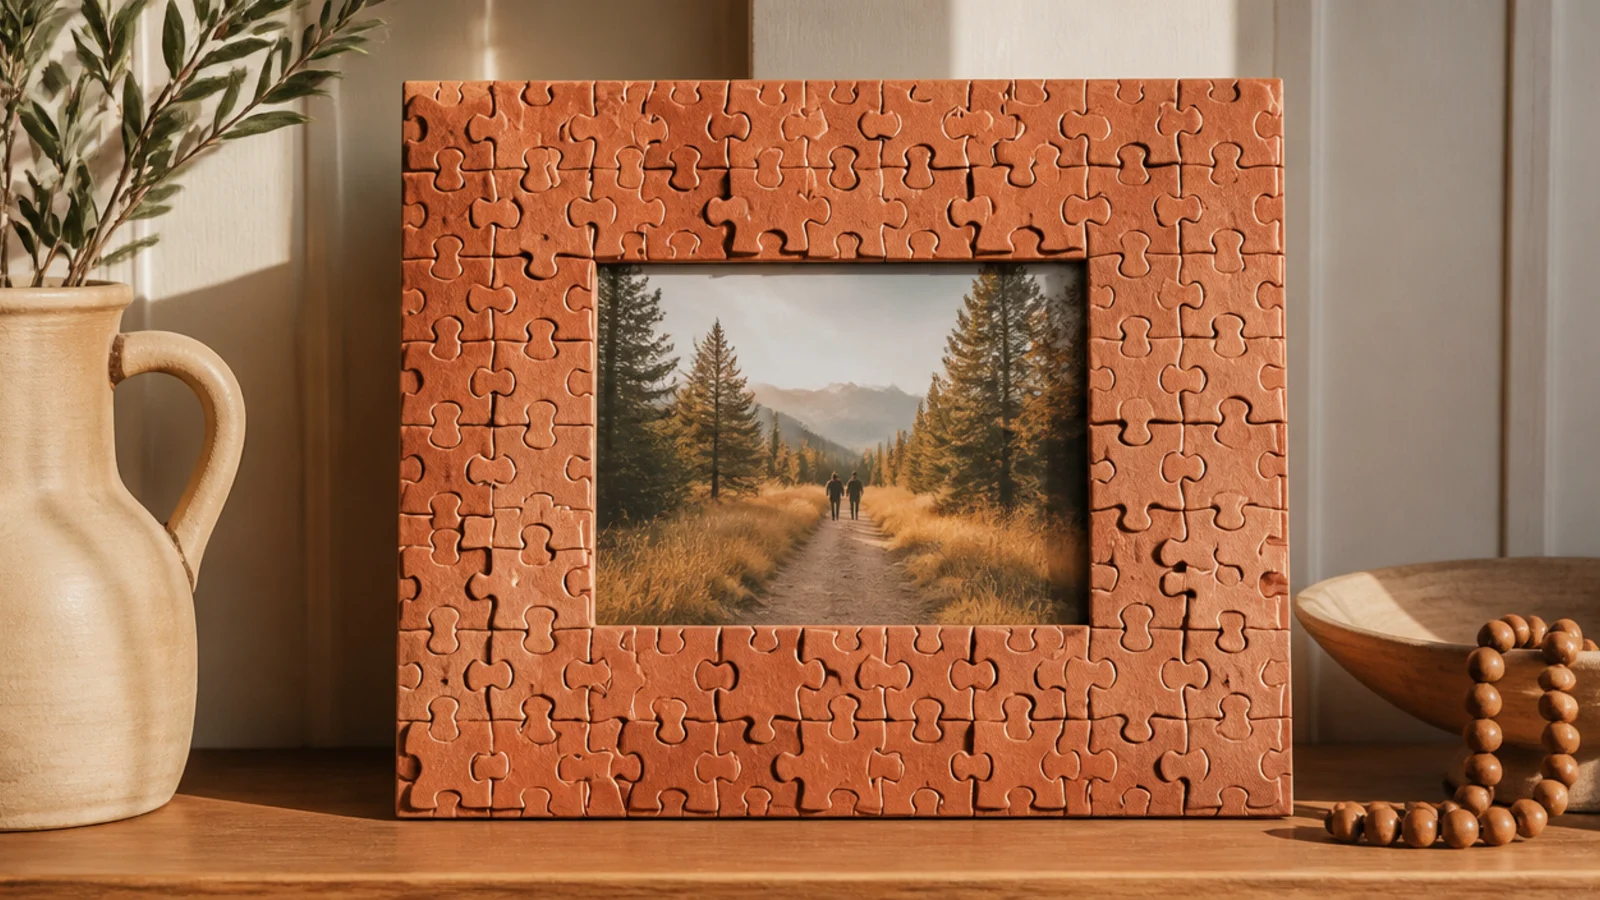
A puzzle with a missing piece becomes a textured frame instead of the trash. It suits family and kids' rooms. Painted one uniform color, the interlocking pieces make a rich, sculptural border.
Editor's notePaint the whole assembled frame one color after gluing so the mismatched puzzle images vanish into pure texture.
Use an incomplete puzzle. Glue pieces overlapping across a flat frame base, layering them for depth and covering all the cardboard. Once dry, spray-paint the whole frame one color — matte gold, black, or cream — so it reads as one sculptural surface. Seal and mount the photo.
Skip thisDon’t leave the puzzle pictures showing; the clashing images look messy, while one paint color looks intentional.
17. Chalk-Painted Thrift Frame
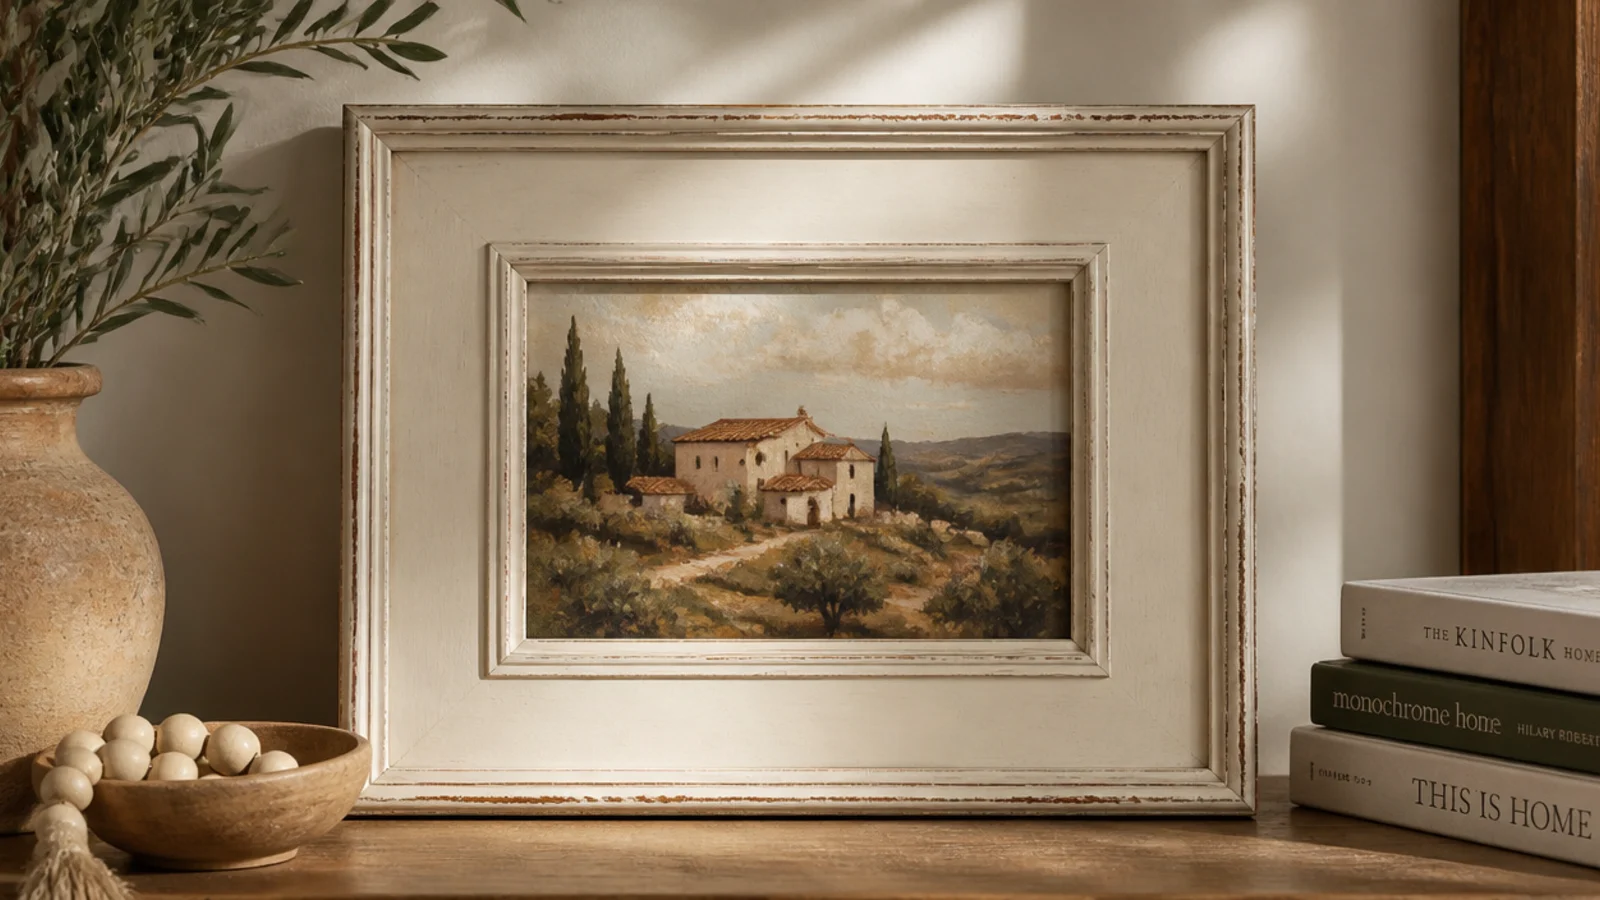
A cheap thrift frame repainted in chalk paint looks like a vintage boutique piece. It suits farmhouse and cottage decor. Chalk paint’s matte finish and easy distressing hide a dated frame’s origins.
Editor's noteDistress only the raised edges and corners where real wear would happen, so the aging looks authentic, not random.
Remove glass and backing. Wipe and lightly scuff the frame. Brush on chalk paint — no primer needed — and add a second coat. Once dry, sand the raised edges gently to reveal a little base for a distressed look. Seal with clear wax or matte sealer. Reassemble with the photo.
Skip thisDon’t over-distress; a little worn edge looks vintage, while sanding all over looks like a mistake.
18. Fabric-Scrap Frame
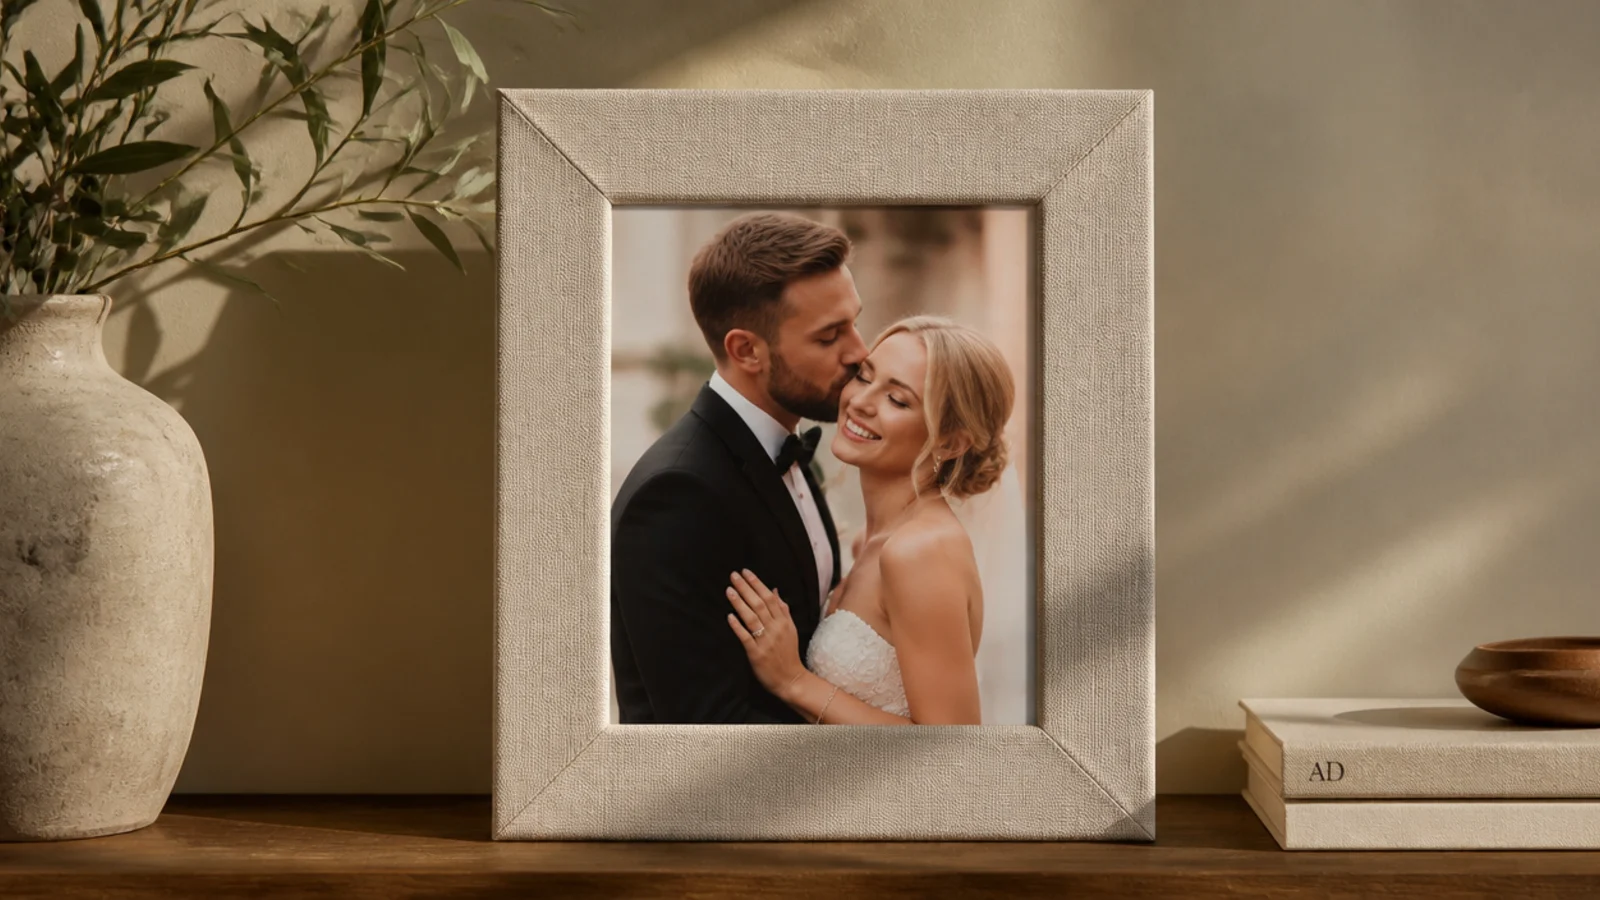
A fabric remnant wraps a frame in soft texture and hides a rough base. It suits bedrooms and cozy corners. A neutral linen or small-print scrap costs little and looks refined.
Editor's noteIron the fabric before wrapping so no creases telegraph through the taut surface.
Use a flat cardboard or wood frame. Cut fabric with a two-inch overhang, brush glue on the front, smooth the fabric down, and wrap the edges to the back. Fold the corners like a gift and glue. Cut an X over the window, glue flaps back, and mount the photo. Iron the fabric flat first.
Skip thisDon’t use thick or stretchy fabric; it bunches at the corners and loses the crisp folded edges.
19. Washer-and-Nut Frame
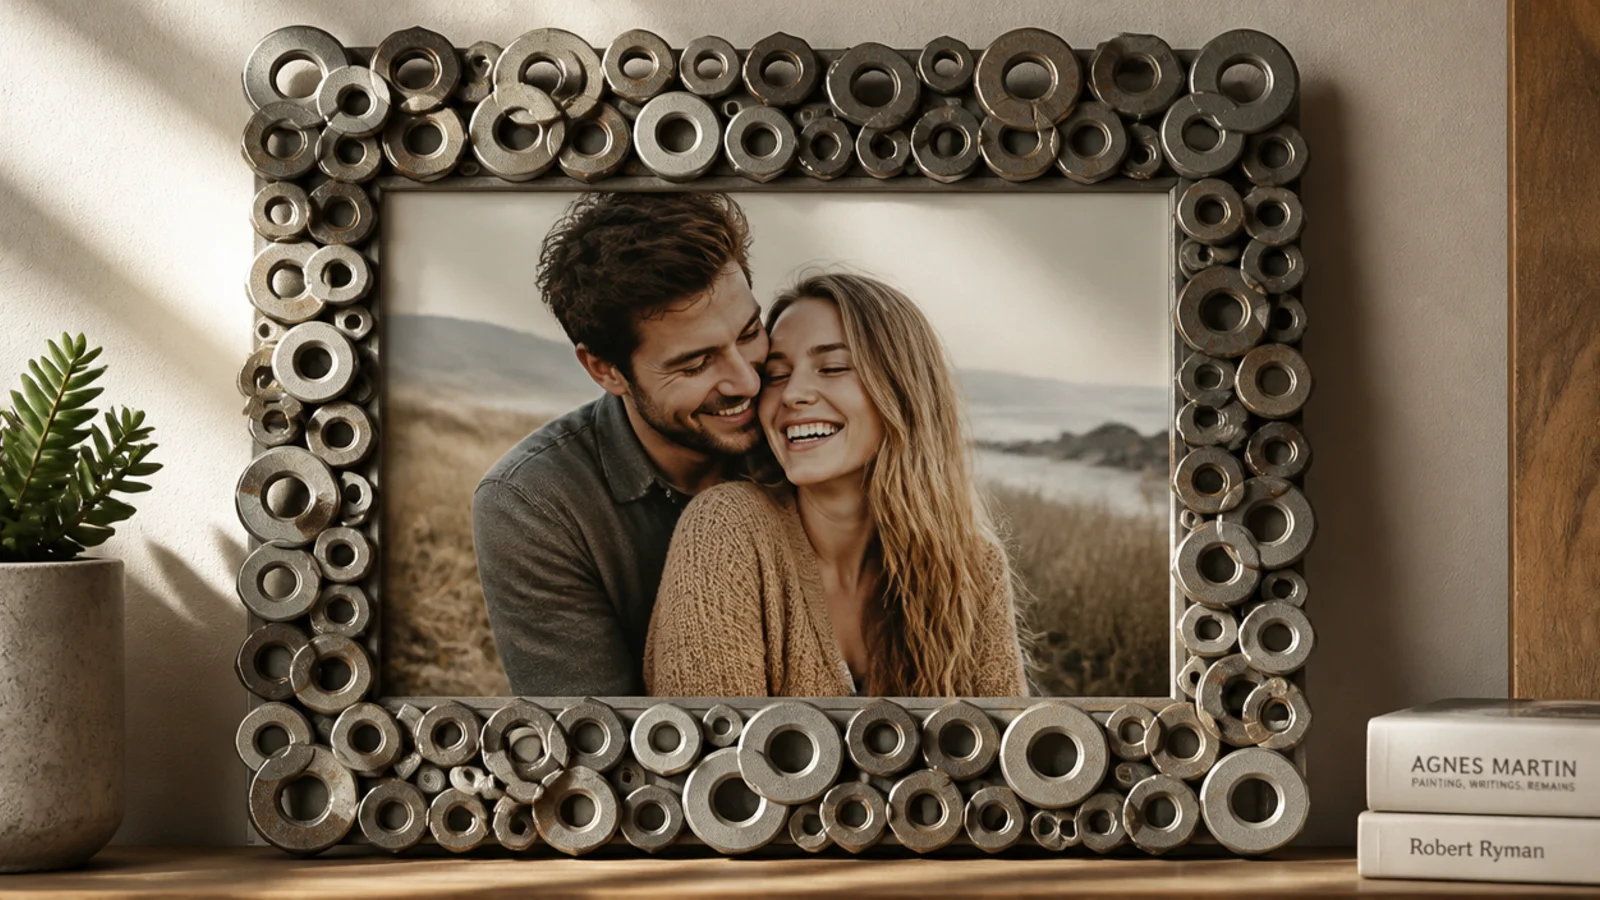
Spare hardware — washers and nuts — makes a cool industrial frame from junk-drawer bits. It suits garages, offices, and men’s gifts. The metal shapes give a rugged, deliberate texture.
Editor's noteRepeat a simple pattern — washer, nut, washer — around the border so the hardware reads as designed, not dumped.
Use a flat frame base. Arrange metal washers and hex nuts in a pattern around the border and hot-glue them down, mixing sizes for interest but keeping a rhythm. Fill gaps with smaller washers. Leave metal raw or spray it matte black. Seal and mount the photo.
Skip thisDon’t scatter hardware randomly; a repeated pattern is what turns junk-drawer parts into an industrial design.
20. Coffee-Bean Frame

Whole coffee beans glued around a frame add rich texture and a subtle scent. It suits kitchens and coffee corners. The deep brown beans look warm and surprisingly upscale.
Editor's notePaint the base brown before gluing so any tiny gaps between beans disappear instead of flashing pale cardboard.
Use a flat frame base painted brown so gaps don’t show. Hot-glue whole coffee beans densely across the border, all facing a consistent direction, packing them tight. Fill any gaps with single beans. Seal with a matte spray to lock them and reduce shedding. Mount the photo behind the opening.
Skip thisDon’t glue beans loosely spaced; pack them tight and dense or the frame looks sparse and unfinished.
21. Matchstick Frame
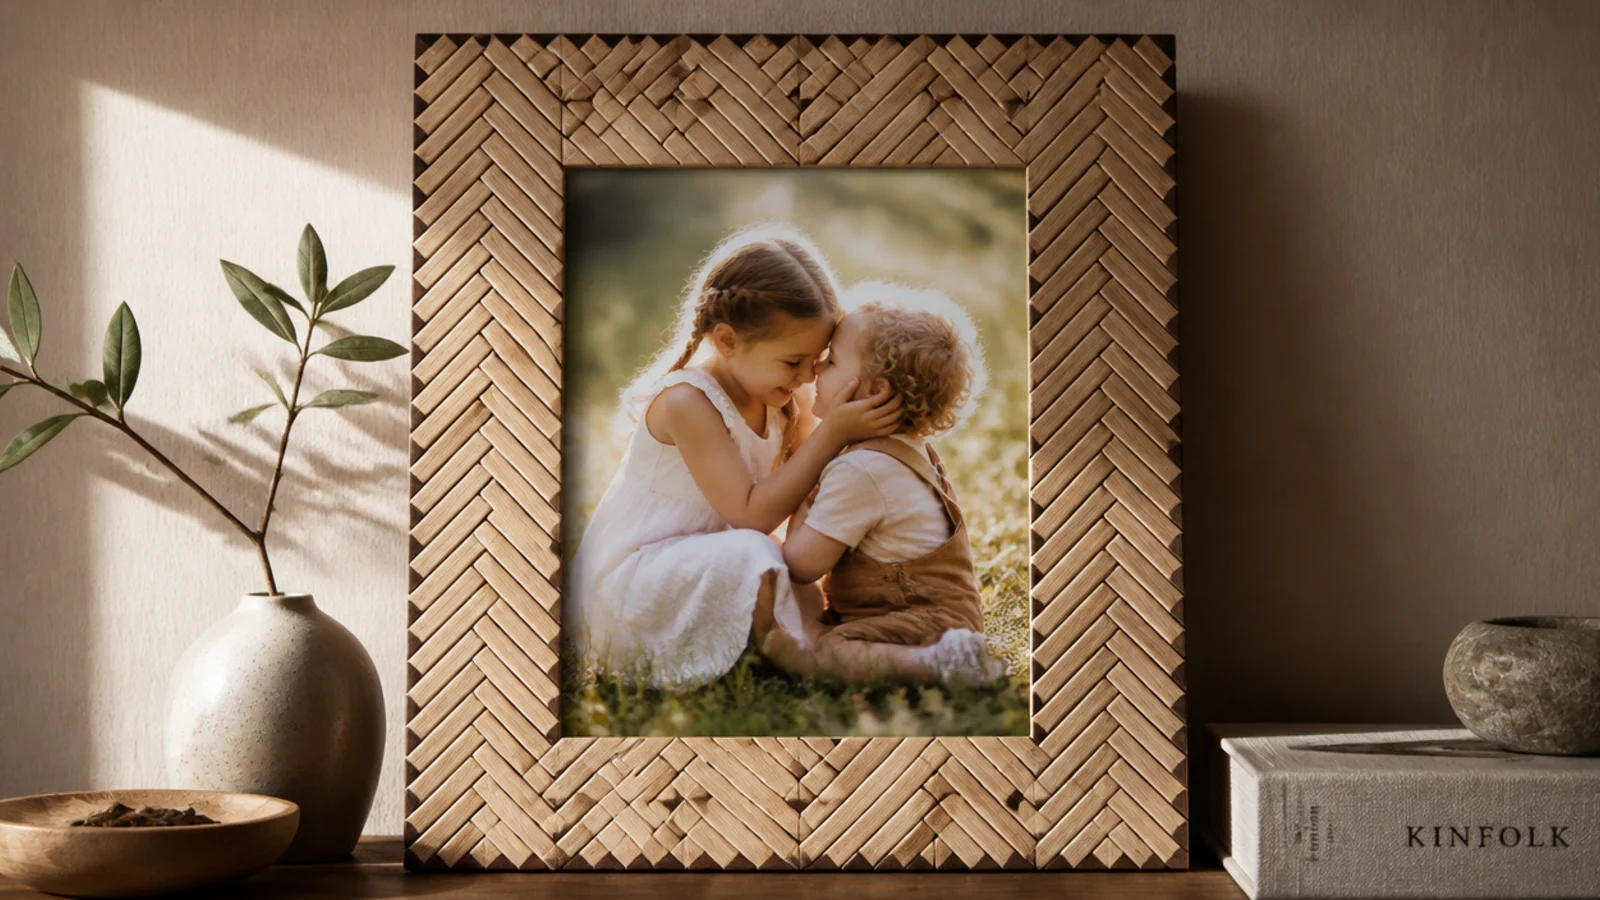
Craft matchsticks or spent matches laid in a pattern make a fine, detailed frame. It suits small photos and detailed decor. A herringbone or stacked pattern of tiny sticks looks intricate and handmade.
Use a flat, small frame base. Lay matchsticks in a herringbone or straight pattern across the border, gluing each with white glue or hot glue, trimming to fit the corners. Keep the pattern tight and consistent. Stain or leave natural, then seal. Mount the small photo behind the opening.
Lay out one section of the pattern dry first to lock in the angle, then repeat it exactly around the whole frame.
Don’t rush the pattern; matchstick frames only look intricate if the tiny sticks stay aligned and even.
22. Painted-Pasta Frame
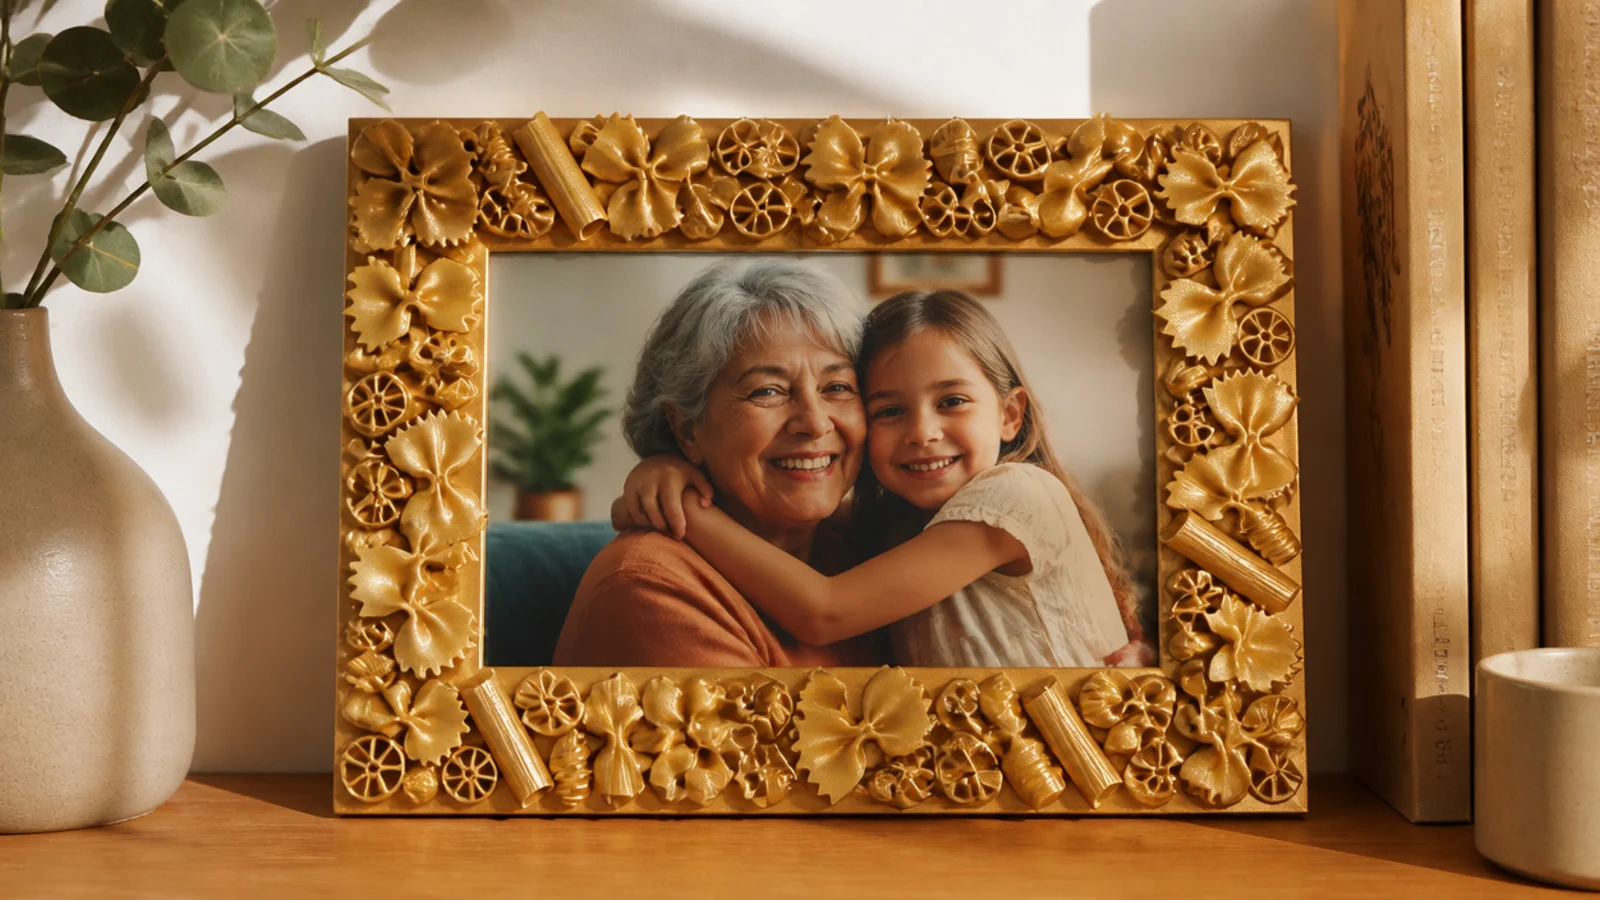
Dried pasta shapes painted gold make a fun, ornate frame — a kid classic elevated. It suits children’s crafts done tastefully. Spray-painted one metallic color, the pasta looks like carved ornament, not a lunchbox.
Editor's noteSpray the whole thing one metallic color after gluing so it looks like ornate molding instead of dried noodles.
Glue dried pasta shapes — bows, shells, wheels — around a flat frame base in a repeating pattern, covering the border. Once the glue is dry, spray the whole frame one color, gold or cream, so it reads as one ornamental piece. Seal well and mount the photo. Keep the pattern symmetrical.
Skip thisDon’t leave the pasta its natural color; unpainted pasta always looks like a kid craft, while one paint color transforms it.
23. Map-Covered Frame
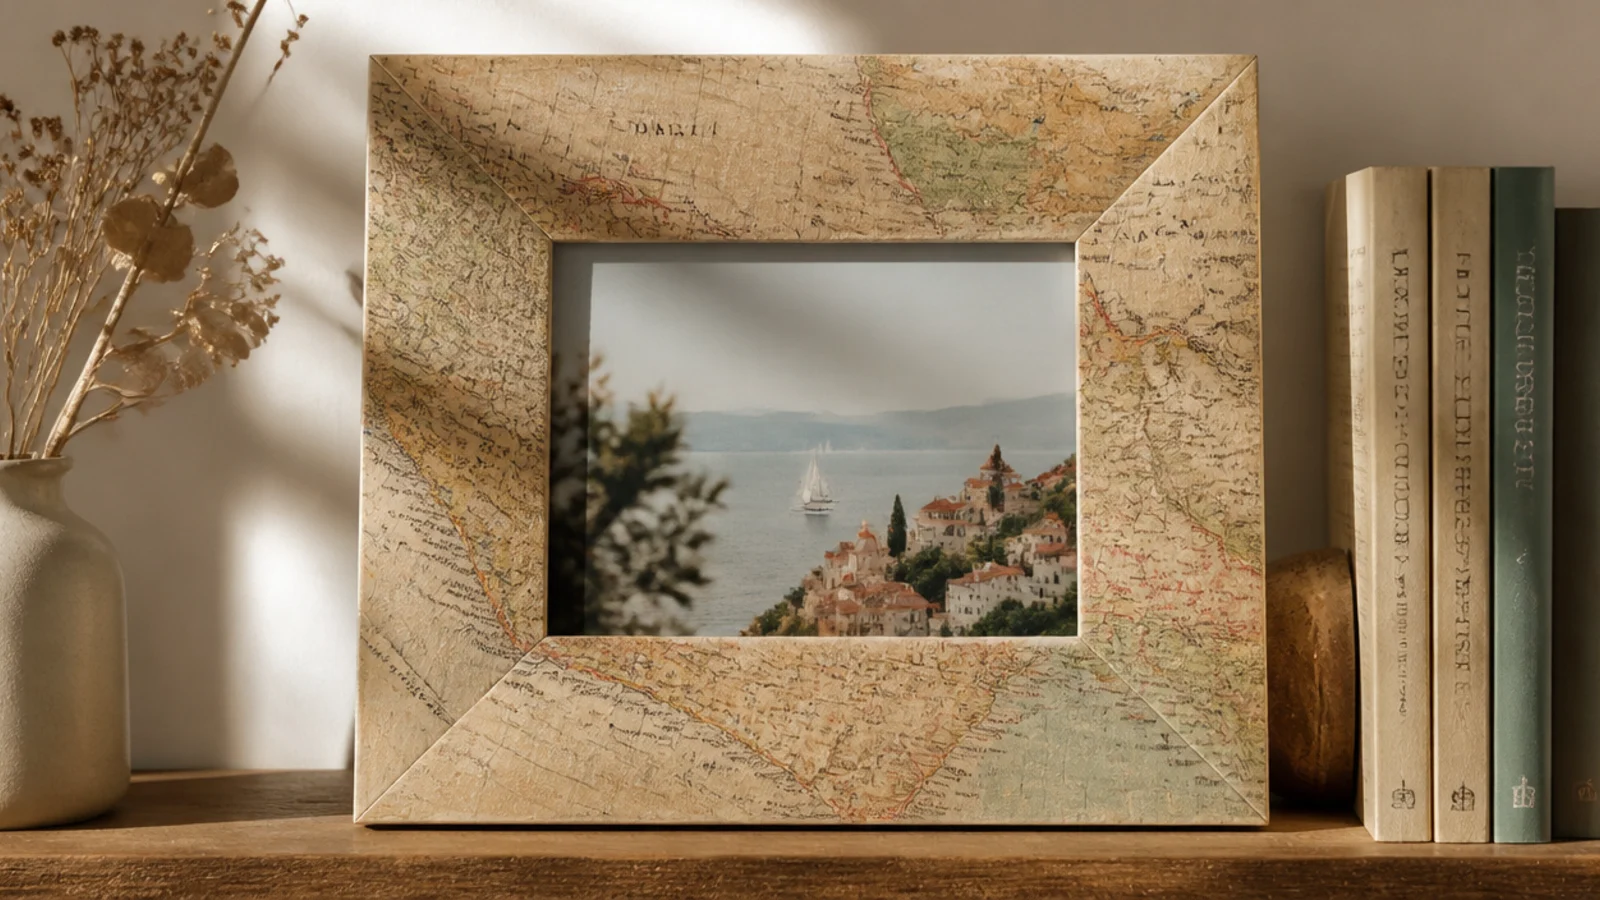
An old map or atlas page covers a frame for a wanderlust look for free. It suits travel photos and offices. The map print gives graphic interest and a story tied to the photo inside.
Editor's notePick a map of the exact place in the photo so the frame and the picture tell one connected story.
Use a flat cardboard or thrift frame. Brush decoupage medium on and lay map sections down, smoothing bubbles, wrapping the edges. Seal with two topcoats. Choose a map region that matches the photo’s location for a personal touch. Cure fully and mount the travel photo behind the opening.
Skip thisDon’t use a glossy modern road map; a muted vintage-style map reads far more elegant and less busy.
24. Yarn-Wrapped Frame
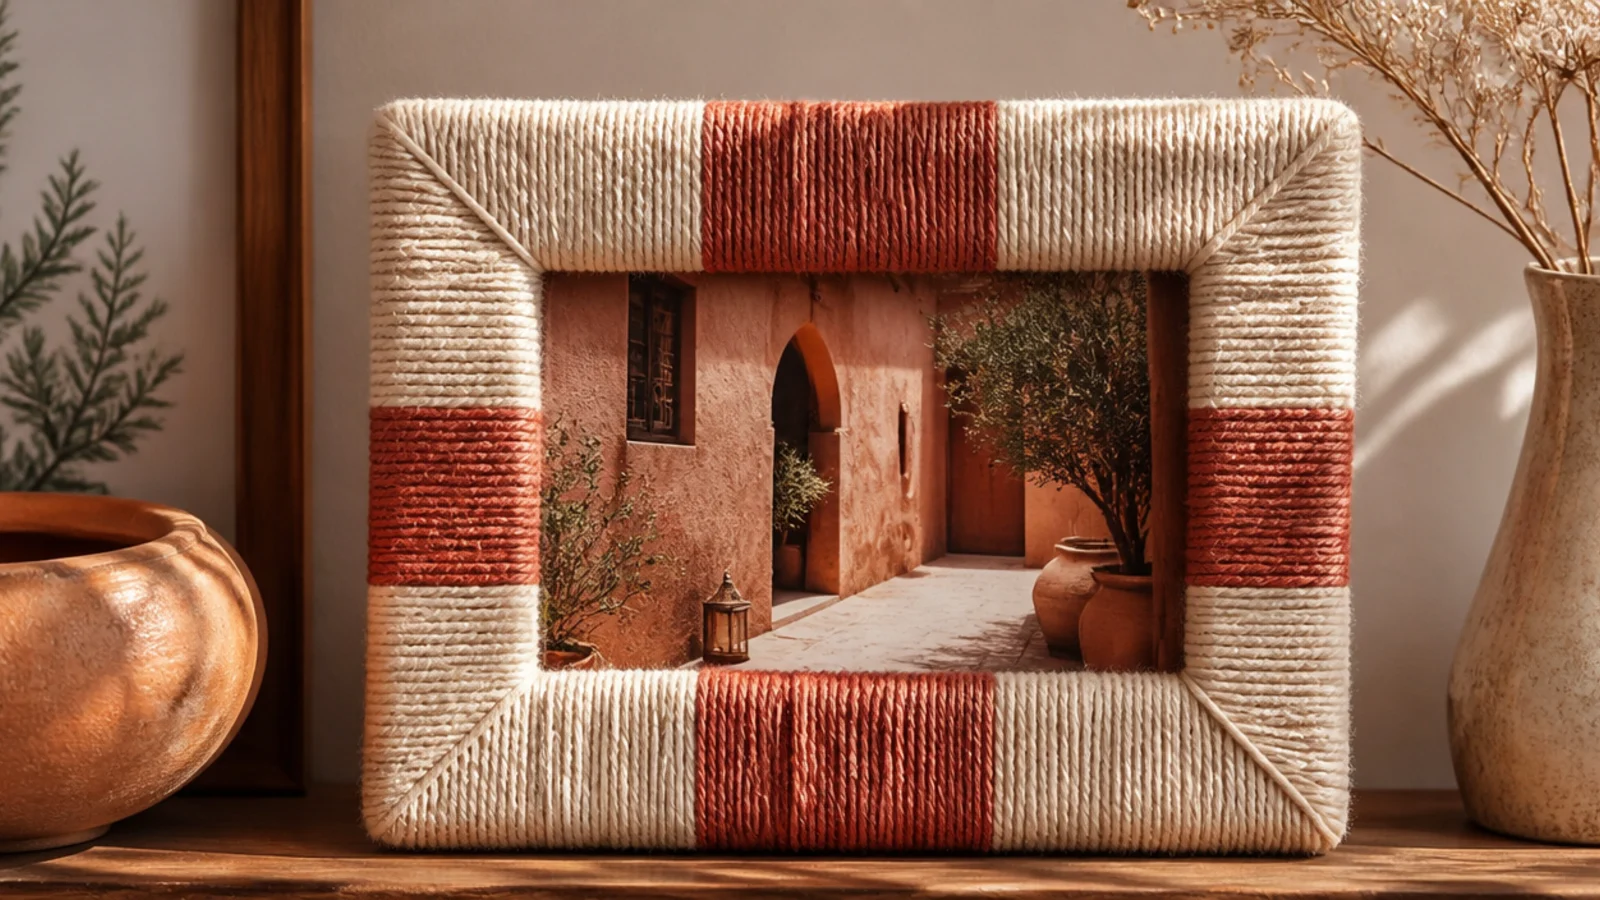
Leftover yarn wound around a frame adds cozy color and texture cheaply. It suits nurseries and craft rooms. Bands of two soft yarn colors look warm and intentional.
Editor's noteKeep every wrap tight against the last so no base peeks through — loose wrapping looks messy fast.
Use a flat-faced frame base. Tie or glue the yarn end at a back corner, then wind yarn tightly around the frame face, keeping wraps snug and even. Switch colors for banded sections, gluing the joins on the back. Finish by tucking and gluing the end. Mount the photo behind the opening.
Skip thisDon’t let the yarn wraps overlap unevenly; consistent, snug winding is what makes it look neat and finished.
25. Domino Frame
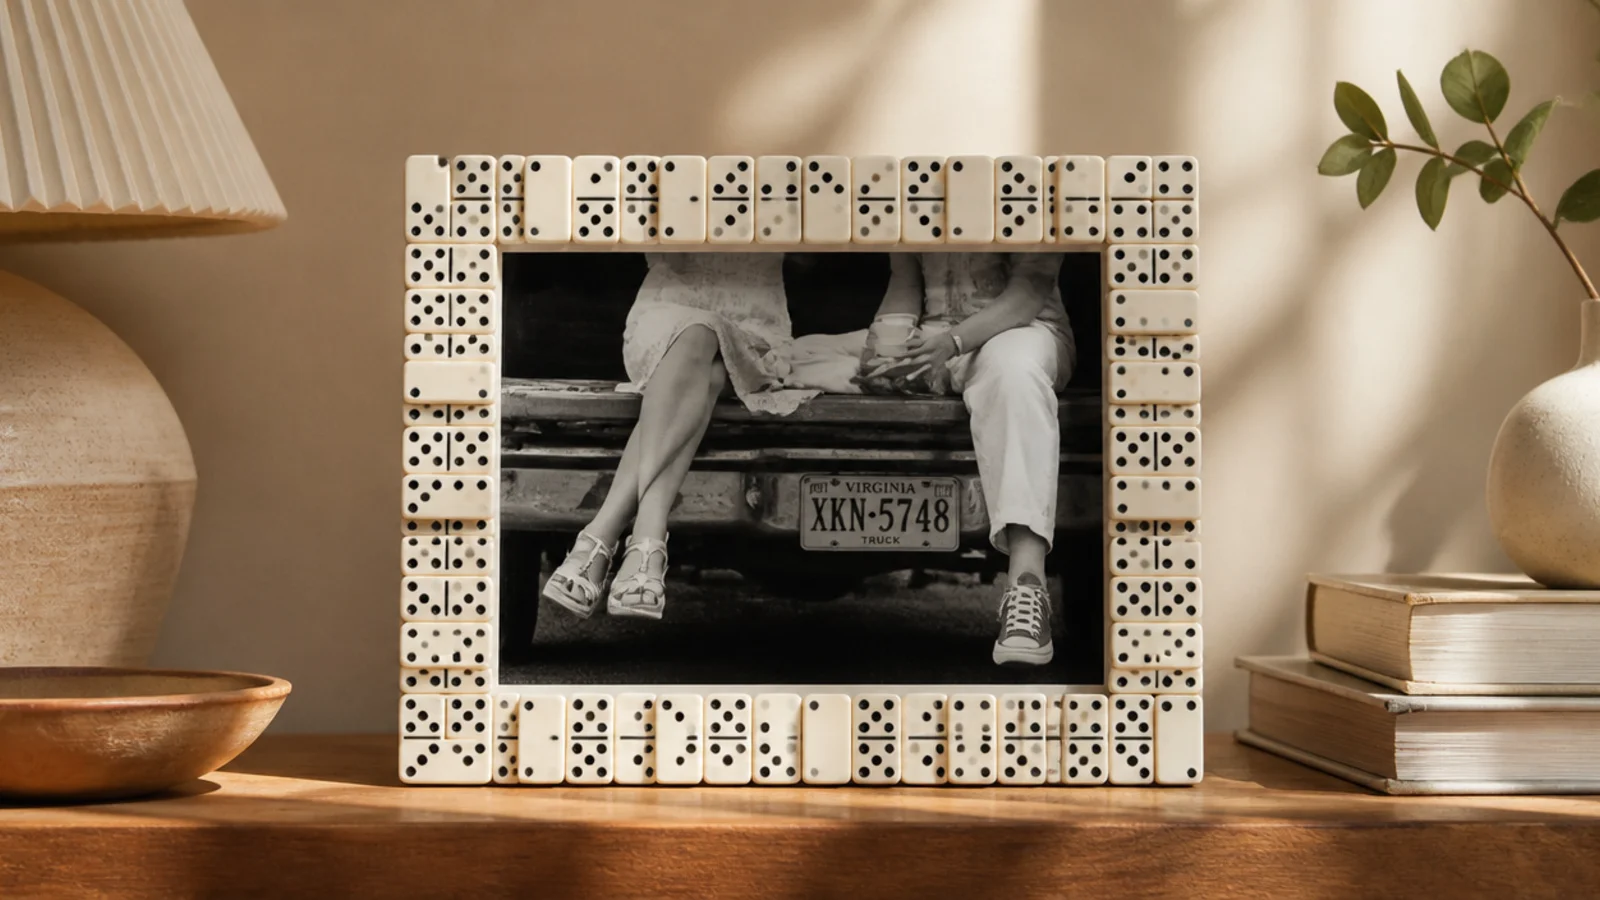
An incomplete domino set becomes a graphic black-and-white frame. It suits game rooms and playful decor. The crisp dots and clean rectangles give a bold, tidy border.
Editor's noteAlign all dominoes the same way with their dots facing out so the graphic pattern stays crisp and consistent.
Use a flat frame base sized to your dominoes. Glue dominoes end to end around the border, laying flat or standing them for a raised edge, keeping them aligned. Fill corners with a domino cut to fit. Seal and mount the photo. The uniform tiles do the neat look for you.
Skip thisDon’t mix in mismatched game tiles; a single domino set keeps the black-and-white graphic look clean.
26. Pinecone-Scale Frame
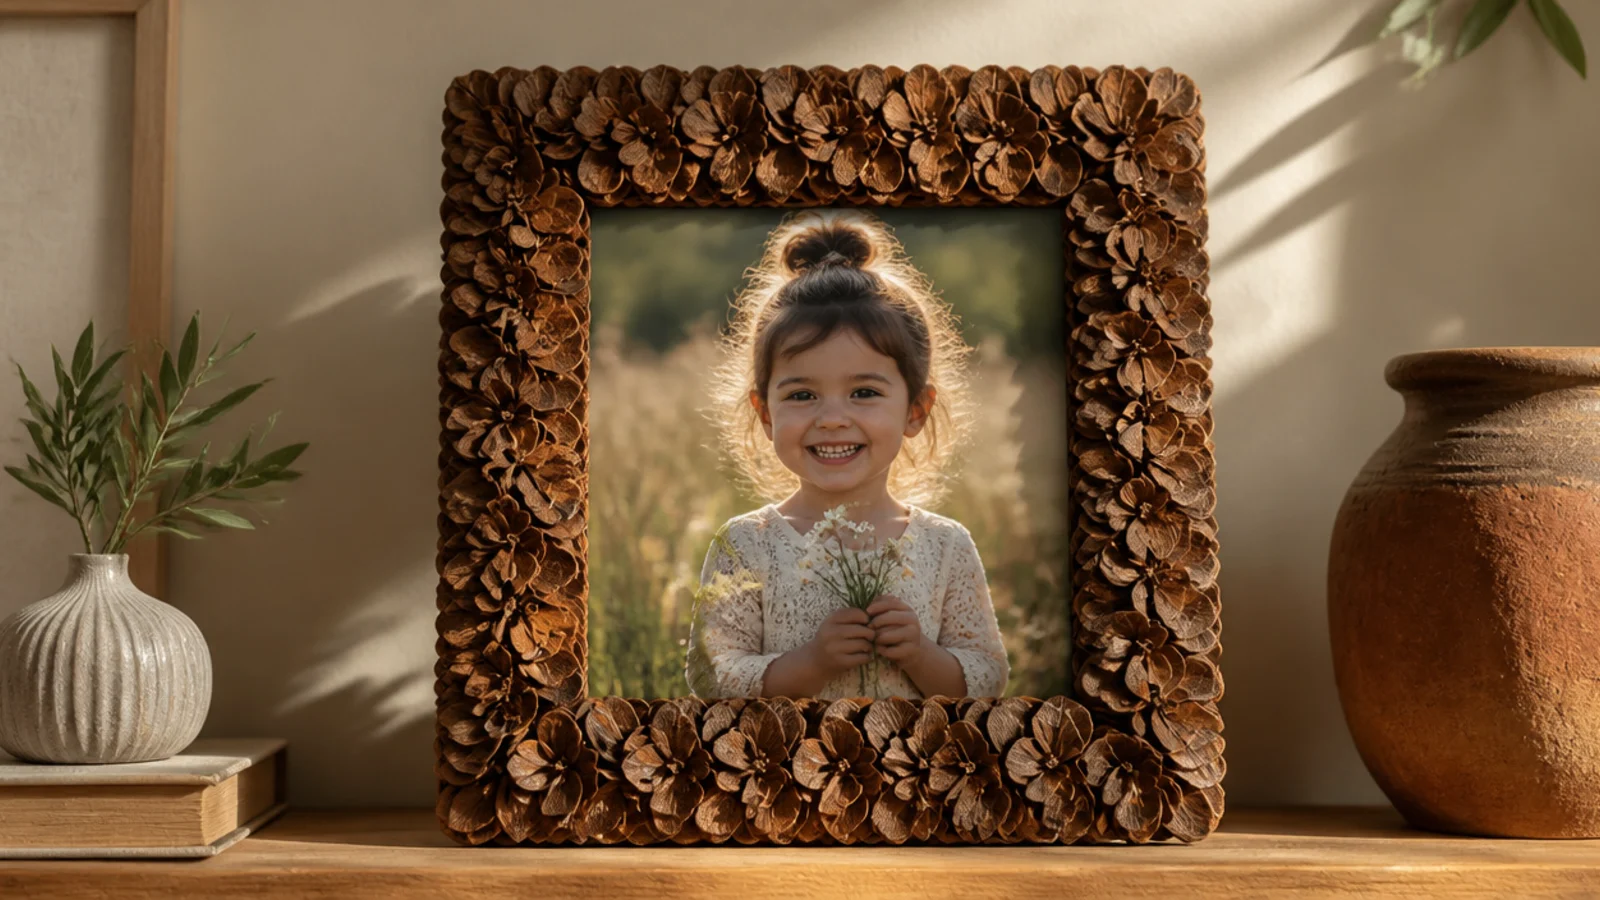
Pinecone scales layered like petals make a beautiful natural frame from free foraged cones. It suits fall and rustic decor. The overlapping scales look like a carved flower border.
Pry scales off dried pinecones with pliers. Glue them onto a flat frame base in overlapping rows, points outward, layering like shingles so no base shows. Work around the border evenly. Seal with matte spray to lock them and mount the photo. Bake the cones first to dry and de-bug them.
Overlap the scales like roof shingles, each row slightly over the last, for a layered, professional texture.
Don’t glue scales flat and sparse; overlapping and layering them is what gives the rich carved-flower effect.
27. Ribbon-Weave Frame
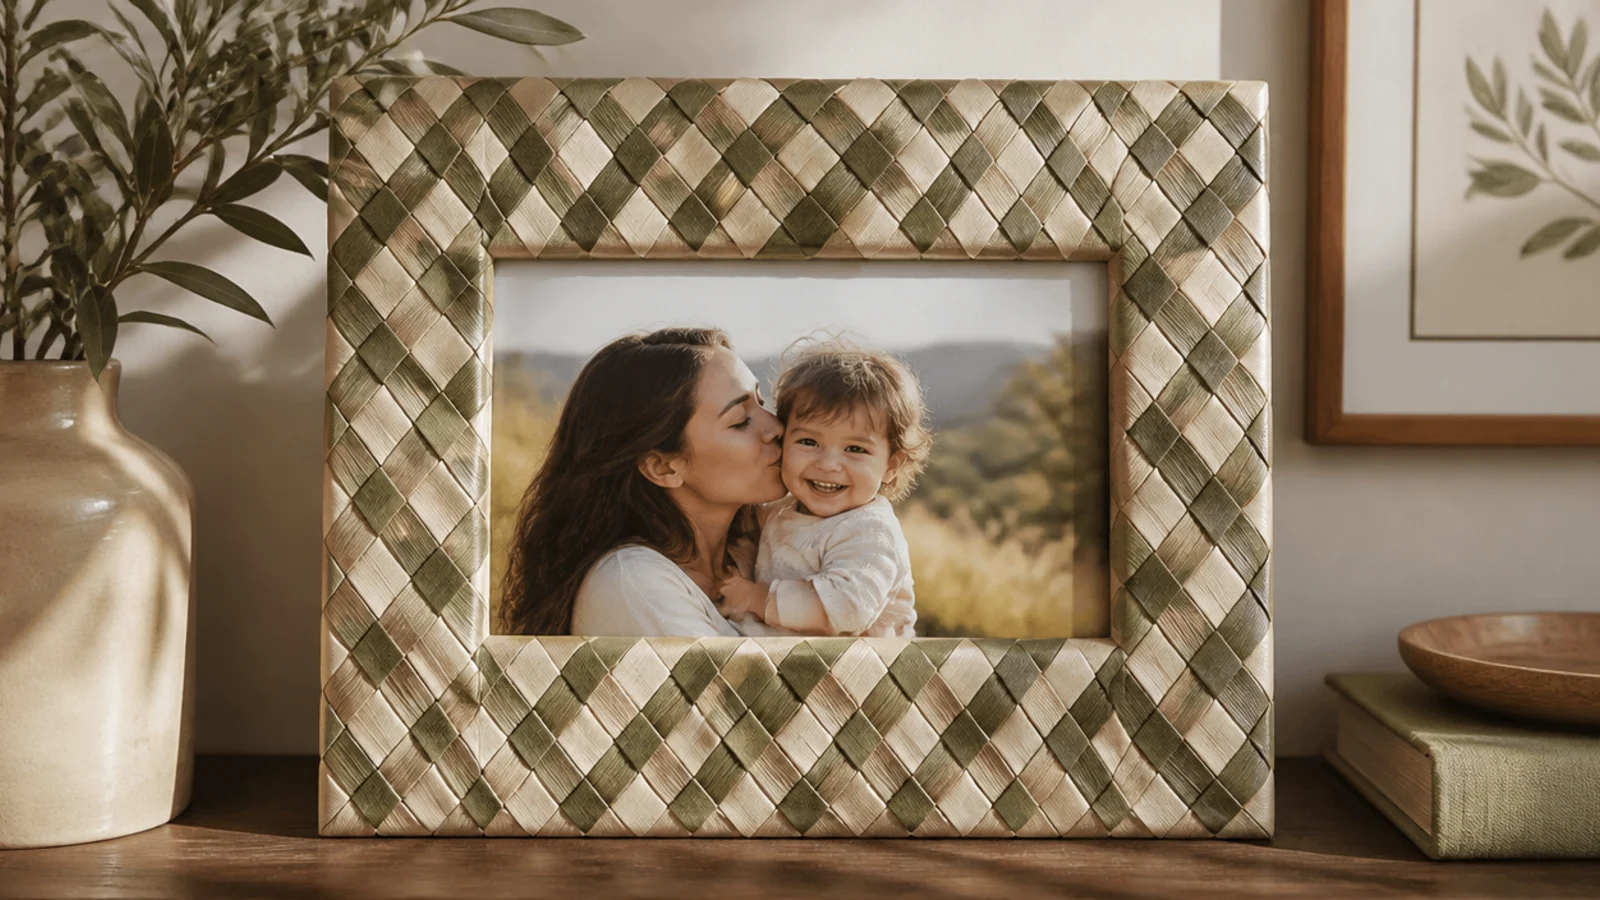
Leftover ribbon woven across a frame face makes a soft basket-weave texture. It suits feminine and craft-room decor. Two ribbon colors woven together look intricate and pretty for pennies.
Editor's notePull each ribbon taut as you weave and glue the ends on the back so the woven face stays flat and crisp.
Use a flat frame base with a window. Glue ribbon ends along one edge, running strips across the face, then weave perpendicular ribbons over and under them in a basket pattern, gluing ends on the back. Keep the weave tight. Trim and secure all ends, then mount the photo behind the window.
Skip thisDon’t let the weave sag or gap; loose ribbon looks sloppy, while a tight weave looks like real basketry.
28. Cinnamon-Stick Frame
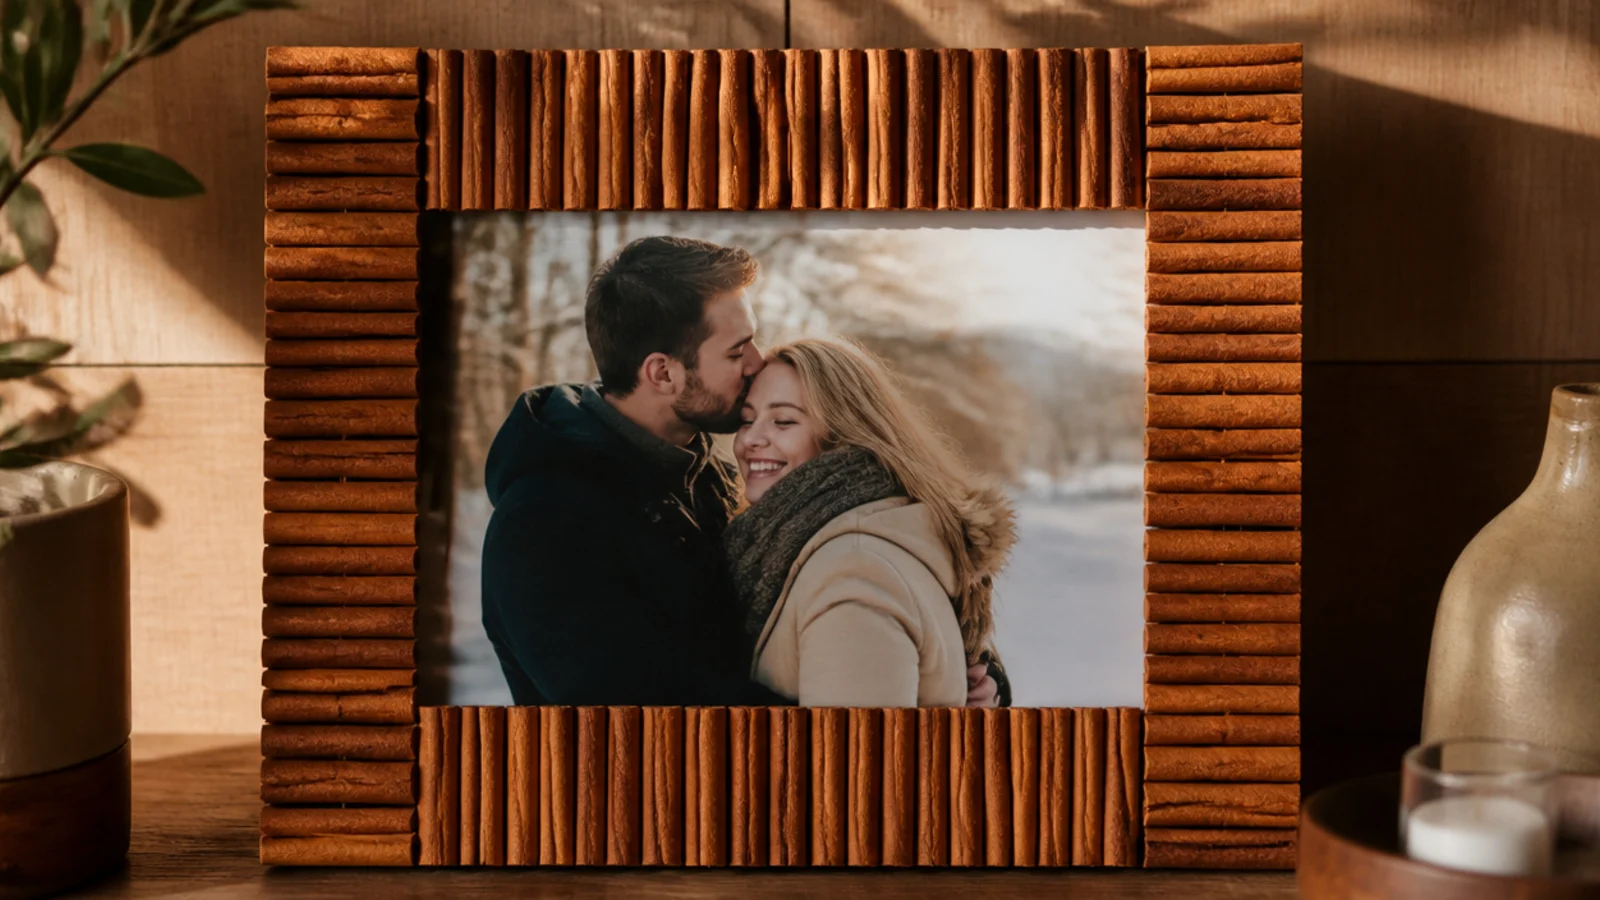
Cinnamon sticks glued around a frame add rustic warmth and a cozy scent. It suits fall, holiday, and kitchen decor. The ridged brown sticks look festive and smell wonderful.
Use a flat frame base. Lay cinnamon sticks side by side across each side, hot-gluing them down and trimming or overlapping at the corners. Pack them tight so no base shows. Tie a twine bow at one corner for a finishing touch. Seal lightly and mount the photo. Refresh the scent with a drop of oil later.
Add a small twine or raffia bow at one corner to tie the rustic look together and hide a corner join.
Don’t space the sticks apart; laid tight side by side is what makes the border look full and intentional.
29. Frame-Within-a-Frame Stack
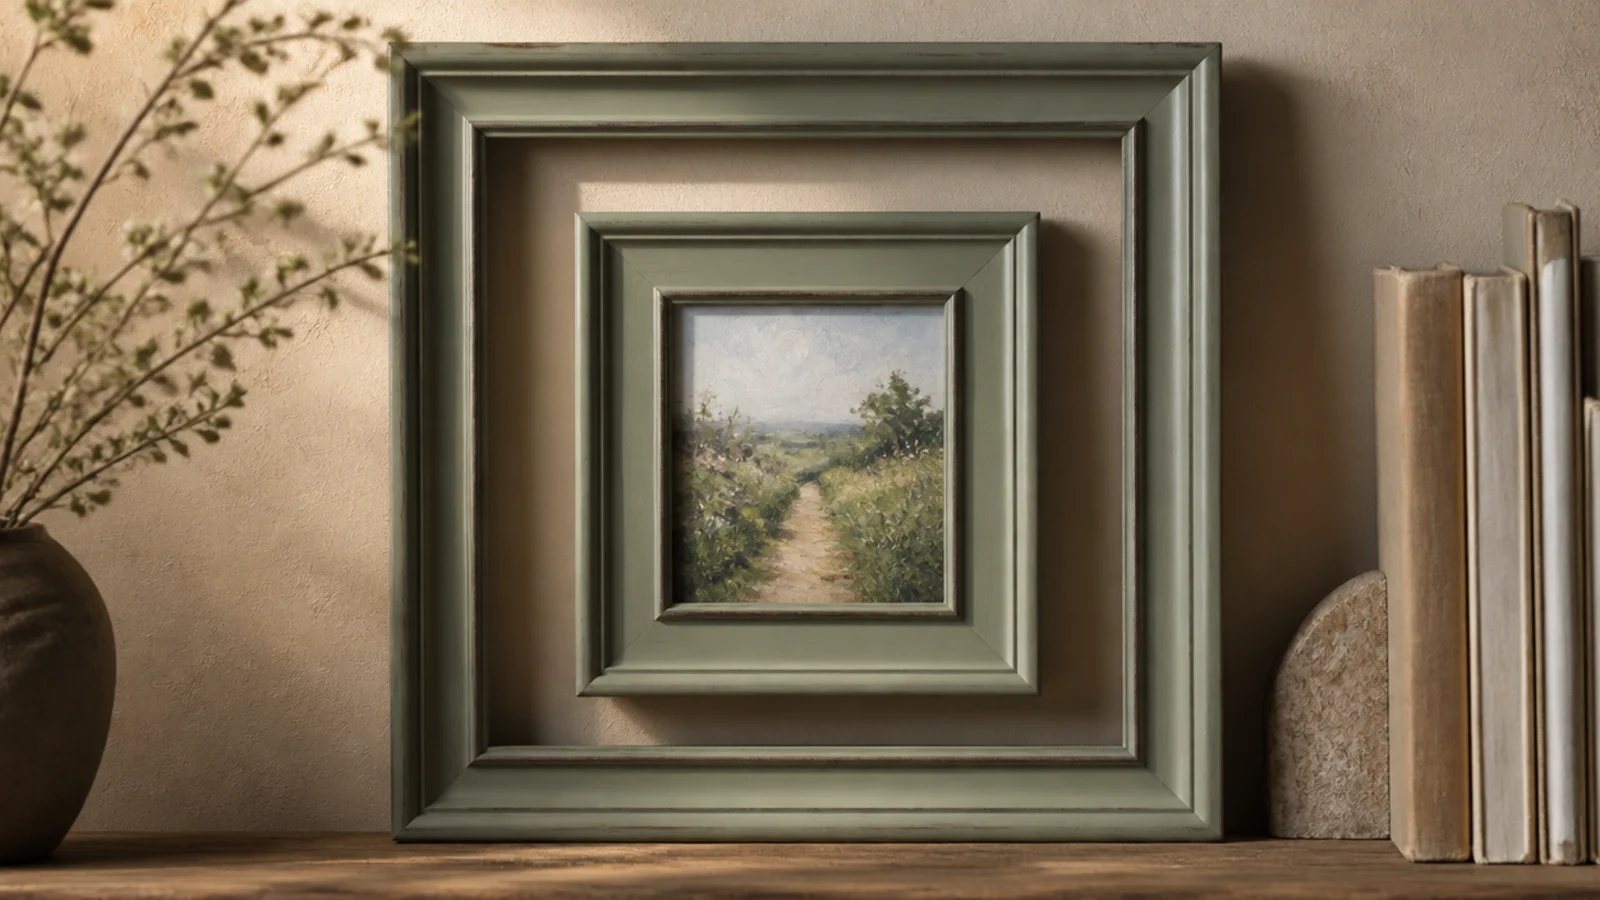
Nesting a small thrift frame inside a larger empty one creates depth and a designer layered look. It suits gallery walls on a budget. Two frames painted one color read as a single intentional piece.
Editor's notePaint both frames the exact same color in one session so the nested pair reads as one designed object.
Find two thrift frames, one clearly larger with its glass removed. Paint both the same color and seal. Mount the smaller frame (holding the photo) centered inside the larger open frame, gluing or wiring it in place so it floats within the outer frame. Add a hanger to the outer frame.
Skip thisDon’t leave the two frames different colors; matching them is what makes the stack look deliberate, not accidental.
30. Kids' Handprint Frame
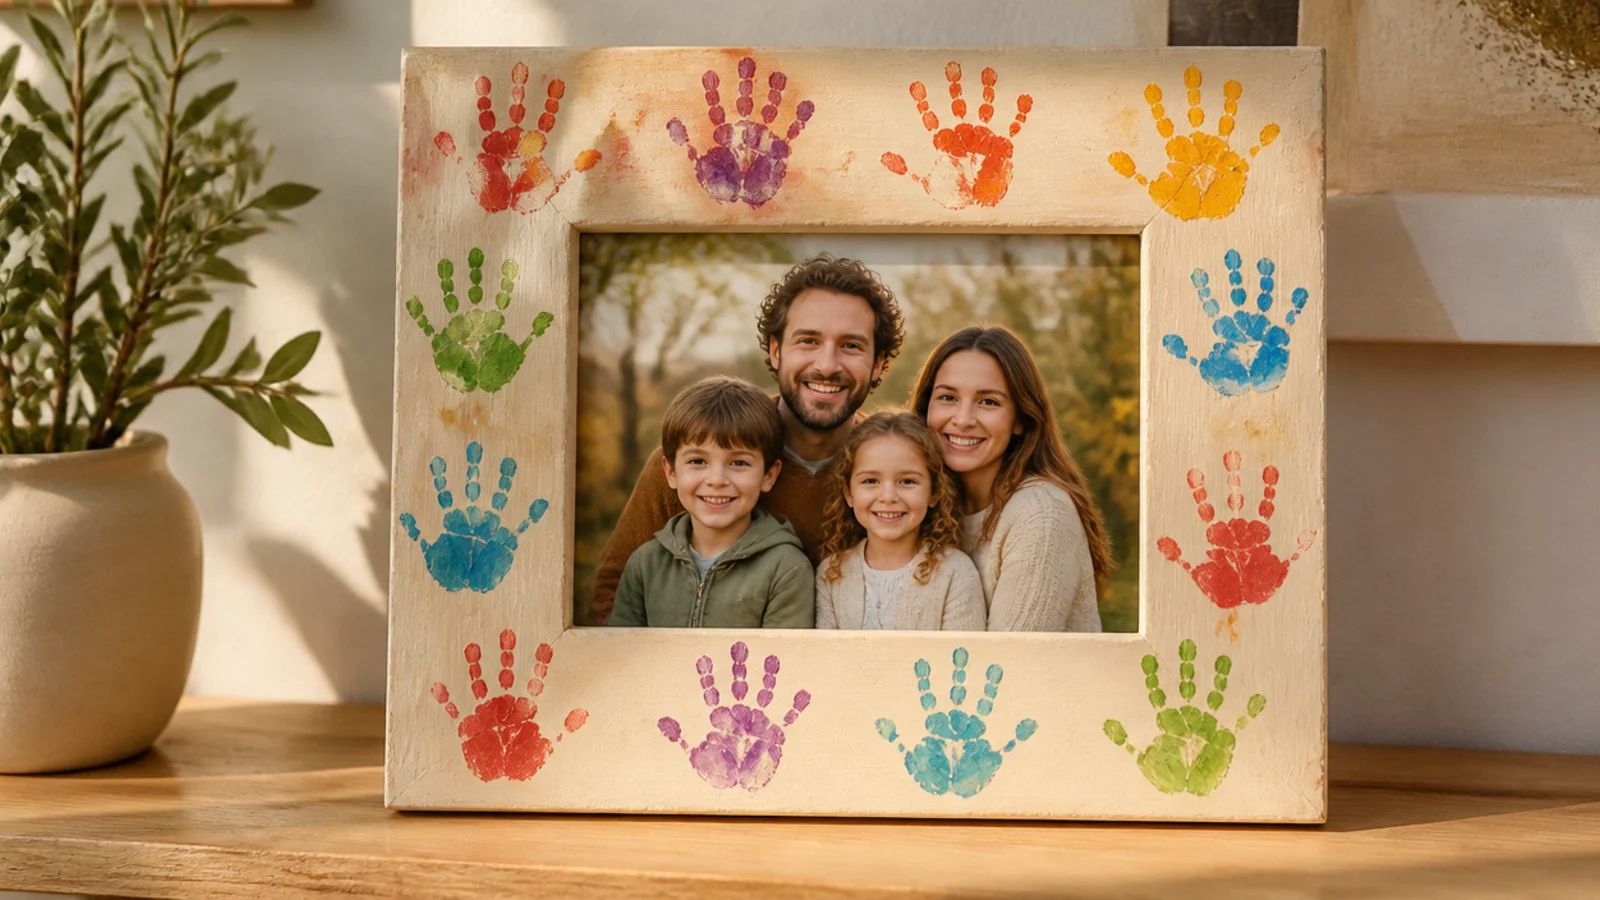
A frame decorated with a child’s painted handprints is a keepsake gift kids can make themselves. It suits grandparent gifts and family photos. Real little handprints make it priceless and personal.
Editor's noteAdd the child’s name and the year in the corner so the keepsake is dated — grandparents treasure that detail most.
Use a plain wide cardboard or wood frame, base-coated a light color. Have the child press paint-covered hands around the border, spacing the prints. Let dry, then add the child’s name and the year with a paint pen. Seal with matte clear to protect the prints and mount the family photo behind the opening.
Skip thisDon’t skip sealing the handprints; unprotected craft paint on little hands smudges and chips over time.