1. Wood-Burned Name Frame
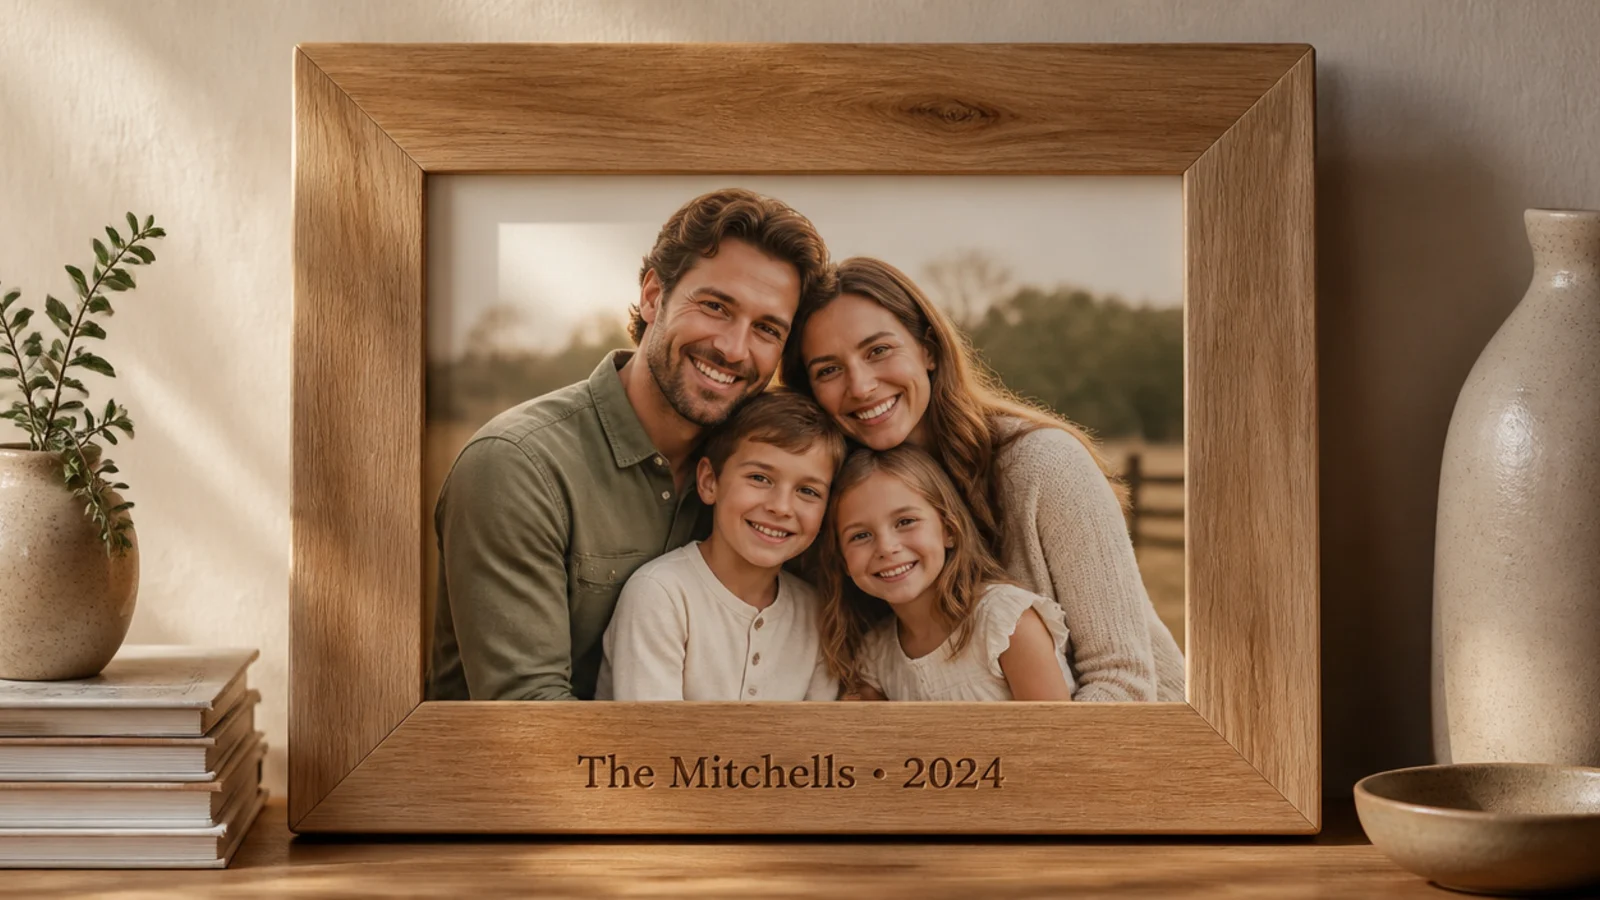
A name and date burned into a plain wood frame turns it into a keepsake that can’t be bought. It suits weddings, new babies, and anniversaries. Natural unfinished wood takes the burn cleanly, and the dark lettering against pale wood looks timeless.
Start with a plain unfinished wood frame. Print the name and date at the size you want, tape it over the bottom edge, and trace hard with a pencil to transfer the outline. Wood-burn slowly along the lines with a fine tip, keeping even pressure. Brush away soot, sand lightly, and finish with a clear matte sealer to protect the burn.
Editor's notePractice the letters and your pressure on a scrap of the same wood first — burns are permanent, so a rehearsal saves the frame.
Skip thisDon’t rush the burn or press too hard; scorched, uneven letters look like a mistake instead of a keepsake.
2. Birth-Stats Keepsake Frame
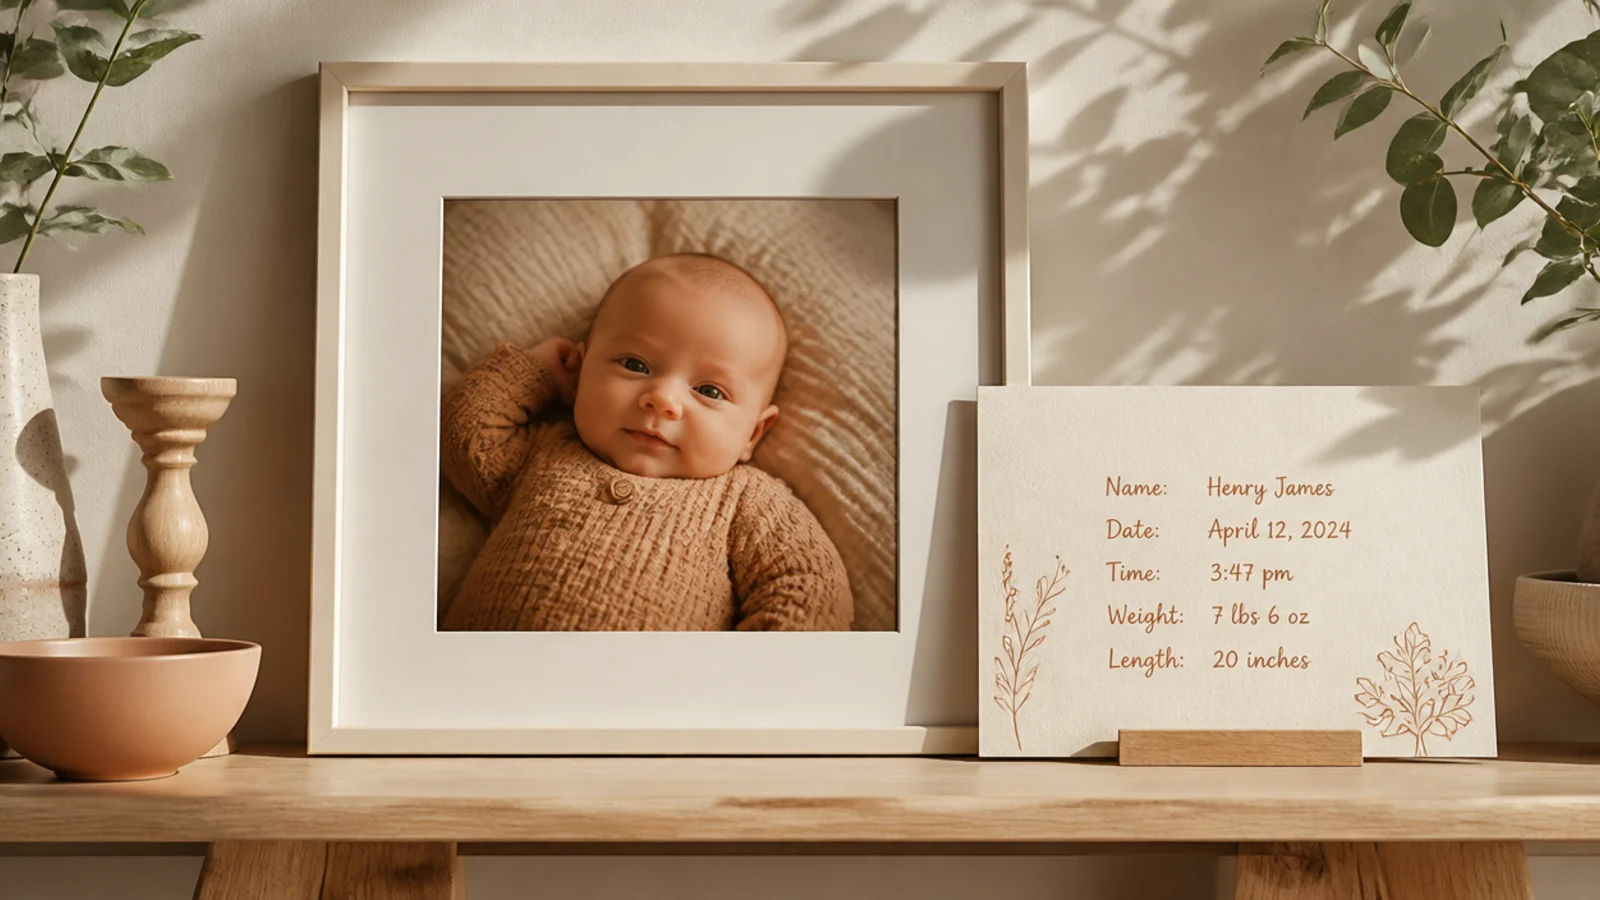
Pairing a newborn photo with the baby’s stats makes a gift new parents keep forever. It suits baby showers and first birthdays. A soft neutral palette — cream, sage, dusty blue — keeps it gender-neutral and calm.
Use a wide double-opening frame or a shadow box. Print the baby photo for one side. On card stock, hand-letter or print the name, birth date, time, weight, and length in a simple font. Mount both behind the openings so they sit level. Add a folding easel back and seal any painted frame edges with matte clear.
Editor's notePrint the stats card in the same tones as the frame so the two openings read as one designed keepsake, not a photo plus a note.
Skip thisDon’t cram in too many details; name, date, weight, and length are plenty — a crowded card looks like a form.
3. Pressed-Flower Keepsake Frame
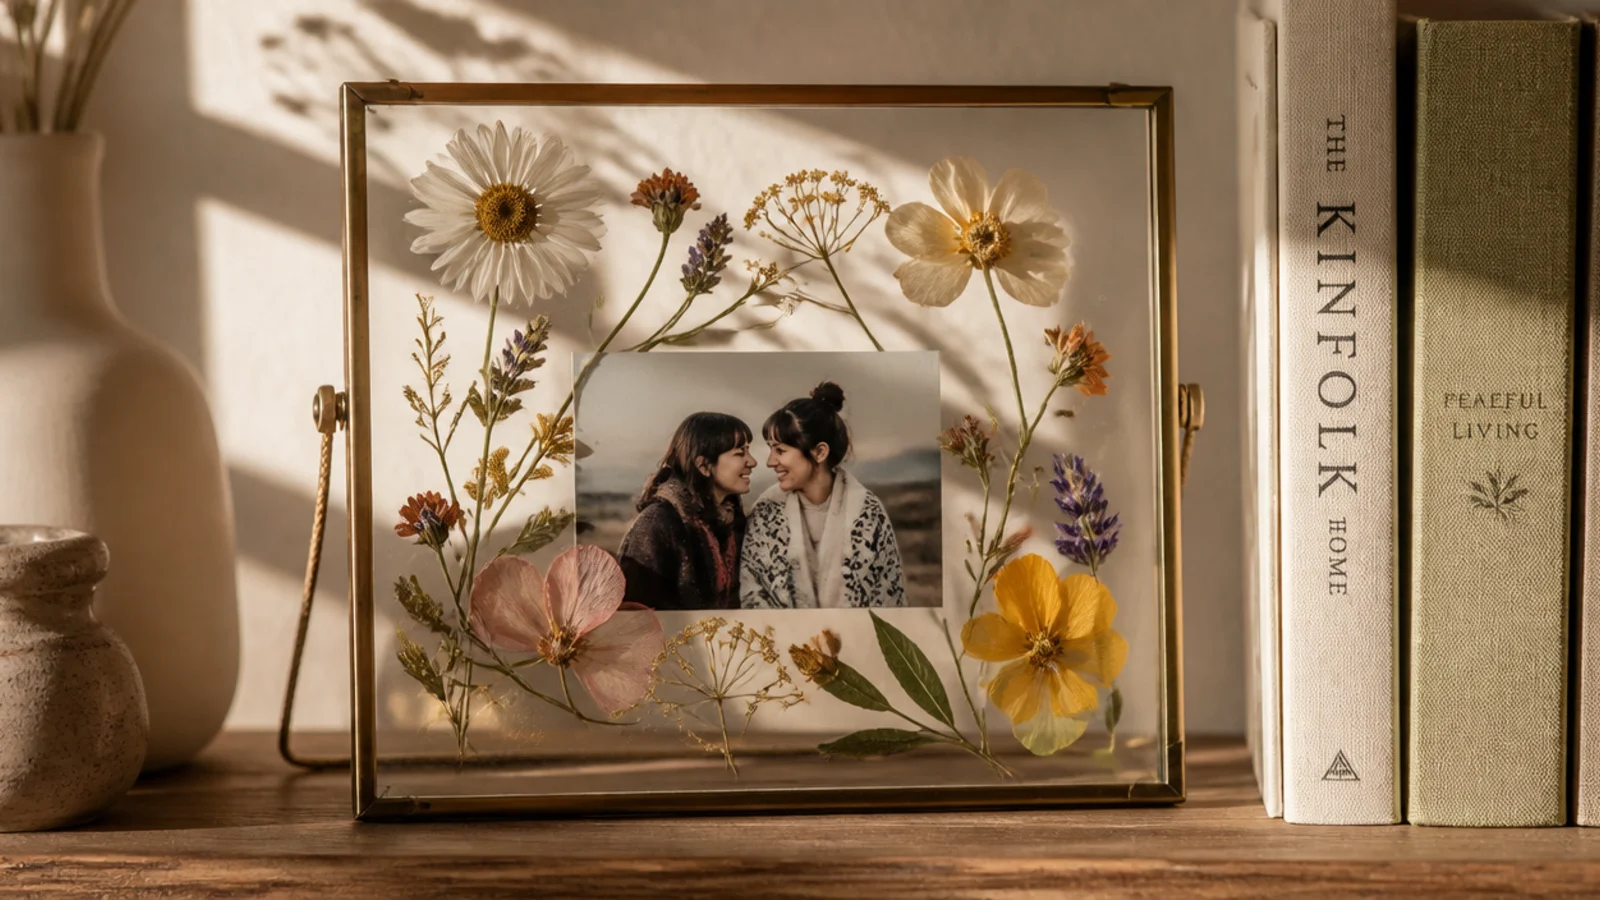
Pressed flowers from a meaningful place — a wedding bouquet, a childhood garden — around a photo make a deeply personal gift. It suits sentimental recipients. Real blooms the recipient recognizes turn a pretty frame into a story.
Press the flowers flat between book pages for two weeks until fully dry. Using a clear glass or acrylic frame, arrange the flowers around the edges on the backing with the photo centered. Add a tiny dot of clear glue under each bloom. Lay the glass over gently to hold everything flat and close the back. Keep it out of direct sun.
Editor's noteIf the flowers come from the recipient’s own occasion, note where they’re from on a small card tucked in the back — it makes the gift unforgettable.
Skip thisDon’t use thick, moist flowers; they won’t press flat and can mold behind the glass, ruining the keepsake.
4. Resin Photo Frame
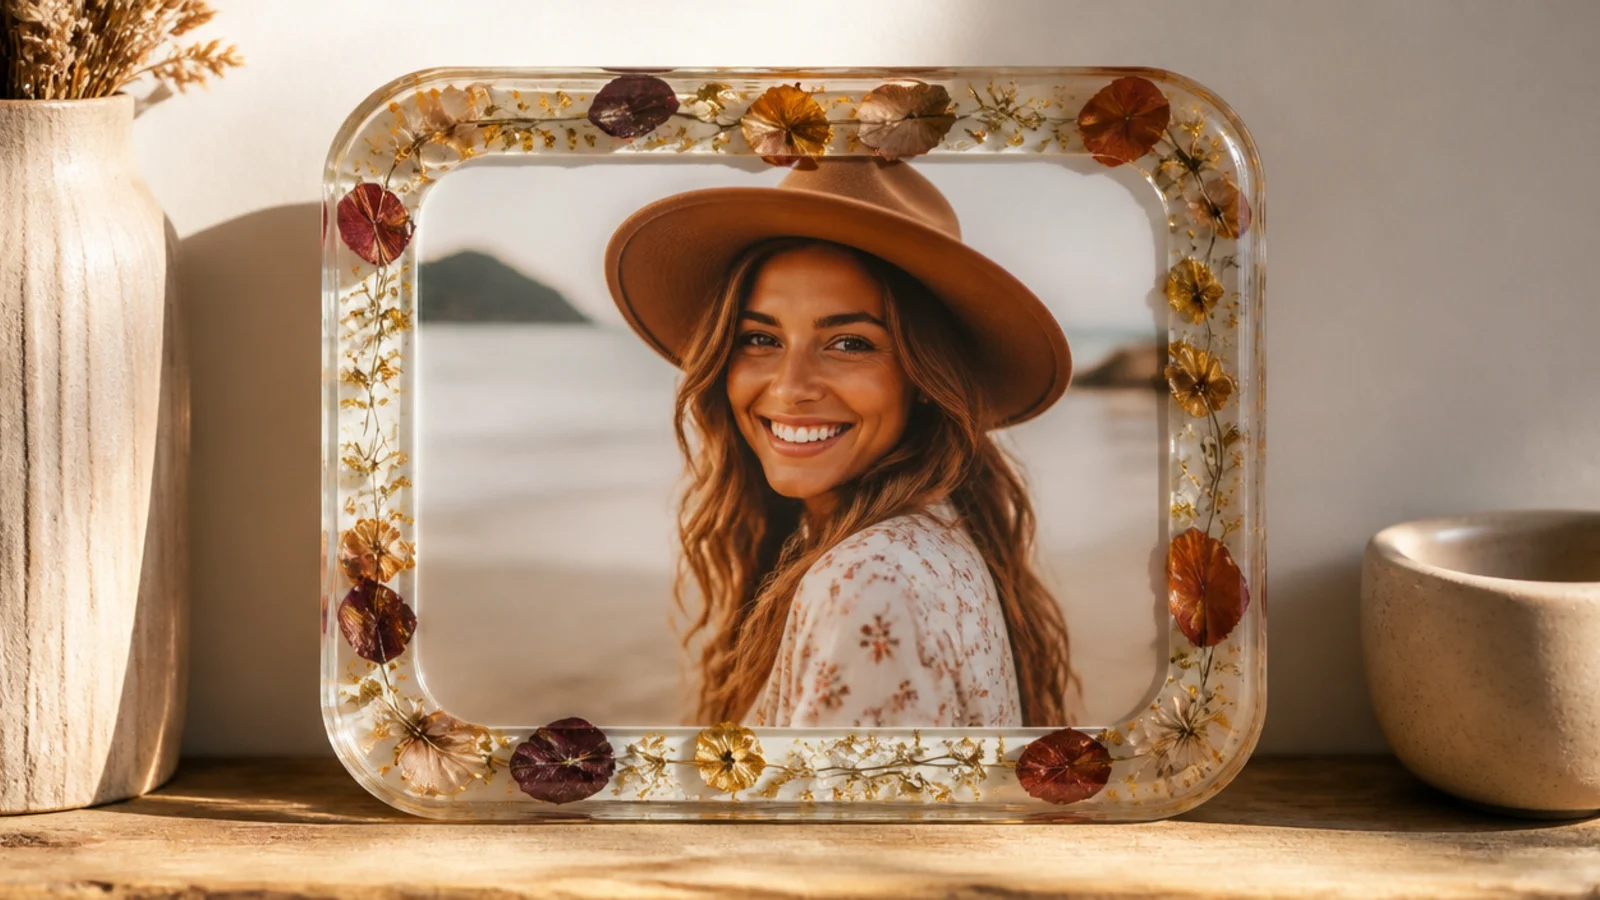
A photo sealed under glossy resin looks professionally made and feels substantial in the hand. It suits anyone who likes modern, polished pieces. Embedding a few tiny dried petals or flakes of gold leaf in the border adds a luxe, custom touch.
Use a frame-shaped silicone mold or a wood frame with a raised lip. Seal the photo first with a spray sealer so the resin doesn’t discolor it. Mix two-part epoxy resin per the kit ratio, pour a thin base layer, set the sealed photo, and pour a final clear layer, adding petals or gold flakes at the edges. Pop bubbles with a heat gun and let it cure fully.
Editor's noteAlways seal the printed photo with a clear spray before pouring resin — unsealed ink can bleed or go translucent.
Skip thisDon’t rush the cure; resin needs its full 24 to 72 hours, and a soft, tacky surface ruins an otherwise perfect gift.
5. Map Location Frame
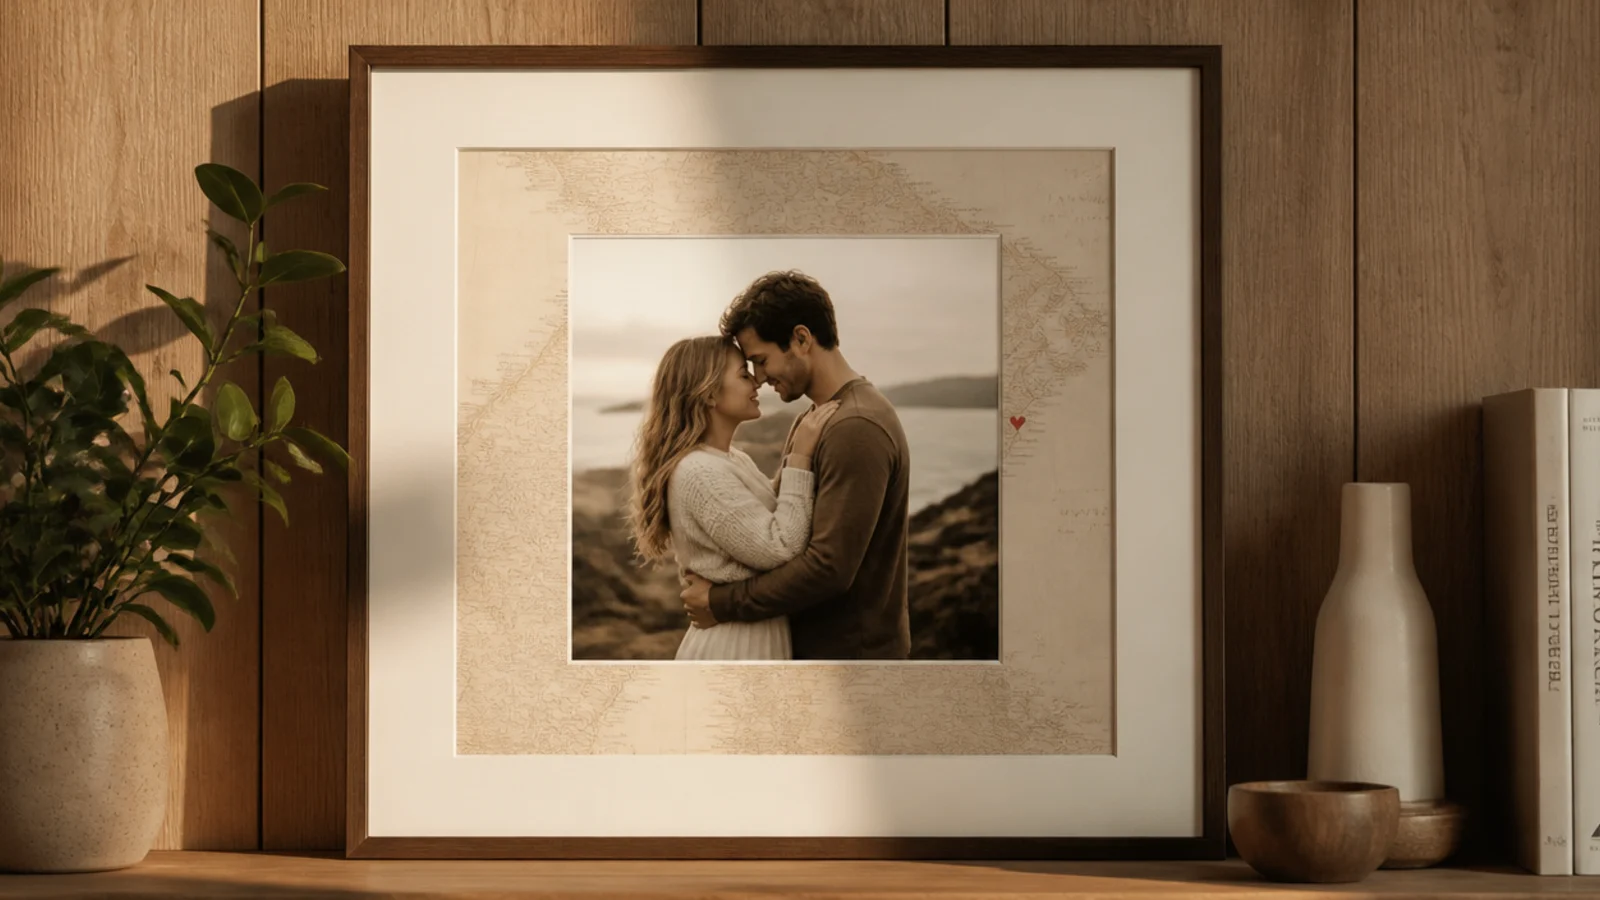
Framing a photo over a map of a meaningful place — where they met, married, or grew up — is a gift with a built-in story. It suits couples and anyone with a special city. A small hand-drawn heart on the exact spot makes it personal.
Print or cut a map section of the meaningful location. Cut a mat window in it a half inch smaller than the photo, centered. Mark the special spot with a small drawn or stamped heart. Layer the map mat over the photo inside a simple frame so the map borders the picture. Seal a painted frame edge with matte clear and add a hanger.
Use a vintage-style or muted map print rather than a bright modern one, so the map complements the photo instead of competing with it.
Don’t pick a busy, over-labeled map; a clean, simple map section reads as intentional while a cluttered one distracts from the photo.
6. Monogram Initial Frame
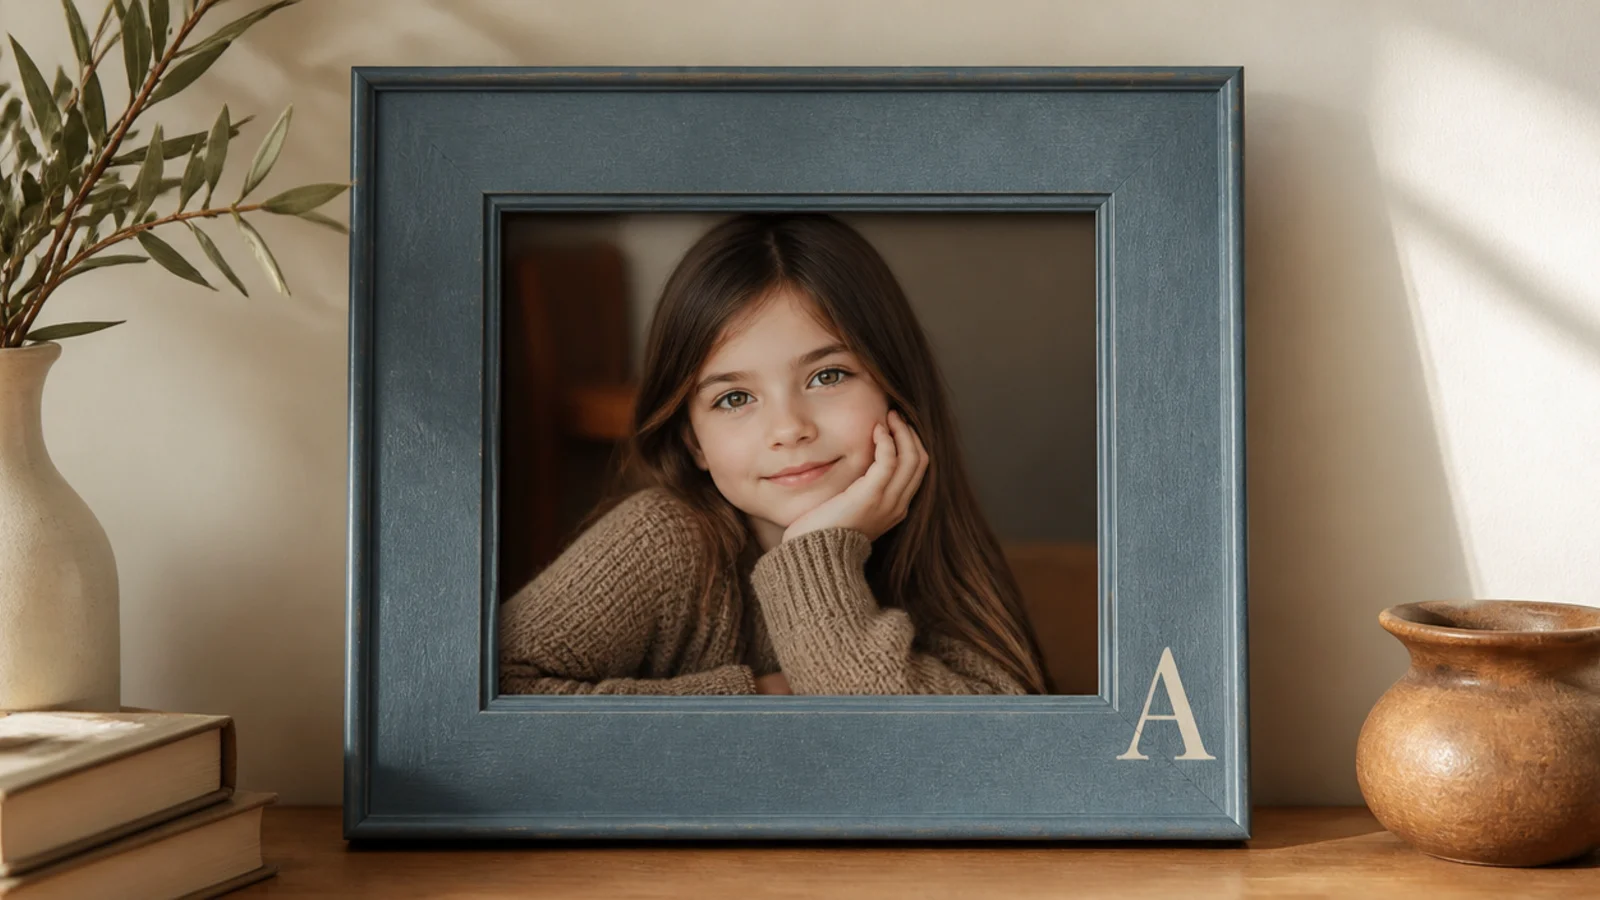
A single painted initial in the corner personalizes a frame simply and elegantly. It suits housewarmings and weddings. One clean serif or block letter in a calm color looks refined, not cutesy.
Base-coat the frame a calm color and let it dry. Print the initial at size, cut it out, and trace it lightly in one corner of the frame face. Fill it in with two thin coats of a contrasting color using a small brush, working from the outline in. Erase stray pencil, then seal the whole frame with matte clear.
Place the initial in a bottom corner rather than the center top so it feels like a maker’s mark, not a label.
Don’t use thin script for the initial; a clean block or serif letter is far more forgiving and reads more expensive.
7. Fabric-Covered Gift Frame
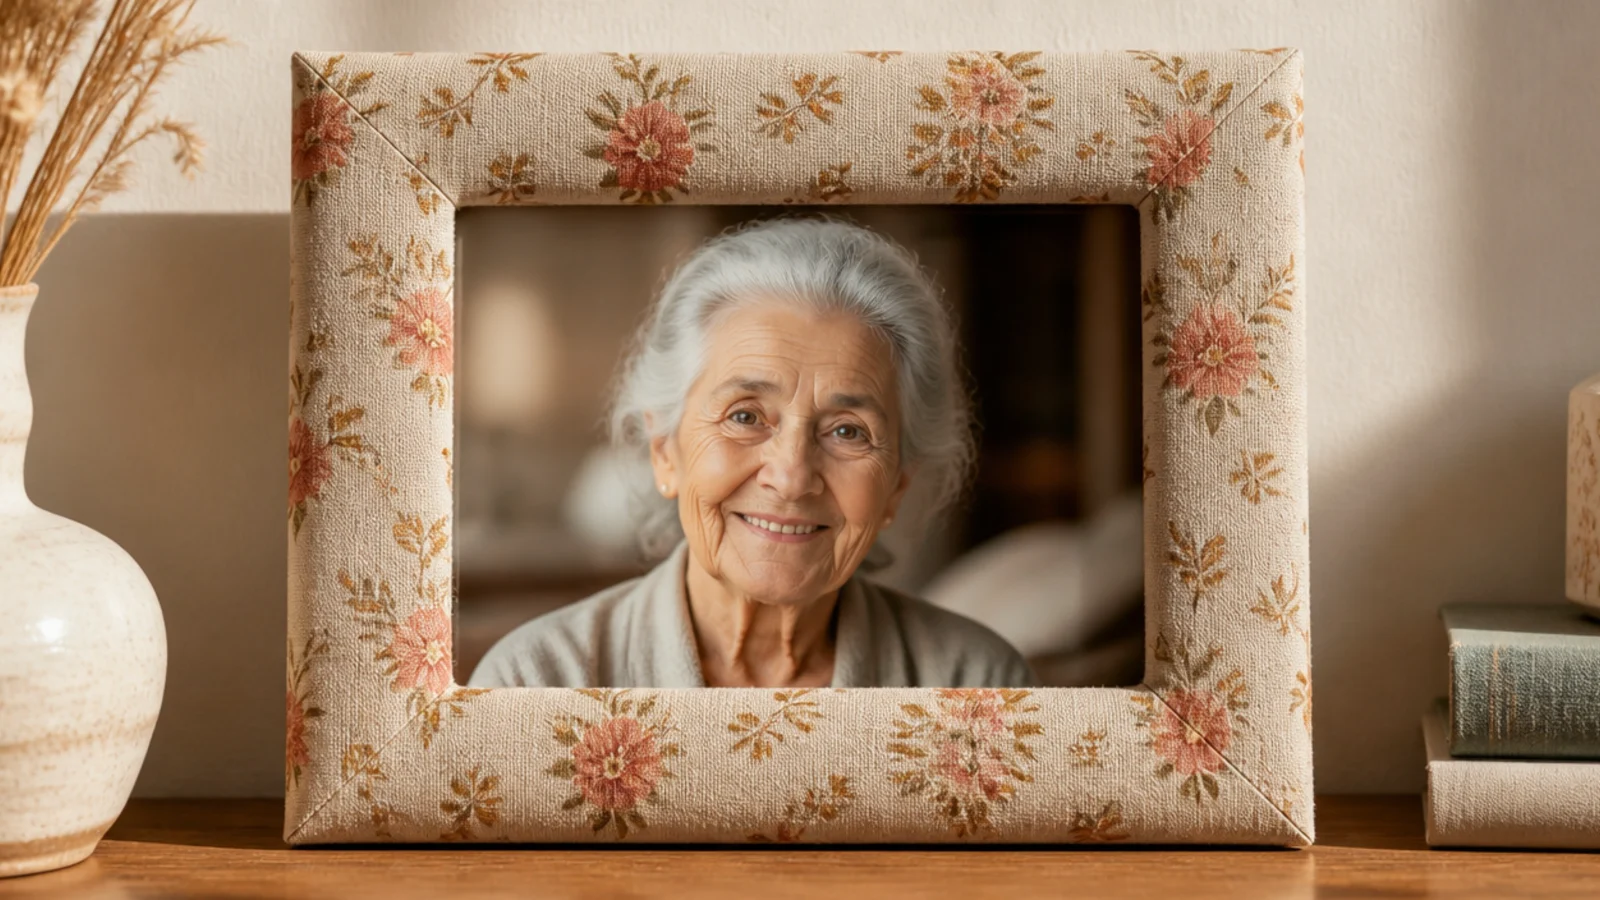
Wrapping a frame in a fabric that means something — a scrap of a favorite dress, a familiar print — makes a warm, personal gift. It suits sentimental recipients. Using fabric with a memory attached turns a simple frame into a keepsake.
Start with a flat cardboard or wood frame. Cut fabric with a two-inch overhang, brush glue on the front, smooth the fabric down, and wrap the edges to the back. Fold the corners like a gift and glue. Cut an X over the window, glue the flaps back, and mount the photo. Iron the fabric flat first for a crisp finish.
Choose fabric that carries a memory for the recipient — a piece of a well-loved garment or a shared trip — and mention it when you give it.
Don’t use thick or stretchy fabric; it bunches at the corners and loses the clean folded edges that make it look finished.
8. Hand-Lettered Quote Frame
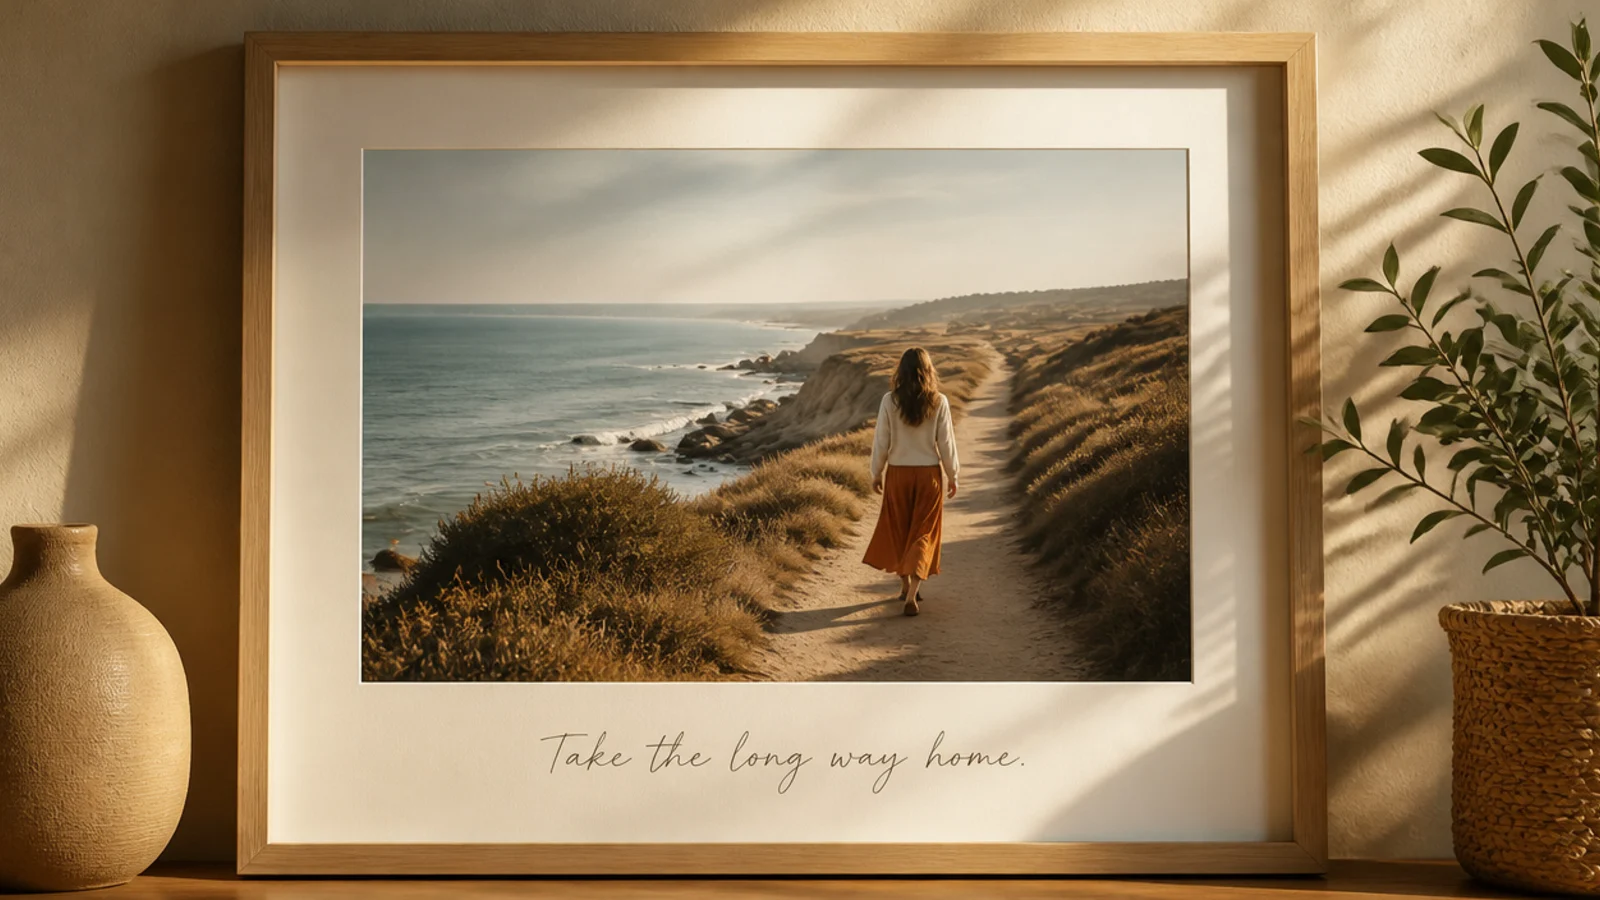
A short quote or inside joke lettered onto the frame makes it speak directly to the recipient. It suits close friends and family. One meaningful line — a shared saying, a lyric — beats a generic printed sentiment.
Use a frame with a wide flat bottom border. Base-coat it a light color. Lightly pencil the quote to plan spacing, then trace over it with a fine paint pen in a steady hand. Keep the lettering small and centered. Erase pencil marks, then seal the surface with a light spray clear so the pen doesn’t smear.
Editor's notePencil the whole phrase and space it out fully before you ink — running out of room mid-word is the classic lettering mistake.
Skip thisDon’t seal fresh paint-pen ink with a heavy brushed varnish; it drags the ink — use a light spray clear instead.
9. Shadow-Box Memory Frame
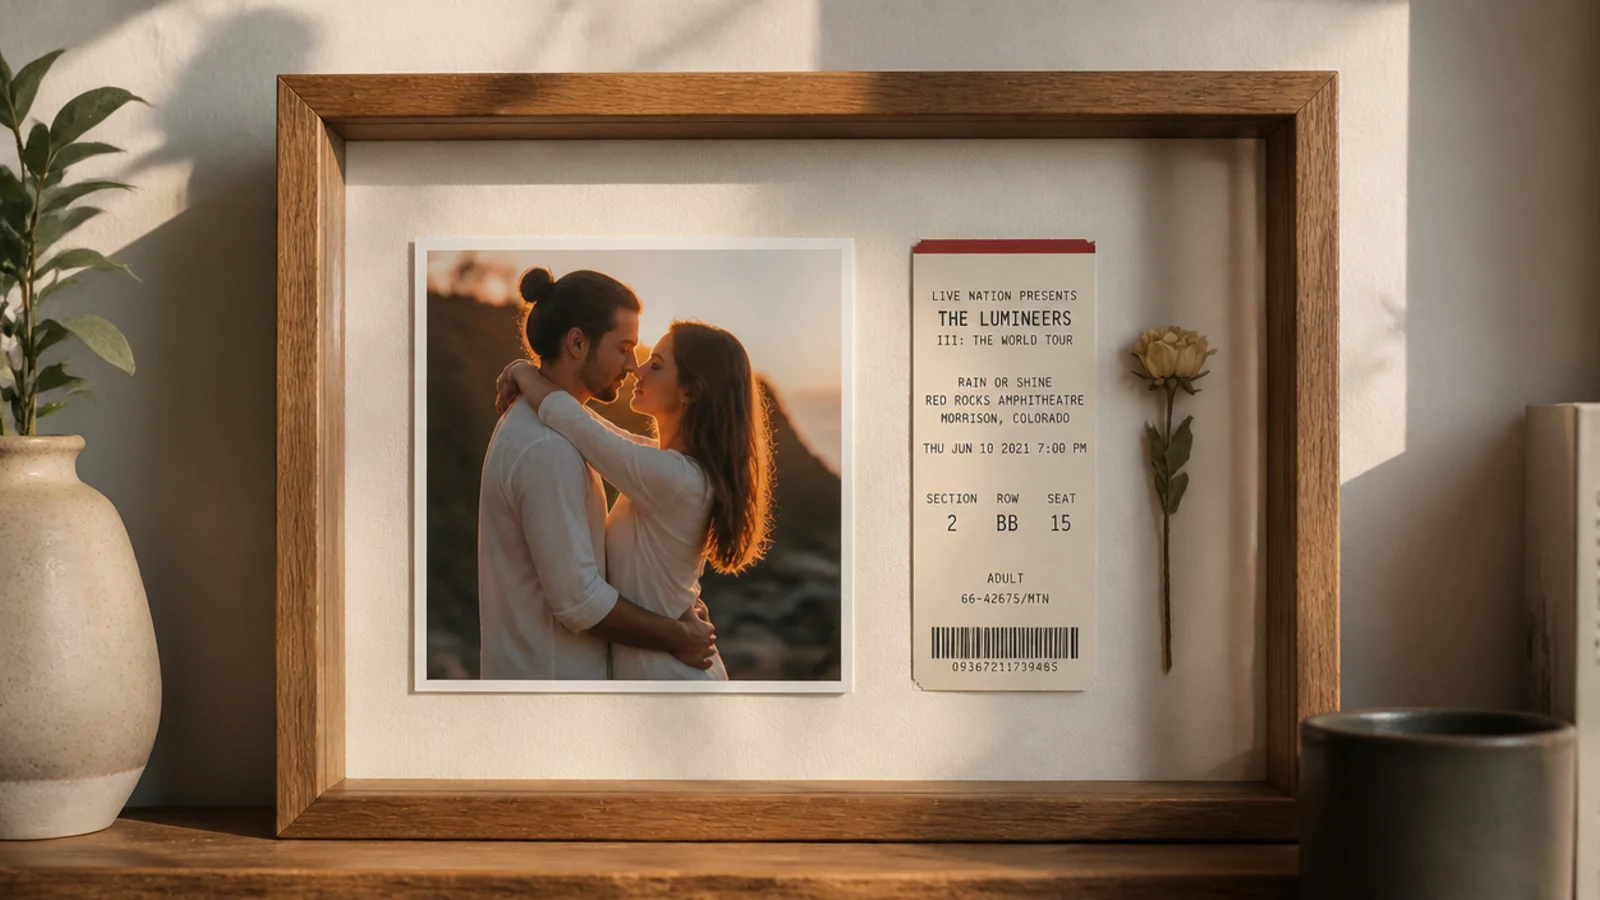
A shadow box holds a photo plus a physical keepsake — a ticket, a shell, a lock of hair — to preserve a moment. It suits milestones and travel memories. The object beside the photo is what makes the gift feel like a captured memory.
Build or buy a deep box frame. Line the back with linen or paper. Mount the photo to the back panel and arrange one or two flat keepsakes beside it, gluing lightly. Fit the acrylic front into the box lip. Add a sturdy hanger, since box frames are heavier than flat ones. Keep the arrangement uncrowded.
Editor's noteLeave breathing room around the keepsake; one or two well-placed objects tell the story better than a packed box.
Skip thisDon’t glue objects so tall they press against the front; leave clearance so the acrylic sits flat and flush.
10. Clay Handprint Frame
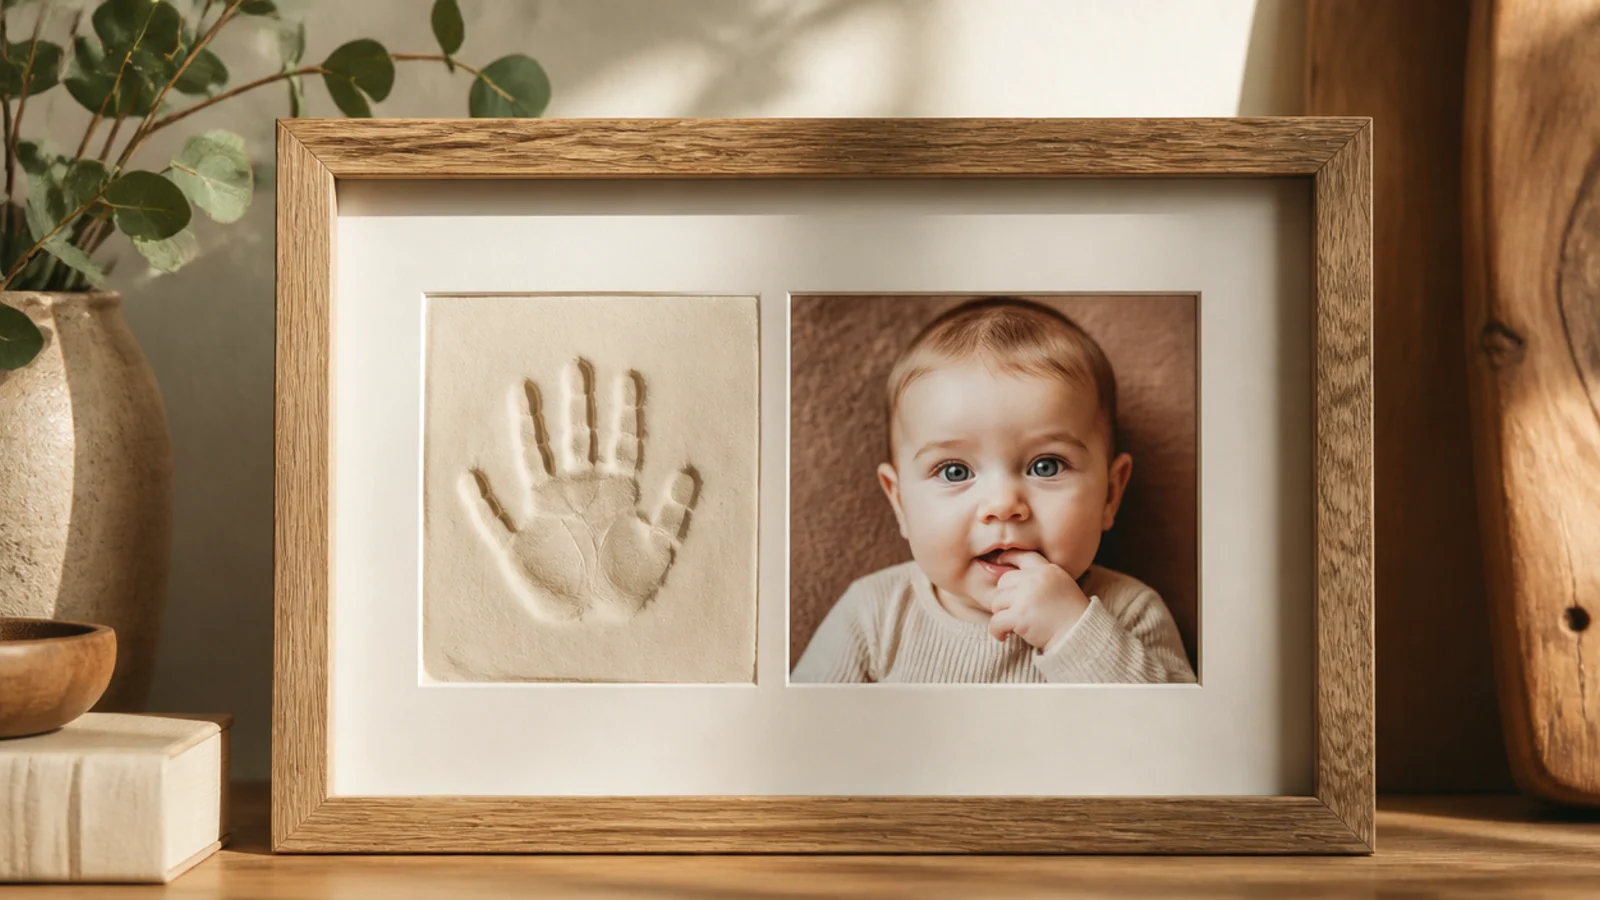
A tiny clay handprint or footprint set beside a photo makes an irreplaceable gift for grandparents. It suits new-parent and grandparent gifts. The real impression of a small hand alongside the face is what makes people tear up.
Roll air-dry clay to a half-inch thick tile that fits one opening of a double frame. Press the child’s hand firmly and evenly into the clay, then trim the tile to size and let it dry for a day or two. Paint or leave it natural, seal it, and mount it beside the photo in the frame. Add a hanger and date the back.
Editor's notePress the hand once, firmly and straight down — a second press over the first blurs the print into a smudge.
Skip thisDon’t seal the clay before it’s bone-dry; sealing trapped moisture makes it crack or crumble later.
11. Handwritten Recipe Frame
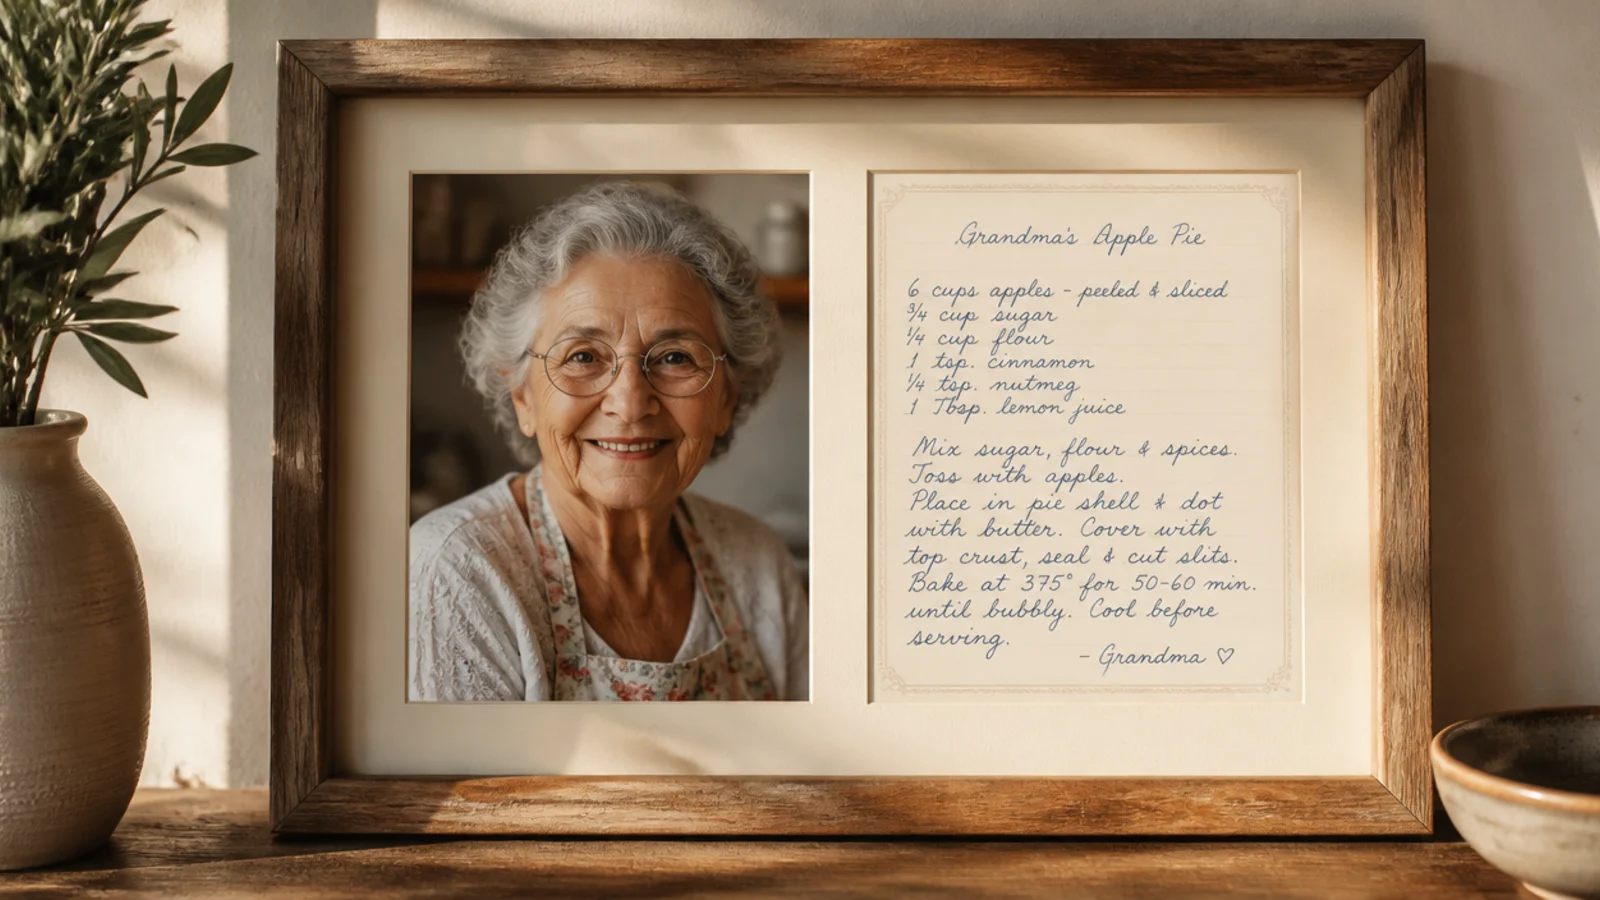
Framing a loved one’s handwritten recipe beside their photo preserves their handwriting forever. It suits gifts for family who cook. The original handwriting is the priceless part — copy it, never risk the original.
Scan or photograph the original recipe card and print a clean copy — keep the original safe. Use a double-opening frame; mount the photo on one side and the printed recipe on the other. Match the mat color to the recipe card’s tone. Seal any painted frame edge and add a hanger for the kitchen wall.
Editor's notePrint the recipe copy on a warm cream stock so it reads like the original card, and store the real one elsewhere.
Skip thisDon’t frame the only original card where kitchen grease and light can reach it; frame a copy and protect the original.
12. Beaded Embellished Frame
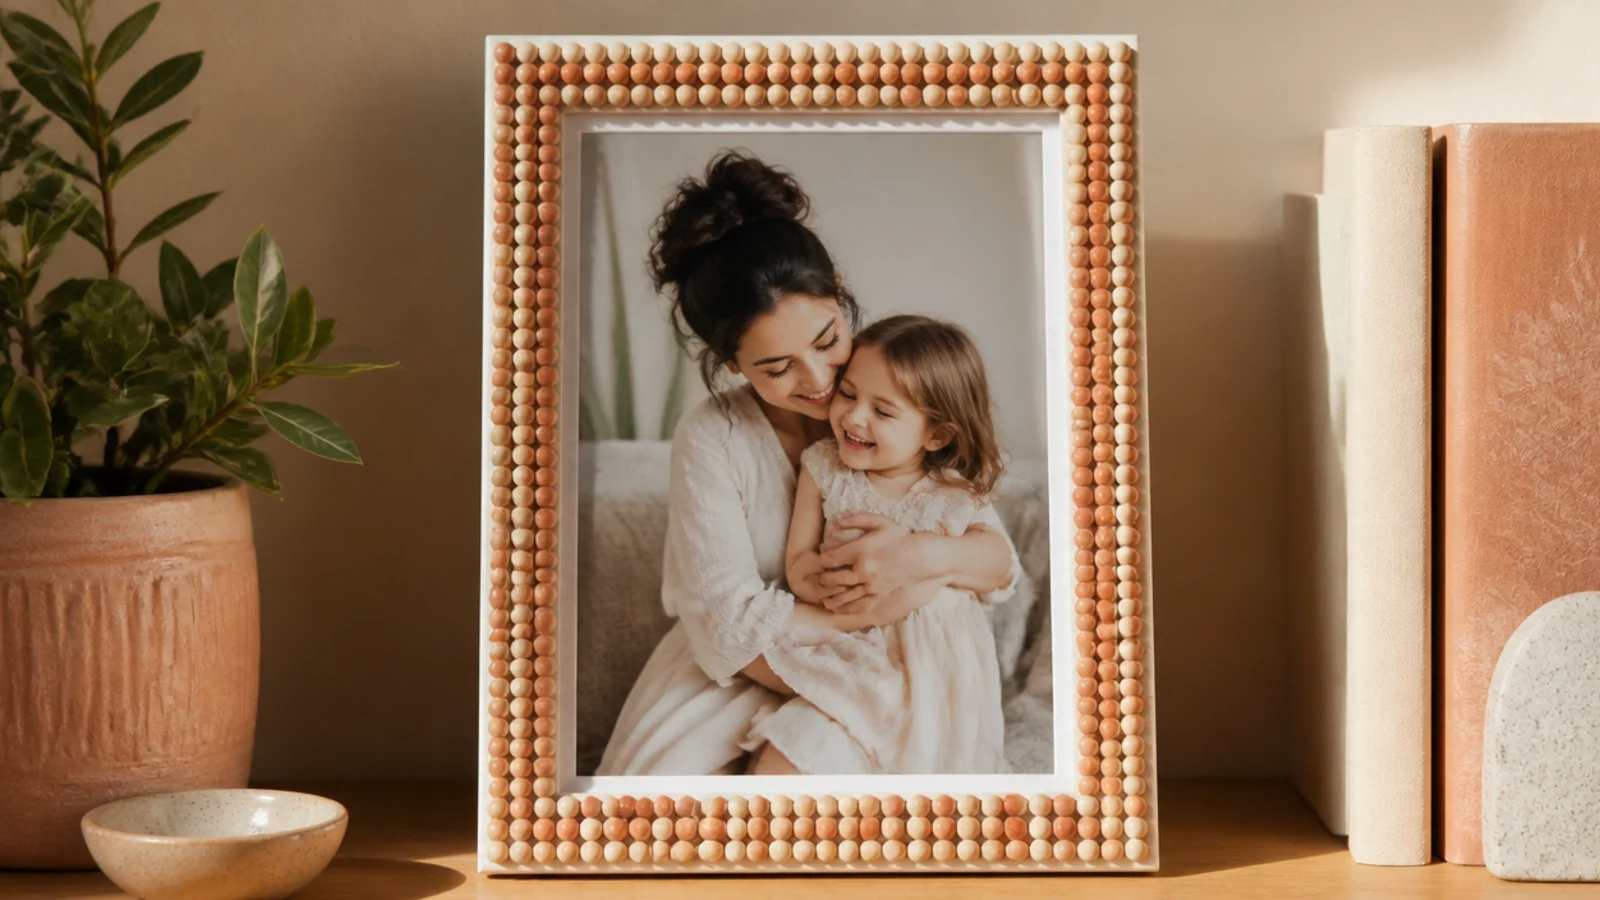
A tidy row of beads around the opening adds a handcrafted, jewel-like touch. It suits recipients who love a little sparkle done tastefully. Muted matte beads in two tones look refined rather than flashy.
Start with a flat-faced frame and base-coat it. Run a thin bead of glue along the inner edge of the frame face and press beads into it one row at a time, keeping them tight and even. Work one side at a time so the glue doesn’t skin over. Once set, seal lightly. Keep it to a single neat border row.
Editor's noteUse a pair of tweezers to place each bead precisely so the row stays perfectly even and tight.
Skip thisDon’t pile beads randomly over the whole frame; one clean border row looks intentional, a heap looks messy.
13. Photo-Transfer Wood Frame
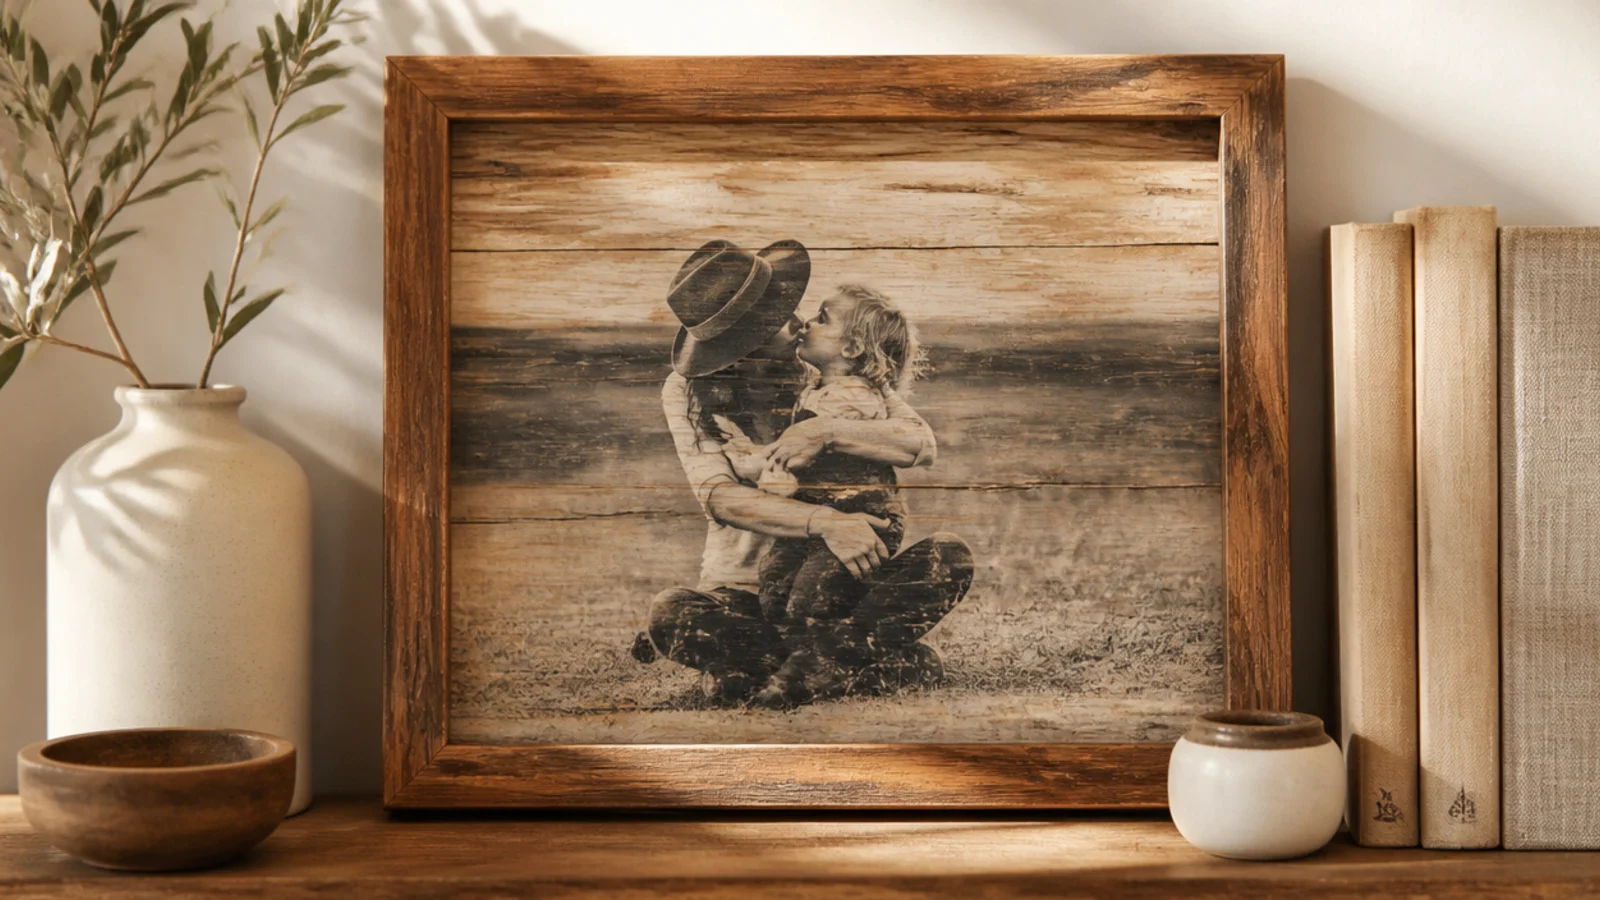
Transferring a photo directly onto the wood of the frame itself creates a soft, rustic, one-of-a-kind piece. It suits lovers of vintage decor. The wood grain showing through the faded image is the whole charm.
Print the photo mirrored on a laser printer. Brush gel medium over a sanded wood panel, press the print face-down, and smooth out bubbles. Let it dry fully, then wet the paper and gently rub it away with your fingers to reveal the transferred image. Seal with matte clear once dry. Build or fit it into a simple frame.
Rub the wet paper away gently in small circles and stop before you lift the ink — patience here makes or breaks the transfer.
Don’t use an inkjet print; only laser or toner-based prints transfer, and inkjet ink just washes away.
14. Painted Family-Tree Frame
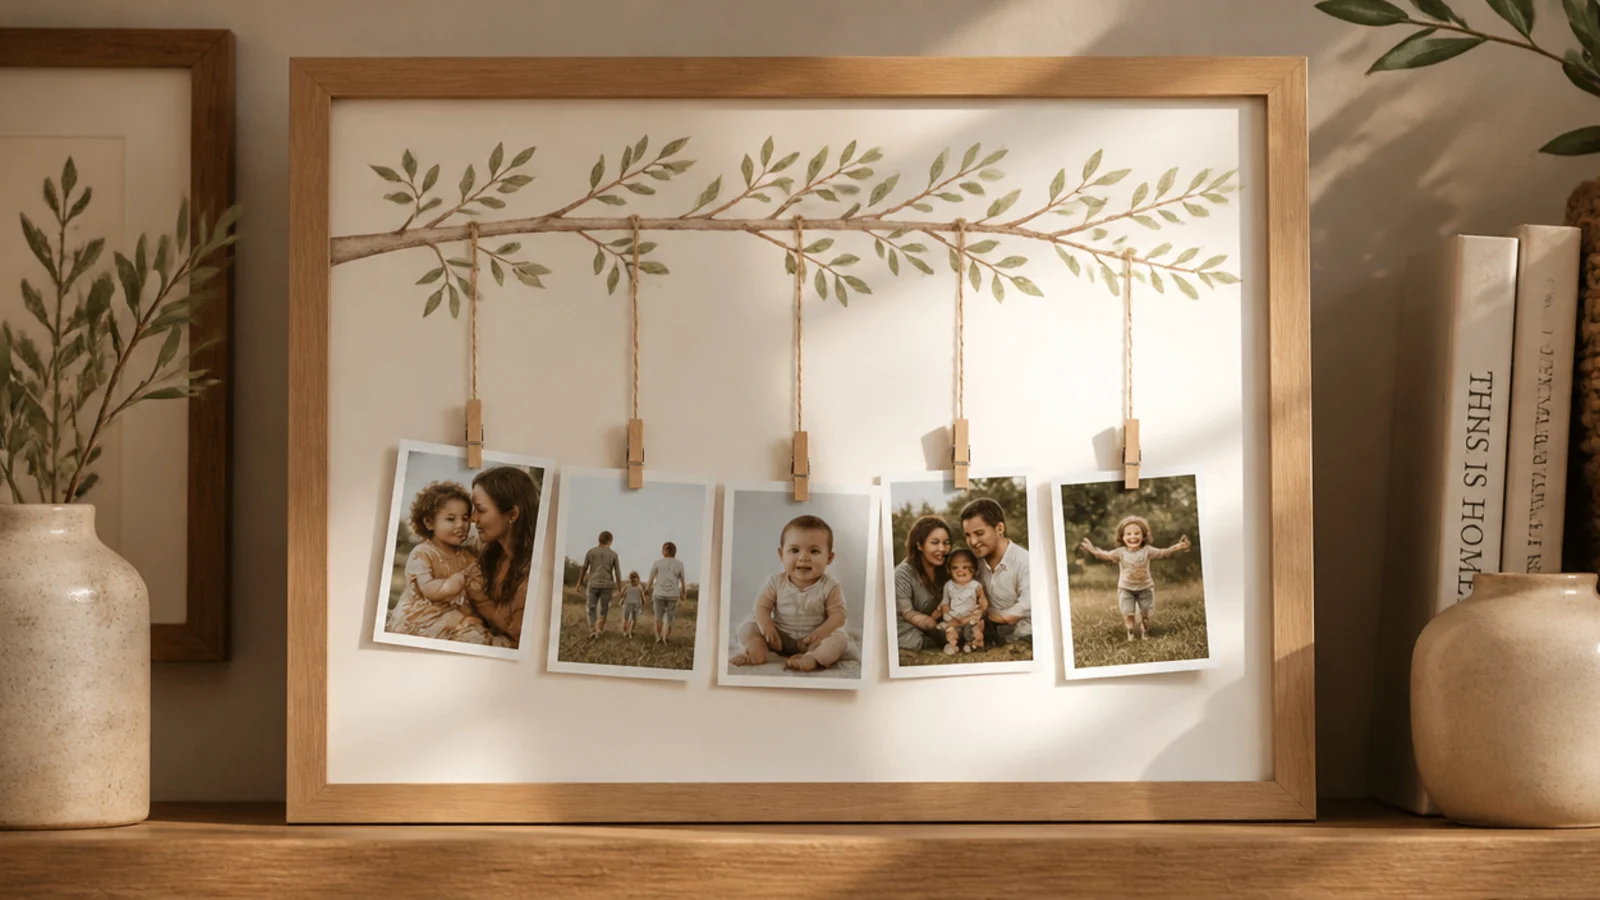
A little painted tree with photos hanging as leaves makes a multi-generation gift. It suits grandparents and family reunions. A simple branch with a few small hanging photos tells a family story at a glance.
Use a wide, open frame or a flat board. Paint a simple tree branch across the upper area in a muted brown. Add small screw-eyes or pins along the branch and hang tiny printed photos from short lengths of twine as leaves. Balance the arrangement and seal the painted branch. Add a strong hanger for the weight.
Print the hanging photos small and uniform in size so they read as leaves on the branch, not a jumble of pictures.
Don’t overload the branch; a few well-spaced photos look like a designed tree, a crowded one looks tangled.
15. Gilded Anniversary Frame
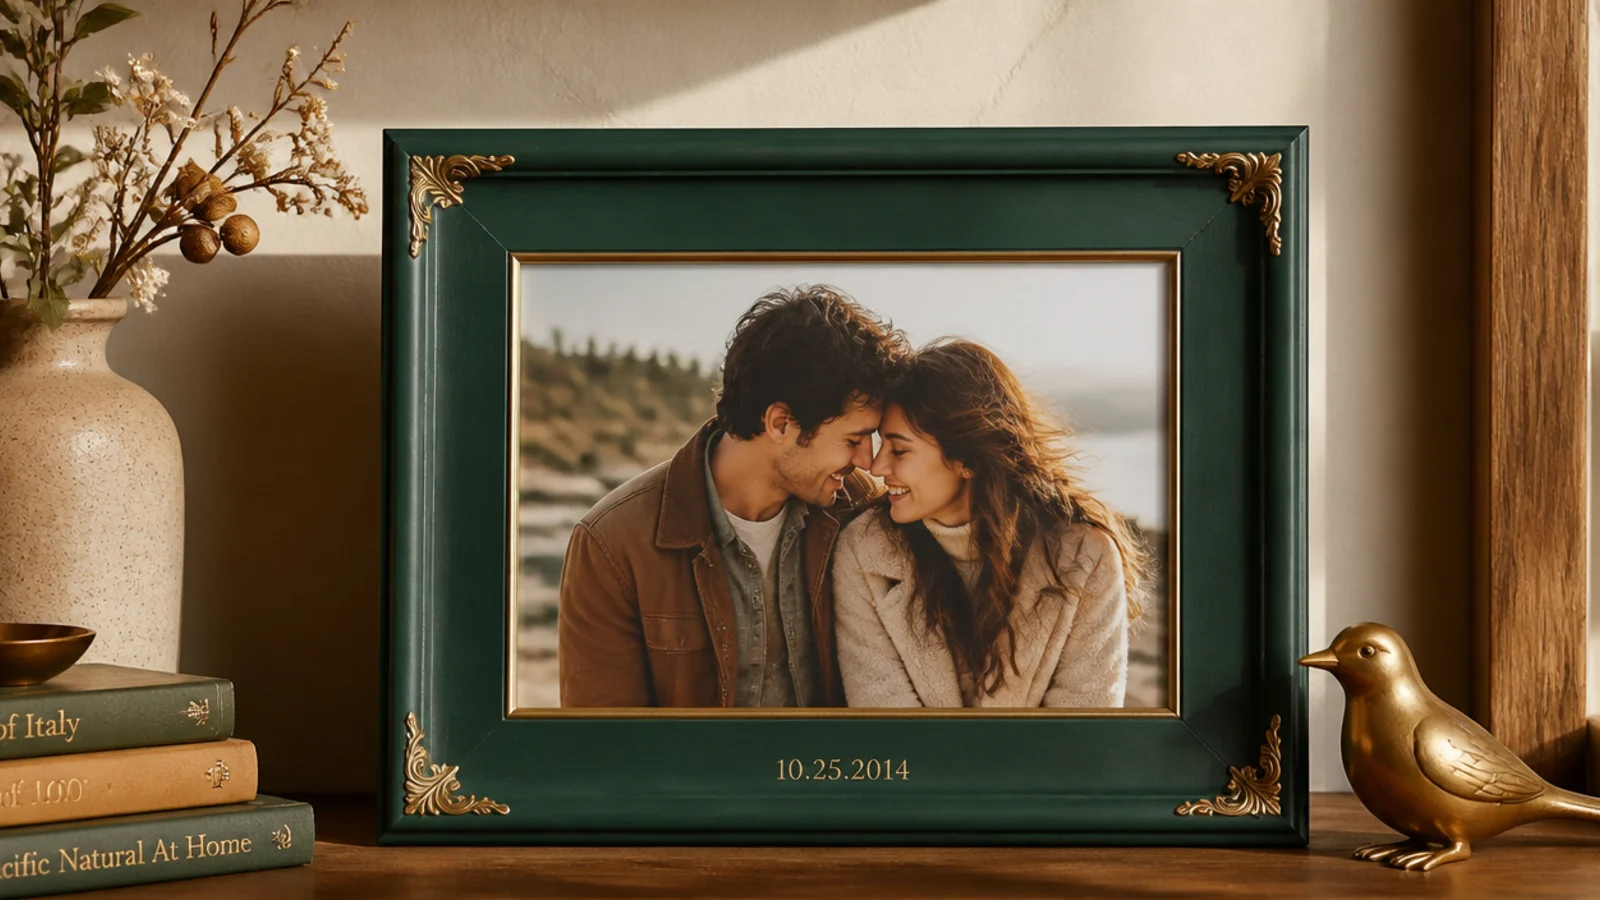
A richly colored frame with gold-leaf corners and an engraved date makes an elegant anniversary gift. It suits couples marking a milestone. The gold accents and the date together feel formal and celebratory without being fussy.
Base-coat the frame a deep matte color like forest green or navy and cure it. Brush gilding size onto the corners, let it turn tacky, and press imitation gold leaf on, brushing away the excess. Add the date with a fine gold paint pen or a small engraving tool along the bottom. Seal the leaf and lettering with clear coat and add a hanger.
Editor's noteKeep the gold to the corners and the date only; restraint is what separates elegant gilding from gaudy.
Skip thisDon’t gild the entire frame; solid gold reads cheap, while irregular corner accents plus a date read expensive.