1. Step 1: Prep Your Clay and Tools
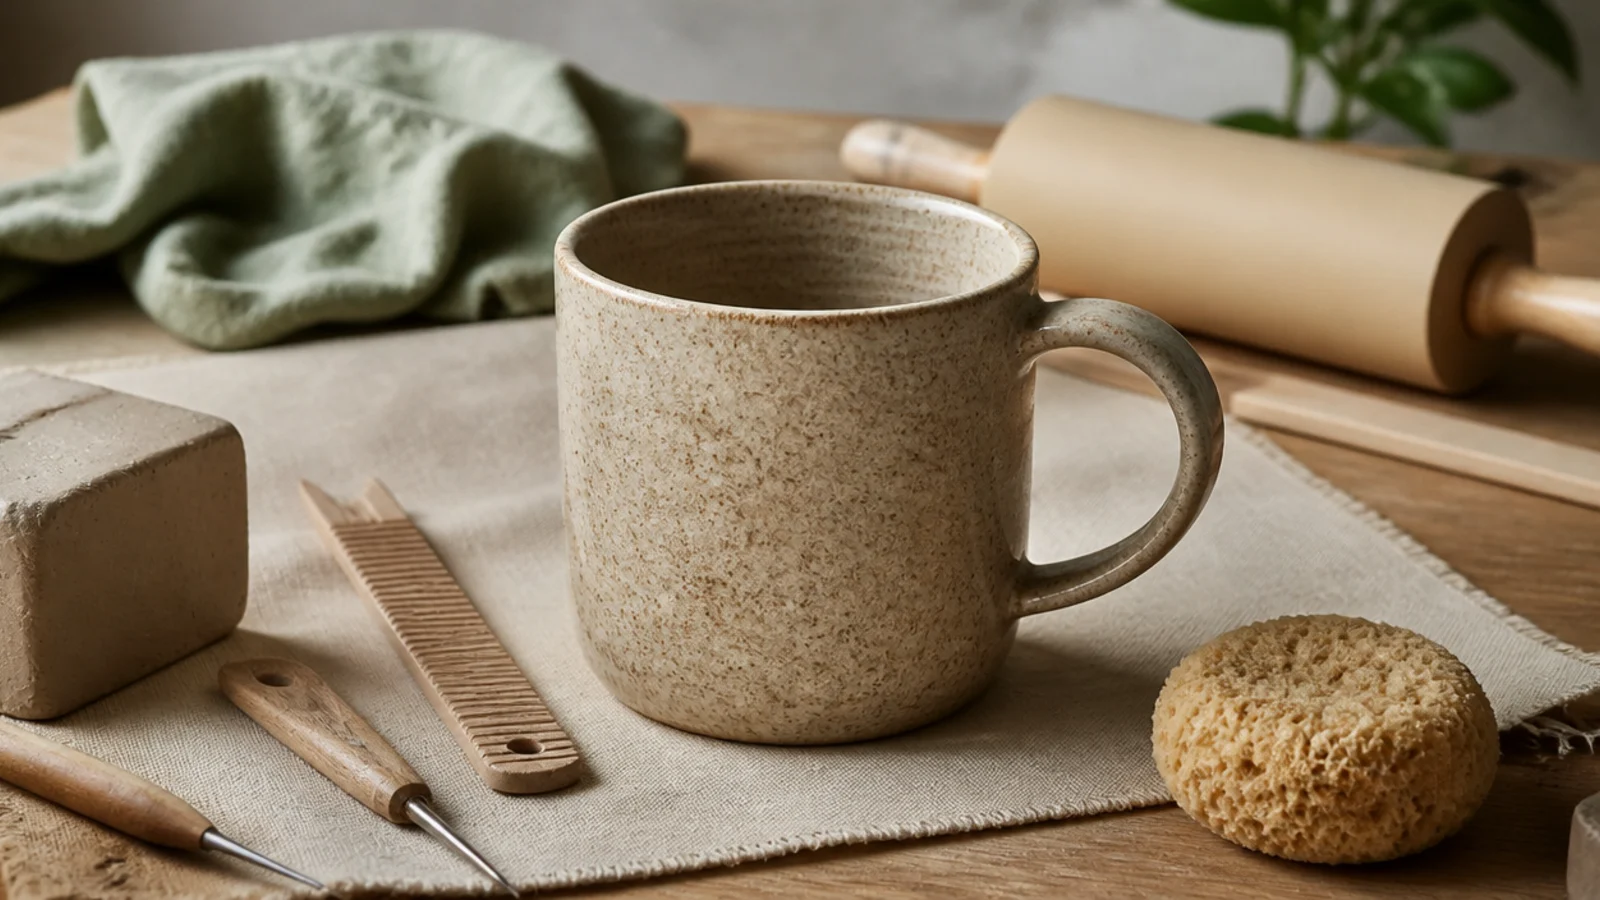
Getting set up properly is not busywork — it is what makes the actual building fast and clean. This step is about wedging your clay so there are no air bubbles and laying out every tool before your hands get muddy. Wedged, bubble-free clay is what keeps your mug from cracking or exploding in the kiln, so it genuinely matters. Do this once, well, and the next four steps flow without stopping to hunt for a tool.
Cut about a pound of stoneware clay and wedge it on a canvas-covered surface for two to three minutes, pushing and rolling in a rhythm to remove air pockets and even out the moisture — it should feel uniform, not stiff in spots. Lay out your rolling pin, two 1/4-inch guide sticks, a rib or old credit card, a needle tool or skewer, a small dish of water or slip, a sponge, and a sharp knife. Wrap a cardboard tube or wide can in newspaper to use as your cylinder form. Keep a spray bottle of water nearby to keep edges from drying while you work.
Wedge on a plaster bat or unfinished wood board if you can — it pulls a little excess water out and gets sticky clay to the perfect building consistency faster.
Do not skip wedging to save time; a single trapped air bubble expands in the kiln and can crack or blow apart your finished mug.
2. Step 2: Roll and Cut the Slab
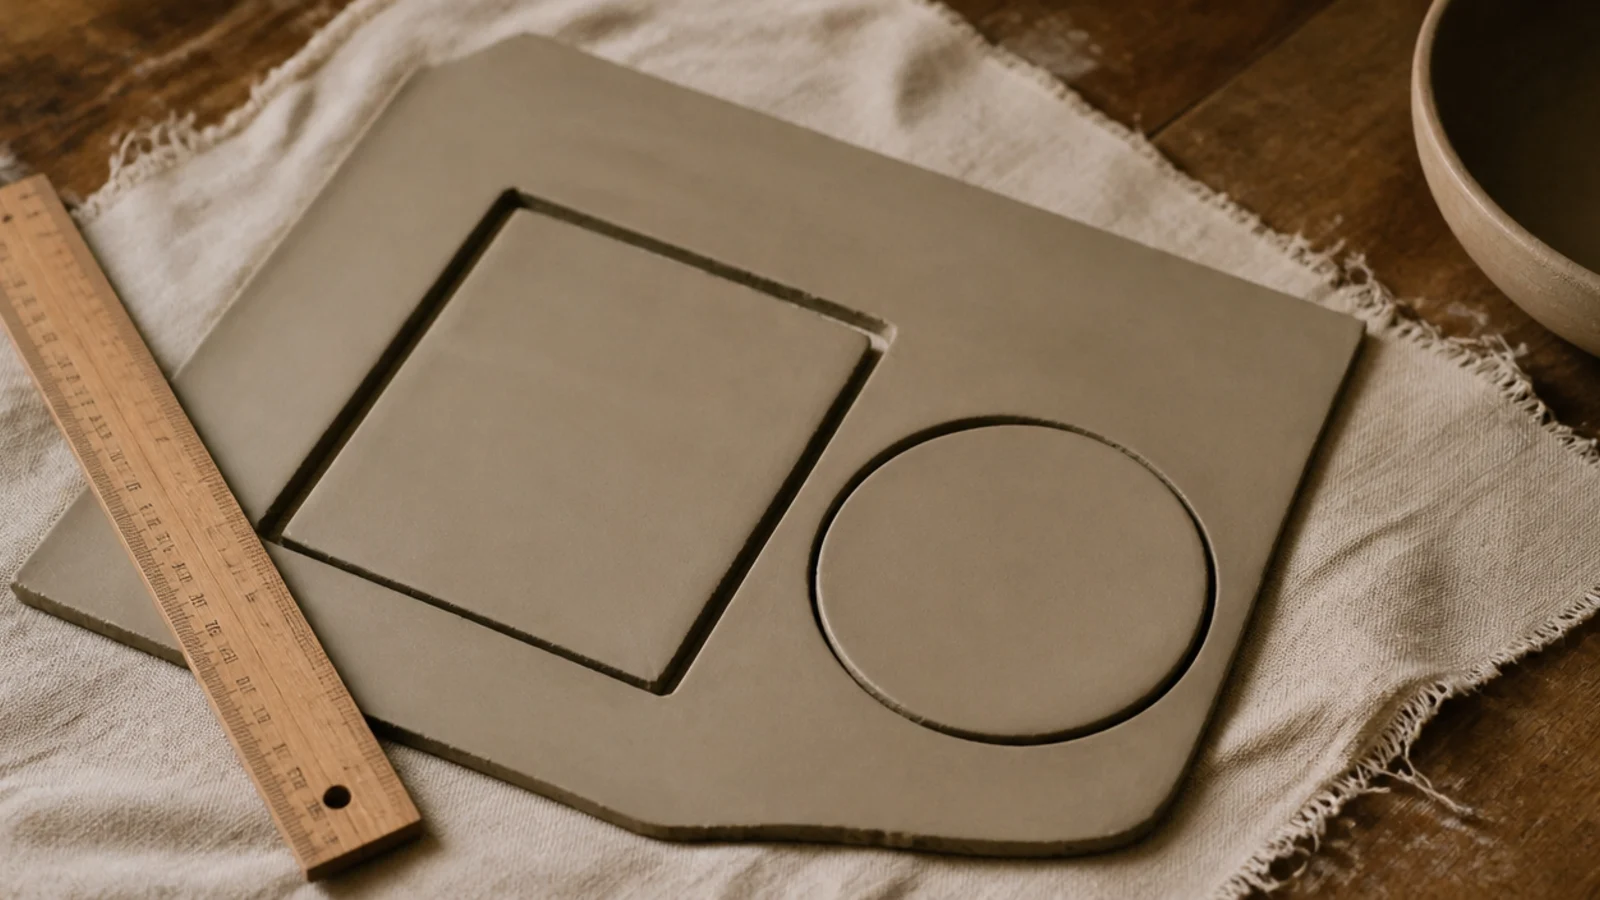
The slab is the whole mug in flat form, so rolling it to a truly even thickness is where you win or lose. Guide sticks do the precision for you, giving you consistent 1/4-inch walls that dry and fire evenly. This step is fast but exact — you are cutting a rectangle for the body and a circle for the base to measured sizes. Even walls now mean no cracks later, which is the single biggest beginner problem solved in one move.
Set your two 1/4-inch guide sticks parallel on the canvas and place the wedged clay between them. Roll from the center outward, rotating the clay a quarter-turn between passes, until the rolling pin rides on both sticks and the slab is an even 1/4 inch. Cut a rectangle about 4 inches tall by 9 to 10 inches long for a standard mug, and cut a separate circle a little wider than your tube for the base. Let the slab firm up for 10 to 20 minutes until it is soft-leather-hard — flexible but no longer floppy — so it will hold a cylinder without sagging.
Roll the slab on a piece of canvas or an old bedsheet and press any texture — lace, burlap, a carved roller — into it now, while the sheet is flat and easy to reach.
Do not wrap the slab while it is still wet and floppy; a too-soft slab slumps into an oval and the seam will not hold its shape.
3. Step 3: Form the Cylinder and Base
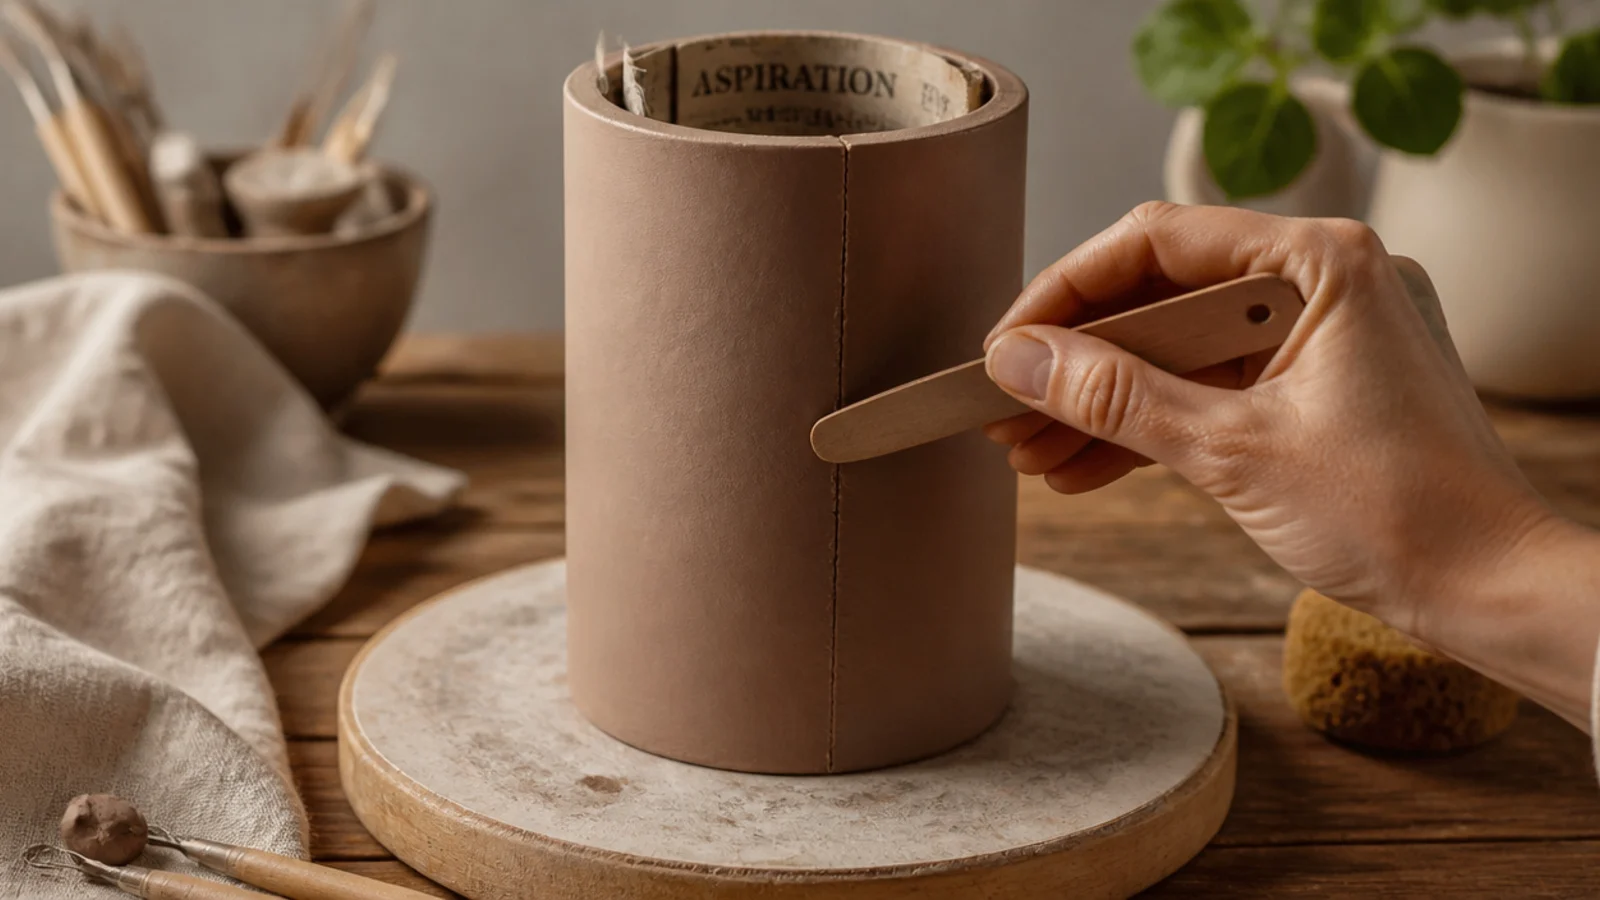
This is where a flat sheet becomes a mug. You wrap the slab around your form and join it into a watertight cylinder, then seal a base onto the bottom. The joins are everything here — a properly scored and slipped seam is what keeps the mug from splitting along the side or leaking at the base. Take your time blending the seams smooth, because a clean join now is invisible after glazing and a sloppy one shows forever.
Wrap the soft-leather-hard slab around your newspaper-covered tube so the short ends overlap slightly. Score both overlapping surfaces with your needle tool, brush on slip or water, press them together, and blend the seam smooth inside and out with your fingers and a rib. Stand the cylinder on the base circle, trace and trim the base to size, then score and slip where the wall meets the base and press them together. Seal that inside bottom join with a thin coil of clay smoothed in, and compress the inside base firmly with a rounded rib to prevent an S-crack. Slide the tube out and let the mug firm toward leather-hard.
Leave the newspaper-wrapped tube inside while you attach and blend the base — it supports the walls so they do not deform under the pressure of joining.
Do not just press the seam together without scoring and slipping; an unscored join looks fine now but splits open as the mug dries and fires.
4. Step 4: Pull and Attach the Handle
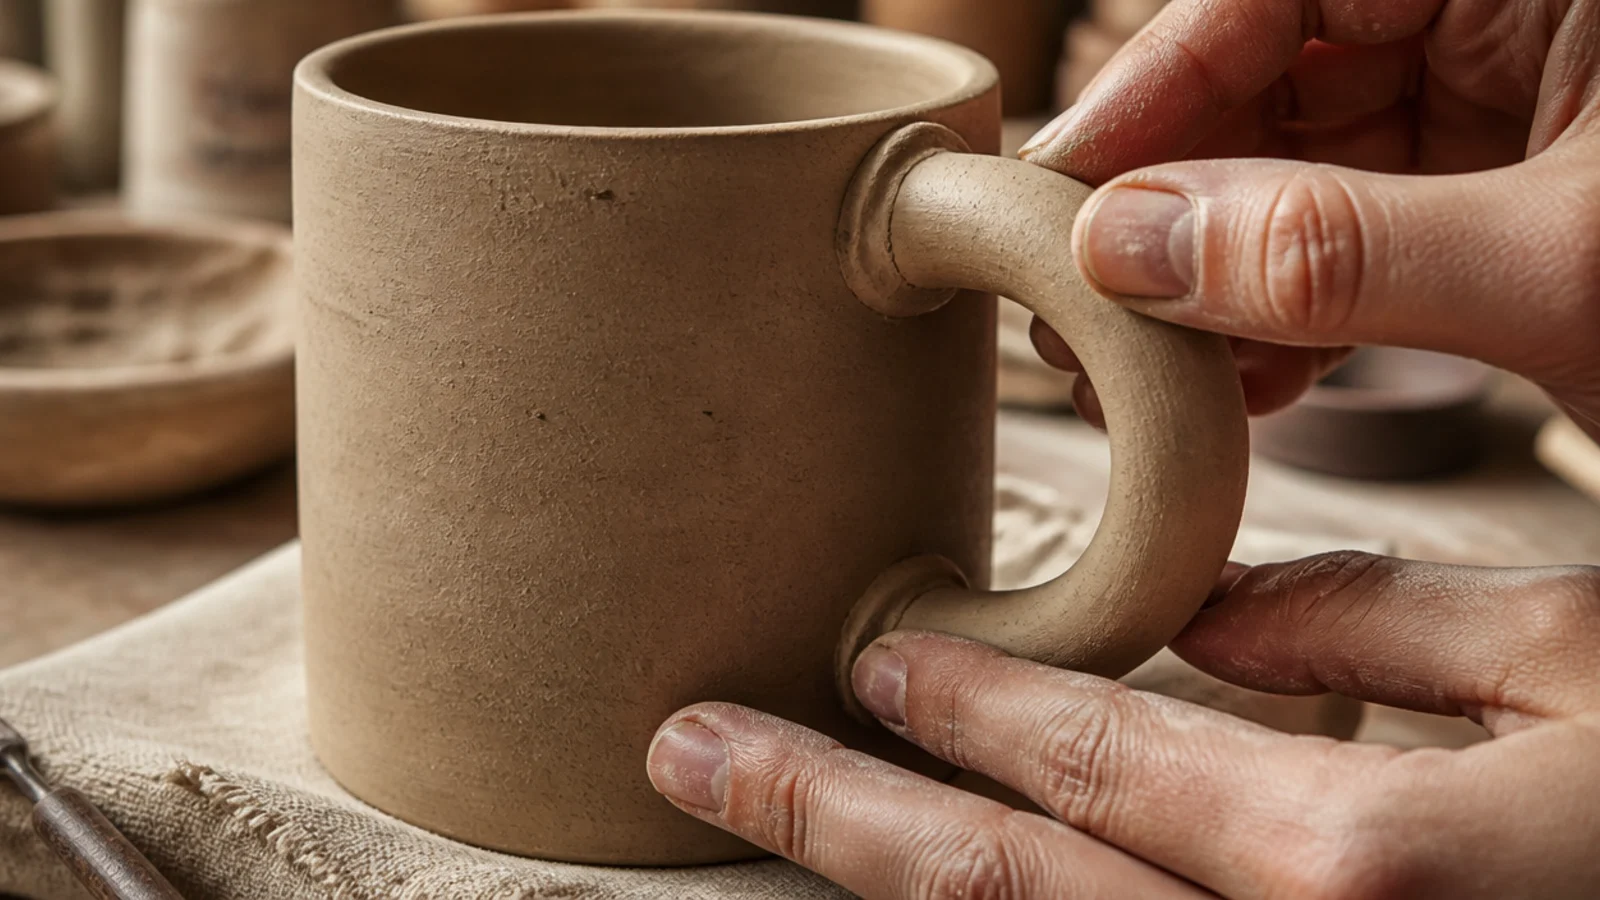
Wait until the mug body is leather-hard — firm and cool to the touch but not bone-dry. To pull a handle, hold a thick carrot of clay, wet your hand, and stroke down its length repeatedly so it stretches and tapers, then curve it and let it firm slightly. Mark where the top and bottom will attach, score crosshatches into both the handle ends and the mug wall, and brush slip on each. Press the handle on firmly, then smooth a small collar of clay around each join to lock it and remove weak points. Check that your finger fits the loop comfortably before it sets.
The handle is the part most home mugs get wrong, so it gets its own step. You shape a handle and attach it only once the body is leather-hard, scoring and slipping both surfaces so it fuses instead of falling off later. A pulled handle — shaped by stroking wet clay into a taper — has the natural, sturdy look of studio pottery. Get the timing and the join right and the handle becomes part of the mug rather than a piece stuck on.
Skip thisDo not attach the handle to a body that is still soft and wet, or to one that has dried past leather-hard; both cause the join to crack and pop off in drying or firing.
Editor's noteAttach the handle and then set the whole mug on its side on foam or a folded towel to firm up, so gravity does not pull the soft handle out of shape as it sets.
5. Step 5: Dry, Bisque, Glaze, and Fire
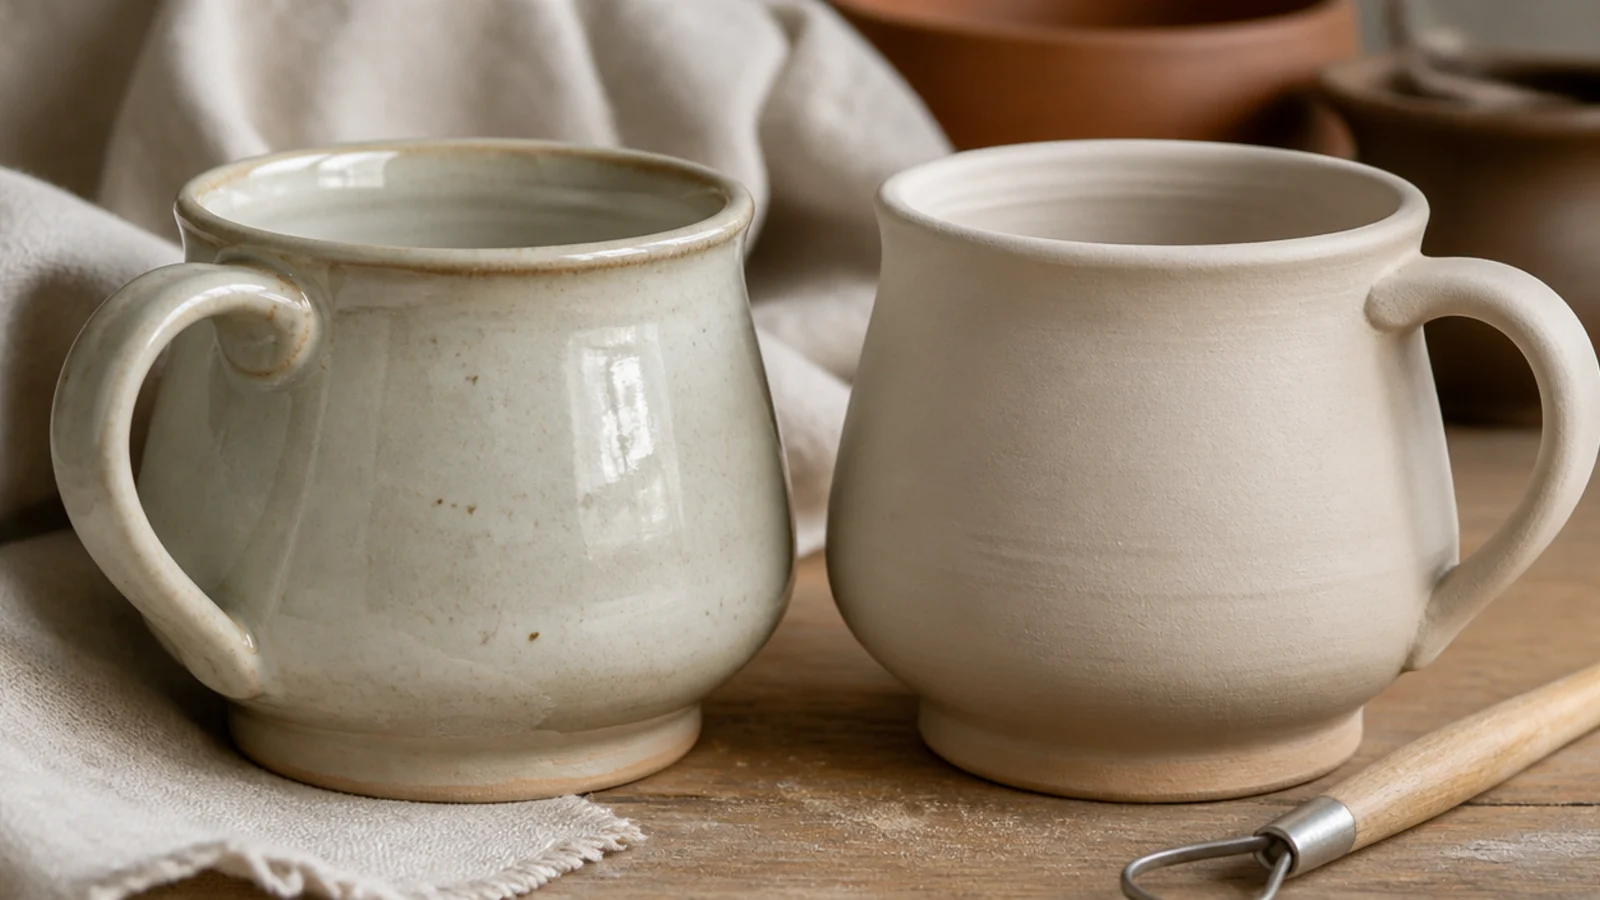
Dry the finished mug slowly under loose plastic for a few days, then uncovered until it is bone-dry and no longer cool to the touch — about a week total. Bisque fire it (usually to around cone 04) to harden it into porous, paintable ceramic. Coat the inside and outside with a food-safe glaze in two or three even coats, then wipe the bottom foot completely clean of glaze so it does not stick to the kiln shelf. Glaze-fire to the clay’s rated temperature to melt the glaze into a smooth, non-porous, dishwasher-safe surface. If you have no kiln, dry the air-dry version fully, then seal the inside with several coats of a certified food-safe sealer and hand-wash only.
This final step turns fragile clay into a durable, food-safe mug, and patience here protects all your work. You dry the mug slowly, fire it once to bisque, apply a food-safe glaze, then fire it again to vitrify the clay and seal the surface. This is the only route to a mug you can actually drink from and wash. Rushing the drying is the last place a mug cracks, so slow and even wins.
Skip thisDo not fire a mug with any glaze on the foot; melted glaze fuses the mug permanently to the kiln shelf and ruins both.
Editor's noteDry the mug upside down or on its side on a rack for the first day so the rim and base lose moisture at the same rate and the base does not crack.