1. Thrift-Store Frame Repaint Flip
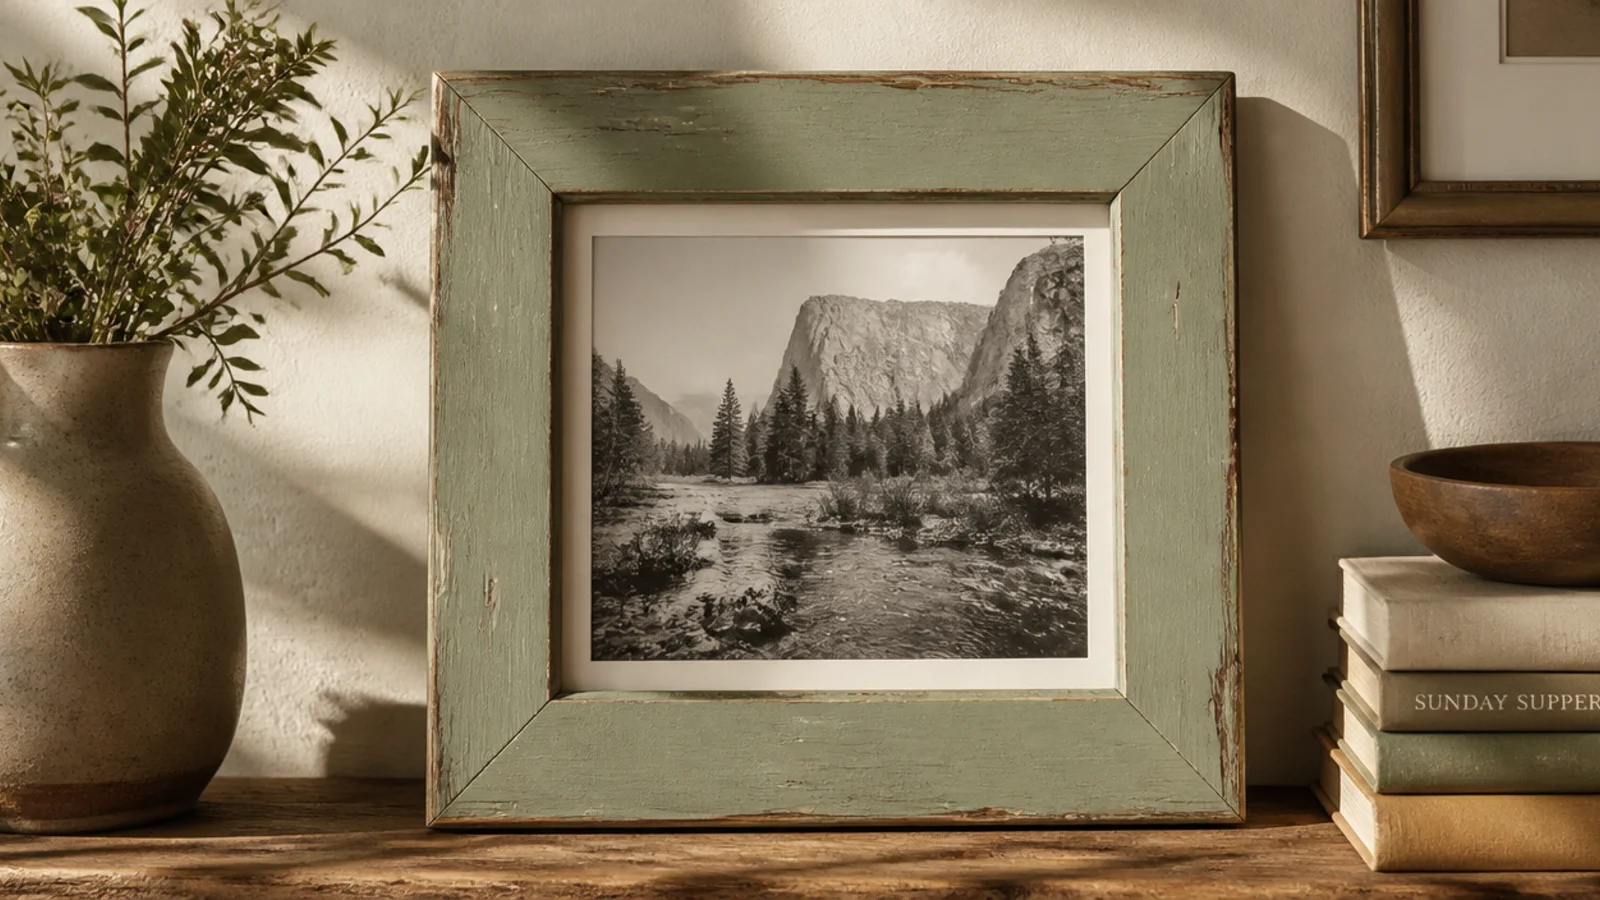
This is the easiest creative frame there is because the structure already exists — you just give a tired thrift frame a fresh coat. A dated gold or orange-oak frame becomes modern with one calm color. Pick a soft, grounded shade like sage, cream, or charcoal so it flatters any photo.
Editor's noteSand lightly between coats with a worn piece of 220-grit for a smooth, factory-looking finish instead of brushy ridges.
Remove the glass and backing and set them aside. Wipe the frame with a damp cloth, then scuff-sand the whole surface with 220-grit so paint grips. Brush on a thin coat of acrylic or chalk paint, let it dry, and add a second thin coat. Once dry, seal with a matte clear, then reassemble with your photo.
Skip thisDon’t skip sanding a glossy old frame — fresh paint peels off slick varnish in sheets within a week.
2. Scrap-Wood Square Frame
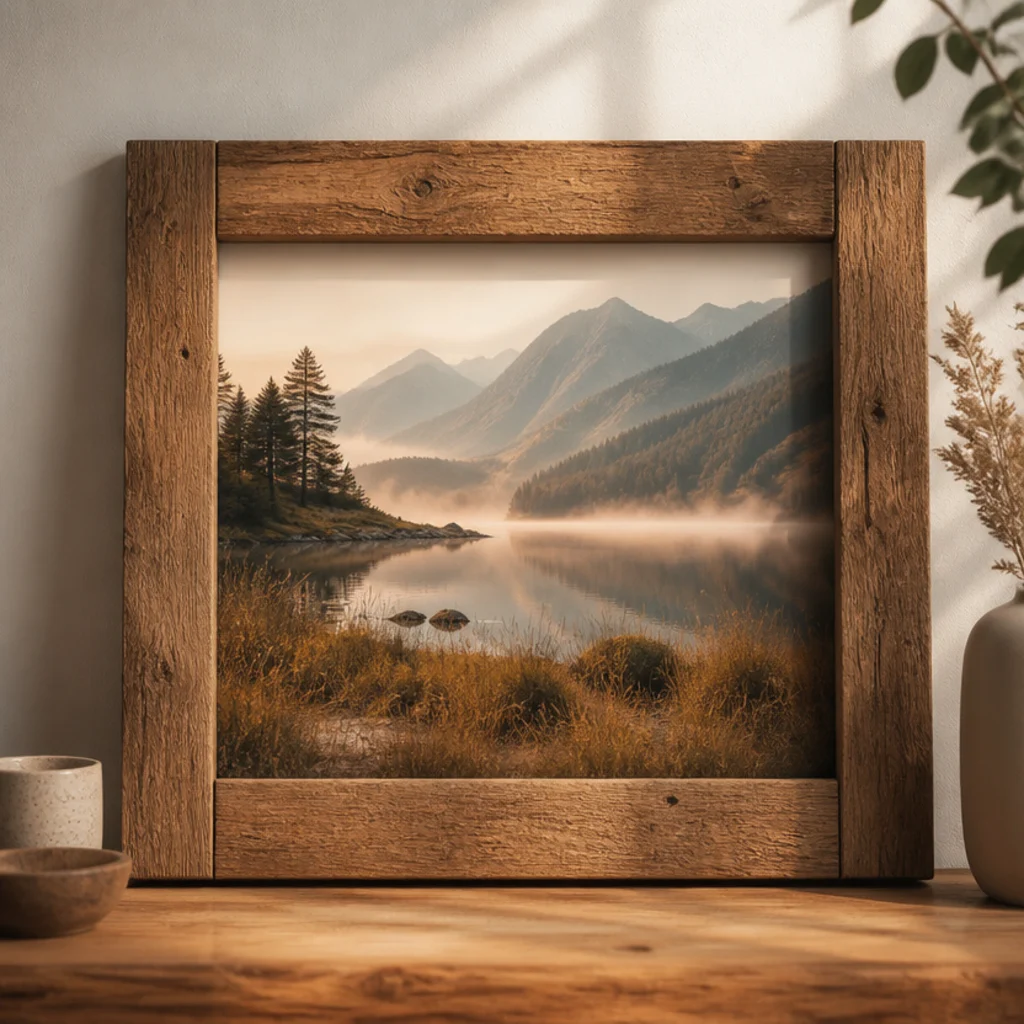
Four strips of scrap wood make a clean, chunky frame that suits almost any photo. Building it from flat pieces with simple overlapped corners avoids fussy mitering, so it’s beginner-friendly. Natural wood sealed clear looks warm and modern against a white wall.
Editor's noteDry-fit and tape the whole square together before gluing so you can confirm the opening fits your print exactly.
Cut two strips to the photo width and two to the height plus the strip width on each end. Lay them flat in a square with the ends overlapping, check the corners with a set square, and glue with wood glue. Once dry, glue a chipboard backing across the back leaving a slot for the photo. Sand all edges and seal with clear matte.
Skip thisDon’t glue corners without checking them square — one off corner and the whole frame reads crooked on the wall.
3. Cardboard Mat Frame
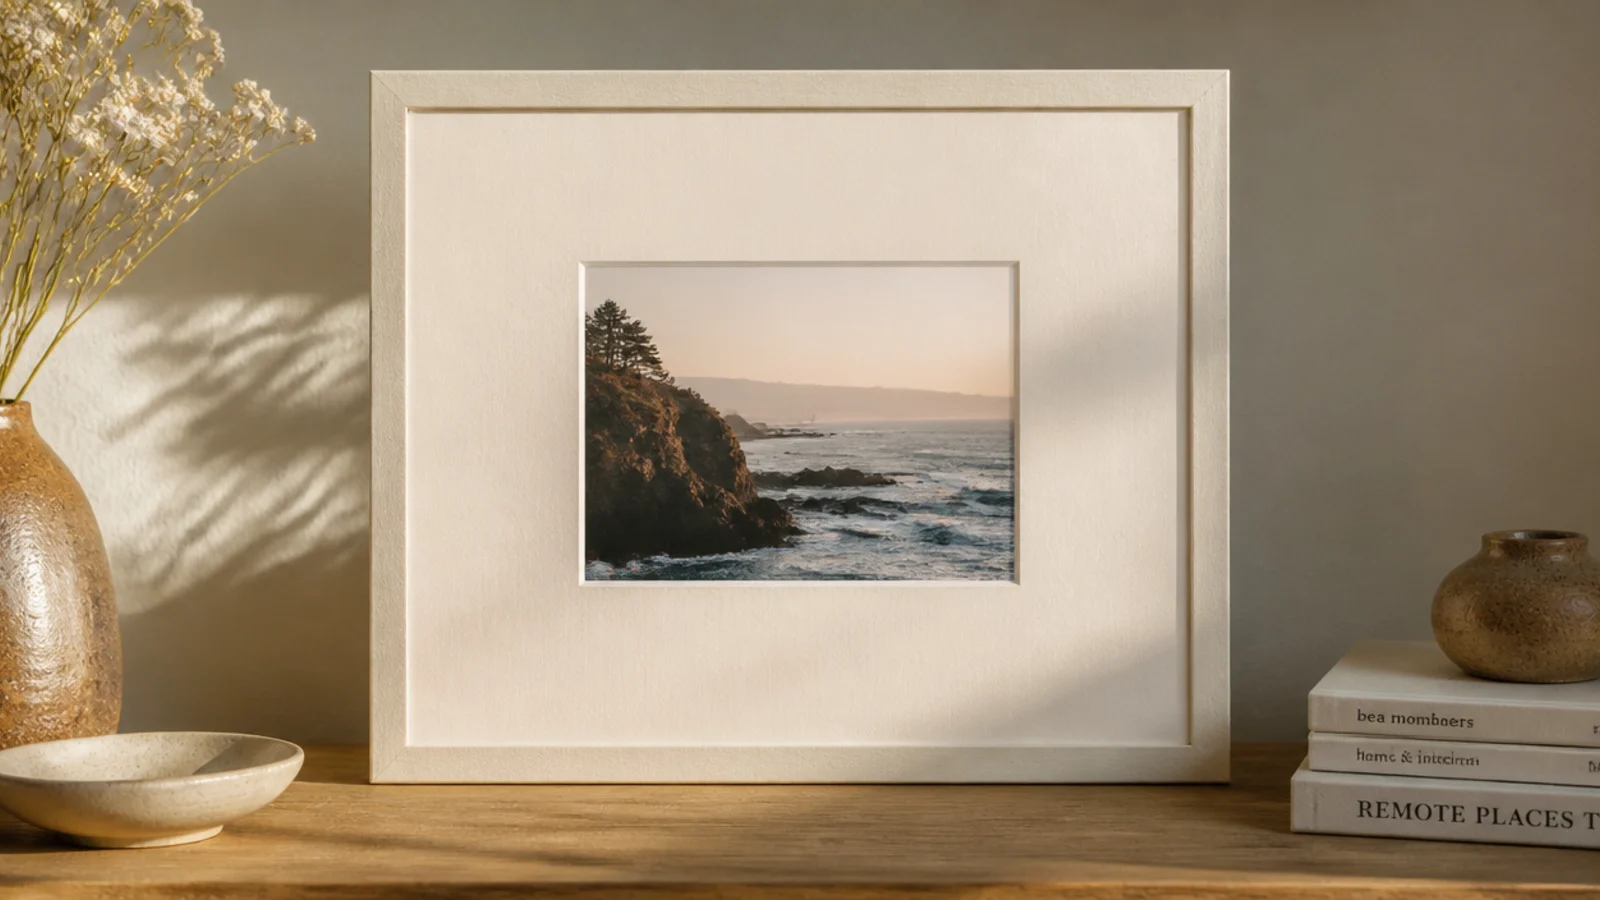
A wide mat border makes a small photo look gallery-worthy, and you can cut the whole thing from a cereal box or delivery carton. The generous margin around the print is what reads expensive. Cover the cardboard in cream or kraft paper for a clean matte finish.
Cut a cardboard rectangle for the outer frame and a second piece with a window opening half an inch smaller than your print, centered with a wide even border. Wrap both in paper and glue. Tape the photo behind the window, then glue the two layers together around the edges, leaving the top open as a slot. Add a cardboard stand or hanger on the back.
Keep the mat border wider at the bottom than the top by a few millimeters — it looks balanced to the eye, the way real gallery mats are cut.
Don’t cut the window with a dull blade; ragged cardboard edges show through and ruin the clean mat look.
4. Clothespin Photo-Line Frame
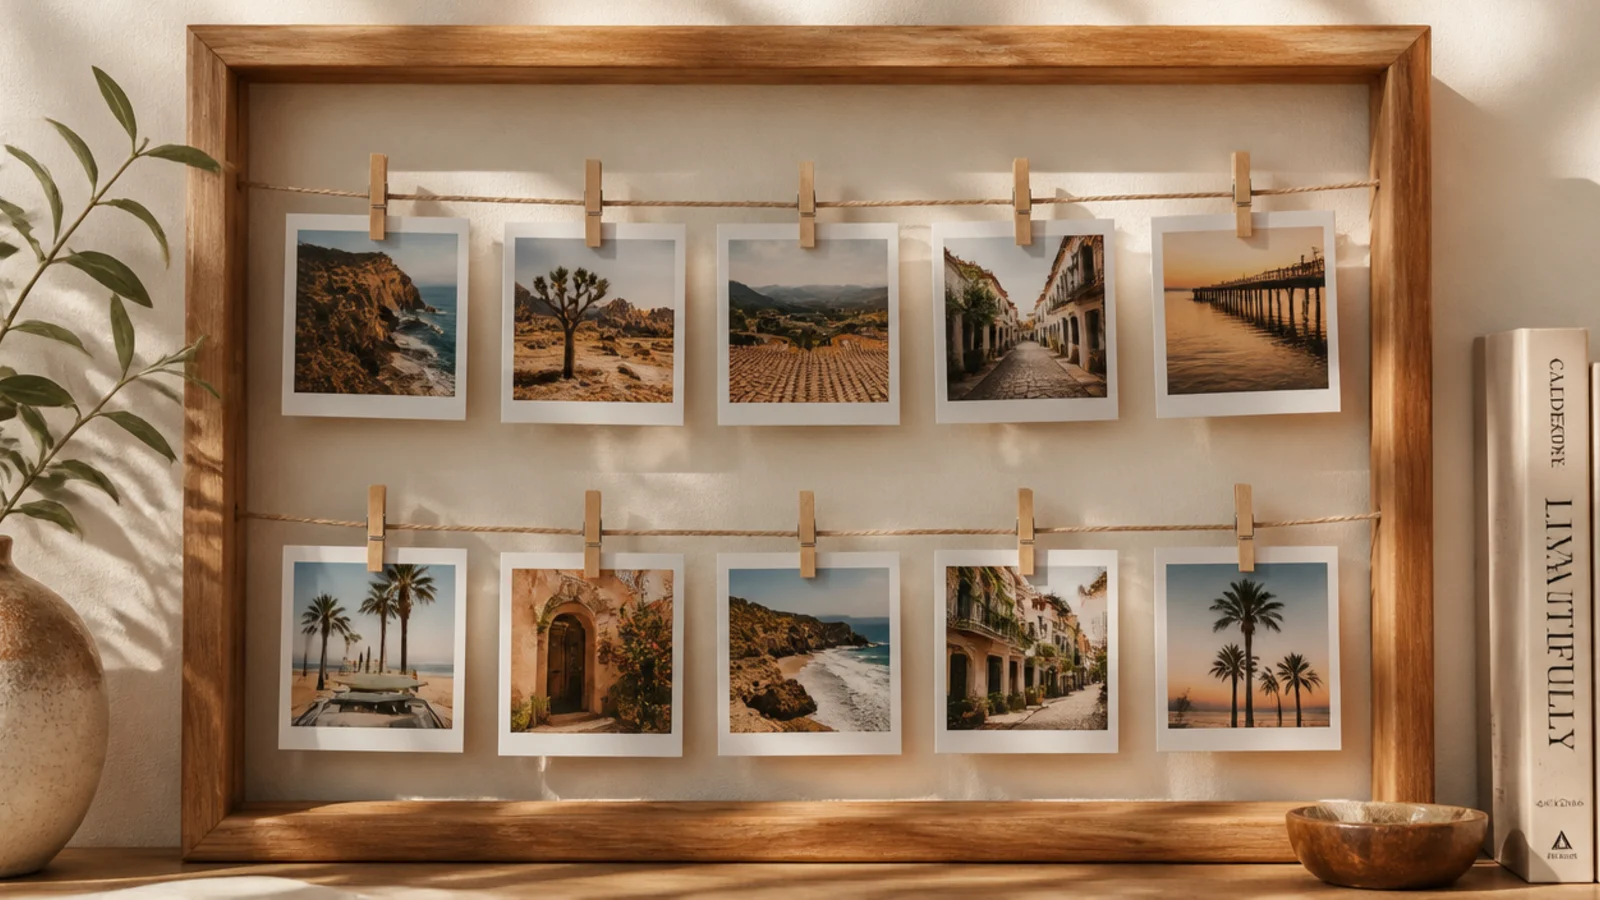
Instead of glazing a single photo, this frame holds a row of snaps on twine so you can swap them anytime. It suits people who print casually and want to rotate favorites. A bare wood frame with natural twine and mini pegs keeps it light and airy.
Editor's notePull the twine tight and add a dab of glue on each knot so the lines don’t sag under the weight of the photos.
Take an open thrift frame or build a simple wood square. Screw two small eye-hooks into each side at even heights and string jute twine tautly across, knotting at the ends. Clip mini clothespins along the lines and hang small prints. Leave the frame unglazed so photos slide in and out easily.
Skip thisDon’t overload each line with heavy cardstock prints; thin drugstore prints keep the twine taut and level.
5. Book-Page Collage Frame
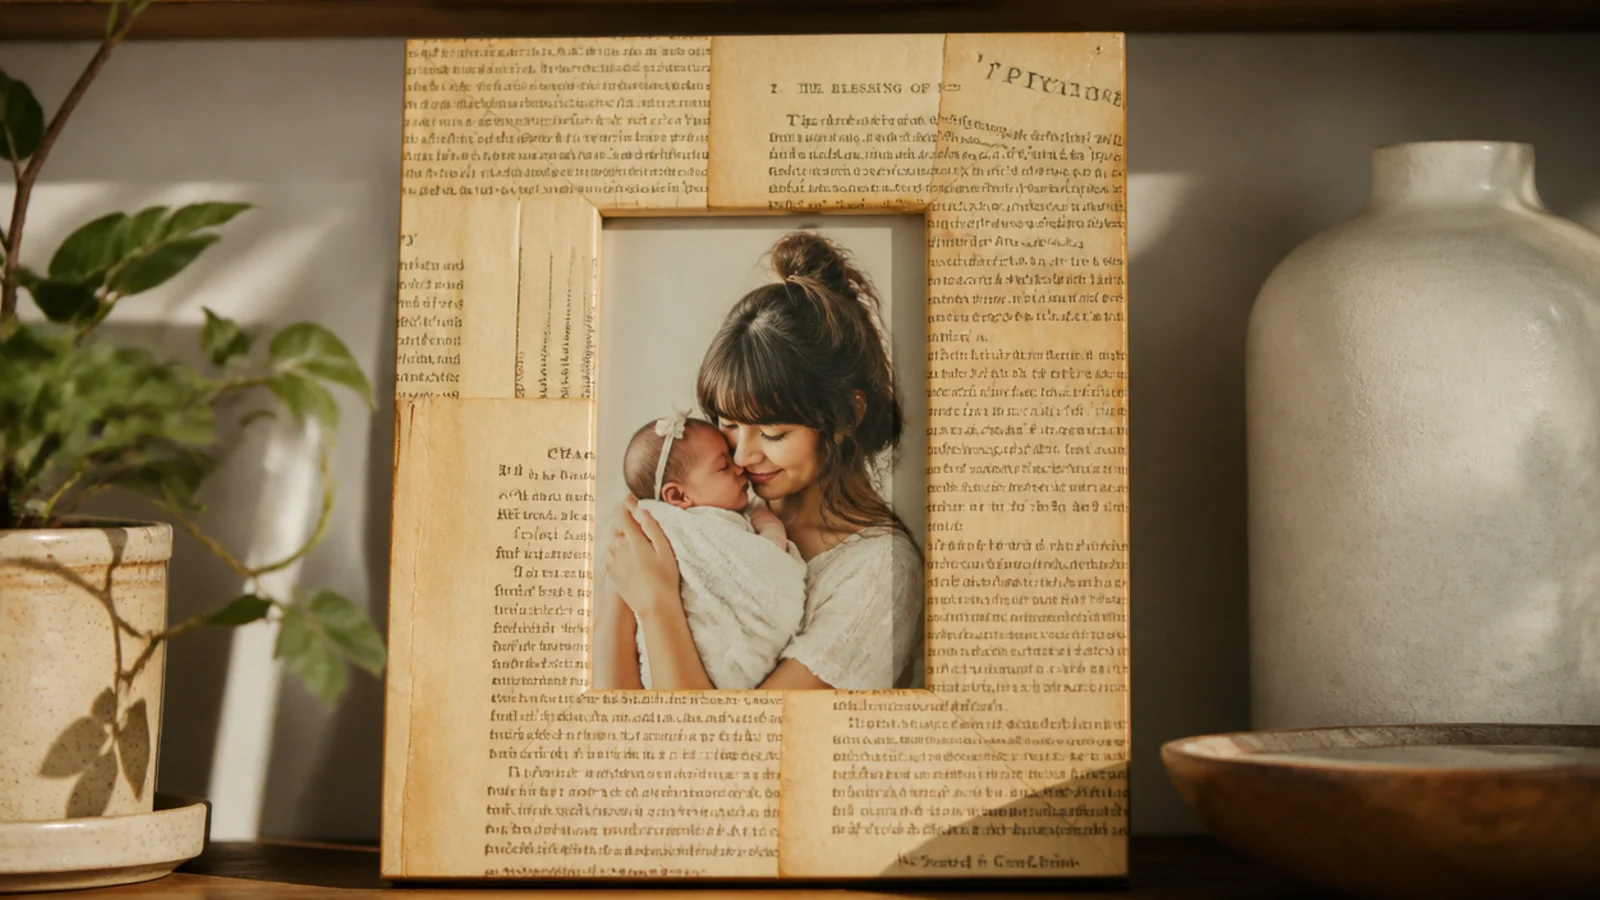
Covering a plain frame in old book or sheet-music pages gives it warm, vintage texture for almost nothing. It suits black-and-white or sepia photos beautifully. Pages from a damaged paperback or a free hymnal work perfectly and cost nothing to sacrifice.
Editor's noteTea-stain the pages first for a warmer, older tone that reads intentional rather than like scrap paper.
Start with a flat-faced wood or cardboard frame. Tear pages into rough pieces and brush a thin layer of decoupage medium onto the frame. Lay pages down overlapping, smoothing out bubbles, then seal the whole surface with two coats of decoupage medium on top. Let it cure fully, then mount the photo behind the opening.
Skip thisDon’t skip the topcoat; unsealed paper wrinkles, lifts at the edges, and yellows unevenly over time.
6. Twig and Branch Rustic Frame
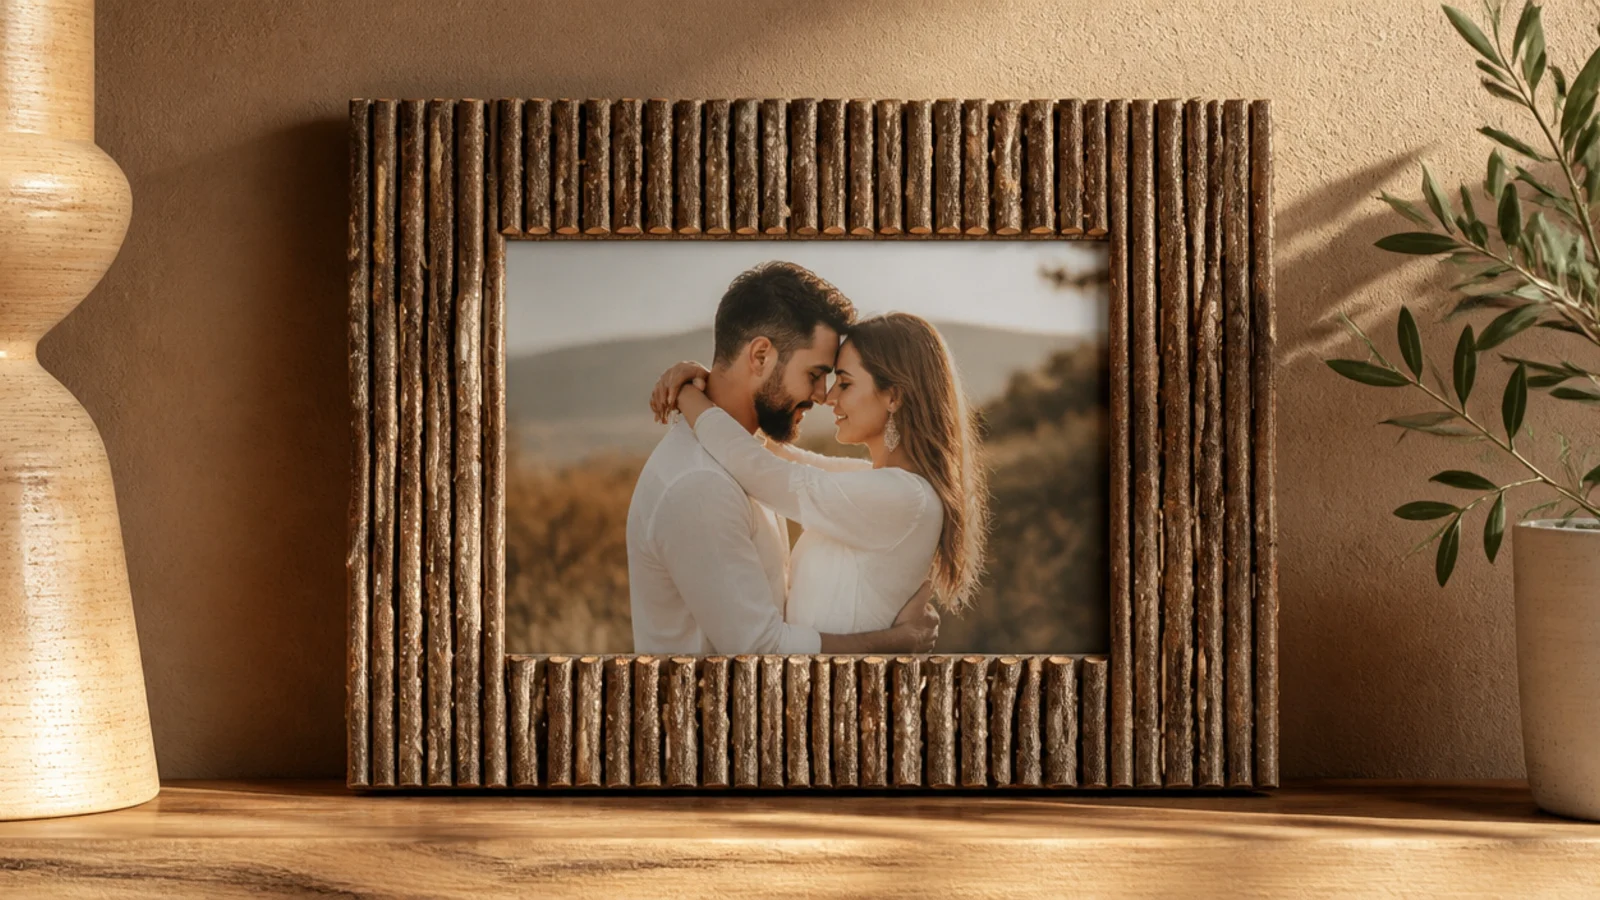
Straight twigs glued around a frame give an organic, cabin-cozy look that’s perfect for outdoor or nature photos. It suits anyone with a yard and a glue gun. Collect pencil-thick, straight twigs and let them dry fully so they don’t shrink or mold later.
Build or reuse a flat cardboard or wood frame as the base. Cut dried twigs slightly longer than each side and hot-glue them side by side across the face, trimming the corners at rough angles so they interlock. Fill gaps with shorter twig pieces. Once the glue is set, spray with a clear matte sealer to lock everything and reduce shedding.
Bake collected twigs at a low oven temperature for an hour to kill any insects and drive out moisture before gluing.
Don’t use green, freshly cut twigs; they shrink as they dry and pop loose from the glue within weeks.
7. Painted Popsicle-Stick Frame
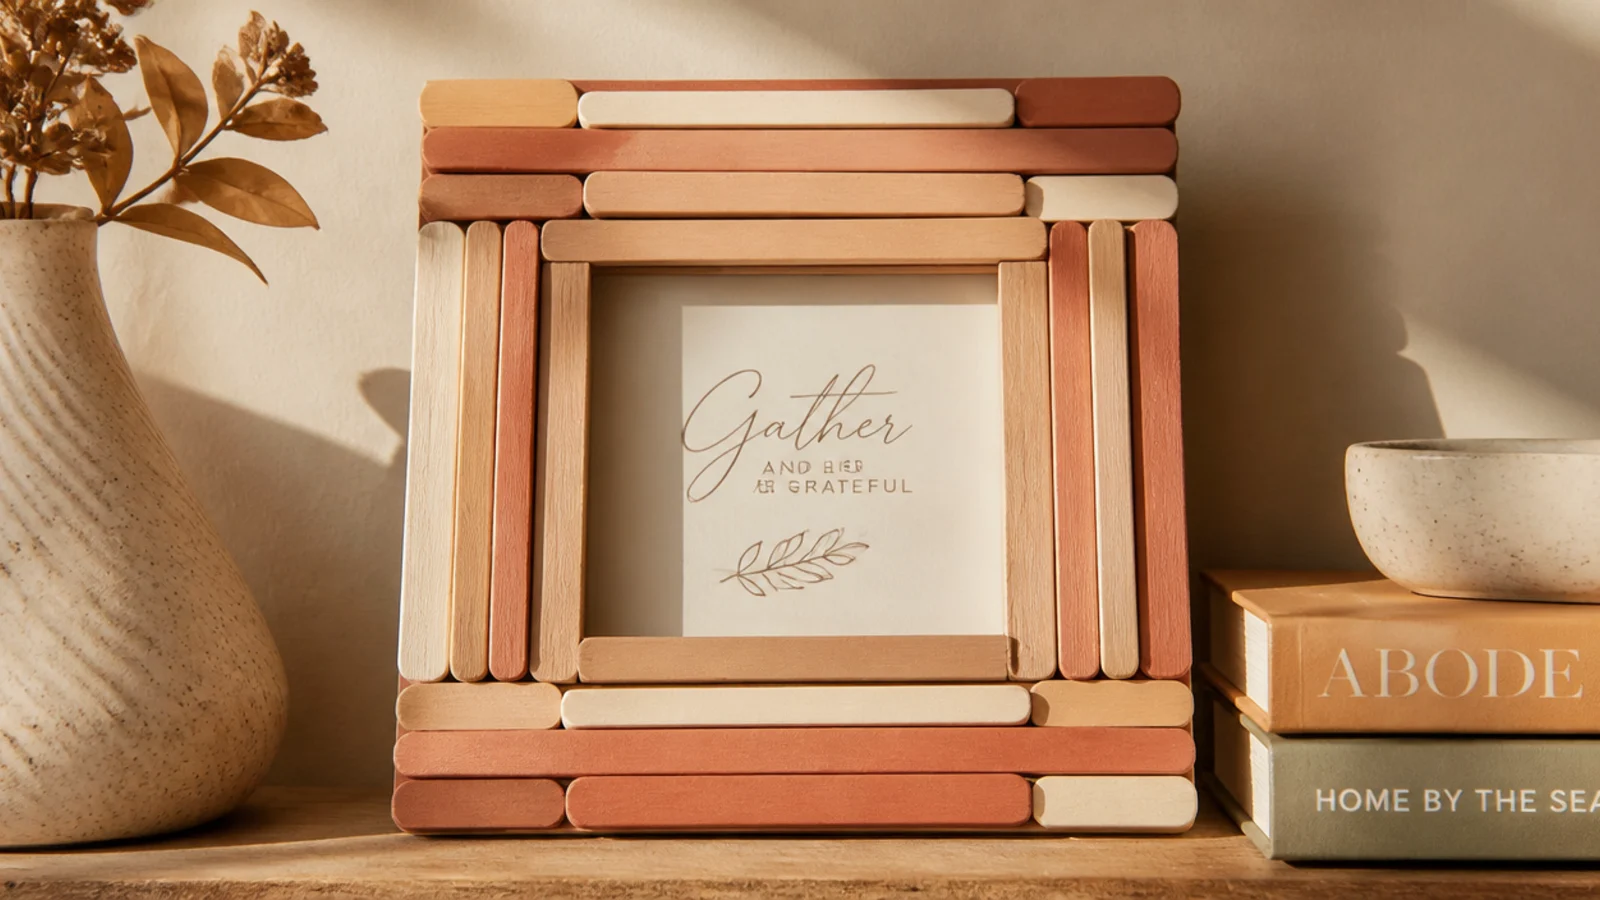
Craft sticks make a cheerful, sturdy little frame that’s great for kids' photos or a desk. It’s a genuine five-dollar project. Paint the sticks in two muted colors before assembly so the finish looks designed, not like a classroom craft.
Paint craft sticks in your chosen colors and let them dry. Lay four sticks in a square, overlapping the ends, and glue at the corners. Add a second layer rotated slightly or stacked for depth and glue it on. Glue a cardboard backing to the rear with a slot for the photo, then seal with matte clear.
Stack two layers of sticks for a chunkier, more substantial frame that doesn’t read as flimsy or childish.
Don’t use bright primary paint if you want it to look grown-up; muted earthy tones lift the humble material.
8. Floating Acrylic Frame
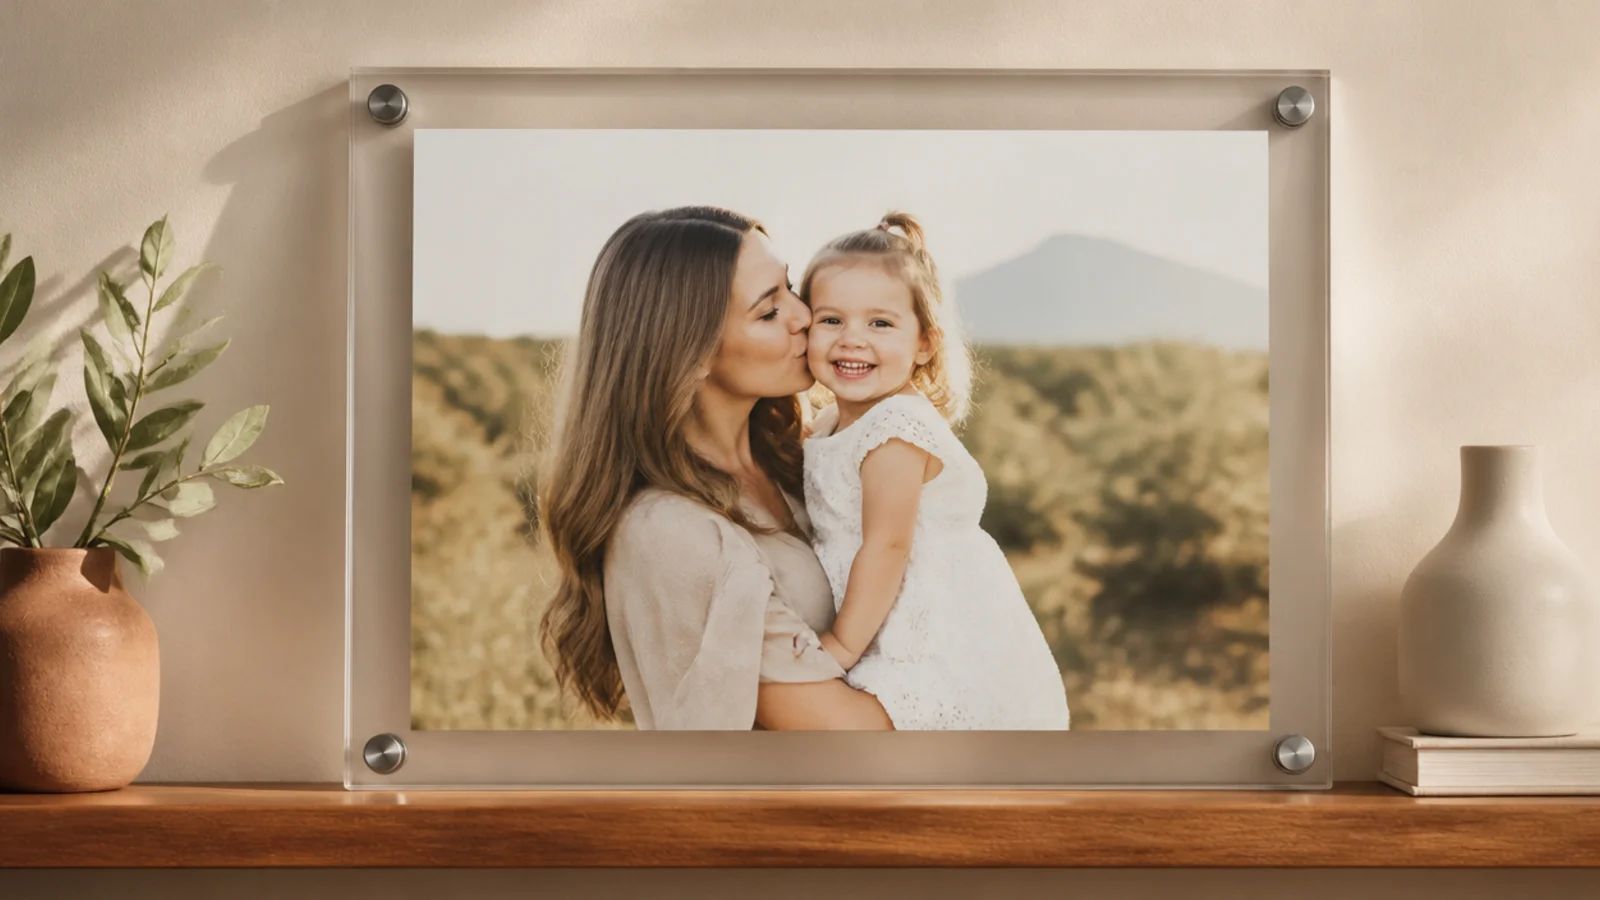
A print pressed between two clear panels looks modern and gallery-clean, with the photo appearing to float. It suits minimal, contemporary rooms. Salvaged glass from thrift frames or a cut acrylic sheet both work; acrylic is safer to handle and drill.
Cut two identical panels a little larger than your print. Center the photo between them. Drill matching holes through all four corners of both panels and fit standoff screws or small bolts with spacers so the sandwich holds together. Mount two of the corner bolts to the wall, or add a stand. Wipe both faces clean before sealing it up.
Use a masking-tape square over each drill point and go slow with a fine bit so the acrylic doesn’t crack or chip.
Don’t trap dust or fingerprints inside; clean both inner faces right before you close the sandwich or they show forever.
9. Fabric-Wrapped Frame
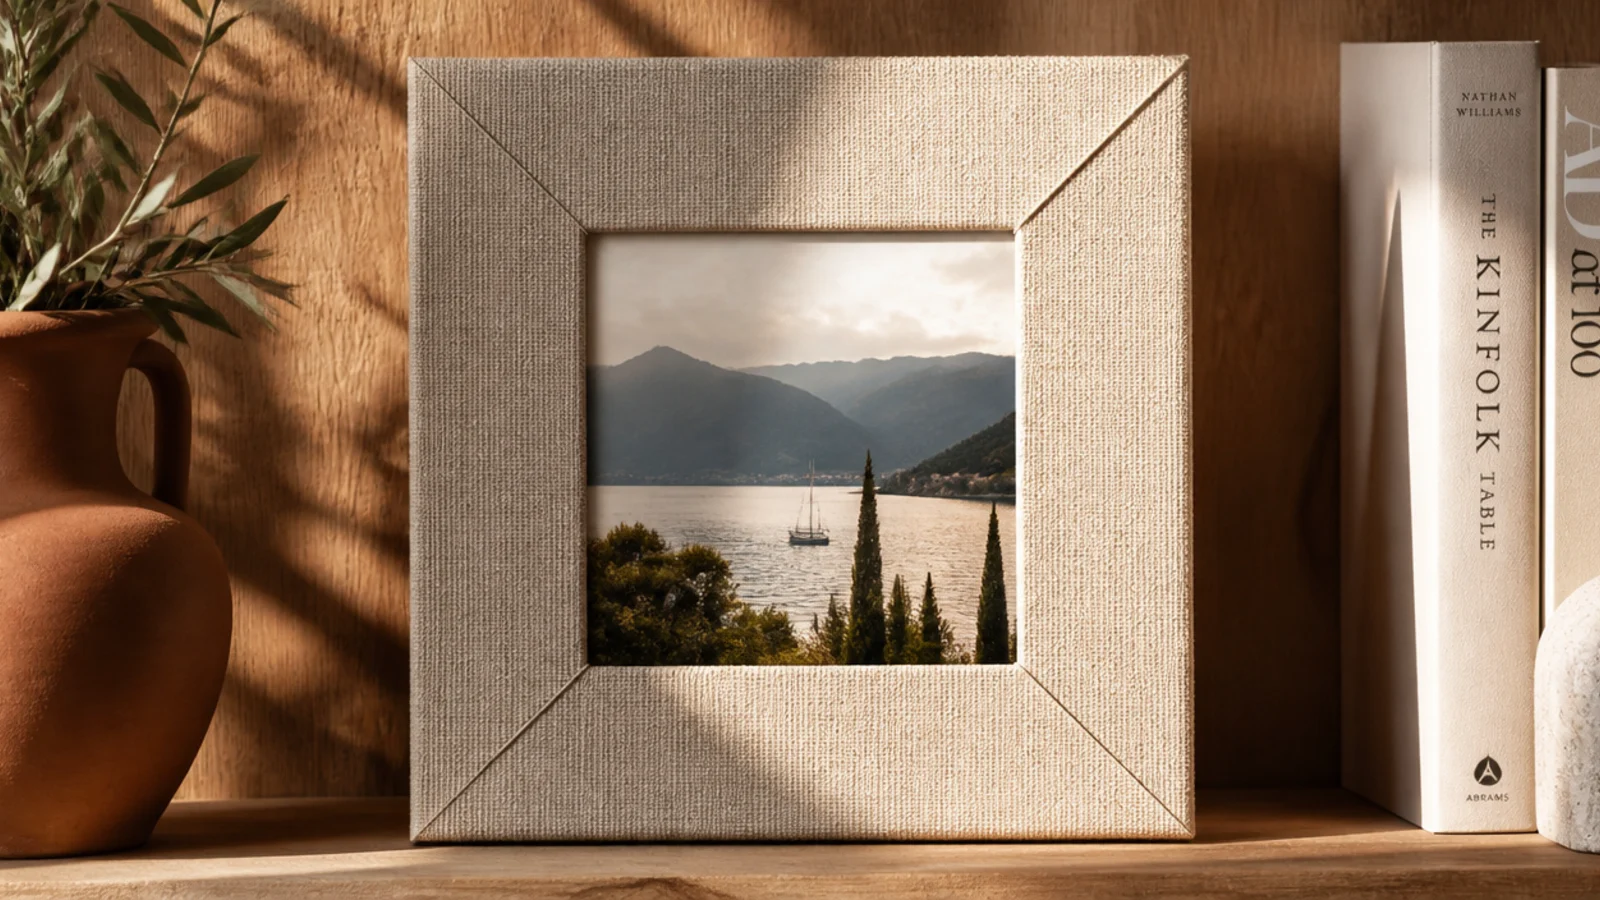
Wrapping a frame in linen or cotton adds soft texture and hides a rough base entirely. It suits bedrooms and cozy corners. A neutral linen or a small-print cotton keeps it calm; save loud patterns for the wall behind it, not the frame.
Start with a flat cardboard or wood frame. Cut fabric with a two-inch overhang all around. Brush glue on the front, smooth the fabric down, then wrap the edges to the back and glue, folding the corners like wrapping a gift. Cut an X in the fabric over the window opening and glue the flaps to the back. Mount the photo behind and add a hanger.
Iron the fabric flat before wrapping so no creases telegraph through the taut surface.
Don’t use a thick, bulky fabric; it bunches at the corners and you lose the crisp folded edges.
10. Tile Mosaic Frame
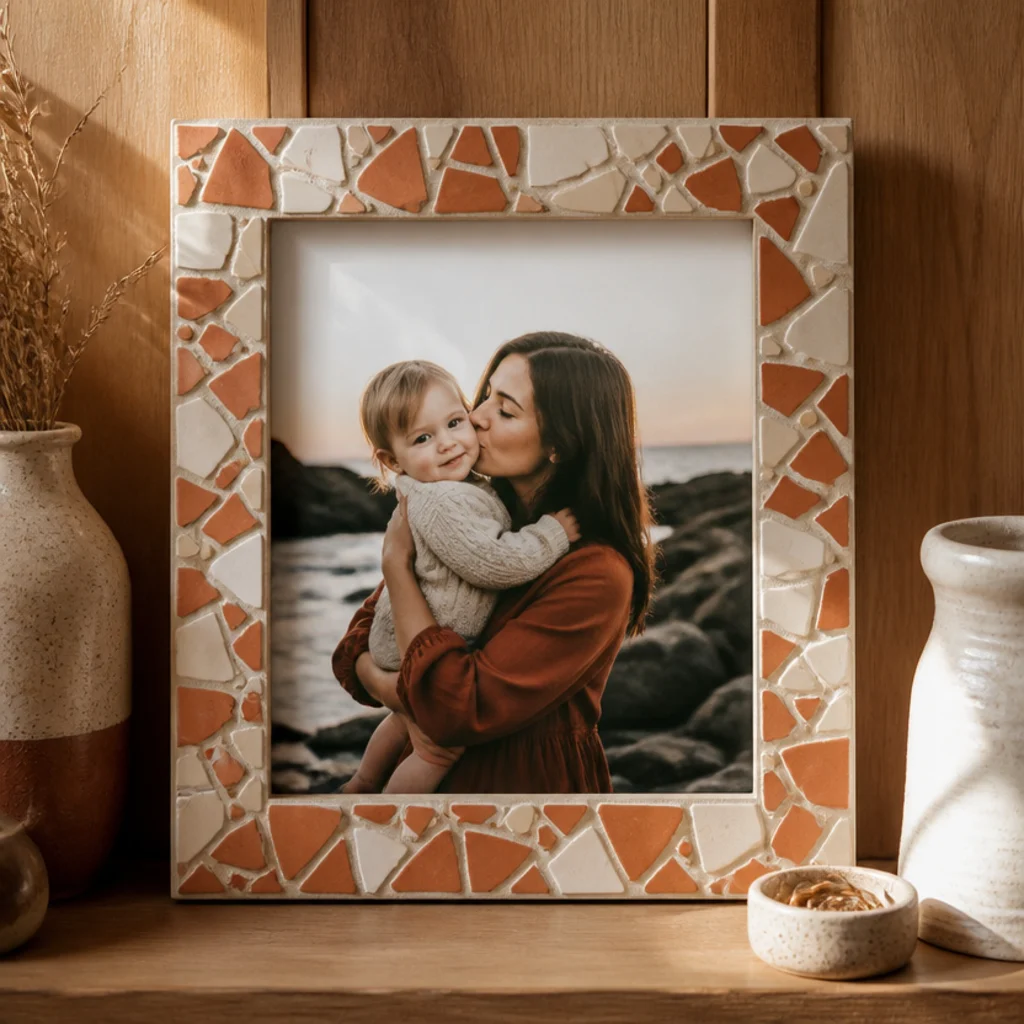
Broken tile or china pieces set around a frame give a handmade Mediterranean look with real weight. It suits a bathroom or a sunny kitchen. Use leftover tile samples or a chipped plate in a two-color palette so it reads intentional, not chaotic.
Use a sturdy flat wood frame as the base. Nip tiles into small pieces with tile nippers and arrange them on the face, leaving small even gaps. Glue each piece with tile adhesive and let it cure overnight. Spread grout over the whole surface, wipe the excess off the tile faces with a damp sponge, and buff clean once hazy. Seal the grout.
Lay out the whole design dry first and photograph it, so you can rebuild the arrangement exactly as you glue.
Don’t rush the grout wipe-down; dried grout haze on the tiles is very hard to remove later.
11. Rope-Wrapped Nautical Frame
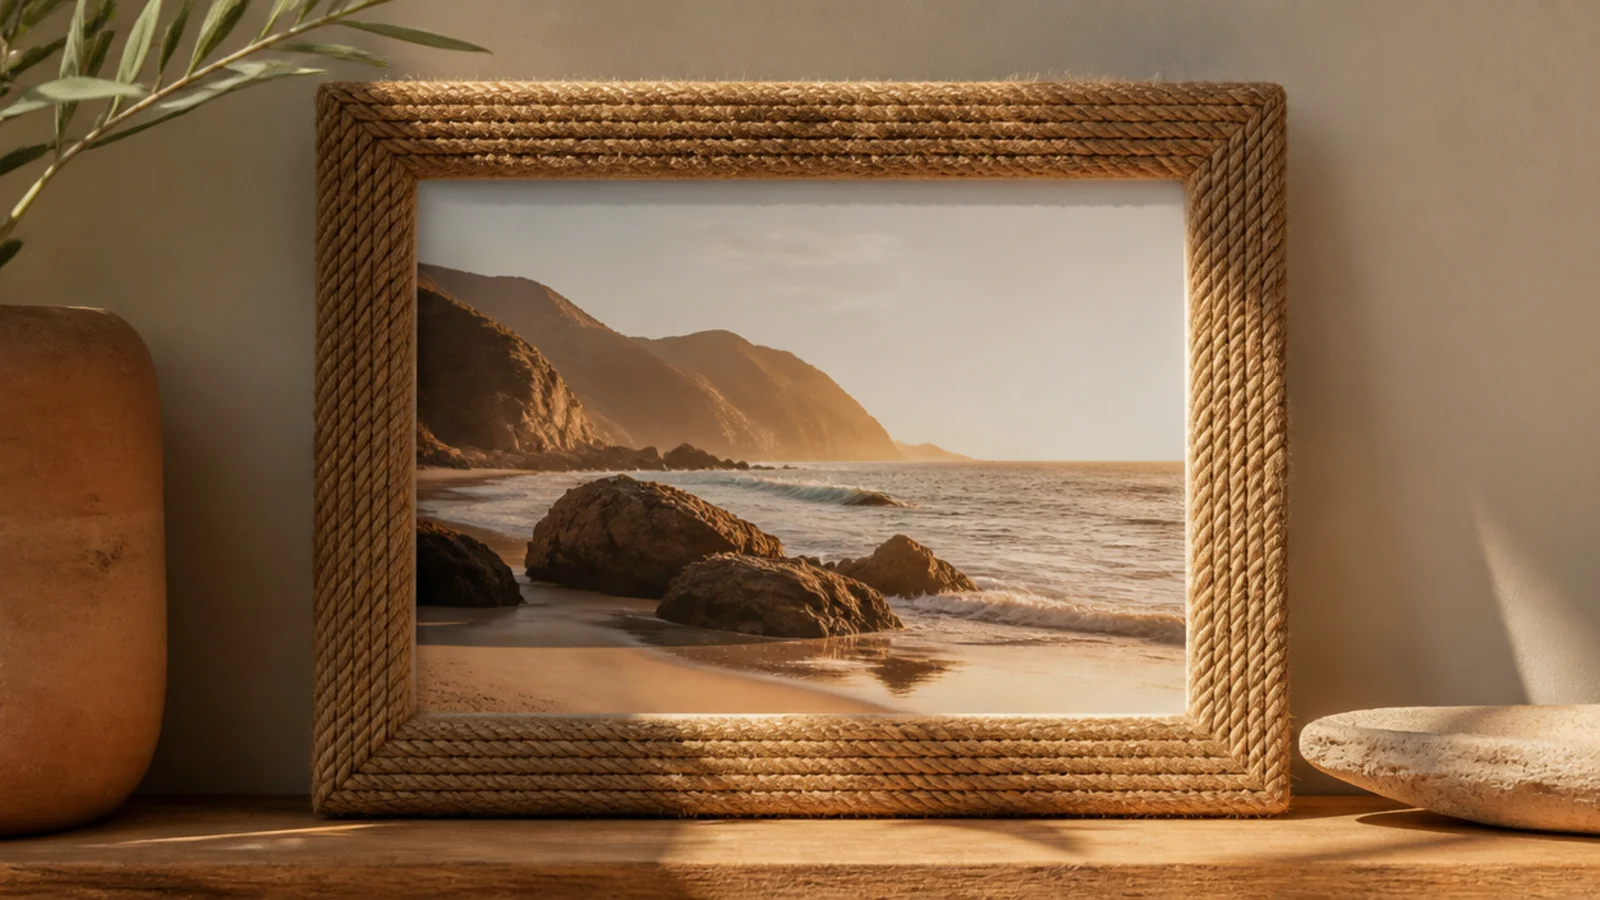
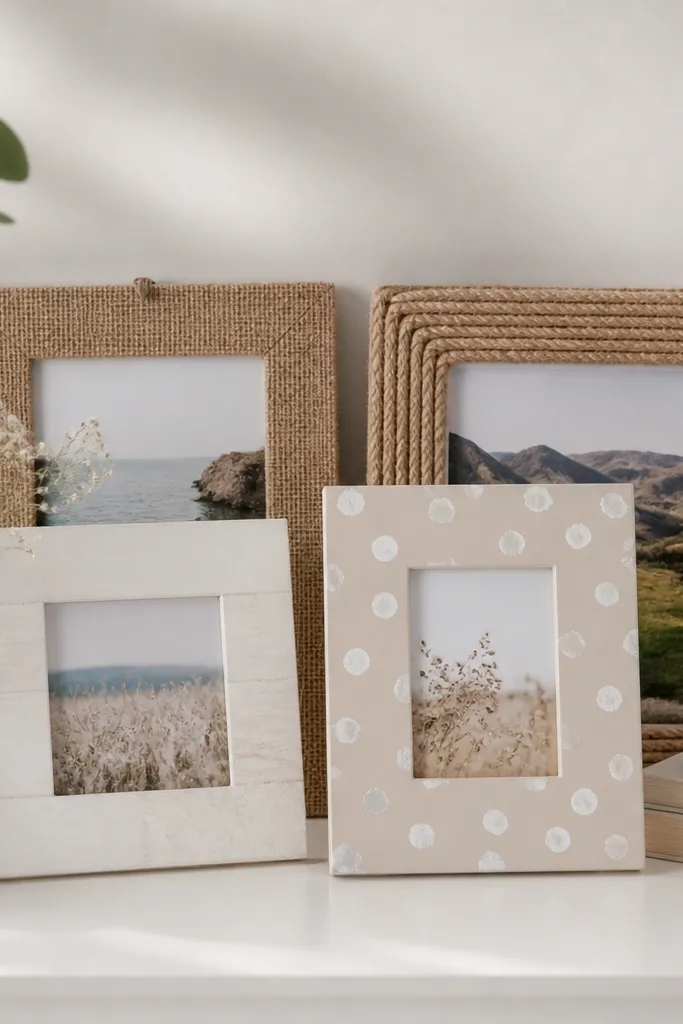
Jute or cotton rope coiled around a frame gives a warm, textured, coastal feel. It suits beach photos and neutral rooms. Natural undyed rope keeps it soft; the texture does the decorating so the color can stay simple.
Start with a flat-faced frame. Run a bead of hot glue along one edge and press the rope down, then wind it around the frame face, keeping each coil tight against the last and gluing as you go. Continue around all four sides, tucking the cut end underneath. Trim neatly and dab glue on the final end so it can’t unravel.
Wrap corners at a slight diagonal and add extra glue there — corners are where the rope wants to gap and lift.
Don’t leave visible glue strings between coils; keep coils tight against each other so no gaps or glue show.
12. Vintage Window-Pane Frame
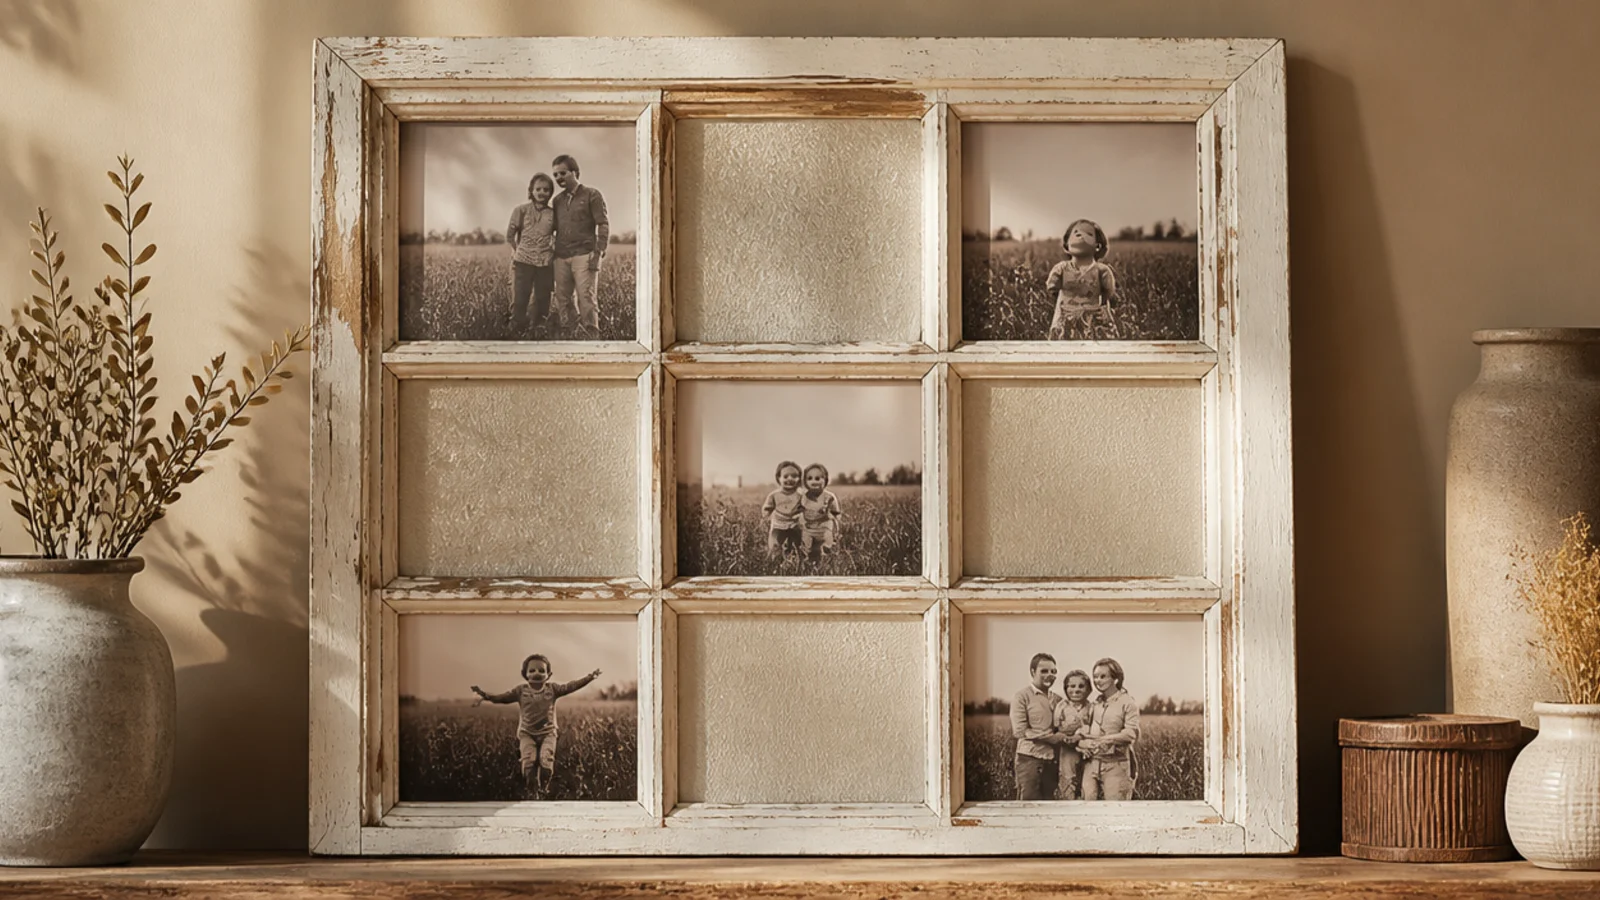
A salvaged multi-pane window becomes a striking multi-photo display with real architectural character. It suits a large empty wall and makes a statement on its own. Look for old windows at salvage yards or curbside; chippy original paint adds to the charm.
Editor's noteSeal flaking lead-era paint with a clear coat and never sand it — old window paint can contain lead, so lock it down instead.
Clean the window and stabilize any loose paint with a clear sealer. Print photos sized to each pane. Tape or mount each print to the back of its pane facing out, using acid-free tape or small clips on the muntins. Add heavy-duty D-rings and picture wire rated for the weight, and hang from two wall anchors into studs.
Skip thisDon’t hang a heavy window on a single small nail; use two anchors into studs or it will pull out of the wall.
13. Geometric Paint-Block Frame
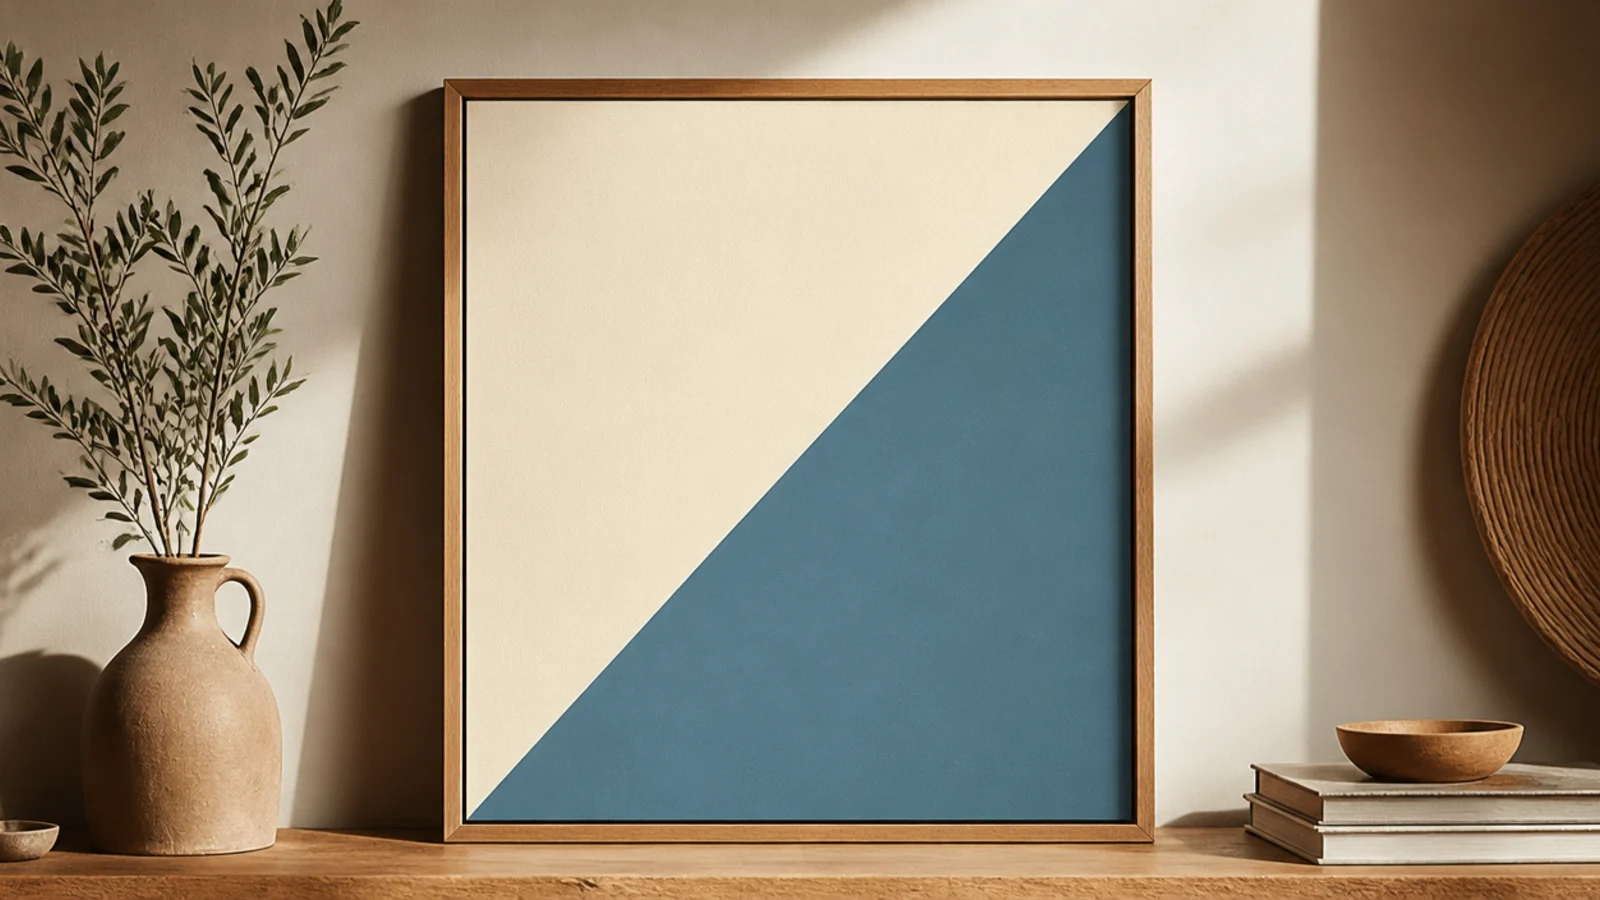
A plain wide frame becomes graphic with one diagonal or corner color block. It suits modern, colorful rooms and costs only paint. Two calm colors meeting at a taped line give that gallery-shop look without any drawing skill.
Use a flat, wide-faced frame and base-coat it your lighter color. Once dry, run painter’s tape across the face on a diagonal or around one corner, pressing the edge down hard. Paint the exposed section your second color in two thin coats, then peel the tape while slightly wet. Touch up any bleed and seal with matte clear.
Burnish the tape edge with a fingernail before painting so the color-block line comes out razor-sharp.
Don’t use high-gloss paint on a wide flat frame; every brushstroke and imperfection shows under gloss.
14. Pressed-Flower Frame
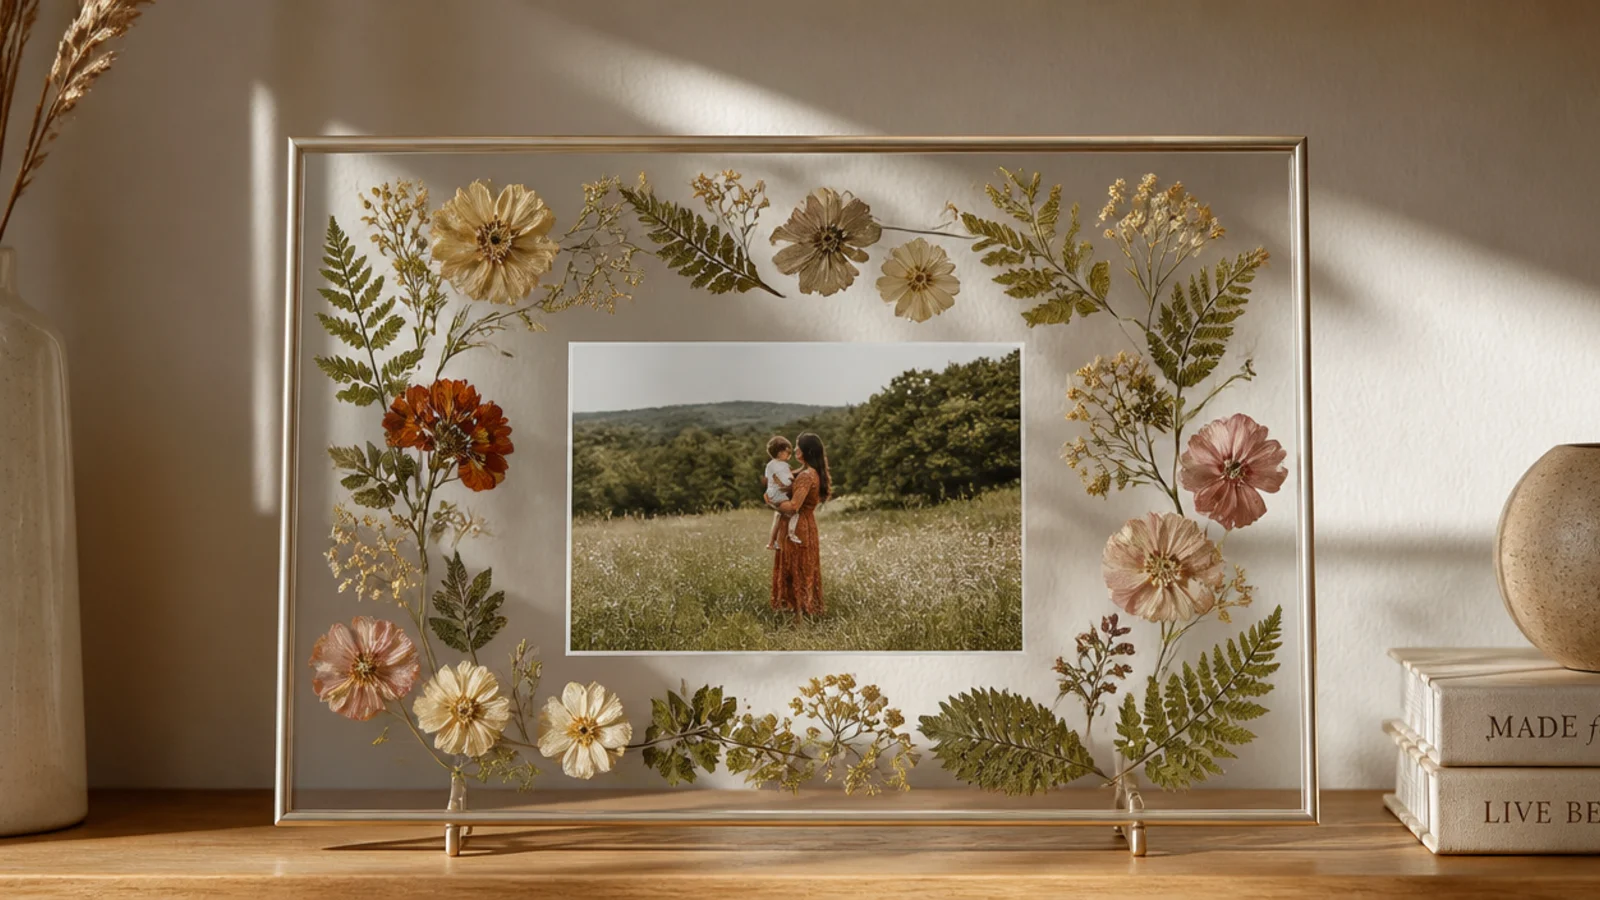
Pressed flowers arranged around a photo behind glass look delicate and personal. It suits keepsake photos and spring styling. Flowers pressed from your own garden make it meaningful; flat blooms like pansies and ferns press best.
Press flowers between book pages for two weeks until fully dry and flat. Using a clear glass or acrylic frame, arrange the pressed flowers around the edges on the backing, centering your photo. Lay the glass gently over the arrangement to hold everything flat, then close the frame back. Keep it out of direct sun to slow fading.
Add a tiny dot of clear glue under each flower before closing the glass so nothing shifts when you stand it up.
Don’t use thick, fleshy flowers; they don’t press flat, trap moisture, and can mold behind the glass.
15. Magnetic Metal-Sheet Frame
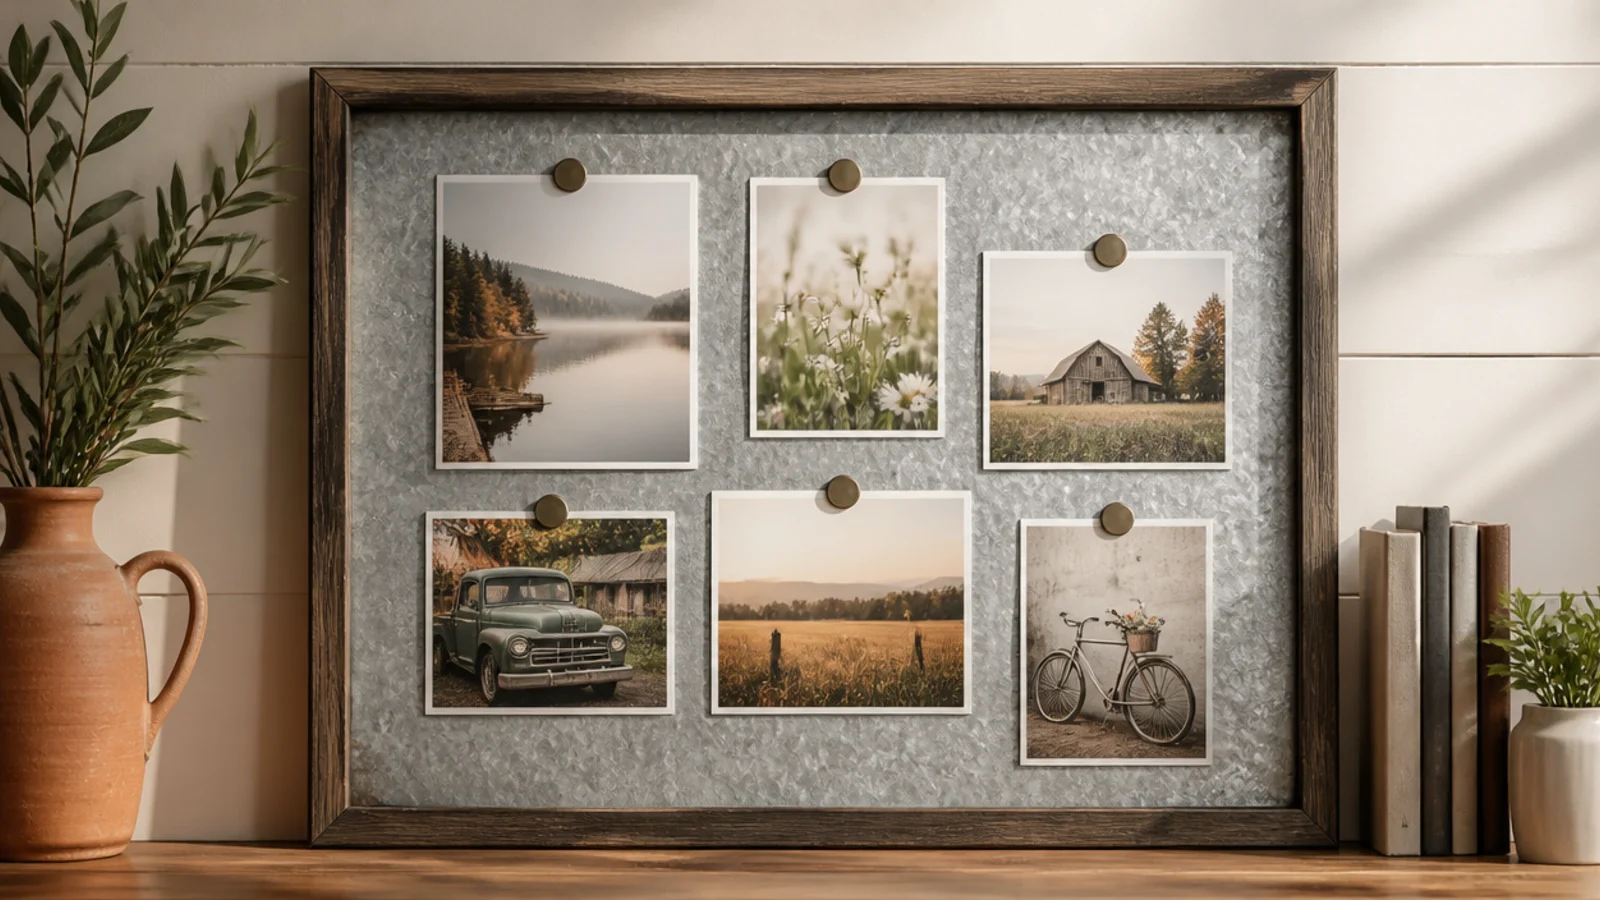
A framed metal sheet lets you clip and swap photos with magnets, no glass needed. It suits kitchens, offices, and anyone who rotates photos often. A galvanized or steel sheet in a simple wood frame keeps it industrial but tidy.
Cut a thin steel or galvanized sheet to fit inside a flat wood frame. Glue or screw the sheet into the frame’s rabbet so the metal face sits flush. Sand any sharp cut edges smooth. Hang it securely, then arrange photos with small strong magnets. Add a clear coat to the metal if you want to prevent fingerprints.
File and tape over the cut metal edges before mounting — raw sheet-metal edges are sharp enough to cut you.
Don’t use weak craft magnets; a couple of strong neodymium magnets hold prints far better and won’t slide.
16. Layered Shadow-Box Frame
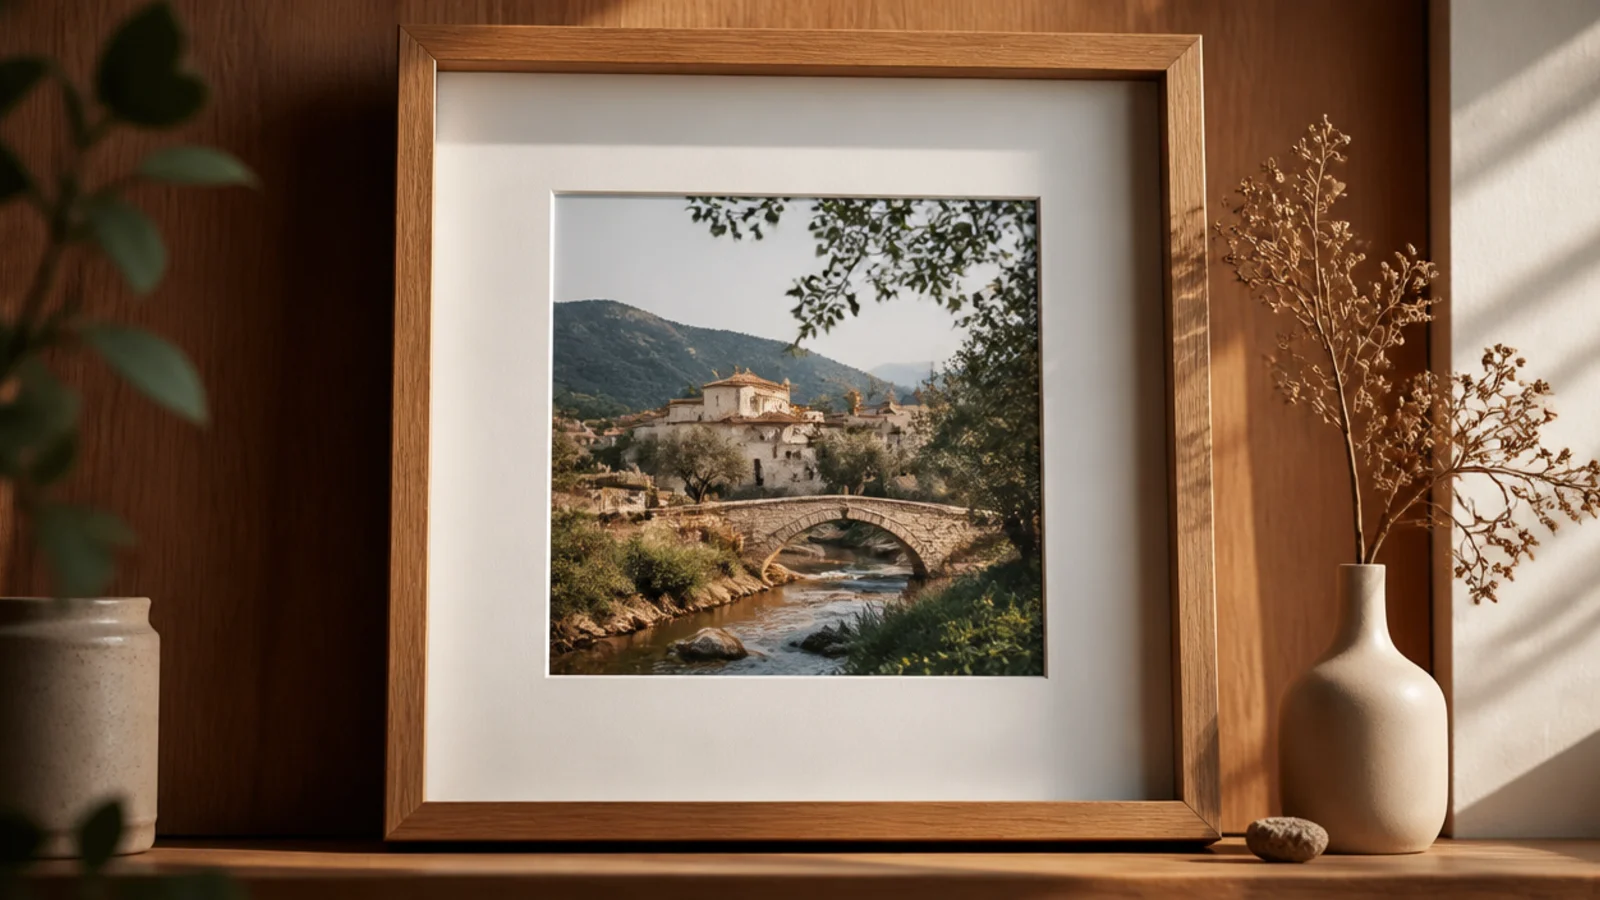
A deep shadow box sets the photo back and adds room for a small keepsake beside it — a ticket, a dried sprig, a shell. It suits milestone photos and mementos. The depth and the object together tell a little story that a flat frame can’t.
Editor's noteKeep the keepsake collection to one or two items with breathing room; a crowded box loses the quiet, curated feel.
Build or buy a deep box frame. Line the back with linen or paper as a backdrop. Mount the photo to the back panel, then arrange one or two small flat keepsakes beside it, gluing lightly. Fit the glass or acrylic front into the box lip. Add a sturdy hanger, since box frames are heavier than flat ones.
Skip thisDon’t glue bulky objects that press against the glass; leave clearance so the front sits flush and flat.
17. Driftwood Plank Frame
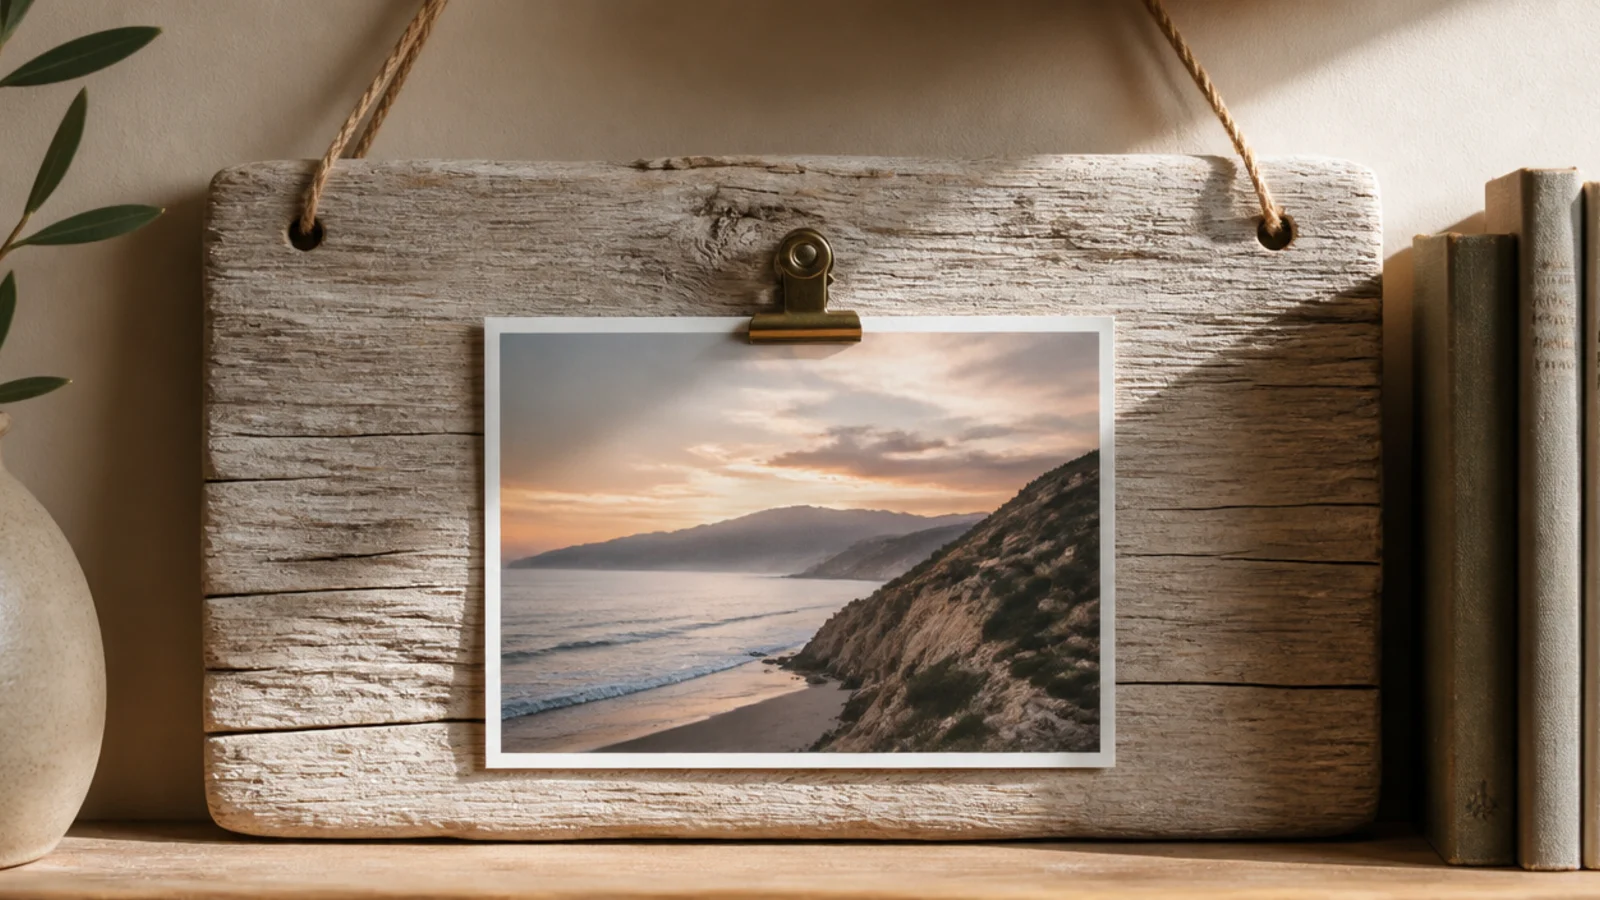
A single weathered plank with a photo clipped to it is minimalist, coastal, and takes ten minutes. It suits beach houses and neutral spaces. Driftwood or a reclaimed fence board brings gray, salt-worn texture you can’t fake with paint.
Choose a flat plank a little wider than your photo. Sand off splinters but keep the weathered surface. Screw or glue a small metal bulldog clip to the top center, or two clips for a wider print. Attach a twine loop or a sawtooth hanger to the back. Clip the photo in and swap it whenever you like.
Rub a little clear wax into dry driftwood to deepen the grain and stop it from shedding grit on the wall.
Don’t seal driftwood with a glossy varnish; it kills the matte, weathered look that makes the piece work.
18. Paint-Stick Sunburst Frame

Free paint stir sticks arranged in a radiating sunburst frame a round photo dramatically. It suits an entryway or a bold accent wall. Painting the sticks in a warm ombre from terracotta out to cream gives the sunburst real depth.
Editor's noteLay all the sticks out in a full circle before gluing to get the spacing even — a lopsided ray line is obvious.
Collect free paint stir sticks and paint them in graduated warm tones, then let dry. Cut a cardboard ring as the base. Glue the sticks pointing outward around the ring, spacing them evenly like sun rays, alternating lengths for a layered edge. Mount a round-cropped photo in the center opening. Add a strong hanger to the back of the ring.
Skip thisDon’t glue the rays at uneven angles; a sunburst only works when the rays fan out symmetrically from center.
19. Corkboard Photo Frame
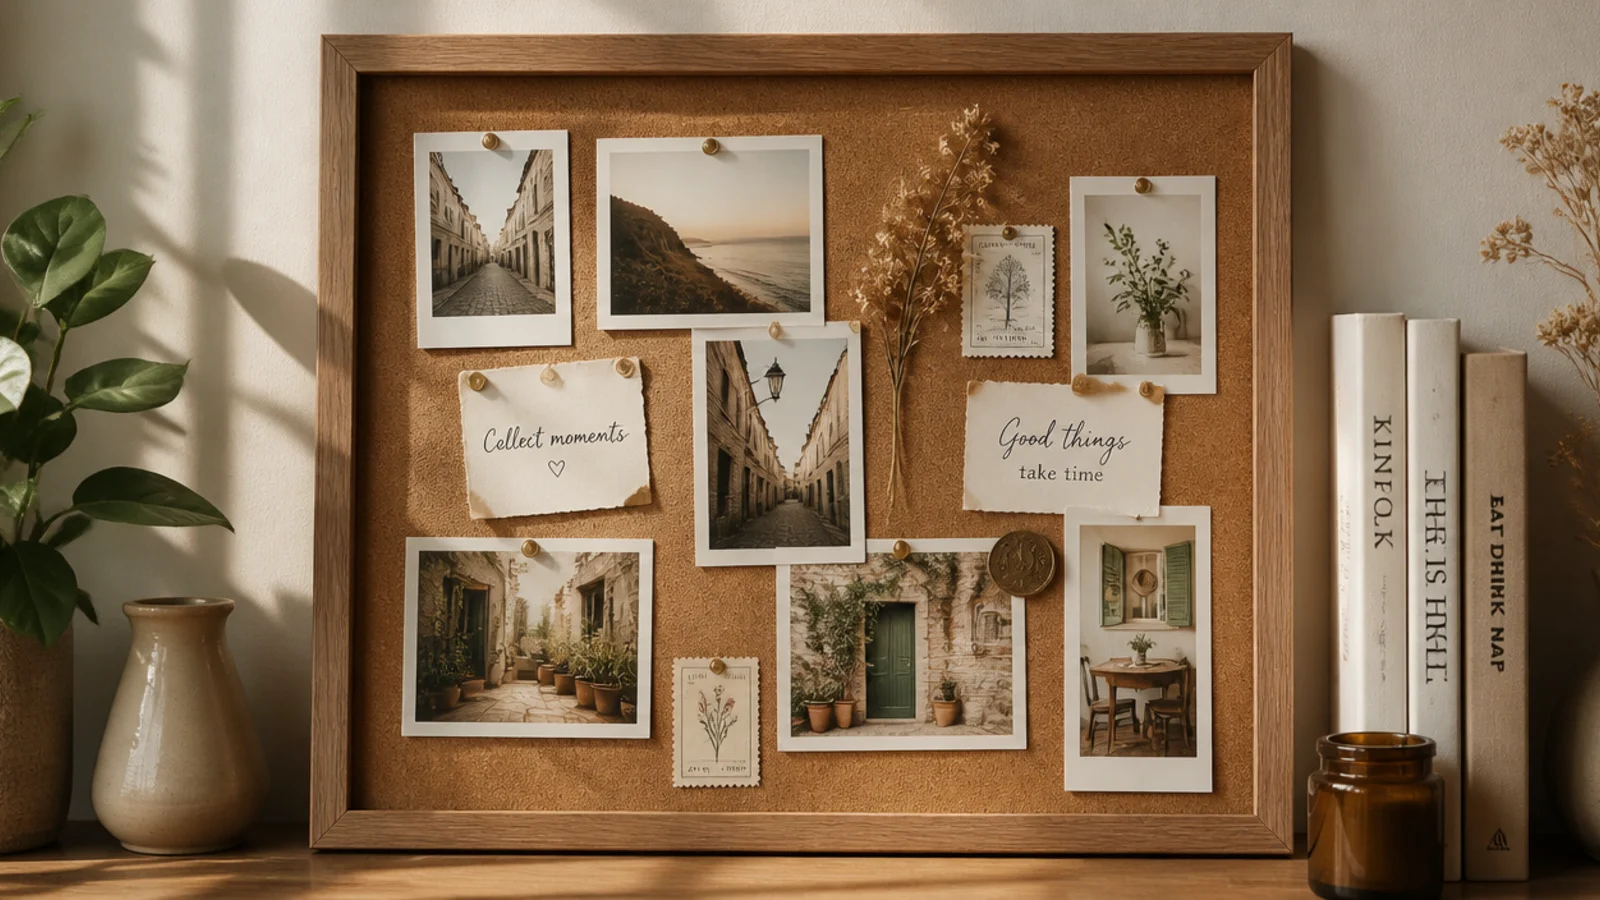
A framed cork panel becomes a soft photo board you pin and rearrange endlessly. It suits a desk, a dorm, or a memory wall. A neutral wood frame around natural cork keeps it from looking like an office supply.
Cut a cork sheet or a roll of cork to fit inside a flat frame and glue it into the frame’s opening. Press it flat under books while the glue dries. Hang the frame securely. Pin photos and small mementos with flat-head pins or clear push pins, overlapping them for a collected look. Trim any cork that peeks past the frame edge.
Layer two thin cork sheets if yours is flimsy, so pins hold firmly and don’t push straight through.
Don’t use a warped cork roll flat from the tube; flatten it under weight first or it bows out of the frame.
20. Gold-Leaf Accent Frame
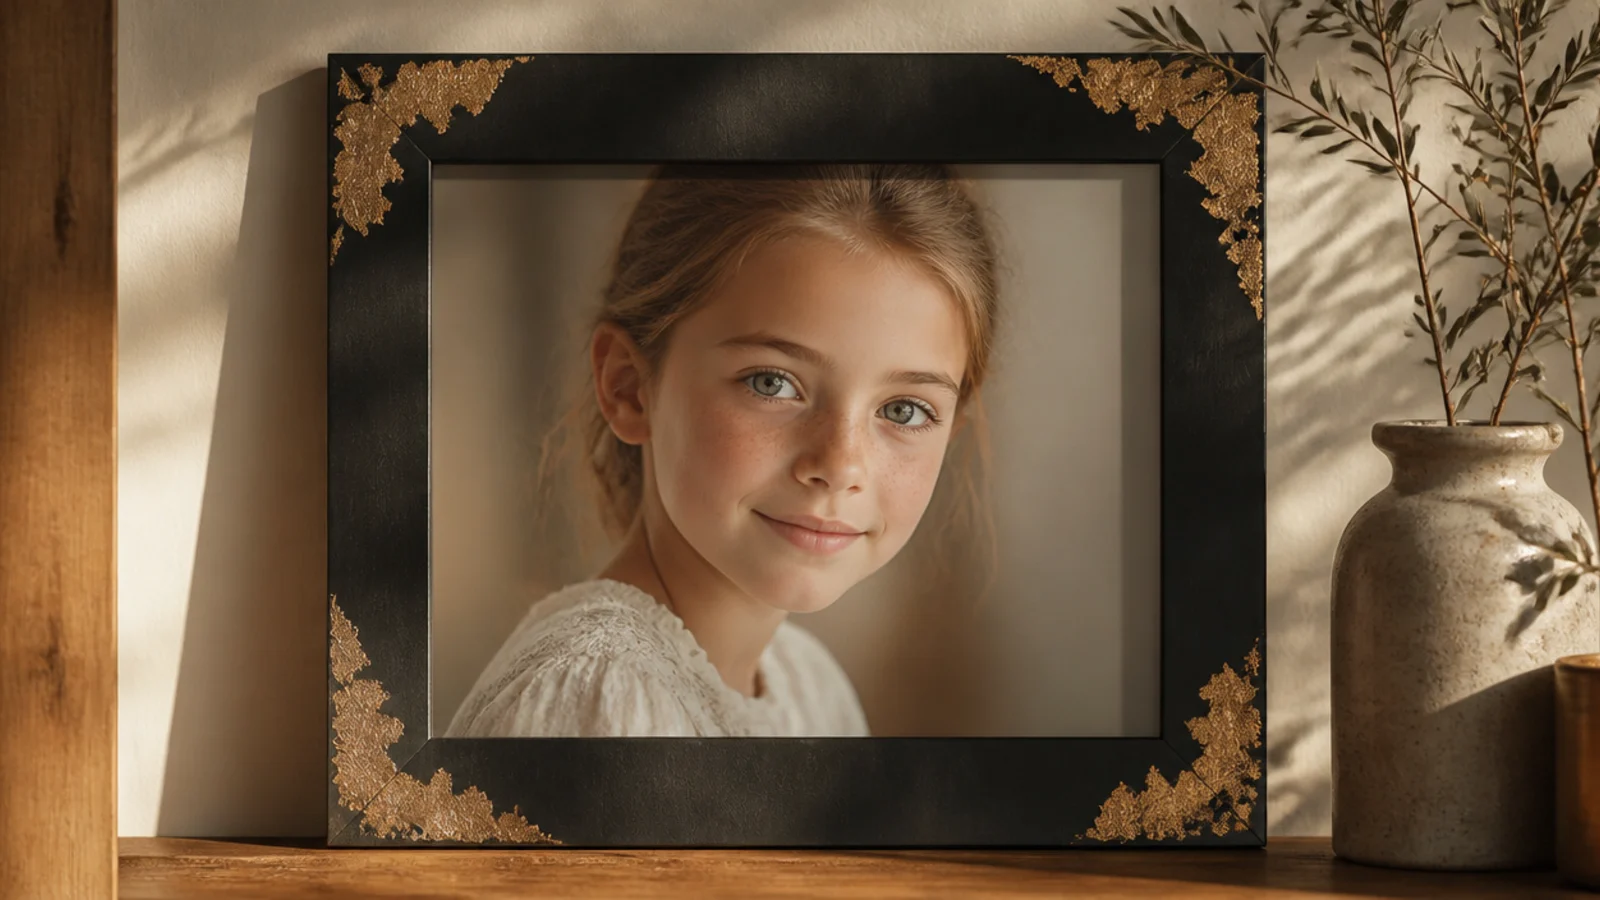
A few patches of gold leaf on a dark frame add a genuine luxe shimmer for the cost of a leaf kit. It suits a portrait or a formal photo. Leaving the gold irregular and concentrated at the corners looks artful rather than gaudy.
Base-coat the frame a deep matte color like black or forest green and let it cure. Brush gold-leaf adhesive (size) onto the corners in loose patches and wait until it turns tacky. Press imitation gold leaf on, then brush away the loose flakes with a soft brush. Seal the leaf with a clear coat so it doesn’t tarnish or rub off.
Let the size get properly tacky before laying the leaf — too wet and it clumps, too dry and it won’t stick.
Don’t cover the whole frame in gold leaf; broad solid gold looks cheap, while irregular accents look intentional.