1. Balanced Rectangle Cluster
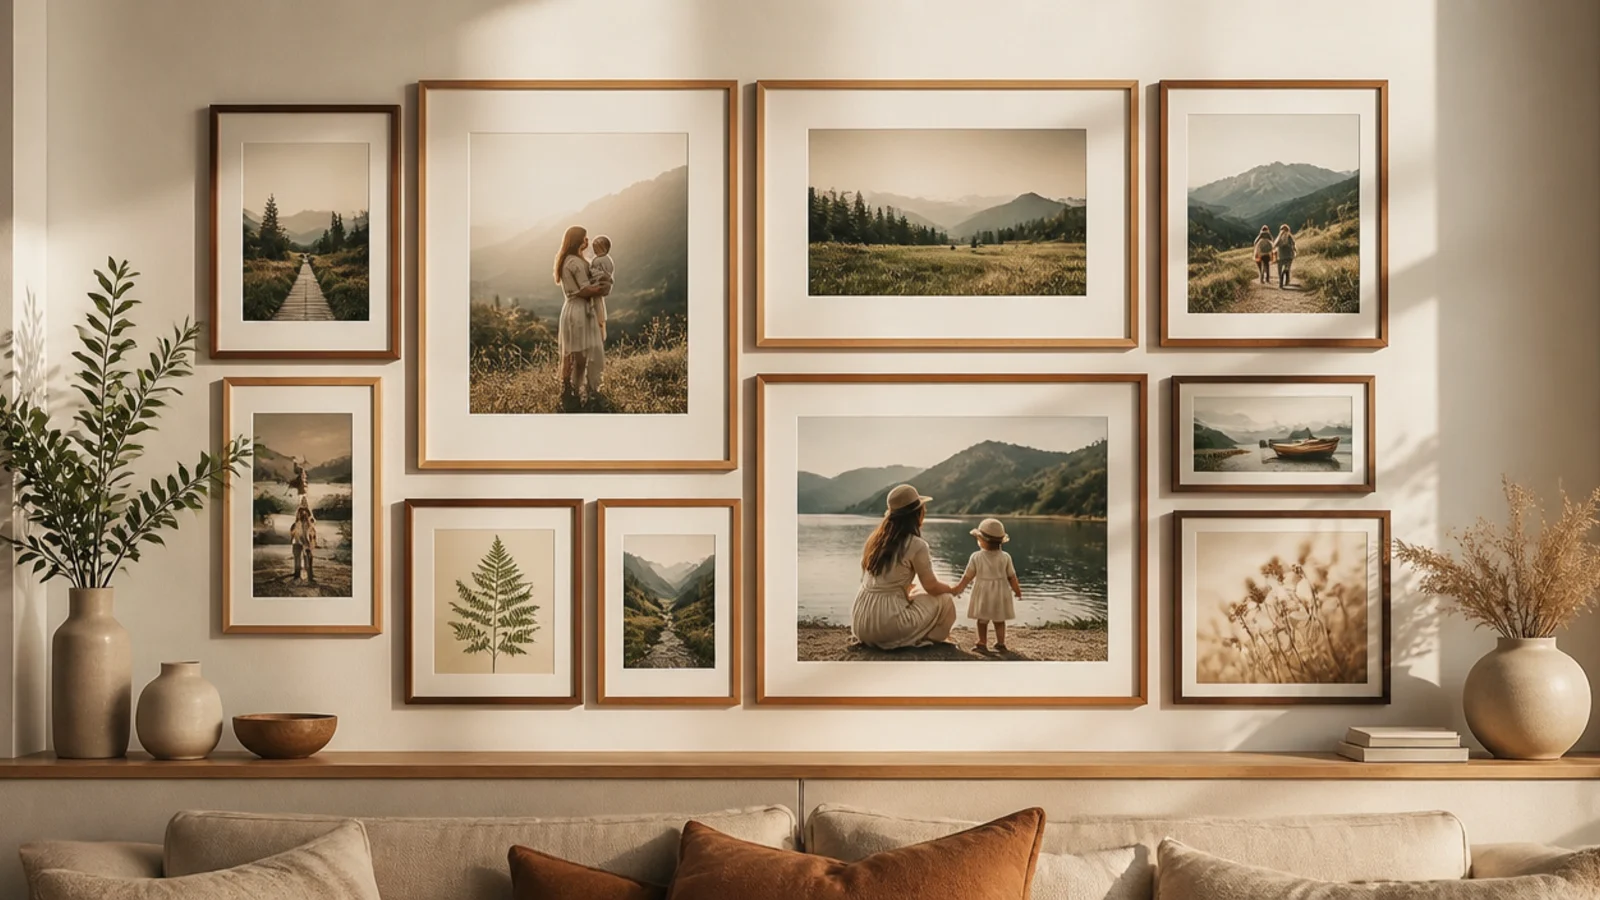
A cluster contained within an invisible rectangle is the most reliable big-wall collage — it fills space with a tidy outer edge. It suits above a sofa or console. The rectangular boundary keeps a mix of sizes looking composed.
Decide the rectangle’s dimensions to fill two-thirds of the wall width. Template mixed frames within that boundary, keeping the outer edges roughly aligned to the rectangle and gaps consistent at 2 to 3 inches. Balance large and small frames across the shape. Mark hooks through the paper, then hang from the center out, leveling each.
Editor's noteKeep the frames along the outer edges aligned to the invisible rectangle so the collage has a crisp, contained boundary.
Skip thisDon’t let frames poke out past the rectangle unevenly; a ragged outer edge is what makes a cluster look messy.
2. Uniform Grid Collage
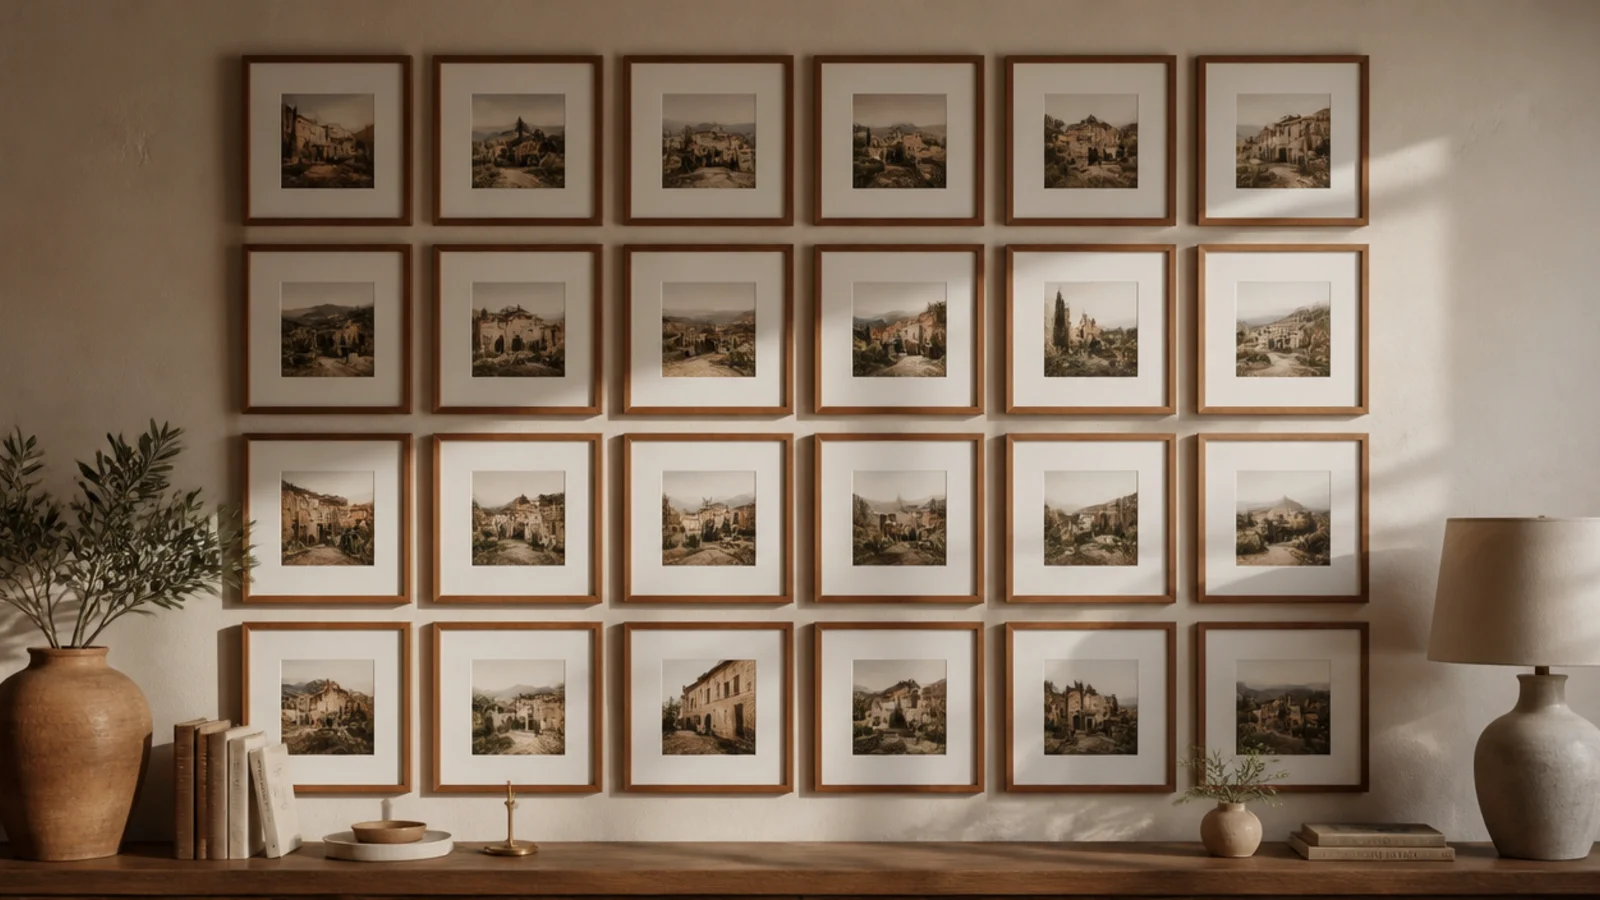
A big grid of identical frames is the most foolproof large collage — the repetition composes itself. It suits modern rooms and hallways. Matching frames and equal gaps give a crisp, architectural fill.
Choose many identical frames and plan the grid to fill the wall — say five across and four down. Calculate equal gaps and template the whole grid in paper. Measure carefully; a grid punishes misalignment. Snap a level line for the top row or use a laser level, mark all hooks, and hang row by row, keeping columns aligned.
Use a laser level across the top row — if the first row is dead level, the entire grid falls into place beneath it.
Don’t eyeball a large grid; even a small drift between columns is glaring when the pattern repeats across a big wall.
3. Giant Multi-Opening Collage Frame
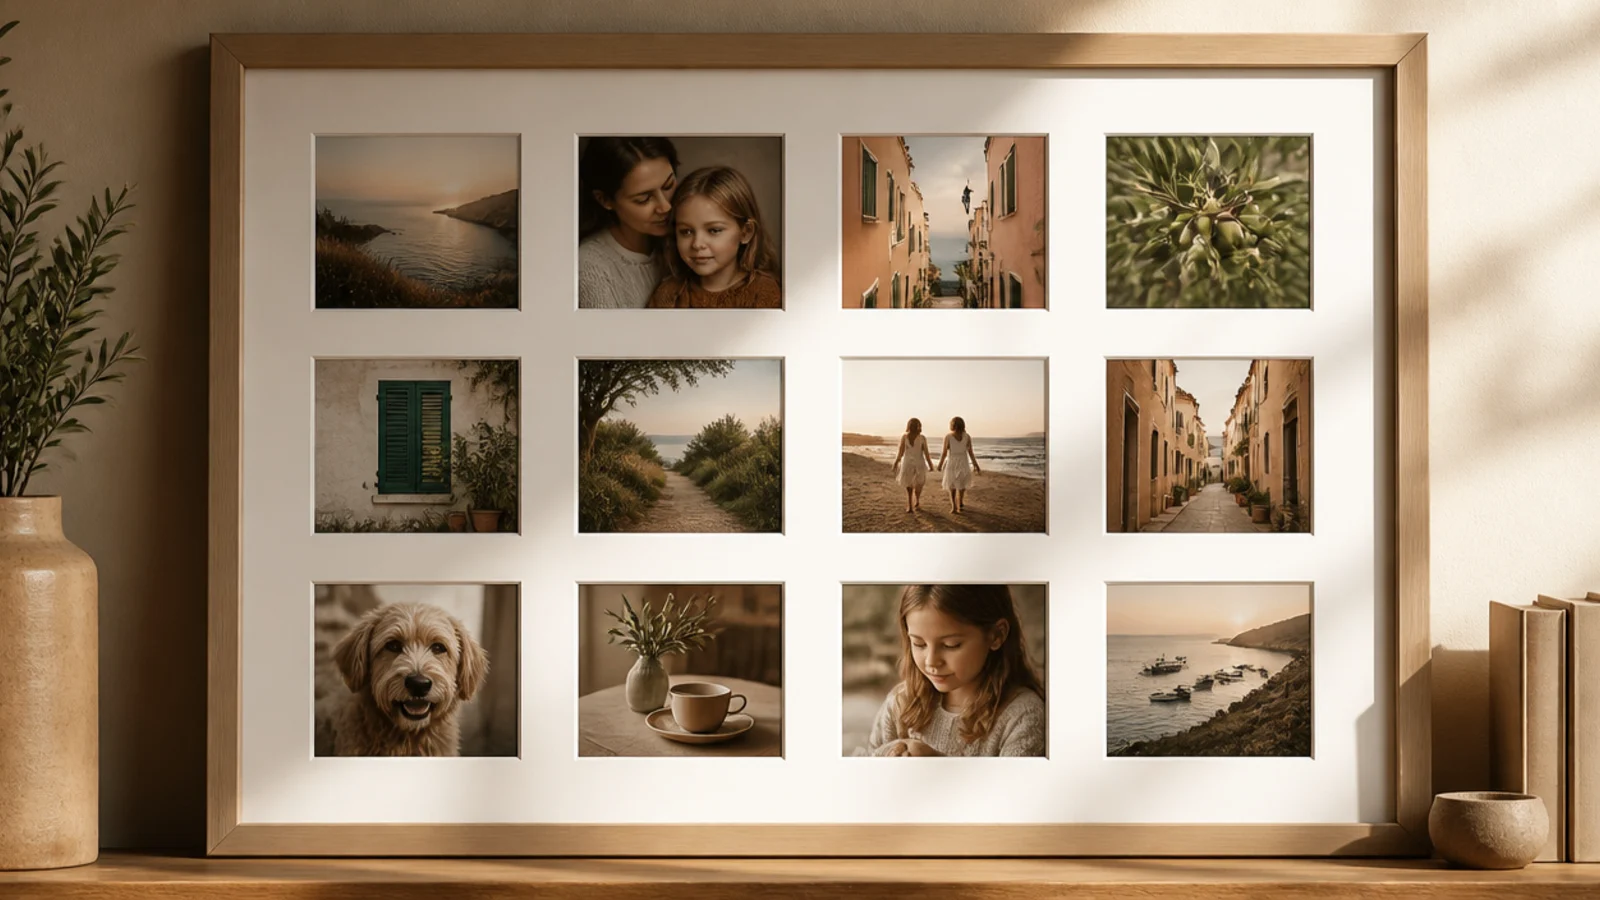
A single oversized frame with many openings fills a wall as one piece — one nail line, no gap math. It suits people who want lots of photos simply. The pre-cut mat handles all the internal alignment.
Buy or cut a large multi-opening mat sized to a big frame. Print photos to fit each opening exactly. Mount each behind its window with acid-free tape, keeping them straight. Assemble into the frame with a rigid backing. Hang with two or three points into studs for the weight, leveling carefully. The mat does the composing.
Editor's noteChoose a mat with openings sized to standard prints so you don’t have to trim photos to awkward dimensions.
Skip thisDon’t hang a big multi-opening frame on one hook; its weight needs two or three anchored points to stay level and secure.
4. Salon Floor-to-Ceiling Collage
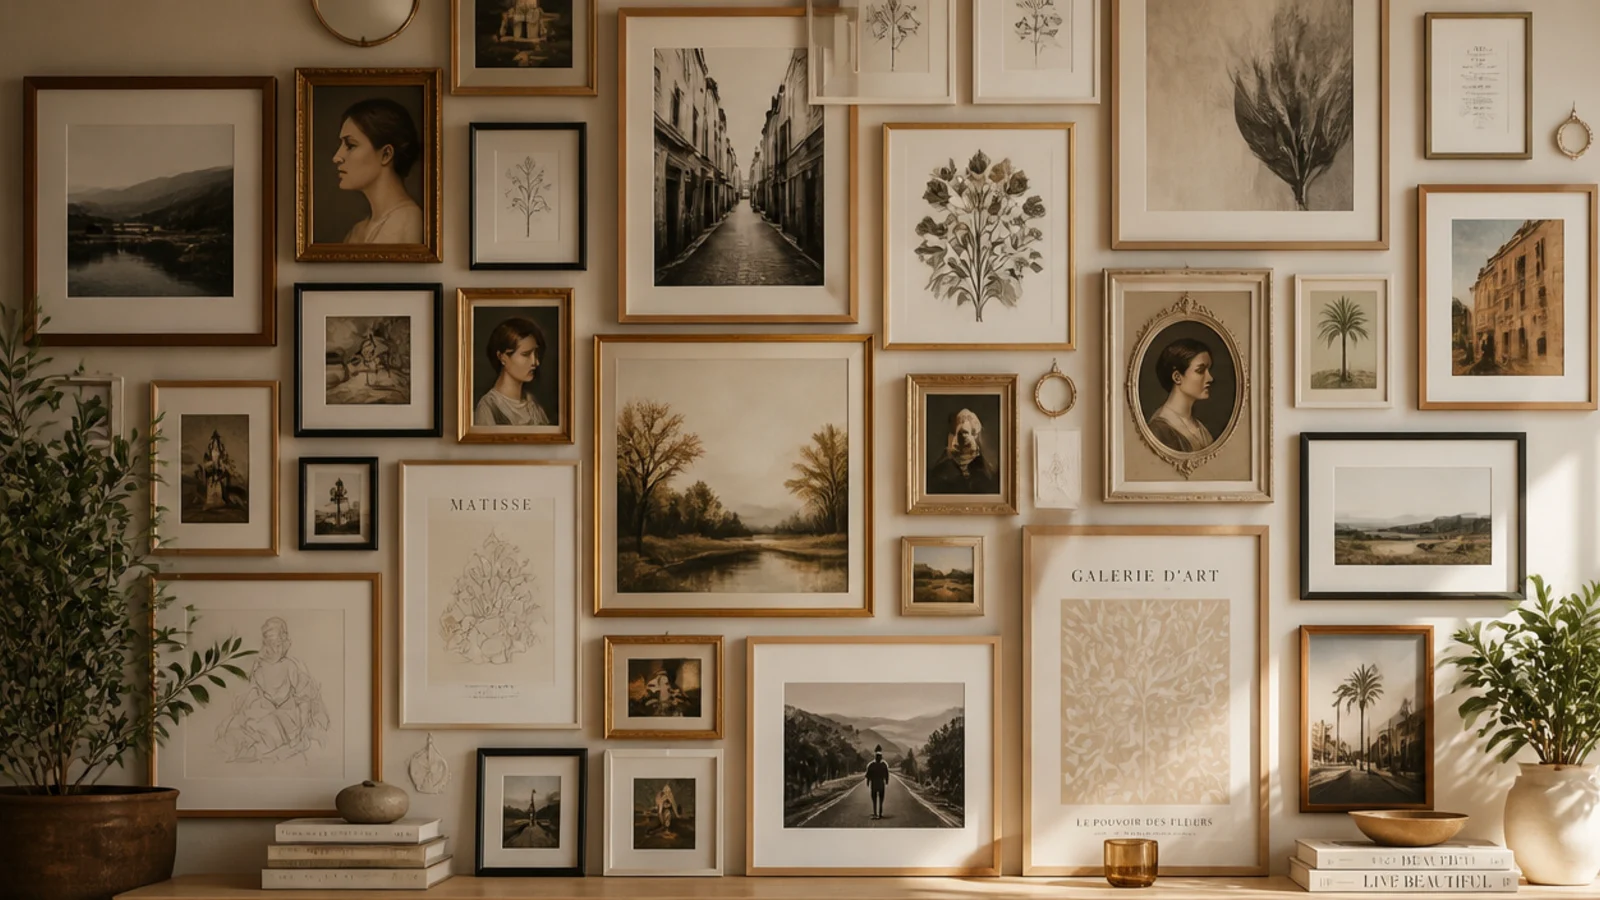
A dense salon collage covering a whole wall floor to ceiling makes a rich, gallery statement. It suits a dedicated feature wall. The abundance is the point — but even gaps keep it from tipping into chaos.
Plan the whole wall as the boundary. Template many mixed frames covering it, starting with a large anchor slightly off-center and filling outward with a consistent 2 to 3 inch gap. Keep the outer edges roughly following the wall’s shape. Mark every hook, then hang from the anchor out, leveling as you build up and out.
Start from a central anchor frame and radiate outward so the dense collage stays balanced instead of drifting to one side.
Don’t vary the gaps to fit frames in; consistent spacing is the only thing keeping a dense salon wall from looking chaotic.
5. Horizontal Band Collage
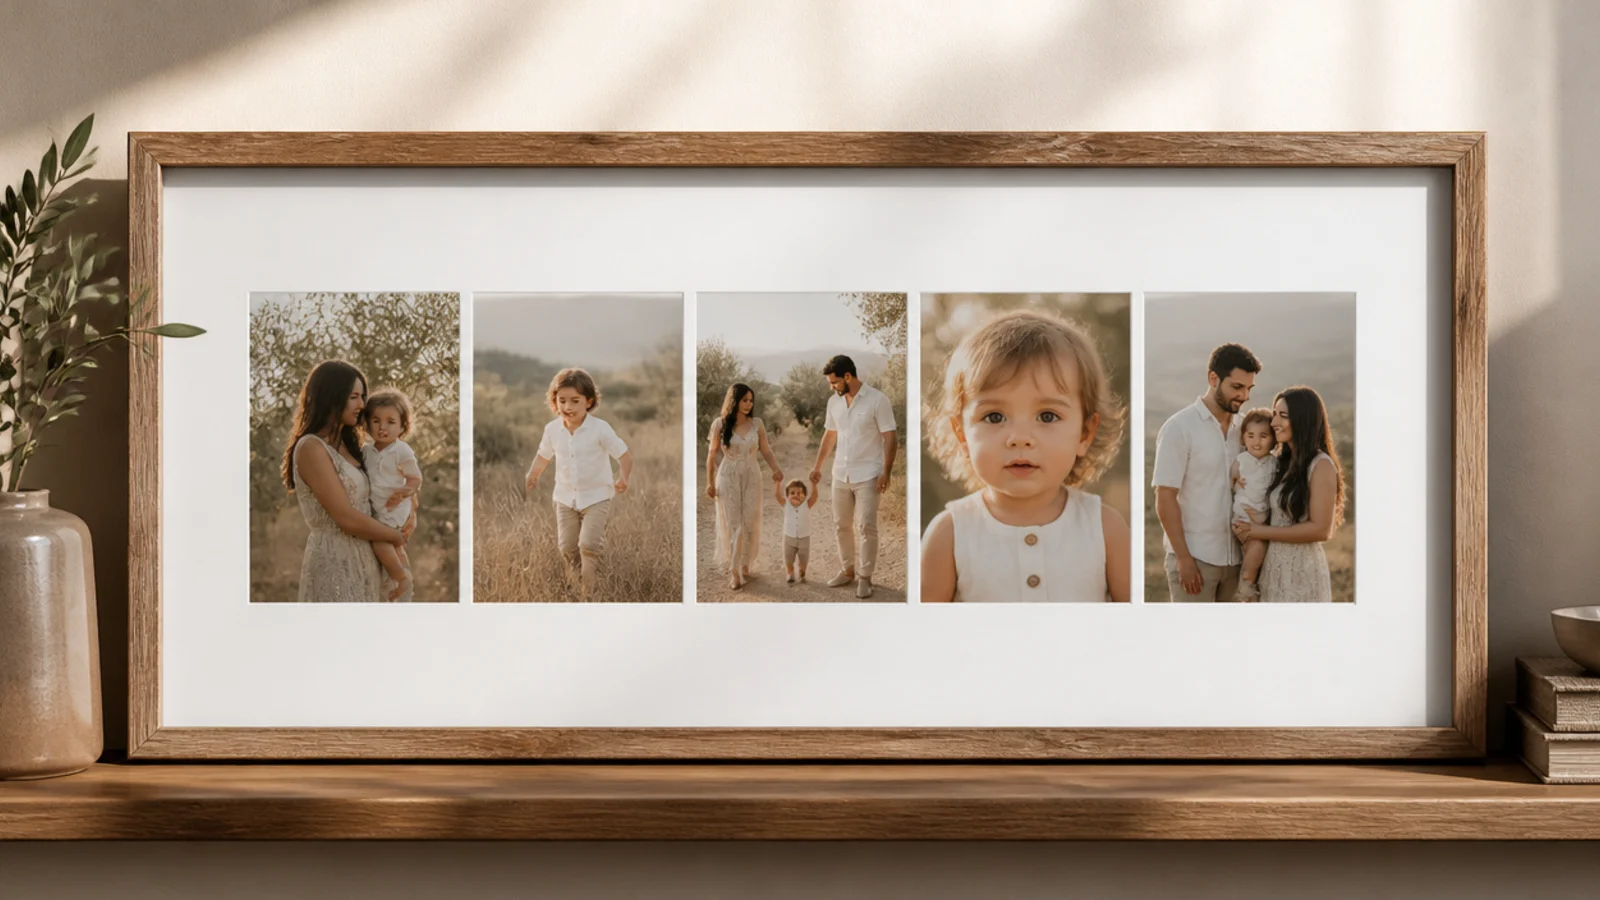
A long horizontal band of frames suits a very wide wall or above a long sofa or sideboard. It draws the eye across and grounds the furniture below. Aligning frames along a central line keeps the band crisp.
Establish a central horizontal line at eye level across the wall. Template frames above and below it in a band, keeping the band’s height consistent and gaps even. Mix sizes but keep the top and bottom edges of the band roughly aligned. Mark hooks and hang from the center out, leveling each frame along the band.
Align the frames to a strong central line rather than a top or bottom edge, so the band reads as one continuous strip.
Don’t let the band’s height wander up and down; a consistent band height is what makes a wide wall look intentional.
6. Ascending Staircase Collage
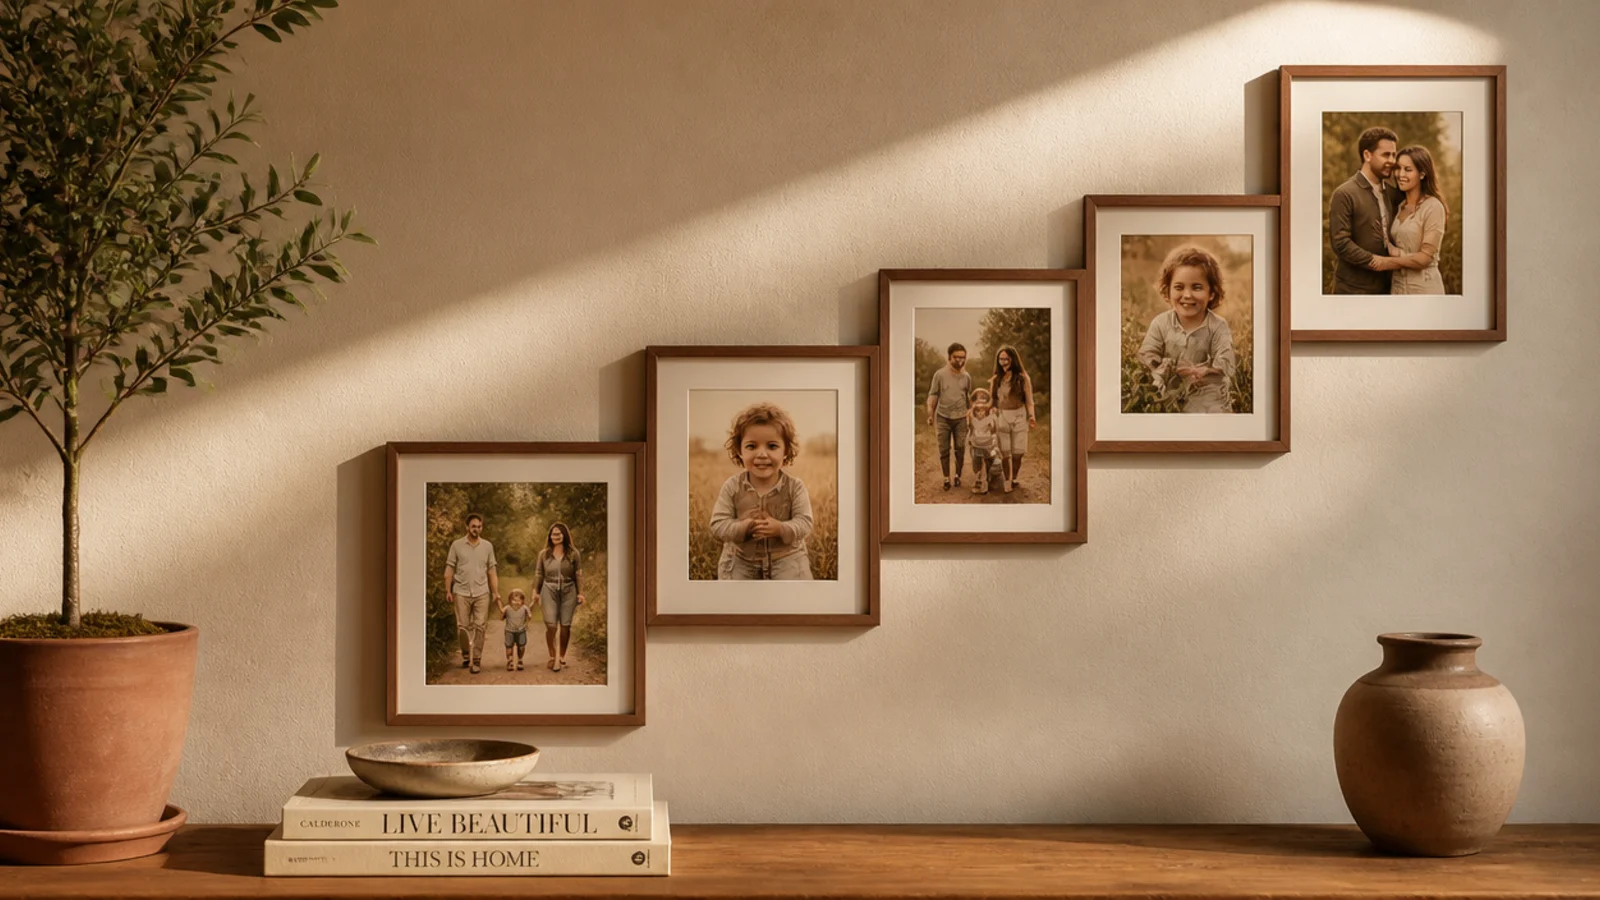
A collage that climbs a stairwell fills that tall, awkward wall and guides the eye up. It suits staircases and two-story walls. Following the stair diagonal with a stepped cluster looks composed rather than random.
Measure the stair rise and run for the diagonal angle. Template a cluster that steps up along that angle, keeping the gap between frames consistent and the cluster’s lower edge parallel to the stairs. Measure each frame’s height from the step below it. Mark hooks and hang, checking the climb stays even along the diagonal.
Editor's noteKeep the bottom edge of the collage parallel to the stair line so the whole cluster climbs at the stairs' angle.
Skip thisDon’t hang the stairwell frames all level with each other; ignoring the diagonal makes the collage fight the stairs.
7. Monochrome Photo Collage
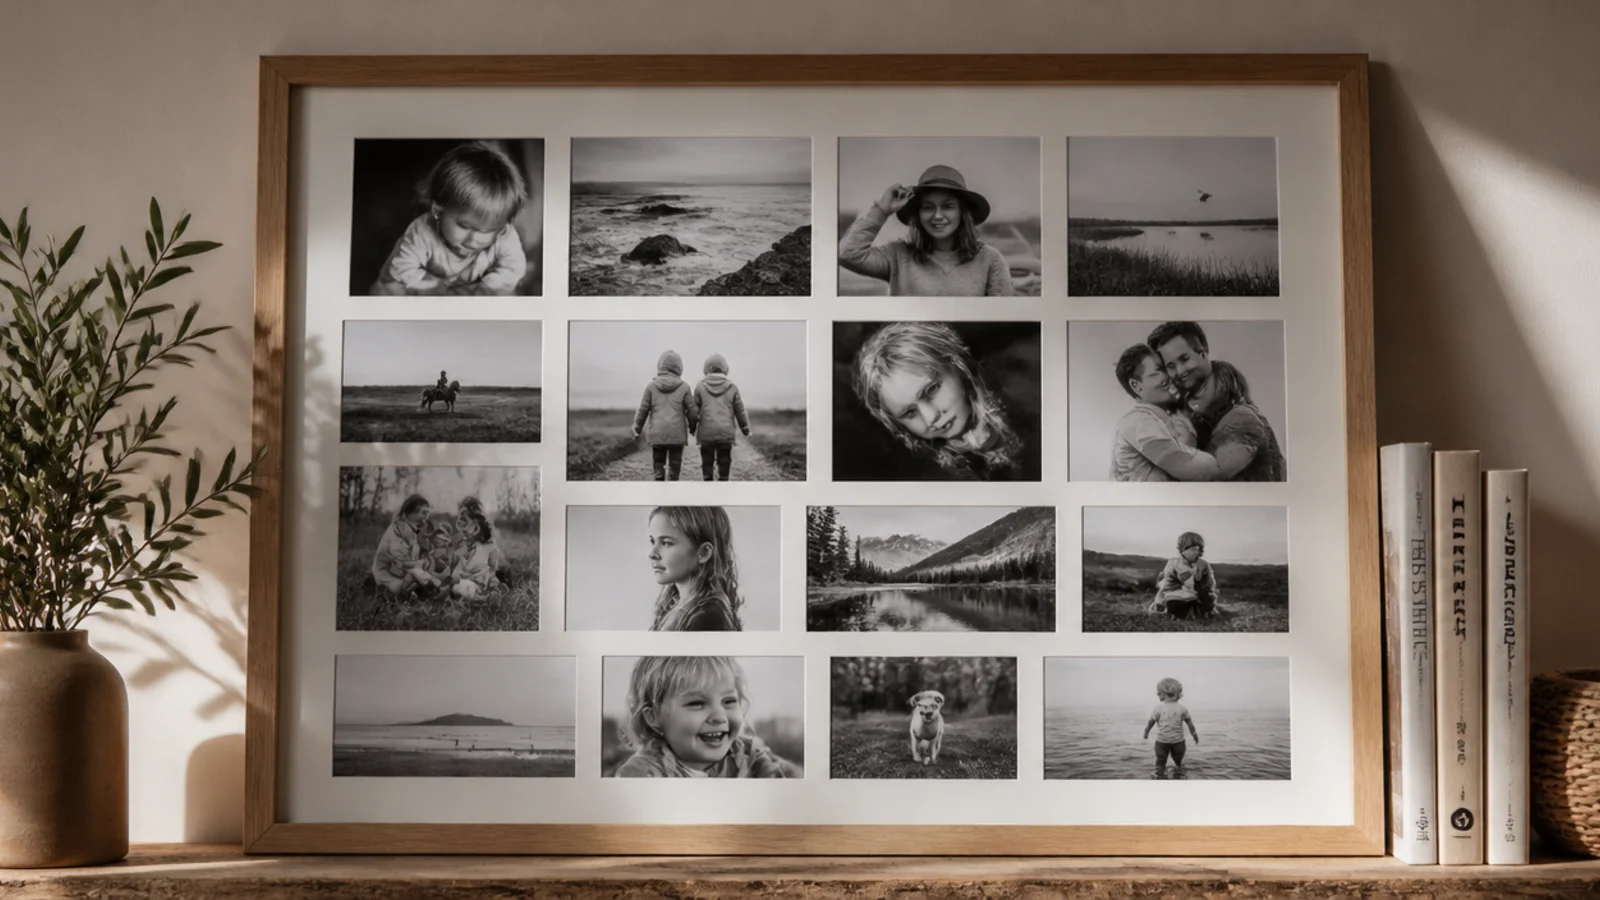
Filling a big collage with all black-and-white photos unifies any mix of frames through the images. It suits family walls spanning decades. Monochrome erases era and color clashes across a large arrangement.
Convert all photos to black-and-white and print at consistent sizes on the same matte stock. Insert them into your mixed frames. Template the collage in your chosen shape with even gaps, then hang from the center out, leveling each. The unified image tone ties even a huge, varied collage together seamlessly.
Editor's notePrint every photo on the same matte paper so tones and reflections match across the whole wall for a true gallery feel.
Skip thisDon’t leave one color photo in the mix; a single color image breaks the monochrome unity and grabs all the attention.
8. Matching-Mat Collage
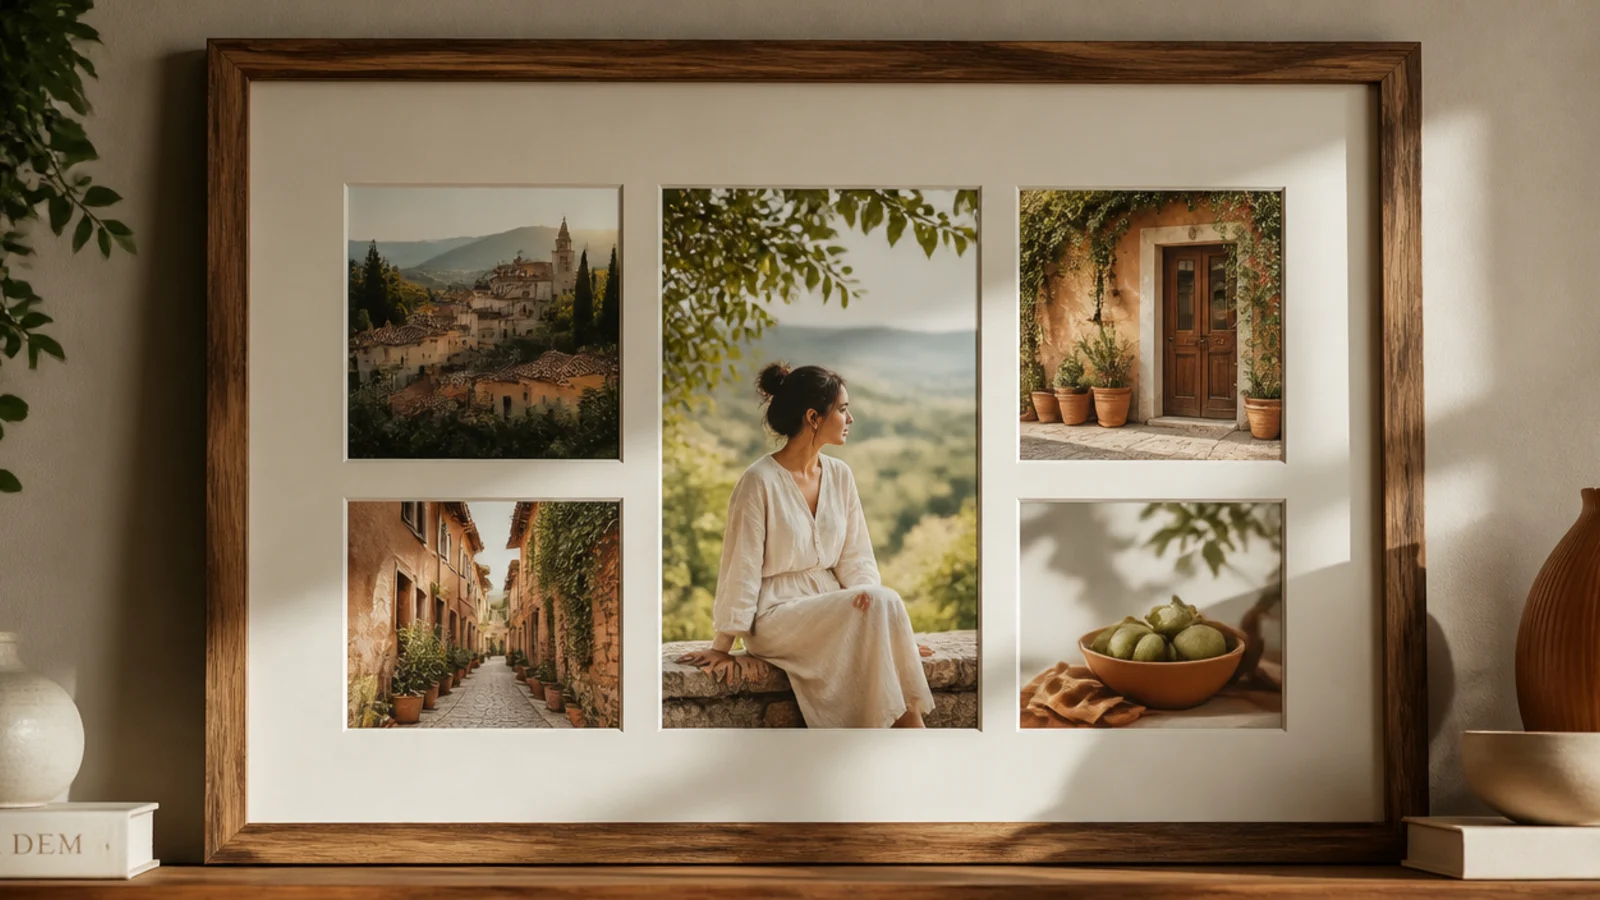
Using the same wide mat inside every frame unifies a mismatched collection across a big wall. It suits thrifted, inherited frames. The consistent mat becomes the visual thread that composes the whole collage.
Gather mixed frames and cut or buy matching mats in one color, sized so each photo sits centered with a wide even border. Insert the same mat in every frame regardless of the frame style. Template the collage shape with even gaps and hang. The repeated generous mat does the unifying work across the whole arrangement.
Editor's noteKeep the mat border wide and identical in every frame; a generous matching mat reads gallery-grade and hides size differences.
Skip thisDon’t coordinate mat colors to each frame; one mat color throughout is what makes a mixed collage look deliberate.
9. Themed Story Collage
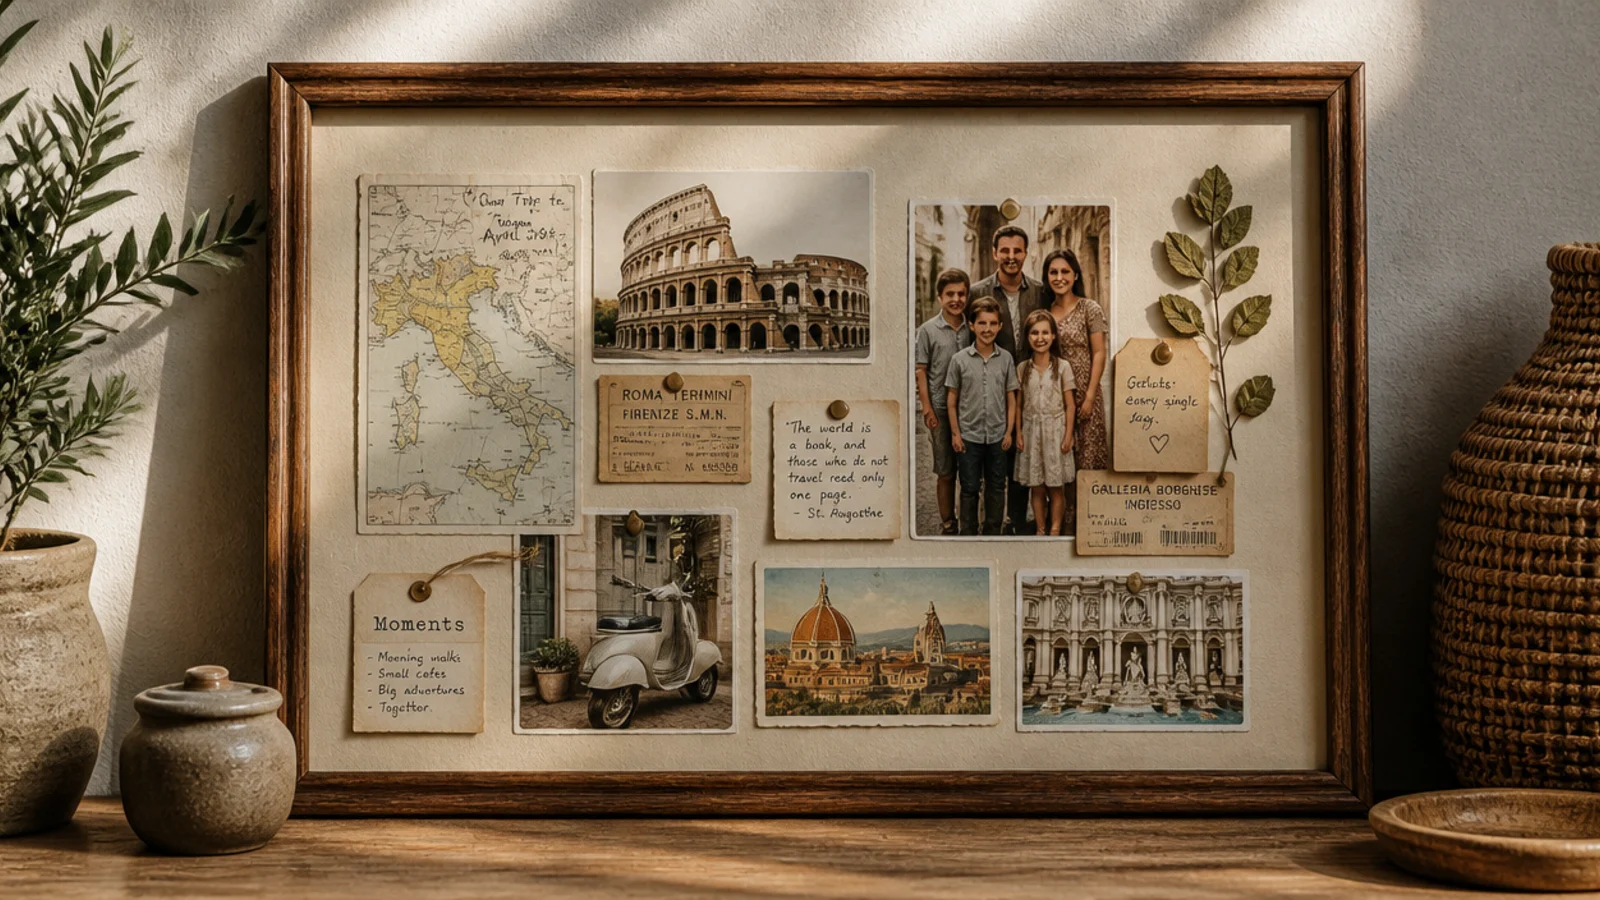
A collage themed around one story — travels, a family history — mixes photos with small framed mementos. It suits a personal feature wall. The mementos add texture and a clear narrative to a big arrangement.
Gather photos plus flat mementos — maps, tickets, letters — and frame the mementos in small matching frames. Template the collage mixing photos and memento frames evenly across your shape, keeping photos the majority. Unify with one frame finish and even gaps. Hang from a central anchor out, leveling as you go.
Keep mementos the minority — one for every few photos — so the wall reads as a photo collage with texture, not a scrapbook.
Don’t let mementos outnumber the photos; too many tickets and maps and the collage looks like a bulletin board.
10. Organic Cloud Collage
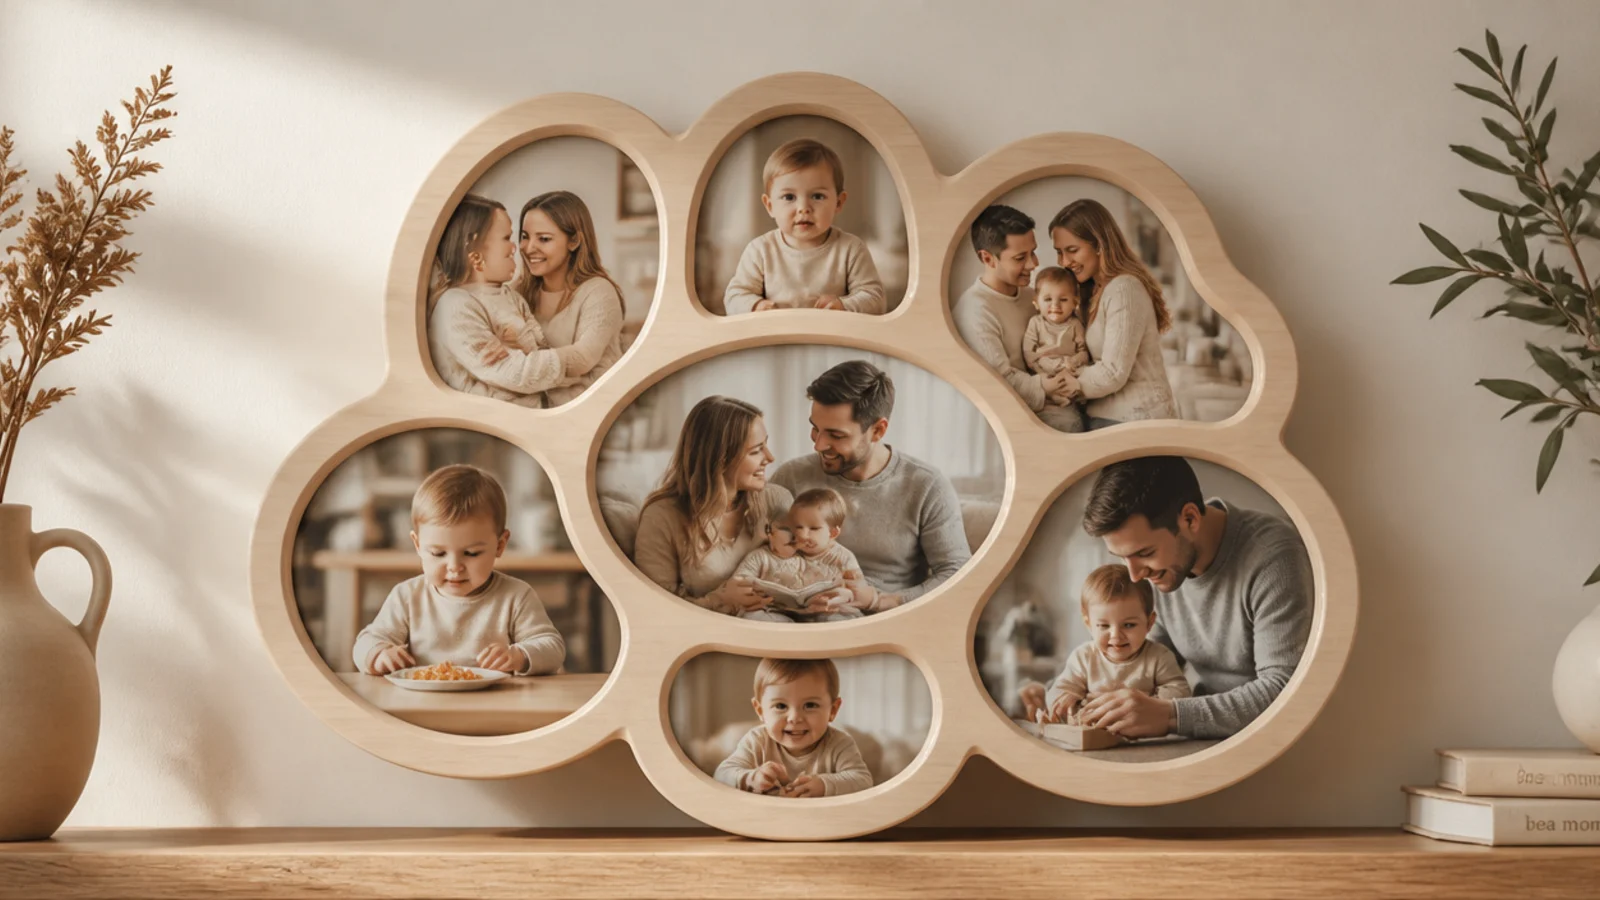
A loose cloud-shaped collage with soft, rounded outer edges feels relaxed and modern on a big wall. It suits casual, contemporary rooms. The organic boundary is more forgiving than a strict rectangle while still reading as composed.
Sketch a soft oval or cloud boundary for the collage to fill. Template mixed frames within it, letting the outer edge curve gently rather than align to straight lines, but keeping gaps consistent. Balance visual weight across the cloud. Mark hooks and hang from the center out, checking the overall shape stays balanced and rounded.
Squint at your paper layout on the wall to check the cloud’s outline is balanced and roughly symmetrical before hanging.
Don’t let the cloud sprout one long straggling arm; keep the organic shape balanced or it looks accidental, not designed.
11. DIY Matching-Frame Set Collage
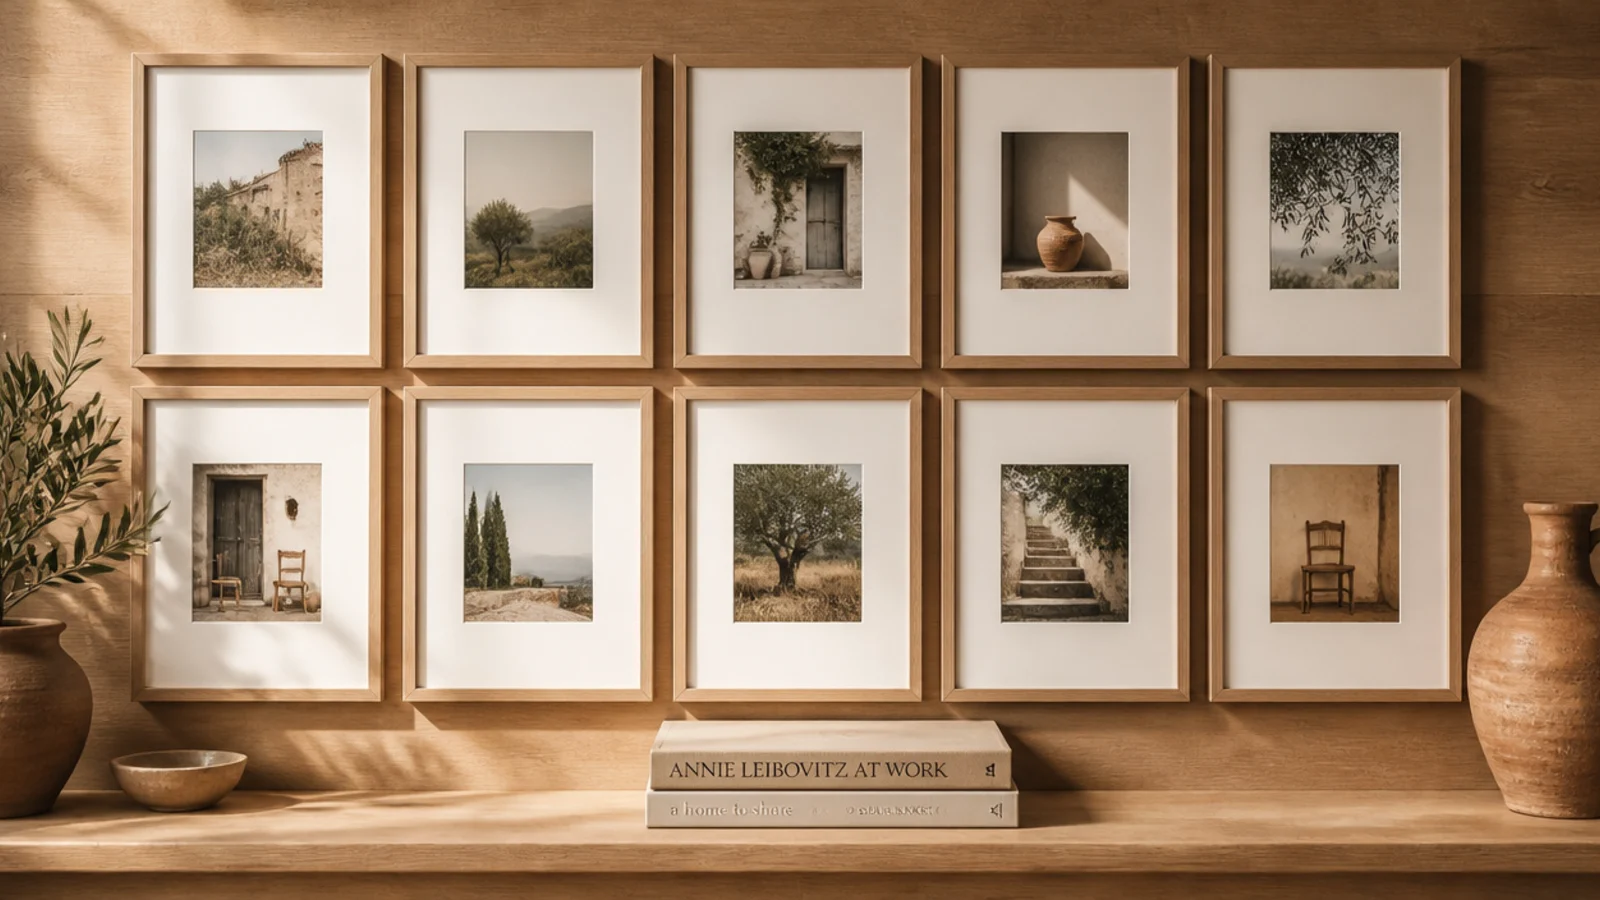
Building a set of identical simple frames gives you a coordinated big collage for the cost of lumber. It suits budget feature walls. Same-size handmade frames in one finish read as a designed collection at scale.
Batch-build many identical wood frames — cut all pieces, glue all, finish all the same. Print photos to fit. Template a grid or balanced cluster to fill the wall with even gaps. Mark hooks and hang, leveling each. Because every frame matches, the collage looks intentional even across a large expanse.
Editor's noteBatch each step assembly-line style so all the frames come out truly identical — matching frames are what make the collage read as one set.
Skip thisDon’t finish the frames one at a time with slight variations; finish differences show badly across a big matched collage.
12. Multi-Ledge Collage
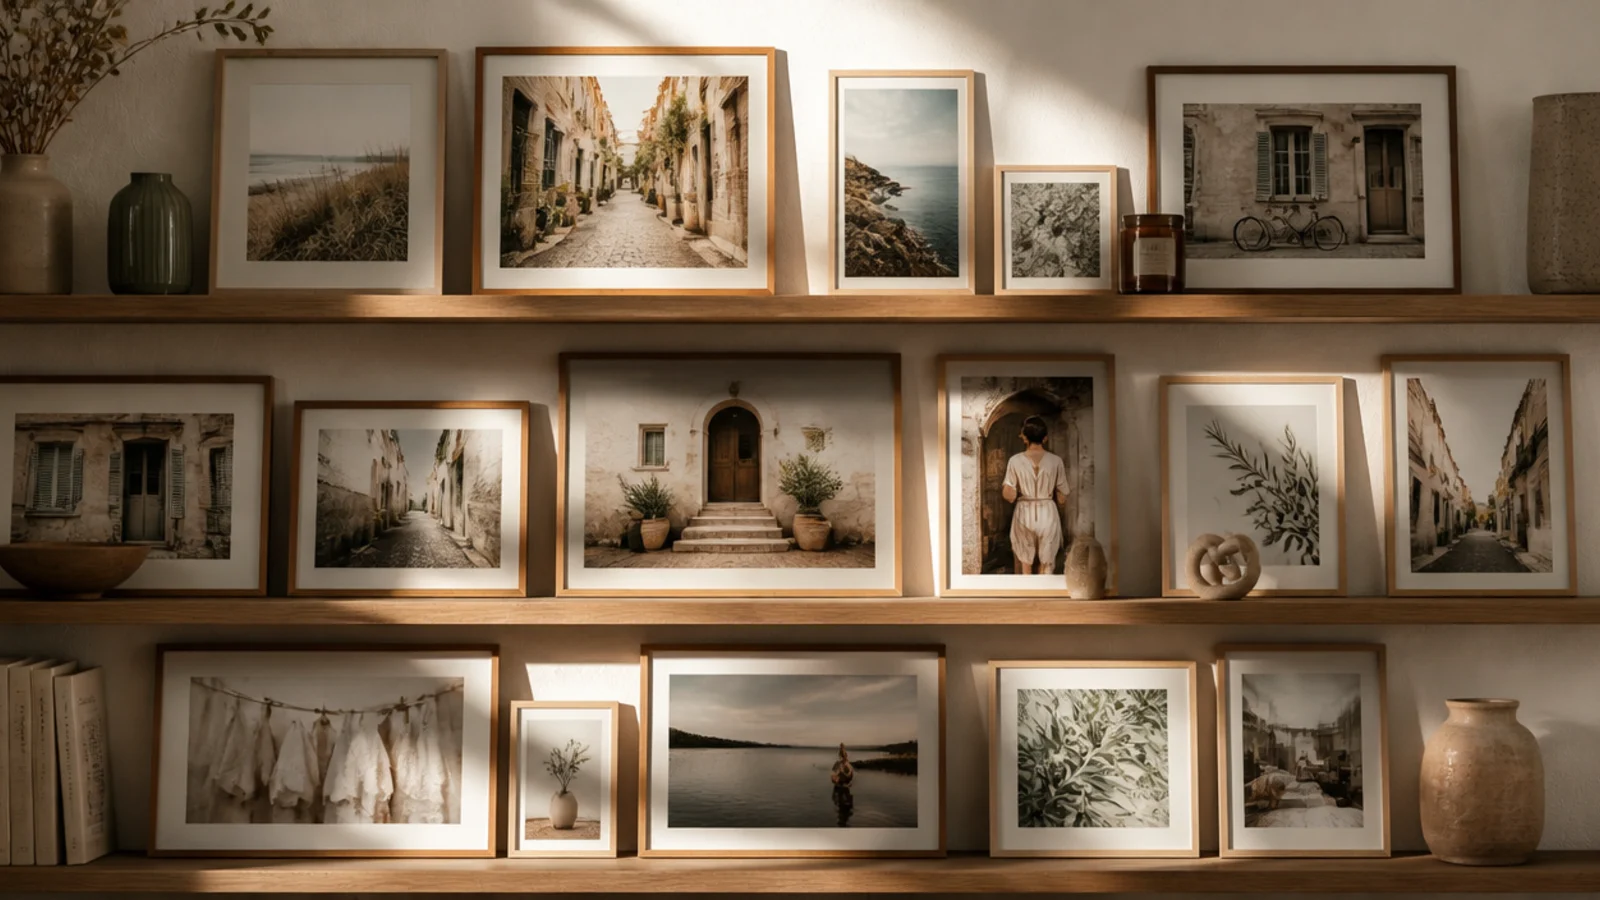
Stacking several picture ledges lets you fill a big wall with leaning frames and restyle anytime, few holes. It suits renters and changing displays. Rows of leaning frames read as an easy, layered collage.
Mount several ledges in evenly spaced horizontal rows across the wall, anchoring into studs, and check each is level. Lean and overlap framed photos along each ledge, staggering heights and sizes. Add a dab of putty behind each frame so nothing slides. Restyle whenever you like without new holes. Keep the ledge spacing consistent.
Space the ledges evenly and overlap frames on each so the rows read as one collage rather than separate shelves.
Don’t overload the ledges past their rated weight; a sagging or pulled-out ledge takes a whole row down.
13. Corner-Wrap Collage
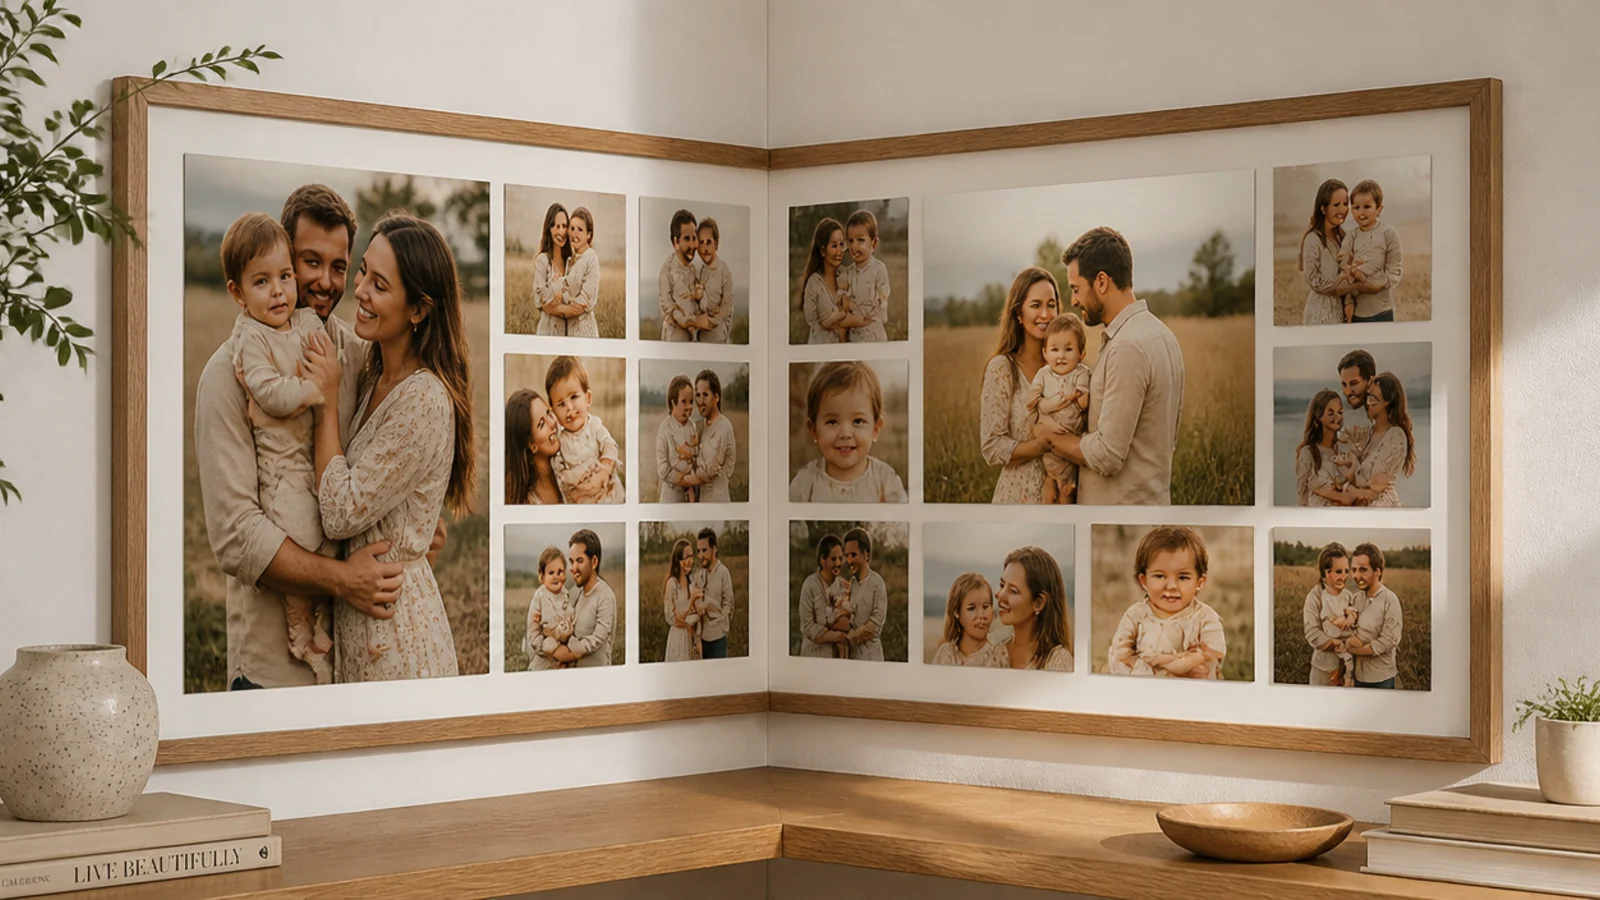
A collage wrapping around a corner onto the next wall makes a big space feel expansive and intentional. It suits open-plan corners and large rooms. Continuing the gap and shape around the corner treats two walls as one collage.
Plan both walls together, keeping the gap between frames identical as the collage turns the corner. Template both walls at once so the transition flows and shares an anchor height. Hang the corner-adjacent frames first to nail the transition, then fill outward on each wall, leveling and keeping gaps consistent throughout.
Editor's noteKeep the two frames nearest the corner at the same height and equal distance from the edge so the wrap looks seamless.
Skip thisDon’t crowd frames right into the corner; leave a little breathing room from the edge so neither wall looks cramped.
14. Mixed-Media Collage
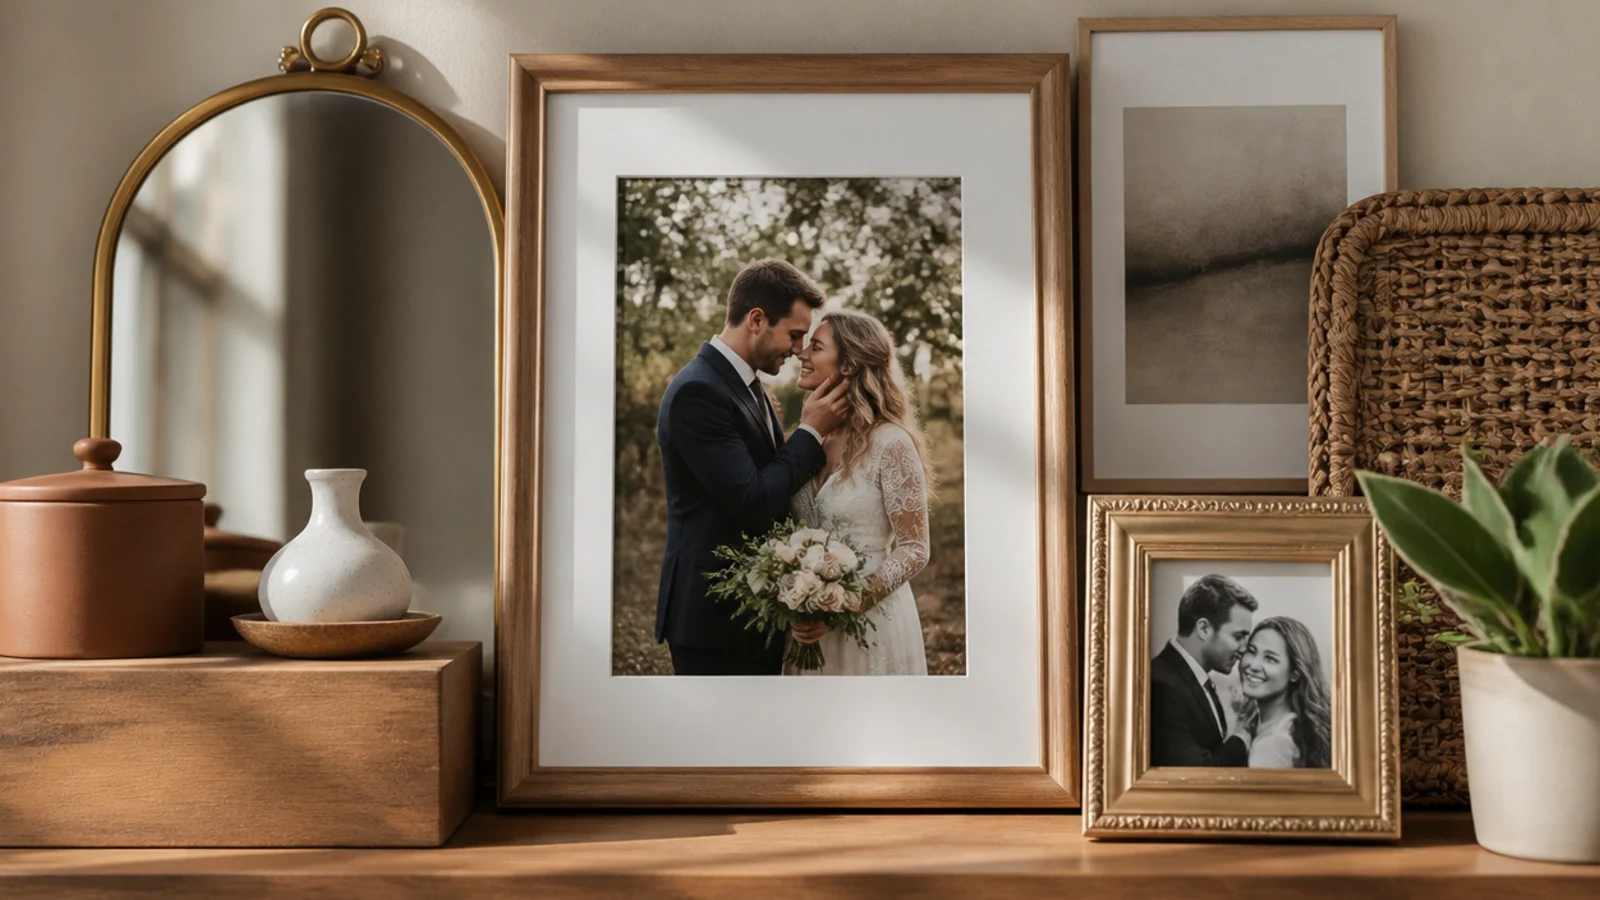
Blending framed photos with a mirror, small art, or a woven piece adds texture a photo-only wall lacks. It suits eclectic, layered rooms. The non-photo elements break up the grid and add depth across a big wall.
Gather photos plus a few non-photo pieces — a small mirror, a woven wall hanging, a piece of art. Template them into the collage, treating each as one element and keeping photos the majority. Unify with a shared frame finish or palette and even gaps. Mark hooks, hang the heaviest pieces into studs first, then fill in the photos.
Editor's noteTreat each non-photo piece as one 'frame' in your spacing math so gaps stay consistent around mirrors and art too.
Skip thisDon’t add so many non-photo pieces that the photos get lost; keep them accents, with photos leading the collage.
15. Oversized-Anchor Collage
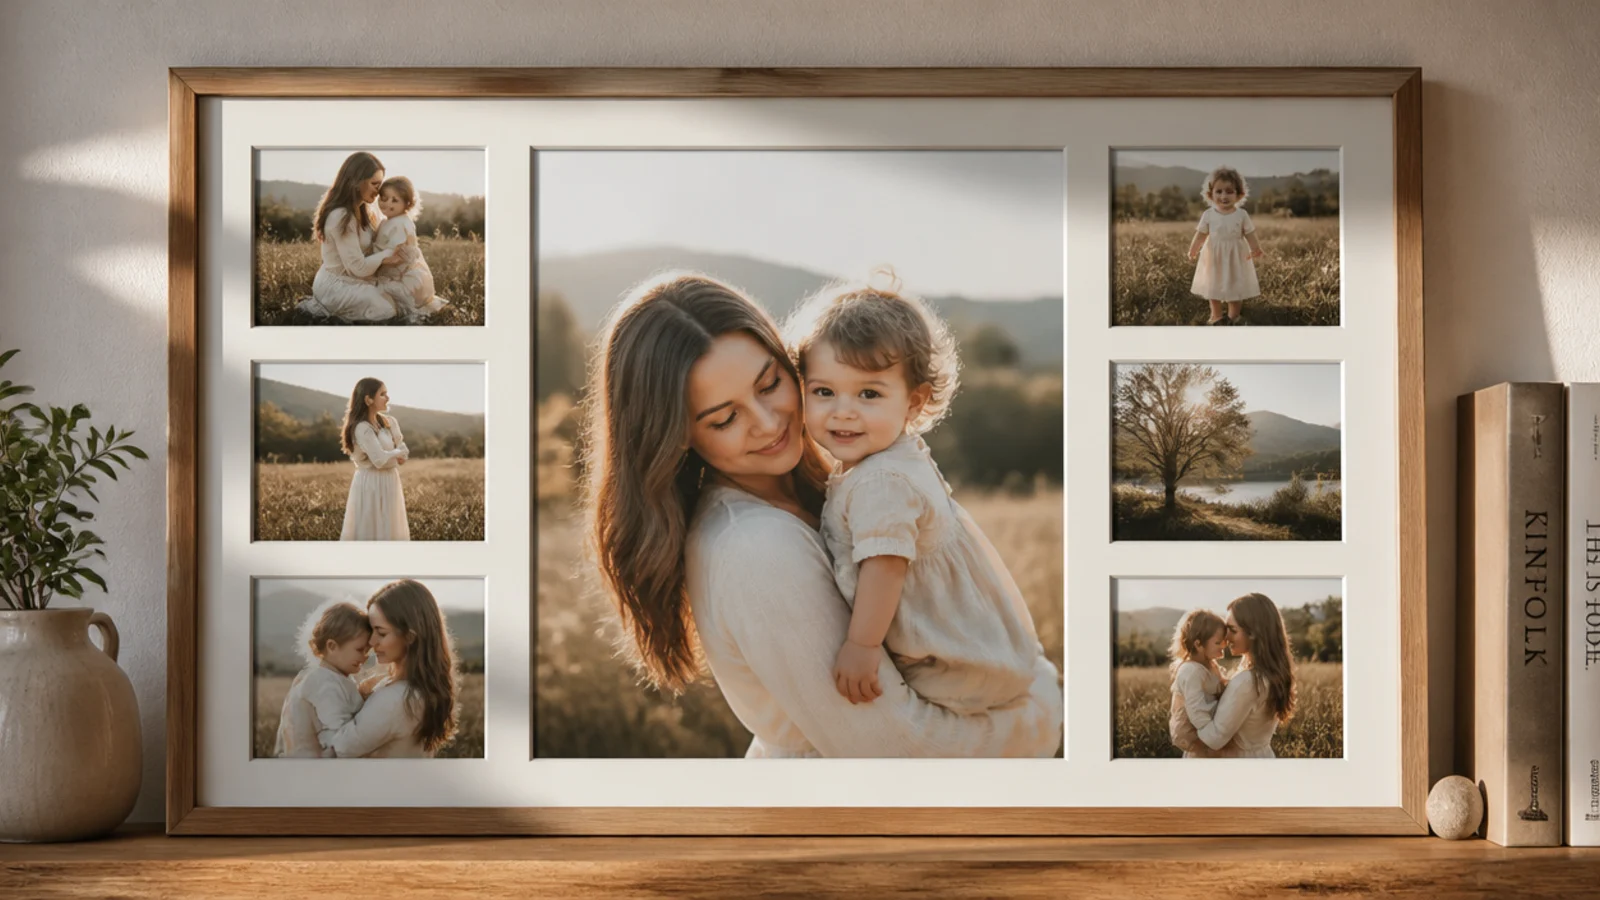
Building a collage around one oversized central frame gives a big wall an instant focal point. It suits large walls that need a clear center. The dominant anchor organizes all the smaller frames around it.
Choose or print one very large frame as the anchor and place it slightly off-center on the wall. Template smaller frames radiating around it, balancing visual weight and keeping gaps consistent. The big frame carries the composition. Mark hooks, hang the anchor into studs first, then build the smaller frames outward around it, leveling each.
Let the oversized anchor do the heavy lifting and keep the surrounding frames smaller so the focal point stays clear.
Don’t surround the anchor with frames nearly as large; competing big frames muddy the focal point and unbalance the wall.