
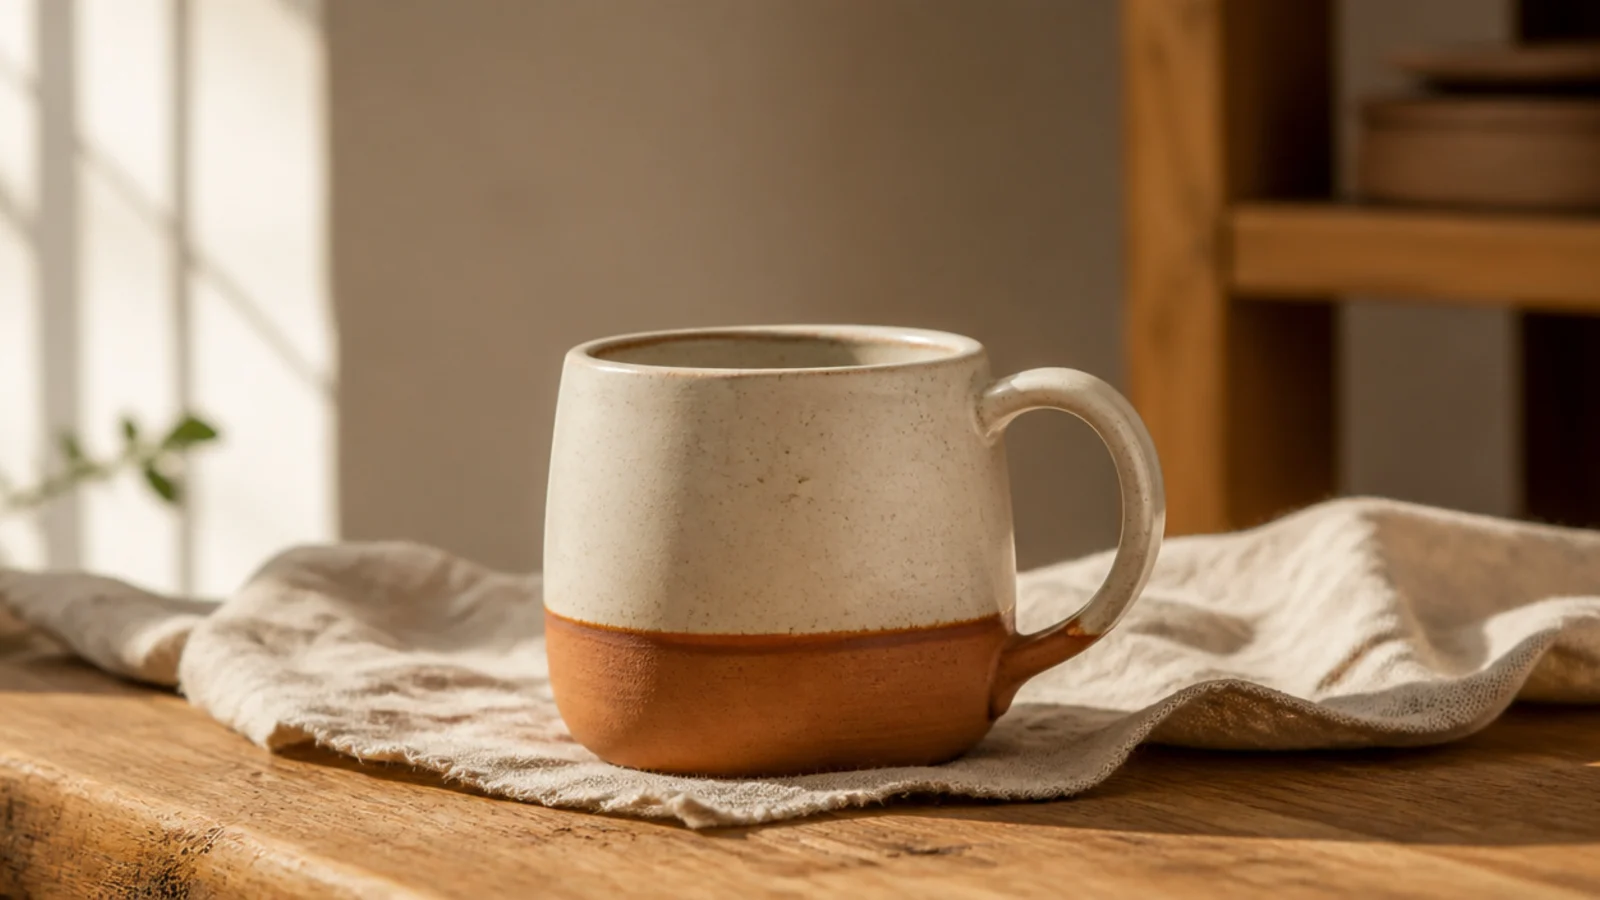
1. I Let the Walls Go Uneven
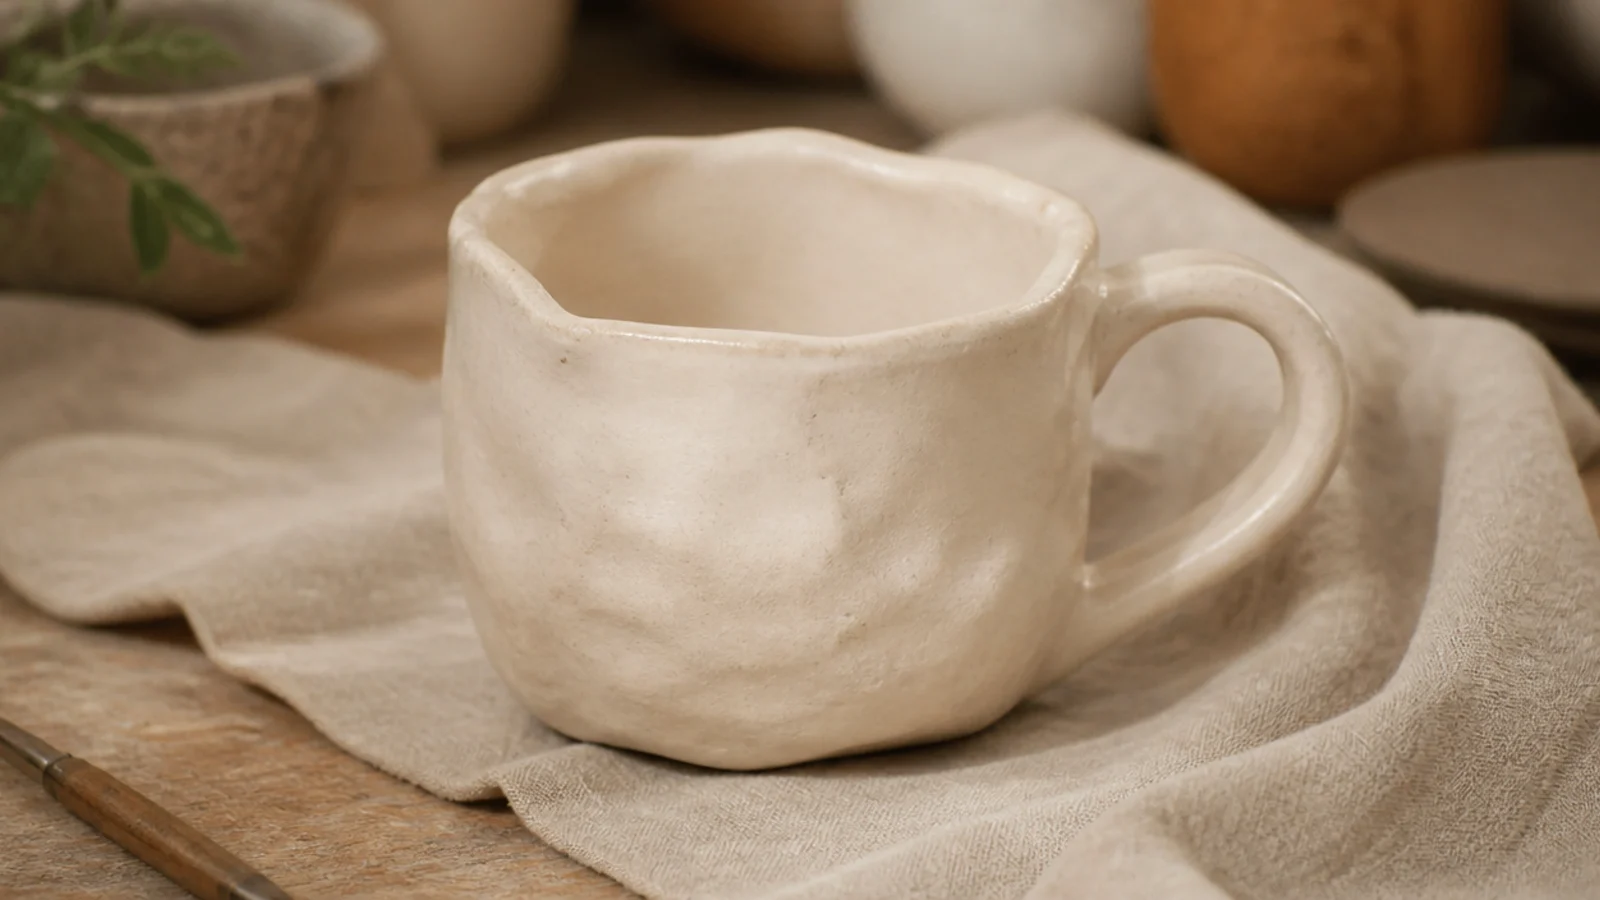
My very first mug had a rim you could almost see through and a base like a hockey puck, and it cracked before it ever reached the kiln. Uneven walls are the beginner mistake underneath most others: thick and thin areas dry and shrink at different speeds, so the clay tears at the seam between them. It also just feels bad in the hand — clunky at the bottom, fragile at the top. Getting to one even thickness is the single skill that separates a mug that survives from one that doesn’t.
Aim for an even 1/4-inch wall, about the thickness of a pencil, all the way from base to rim. As you pinch or pull, rotate constantly and check thickness by feel with a thumb inside and a finger outside at the same spot, or push a pin through and mark it to measure. If you find a thick zone, work it down before moving on rather than at the end. Keep the base the same 1/4 inch as the walls, not thicker, and smooth the whole surface with a rib so there are no ridges to crack along. Only once the thickness is even should you set it aside to firm up.
Cheap plastic calipers cost a couple of dollars and take the guesswork out — check the rim, mid-wall, and base until a quarter inch becomes muscle memory.
Don’t leave a thick heavy base while thinning the walls; that mismatch is the classic crack line and makes the mug feel bottom-heavy.
2. I Rushed the Handle On Too Soon
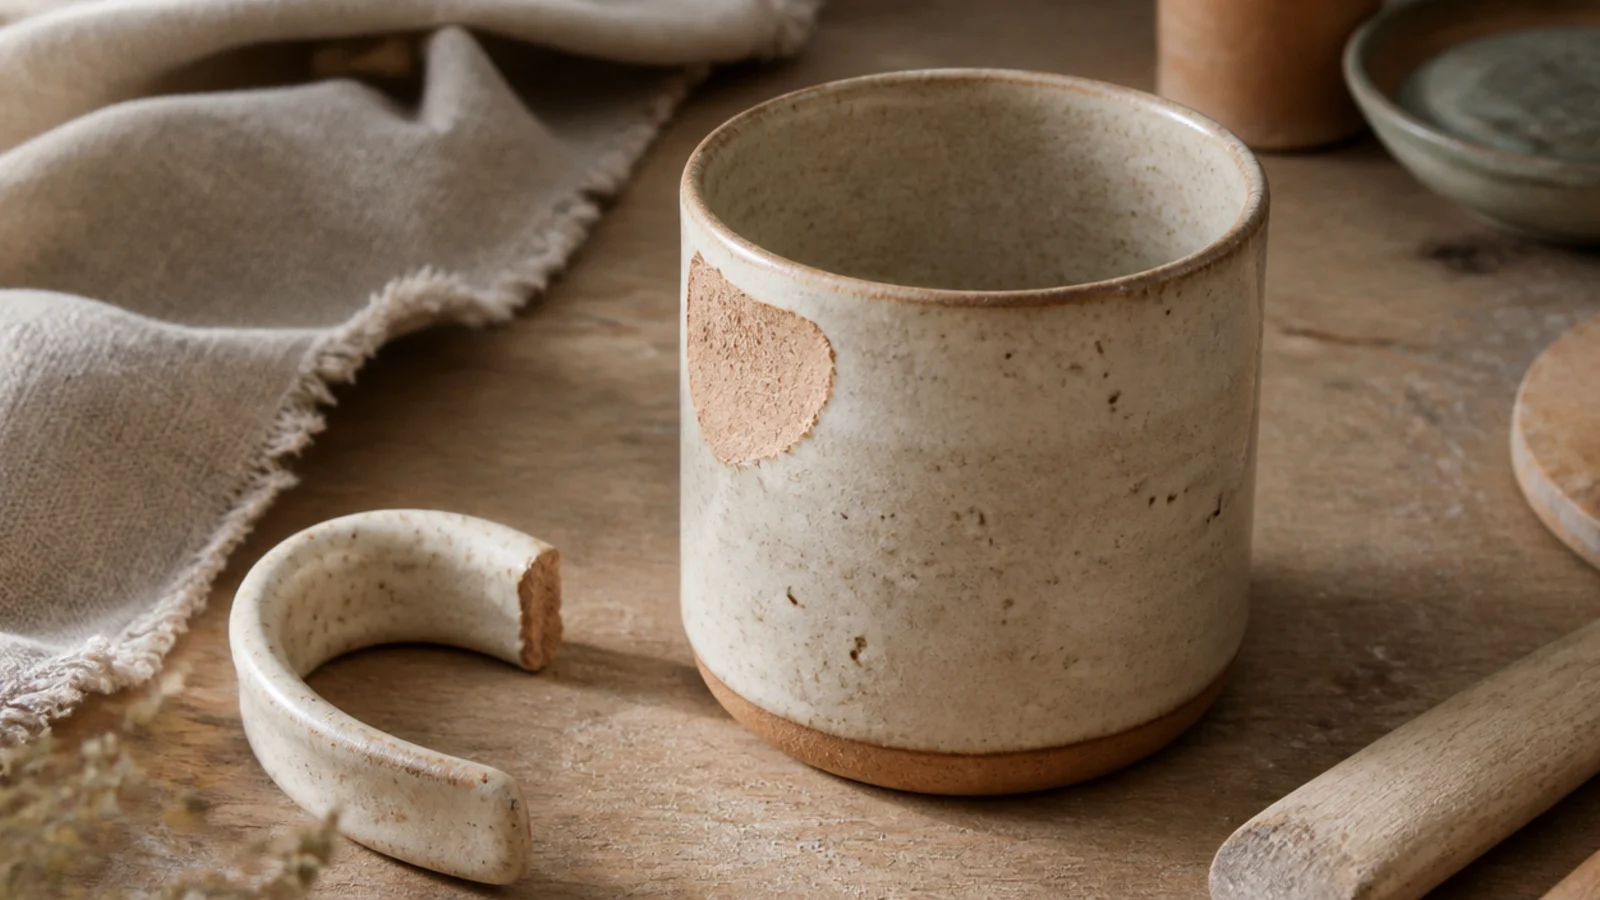
I pressed a fresh, floppy handle onto a wet mug body, felt smug for about a week, and then watched it pop clean off with a clatter. Handles fail when the clay is the wrong wetness or the join isn’t scored — too soft and it slumps and won’t hold, too dry and it shrinks away from the body and separates. Because the handle and body need to shrink together, timing the attachment is everything. This was the fail that taught me leather-hard is a specific stage, not a vague suggestion.
Wait until both the mug body and the handle are leather-hard — firm and holding shape, but still cool and slightly damp, like a hard cheese. Score deep crosshatches into both surfaces where they’ll meet with a needle tool, brush on slip, then press the handle firmly into place. Smooth a small collar of soft clay around the top and bottom joins and blend it in so there’s no hard seam. A pulled handle blended this way is far stronger than a coil just stuck on. Then dry the whole mug slowly under loose plastic so the handle and body lose water at the same rate.
Attach the handle to the body first at the top join, let it set a few minutes, then position the bottom — it stops the handle from sagging out of shape while you work.
Don’t attach a handle without scoring both sides; a smooth-to-smooth join looks fine going on and separates every time as it dries.
3. I Skipped Compressing the Base
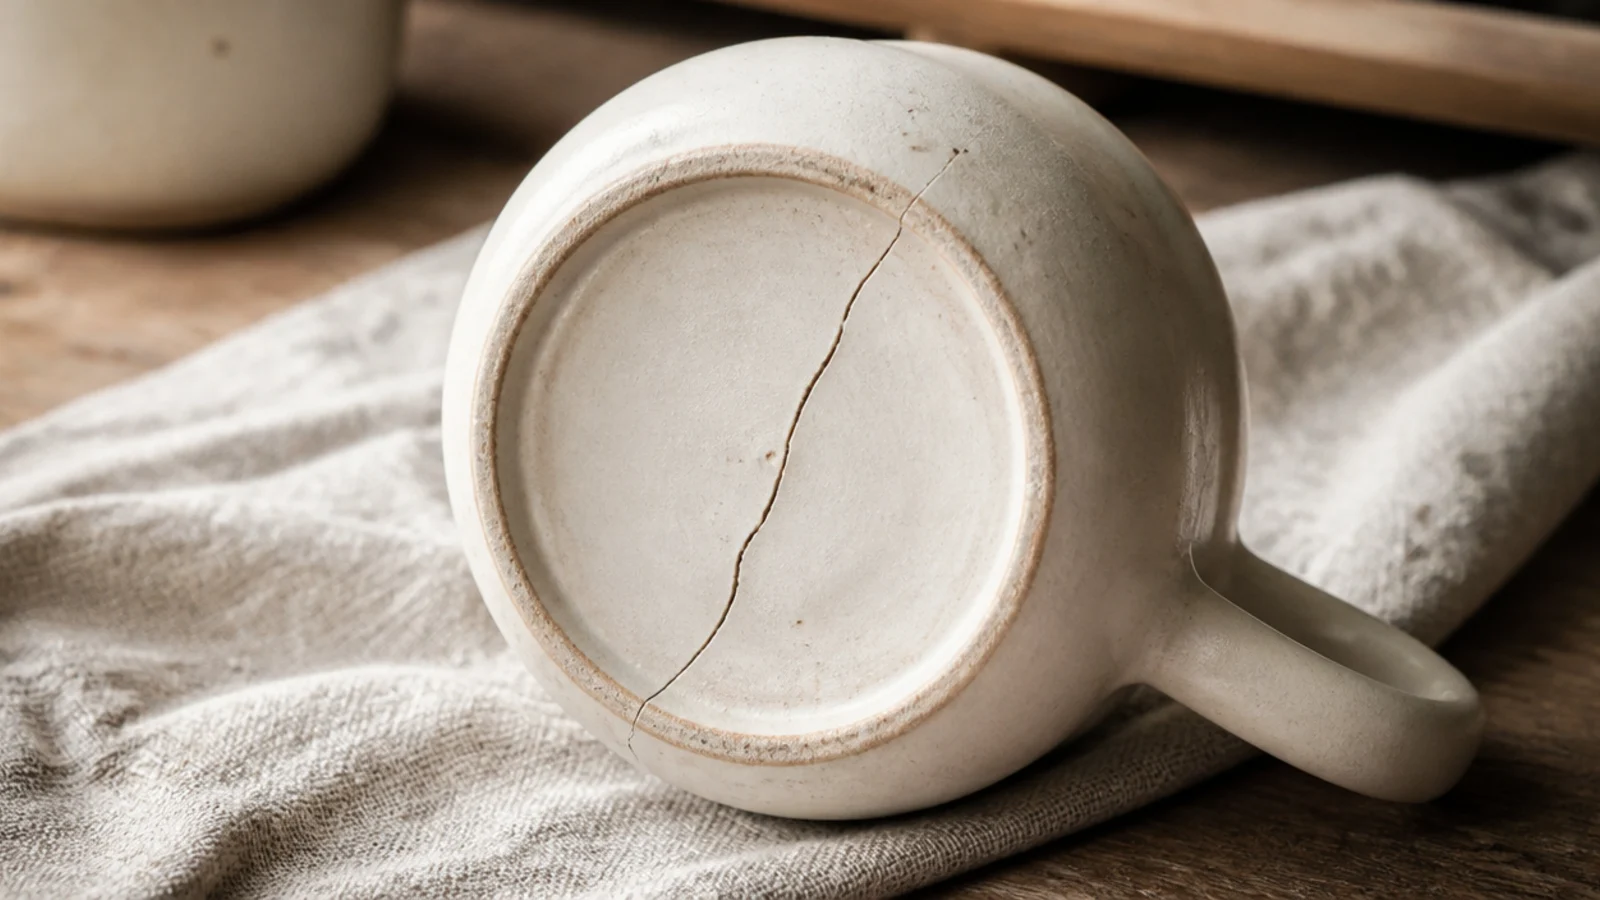
One of my early mugs came out of the kiln perfect on top with a clean S-shaped crack straight across the bottom, and I had no idea why. That’s an S-crack, and it happens when the base isn’t compressed — the clay particles aren’t aligned, so the base shrinks unevenly and splits. It’s maddening because the mug looks fine until you flip it over. The fix takes ten extra seconds and I now do it on every single piece.
While the base is still soft and workable, press and smooth the inside bottom firmly with a rounded rib or your fingertips, working from the center outward in overlapping strokes to align and compress the clay. On a wheel-thrown mug, compress the base with a rib right after opening and again before you finish. Keep the base the same 1/4-inch thickness as the walls so it doesn’t stay wet and heavy. Then dry slowly, because a thick or over-wet base holds water longest and is the last part to shrink. Compression plus even thickness is what keeps the bottom whole.
Compress the inside base twice — once when you form it and once just before it firms up — for cheap insurance against S-cracks.
Don’t leave the base thick to feel 'sturdy'; a heavy base dries slower than the walls and is exactly what cracks across the bottom.
4. I Dried My Mug Too Fast
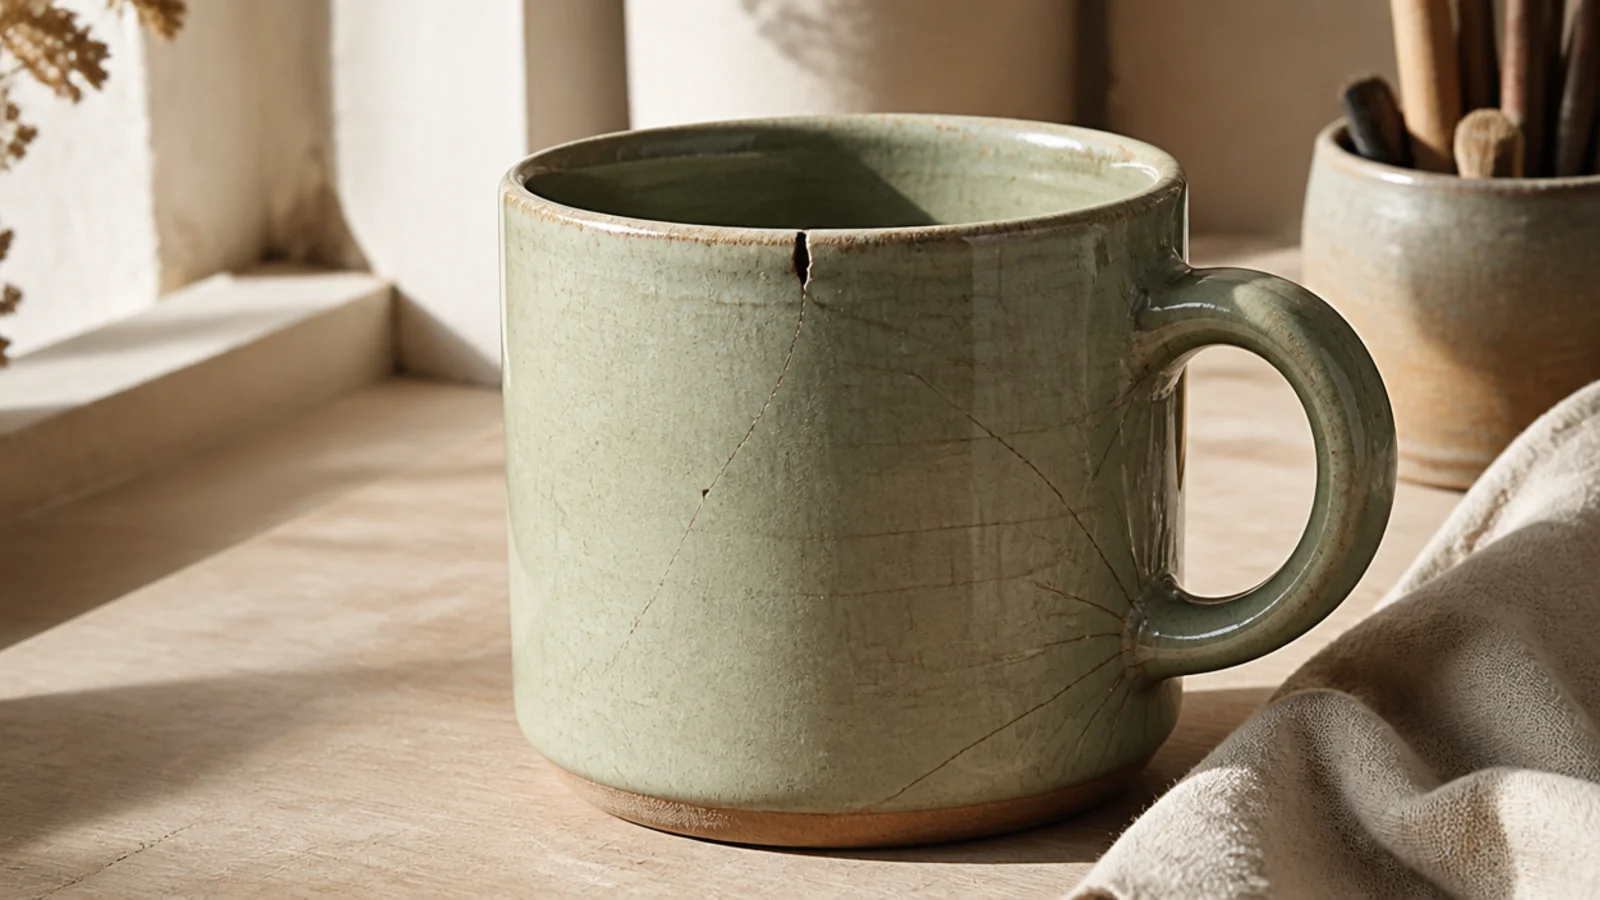
Dry the mug slowly and evenly by tenting it loosely with a plastic bag or sheet for the first three to five days, so moisture leaves the whole piece together rather than from the thin edges first. Keep it away from direct sun, heaters, and drafts — a shelf in the middle of a room is ideal. After the initial slow phase, uncover it and let it finish drying to bone-dry, which can take one to two weeks total depending on thickness. It’s only ready to bisque when it’s room temperature and no longer feels cool against your cheek. Rushing this step is a false economy every time.
Excited to finish, I set a wet mug on a sunny windowsill overnight and woke up to hairline cracks fanning out from both handle joins. Fast, uneven drying is a quiet mug-killer: thin parts like the rim and the edges of the handle dry and shrink first while the thick body is still wet, and the stress cracks them. Drafts, sunlight, and heat vents all speed this up unevenly. Slow, even drying is unglamorous but it’s the biggest single thing that improved my survival rate.
Skip thisDon’t dry a mug on a windowsill, near a vent, or in front of a fan; uneven fast drying cracks the rim and handle joins first.
Editor's noteLoosely wrap just the handle and rim with a strip of plastic if they’re drying ahead of the body — slowing the fast parts down evens everything out.
5. I Skipped Wedging and Trapped Air
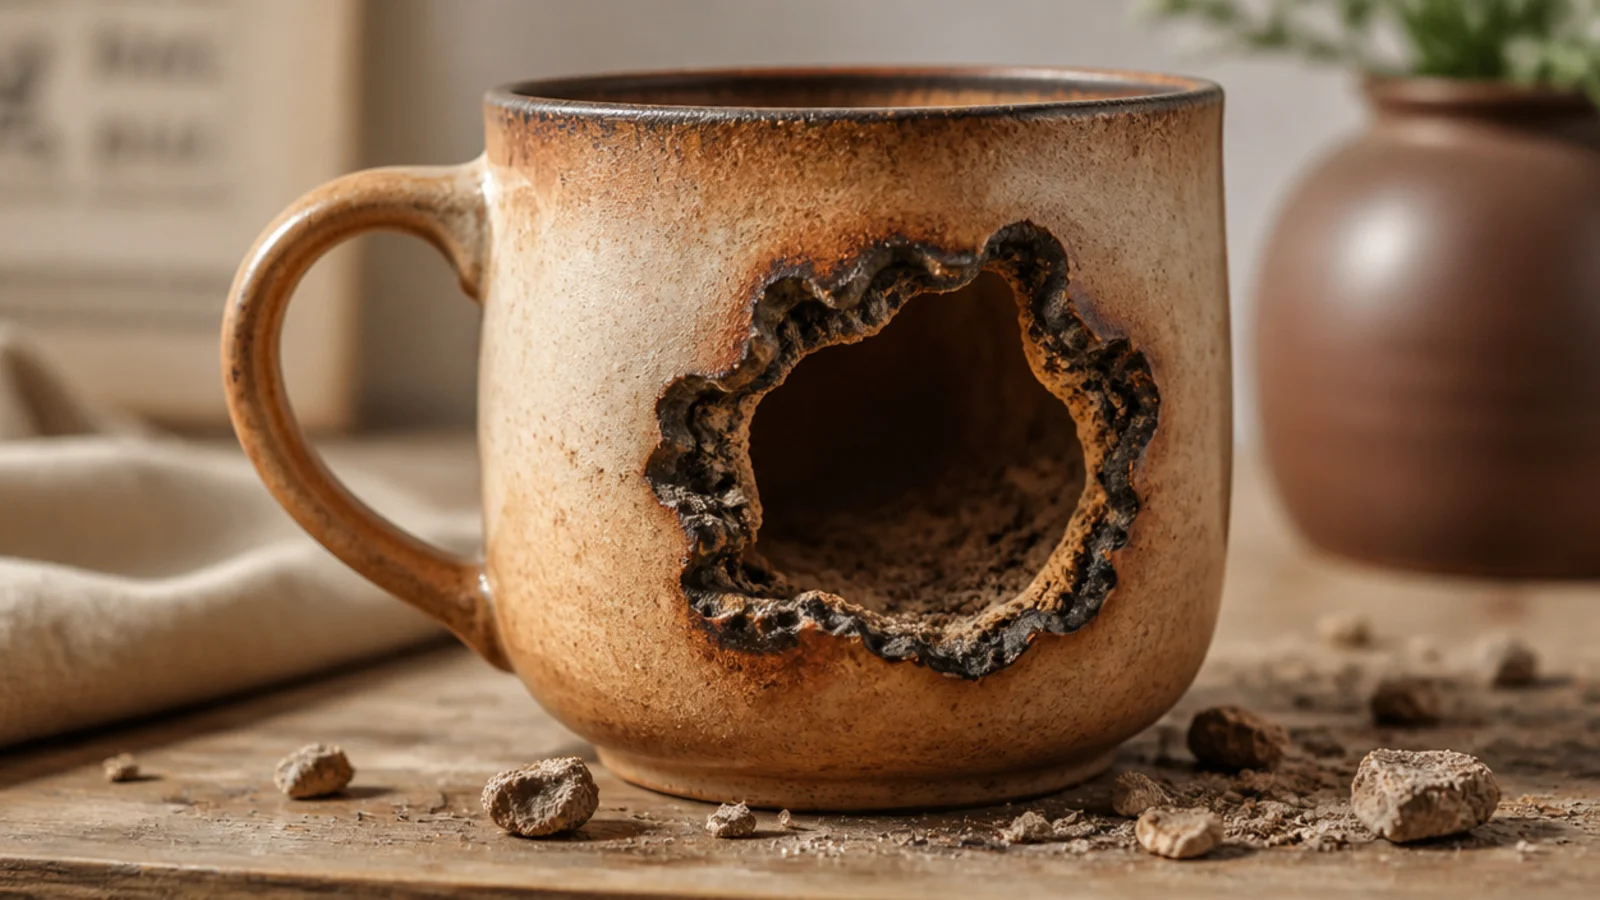
Wedge your clay thoroughly before building — use ram’s head or spiral wedging for a few dozen turns to press out air pockets and make the moisture uniform throughout. Build without trapping air in joins by scoring and slipping properly and pressing joins firmly so no bubbles hide inside. Before firing, make sure the mug is completely bone-dry, since trapped moisture flashes to steam just like air does. Ask for a slow ramp through the early kiln stages if you can, giving any remaining water time to escape gently. Wedged clay plus a dry, well-joined mug is what keeps it in one piece.
I once opened the kiln to find a mug with a chunk blown clean out of the side and shards across the shelf — a genuinely disheartening sight. That’s trapped air (or trapped water) turning to steam and bursting the wall as the kiln heats. Straight-from-the-bag clay and clay you’ve patched together both hide air pockets, and unwedged clay is the usual culprit. Wedging felt like a tedious extra step until this happened; now I never skip it.
Skip thisDon’t build straight from the bag without wedging; hidden air pockets expand in the kiln and blow holes in the wall.
Editor's noteIf you spot an air bubble while building, pierce it with a needle tool and smooth it closed rather than hoping it survives the firing.
6. I Glazed Too Thick and Coated the Foot
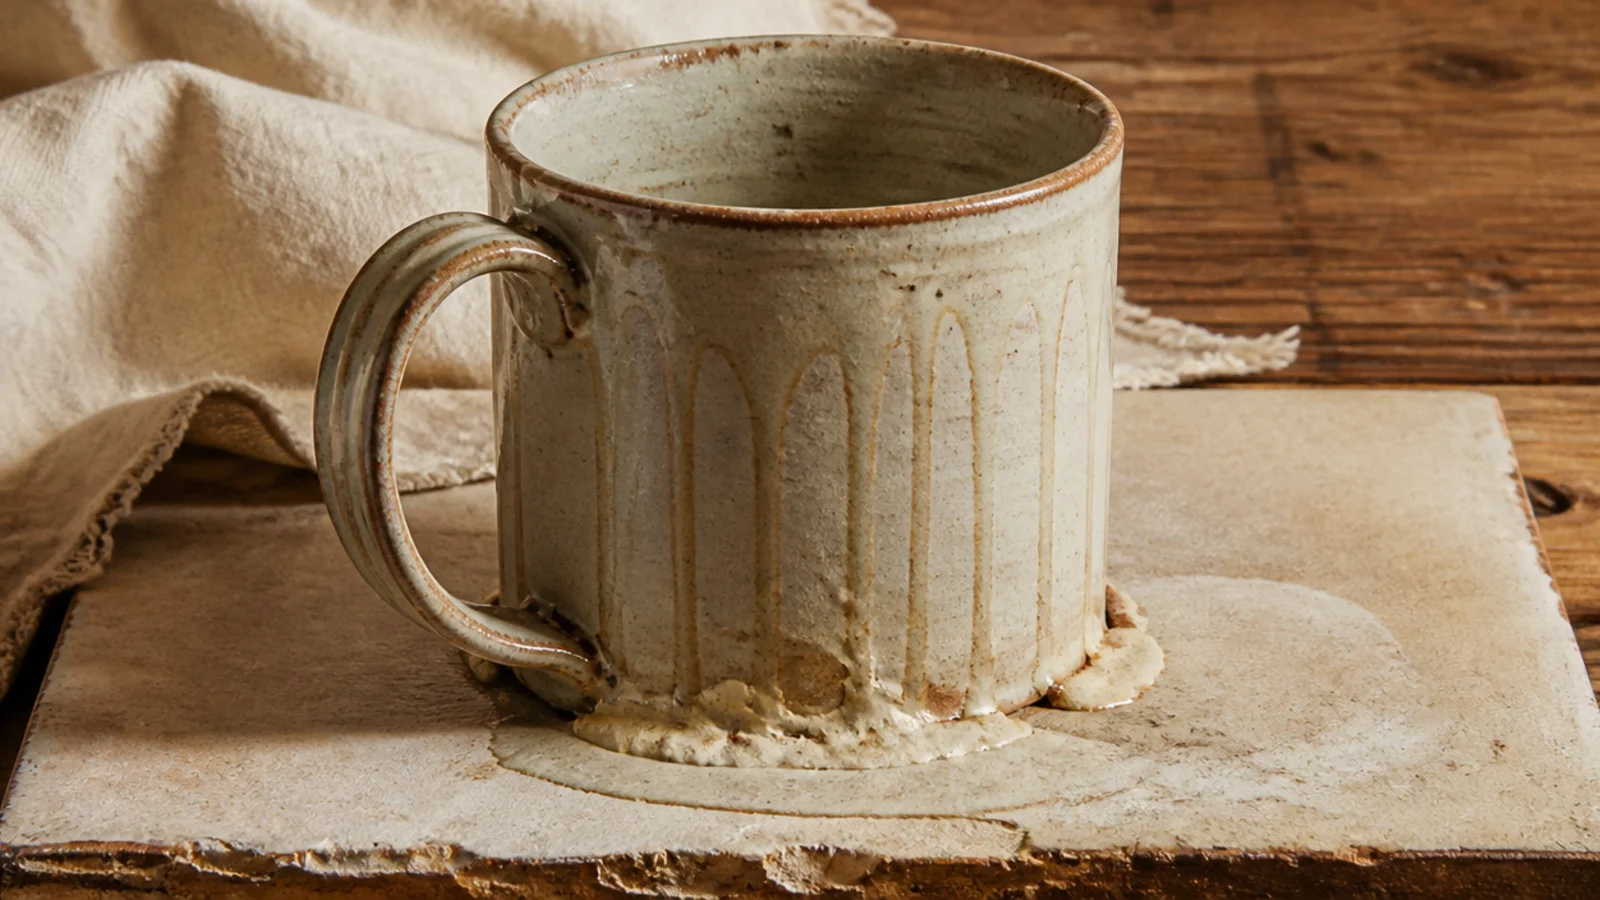
My proudest early mug came out permanently welded to the kiln shelf by a river of glaze, and prying it off tore the foot to pieces. Two mistakes were tangled together: I laid the glaze on far too thick, and I let it run all the way down onto the foot. Thick glaze runs and crawls; glaze on the foot glues the mug to the shelf. This one cost me a mug and nearly cost the studio a shelf, which is a memorable way to learn.
Apply glaze in an even, moderate coat — dip for a slow count of two to three, or brush two to three thin coats, rather than one heavy layer that will run. Always wipe the bottom foot and the last quarter inch above it completely clean with a damp sponge so no glaze touches the shelf. If you’re using a runny or reactive glaze, keep it in the upper two-thirds and leave extra bare clay near the base. Fire on a shelf protected with kiln wash or a cookie as a backup. A clean, dry foot and a controlled glaze thickness are what let the mug lift off the shelf whole.
Run your finger around the foot after wiping to double-check — a thin film you can barely see is still enough to stick the mug down.
Don’t leave any glaze on the bottom foot; even a smear fuses the mug to the kiln shelf and ruins both.
7. I Made the Rim Too Thin and Sharp
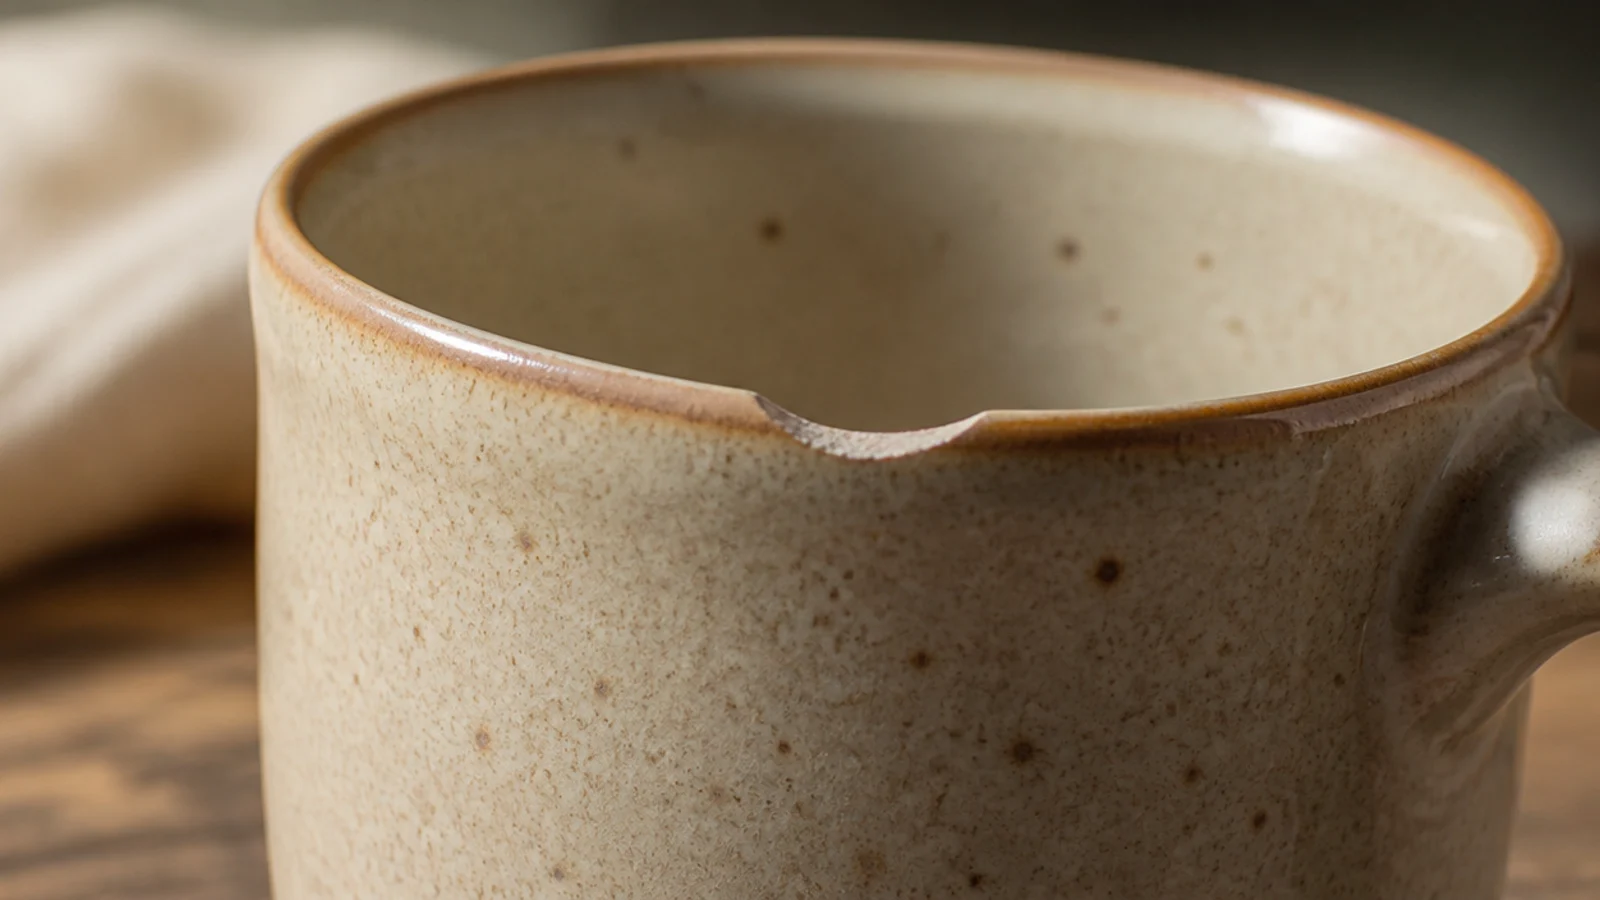
I chased a delicate, refined look and pulled my rim paper-thin — then it chipped in the dish rack and felt sharp and unpleasant against my lip. The rim is where your mouth actually meets the mug, so a thin, sharp edge fails on both durability and comfort. Thin rims also dry fastest and can crack away from the body. A slightly rounded, sensibly thick rim is one of those details that quietly separates a nice mug from an amateur one.
Keep the rim close to the same 1/4-inch thickness as the walls, or only slightly thinner, and round it rather than leaving a knife edge. After forming, compress the rim by running a soft chamois or a damp finger over it a few times, which aligns the clay and makes it far more chip-resistant. Smooth any raggedness with a lightly damp sponge until it feels comfortable to run a lip across. When glazing, don’t let glaze build up thick right at the lip, since a thick glaze bead there can feel odd and chip. A compressed, rounded rim is the goal.
Test the rim against your own lip before it dries — if it feels sharp to you now, it’ll feel worse fired and glazed.
Don’t leave a thin knife-edge rim for a 'delicate' look; it chips, cracks, and feels harsh to drink from.
8. I Assumed Air-Dry Clay Was Food-Safe
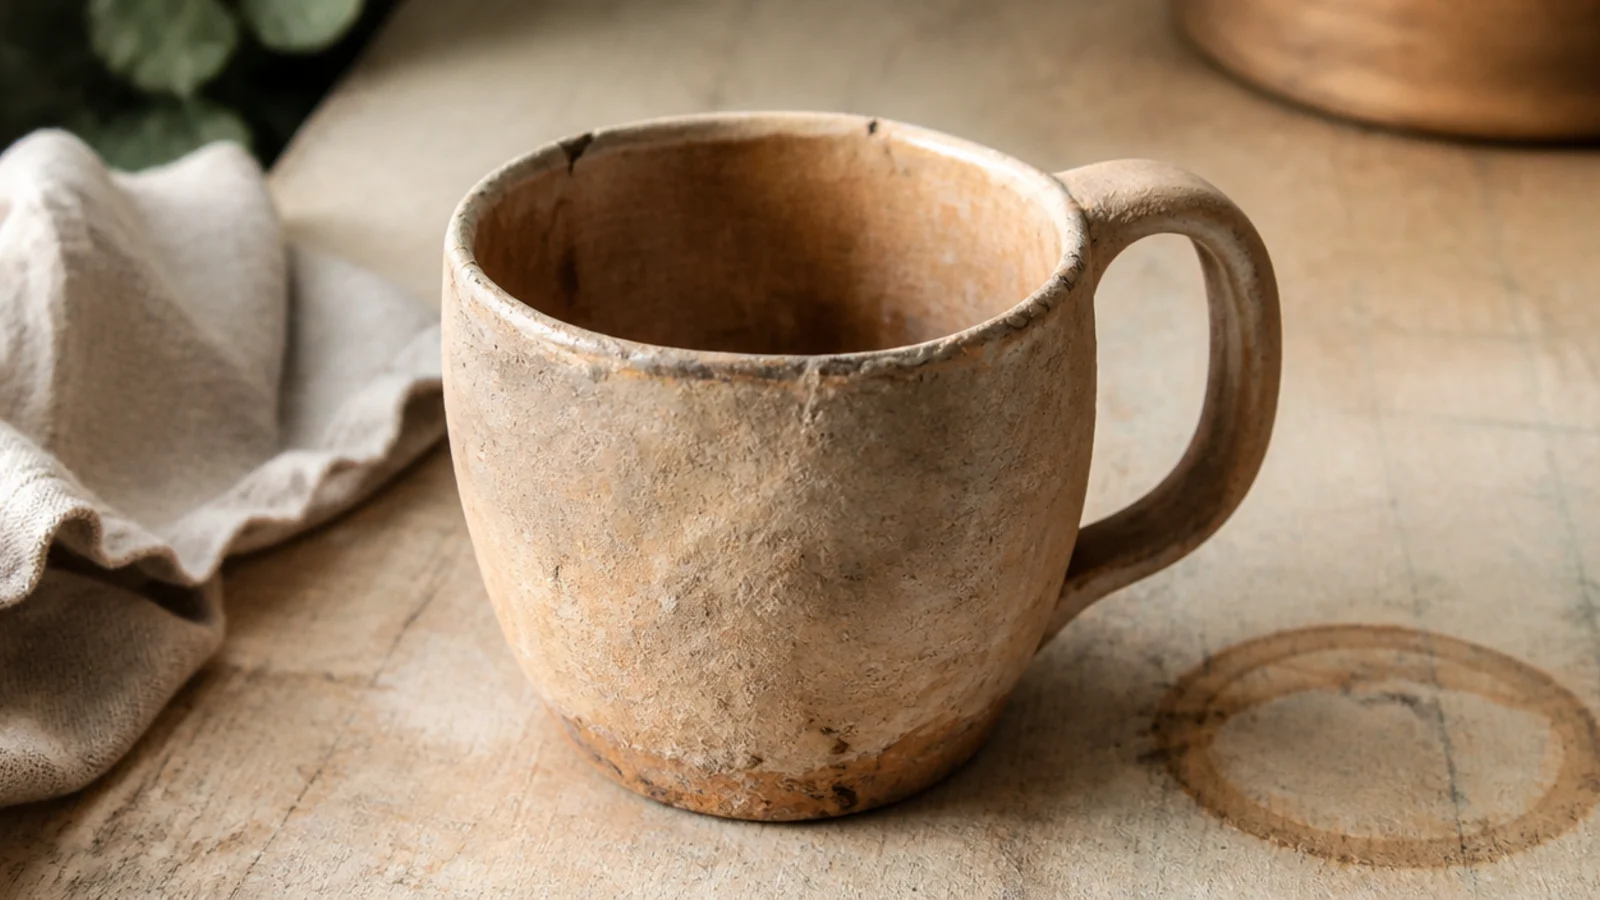
Use air-dry clay only for decorative mugs, pen holders, or dry-goods pieces, and set expectations accordingly. If you want to use one lightly, seal the interior with several coats of a certified food-safe sealer or a food-safe epoxy resin, let each coat fully cure, and hand-wash only, never microwave. For a mug you’ll actually drink coffee from every day, you need kiln-fired stoneware with a food-safe glaze fired to temperature — that’s the only genuinely durable, food-safe route. A great shortcut with no kiln is to decorate a pre-fired bisque blank and have a studio glaze-fire it. Match the material to how the mug will really be used.
My first 'real' mug was air-dry clay, and I proudly drank coffee from it until the inside went soft, the surface crumbled, and it left grit in my cup. Air-dry clay never truly hardens like fired ceramic — it isn’t waterproof or heat-stable, so hot liquid and washing slowly break it down, and it can leach into your drink. It’s a genuinely useful material, just not for daily drinkware. Believing 'clay is clay' was the assumption that cost me here.
Skip thisDon’t drink daily from unfired air-dry clay, even sealed; it isn’t heat-stable and breaks down with hot liquid and washing over time.
Editor's noteNo kiln access? Paint and decorate a plain bisque blank and pay a community studio a few dollars to glaze-fire it — all the safety, none of the equipment.