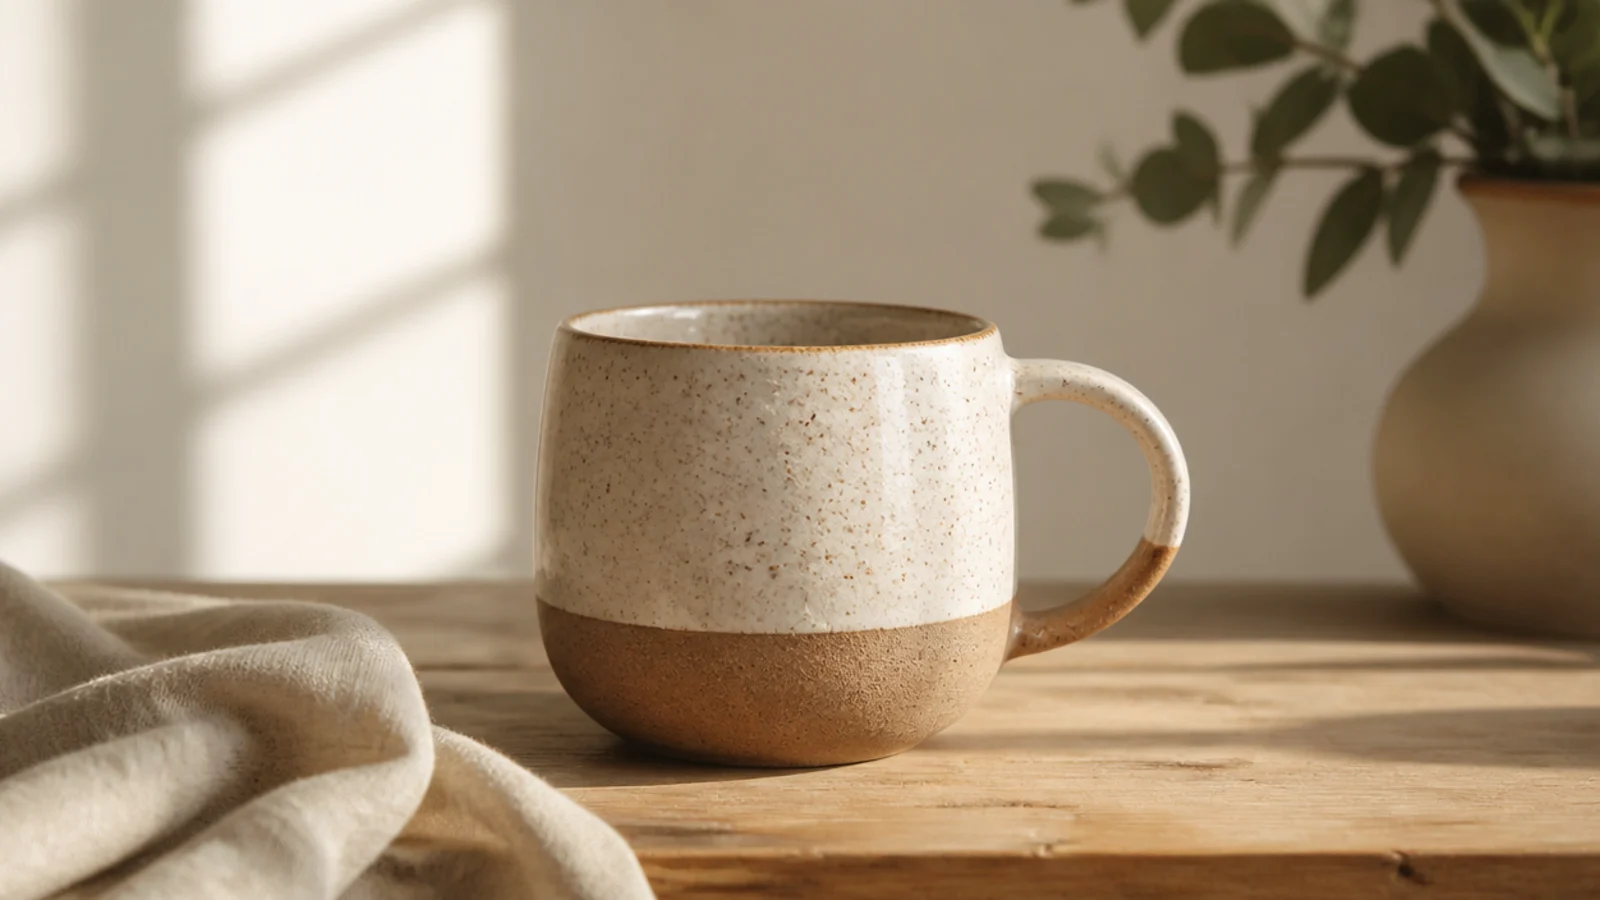
1. Classic Pinch-Pot Mug
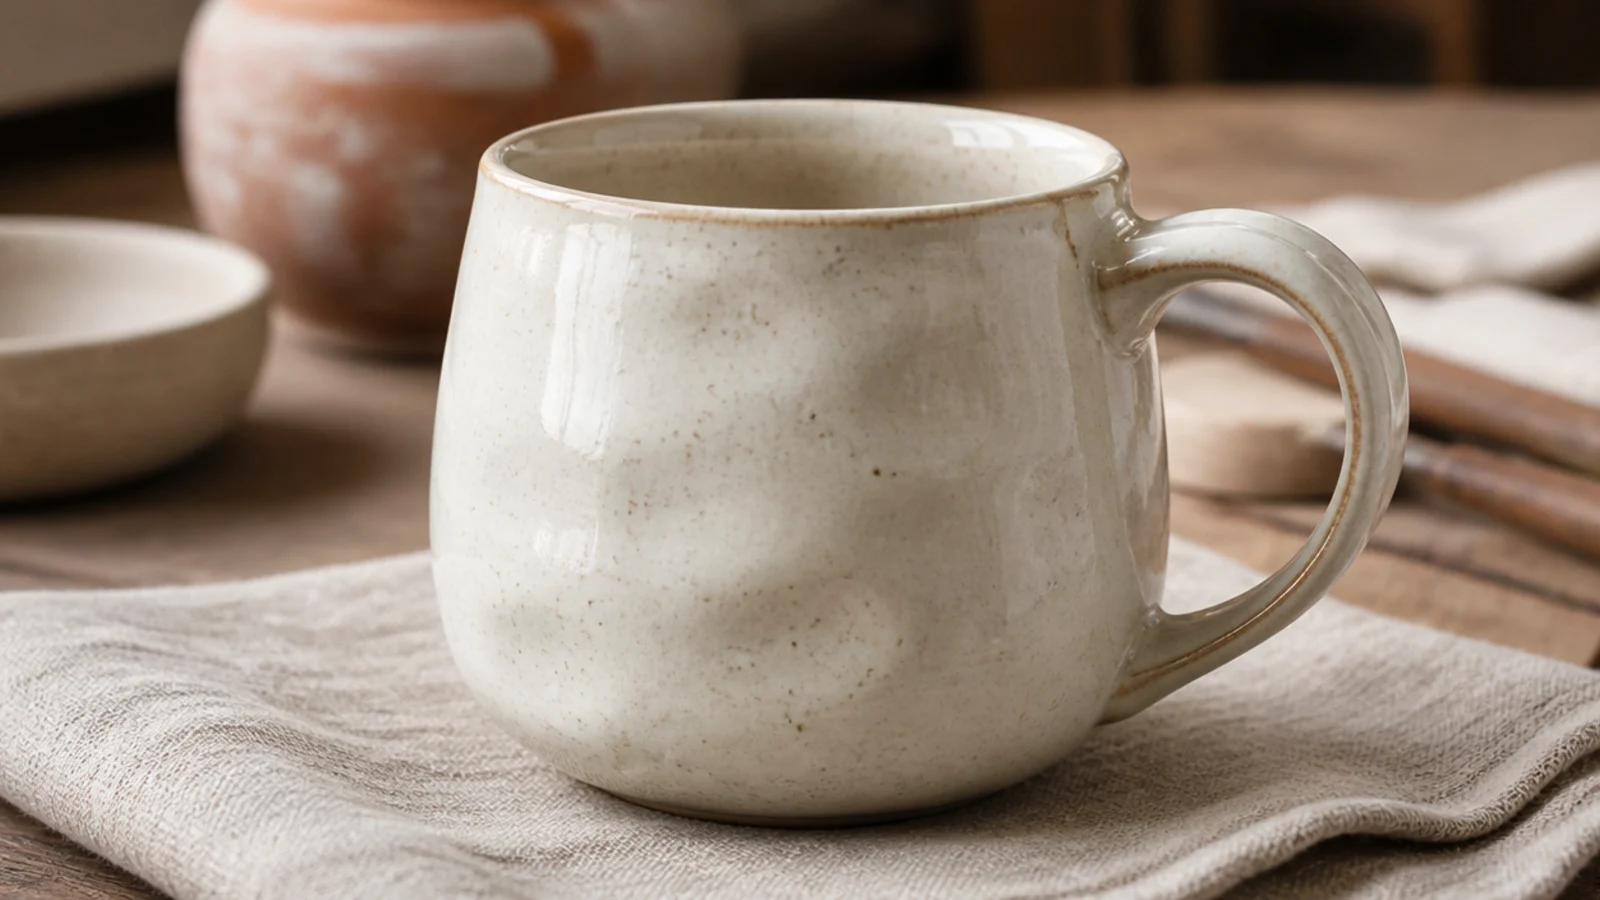
This is the true beginner’s mug — no wheel, no slab, just your hands. You open a ball of clay with your thumb and pinch the walls up and even, which teaches you the single most important skill: consistent wall thickness. The gentle finger texture reads as intentional and handmade in the best way, and a soft solid glaze lets that texture show.
Roll about a pound of stoneware into a smooth ball and press your thumb into the center, stopping about a quarter-inch from the bottom. Pinch the walls between thumb and fingers, rotating as you go, working from base to rim until the walls are an even 1/4 inch. Flatten the base by tapping it on the table, compress the inside base with a rounded rib to prevent cracks, then let it firm to leather-hard before scoring and attaching a small pulled handle. Bisque fire, glaze inside and out with a food-safe glaze, and glaze-fire.
Editor's noteKeep a damp sponge nearby and wipe the rim smooth every few minutes — a cracked, ragged rim is the fastest way to spot a first pinch pot.
Skip thisDon’t leave the base thick and heavy while thinning the walls; an uneven base cracks in the kiln and makes the mug feel clunky.
2. Slab-Wrapped Cylinder Mug
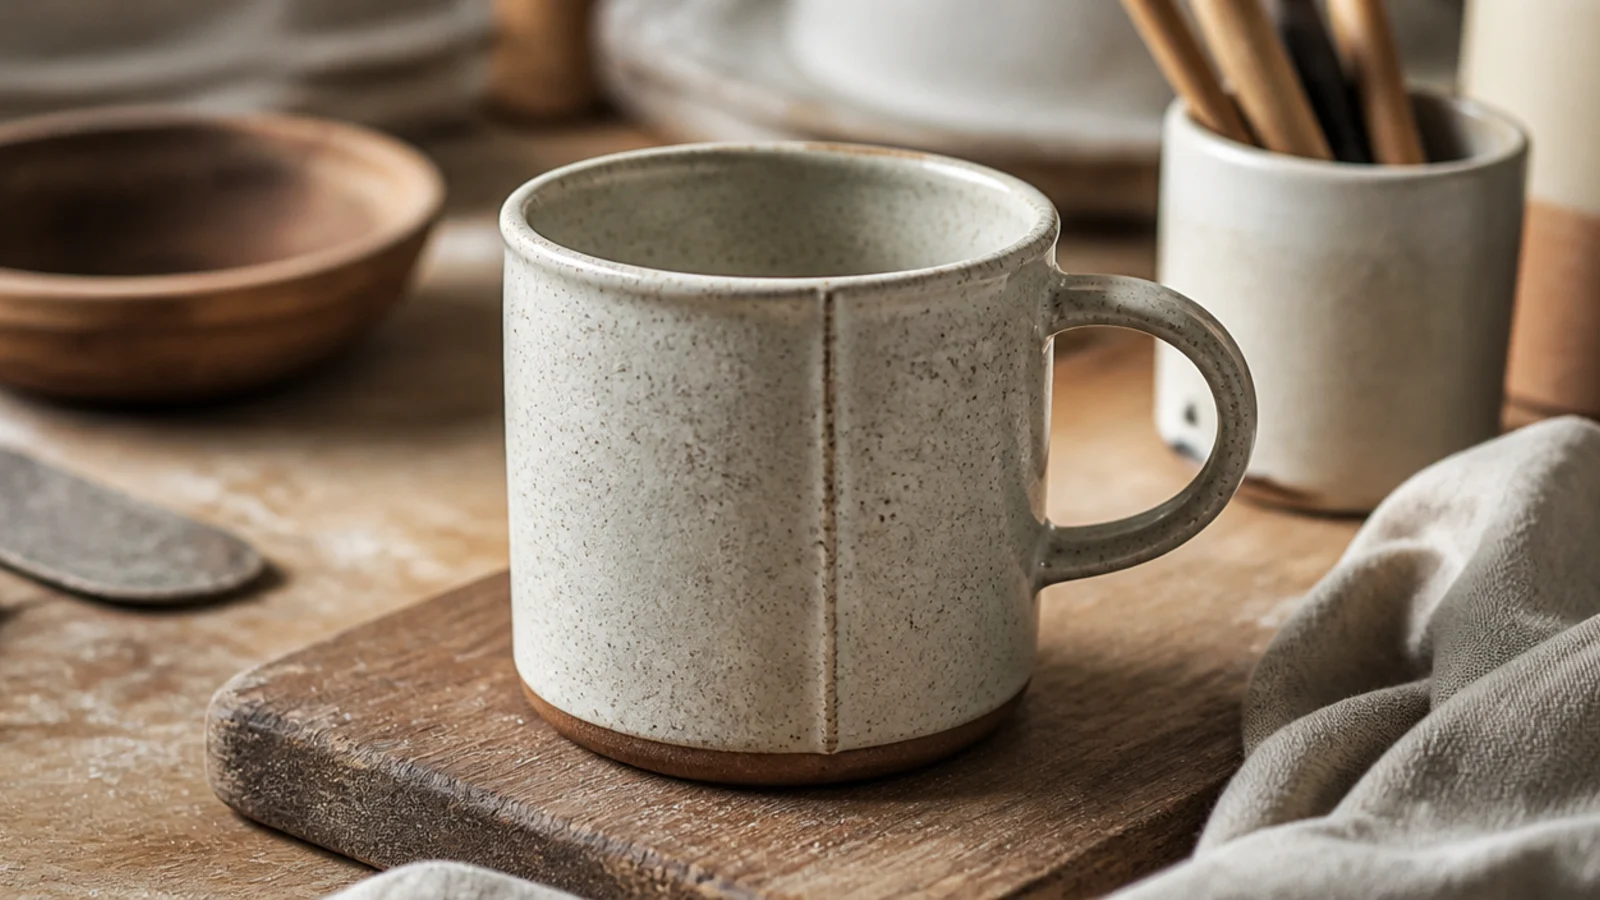
A slab mug gives you clean, straight sides and a modern cylinder shape without a wheel. You roll a flat sheet of clay and wrap it around a form, which is fast and endlessly customizable with texture. It’s the most 'designed' looking beginner build and the base for dozens of surface ideas.
Roll a slab to an even 1/4 inch using two guide sticks and a rolling pin, then cut a rectangle about 4 inches tall by 9-10 inches long. Wrap it around a cardboard tube covered in newspaper, score and slip the overlapping seam, and blend it smooth inside and out. Cut a circle for the base, score, slip, and attach it, sealing the inside join with a coil of clay smoothed in. Firm to leather-hard, add a strap handle, then bisque, glaze food-safe, and glaze-fire.
Editor's noteTexture the slab before you wrap it — press lace, burlap, or a carved roller into the flat sheet while it’s easy to reach.
Skip thisDon’t wrap the slab while it’s still wet and floppy; let it firm slightly first or the cylinder sags and the seam won’t hold.
3. Coil-Built Textured Mug
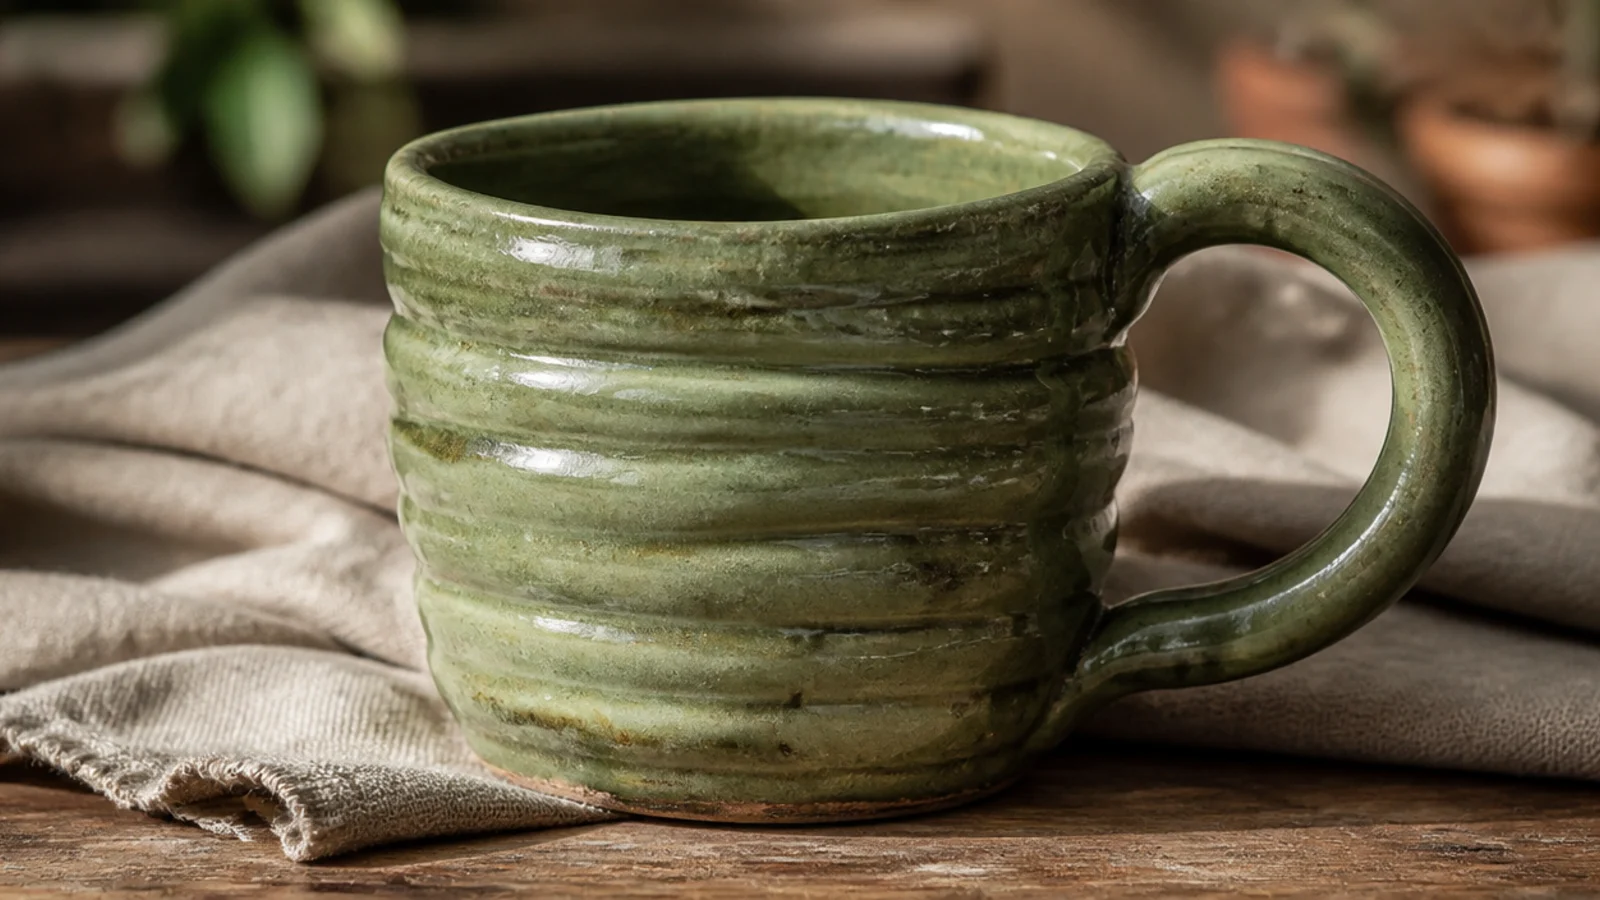
Coil building stacks rope-like ropes of clay into a wall, and you can either smooth them flush or leave them showing for a ridged, basket-like texture. It’s meditative, needs no equipment, and lets you build any shape you can imagine. Leaving the coils visible on the outside is a distinctive, handmade look that a smooth glaze pools into beautifully.
Start with a pinched or cut clay base about 1/4 inch thick. Roll clay into even ropes roughly the thickness of your finger, then stack them one at a time, scoring and slipping between each coil. Smooth the inside completely with a rib for a watertight wall, but leave the outside coils defined if you want the texture. Firm to leather-hard, attach a handle, then bisque and glaze with a glossy food-safe glaze that breaks over the ridges.
Editor's noteSmooth the interior fully even if you keep the exterior texture — an unsmoothed inside traps water between coils and can leak or crack.
Skip thisDon’t skip scoring between coils to save time; unscored coils separate along the seams as the mug dries and fires.
4. Wheel-Thrown Classic Mug
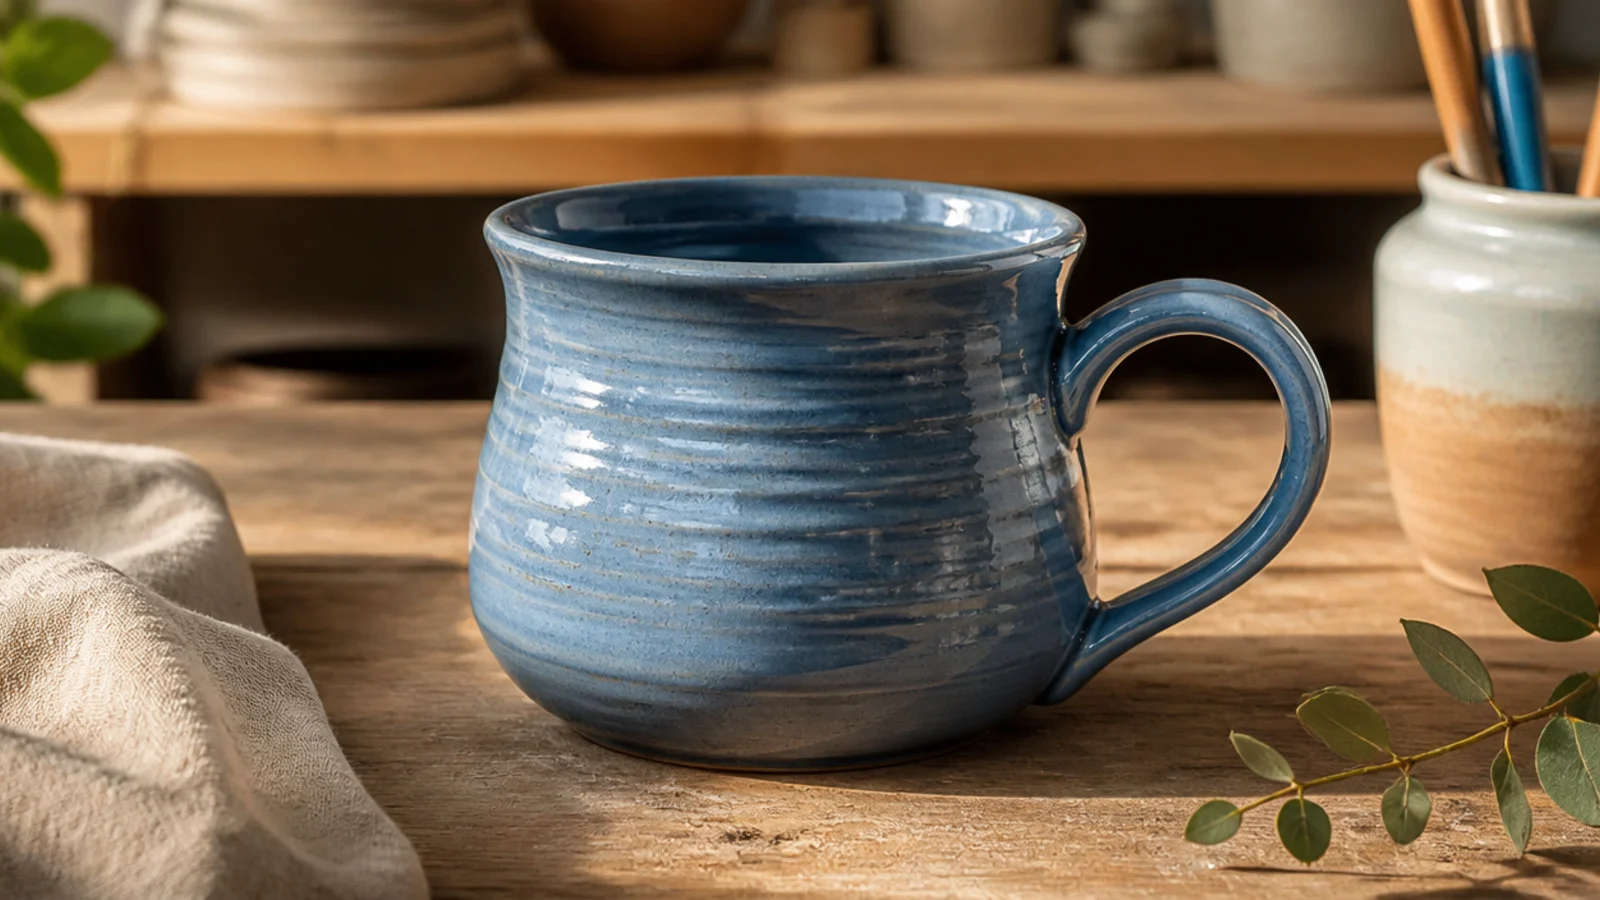
The wheel-thrown mug is the classic silhouette — smooth, symmetrical, with soft spiral throwing lines that scream handmade pottery. It takes practice, but once centering clicks it’s the fastest way to make a matching set. The subtle rings are a feature, not a flaw, so choose a glaze that settles into them.
Center about a pound of clay on the wheel, open to a 1/4-inch base, and pull the walls up in three or four even passes to about 4 inches tall. Keep the walls a consistent quarter-inch and compress the rim with a chamois after the final pull. Cut it off with a wire, let it firm, trim a foot ring on the base at leather-hard, then pull and attach a handle. Bisque, glaze food-safe, and glaze-fire.
Editor's noteCompress the rim and the inside base thoroughly — a compressed rim resists chipping and a compressed base resists the dreaded S-crack.
Skip thisDon’t leave water pooled in the bottom while throwing; over-wet clay slumps and the base stays weak and crack-prone.
5. Speckled Clay Naked Mug
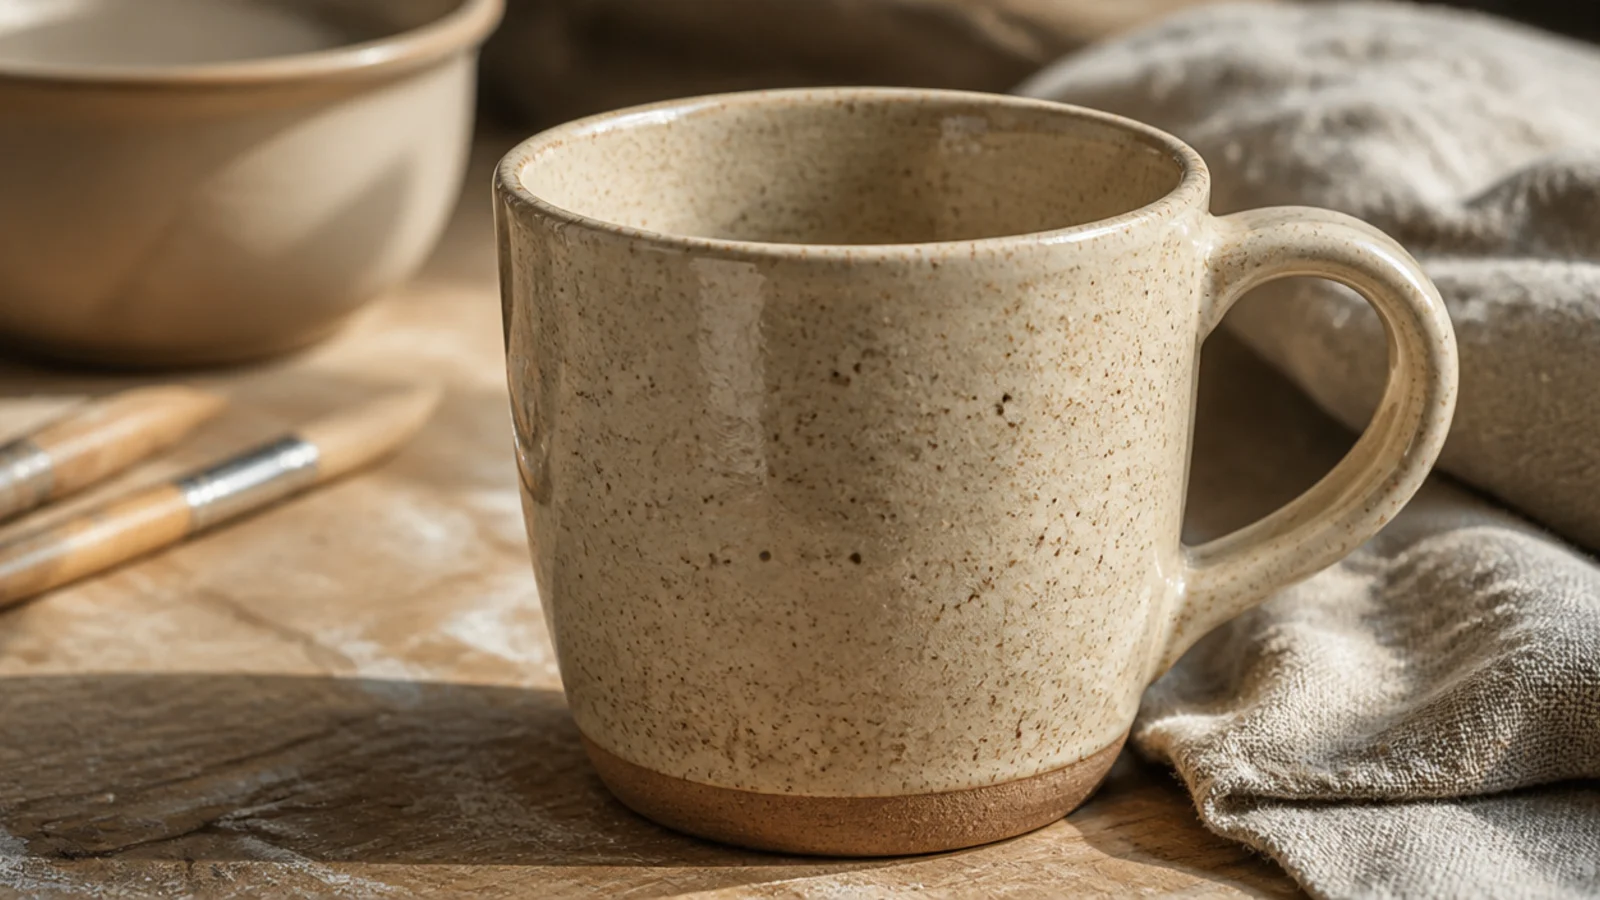
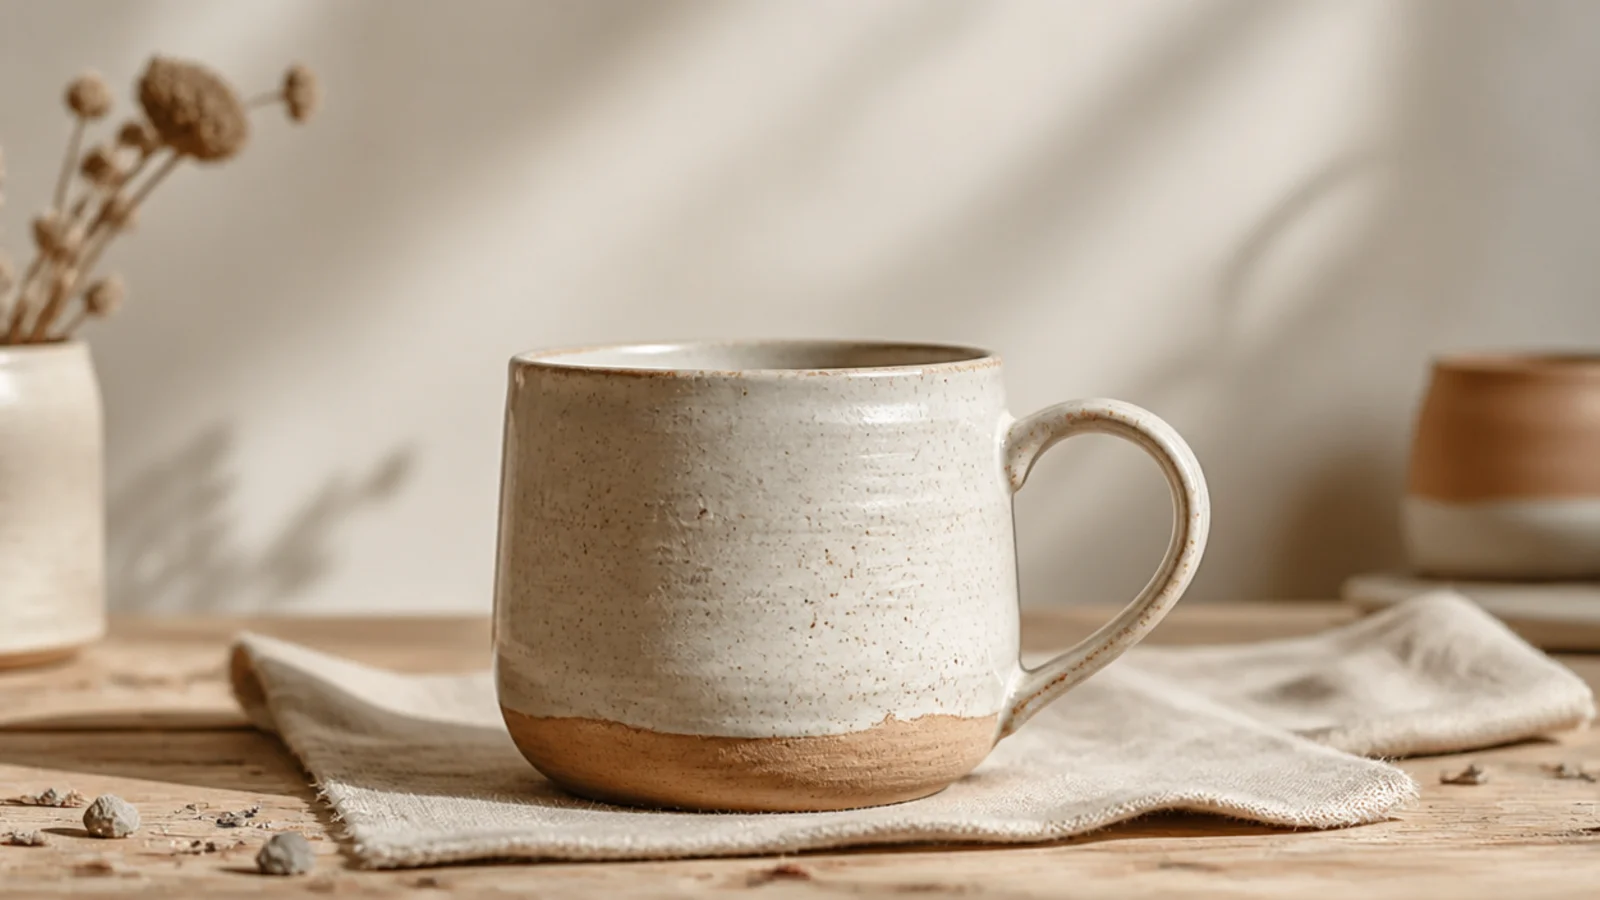
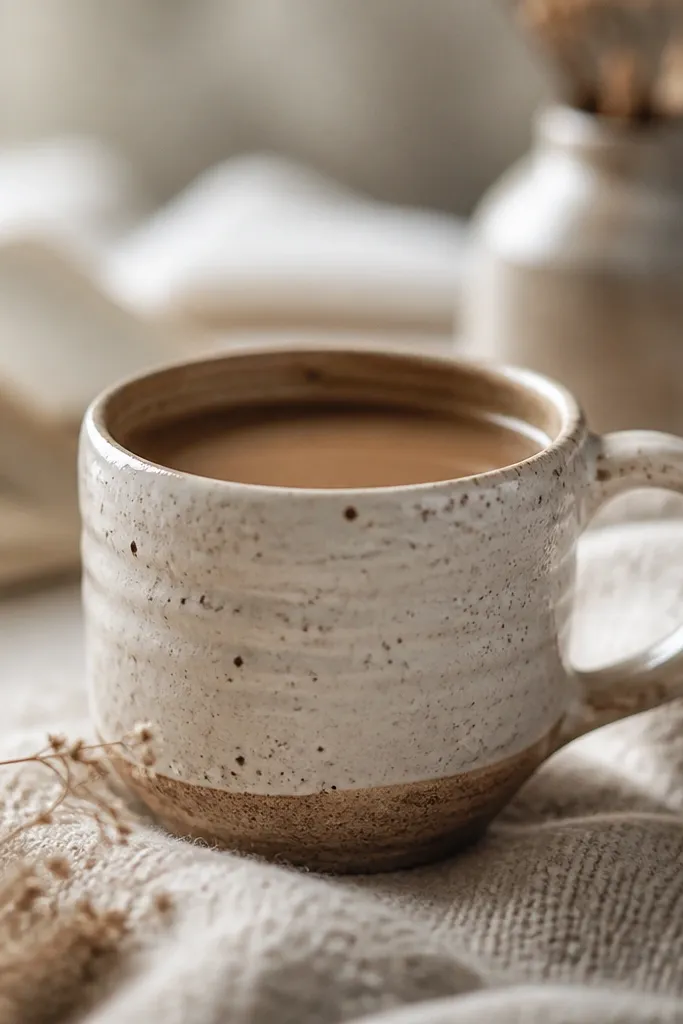
Sometimes the clay is the design. A speckled stoneware body under a clear glaze gives you that popular oatmeal-fleck look with zero decorating skill. It suits any shape and pairs with everything, which is why cafe mugs so often use it. The 'naked' finish lets the material do the talking.
Build or throw your mug in a speckled stoneware clay (look for bodies labeled with iron speckle or 'speckled buff'). Keep the surface clean and smooth so nothing competes with the flecks. Bisque fire, then coat inside and out with a food-safe clear or clear satin glaze, wiping the foot clean. Glaze-fire to the clay’s rated temperature so the speckles bloom through the clear coat.
Editor's noteChoose a clear satin rather than a high-gloss clear if you want the speckles to look softer and more matte-modern.
Skip thisDon’t use a heavily colored glaze that hides the speckle — the whole point is letting the flecks show, so keep the coat clear or barely tinted.
6. Underglaze Brushwork Mug
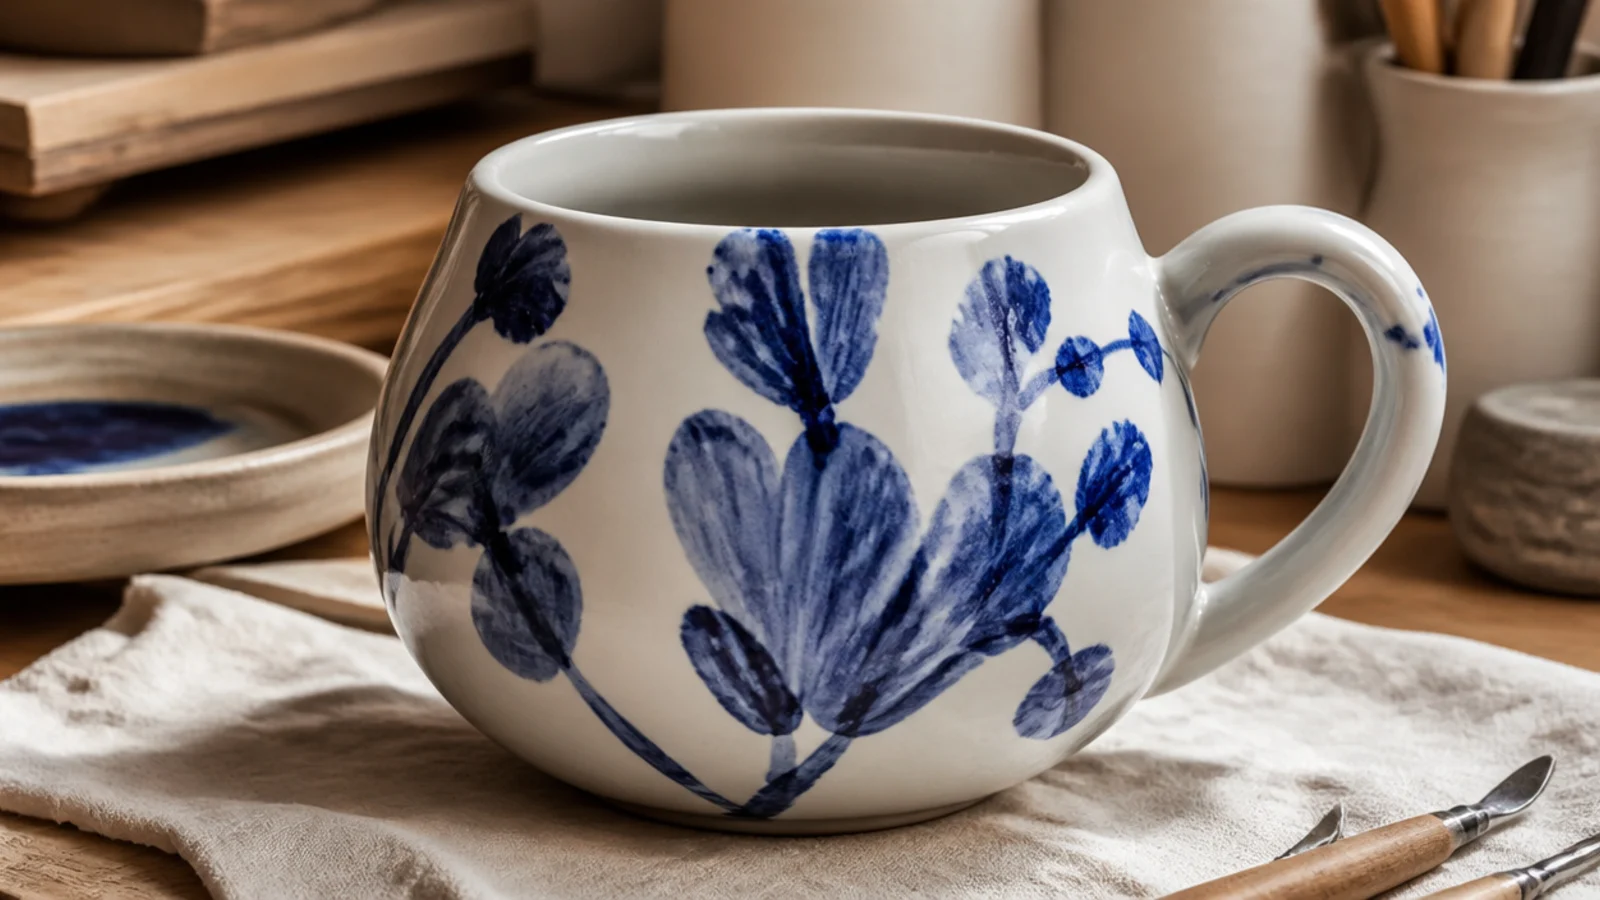
Underglaze painting turns a plain mug into hand-painted ceramic, and it’s the most approachable decoration because you paint on firm clay or bisque, not slippery glaze. Loose brushstroke florals or simple sprigs look effortless and expensive. It works equally well on a mug you built or a store-bought bisque blank.
On leather-hard or bisque, sketch your design lightly in pencil (it burns away). Paint with underglaze using soft round and liner brushes, building each color in two or three thin coats for solid, even color. Let it dry between coats, then coat the whole mug in a clear food-safe glaze so it’s washable and safe. Glaze-fire; the clear locks the painting in and makes the colors pop.
Editor's noteDo two to three thin underglaze coats rather than one thick one — single coats fire streaky and patchy every time.
Skip thisDon’t paint underglaze so thick it forms ridges; thick underglaze can bubble or resist the clear glaze and flake.
7. Sgraffito Carved Mug
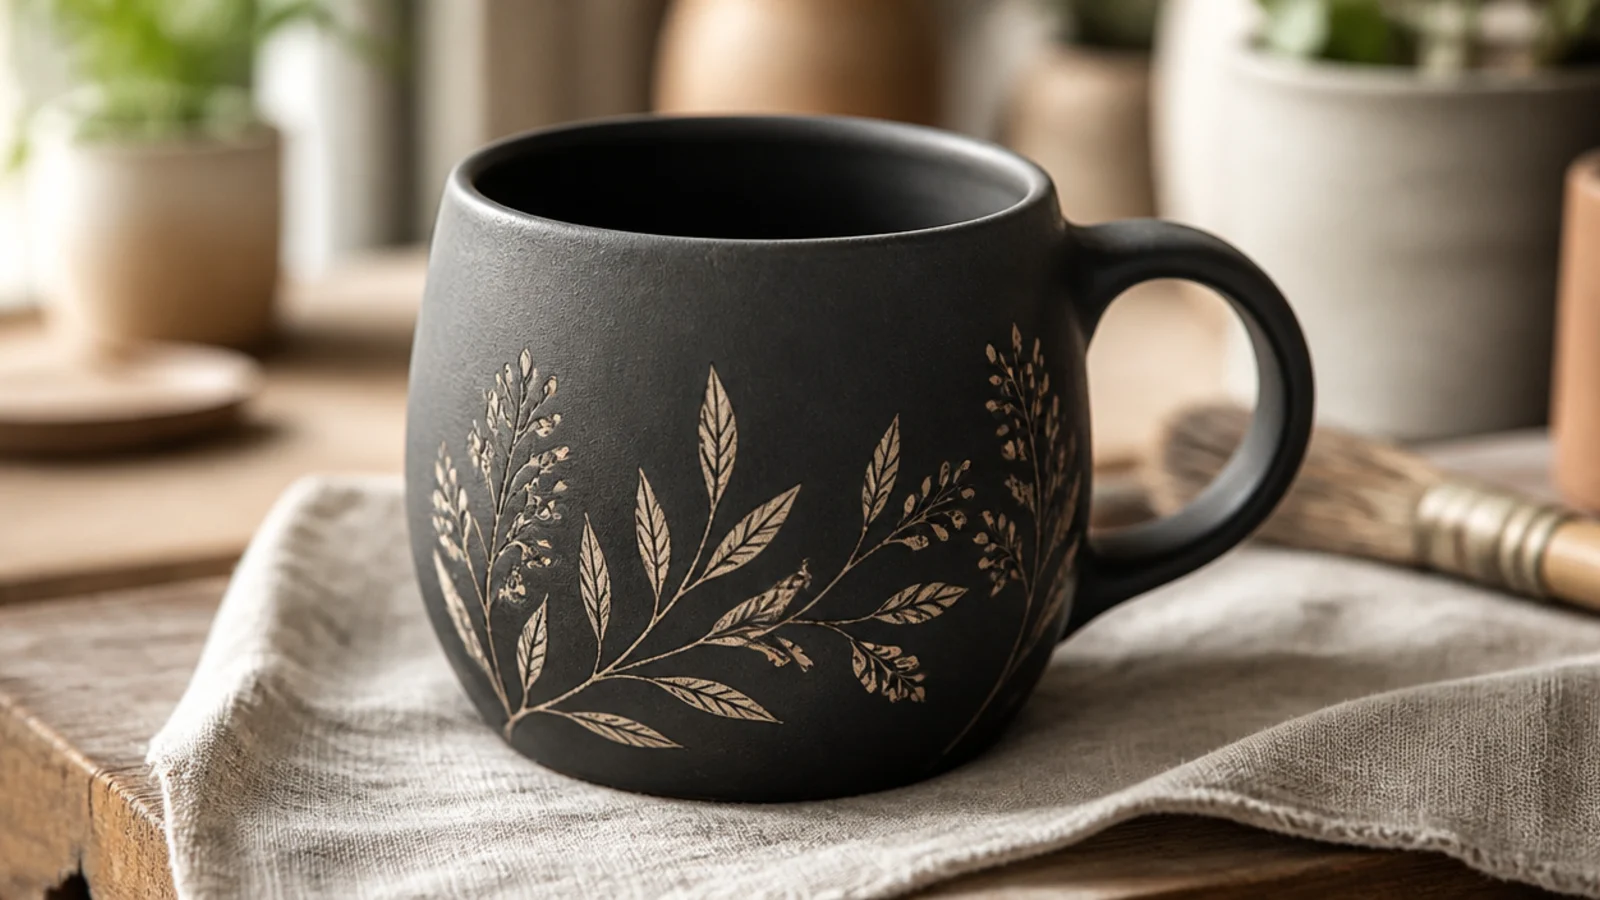
Sgraffito means scratching a design through a colored surface to reveal the clay underneath, giving crisp two-tone line art. It looks intricate but it’s really just careful drawing with a carving tool. A dark underglaze over pale clay gives the highest contrast and the most striking result.
Coat a leather-hard mug in two even coats of a dark underglaze and let it set until just firm. Lightly sketch your design, then carve through the underglaze with a fine loop or needle tool so the pale clay shows as your lines. Brush away the crumbs with a soft dry brush. Bisque fire, apply a clear food-safe glaze, and glaze-fire for a durable, washable surface.
Editor's noteCarve when the clay is right at leather-hard — too wet and it smears, too dry and it chips and crumbles instead of cutting clean.
Skip thisDon’t blow the carving dust away with your breath and leave it; brush it off fully or leftover crumbs ruin the clear glaze coat.
8. Marbled Agateware Mug
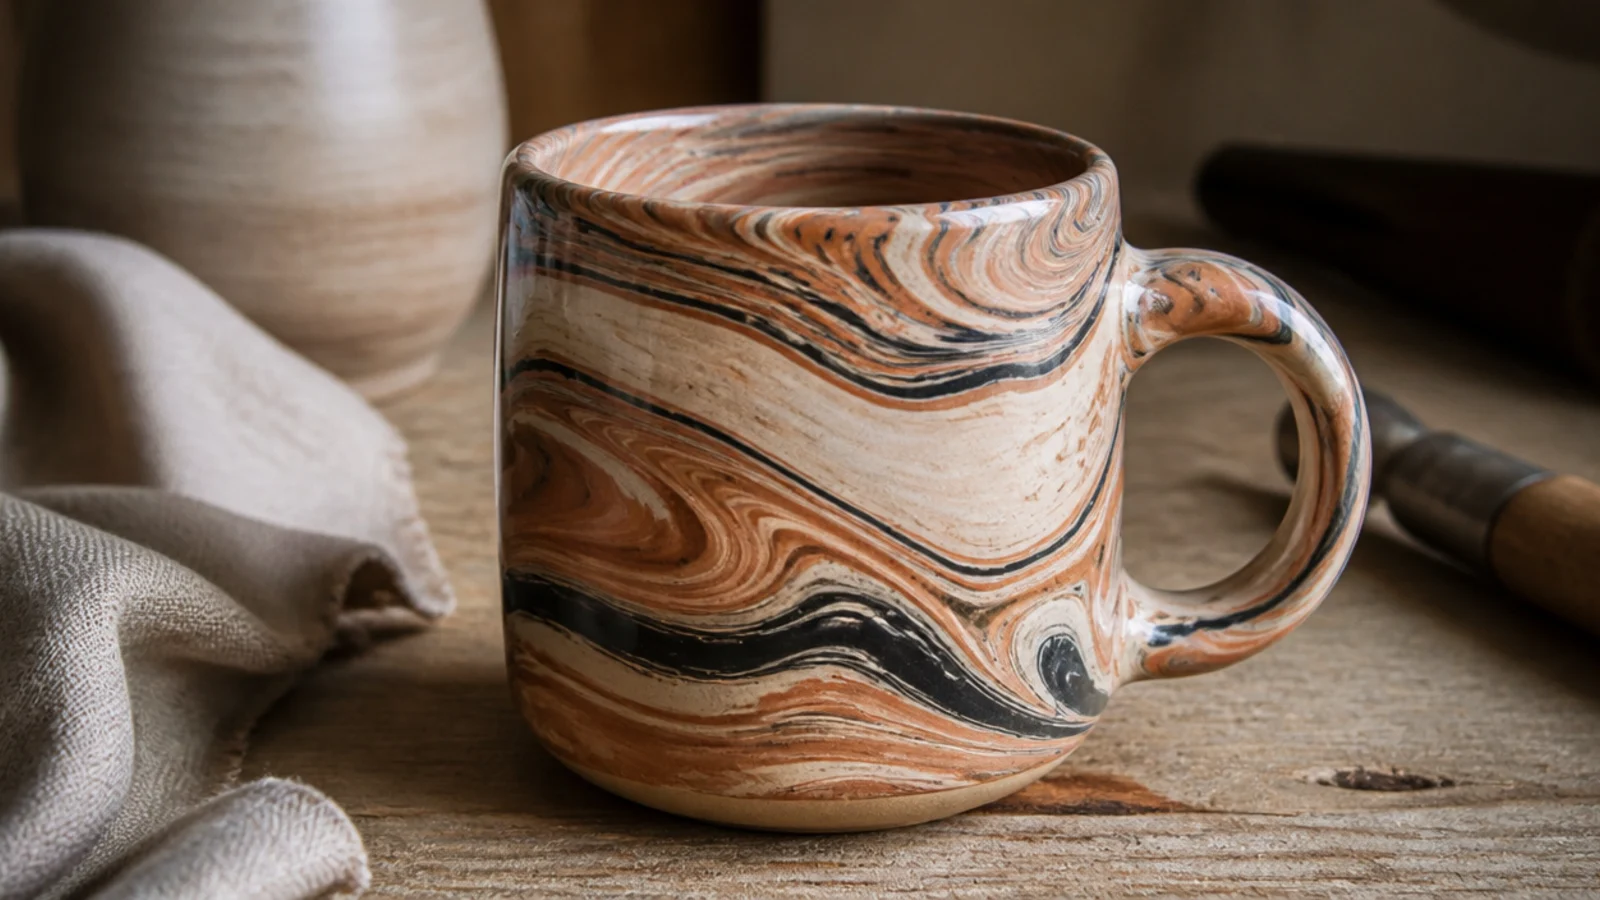
Agateware marbles two or more clay colors together so the swirl runs through the whole wall, not just the surface. Every mug is one of a kind and the effect looks high-end. It takes a light touch — overmix and the marble turns to mud — which makes restraint the whole skill.
Take two or three stoneware colors that fire to the same temperature, roll them into ropes, twist gently, and fold just a few times — stop while the pattern is still distinct. Roll into a slab or wedge lightly, then build a slab or pinch mug from the marbled clay. Scrape the surface with a metal rib once leather-hard to reveal the crisp pattern (the surface smears as you work). Bisque, coat in clear food-safe glaze, and glaze-fire.
Editor's noteUse clays with the same shrinkage and firing range, or the colors pull apart and crack where they meet as the mug dries and fires.
Skip thisDon’t over-wedge the colors together; three or four folds gives marble, ten folds gives a muddy uniform gray.
9. Faceted Cut-Side Mug
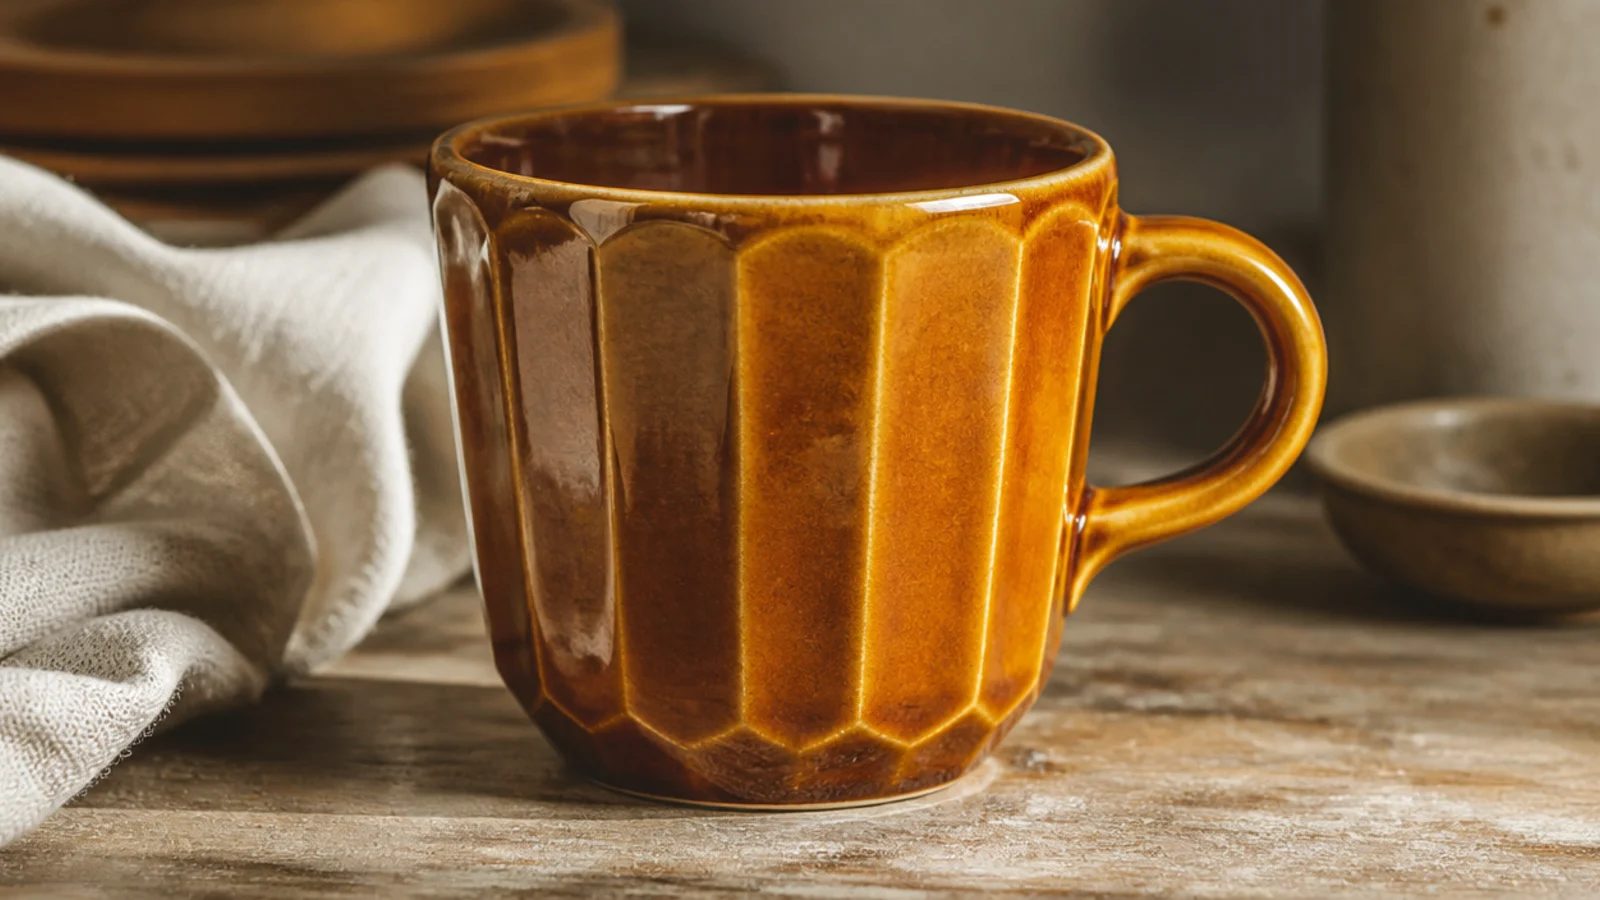
Faceting slices flat planes down the sides of a rounded mug so it catches light like a cut stone. It gives a thick-walled mug a crisp, architectural feel and great grip. A glossy, slightly runny glaze pools in the cut edges and highlights every facet.
Build or throw the mug with slightly thicker walls than usual — about 3/8 inch — so there’s clay to remove. At soft leather-hard, use a wire tool or a flat metal rib to slice straight vertical facets from base toward rim, spacing them evenly around the mug. Clean each cut edge, firm up, attach a handle, then bisque. Glaze with a glossy food-safe glaze that breaks lighter over the facet edges and glaze-fire.
Editor's noteMark equal points around the rim first with a needle tool so your facets stay evenly spaced instead of drifting wider on one side.
Skip thisDon’t facet a thin-walled mug; you’ll cut straight through the wall or leave weak spots that crack in the kiln.
10. Fluted Column Mug
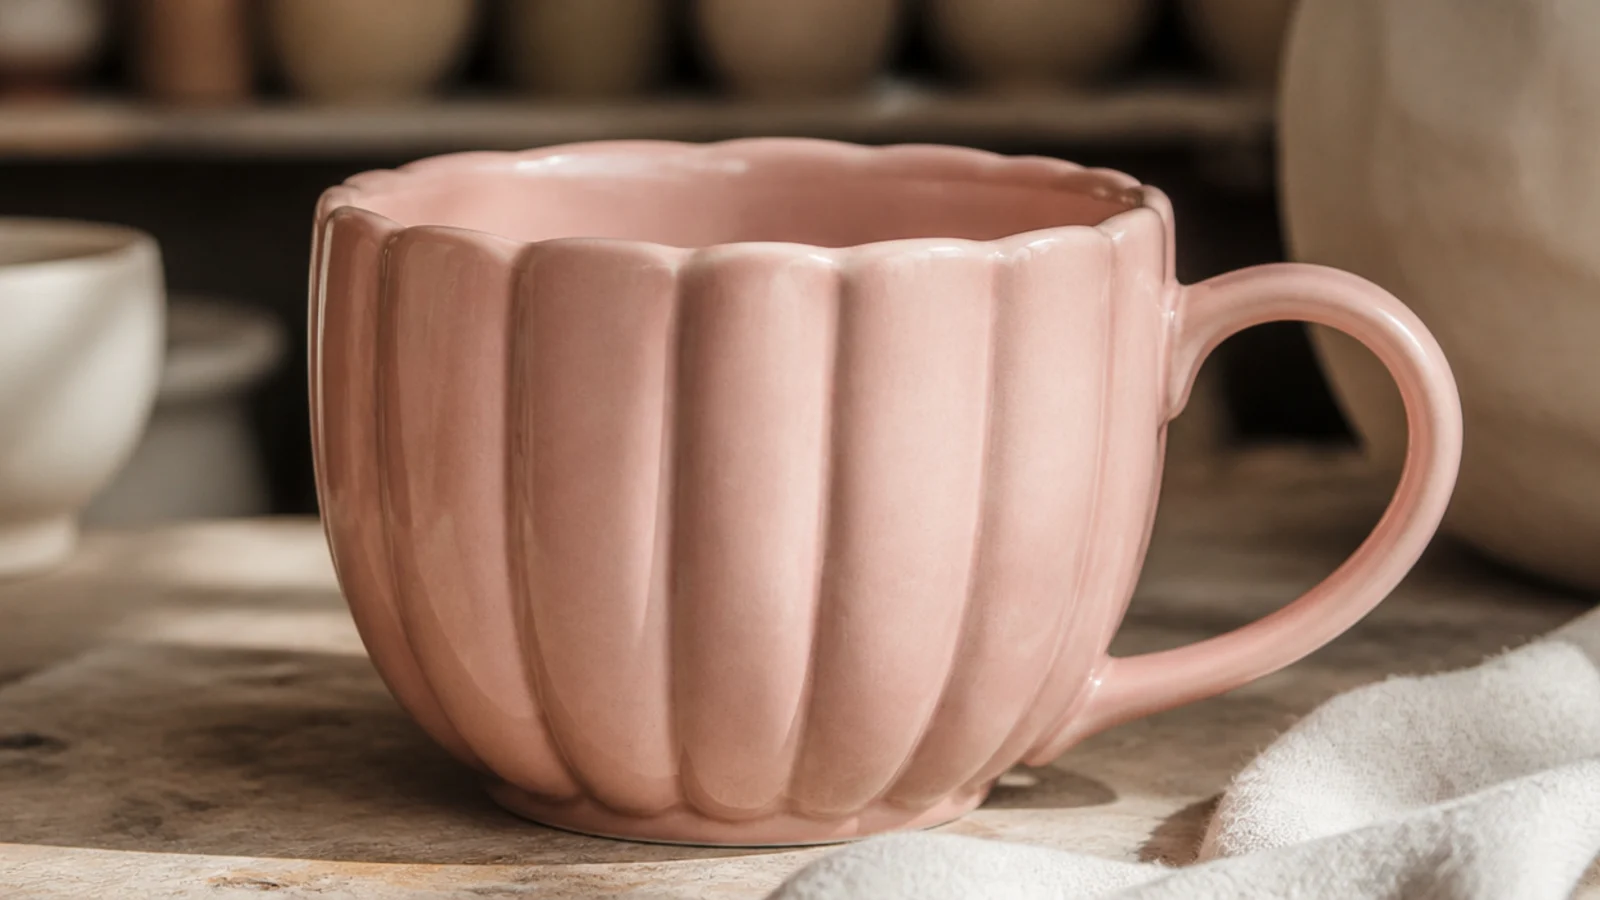
Soft vertical flutes carved into the walls give a rhythmic, scalloped column texture that feels both classic and current. Unlike sharp facets, flutes are rounded grooves, so they read gentle and tactile. A satin glaze settling into the channels makes the whole mug glow.
Build the mug with walls a touch thicker than usual. At leather-hard, use a rounded loop or fluting tool to carve evenly spaced vertical grooves from just below the rim to the base, keeping consistent depth and pressure. Smooth any rough edges with a damp sponge, attach a handle, and let it firm slowly. Bisque, apply a satin food-safe glaze that pools slightly in the grooves, and glaze-fire.
Draw guide lines down the mug first and carve slowly with steady pressure — consistent depth is what makes flutes look machine-neat.
Don’t carve flutes too deep or too close together; overlapping cuts thin the wall and can crack along the grooves.
11. Dipped Two-Tone Glaze Mug
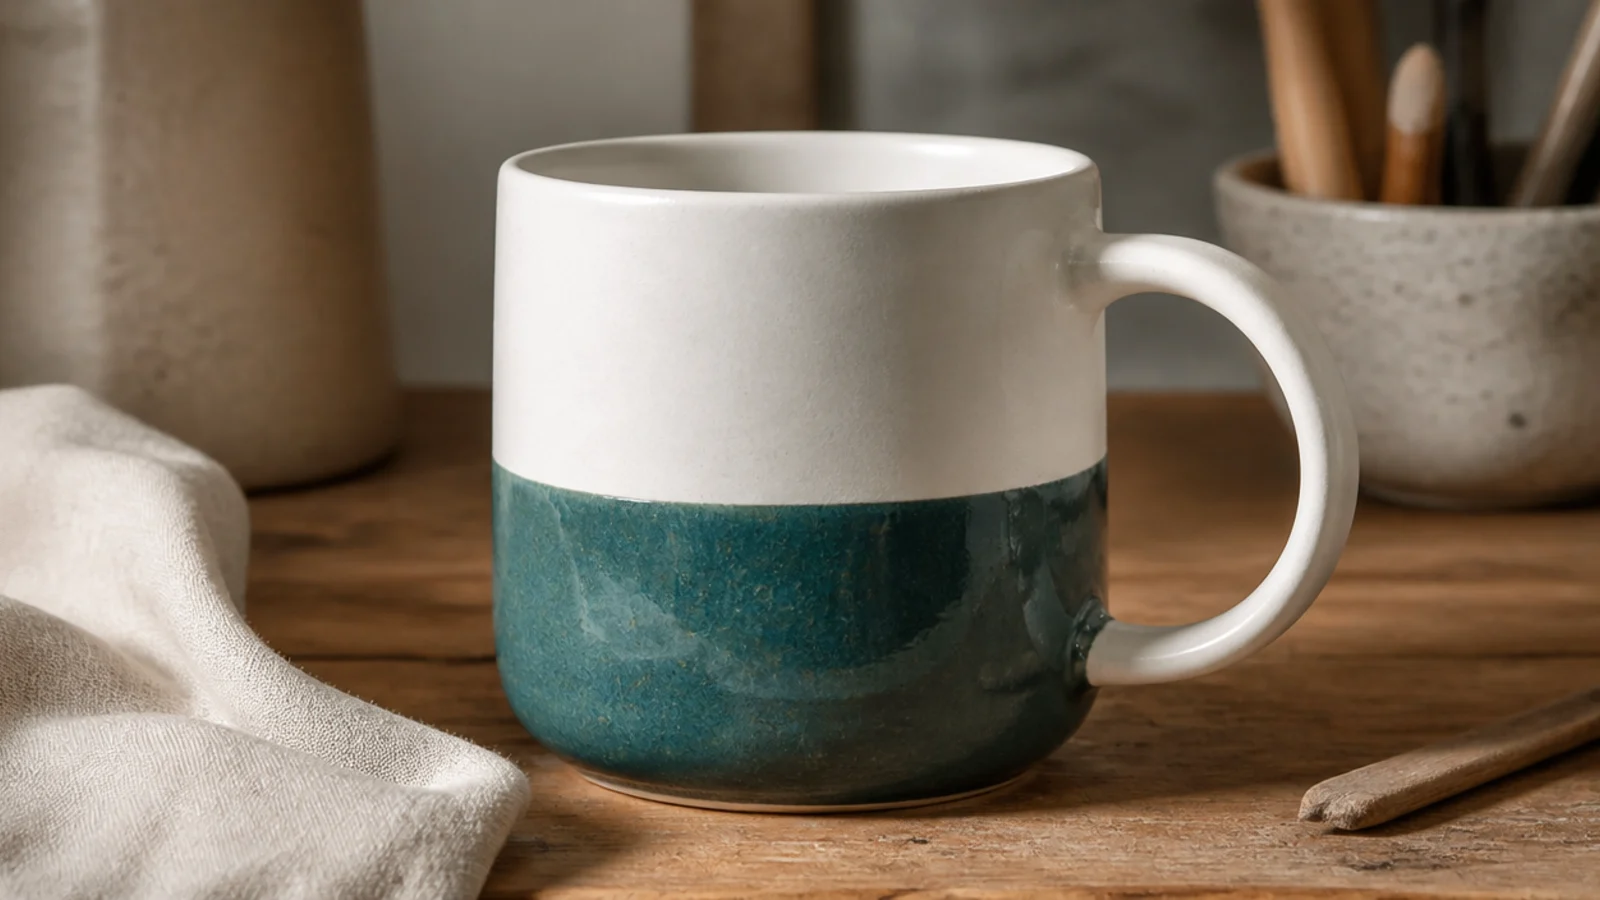
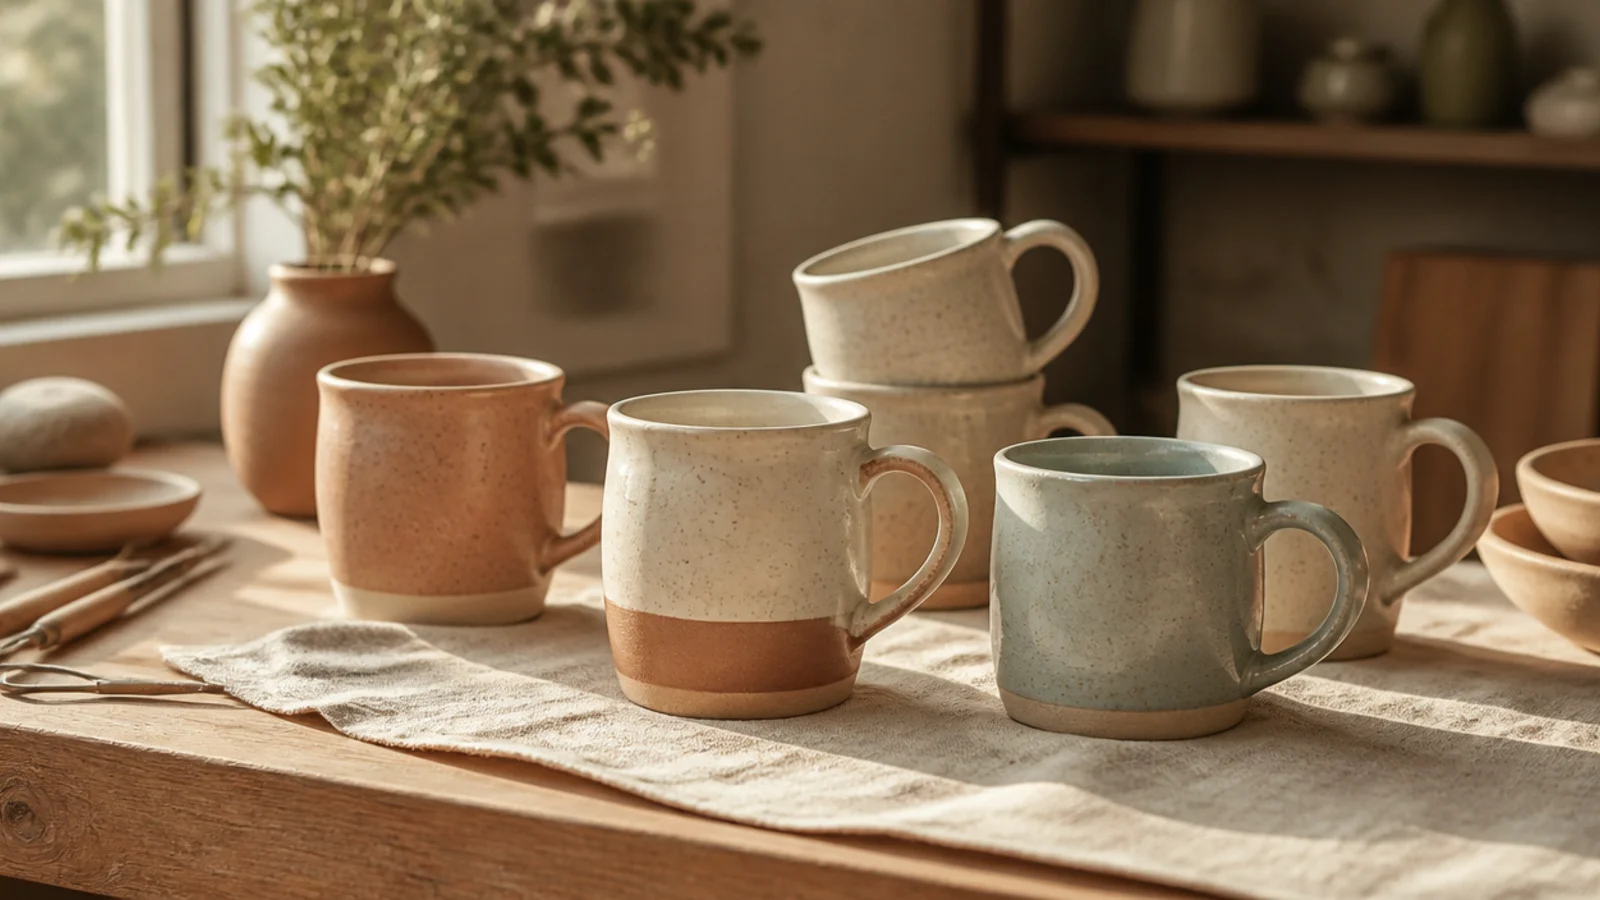
A two-tone dip is the glaze equivalent of a color block — one clean line where a colored glaze meets a white one. It looks modern and deliberate, and dipping does the precision for you. This is the easiest way to make a plain bisque mug look designed.
Bisque fire your mug (or start with a bisque blank). Pour or dip the whole mug in a white or cream food-safe base glaze and let it dry to the touch. Then dip just the bottom half into a colored glaze, holding it level for a slow count so the line is even, and lift straight up. Wipe the foot clean and glaze-fire; the two glazes meet in a crisp band.
Dip the second color at a steady, level angle in one smooth motion — hesitating or tilting gives you a wavy, uneven glaze line.
Don’t let the first glaze coat stay soaking wet before the second dip; dip onto touch-dry glaze or the layers slide and run together.
12. Drippy Reactive Glaze Mug
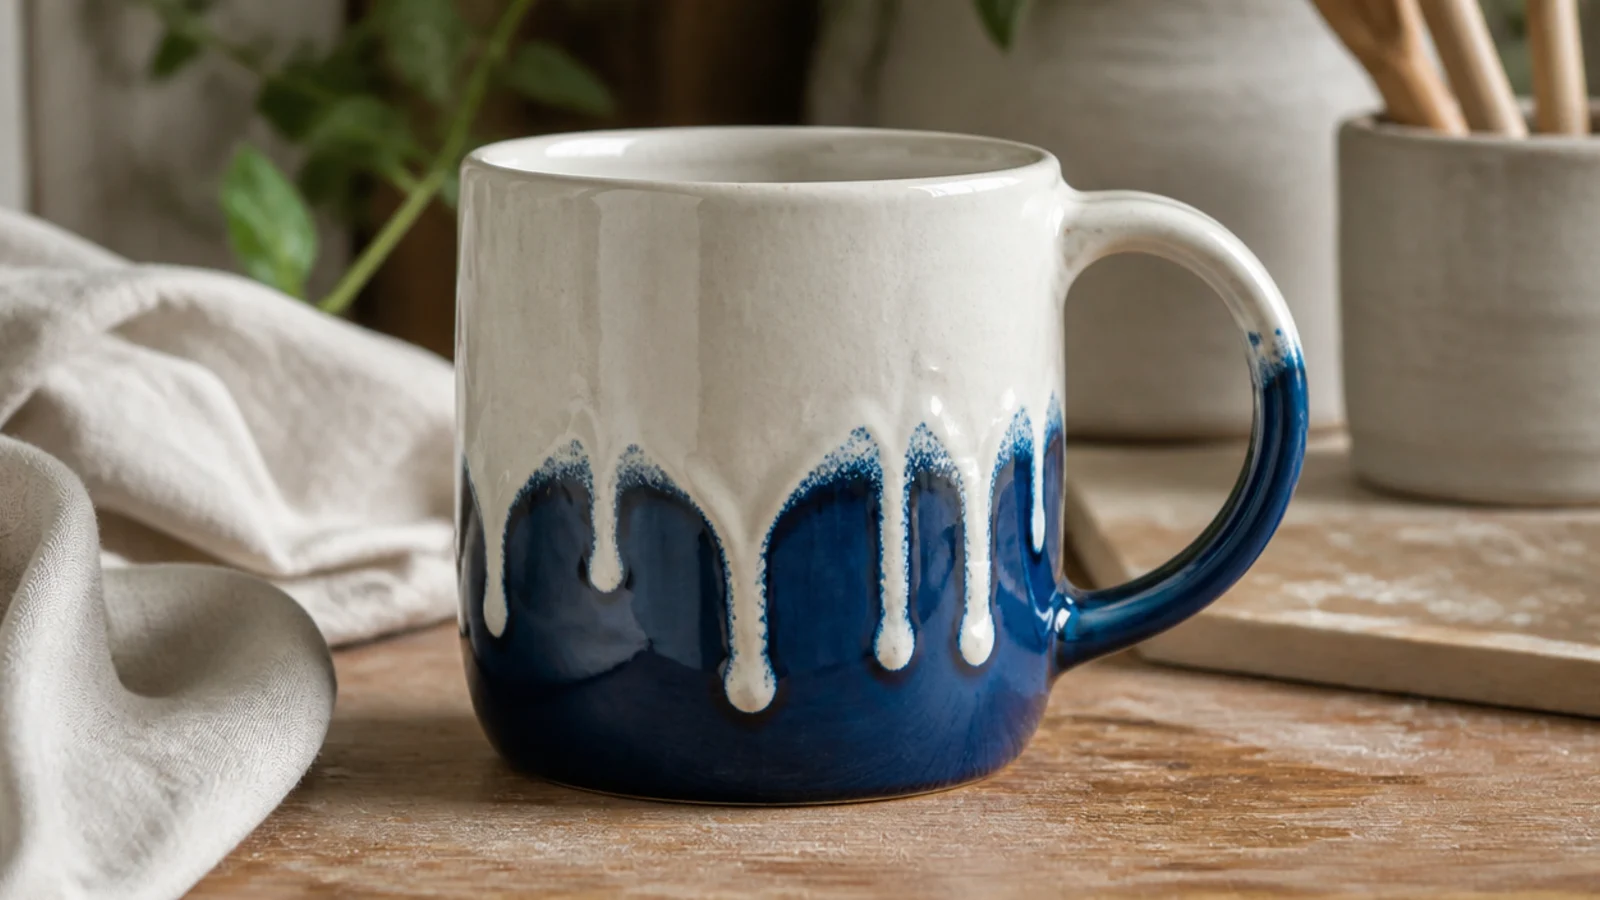
Reactive and running glazes create dramatic drips where a thick top glaze melts and flows over a base color. Each firing is a surprise, and the effect looks like expensive studio ware. The trick is controlling the runs so they don’t reach the kiln shelf.
Bisque fire the mug, then glaze the whole thing in a stable base color. Apply a thick band of a runny, reactive glaze around the top third only, keeping it well away from the foot. Fire on a kiln shelf protected with a cookie or kiln wash, since the drips will run down. Glaze-fire; the top glaze melts and streams into organic drips over the base.
Keep all runny glaze in the upper third and leave at least an inch of bare, glaze-free clay at the very foot so drips don’t glue the mug to the shelf.
Don’t apply reactive glaze near the base; running glaze will pool at the bottom and fuse your mug permanently to the kiln shelf.
13. Hand-Lettered Quote Mug
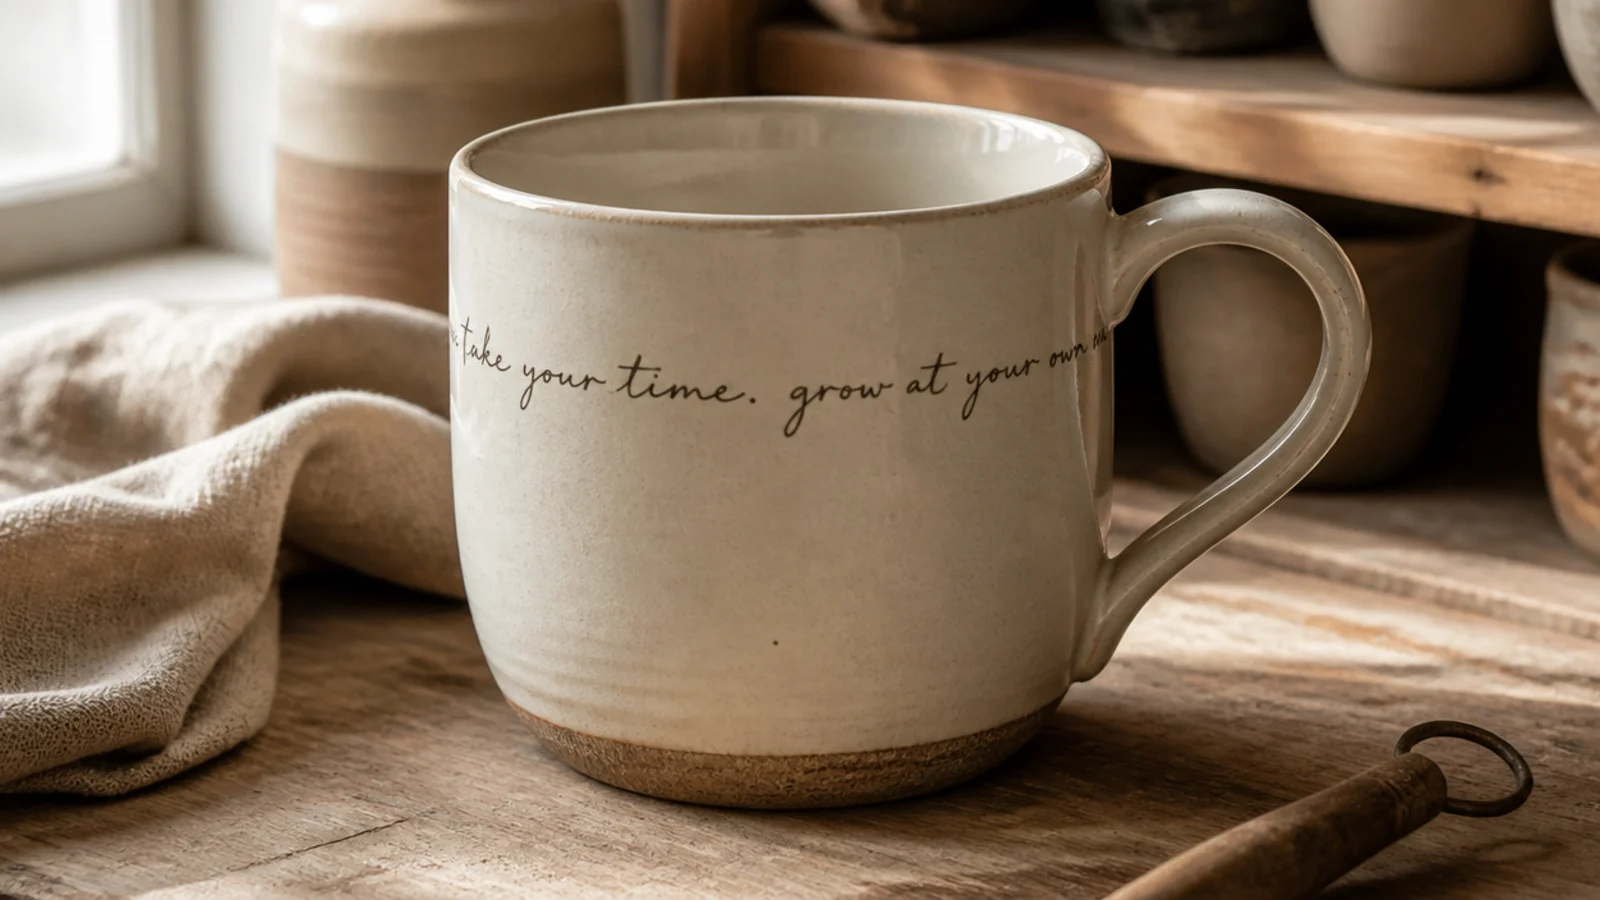
A short phrase or single word in clean lettering makes an instant personal or gift mug. Underglaze in a fine liner brush or a ceramic pencil gives you crisp text that survives washing. Keep it short — one line reads better than a paragraph and is far easier to space evenly.
On bisque, lightly pencil your baseline and letters so spacing is even. Trace them with underglaze using a fine liner brush, or use an underglaze pencil for more control, going over each stroke twice for solid color. Let it dry fully, then coat the mug in clear food-safe glaze so the text won’t wash off. Glaze-fire to set both.
Rule a faint pencil baseline and lightly mark where the phrase starts and ends first, so your words stay level and centered instead of sloping down.
Don’t freehand a long quote straight onto the mug; without a pencil guide the letters slope and crowd at the end.
14. Polka-Dot Underglaze Mug
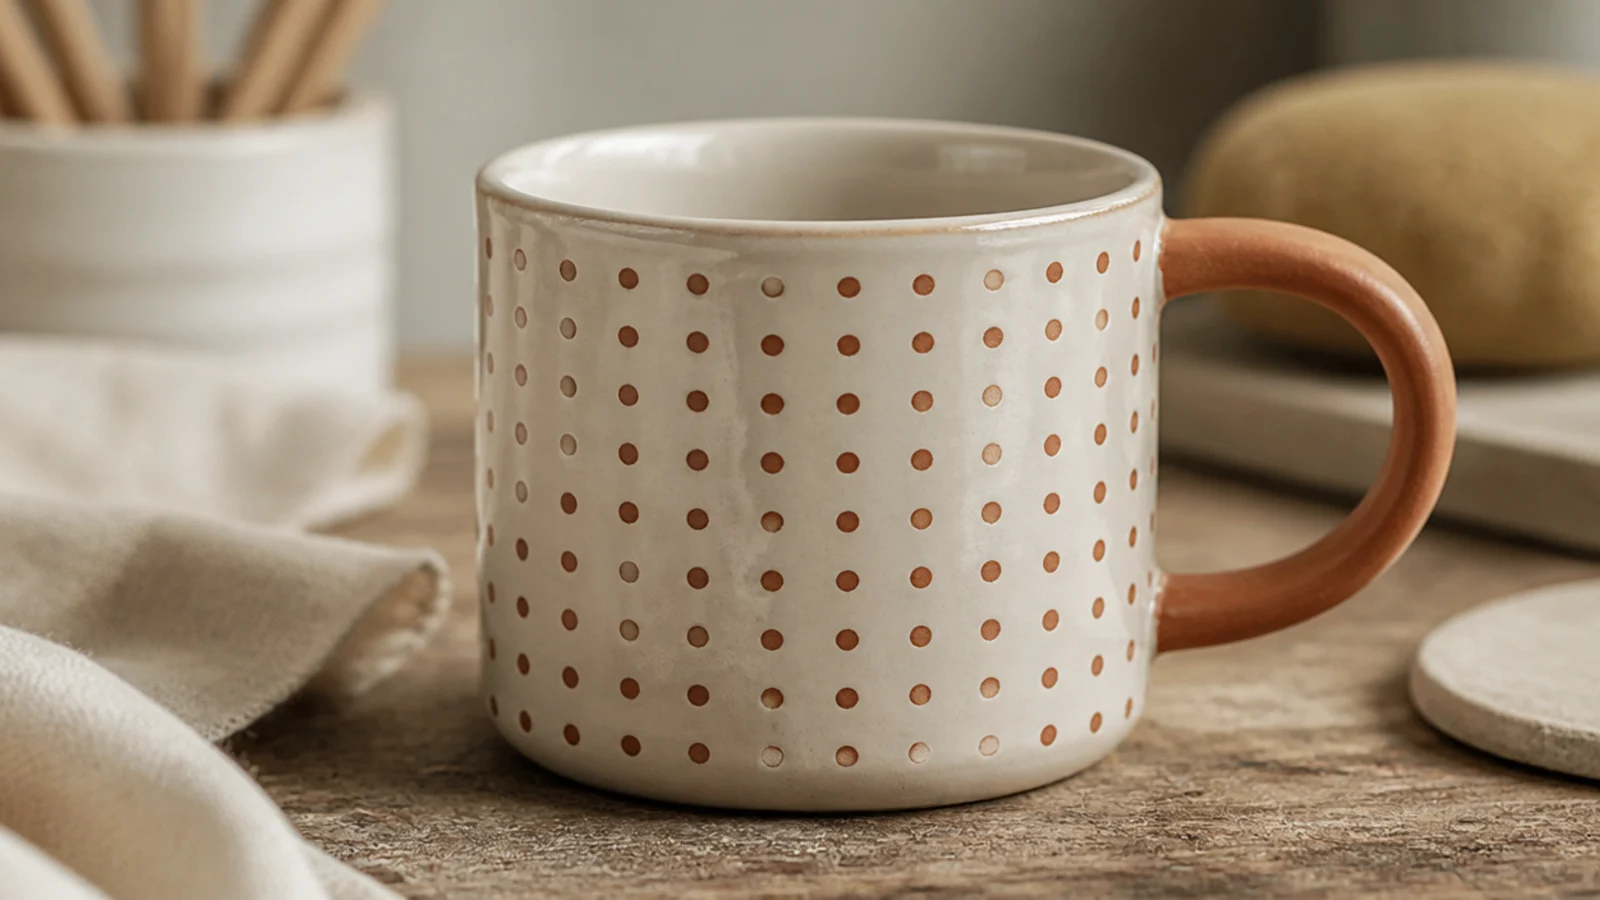
Evenly spaced dots are cheerful, foolproof, and endlessly repeatable — the mug version of a classic dot dress. You stamp them so they stay uniform, no steady hand required. One or two colors keeps it clean and modern rather than busy.
On bisque, dip the flat end of a pencil eraser or a round dowel into underglaze, tap off the excess, and press straight down for each dot, re-dipping every time so they stay even. Space them by eye or mark a light grid first. Let dry, then coat in clear food-safe glaze and glaze-fire. The dots stay crisp under the clear coat.
Editor's notePractice five dots on scrap bisque or paper first to find how much underglaze gives a clean round dot without a smear.
Skip thisDon’t drag the stamp sideways as you lift; press straight down and pull straight up or the dots turn into commas.
15. Botanical Leaf-Imprint Mug
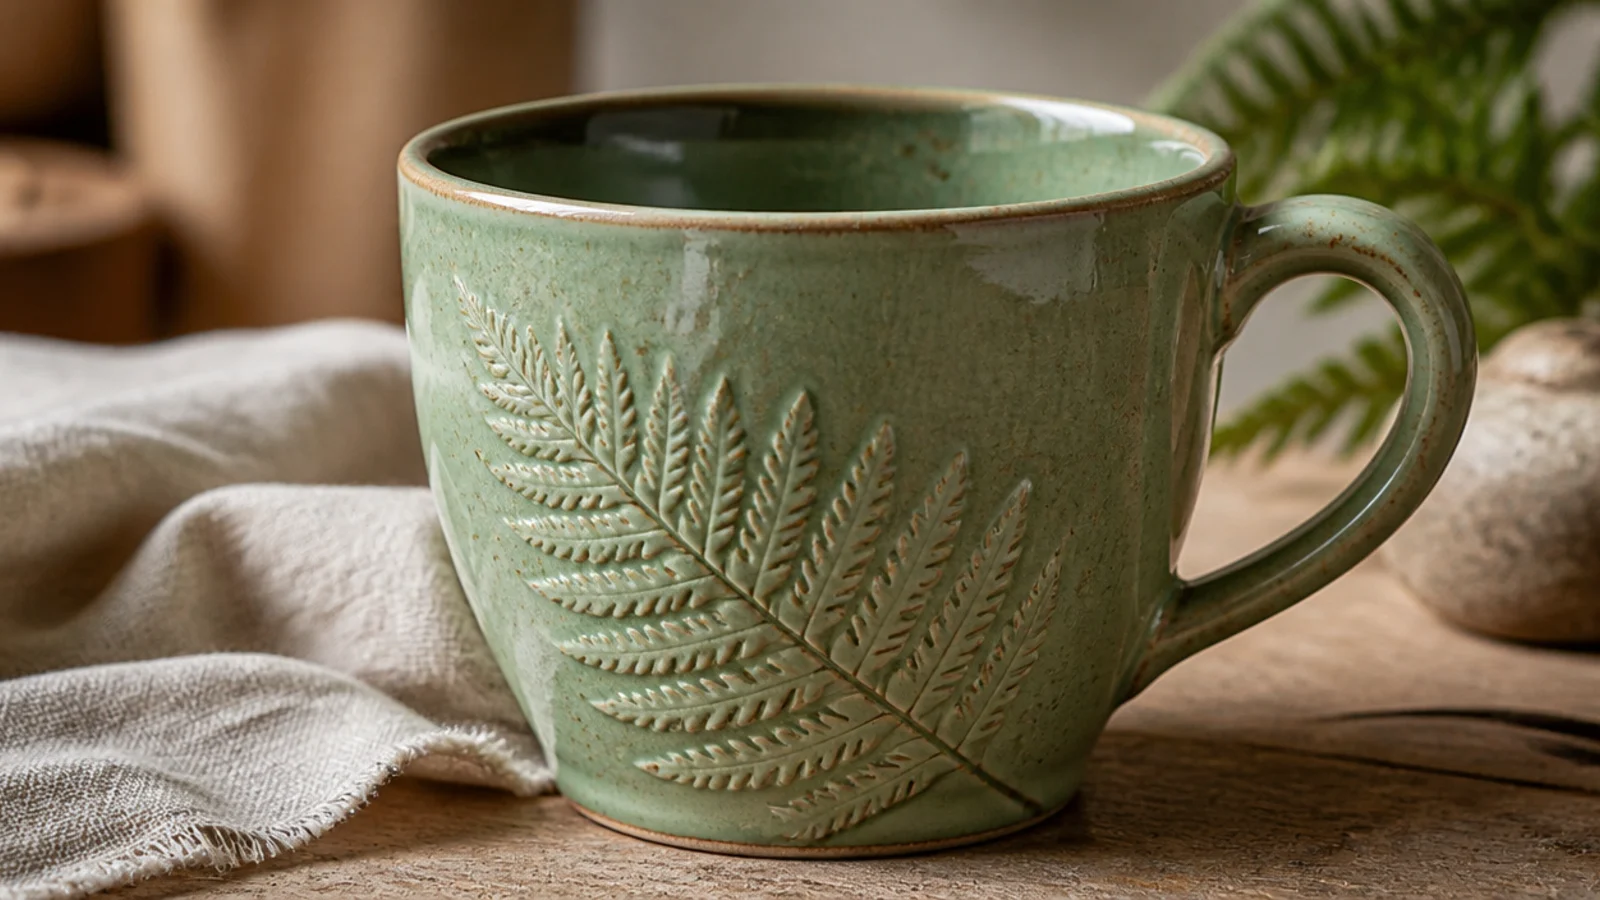
Pressing a real leaf into soft clay leaves a delicate botanical impression that a celadon or translucent glaze pools into, highlighting every vein. It’s organic, calming, and needs no drawing at all — nature makes the pattern. Ferns and leaves with strong veins print the crispest.
Build a slab mug and, while the clay is still soft, press a flat leaf vein-side down firmly into the outer surface, rolling gently so the whole shape and veins transfer. Peel it off carefully to reveal the impression, then wrap the slab into a mug and finish the joins. Bisque, then apply a translucent celadon food-safe glaze that settles into the impressed lines, and glaze-fire.
Choose a glaze that pools and breaks in the recesses — a celadon or clear that darkens in the grooves makes the leaf veins really read.
Don’t press the leaf into clay that’s already firming up; soft, fresh clay takes a crisp print, leather-hard clay barely registers it.
16. Kurinuki Carved Face Mug
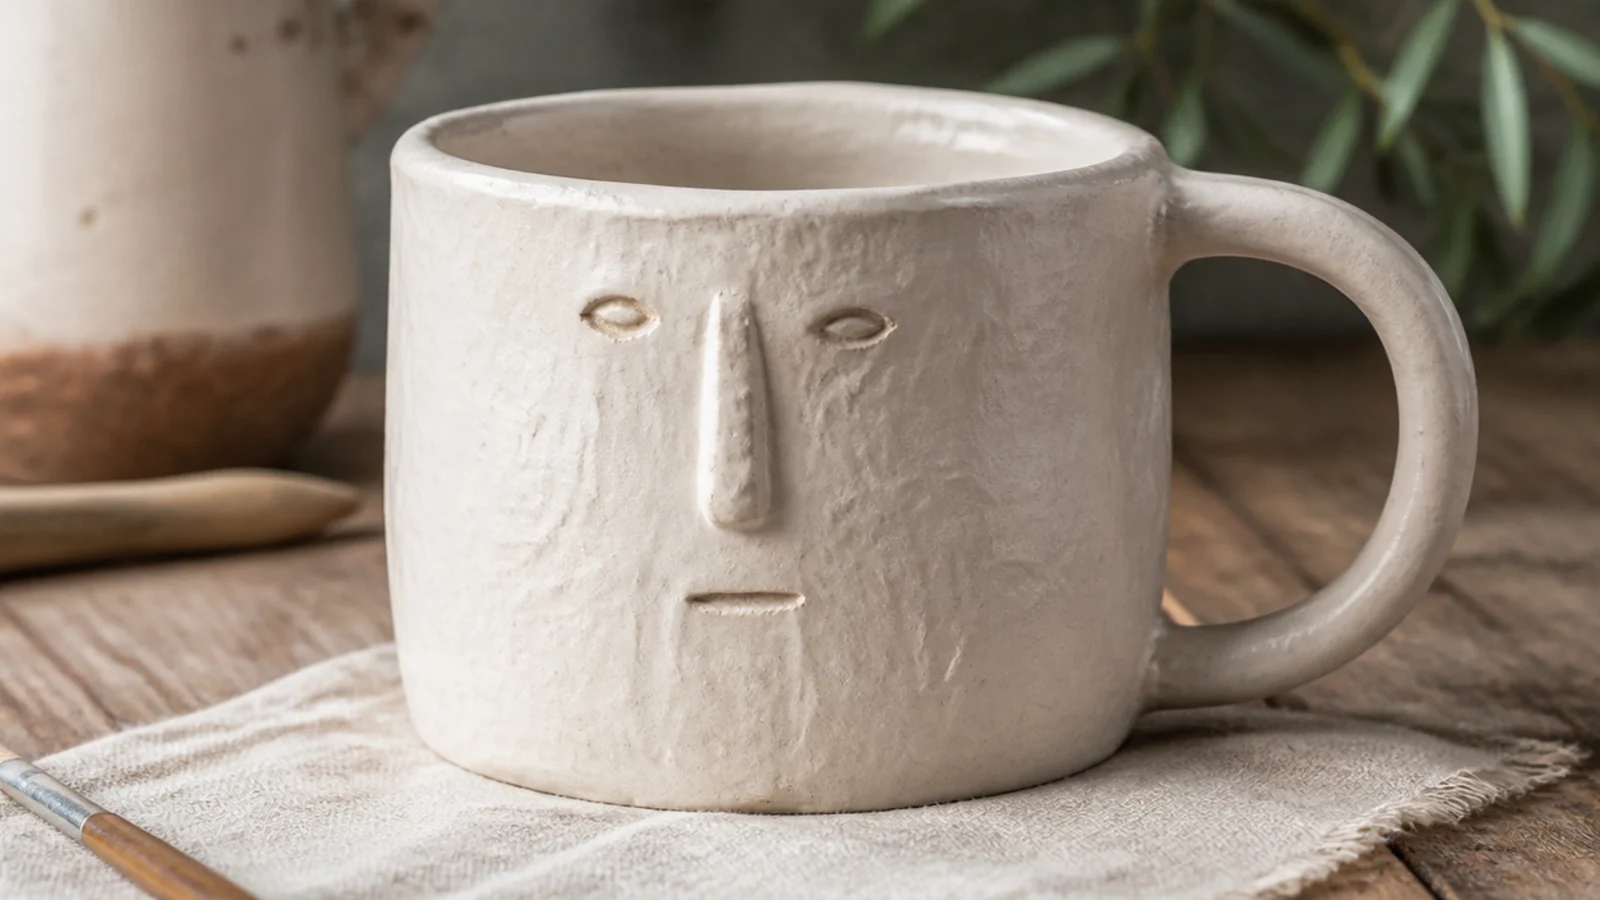
Kurinuki is the Japanese technique of carving a mug from a solid block of clay rather than building it up, leaving expressive tool marks. Add a simple minimalist face and you get the charming character mugs all over Pinterest. The rough hand-carved feel is the entire appeal, so embrace the marks.
Start with a solid block of clay a bit larger than your mug. Shape the outside, then hollow the inside with a loop tool, keeping walls an even quarter-inch and checking depth often. Carve a simple face — two dots and a small line — with a needle tool while the walls are firm but not dry. Attach a handle if you like, bisque, glaze with a matte food-safe glaze that keeps the carved texture, and glaze-fire.
Editor's noteHollow slowly and check the wall thickness by pressing gently from outside and inside at once — it’s easy to carve one side too thin.
Skip thisDon’t hollow the block while it’s very wet and sticky; let it firm slightly so the walls hold their shape as you carve.
17. Gold Luster Accent Mug
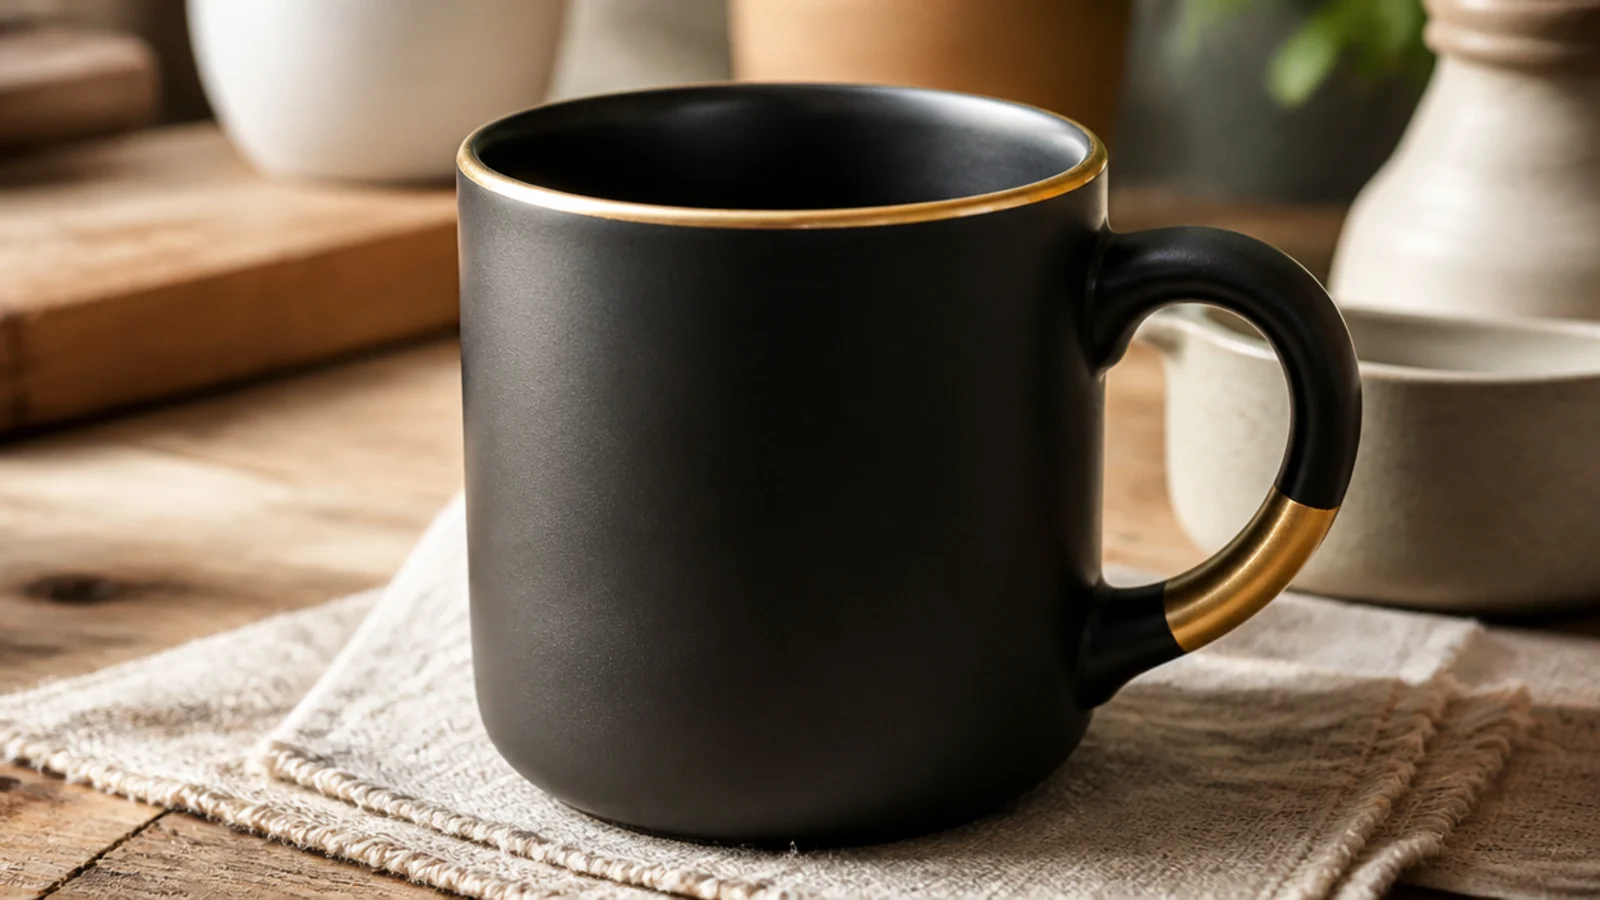
A thin band of real gold luster around the rim or on the handle turns a plain mug luxe with the tiniest amount of decoration. Luster is a special overglaze that fires in a third, low firing to a brilliant metallic finish. Note it’s not dishwasher- or microwave-safe, so it’s for hand-washed special mugs.
Finish and glaze-fire your mug completely first. Then, with a fine brush, paint a thin, even line of liquid bright gold luster around the rim or handle, keeping it neat since luster shows every drip. Ventilate well and fire to the luster’s rated low temperature (around cone 018) in a well-vented kiln. Hand-wash only afterward — never microwave a lustered mug.
Editor's noteApply luster in one thin, confident pass — thick or double-coated luster fires dull, brown, or blistered instead of bright gold.
Skip thisDon’t put gold luster where lips or lots of washing hit it constantly, and never microwave it; the metal will degrade or spark.
18. Mishima Line-Inlay Mug
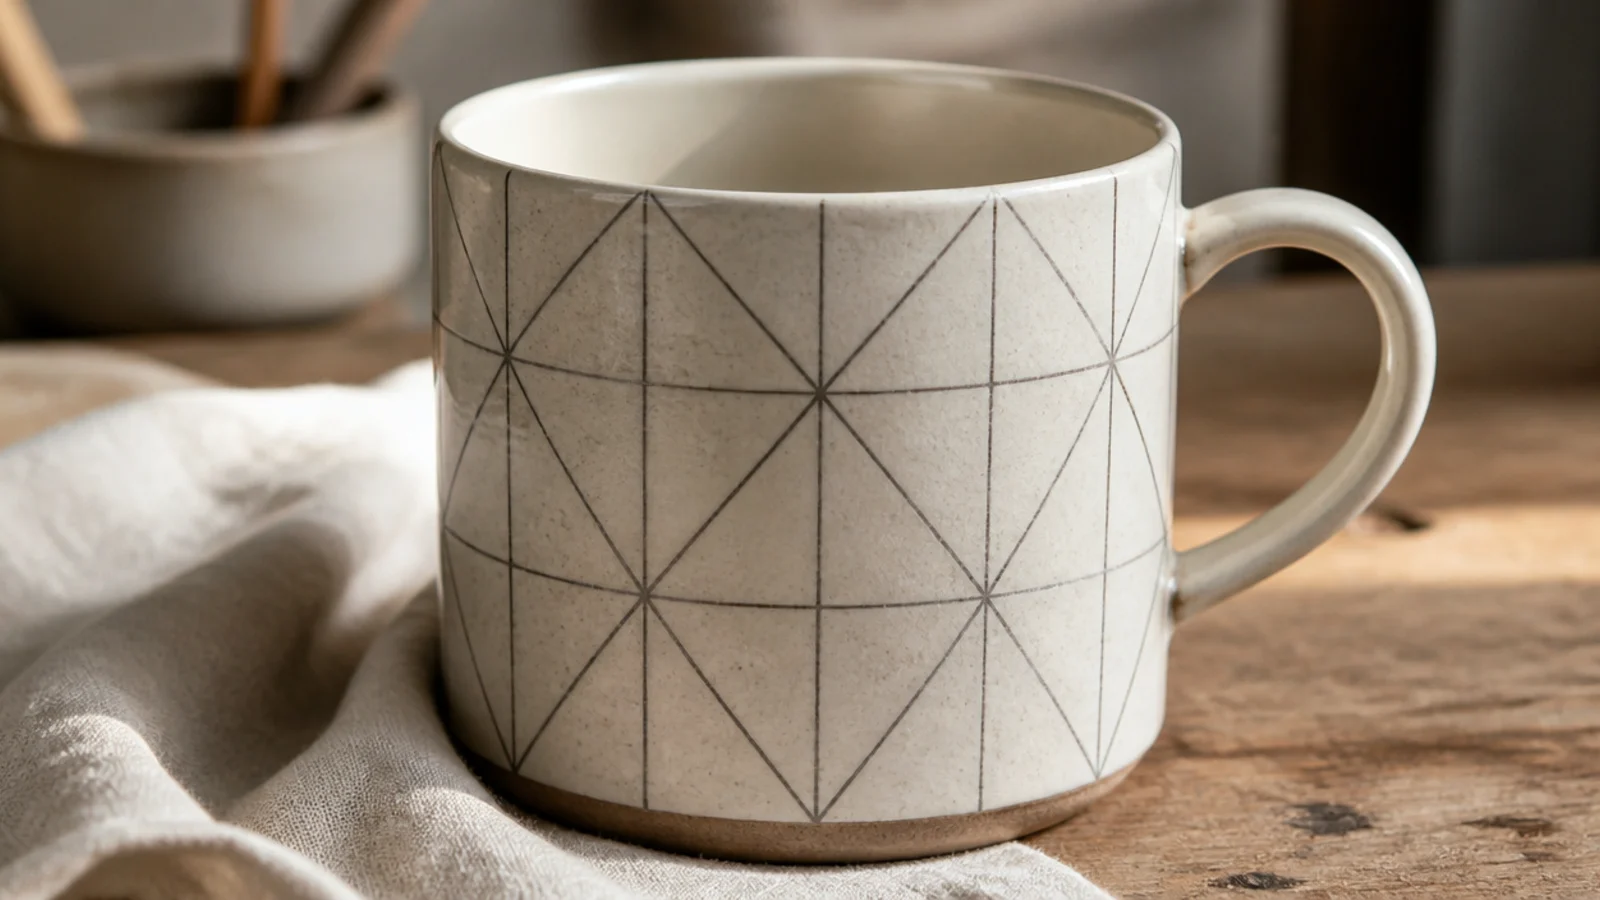
Mishima inlays color into carved lines so the design sits perfectly flush with the surface, like fine porcelain drawing. It gives razor-sharp lines with a hand-drawn feel and a smooth-to-the-touch finish. It’s more involved than sgraffito but produces the cleanest linework of any technique here.
At leather-hard, carve fine shallow lines into the clay with a needle tool. Brush a contrasting underglaze generously over the carved lines, pushing it into every groove, and let it set until firm. Scrape the surface back with a metal rib to remove all the excess, leaving color only in the recessed lines. Bisque, apply a clear or satin food-safe glaze, and glaze-fire.
Let the inlay underglaze firm up before scraping back — scraping too soon smears color across the surface and muddies the lines.
Don’t carve the lines too shallow; shallow grooves hold almost no color and vanish when you scrape the surface clean.
19. Lace-Texture Impressed Mug
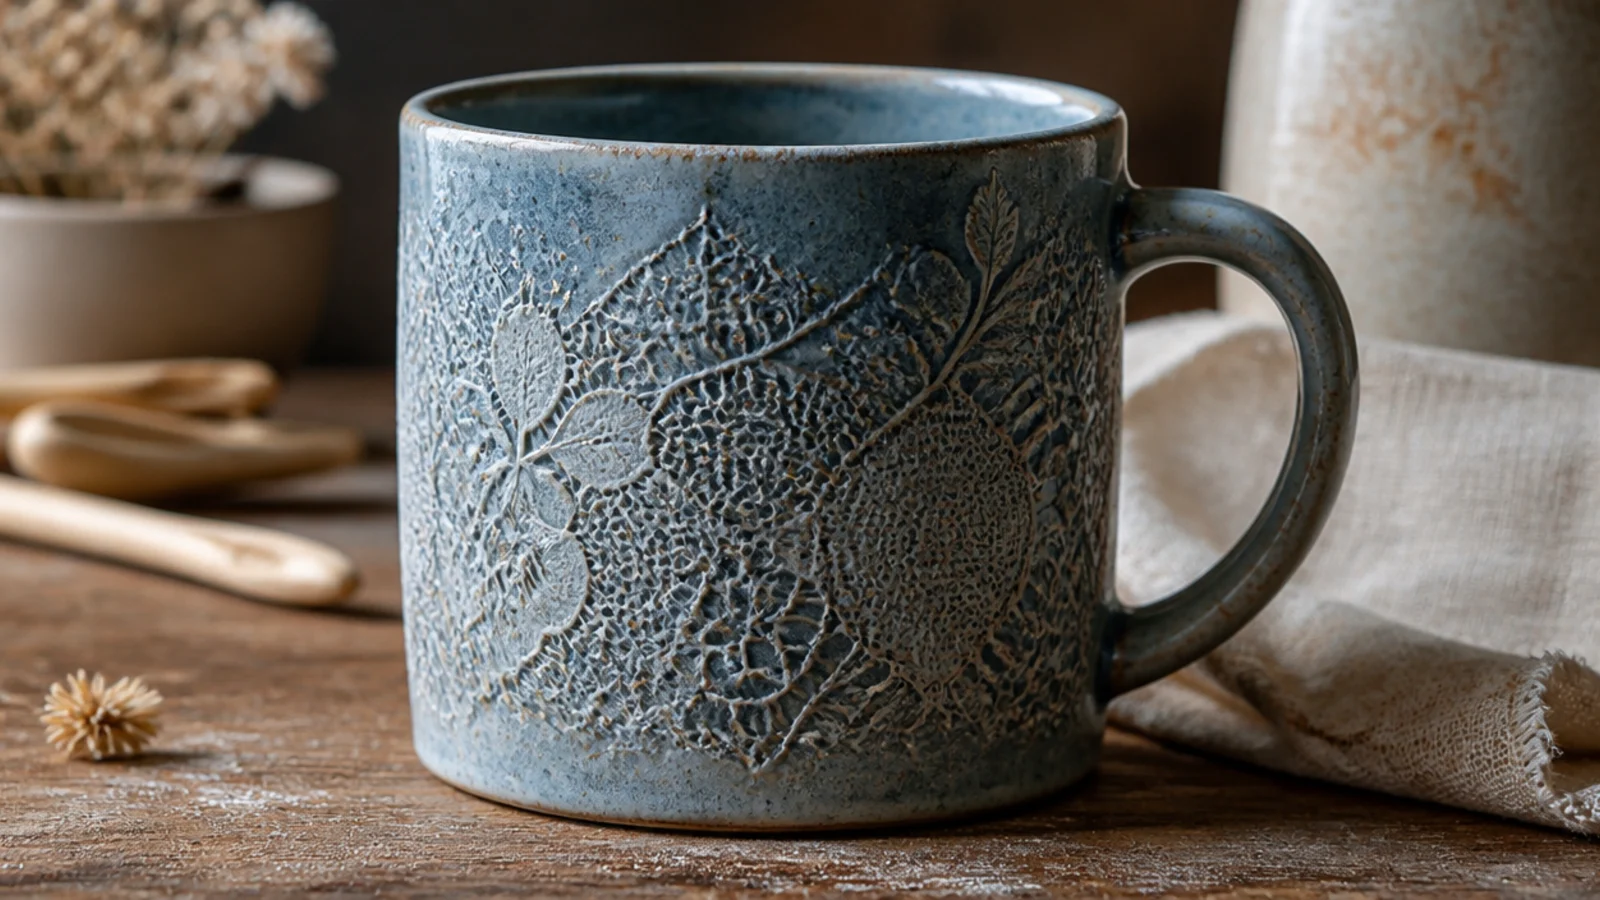
Pressing real lace or a doily into a soft slab leaves an intricate raised-and-recessed texture that looks incredibly detailed for how easy it is. A glaze that breaks over the high points and pools in the low ones makes the lace pattern glow. It’s a lovely, delicate look for a gift mug.
Roll a 1/4-inch slab, lay a piece of lace or a textured mat over it, and roll firmly once with a rolling pin to press the pattern in. Peel the lace away, then wrap the textured slab into a mug with the pattern facing out, joining the seam carefully. Firm up, attach a handle, bisque, then apply a food-safe glaze that breaks over texture (a satin or semi-matte works well) and glaze-fire.
Editor's noteUse a glaze known to 'break' over texture so the raised lace lines show lighter and the pattern reads clearly instead of filling in flat.
Skip thisDon’t apply glaze too thickly over the lace texture; a heavy coat fills the fine recesses and erases the detail you pressed in.
20. Nerikomi Patterned Mug
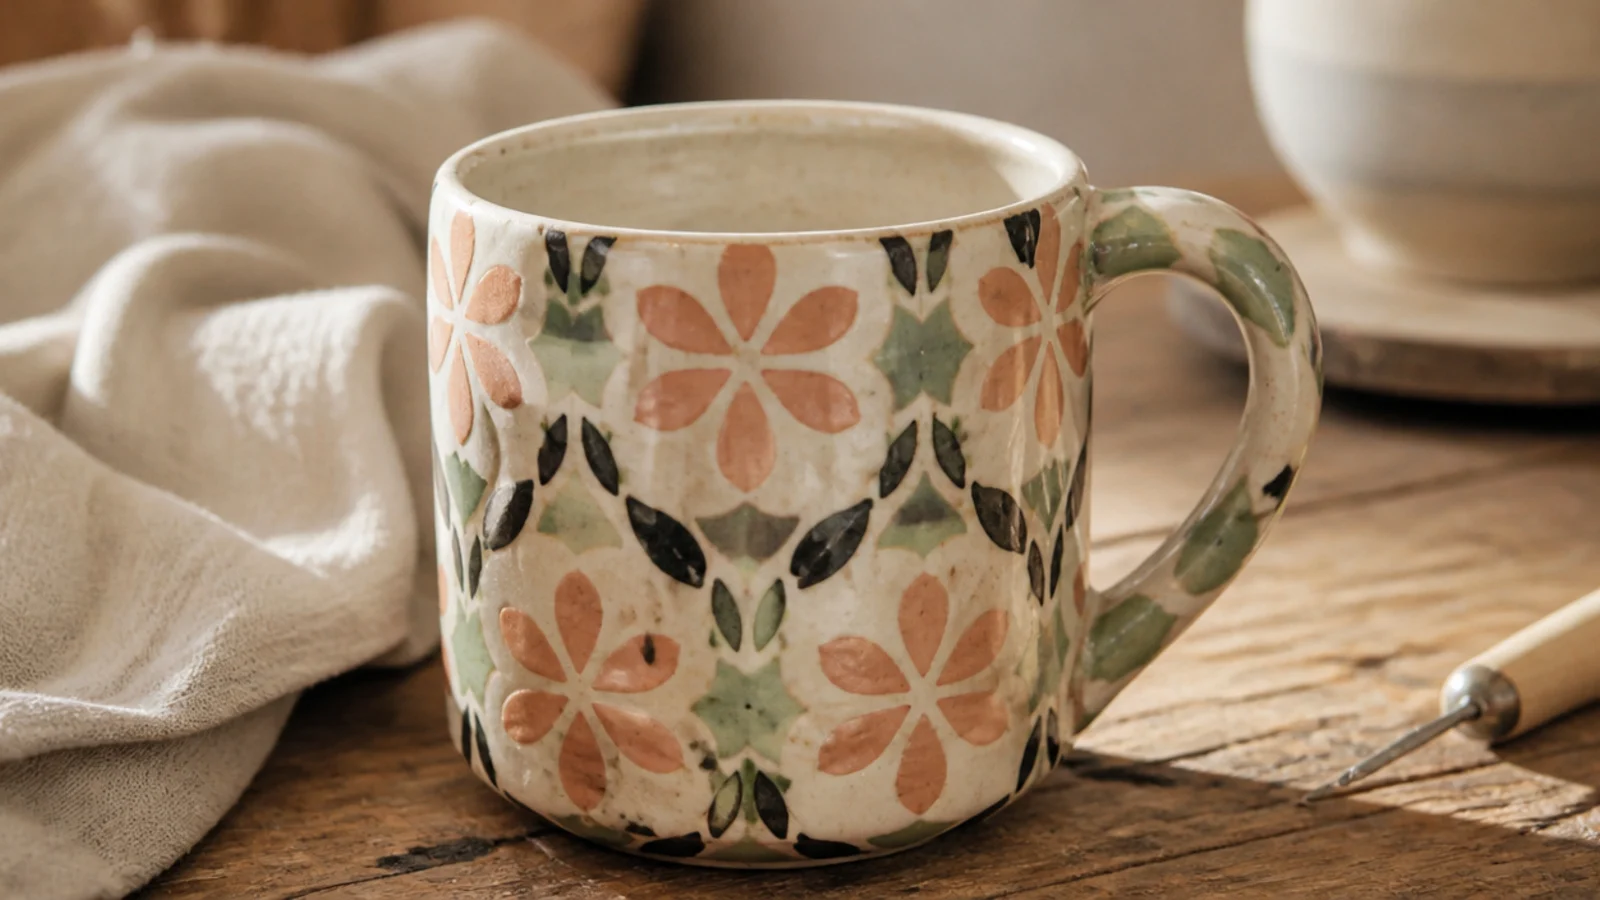
Nerikomi is the advanced cousin of marbling — you build a patterned loaf of colored clay, slice it into tiles, and assemble a mug so a repeating motif runs through the wall. It’s the showstopper of hand-building and every piece is unique. It takes planning and patience, which is why it’s last on the list.
Layer and roll colored stoneware into a patterned block (a simple bullseye or checkerboard is a good start), then slice thin cross-sections that all show the pattern. Press the slices edge to edge onto a thin backing slab, roll gently to bond them without smearing, and build a slab mug from the patterned sheet. Scrape the surface clean at leather-hard to sharpen the pattern, bisque, apply clear food-safe glaze, and glaze-fire.
Use clay colors with identical shrinkage and roll the assembled slices gently in one direction to bond them without smearing the pattern.
Don’t mix clay bodies with different firing temperatures; mismatched shrinkage tears the pattern apart as the mug dries and fires.