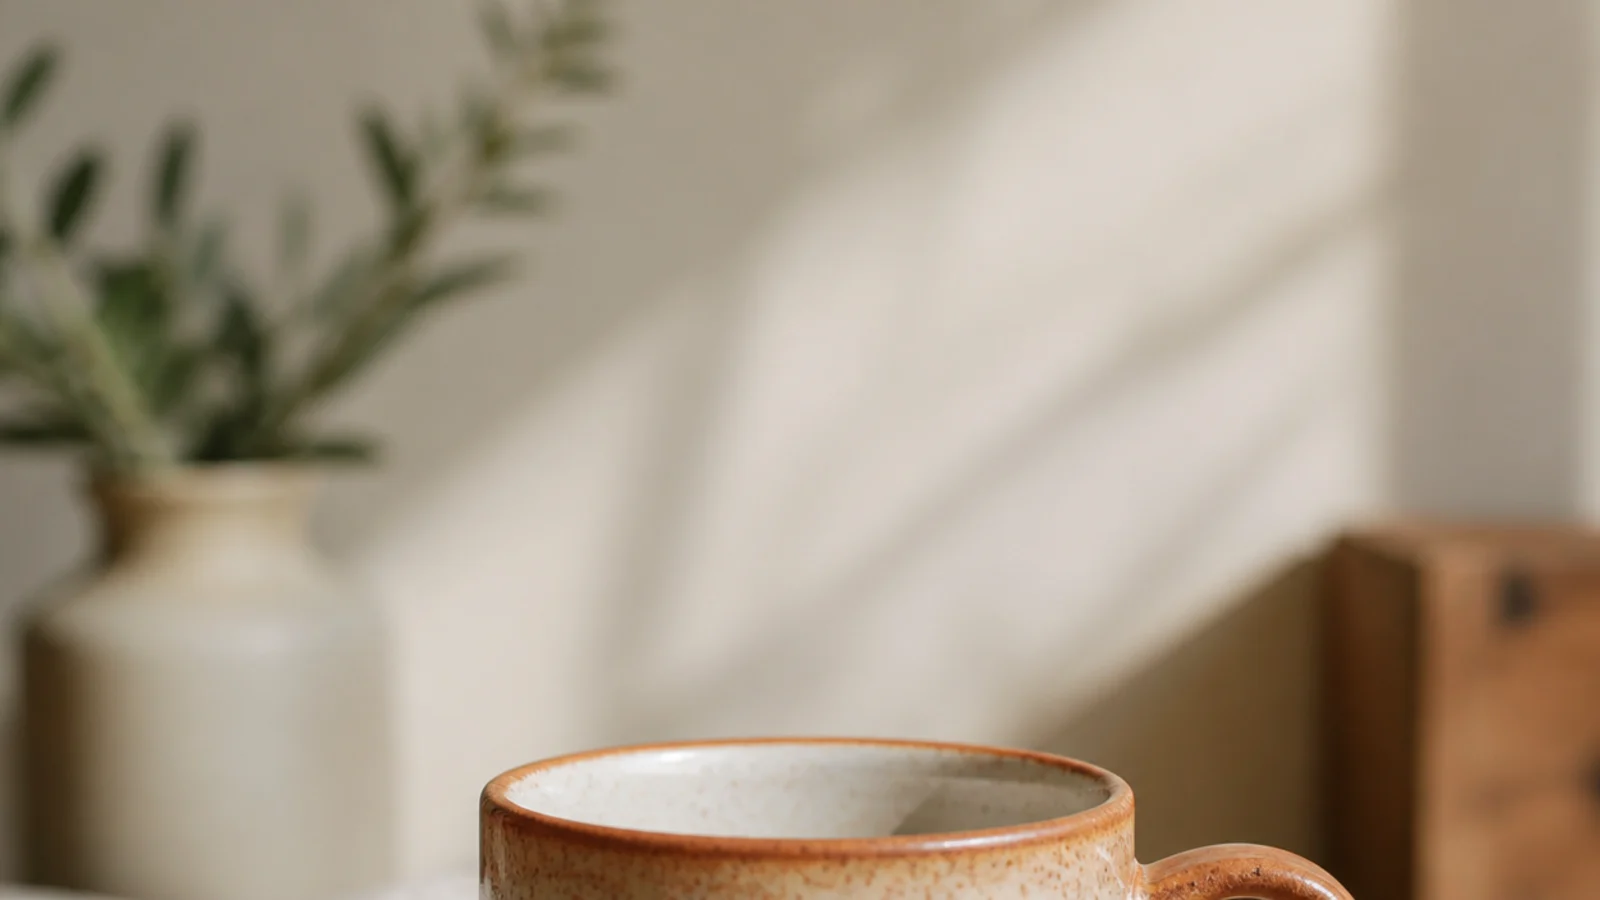
1. Speckled Clear Stoneware Mug
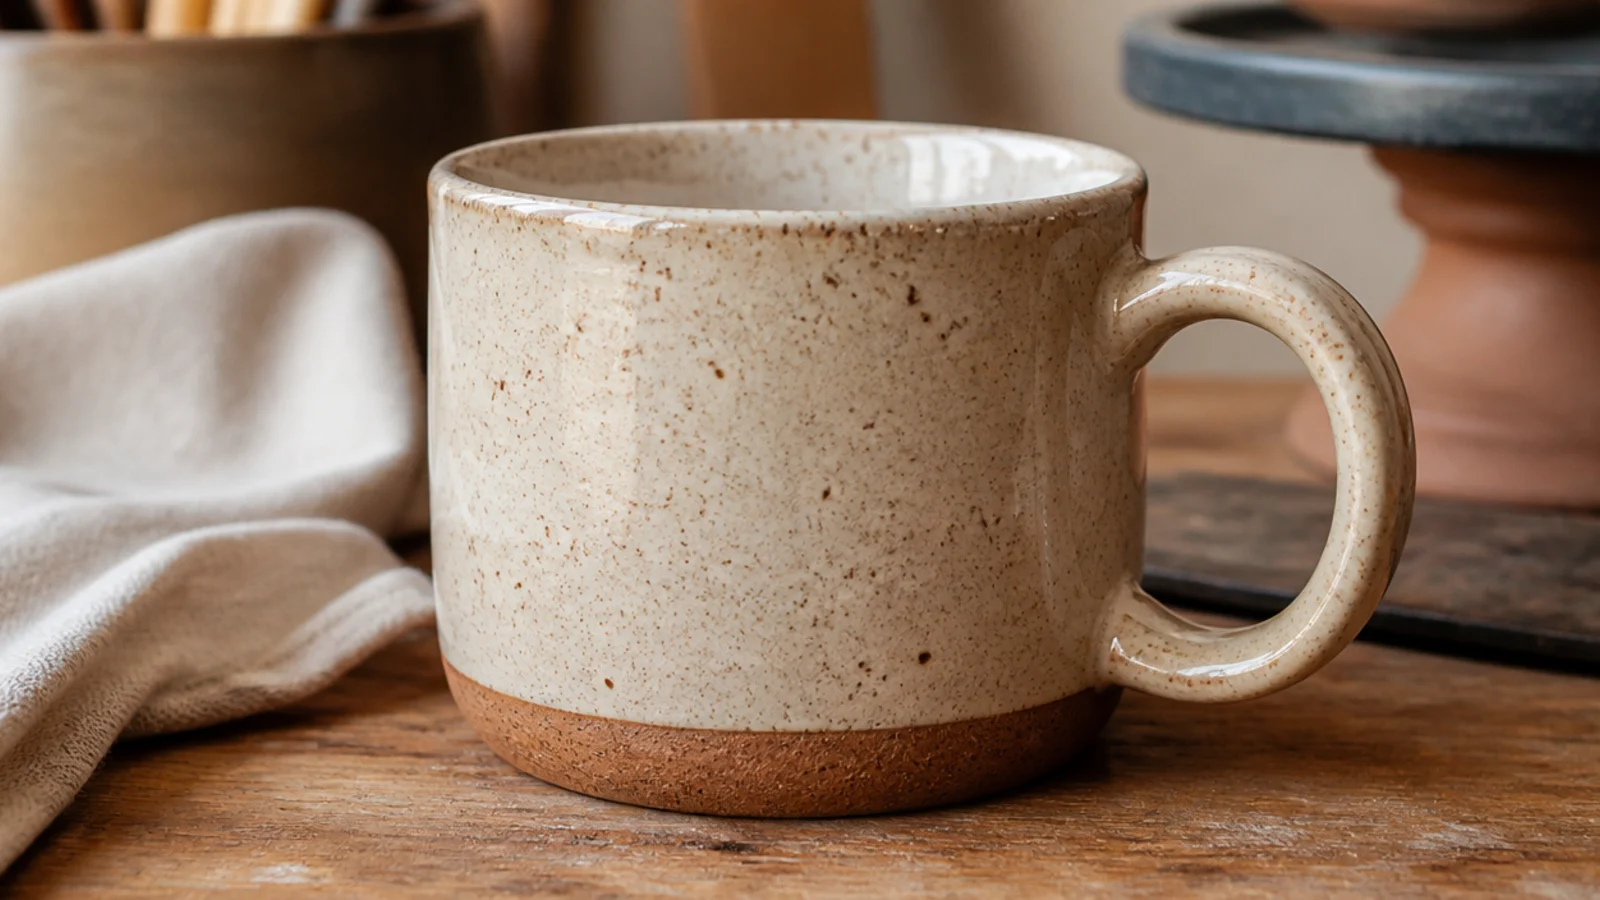
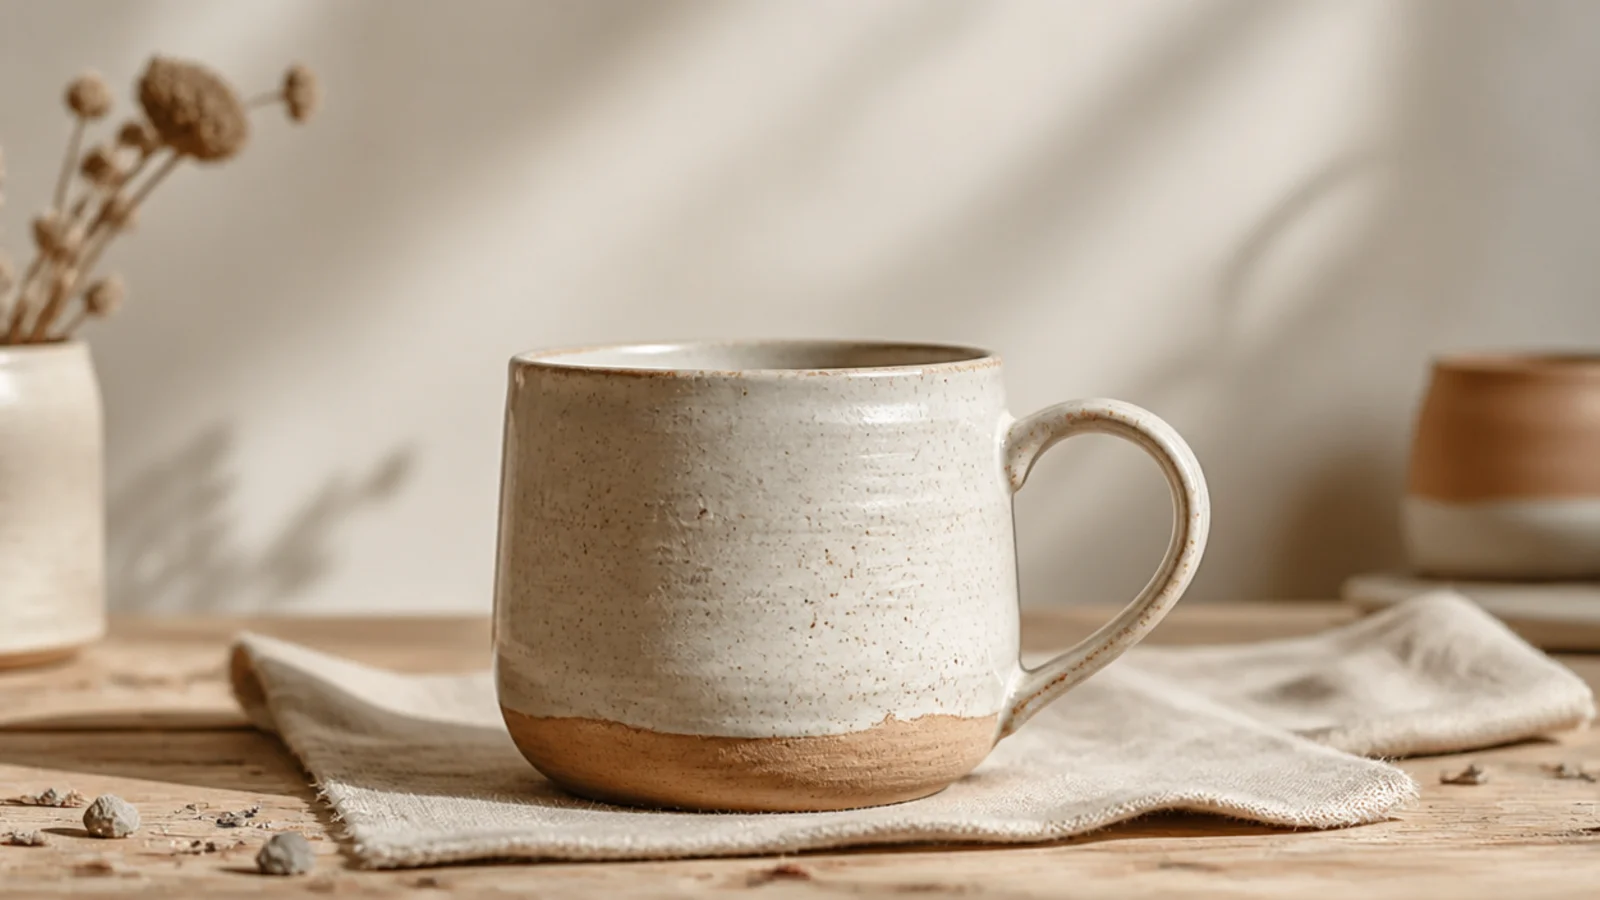
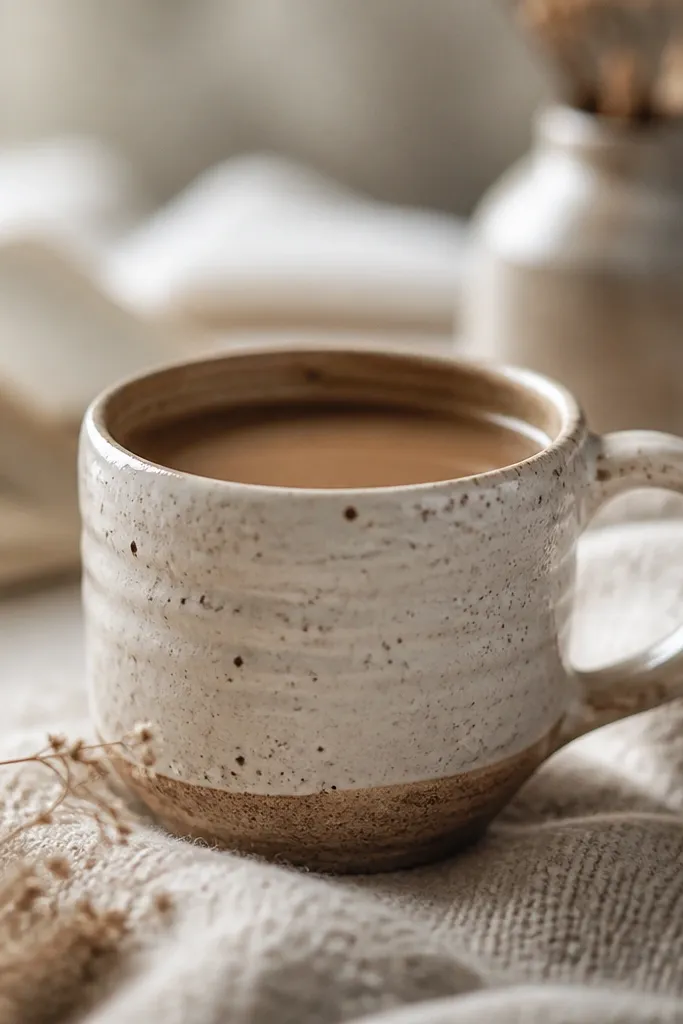
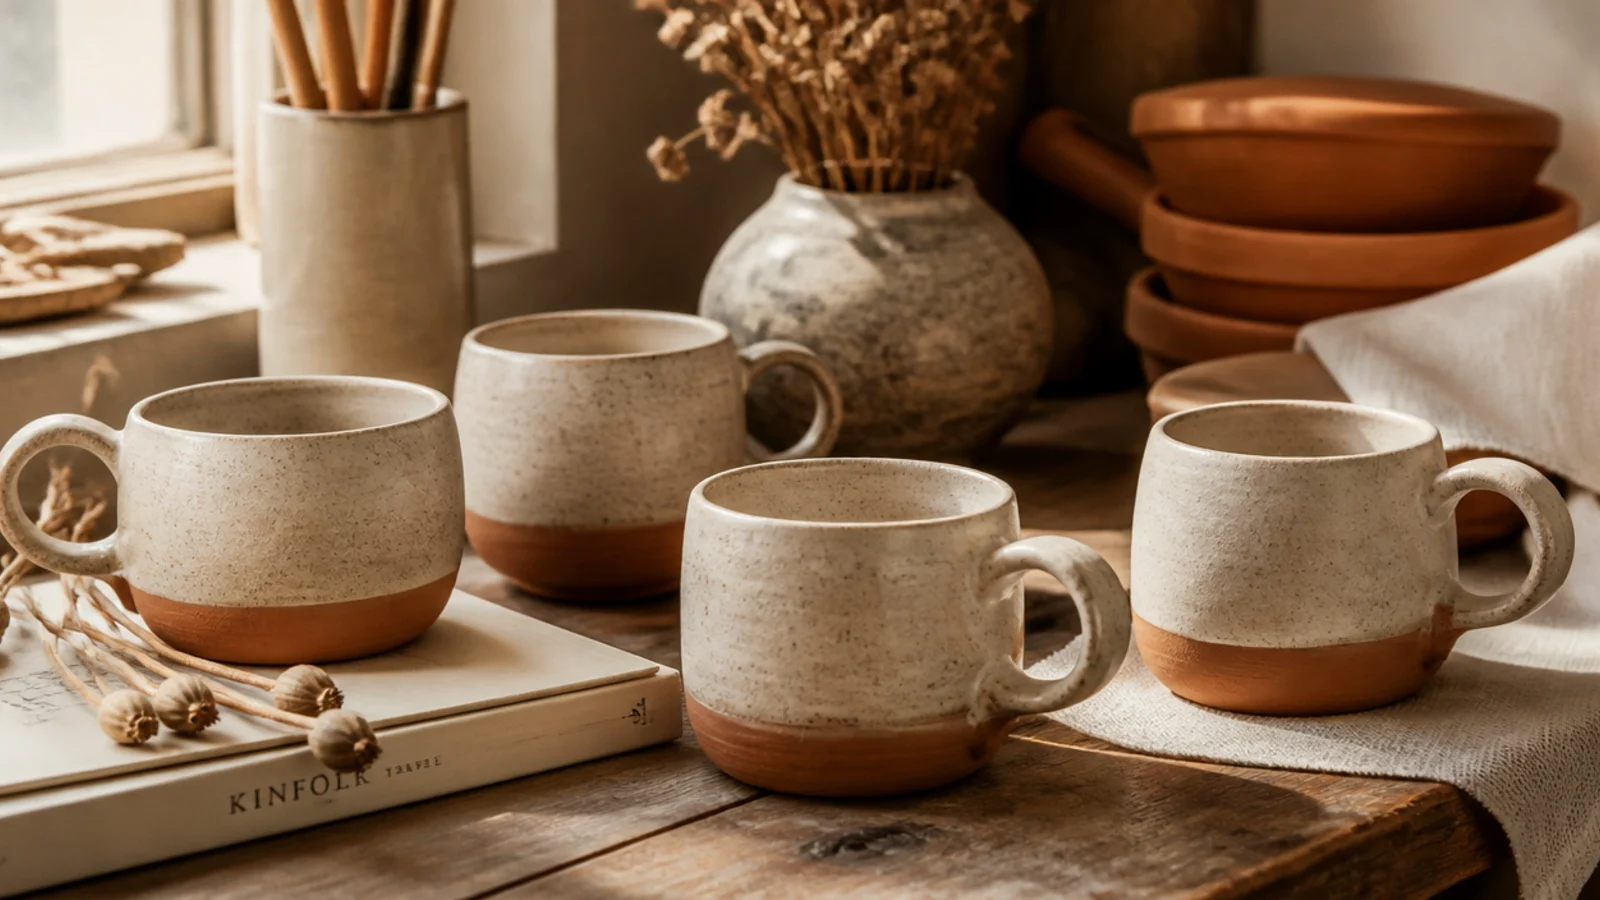
The easiest gorgeous ceramic mug is barely decorated at all — a clear glaze over speckled stoneware. The iron flecks in the clay bloom through the clear coat for that popular oatmeal-fleck cafe look. It suits any form and pairs with everything, which is exactly why it never looks dated.
Build or throw the mug in a speckled stoneware and bisque fire it. Stir a food-safe clear glaze thoroughly, then dip the mug for three to five seconds or brush on two to three even coats to credit-card thickness. Wipe the foot and bottom quarter-inch completely clean with a damp sponge. Glaze-fire to the clay’s rated cone so the speckles bloom and the surface fully vitrifies.
Choose a clear satin instead of high-gloss if you want the speckles to read softer and more matte-modern.
Don’t apply the clear too thick over speckle; a heavy clear can cloud and hide the very flecks that make this design.
2. Two-Tone Dip Glaze Mug
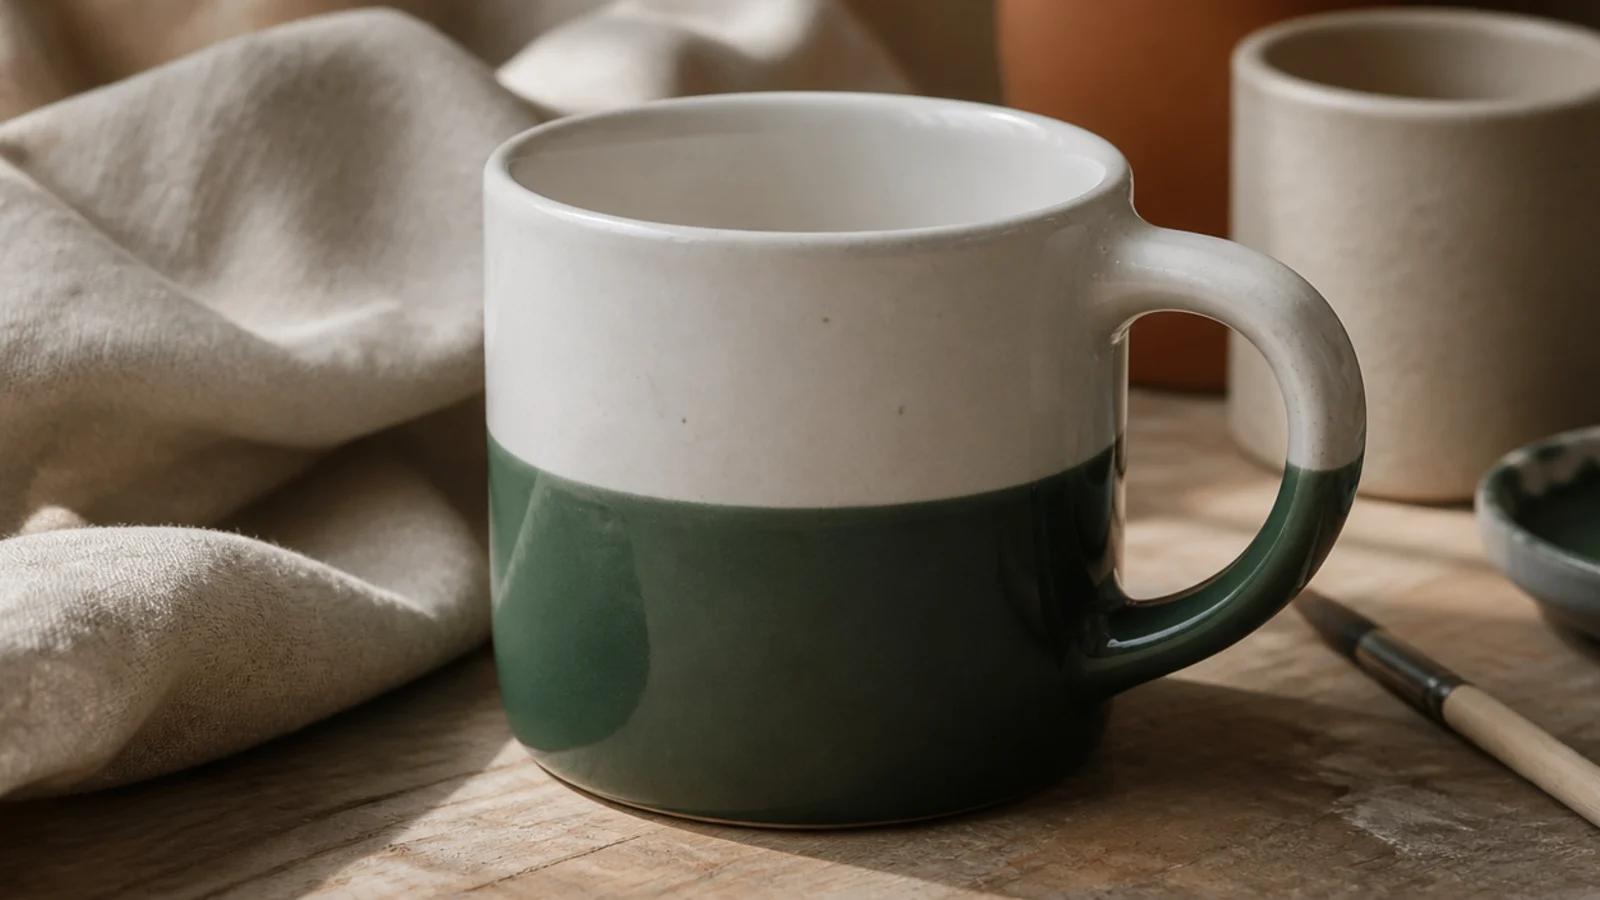
A two-tone dip is the ceramic version of a color block — one clean line where two glazes meet. Dipping makes the precision automatic, so it’s ideal for a first decorated mug. A white or cream over a saturated color reads modern and intentional.
Bisque fire the mug, then dip or brush the whole thing in a white food-safe base glaze and let it dry to the touch. Holding the mug level, dip just the bottom half into a colored glaze for a slow count of three and lift straight up. Wipe the foot clean, then glaze-fire; the two glazes meet in a crisp band. Keep the second color at least an inch off the foot if it’s a runny glaze.
Editor's noteRest the rim on a level surface and lower the mug straight down so the dip line stays perfectly horizontal.
Skip thisDon’t dip the second color while the base glaze is still soaking wet; let it touch-dry or the layers slide and blur together.
3. Ombré Dip Fade Mug
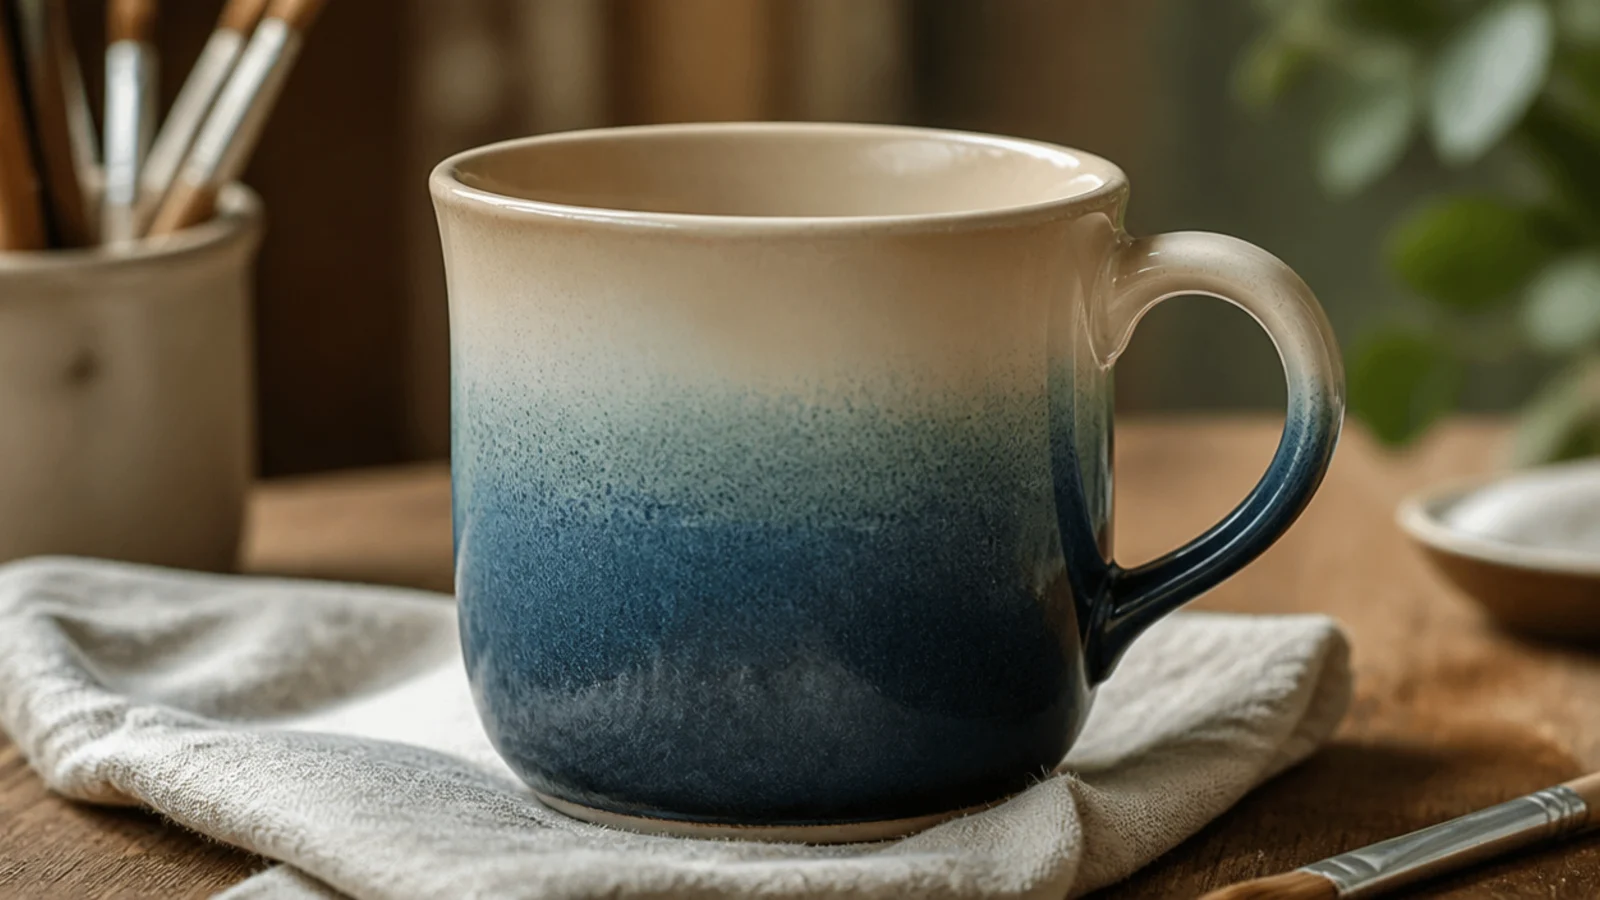
An ombré fade looks advanced but multiple graduated dips do the blending for you. You dip deepest at the bottom and progressively less toward the rim so the color thins out. Soft tonal colors — blue to cream, blush to white — blend the most forgivingly.
Glaze the whole bisqued mug in the light base glaze and let it dry. Dip the bottom third in the darker glaze, then dip the bottom two-thirds a little more briefly, then a quick dip of just the lowest inch, so color builds toward the base. The overlapping dips create a gradient. Wipe the foot clean and glaze-fire; layered glaze depth reads as a smooth fade.
Editor's noteUse two glazes from the same family or a light-and-dark of one color so the overlaps blend instead of clashing.
Skip thisDon’t jump between two high-contrast colors for a first ombré; a hard step between shades is very hard to blend cleanly.
4. Matte Pastel Monochrome Mug
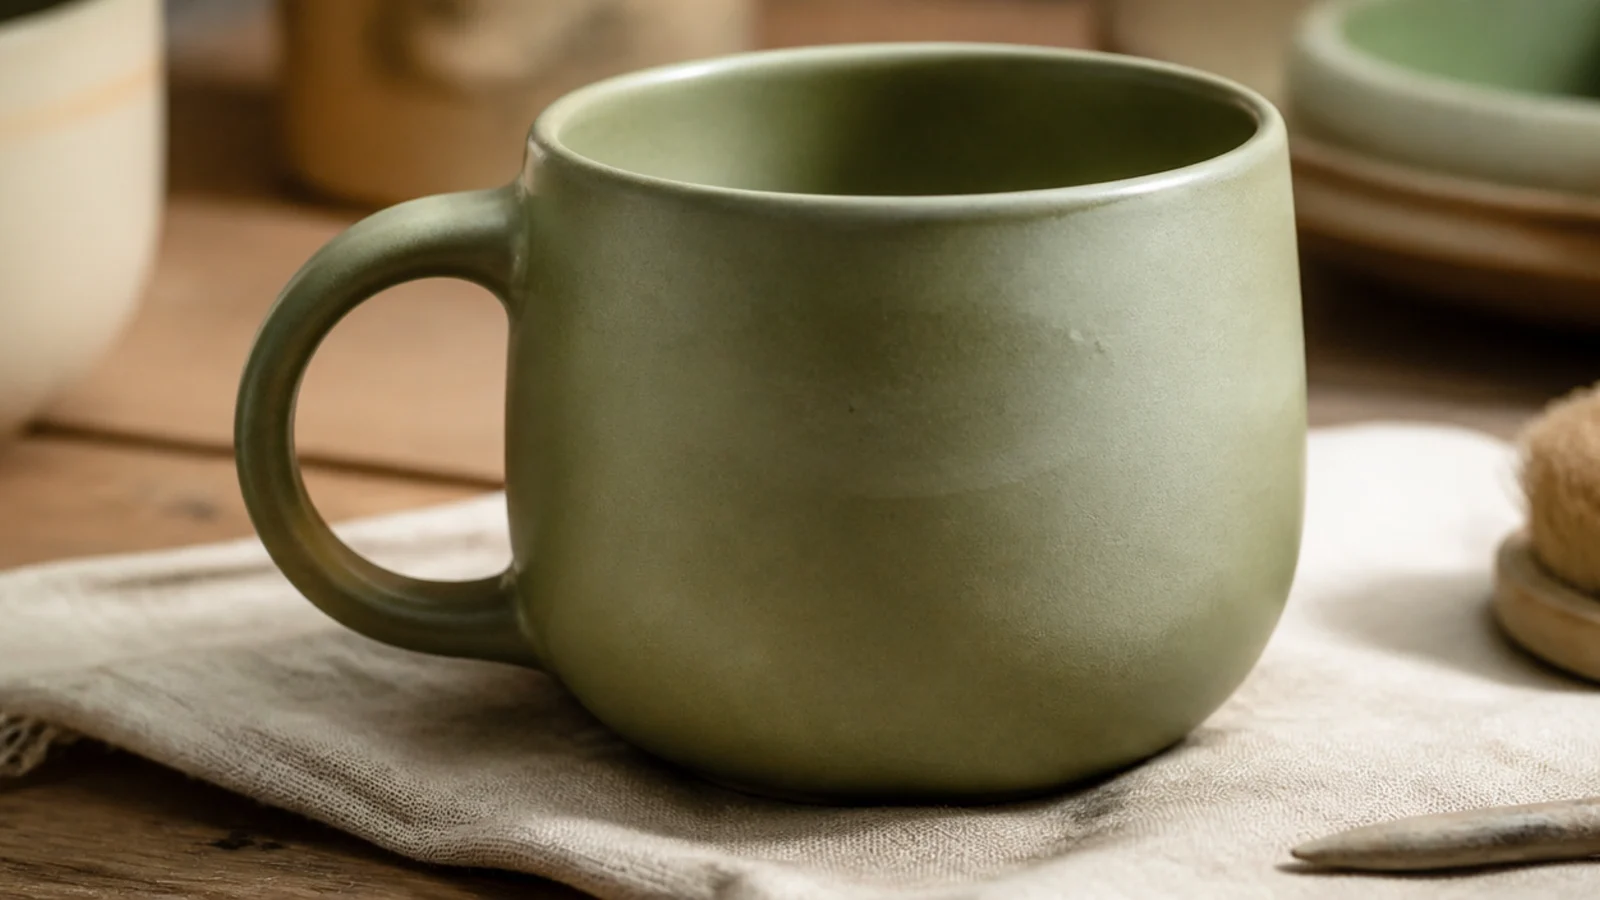
One solid matte pastel over the whole mug is quietly high-end and endlessly calming. The velvety, non-reflective surface feels expensive and shows off the mug’s form. Chalky sage, blush, or grey-blue are the most current picks.
Bisque fire the mug, then apply a food-safe matte glaze in two to three even coats to full thickness (matte glazes can be less durable if thin). Keep coats smooth with a soft wide brush, brushing in alternating directions to avoid streaks. Wipe the foot clean and glaze-fire to the rated cone. Confirm the matte glaze you choose is dinnerware-rated, since some mattes aren’t.
Editor's noteBrush each coat at a right angle to the last so brush marks self-level into a smooth, even matte.
Skip thisDon’t use an under-fired or decorative matte on the drinking surface; some mattes are rough or not food-safe unless fully matured.
5. Glossy Jewel-Tone Mug
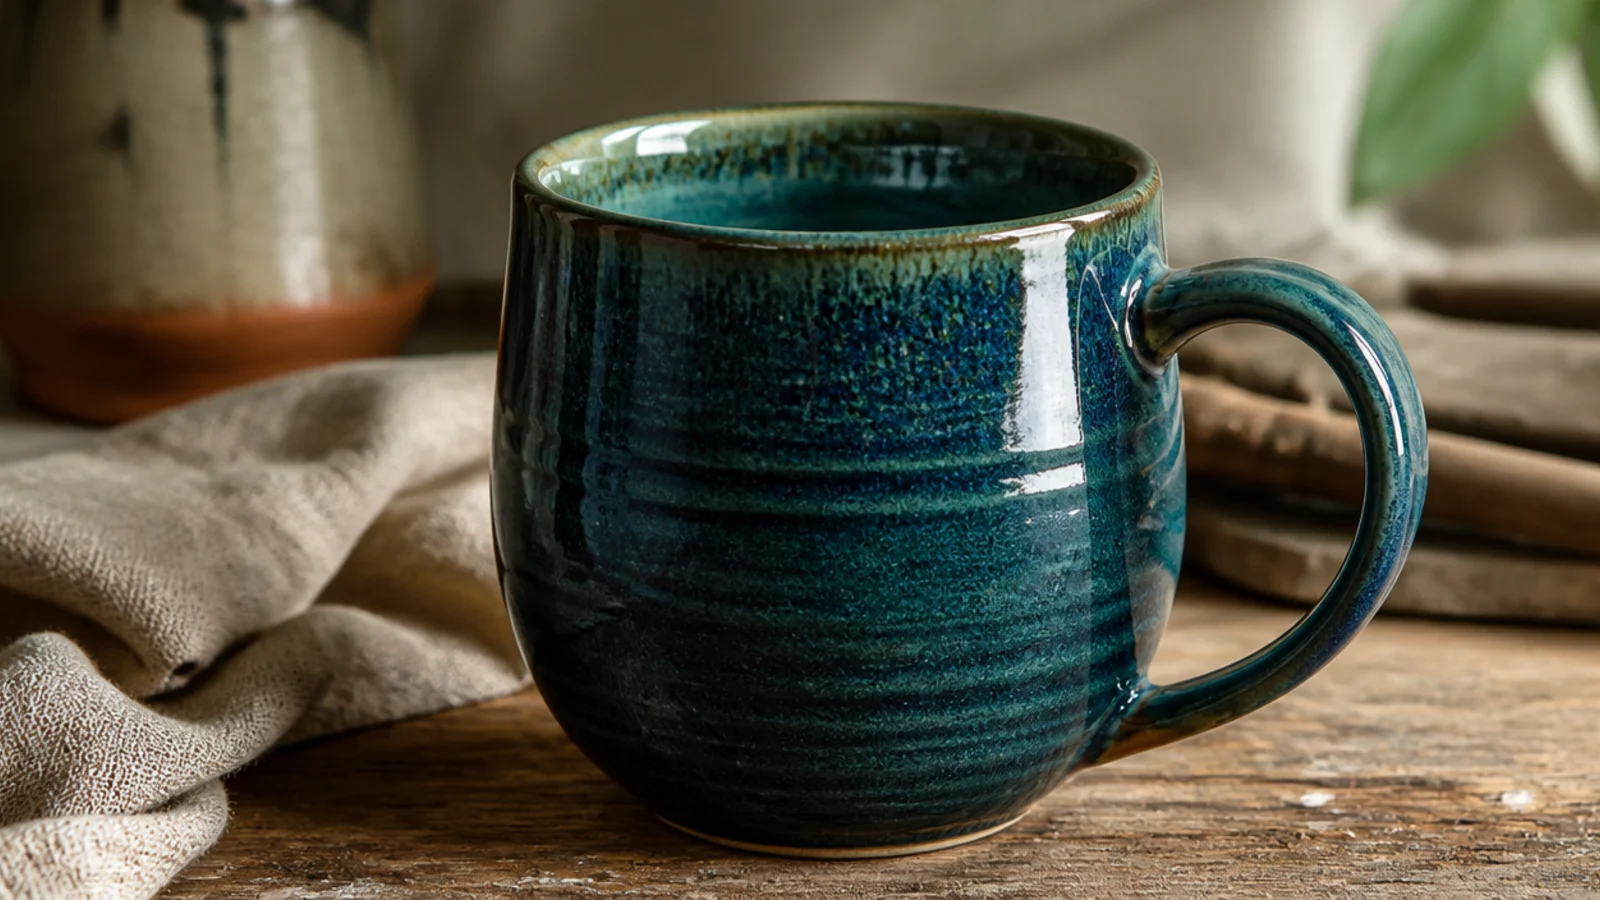
A single deep glossy jewel tone — teal, plum, forest — is dramatic and dead simple. A good glossy glaze pools in throwing lines and breaks lighter over edges, adding depth for free. It’s the most bang-for-effort ceramic design there is.
Bisque fire, then dip the mug in a glossy food-safe jewel-tone glaze for three to five seconds, or brush two to three even coats. Glossy glazes show every drip, so smooth any runs with a damp fingertip before firing. Wipe the foot clean and glaze-fire to the rated cone. Choose a glaze known to break over edges for that pooled, dimensional look.
Editor's notePick a glaze that breaks lighter over edges — it highlights the rim and any throwing lines and instantly looks more studio-made.
Skip thisDon’t leave thick drips or finger smudges in a glossy glaze; the shine magnifies every imperfection after firing.
6. Reactive Drip Glaze Mug
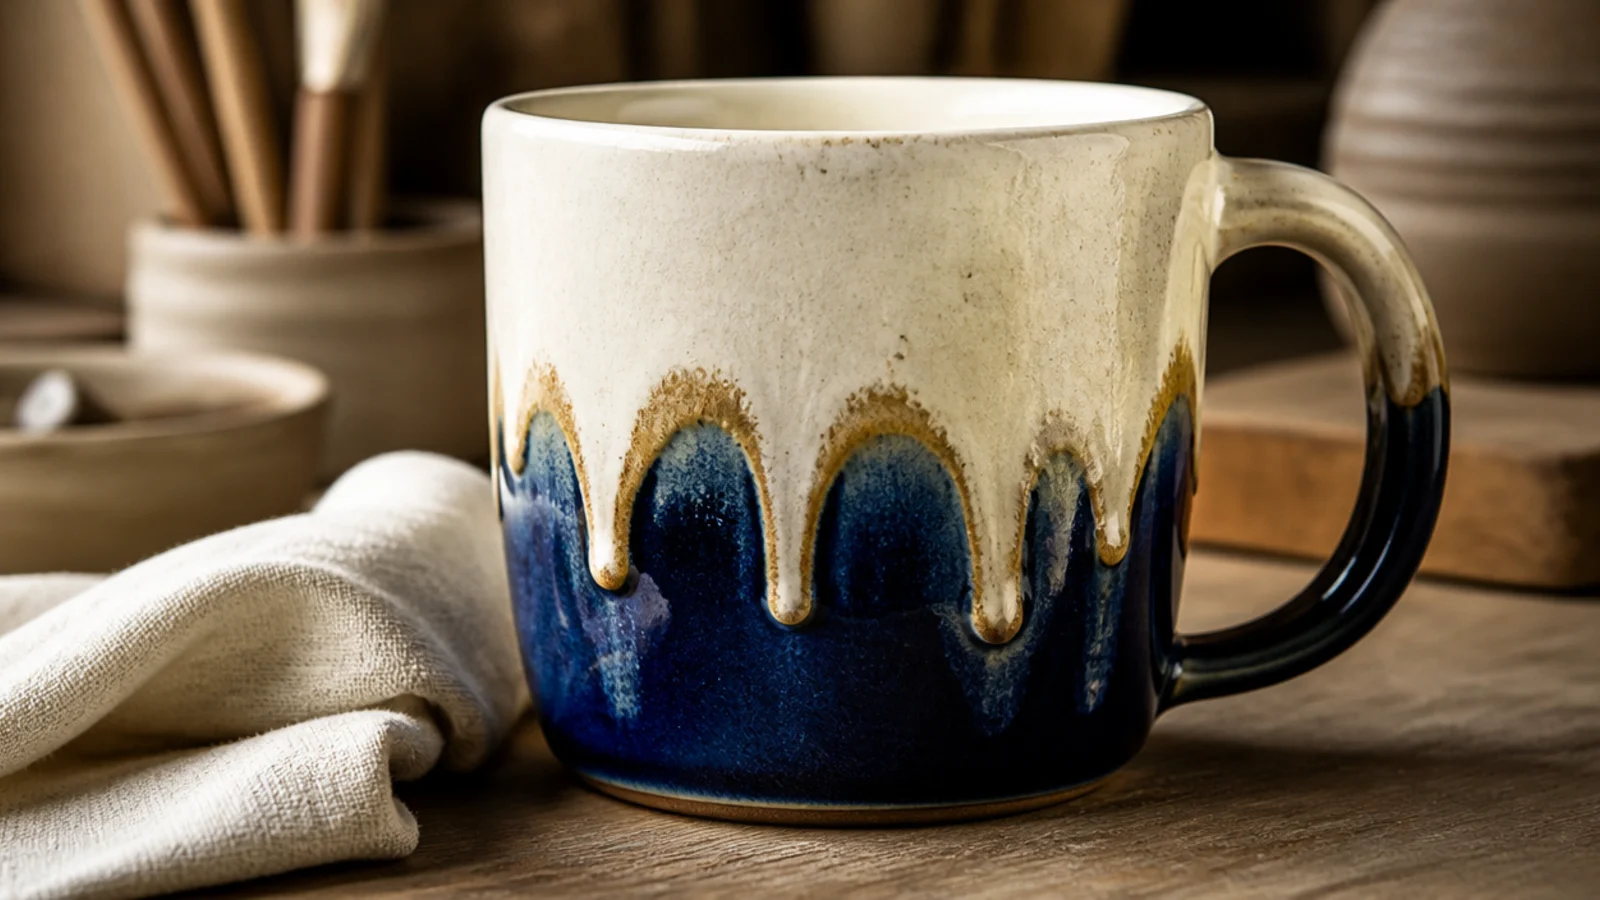
Reactive glazes create dramatic drips where a runny top glaze melts over a stable base color. Every firing is a little different, and the effect looks like expensive studio ware. The whole skill is keeping the runs away from the kiln shelf.
Bisque fire and glaze the whole mug in a stable base color. Apply a thick band of a reactive, running glaze around only the top third, keeping it well above the foot. Fire on a shelf protected with kiln wash or a cookie since the top glaze will stream down. Glaze-fire; the reactive glaze melts and flows into organic drips over the base.
Editor's noteLeave at least an inch of glaze-free clay at the very foot so runs can’t reach and fuse the mug to the shelf.
Skip thisDon’t apply reactive glaze low on the mug; running glaze pools at the base and glues your mug permanently to the kiln shelf.
7. Layered Glaze Over Texture Mug
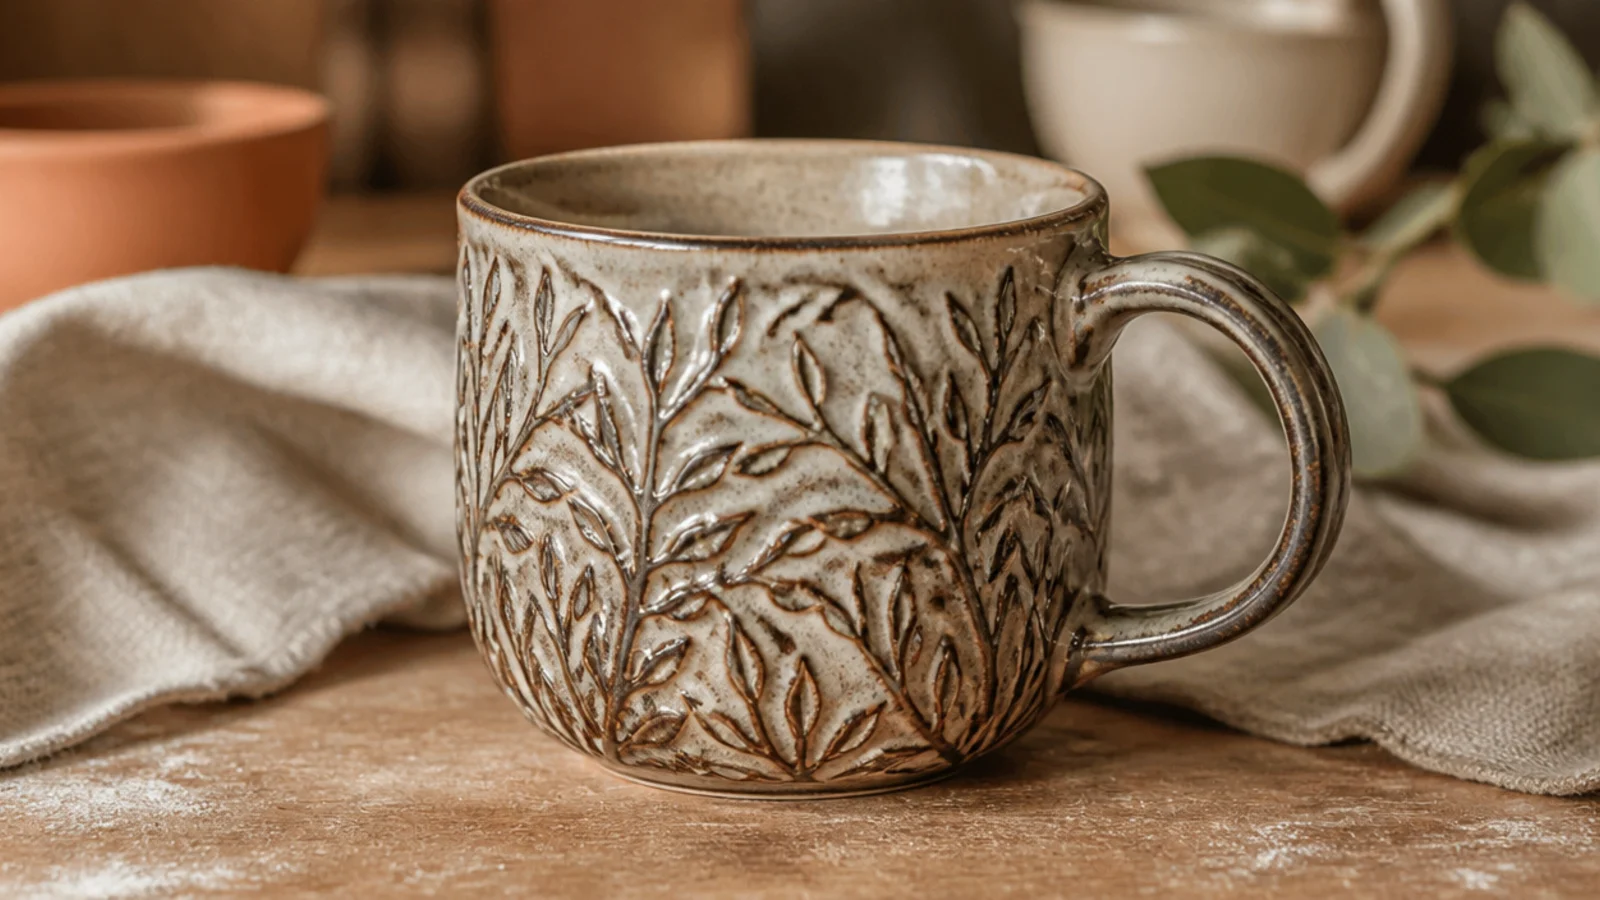
Layering a glaze over a textured surface lets it pool dark in the low spots and break light over the high ones, revealing the pattern in two tones. It turns a simple carved or stamped mug into something with real depth. The texture does the design; the glaze reveals it.
Carve or stamp texture into the mug at leather-hard and bisque fire. Apply a glaze known to break over texture (many satins and semi-mattes do) in two even coats, or dip once. The glaze will settle thicker in the recesses. Wipe the foot clean and glaze-fire; the pattern emerges as the glaze breaks over every ridge.
Editor's noteSponge a little extra glaze into deep recesses if you want the contrast even stronger between high and low points.
Skip thisDon’t bury fine texture under a thick, flat glaze; too heavy a coat fills the recesses and erases the pattern.
8. Wax-Resist Pattern Mug
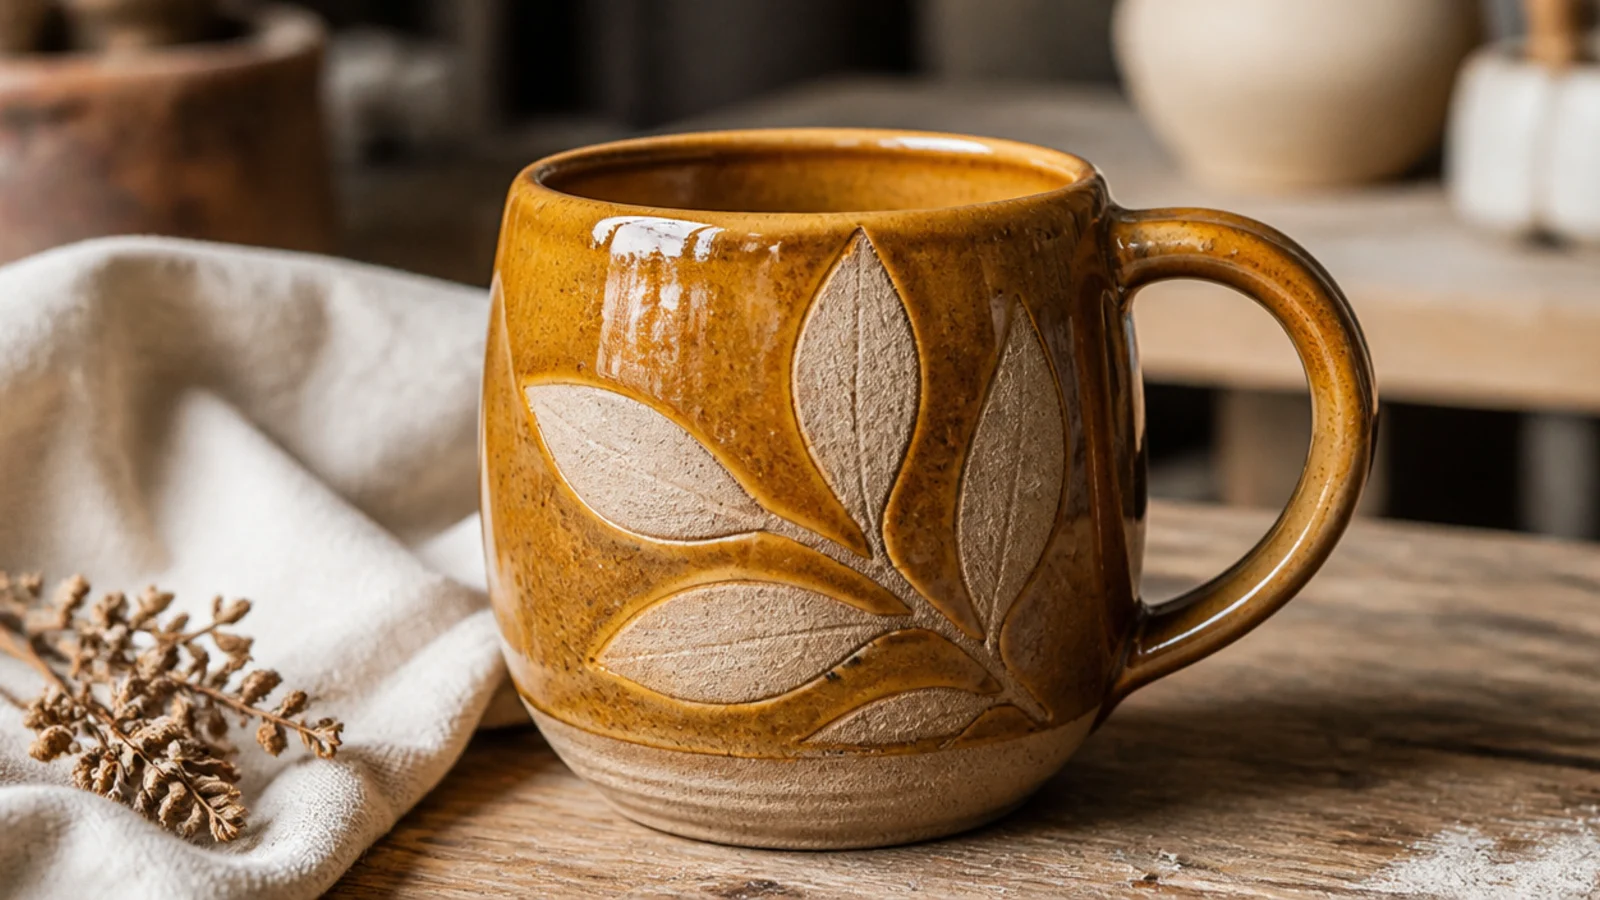
Wax resist blocks glaze from sticking, so you can paint a motif that stays bare clay (or a contrasting under-color) against a glazed background. It gives crisp, hand-painted shapes with a soft handmade edge. Simple leaves, dots, or brushmarks work beautifully.
On bisque, paint your motif with wax resist using a soft brush and let it dry fully. Dip or brush the whole mug in your main food-safe glaze; the glaze beads off the waxed areas. Wipe stray glaze droplets off the waxed shapes with a damp sponge, clean the foot, and glaze-fire — the wax burns away leaving your pattern as bare or under-colored clay.
Editor's noteBrush a coat of underglaze on the motif first, then wax over it, so the resisted shape shows color instead of plain clay.
Skip thisDon’t glaze before the wax is bone dry; wet wax smears and the glaze creeps over your pattern edges.
9. Tape-Resist Geometric Mug
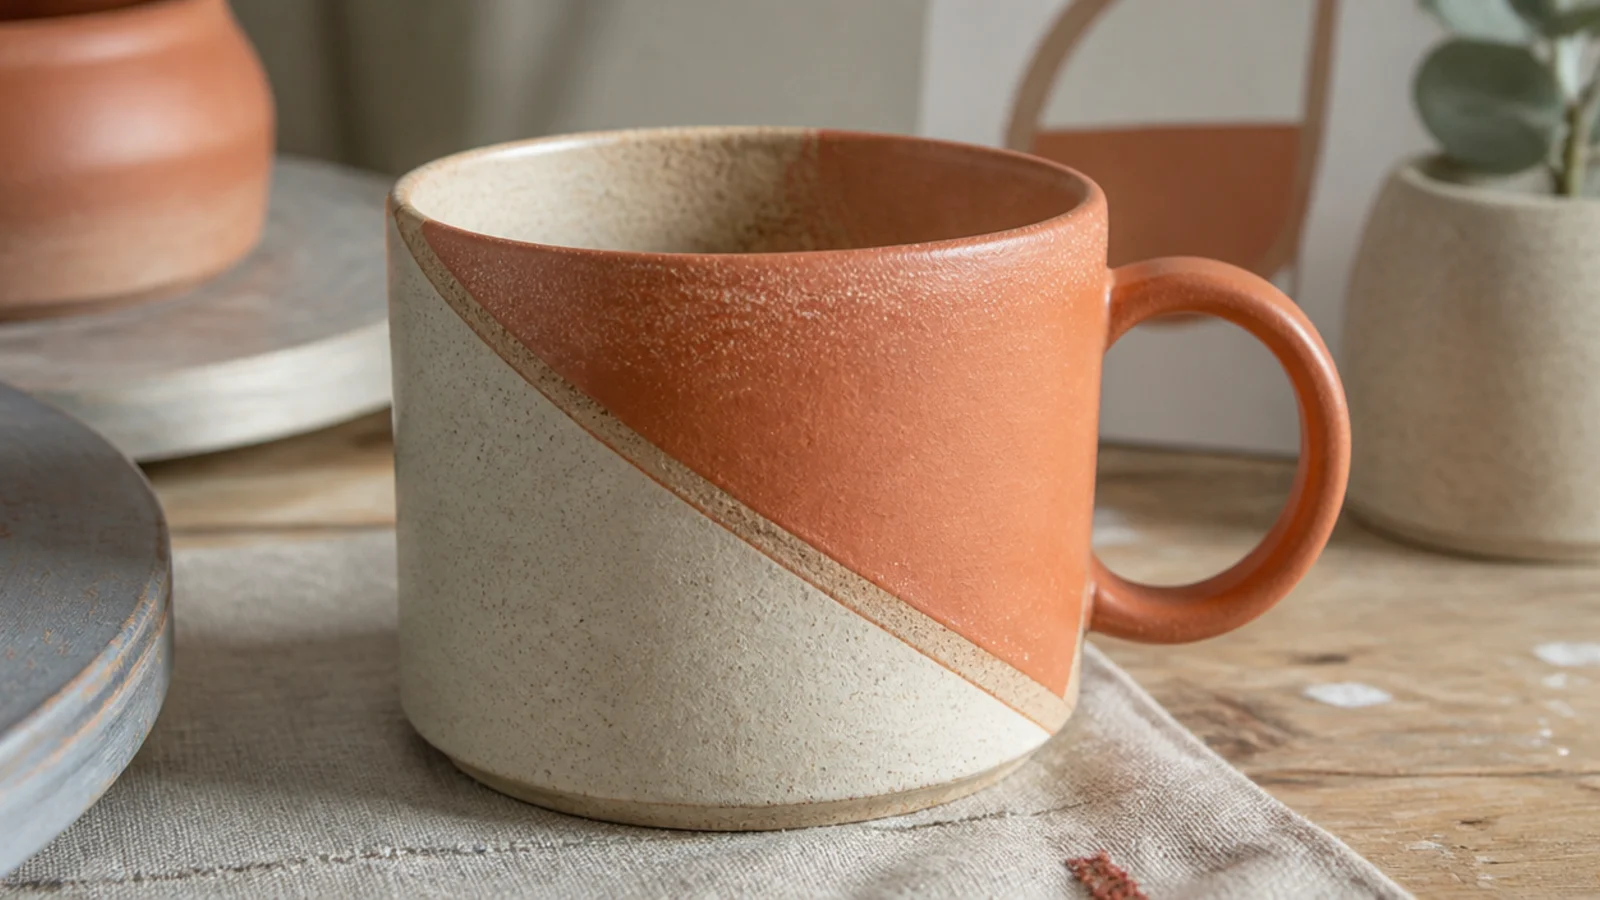
Painter’s tape gives razor-sharp geometric edges no brush can match. Mask off triangles, stripes, or blocks and glaze or underglaze between them for a modern graphic look. Two earthy colors keep it current rather than loud.
On bisque, lay strips of painter’s tape to mask your shapes, pressing the edges down hard so nothing creeps under. Brush underglaze or a food-safe glaze into the exposed areas in two even coats, then peel the tape while the last coat is still slightly wet. If you used underglaze, coat the whole mug in clear. Wipe the foot and glaze-fire.
Burnish every taped edge with a fingernail before applying color so the lines fire perfectly sharp.
Don’t flood glaze thickly against the tape; a heavy, runny coat seeps under the edge and blurs your clean lines.
10. Underglaze Floral Brushwork Mug
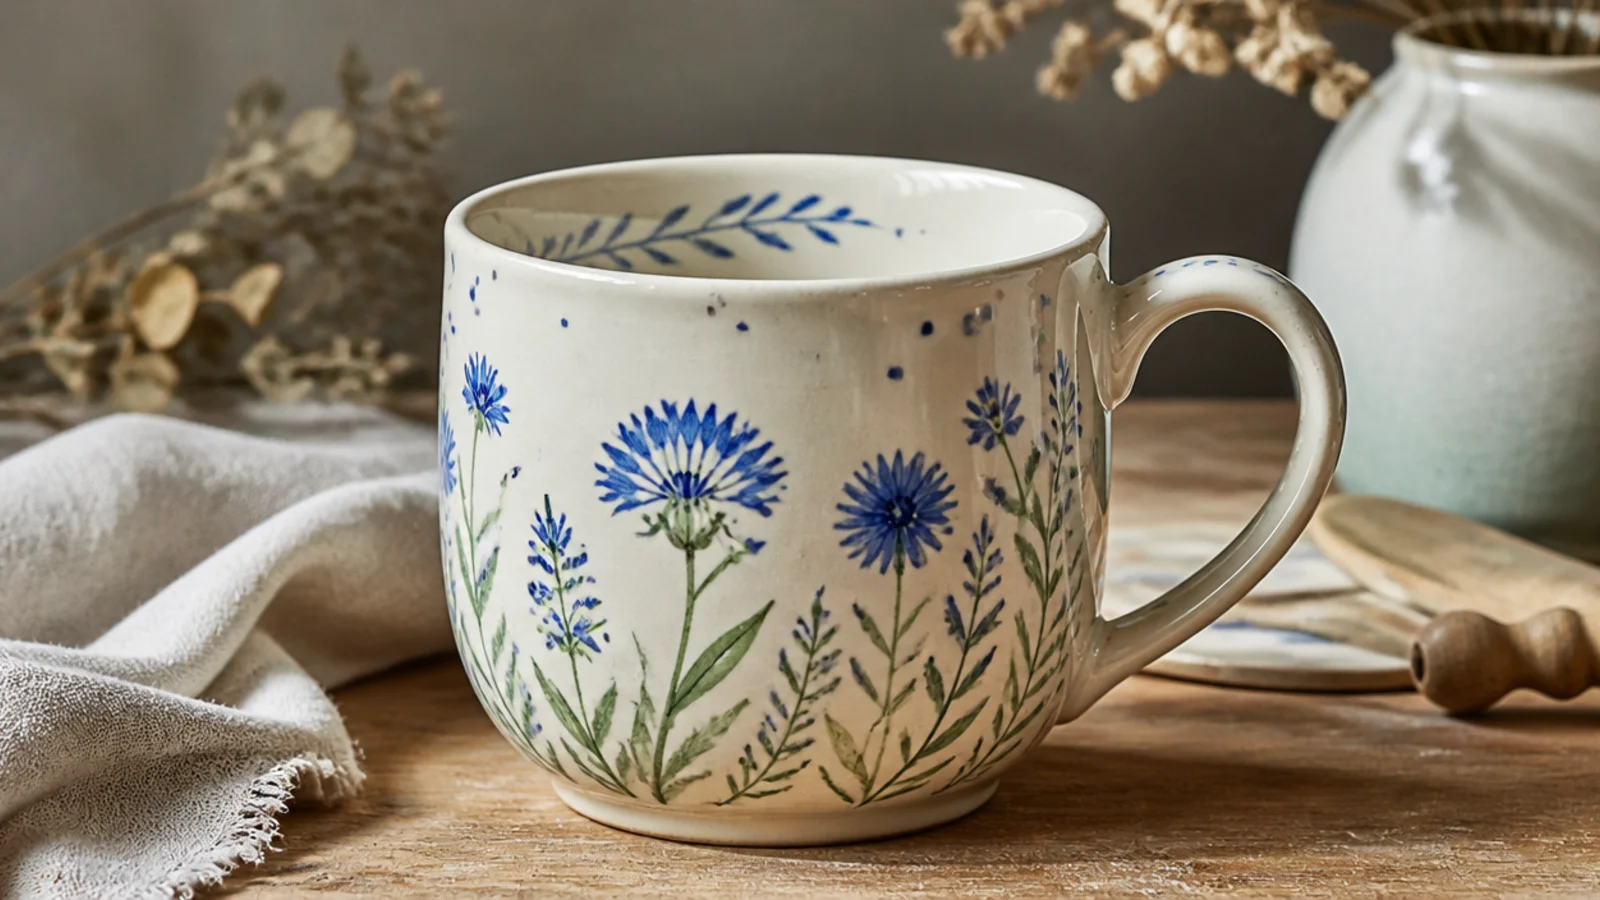
Loose floral brushwork in underglaze turns a plain mug into hand-painted ceramic. Painting on firm bisque is far easier than on slippery glaze, so beginners can get delicate results. Simple sprigs and single-stroke petals look effortless and expensive.
On bisque, lightly pencil placement (it burns away). Paint flowers with underglaze using soft round and liner brushes, building each color in two to three thin coats for solid tone. Let it dry, then coat the entire mug in a clear food-safe glaze so the painting is sealed and washable. Wipe the foot and glaze-fire; the clear makes the colors pop.
Load the brush and make each petal in one confident press-and-lift stroke — single-stroke petals look natural and painterly.
Don’t apply underglaze in one thick coat; single coats fire streaky and can resist the clear glaze on top.
11. Sgraffito Botanical Mug
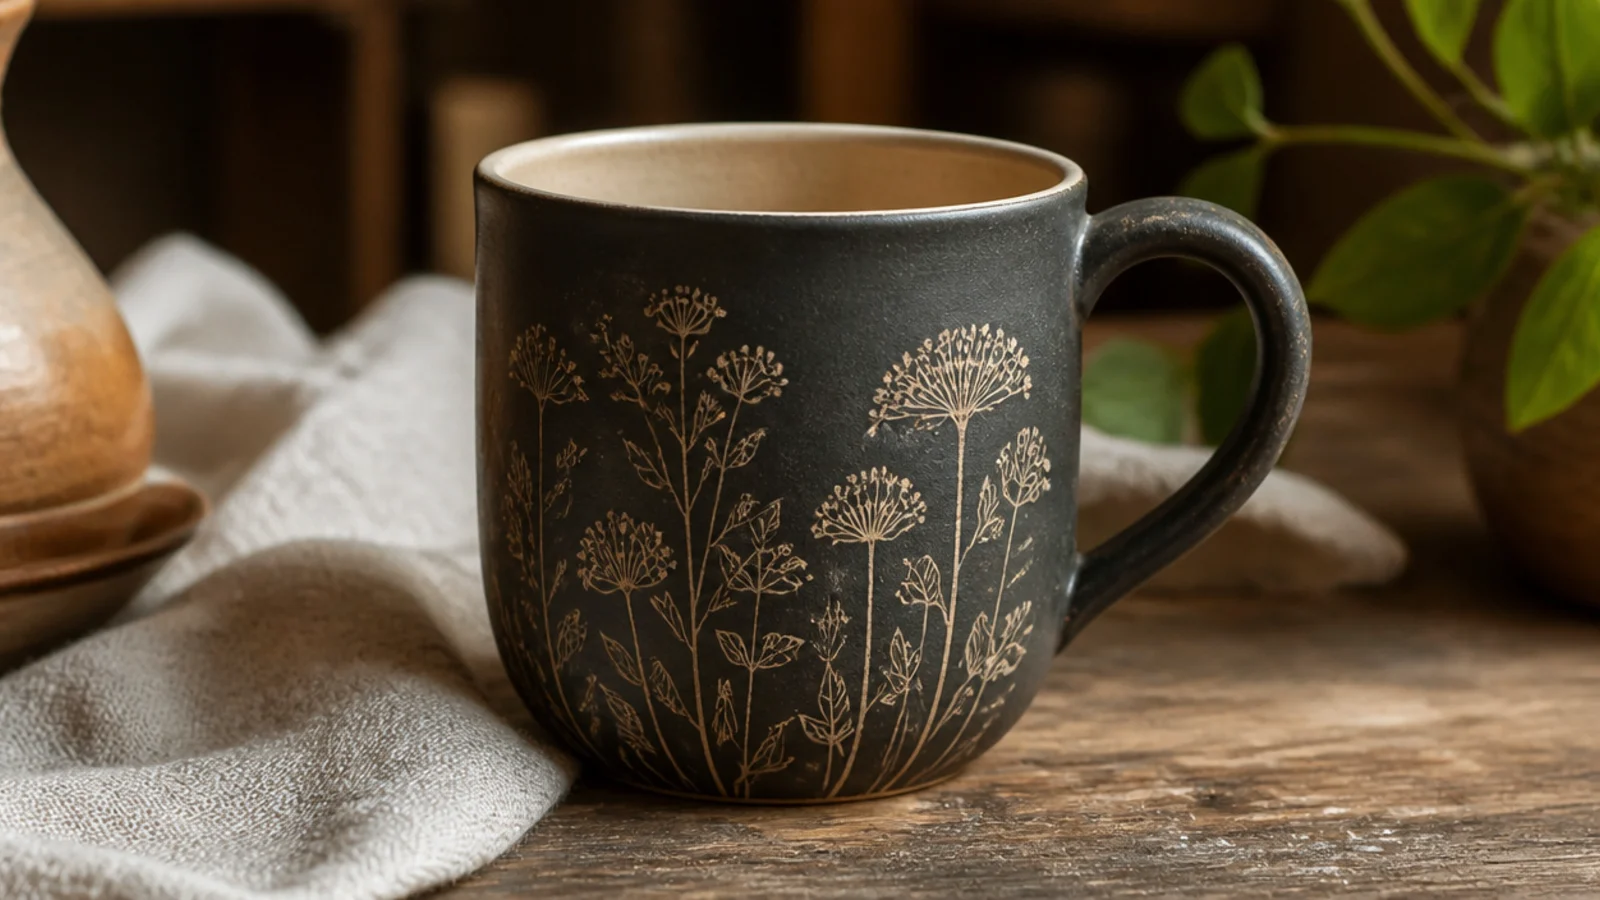
Sgraffito scratches a design through a colored surface to reveal the clay underneath, giving crisp two-tone line art. It looks intricate but is really careful drawing with a carving tool. Dark underglaze over pale clay gives the sharpest contrast.
Coat a leather-hard mug in two even coats of dark underglaze and let it firm. Sketch lightly, then carve through the underglaze with a fine loop or needle tool so pale clay shows as your lines. Brush off all crumbs with a soft dry brush. Bisque, apply clear food-safe glaze, wipe the foot, and glaze-fire for a durable, washable surface.
Carve right at leather-hard — too wet it smears, too dry it chips instead of cutting a clean line.
Don’t leave carving dust on the surface; leftover crumbs contaminate the clear glaze and leave rough spots.
12. Mishima Line-Inlay Mug
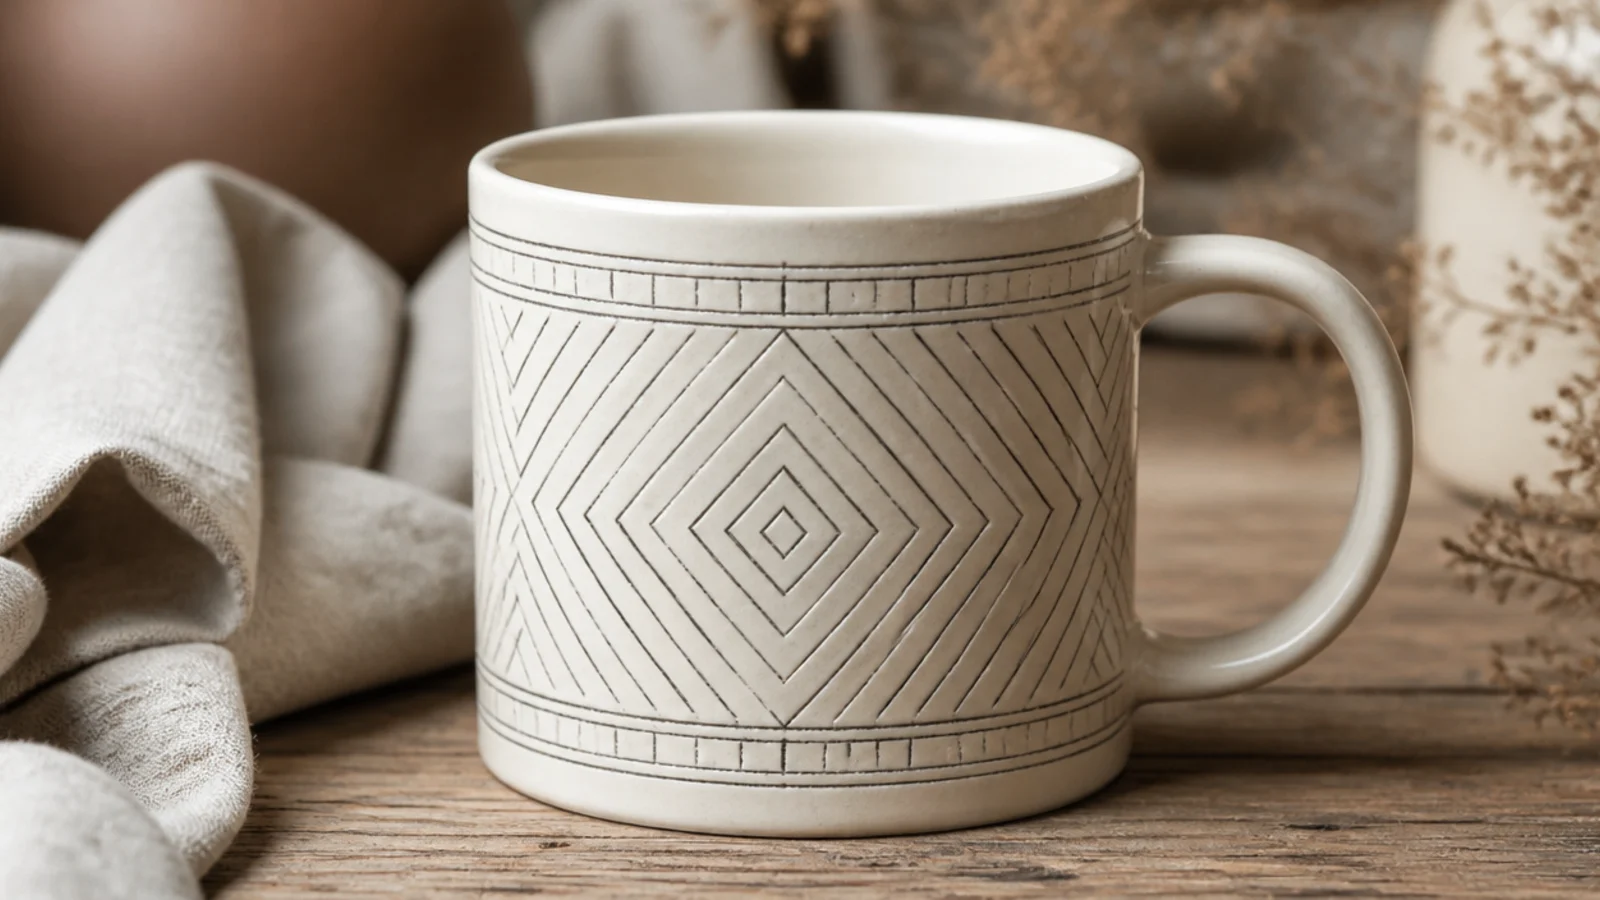
Mishima inlays color into carved lines so the design sits flush with the surface, like fine porcelain drawing. It gives the cleanest linework of any technique and a smooth-to-the-touch finish. It’s more involved than sgraffito but the crispest by far.
At leather-hard, carve fine shallow lines with a needle tool. Brush contrasting underglaze generously over the lines, pushing it into every groove, and let it set until firm. Scrape the surface back with a metal rib until color remains only in the recessed lines. Bisque, apply clear or satin food-safe glaze, wipe the foot, and glaze-fire.
Editor's noteLet the inlaid underglaze firm up before scraping back, or it smears across the surface and muddies the lines.
Skip thisDon’t carve the lines too shallow; shallow grooves hold little color and disappear when you scrape the surface clean.
13. Slip-Trailed Raised-Dot Mug
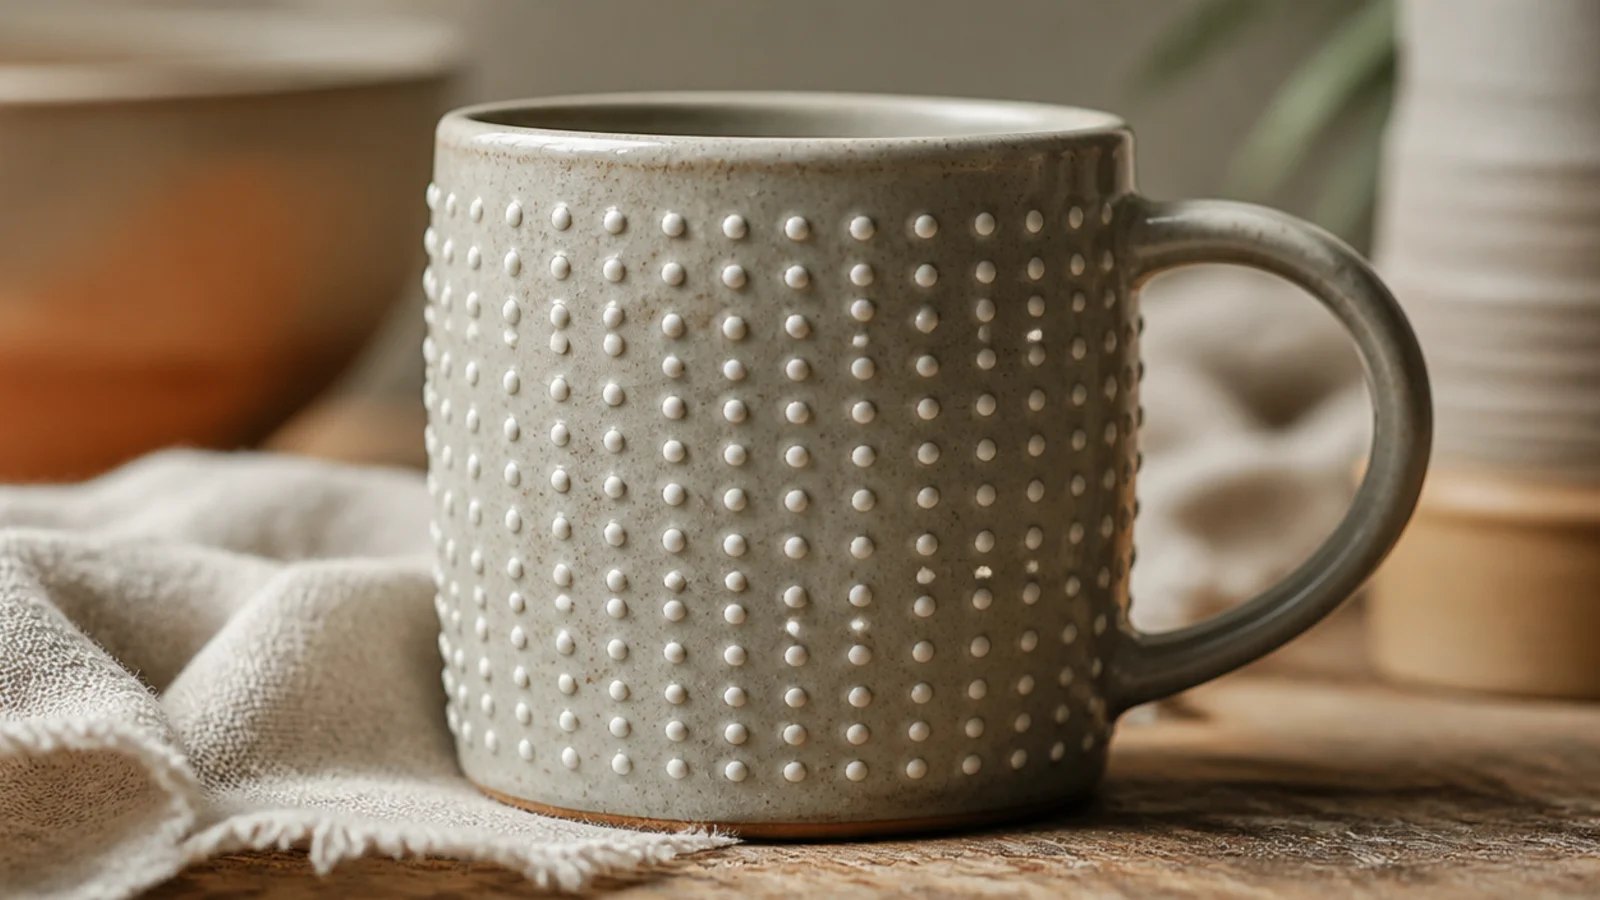
Slip trailing pipes lines of thick slip onto the clay to create raised, tactile decoration — beaded dots, dotted borders, or fine trailed lines. The raised pattern catches glaze and light for a dimensional, hand-detailed look. It feels like the little bumps on vintage pottery.
On leather-hard clay, fill a slip trailer (a fine-tip bottle) with slip the consistency of soft toothpaste. Squeeze even raised dots or lines, keeping steady pressure and re-dipping height consistent. Let dry slowly so raised slip doesn’t crack off, then bisque. Glaze with a food-safe glaze that stays translucent over the relief, wipe the foot, and glaze-fire.
Practice pressure on scrap first — consistent squeeze pressure is what keeps every raised dot the same size.
Don’t trail slip onto bone-dry clay; it won’t bond and the raised dots pop off during drying or firing.
14. Sponge-Stamped Pattern Mug
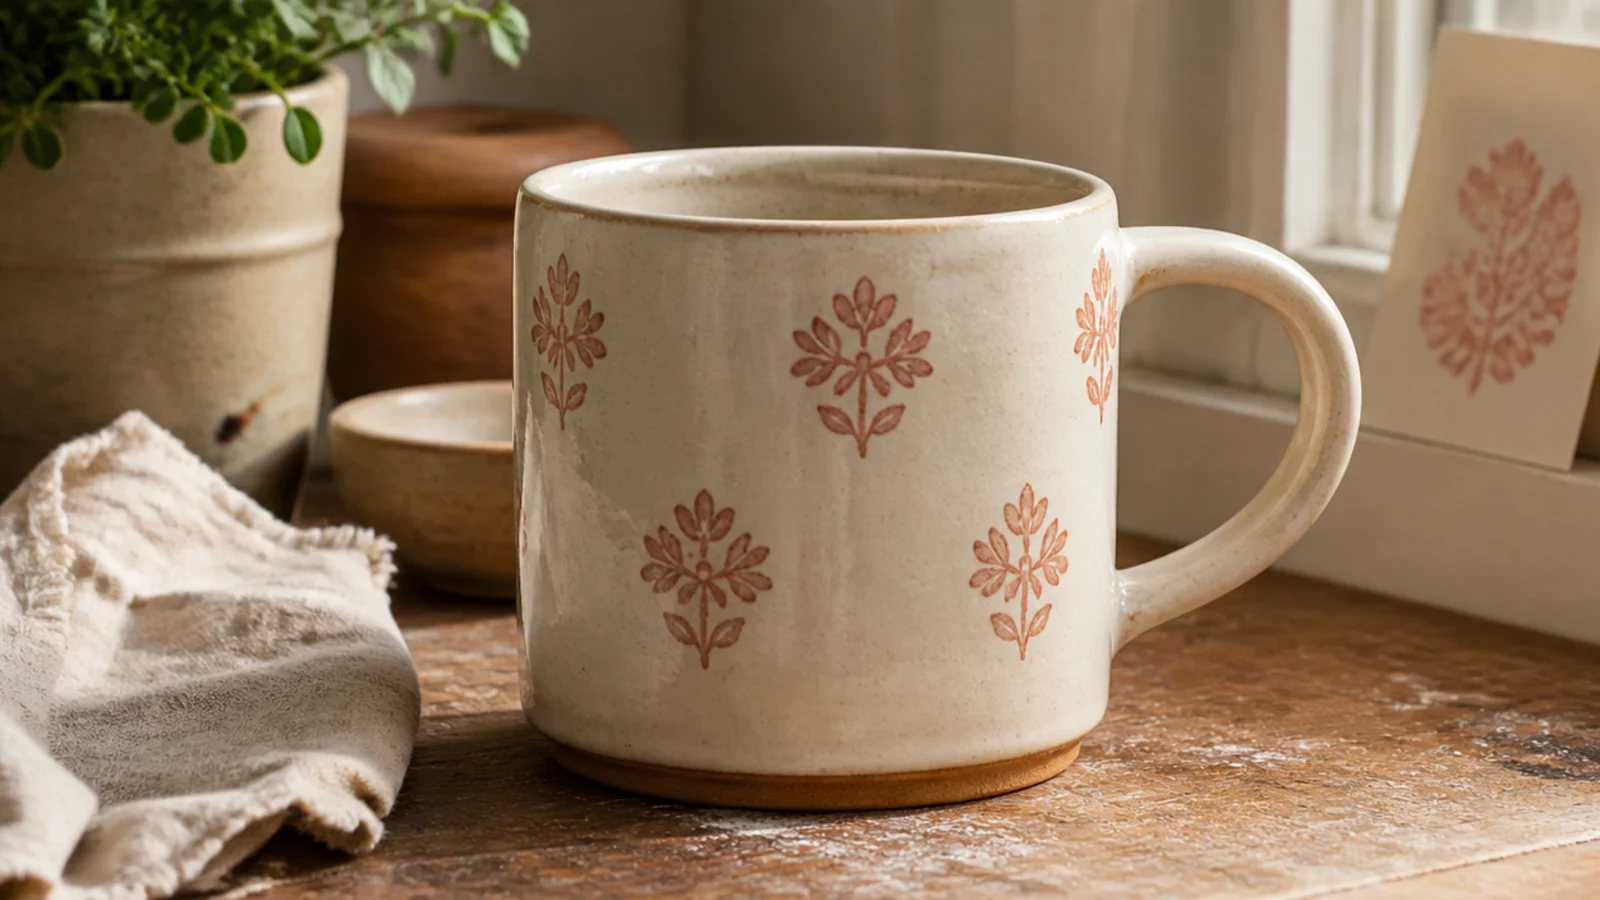
A cut sponge or a bought ceramic stamp lets you repeat a tidy motif around the mug with no drawing at all. It reads like traditional folk pottery and stays perfectly even because the stamp does the work. Great for florals, stars, or simple shapes.
On bisque, load a shaped sponge stamp with underglaze on a flat palette, tap off excess, and press straight onto the mug, re-loading between each print for even color. Space prints by eye or mark light guide dots. Let dry, coat the whole mug in clear food-safe glaze, wipe the foot, and glaze-fire so the motifs seal under the clear.
Do a test print on scrap bisque to dial in how much underglaze gives a crisp motif without a smudged blob.
Don’t overload the stamp; too much underglaze fills the details and prints a shapeless blob instead of the motif.
15. Dot-Mandala Mug
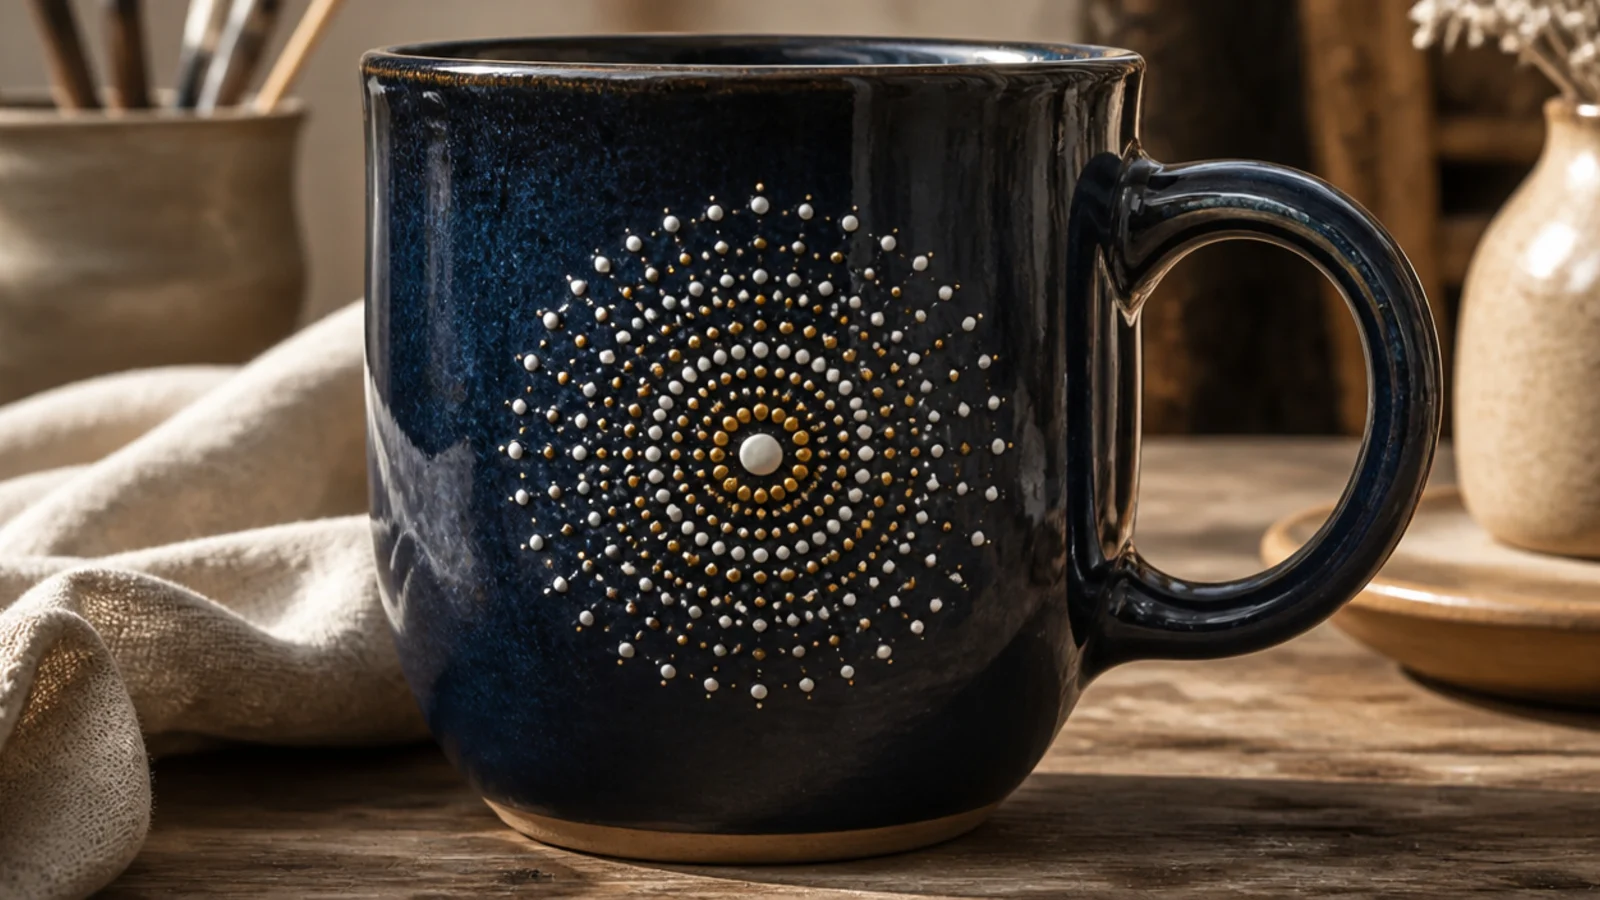
A dot mandala builds a hypnotic pattern from concentric rings of dots, stamped with dotting tools for perfect size grading. On a dark mug the light dots really glow. It looks painstaking but it’s just dots, largest in the center outward.
On bisque (or over a dark underglaze base), use graduated dotting tools — the rounded ends of different brushes or a stylus set. Place a center dot, then rings of evenly spaced dots stepping down in size outward, re-dipping each time for consistency. Let dry, coat in clear food-safe glaze, wipe the foot, and glaze-fire.
Work from the center dot outward and keep each ring’s dots the same size by using one tool per ring.
Don’t crowd the rings; dots that touch blur the mandala, so leave even gaps between every dot.
16. Celadon Over Carved Wave Mug
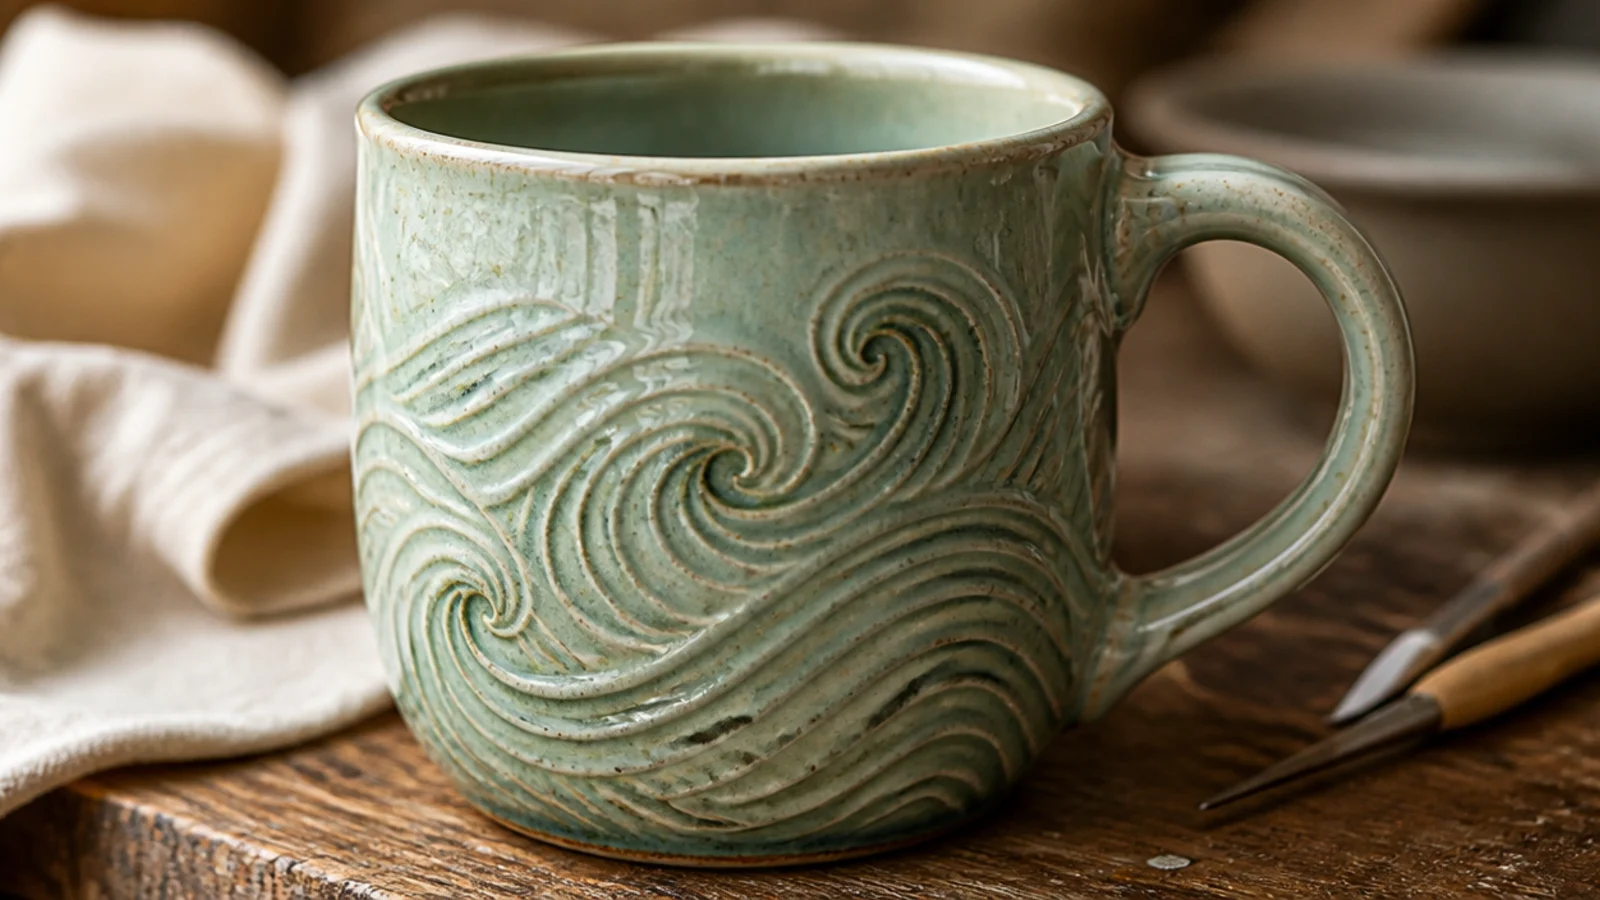
Celadon is a translucent green-blue glaze that pools in carved lines and turns the recesses a deeper jade — the classic pairing for carved decoration. A simple wave or facet carving comes alive under it. It’s the most elegant glaze-and-carving combination in ceramics.
Carve a shallow wave or fluted pattern into the leather-hard mug and bisque fire. Apply a food-safe celadon in two to three even coats or a generous dip so it can pool in the carving (celadon needs a bit of thickness to show color). Wipe the foot clean and glaze-fire to the rated cone; the glaze breaks pale over ridges and deepens in the grooves.
Editor's noteCeladon shows its color where it’s thickest, so make your carving deep enough for the glaze to pool and darken.
Skip thisDon’t apply celadon thin; a skimpy coat fires nearly clear and colorless, wasting the carving underneath.
17. Iron Tenmoku Rim-Break Mug
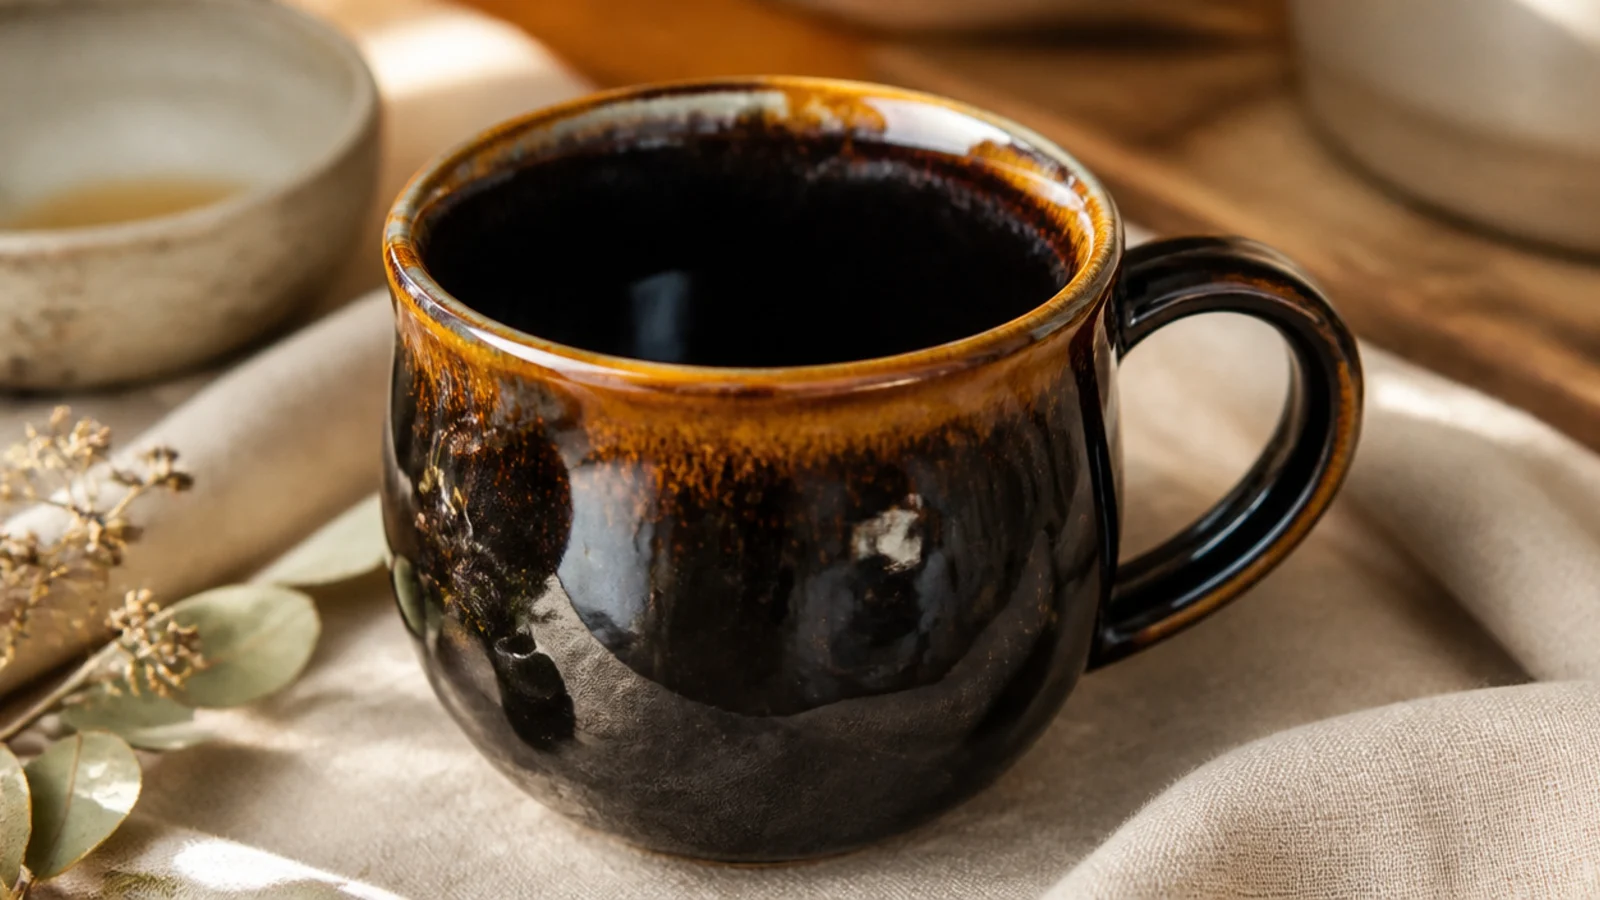
Tenmoku is a rich iron glaze that fires nearly black but breaks to warm rust and amber over edges and rims. That automatic edge-break gives a plain form instant depth and a moody, high-end feel. One dip and the glaze does all the drama.
Bisque fire, then dip the mug in a food-safe tenmoku or iron-saturate glaze for a full three-to-five-second dip so it’s properly thick. Smooth any drips, wipe the foot, and glaze-fire to the rated cone. The iron breaks to amber over the rim and any throwing lines, so a mug with defined edges shows it best.
Editor's noteThrow or trim a slightly defined rim and belly line — tenmoku breaks warmest exactly over those raised edges.
Skip thisDon’t fire tenmoku thin; too little glaze stays a flat dull brown with none of the amber breaking that makes it special.
18. Crystalline-Look Glaze Mug
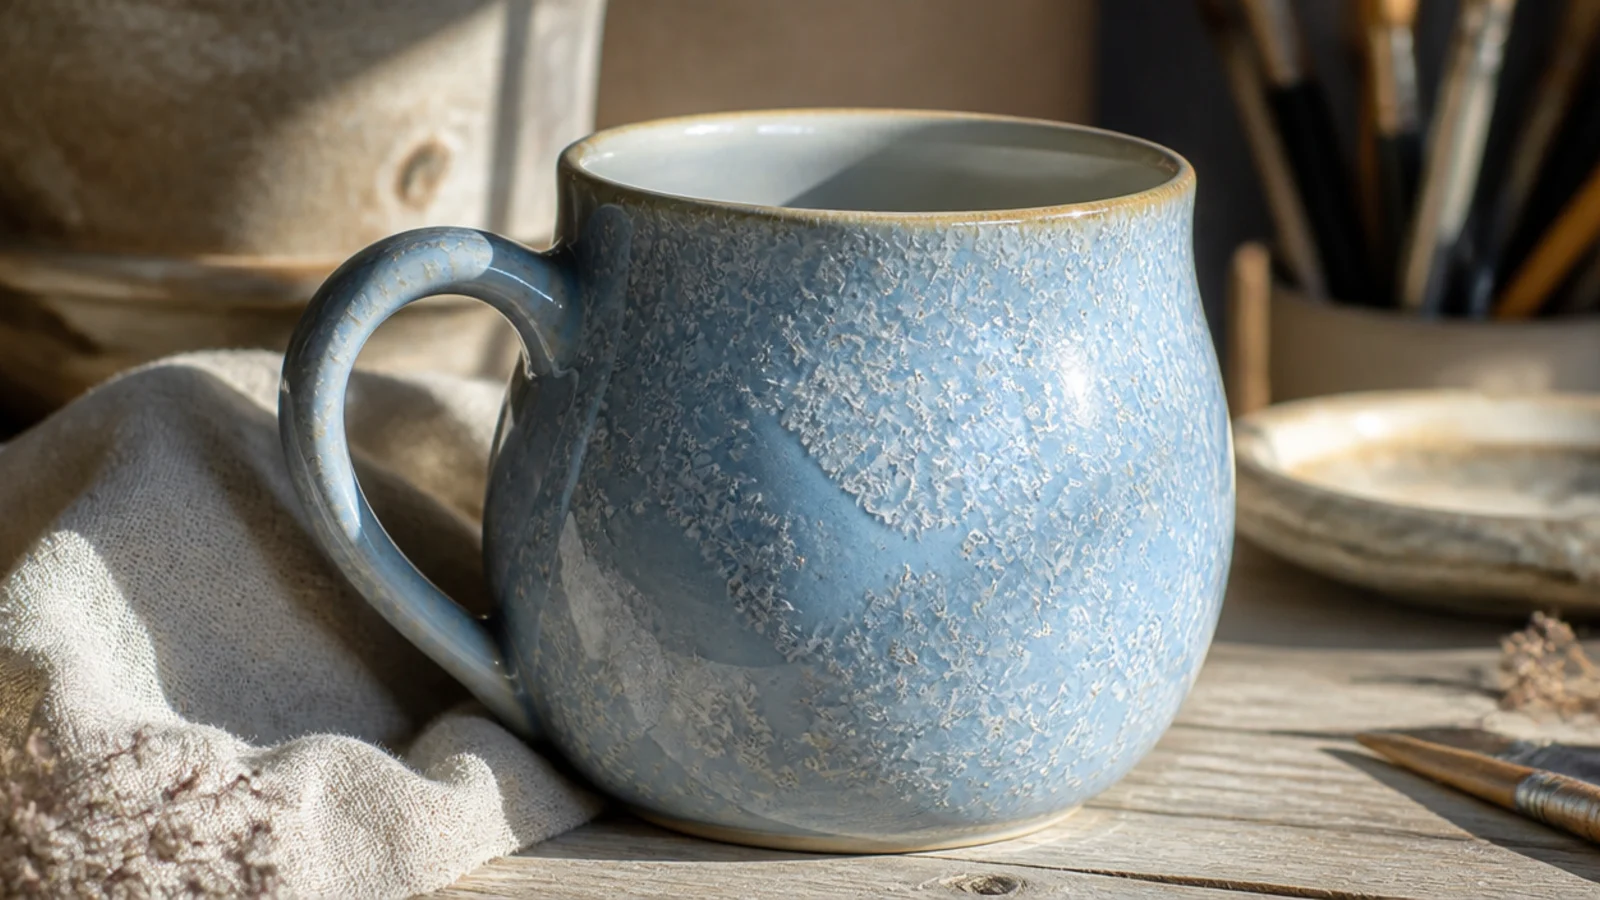
Crystalline-effect glazes grow visible snowflake-like crystals across the surface during firing for a magical, one-of-a-kind result. True crystalline glazing is advanced, but macro-crystal and 'floating' glazes give a similar starry effect far more easily. Every mug comes out unique.
Bisque fire, then apply a food-safe macro-crystal or crystal-effect glaze per its directions — usually two to three even coats, since these need enough thickness to grow crystals. Wipe the foot and, for glazes that run, fire on a protected shelf. Glaze-fire to the rated cone; the crystals bloom during the cooling cycle. Follow the glaze’s firing schedule exactly, as crystal growth depends on it.
Follow the glaze maker’s firing and cooling schedule to the letter — crystal size and spread depend entirely on the cooling cycle.
Don’t use a heavily running crystalline glaze near the foot; like all reactive glazes it will pool down and stick to the shelf.
19. Marbled Underglaze Swirl Mug
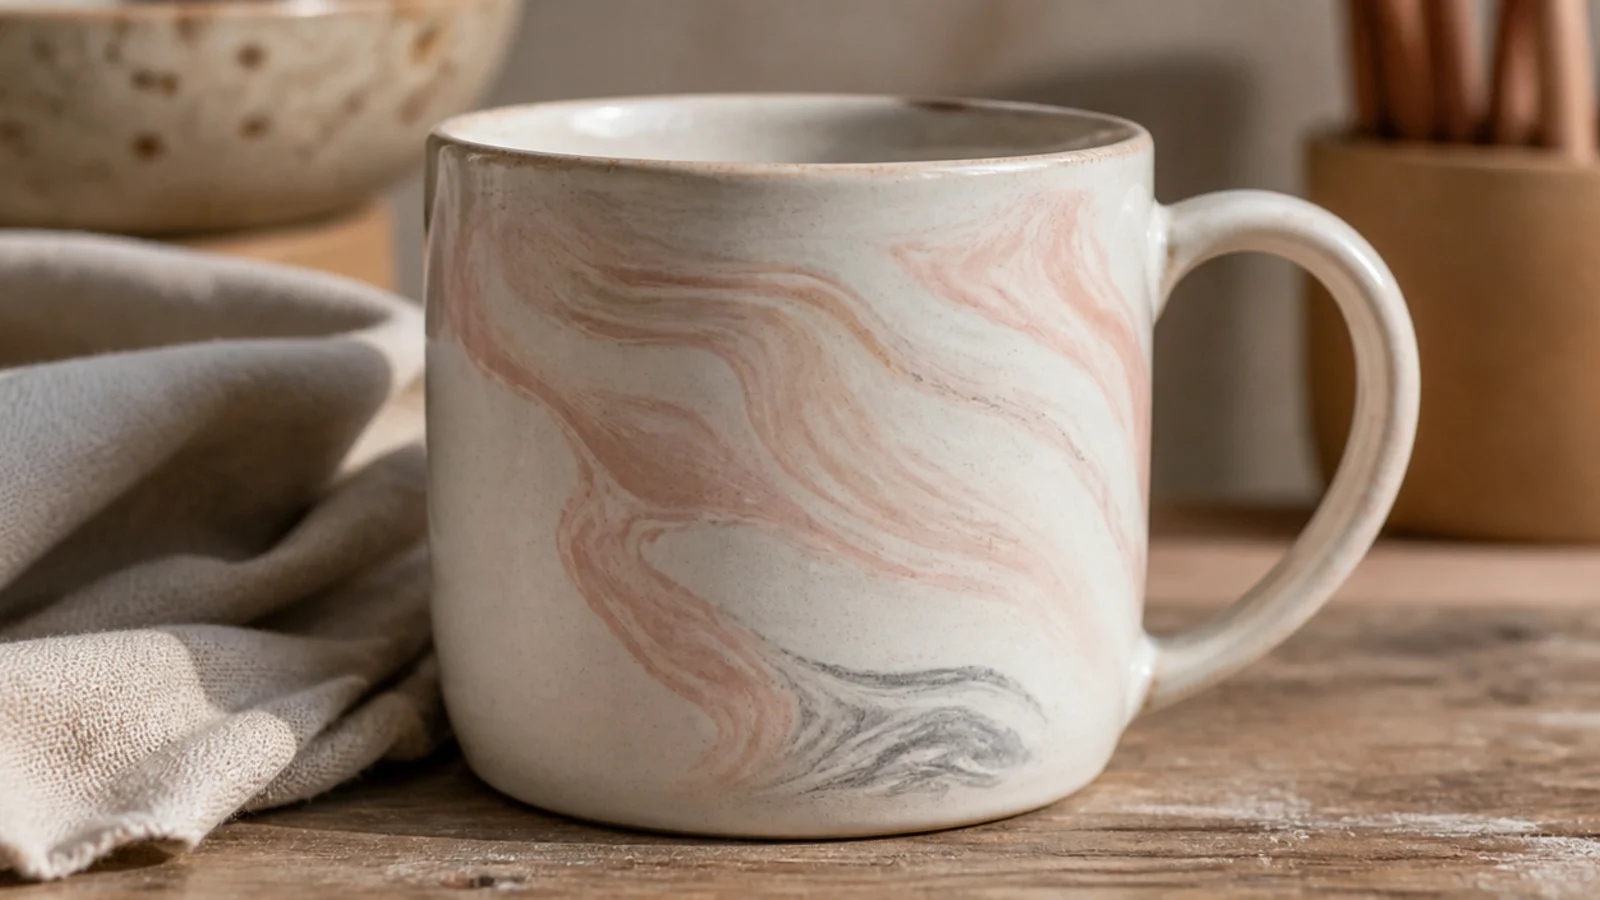
You can fake gorgeous marble on the surface by swirling wet underglazes together, no marbled clay required. Blended tonal colors give a soft agate look that suits any shape. It’s faster and more forgiving than true agateware.
On bisque, brush or pour puddles of two or three underglazes next to each other while wet, then drag a dry brush or a fingertip through them to swirl and blend, keeping the movement gentle. Let dry, coat the whole mug in clear food-safe glaze, wipe the foot, and glaze-fire. The clear locks the marbled surface in and adds shine.
Editor's noteSwirl with a light hand and stop early — a few drags gives marble, endless dragging blends everything into one flat tone.
Skip thisDon’t use high-contrast colors your first time; muddy overlaps happen fast, so start with tones from one family.
20. Underglaze Splatter Mug
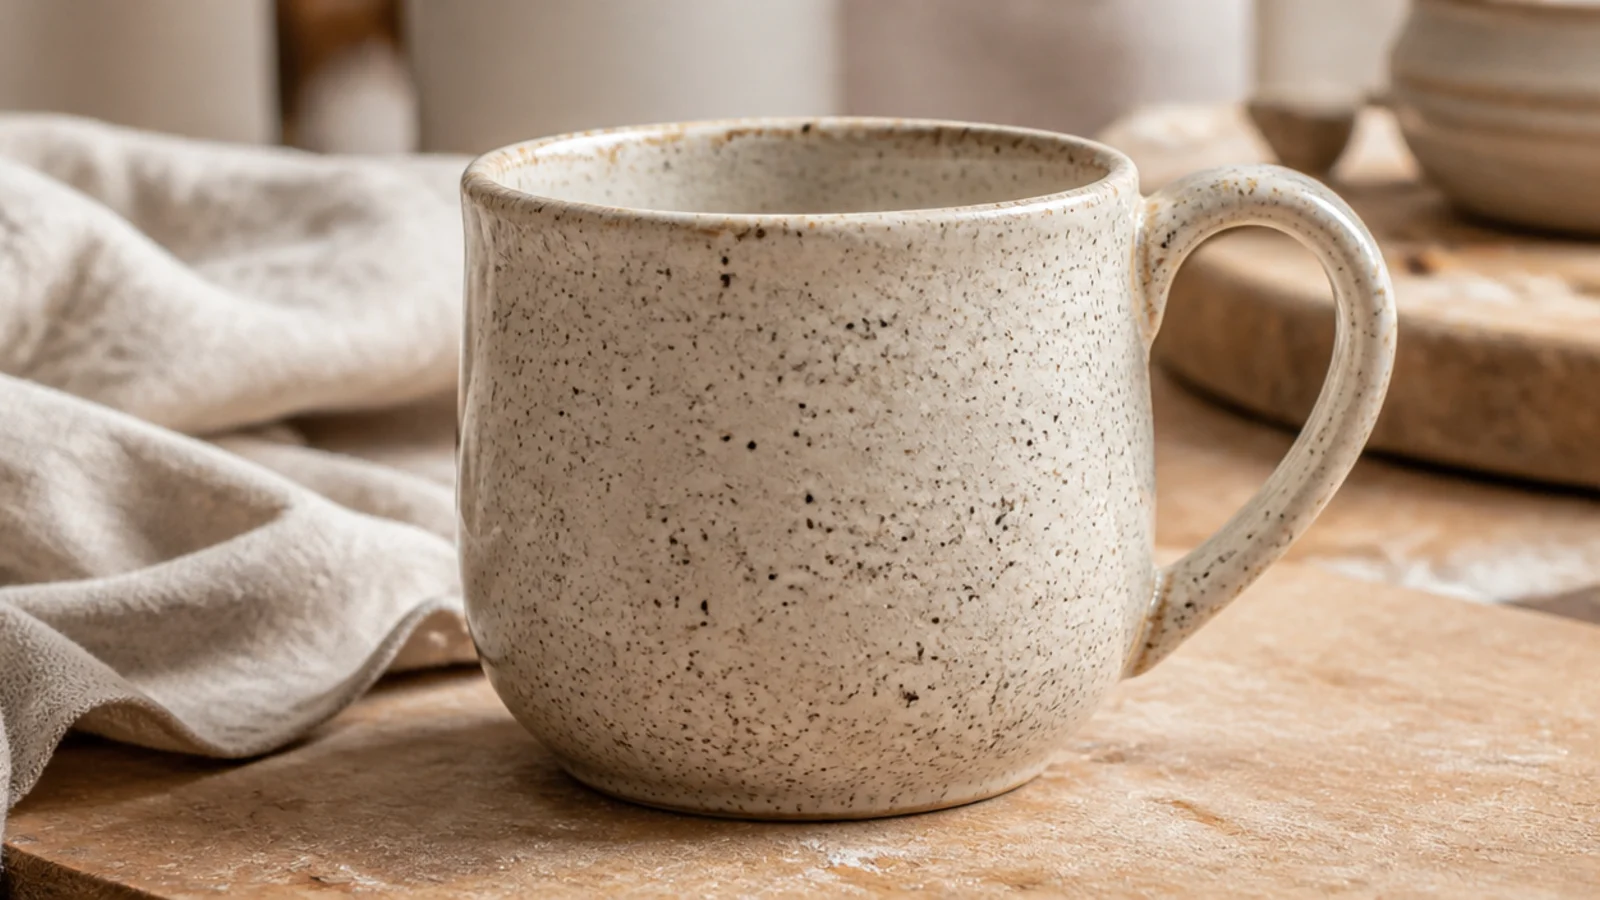
Flicking thinned underglaze creates a fine speckle that mimics natural stoneware flecks on a plain white body. It’s messy but genuinely hard to get wrong, and it hides any little flaws in the surface. A great look when you want texture without a pattern.
On bisque, thin a dark underglaze with water to a milky consistency. Load a stiff brush or old toothbrush, then run your thumb across the bristles to flick fine speckles, rotating the mug for even coverage. Let dry, coat the whole mug in clear food-safe glaze, wipe the foot, and glaze-fire so the speckles seal under the clear.
Test your flick distance and paint thickness on paper first — too close or too thick makes blobs instead of fine speckle.
Don’t over-thin the underglaze or hold the brush too close; big wet splatters look like accidents, not natural speckle.
21. Gold-Luster Rim Accent Mug
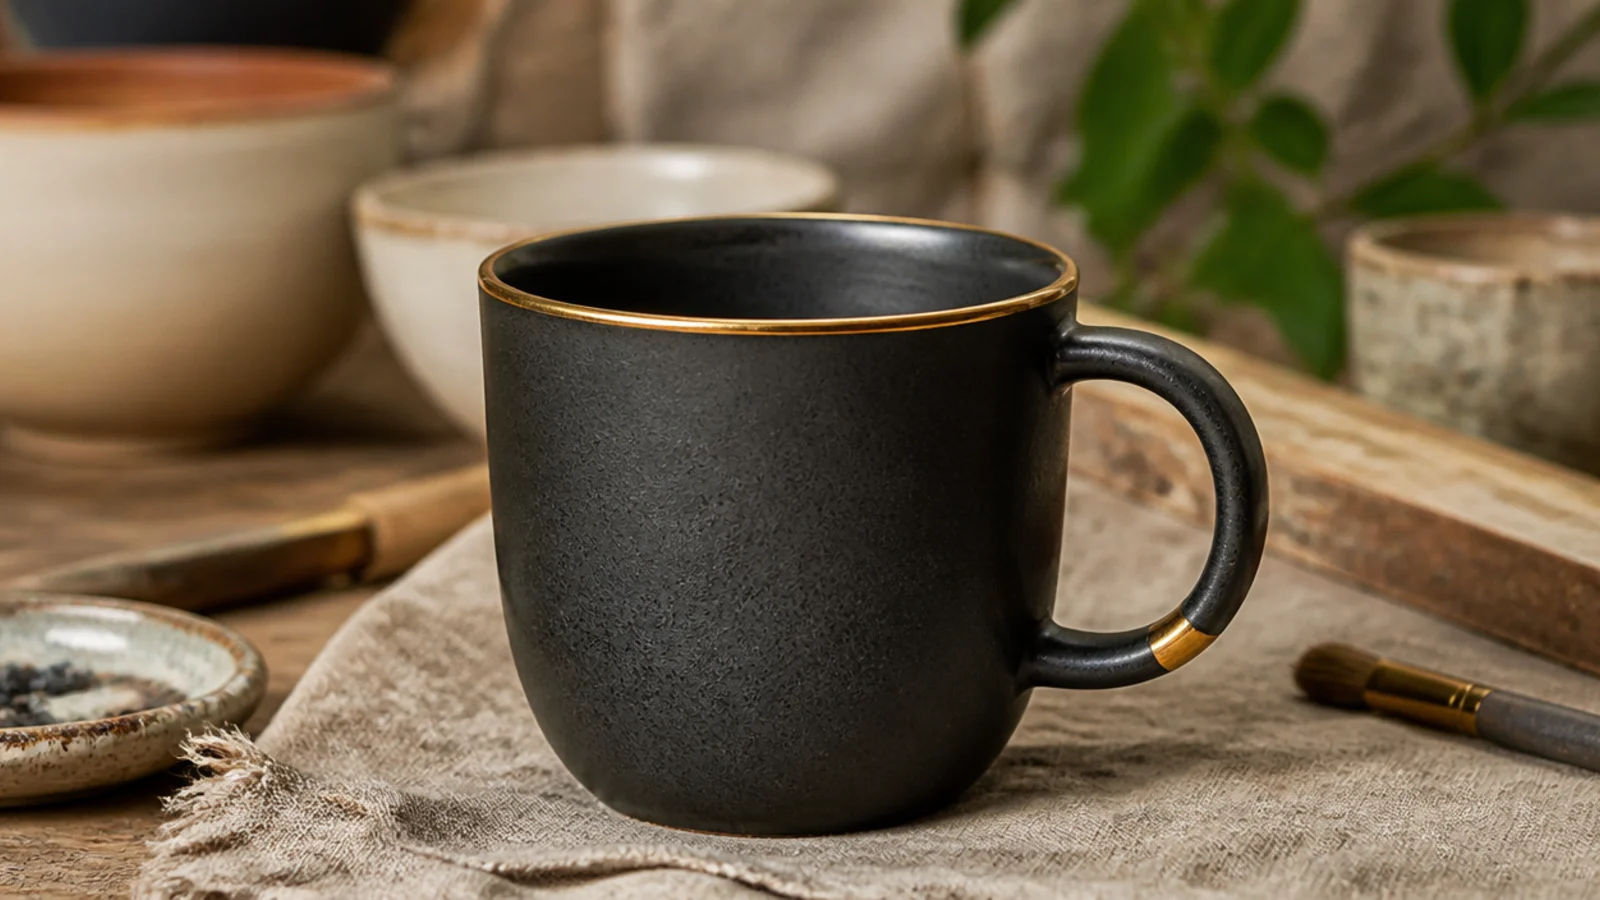
A thin band of real gold luster around the rim turns a plain glazed mug instantly luxe. Luster is an overglaze that fires in a third, low firing to a brilliant metallic finish. Note it’s hand-wash only and never microwave-safe, so it’s for special mugs.
Glaze-fire the mug completely first. With a fine brush, paint one thin, even line of liquid bright gold luster around the rim (and a handle tip if you like), keeping it neat since luster shows every drip. Ventilate the kiln well and fire to the luster’s rated low temperature, around cone 018. Hand-wash only afterward and never microwave.
Editor's noteApply luster in a single thin confident pass — thick or double luster fires dull, brown, or blistered instead of bright.
Skip thisDon’t put luster where it takes constant lip and washing wear, and never microwave a lustered mug; the metal degrades or sparks.
22. Crackle Raku-Look Mug
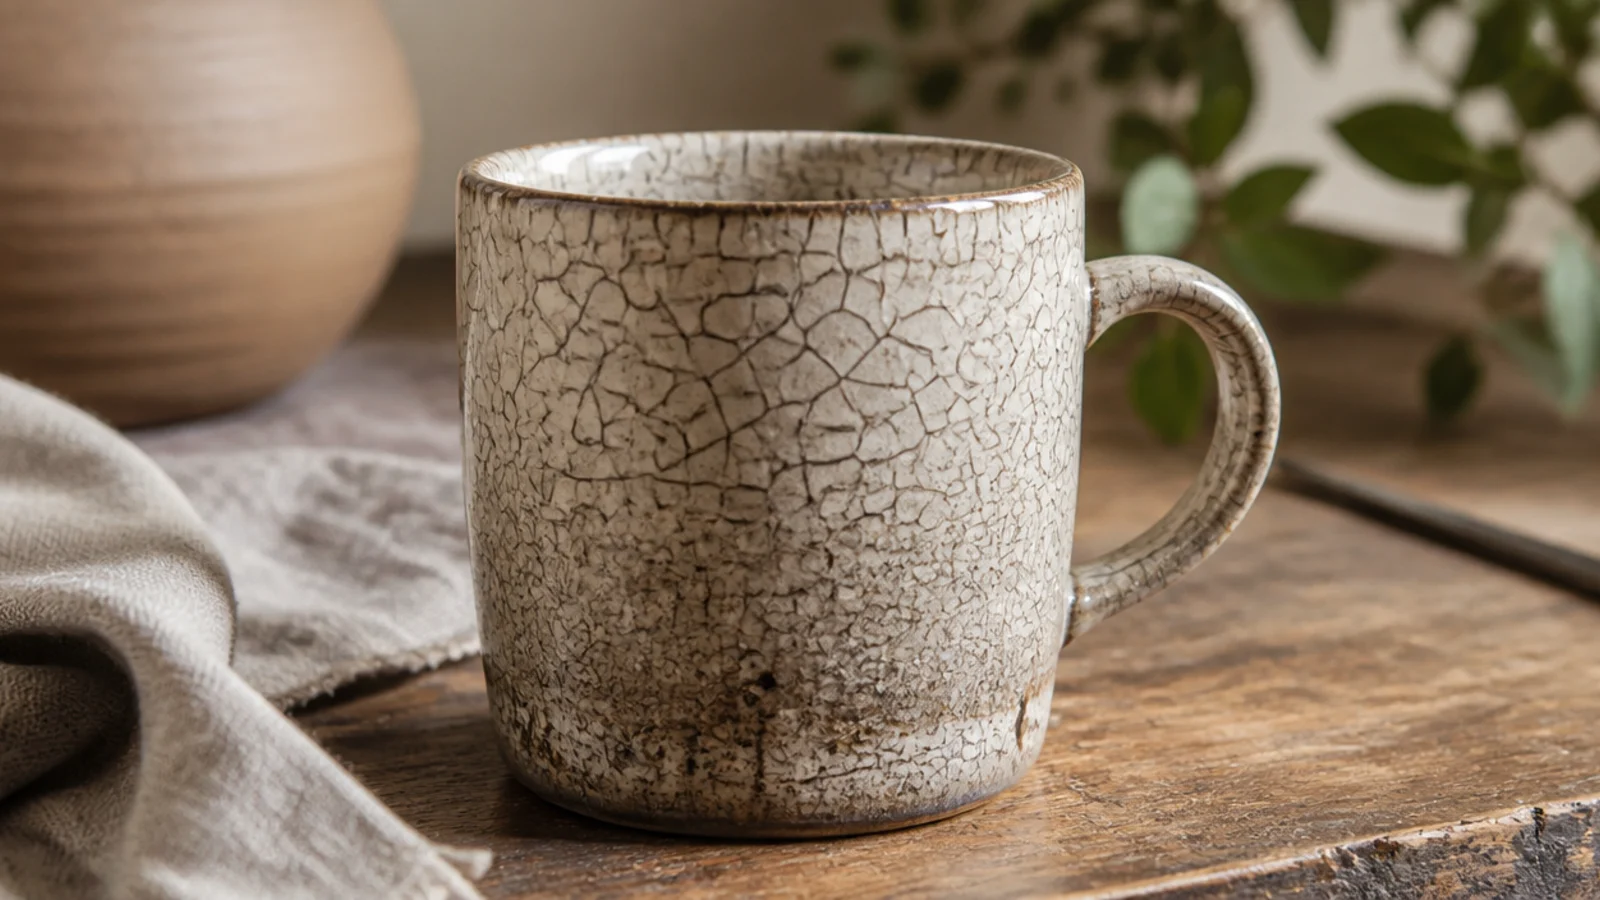
A fine crackle web over a pale glaze gives that dramatic raku-studio look with dark lines threading across the surface. It’s striking on a display or occasional-use mug. Because classic crackle and raku aren’t food-safe on drinking surfaces, treat this as decorative or line the inside with a food-safe clear.
Bisque fire and apply a crackle glaze in two even coats. For the interior drinking surface, use a separate food-safe clear (crackle itself isn’t dinnerware-safe). After the glaze firing, rub a little dark oxide or strong tea into the crackle lines and wipe the surface to darken the web. Seal decorative pieces and reserve daily use for the food-safe lined ones.
Editor's noteRub coffee grounds or black tea into the fired crackle and wipe back for a warm, aged web without harsh chemicals.
Skip thisDon’t drink daily from a crackle-glazed interior; the fine cracks harbor bacteria and aren’t food-safe, so line it or keep it decorative.
23. Matte-and-Gloss Color-Block Mug
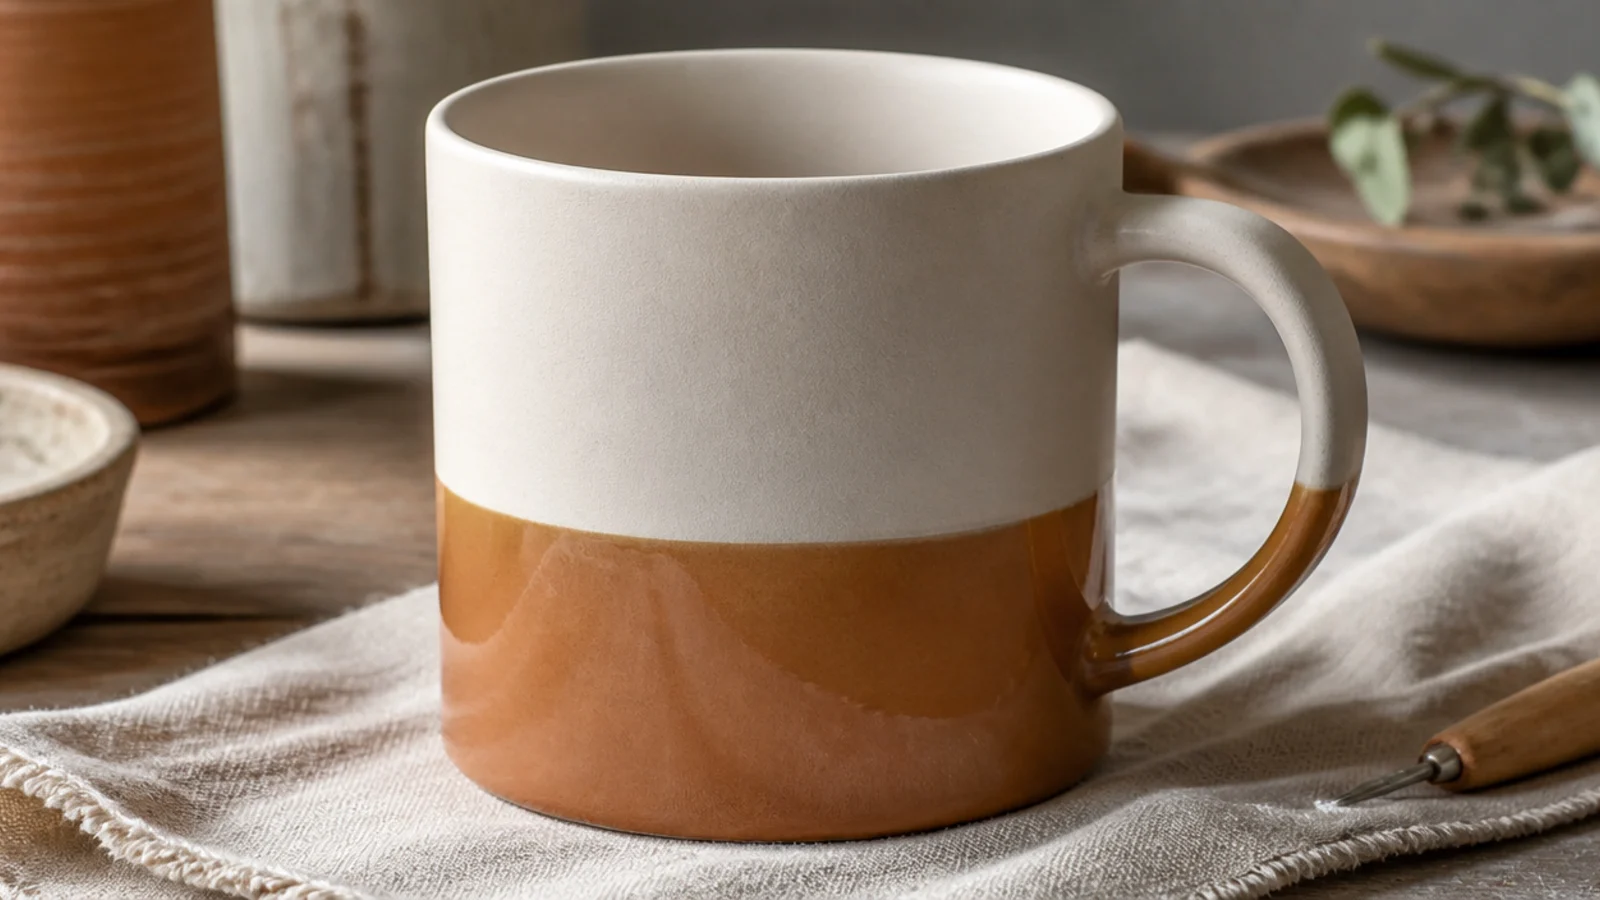
Pairing a matte glaze with a glossy one on the same mug is a subtle, sophisticated trick — same color family, two finishes, one clean line. The contrast of velvety and shiny reads deliberate and modern. It’s a color block that plays with texture instead of just hue.
Bisque fire, then apply a food-safe matte glaze to the top half and a glossy food-safe glaze to the bottom, keeping the meeting line clean with tape or a steady hand and a banding wheel. Use two to three even coats of each. Wipe the foot and glaze-fire to a cone both glazes share. Test the pairing on a tile first to confirm they mature together.
Editor's noteChoose a matte and a gloss rated for the same cone so both mature perfectly in one firing.
Skip thisDon’t pair glazes with different firing temperatures; one will be under- or over-fired and look rough or run.
24. Horizon Landscape Glaze Mug
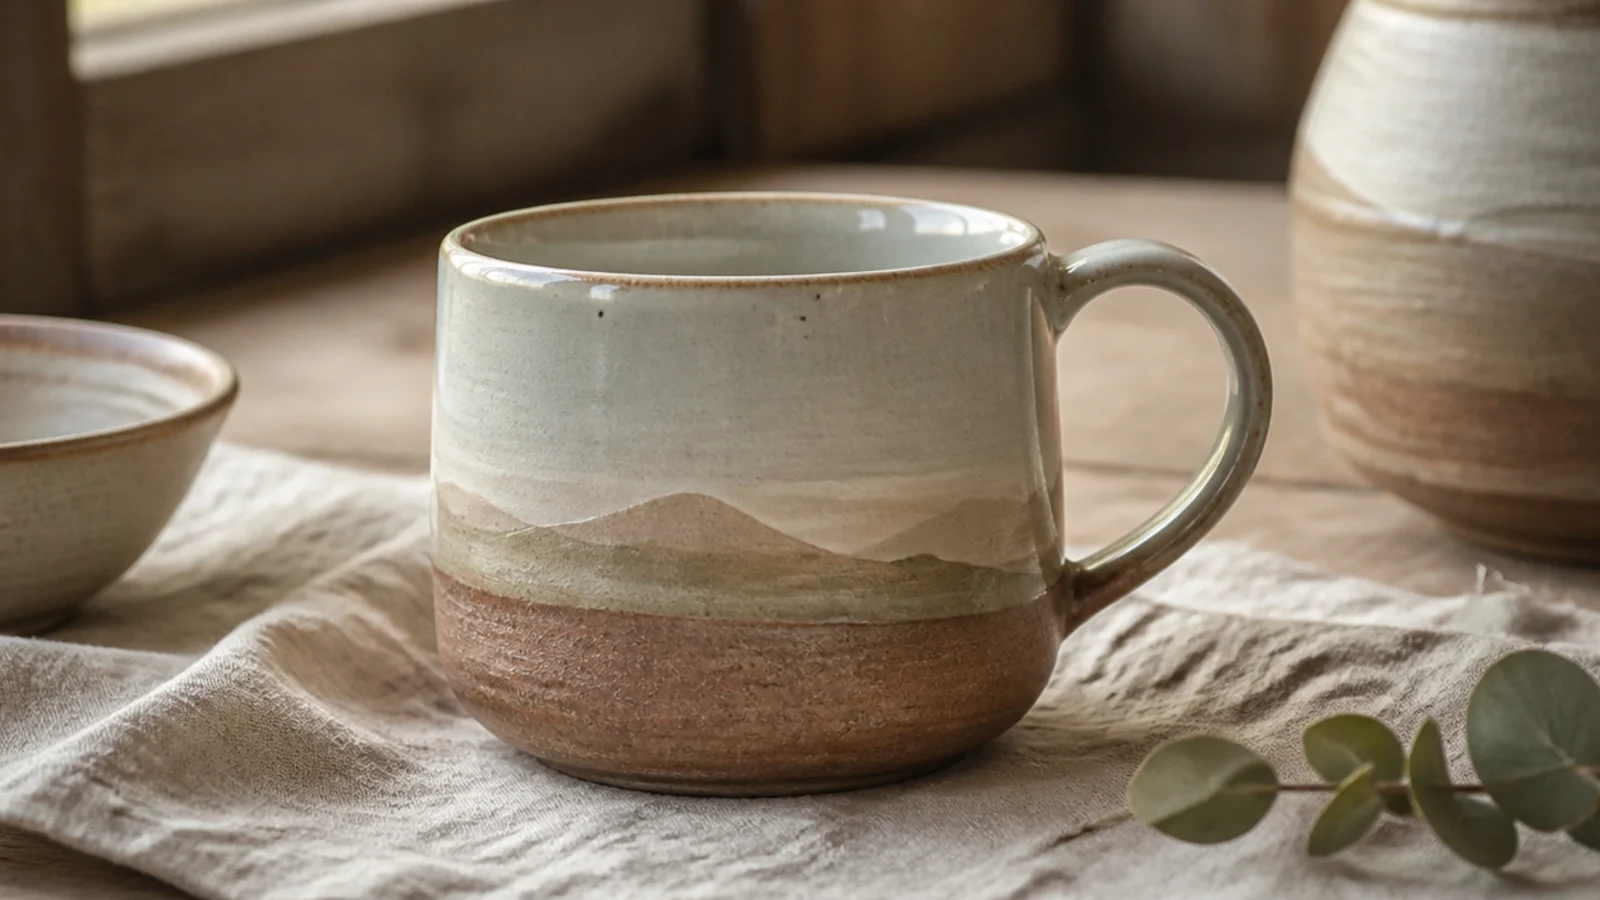
Layering bands of glaze into a simple landscape — sky, hills, earth — makes a mug that looks like a tiny painting. Kept abstract with three or four bands, it feels artistic but relies only on stacked, overlapping glaze zones. Soft muted glazes blend where they meet for a misty horizon.
Bisque fire, then brush a pale sky glaze across the top, a mid-tone over the middle hills, and a deeper earth glaze at the base, overlapping the edges slightly so they blend. Use two even coats of each and let the overlaps create the horizon lines. Wipe the foot and glaze-fire. Where compatible glazes overlap they often produce a third reactive color at the seam.
Editor's noteLet the glaze bands overlap by a few millimeters so the colors mingle into soft horizon lines instead of hard stripes.
Skip thisDon’t add tiny painted details like birds or trees; the charm is the simple bands, and small marks blur under glaze.
25. Stacking Espresso Cup Set
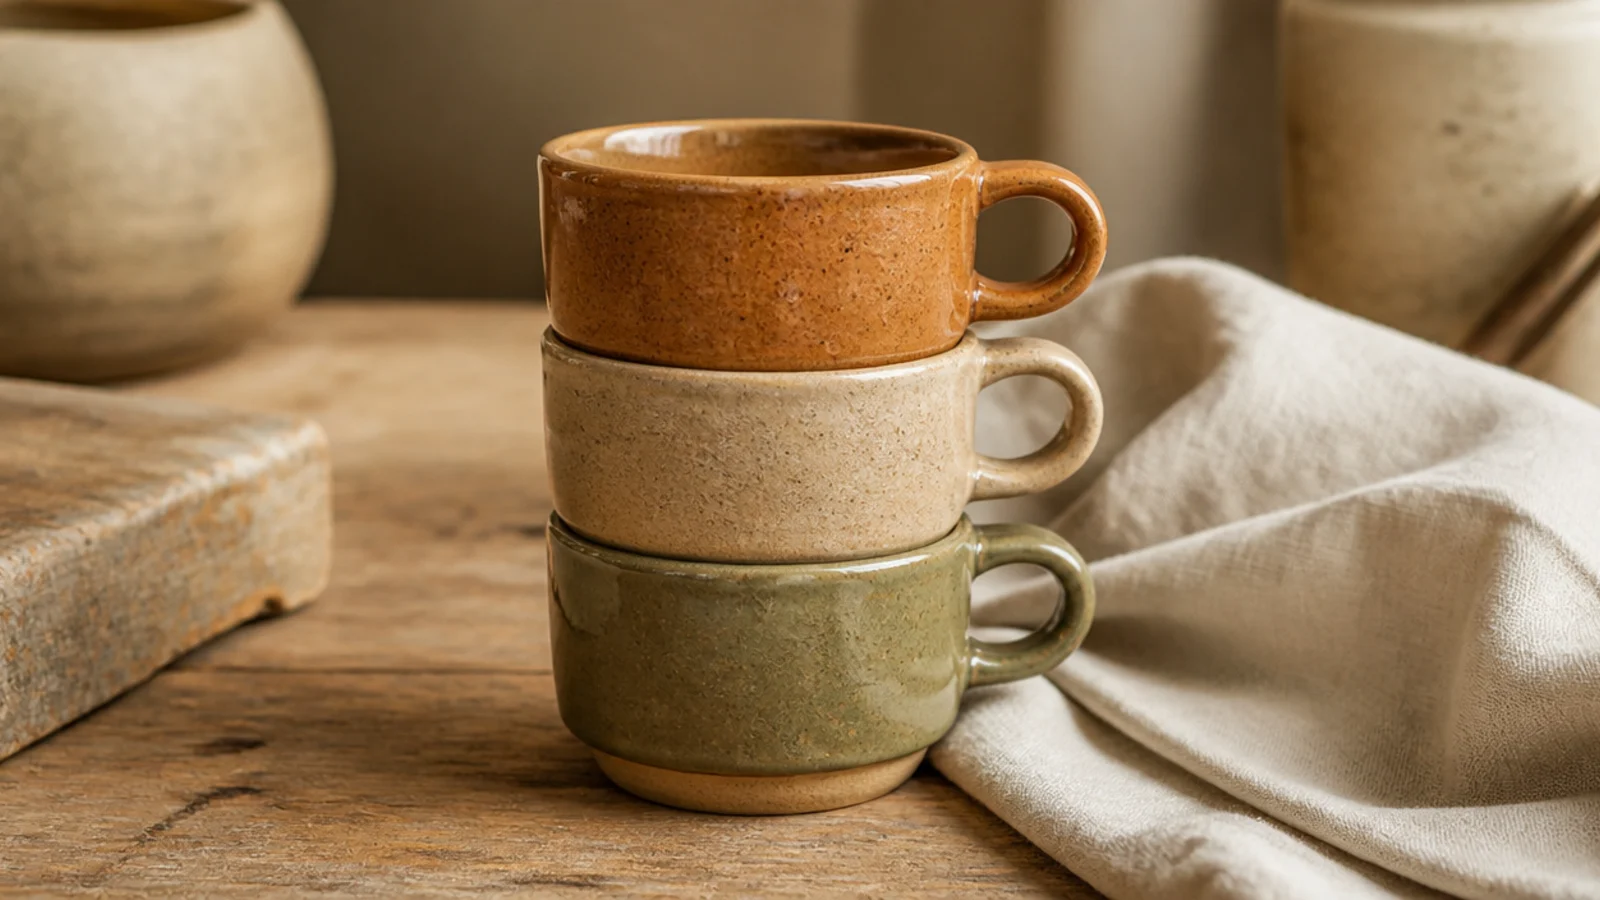
A trio of small stacking espresso cups is a satisfying set project and a lovely gift. Matching form with graduated glaze colors makes them read as an intentional collection. Small cups are quick to make, so you can build the whole set in one session.
Throw or hand-build three small cups (about 3 oz each) with identical dimensions so they nest, keeping walls an even quarter-inch. Trim matching feet so each sits flat and stacks true. Bisque, then glaze each in a different tone of the same palette — terracotta, sand, olive — with two even coats. Wipe every foot and glaze-fire together to the shared cone.
Editor's noteMake one cup as a size template and measure the others against it so they truly nest and stack evenly.
Skip thisDon’t vary the wall thickness or rim diameter between cups; mismatched sizes won’t stack and break the set’s look.