1. Everyday Pinch-Pot Coffee Mug
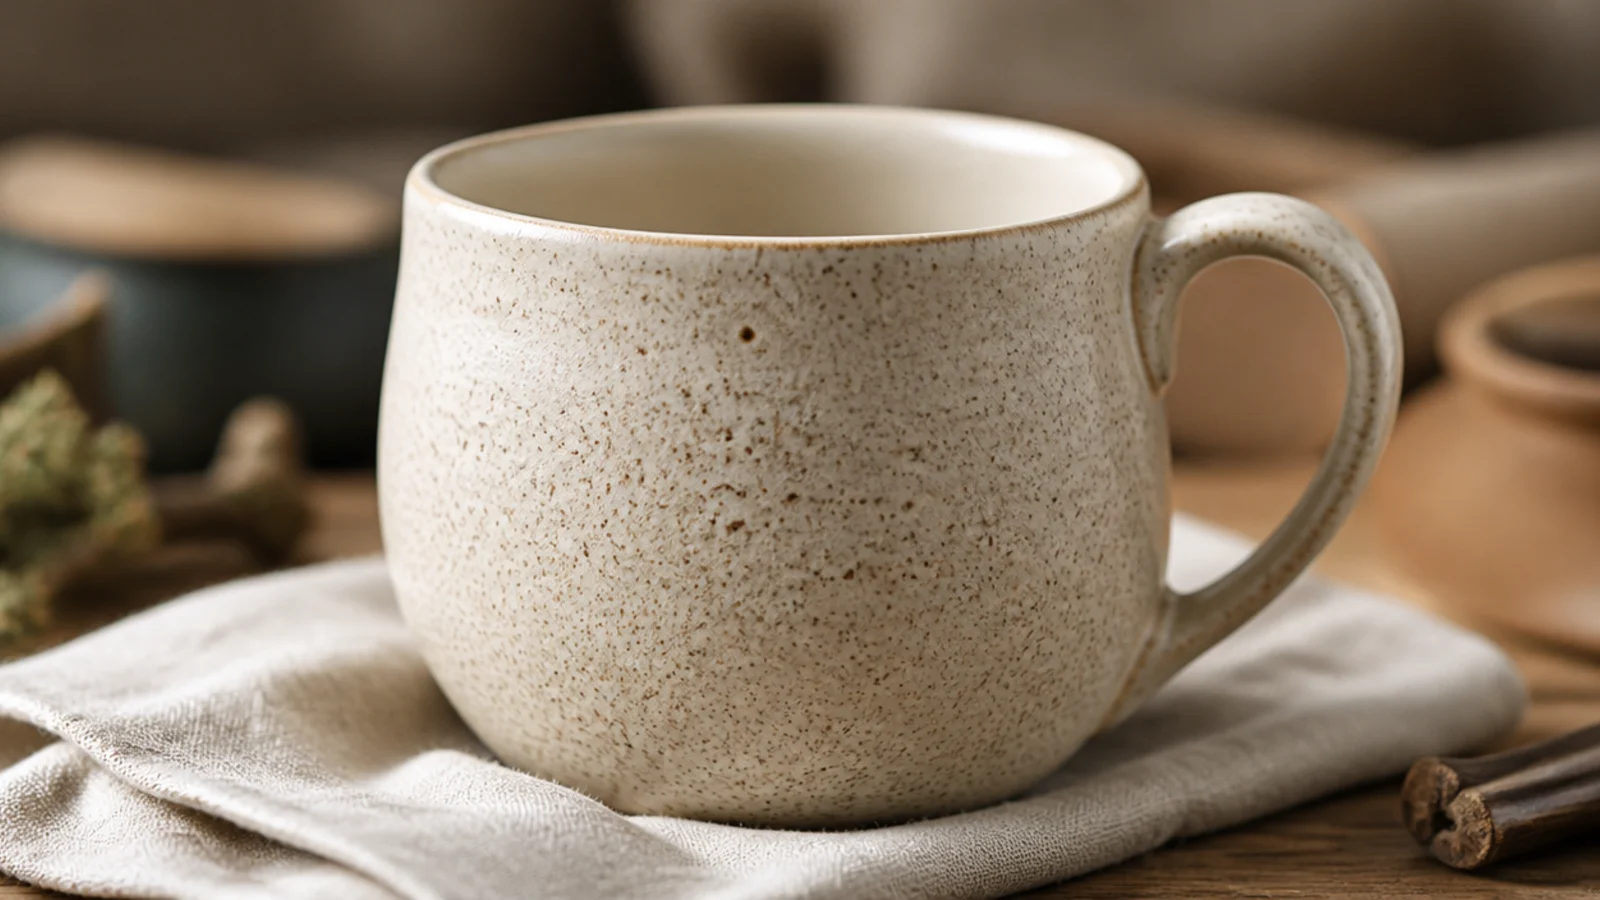
Roll about a pound of stoneware into a smooth ball and press your thumb into the center, stopping a quarter-inch from the bottom. Pinch the walls between thumb and fingers, rotating as you go, until they’re an even 1/4 inch and the inside volume is around 14 oz wet (it shrinks to about 12 oz fired). Tap the base flat, compress the inside base with a rounded rib to prevent cracks, and round the rim with a damp sponge so it’s smooth on your lip. Firm to leather-hard, score and slip on a small pulled handle, then bisque, glaze inside and out with a food-safe glaze, and glaze-fire.
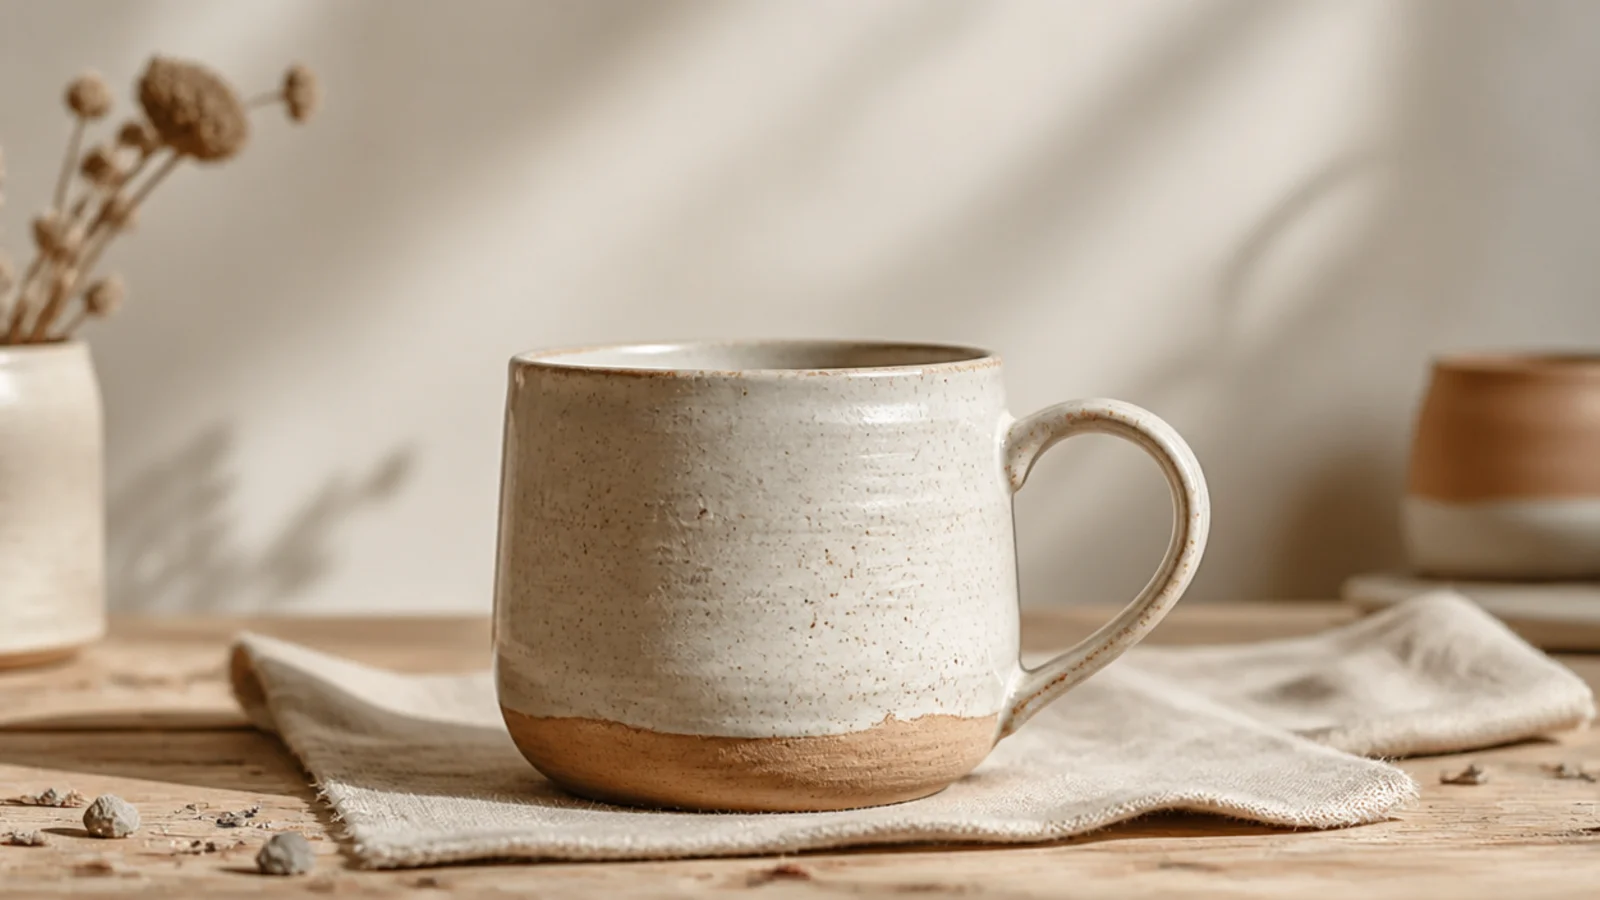
This is the true first-mug project — no wheel, just your hands — and it teaches even walls, the skill every good coffee mug depends on. Sized to a standard 10-12 oz cup, it holds a real serving of drip coffee without being a soup bowl. The gentle finger texture reads as intentional and handmade, and a soft solid glaze lets it show. Start here before any fancier shape.
Skip thisDon’t leave the base thin and the same weight as the walls; a slightly thicker base holds heat and stops your coffee going lukewarm.
Editor's noteFill the leather-hard mug with water and pour it into a measuring cup — if it’s short of your target, you’ll know before firing locks the size in.
2. Thick-Walled Slab Cylinder
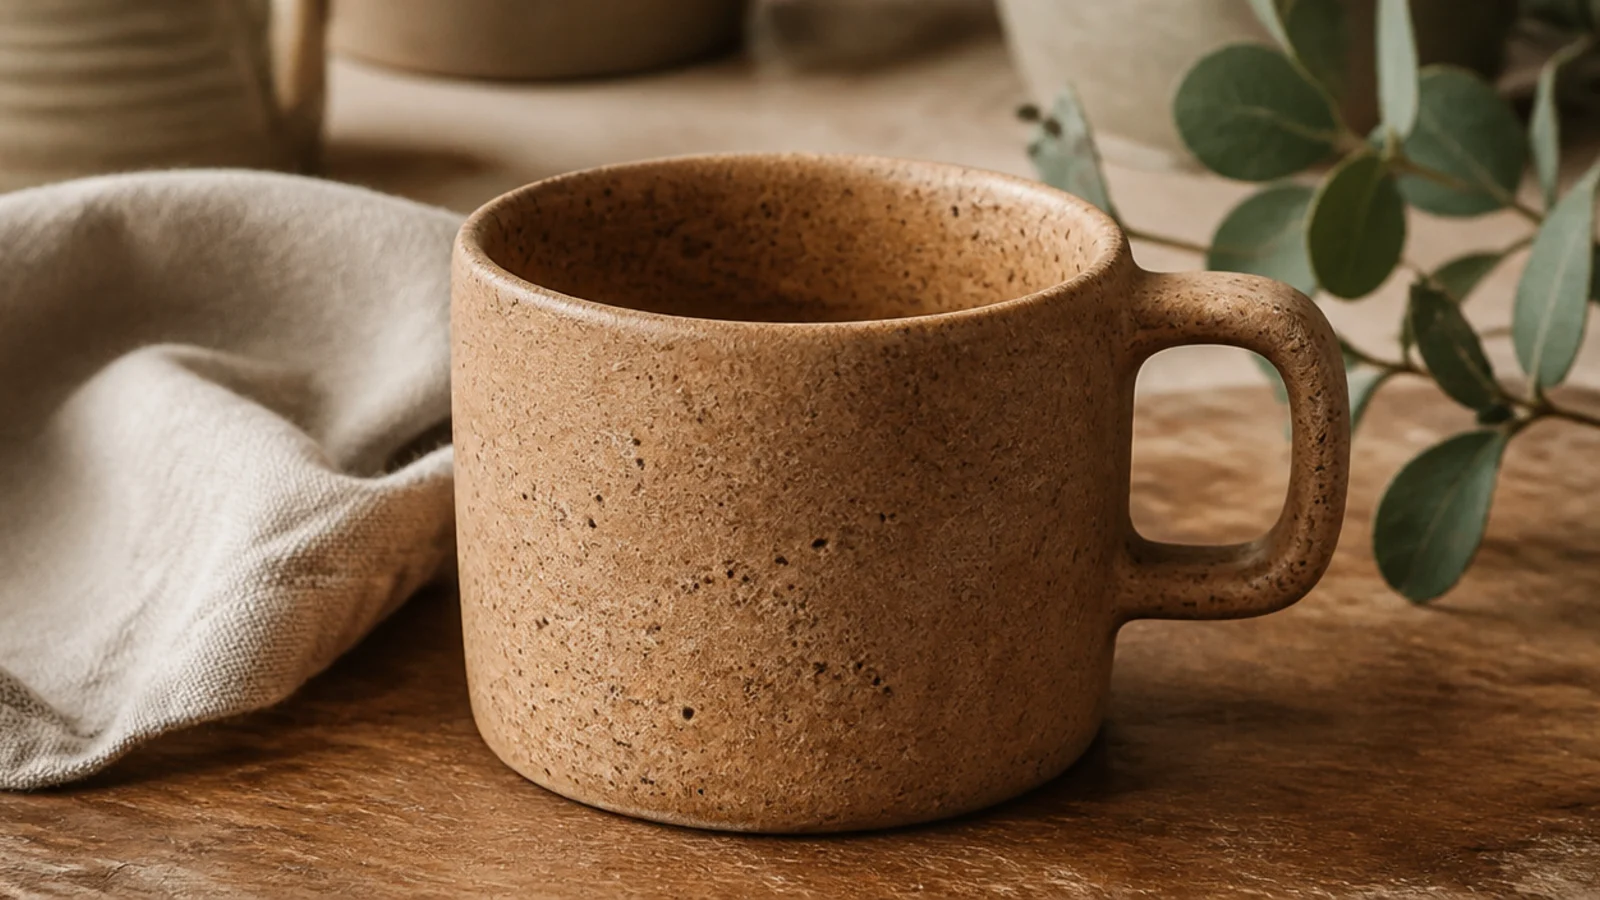
A slab cylinder gives you clean straight sides and, more importantly, the thermal mass to keep coffee hot. By building the walls a touch thicker than a decorative mug, you get a cup that stays warm to the last sip. It’s a fast, wheel-free build and the base for endless surface textures. This is the workhorse shape for black filter coffee.
Roll a slab to an even 5/16 inch (slightly thicker than usual) using guide sticks, then cut a rectangle about 4 inches tall by 10 inches long for a 12 oz mug. Wrap it around a newspaper-covered tube, score and slip the seam, and blend it smooth inside and out. Cut and attach a base, sealing the inside join with a smoothed coil of clay for extra thermal mass. Firm to leather-hard, add a chunky strap handle, round the rim, then bisque, glaze food-safe, and glaze-fire.
Warm the finished mug with hot tap water for ten seconds before you pour coffee in — a pre-heated thick wall holds heat dramatically longer.
Don’t roll the slab thin to save clay; a thin-walled cylinder loses heat fast and defeats the whole point of this shape.
3. Wide Cappuccino Mug

Build or throw a low, wide form about 3 inches tall and 3.5 inches across the rim, opening the walls out into a gentle curve for a 6-7 oz volume. Keep walls at 1/4 inch and give it a slightly flared, well-rounded rim so it drinks cleanly. Attach a smaller curved handle that sits close to the body at leather-hard. Bisque, glaze with a food-safe matte or satin, wipe the foot, and glaze-fire; make a shallow saucer from the same slab if you like.
A cappuccino needs a wide, shallow bowl-shaped cup — around 6 oz — so the milk foam has room to sit and the drink layers properly. The low, open shape is exactly what a cafe hands you, and it feels grown-up and deliberate. It’s also easier to latte-art in and to dunk a biscotti. Make a matching saucer if you want the full set.
Skip thisDon’t build it tall and narrow; a deep cup buries the foam and turns your cappuccino into a plain milky coffee.
Editor's noteFlare the rim outward a few degrees — it guides the foam and coffee neatly to your lip and stops drips down the side.
4. Tall Slim Filter Mug
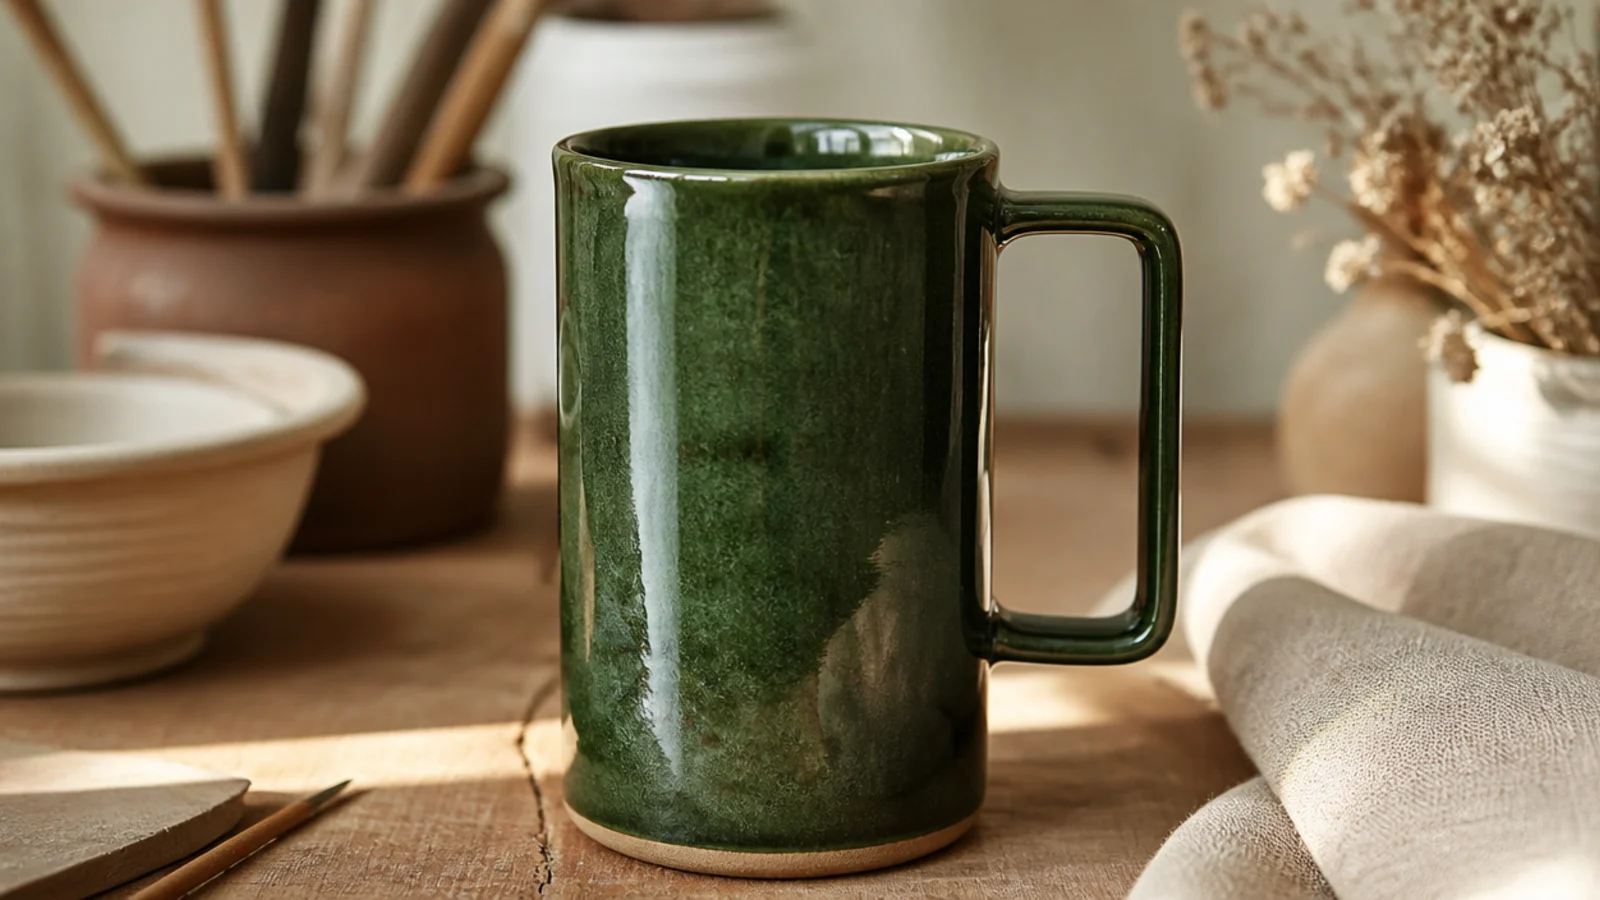
A tall, narrow mug is the heat-retention champion — less surface area at the top means black coffee stays hot far longer. It suits a pour-over or filter drinker who nurses a cup slowly. The elegant slim silhouette also reads modern and considered. Around 10-12 oz keeps it from getting tippy.
Build or throw a cylinder about 4.5 inches tall and 3 inches across for roughly 11 oz, keeping the walls even at 1/4 inch so the tall form doesn’t get heavy on one side. Give it a slightly wider base or a trimmed foot ring so it’s stable and won’t tip. Compress and round the rim, attach a straight pulled handle that runs most of the height for a secure grip, and let it firm. Bisque, glaze in a deep food-safe color that pools richly, and glaze-fire.
Trim a small foot ring or leave the base a touch wider than the rim so a tall mug stays stable on the counter.
Don’t make the walls uneven on a tall form; any thin spot shows as a wobble and is the first place it cracks in firing.
5. Little Espresso Cup
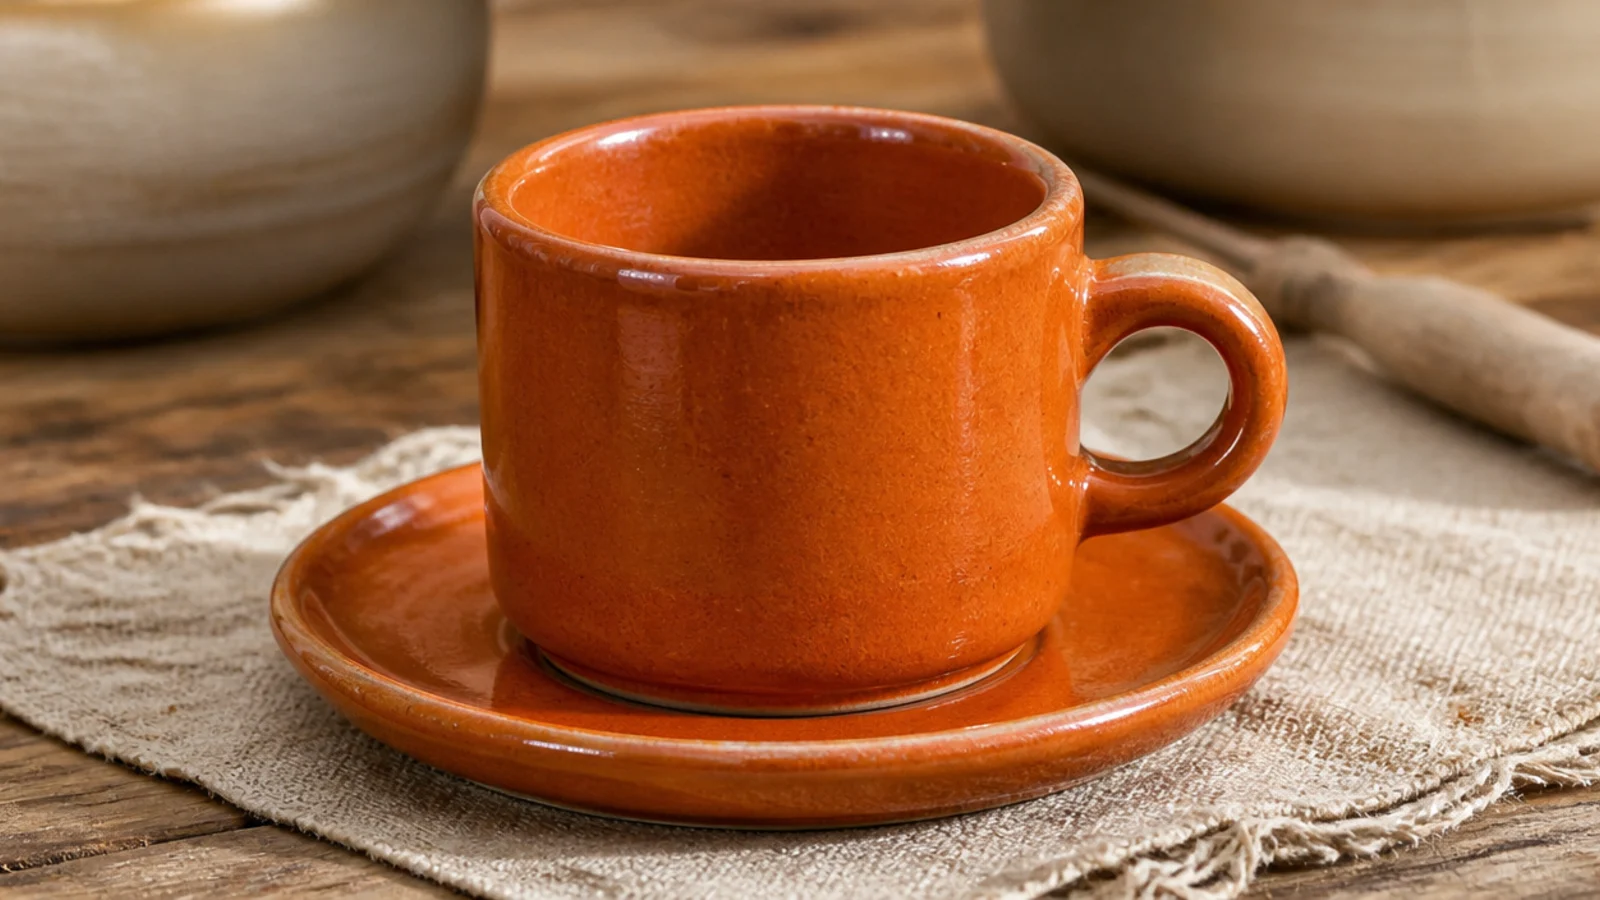
Use about half the clay of a standard mug and build a small cup roughly 2.25 inches tall and 2.25 inches across for a 3 oz volume. Keep the walls a full 1/4 inch — proportionally thick — so the little cup holds heat, and round the rim carefully since your lip meets it directly. Add a small loop handle just big enough for one finger at leather-hard. Bisque, glaze food-safe inside and out, wipe the foot, and glaze-fire; make a mini saucer from the same clay.
Espresso is only 2-3 oz, so a proper cup is small, thick-walled, and holds heat around a tiny volume of intense coffee. Making one is quick and a great way to practice on less clay before a full mug. A thick wall and a narrow shape keep the crema warm. A pair with saucers makes a lovely, giftable set.
Skip thisDon’t scale a big mug down without keeping the wall thickness; a thin espresso cup goes cold before you finish the shot.
Editor's noteWarm espresso cups with hot water first — such a small volume of coffee loses heat almost instantly in a cold cup.
6. Oversized Latte Bowl Mug
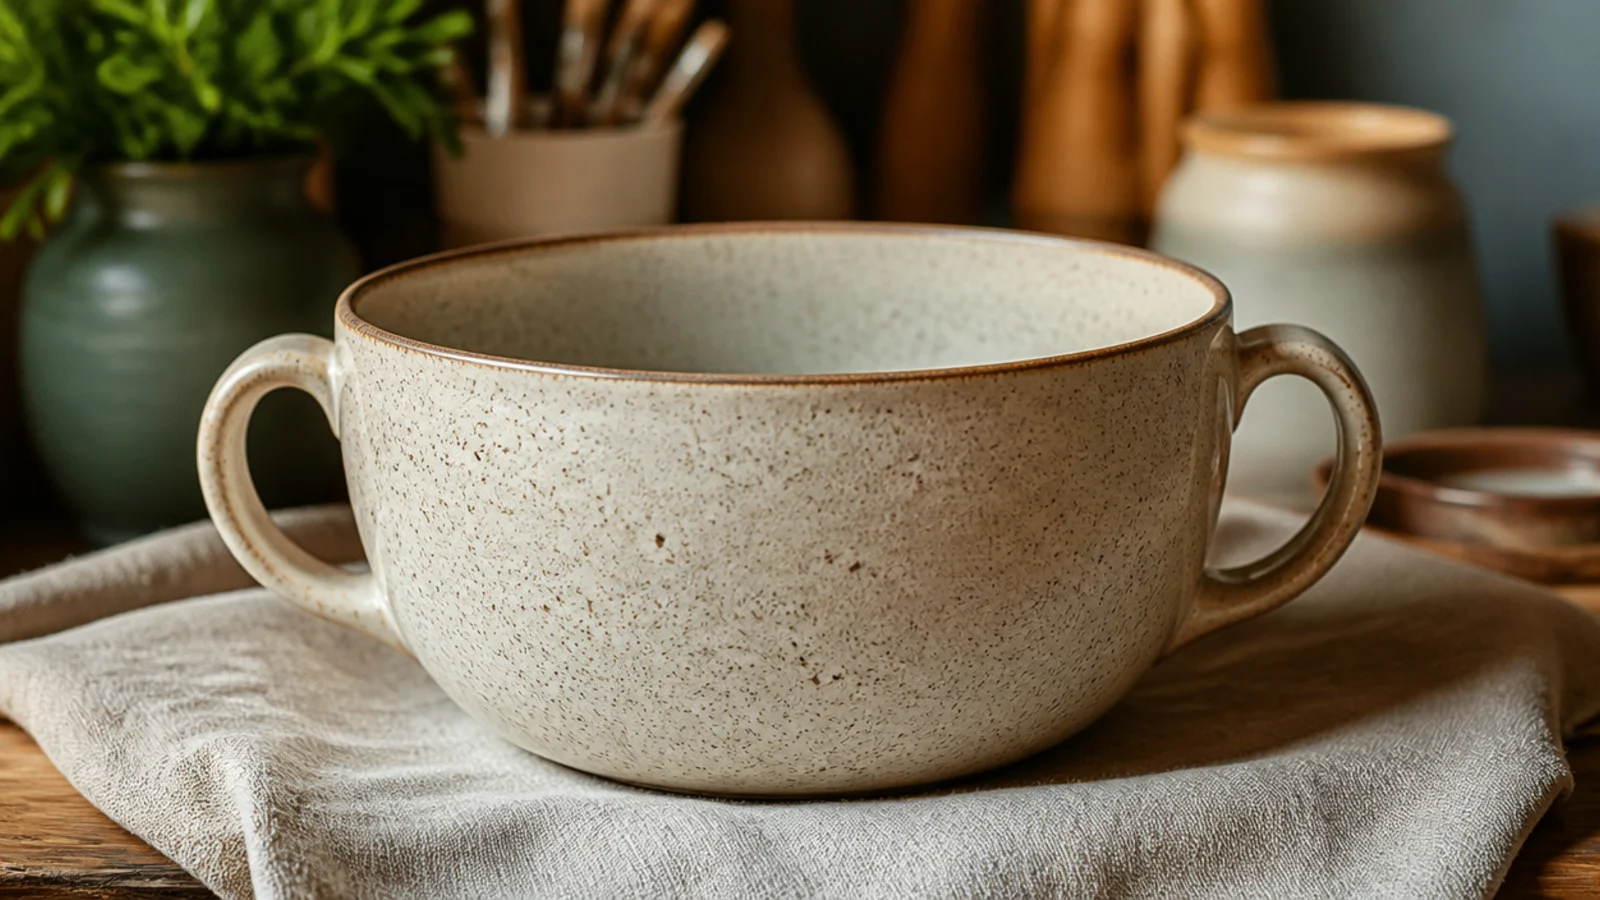
Use about 1.25 pounds of clay and build a wide, deep bowl form roughly 4 inches across and 3.5 inches tall for a 16 oz volume, keeping walls even at 1/4 inch. Because it’s large, compress the base well and let it dry slowly to avoid cracks. Attach either one generous pulled handle or two small side lugs at leather-hard for a two-handed hold. Round the wide rim, bisque, glaze with a food-safe finish, wipe the foot, and glaze-fire.
A big, round latte bowl holds a generous 14-16 oz milky coffee and is made for wrapping both hands around on a slow morning. The wide, rounded body is cozy and Parisian, and it’s forgiving to build because the shape is essentially a large bowl with handles. It’s the one people reach for on weekends. Two small side handles suit the cradling grip better than one big handle.
Skip thisDon’t skimp on base compression on a wide form; an uncompressed big base is the classic spot for an S-crack in the kiln.
Editor's noteGive a big bowl a slightly wider foot for stability and dry it extra slowly under plastic, since large forms crack most easily.
7. Comfort Pulled-Handle Mug
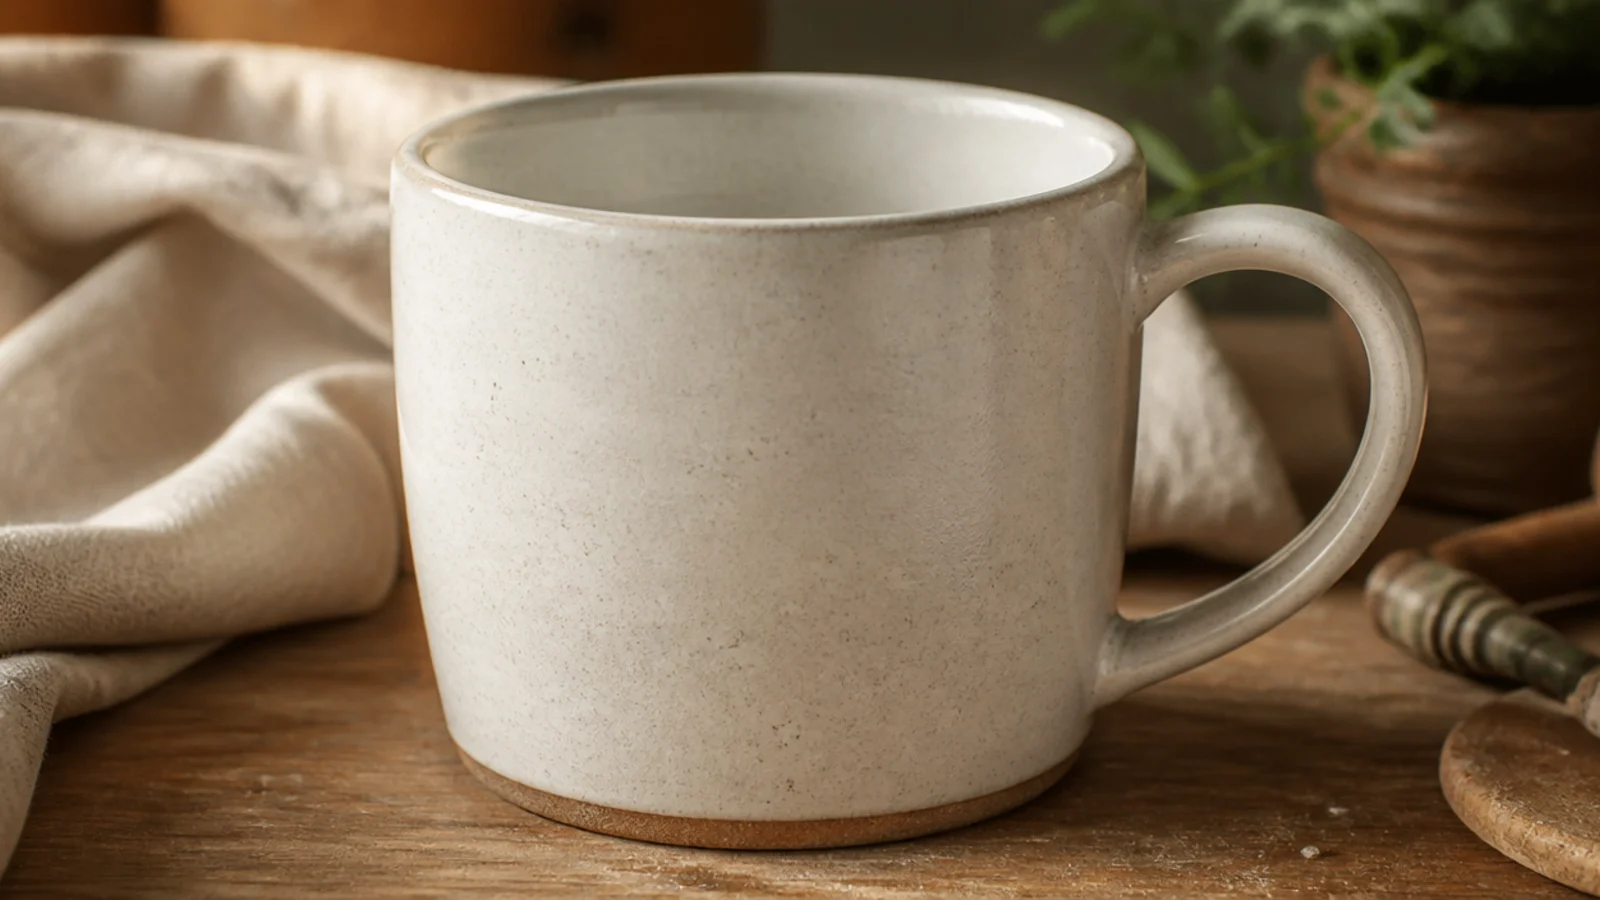
The handle is what your hand actually touches, and most homemade mugs get it wrong — too small, too flat, or badly placed. This design centers on a proper pulled handle: wide enough for two fingers, with a gentle S-curve that fits the natural grip. Get the handle right and an ordinary mug feels custom. It’s the upgrade that matters most for daily use.
Pull the handle from a carrot-shaped lug of clay, wetting your hand and drawing it downward into a smooth, tapering strap about 5/8 inch wide with a slight ridge on the back for grip. Let it firm to leather-hard bent into an S-curve. Attach at leather-hard by scoring and slipping both the mug and handle, positioning the top join near the rim and leaving a two-finger opening, then smooth a collar around each join. Bisque, glaze food-safe, and glaze-fire.
Test the opening with two fingers while the handle is still soft — it’s the only time you can adjust the loop for a comfortable hold.
Don’t attach a stiff, fully dry handle to a leather-hard body; the mismatched moisture cracks the joins as they shrink apart.
8. Thumb-Rest Handle Mug
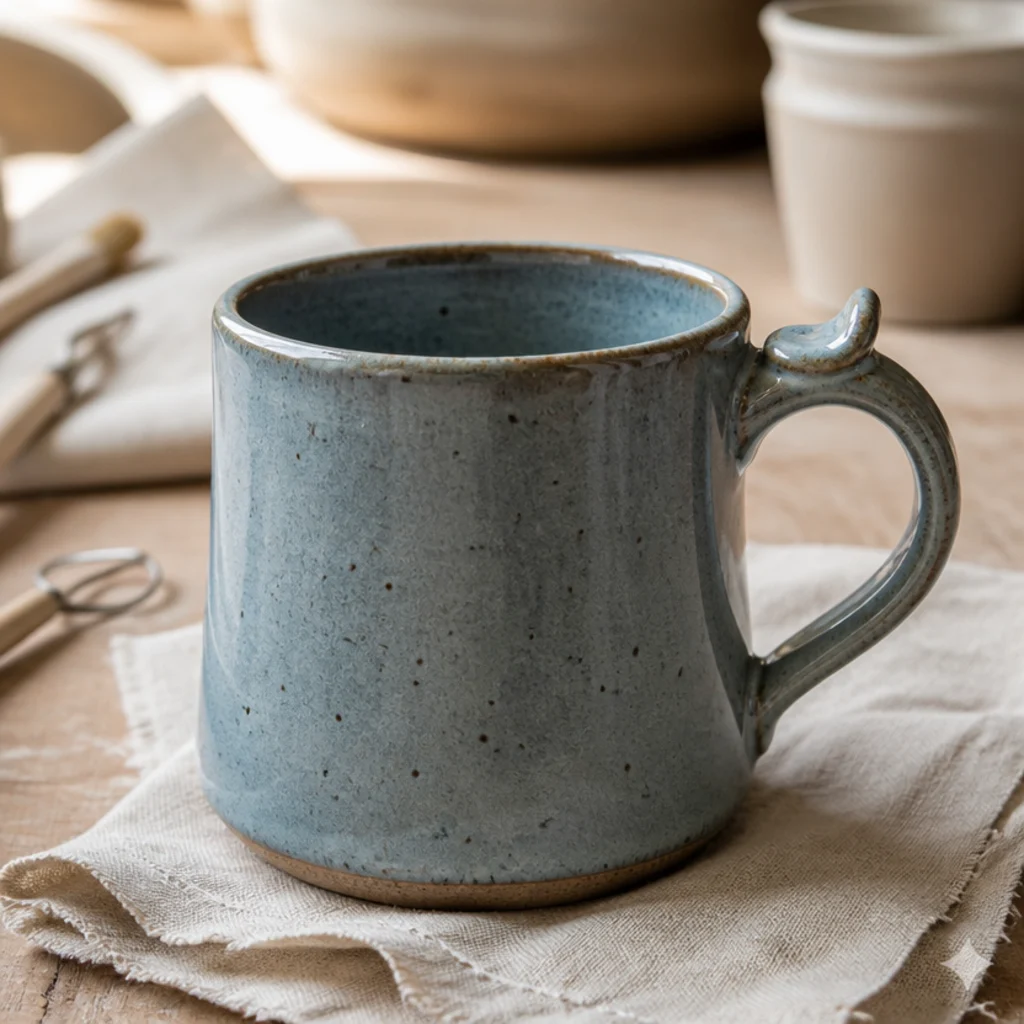
A little thumb rest on top of the handle gives your thumb somewhere to settle, which makes a full, heavy mug feel secure and balanced. It’s a small, tactile detail that instantly signals a considered, handmade cup. Coffee drinkers who hold a mug for a while really feel the difference. It works on any body shape.
Build your mug body and pull a handle as usual. Before attaching, press or add a small pad of clay to the top curve of the handle and shape a shallow, thumb-sized depression with your thumb or a rounded tool. Attach the handle at leather-hard with scored, slipped joins, checking that the thumb rest sits where your thumb naturally lands. Smooth everything, bisque, glaze food-safe, and glaze-fire so the rest stays comfortable and food-safe.
Hold the mug as you’ll actually drink from it and mark where your thumb falls before shaping the rest, so it lands in the right spot.
Don’t make the thumb rest sharp-edged or too deep; a crisp ridge digs in, while a soft shallow dish feels natural.
9. Stackable Nesting Mug Set
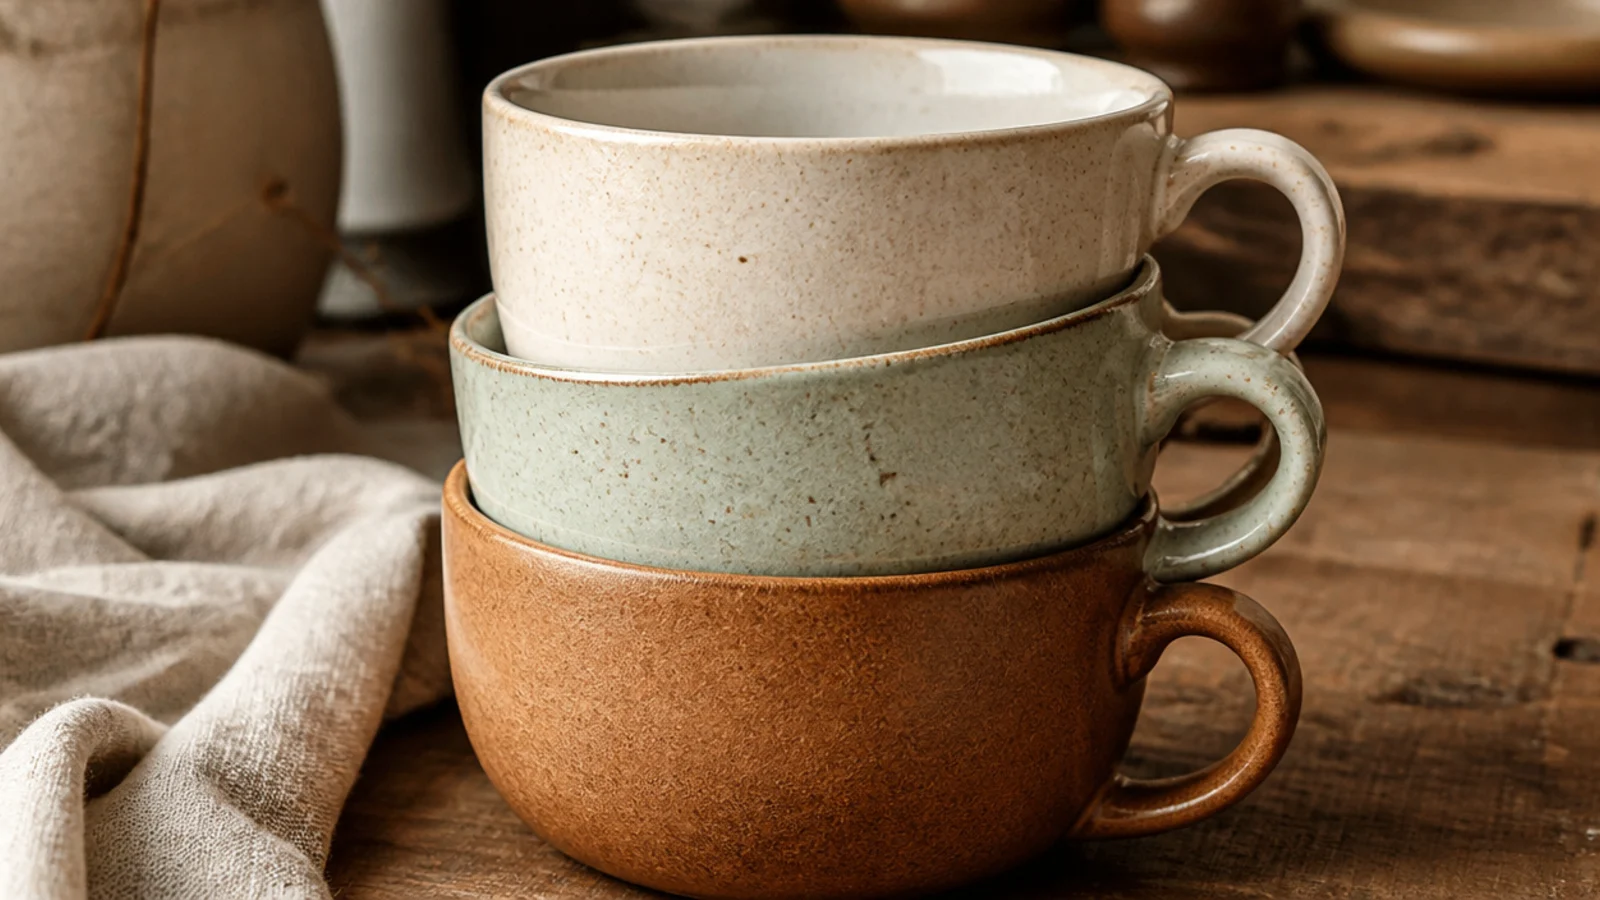
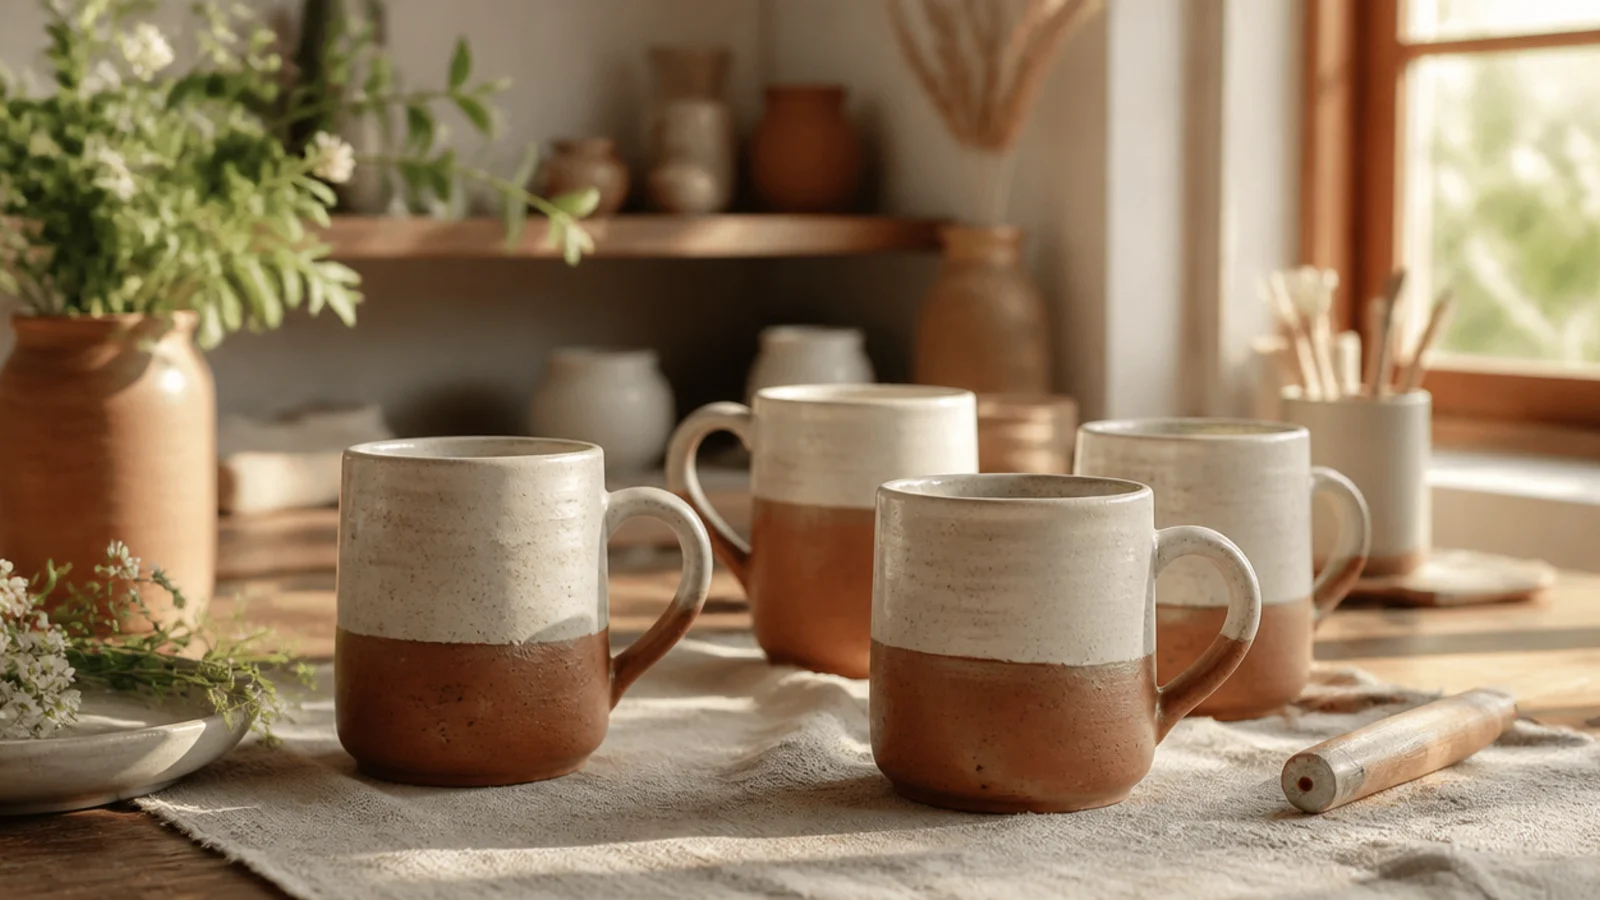
Build three or more cylinders to the same template — same 10-12 oz volume, same 3.25-inch rim, same 1/4-inch walls — using a cut cardboard gauge to check each one. Keep the sides straight or very slightly tapered so they stack, and keep handles thin and close to the body. Attach handles at the same height on each at leather-hard, round every rim identically, then bisque. Glaze in a graduated family of earthy tones, wipe the feet, and glaze-fire together.
Straight-sided mugs with matched dimensions can nest or stack, which is a small piece of engineering that makes a set feel professional and saves cupboard space. Making a coordinated set also locks in your capacity and handle so every cup drinks the same. It’s a satisfying step up once you can build one mug reliably. Keep the handles slim so they don’t block the stack.
Skip thisDon’t let the walls bow outward; even a slight belly stops mugs nesting and makes the set look mismatched.
Editor's noteCut a stiff card template for height and rim width and check every mug against it — consistency is what makes a set read as intentional.
10. Flared-Rim Earthy Glaze Mug
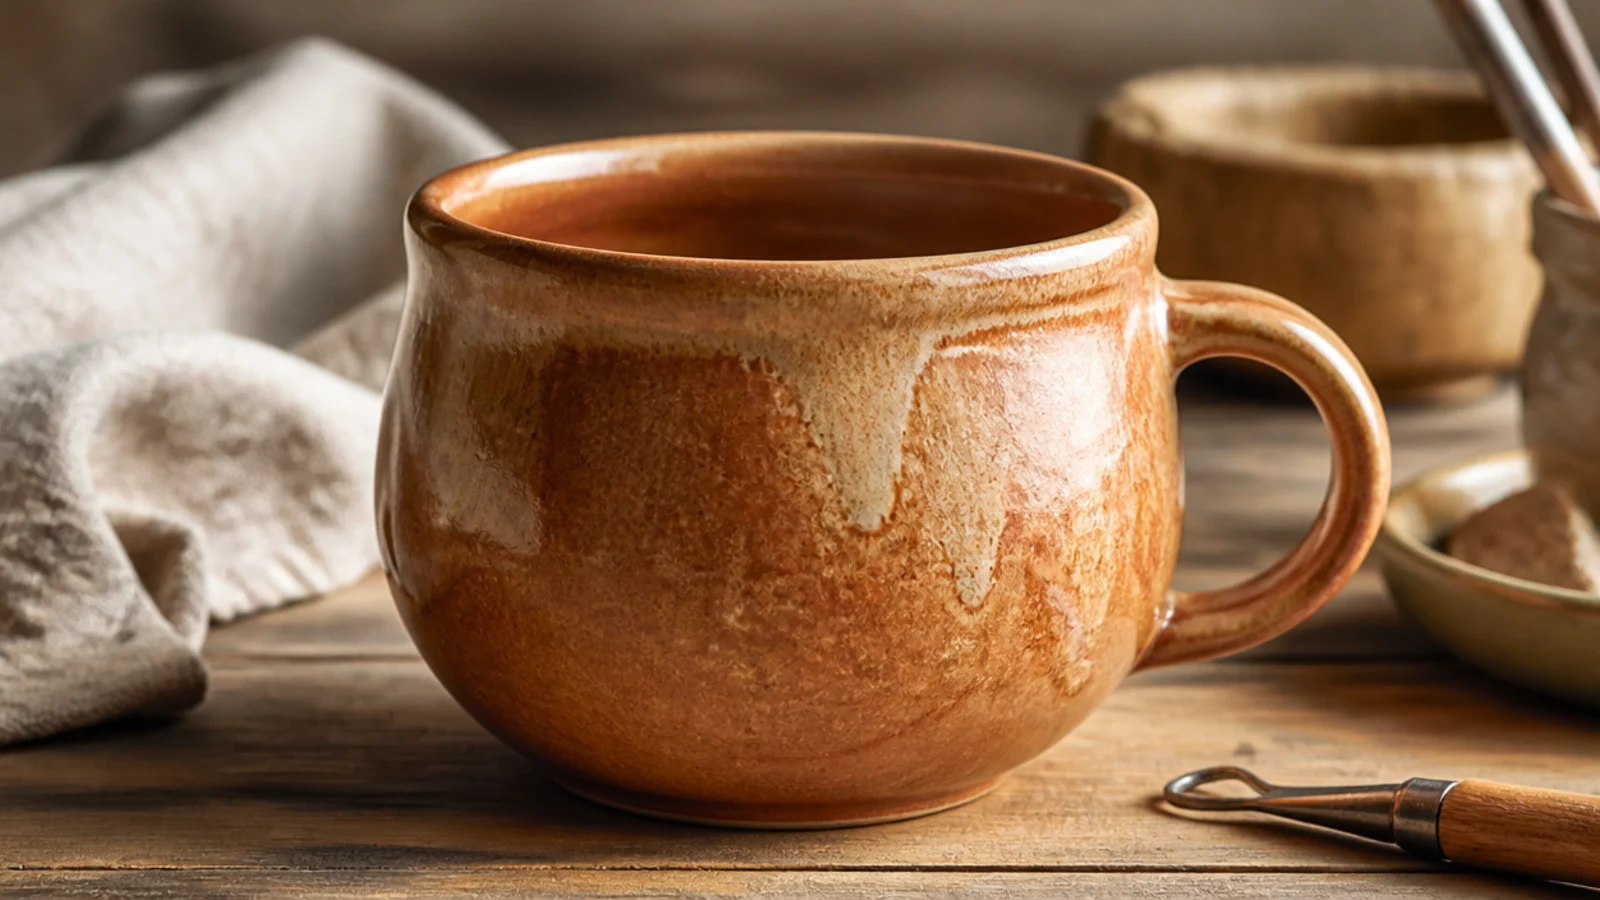
This one is about the drinking experience: a gently flared, rounded rim that meets your lip cleanly, finished in a warm earthy glaze that feels like autumn. The outward flare directs coffee smoothly and stops dribbles, and a breaking amber or tenmoku-style glaze pools rich and dark in the low spots. It’s proof that comfort and beauty aren’t separate goals. A forgiving, deeply satisfying everyday mug.
Build a rounded 12 oz body, then at the leather-hard stage gently flare the top half-inch of the rim outward with a rib or damp finger and compress it thoroughly so it’s smooth and rounded. Attach a comfortable pulled handle. Bisque, then apply a warm earthy food-safe glaze that 'breaks' over edges — an amber, honey, or tenmoku type — a touch thicker in the lower body so it pools richly. Wipe the foot and glaze-fire so the glaze streams and darkens over the curves.
Choose a glaze known to break over form so the flared rim and any curves show lighter and the color deepens in the hollows.
Don’t leave the flared rim thin and sharp; flare it, but keep it rounded and compressed or it chips and feels harsh.
11. Speckled Oatmeal Mug
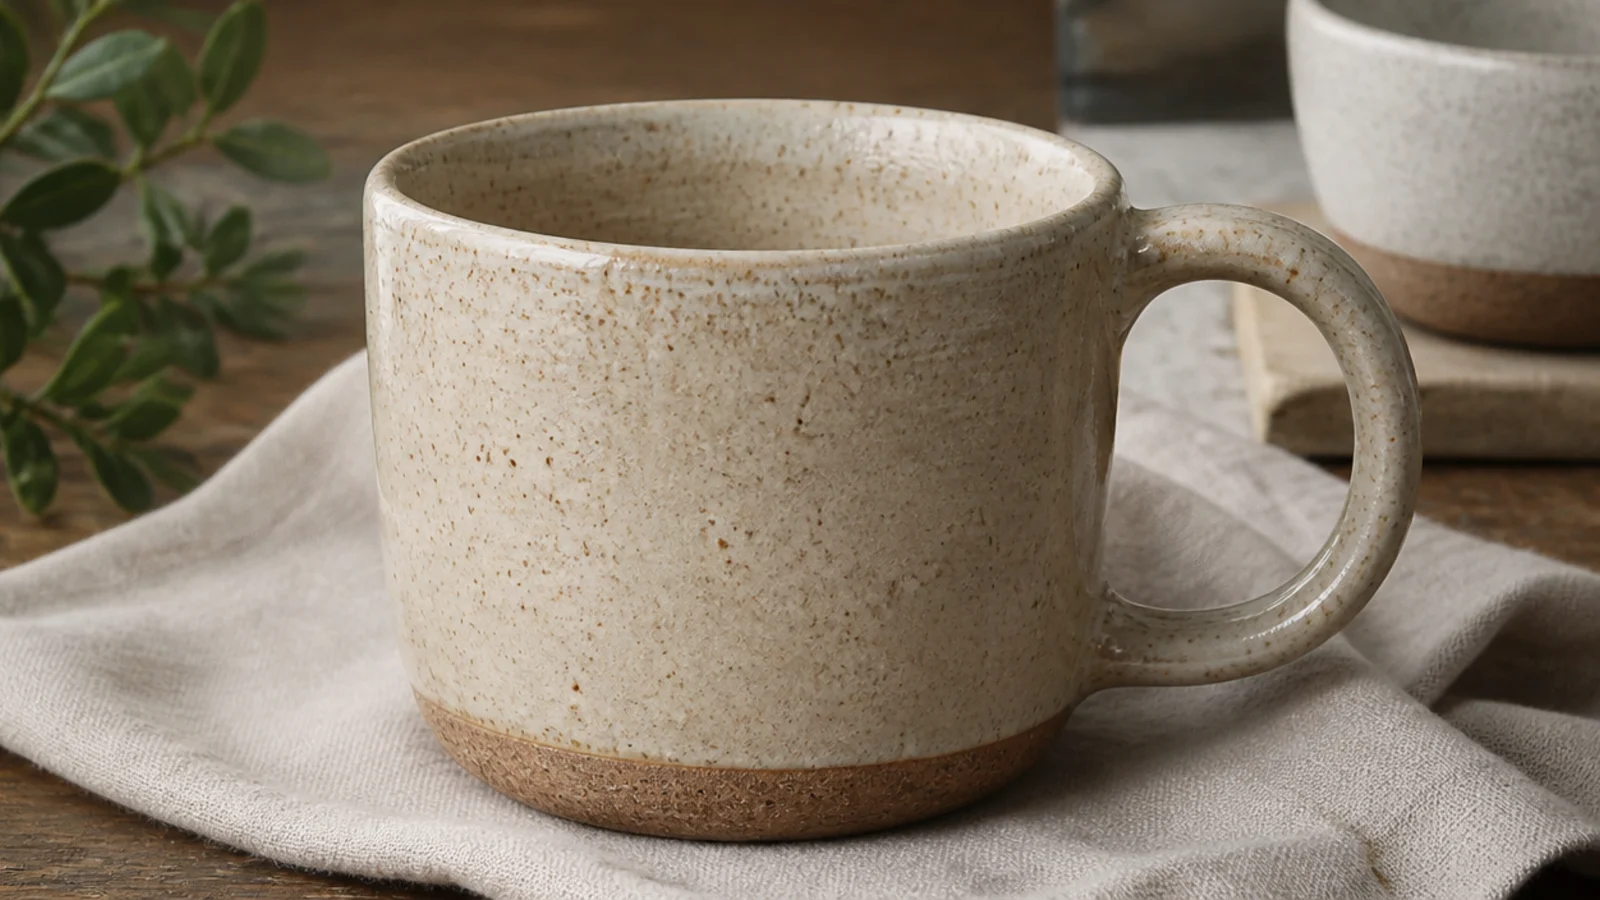
Build or throw your mug in a speckled stoneware clay (look for bodies labeled iron speckle or 'speckled buff'). Keep the surface clean and smooth so nothing competes with the flecks, and round the rim well. Bisque fire, then coat inside and out with a food-safe clear or clear satin glaze, wiping the foot clean so raw speckled clay shows there too. Glaze-fire to the clay’s rated temperature so the iron speckles bloom through the clear coat.
Sometimes the clay is the design. A speckled stoneware body under a clear glaze gives that beloved cafe oatmeal-fleck look with zero decorating skill. It suits any coffee-mug shape and goes with every kitchen, which is exactly why coffee shops use it everywhere. The 'naked' finish lets the material do the talking.
Skip thisDon’t cover the speckle with a heavily colored glaze; the whole appeal is the flecks, so keep the coat clear or barely tinted.
Editor's notePick a clear satin over a high-gloss clear if you want the speckles softer and more matte-modern rather than shiny.
12. Dipped Two-Tone Coffee Mug
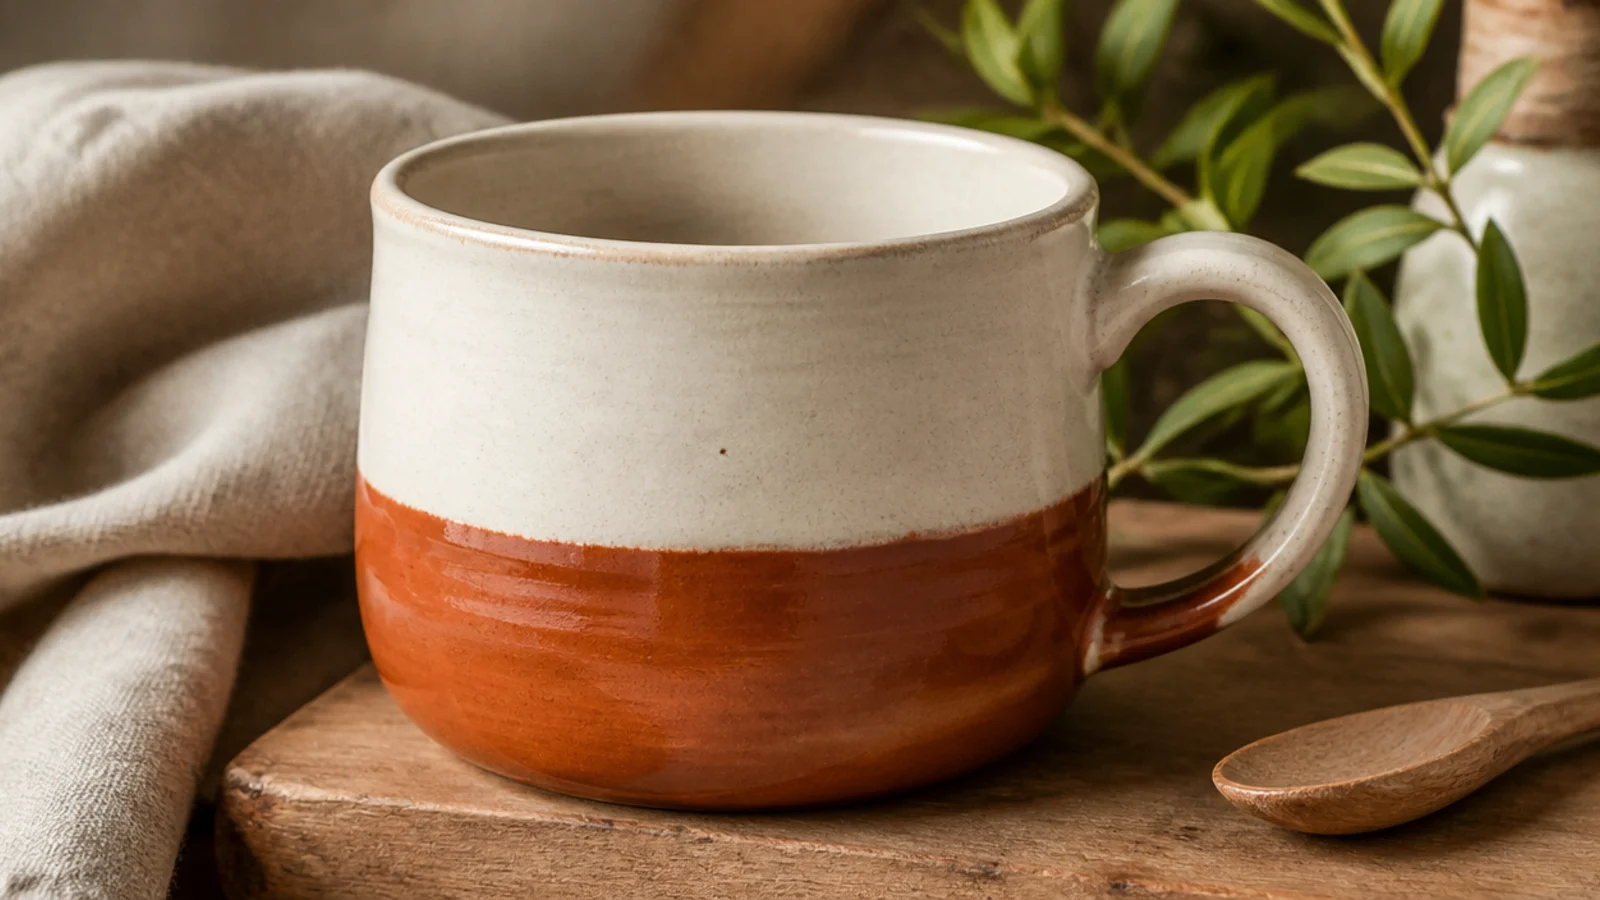
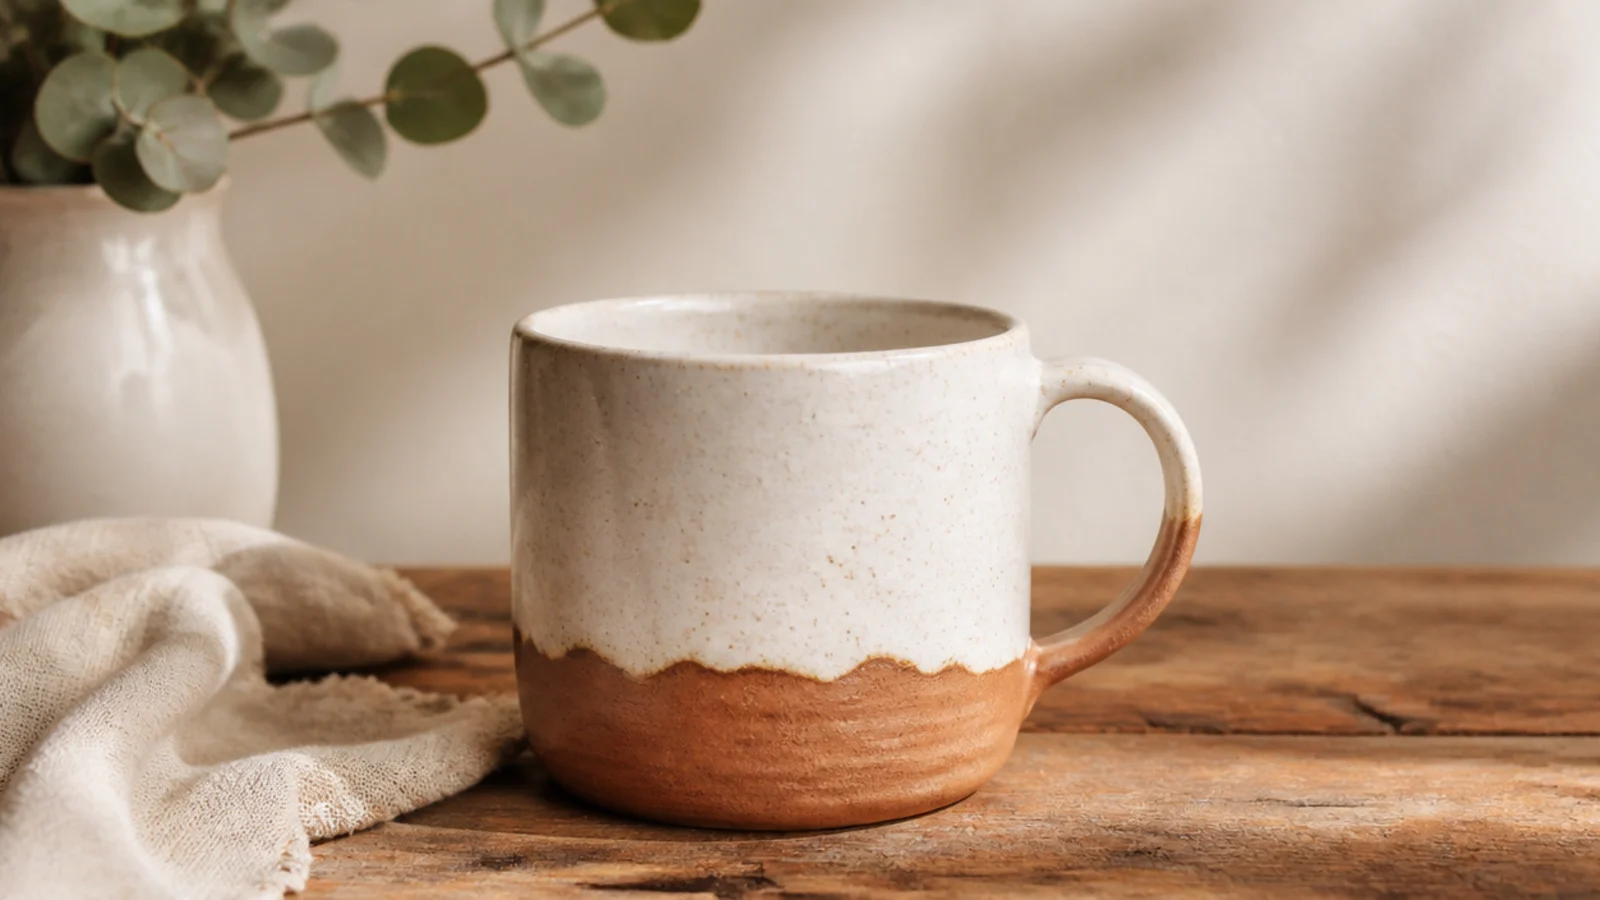
Bisque fire your mug or start with a bisque blank. Pour or dip the whole mug in a cream or white food-safe base glaze and let it dry to the touch. Then dip just the bottom half into a colored glaze, holding it level for a slow count so the line is even, and lift straight up. Wipe the foot clean and glaze-fire; the two glazes meet in a crisp horizontal band.
A two-tone dip is the glaze version of a color block — one clean line where a colored glaze meets a cream one. It looks modern and deliberate, and dipping does the precision for you. It’s the easiest way to make a plain mug or a bisque blank look designed. Warm coffee-friendly colors like rust, caramel, or olive suit the theme.
Skip thisDon’t dip onto a still-soaking first coat; let the base glaze go touch-dry first or the layers slide and run together.
Editor's noteDip the second color at a steady, level angle in one smooth motion — hesitating or tilting gives you a wavy, uneven line.
13. Faceted Grip Mug
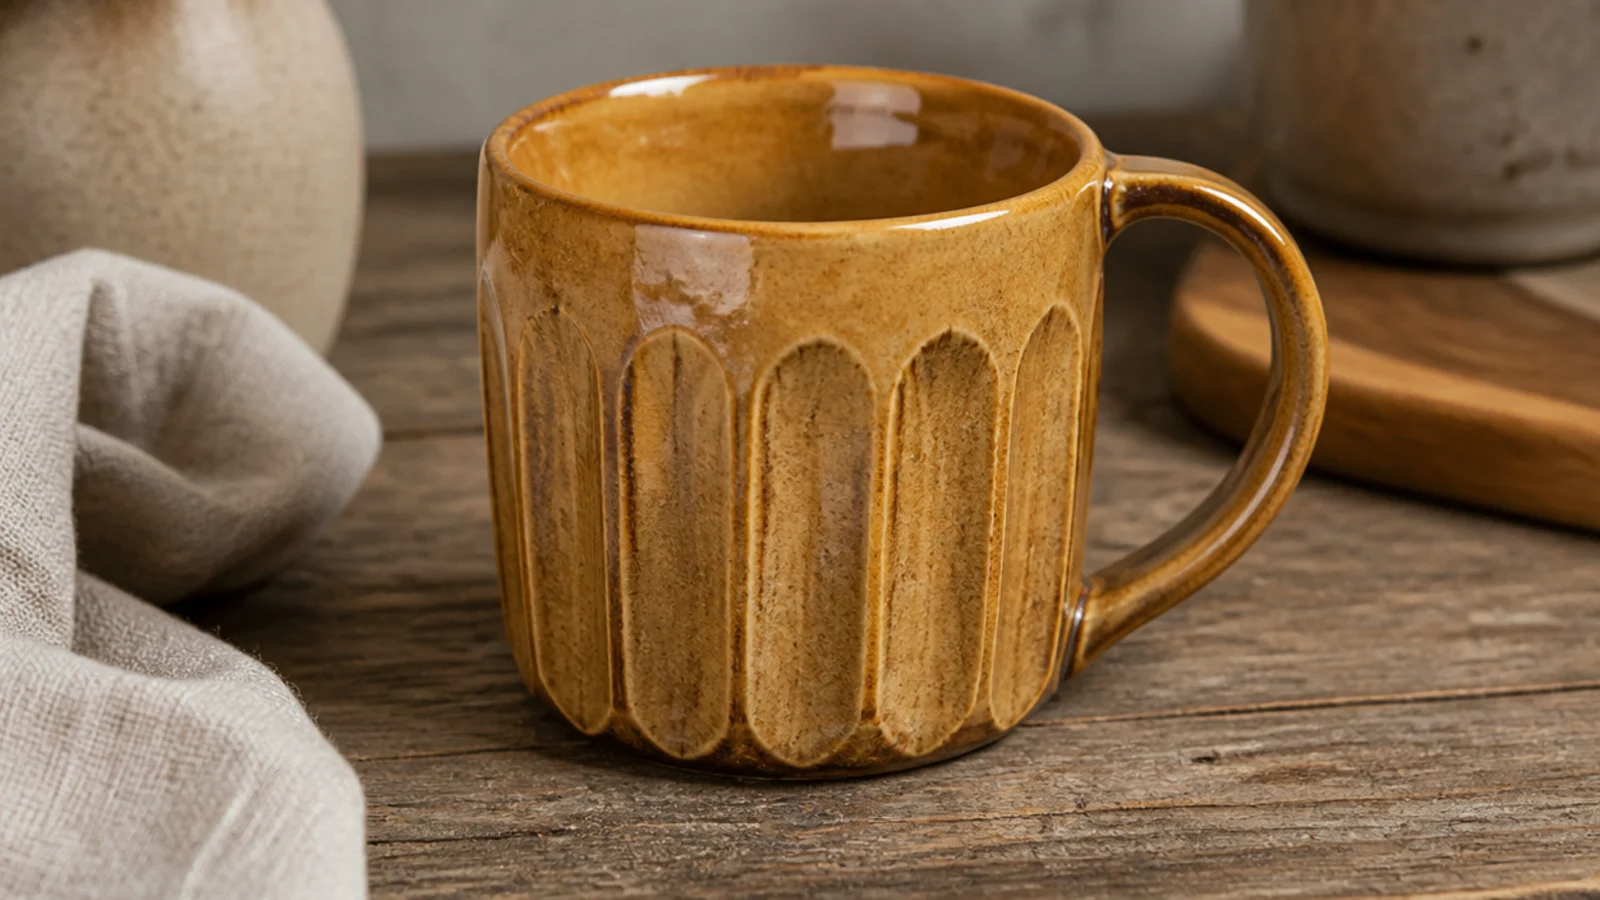
Build the mug with slightly thicker walls than usual — about 3/8 inch — so there’s clay to carve away. At soft leather-hard, use a wire tool or flat metal rib to slice straight vertical facets from base toward rim, spacing them evenly around the body. Clean each cut edge, firm up, attach a handle, and round the rim. Bisque, glaze with a glossy food-safe glaze that breaks lighter over the facet edges, and glaze-fire.
Faceting slices flat planes down the sides of a mug so it catches light like a cut stone and, crucially, gives your fingers grip. It turns a thick-walled coffee mug into something architectural and easy to hold, even when full. A glossy glaze pools in the cut edges and highlights every facet. It’s a design that earns its looks by being genuinely more secure to hold.
Skip thisDon’t facet a thin-walled mug; you’ll cut through the wall or leave weak spots that crack in the kiln.
Editor's noteMark equal points around the rim with a needle tool first so your facets stay evenly spaced instead of drifting wider on one side.
14. Coffee-Bean Motif Mug
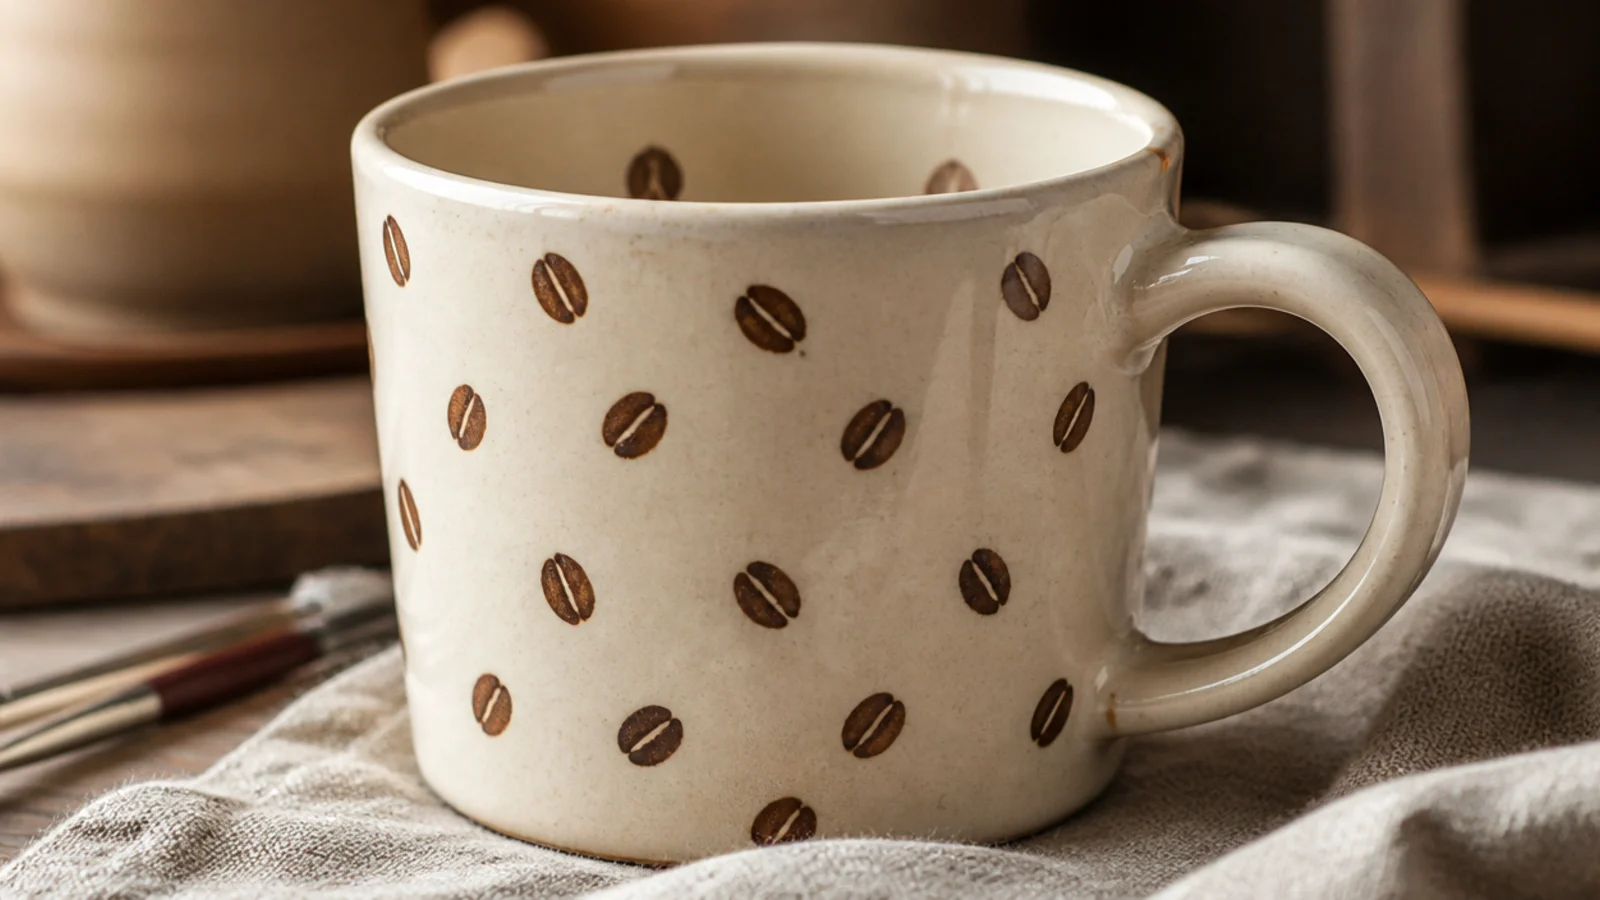
A scatter of little coffee beans is a playful, on-theme motif that’s genuinely easy — each bean is just an oval with a single curved line down the middle. It signals 'coffee mug' at a glance and makes a great gift for the caffeine devotee in your life. Underglaze keeps the design crisp and washable. One or two brown tones keeps it tasteful, not kitschy.
On bisque, lightly pencil a loose scatter of small ovals about half an inch long. Fill each with two thin coats of a warm brown underglaze using a small round brush, then, once dry, use a liner brush and a darker brown to draw the single curved center line that makes it read as a coffee bean. Vary the angles so it looks natural. Coat the whole mug in a clear food-safe glaze and glaze-fire so the beans stay crisp and washable.
Keep the beans loosely scattered at slightly different angles — a rigid, evenly spaced grid looks stiff and less natural than a casual sprinkle.
Don’t paint the underglaze thick and ridged; heavy underglaze can bubble under the clear coat and flake off.
15. "First Coffee" Hand-Lettered Mug

A short phrase like 'first coffee' in clean lettering makes an instant personal or gift mug, and it’s the most-searched style of handmade coffee mug for a reason. Underglaze with a fine liner brush or a ceramic pencil gives crisp text that survives daily washing. Keep it to one short line so it’s easy to space evenly and reads at a glance. It’s the kind of mug someone uses every single morning.
On bisque, rule a faint pencil baseline around the upper body and lightly mark where the phrase starts and ends so it stays centered. Trace 'first coffee' with underglaze using a fine liner brush, or use an underglaze pencil for more control, going over each stroke twice for solid, even color. Let it dry fully, then coat the whole mug in a clear food-safe glaze so the text won’t wash off, and glaze-fire to set both.
Pencil the full phrase in first and check the spacing before you commit any underglaze — it’s far easier to erase graphite than to fix crowded letters.
Don’t freehand the words straight onto the mug without a baseline; without a guide the letters slope and crowd at the end.