
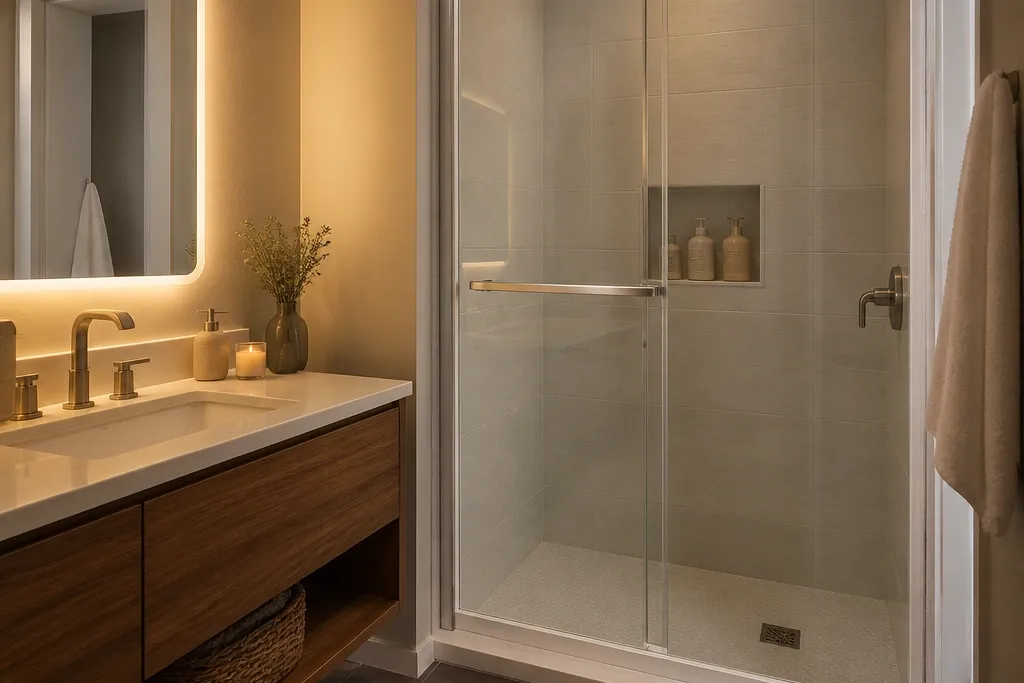
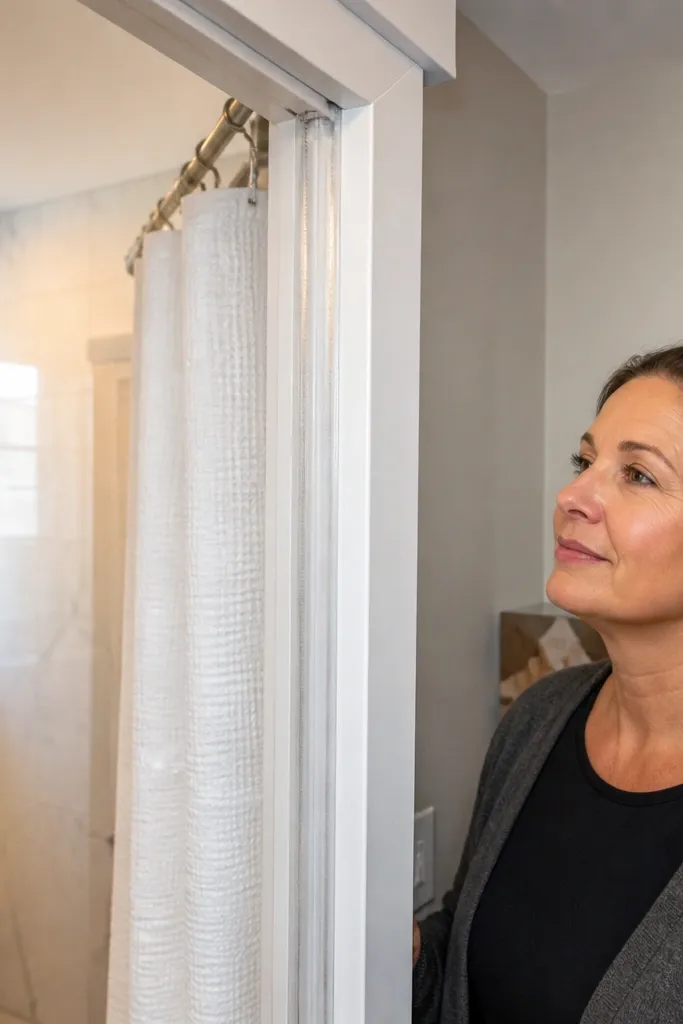
1. Frameless smoked glass with matte black top guide
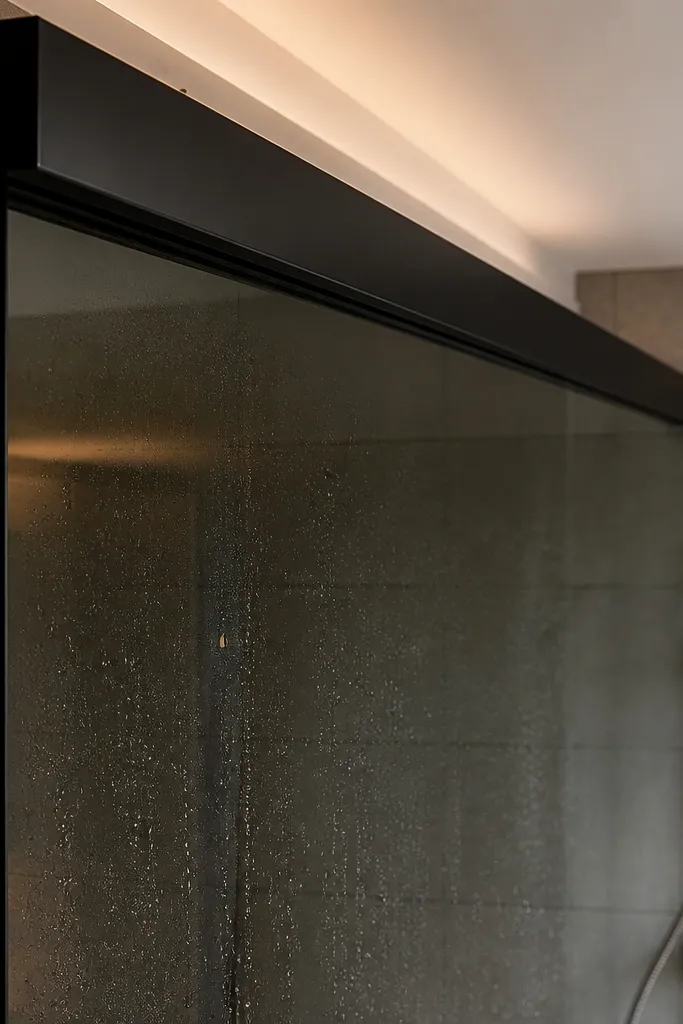
This is the “quiet luxury” option for a small bathroom because smoked glass keeps walls from feeling crowded while still cutting glare. Frameless panels also photograph clean — there’s no thick frame line breaking the visual space. To make it year-round, you want a system with a real door sweep and side seals, not just a decorative gasket. The matte black top guide hides fingerprints better than shiny hardware, and it pairs with brushed nickel plumbing when you want contrast without chaos.
Editor's noteBuy seals as a replaceable kit, not generic foam weatherstrip — bathroom moisture destroys cheap foam fast.
Measure the opening width and add 1-2 inches of coverage so the door overlaps the jamb when closed. Install a matte black overhead track with solid anchors, then mount the door guide so the panel hangs perfectly level. Use tempered or laminated smoked glass sized for the frame-free rollers. Finish by adding compression side seals and a bottom sweep that actually contacts the threshold — test with a strip of paper for drag across the full width.
Skip thisAvoid thin glass or a track mounted into drywall without proper backing.
2. Pocket door with white painted frame and frosted privacy glass
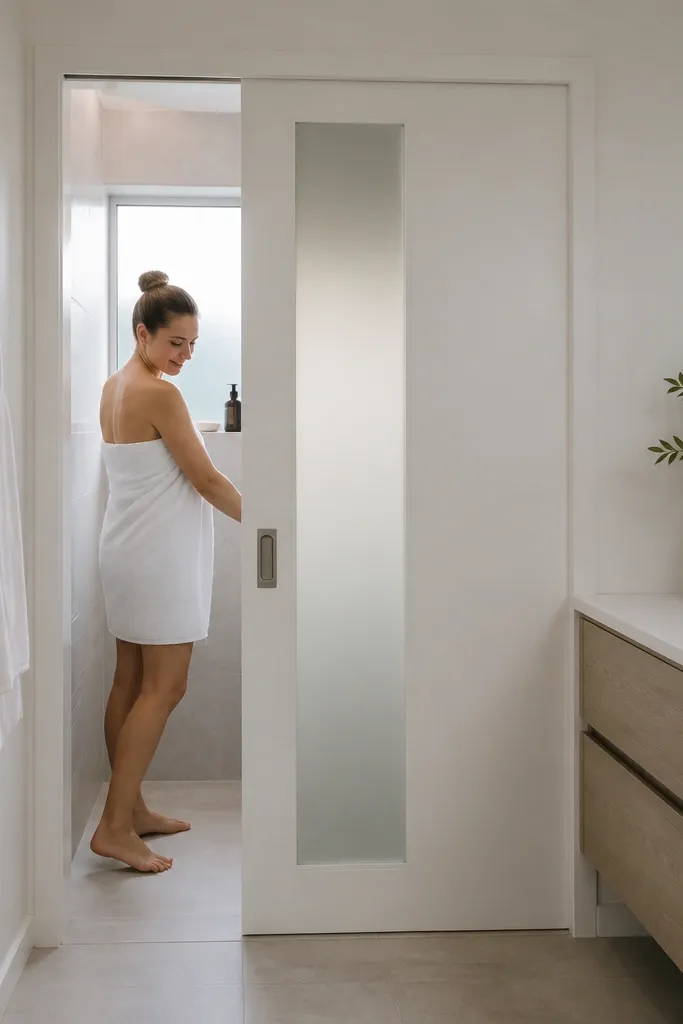
Pocket doors are the best visual trick for small bathrooms because the wall looks uninterrupted when the door is open. Frosted privacy glass blocks direct sightlines from the shower area, so you get privacy without a curtain rod taking up space. This setup looks crisp because the door frame matches the wall paint, meaning the “door” disappears until you slide it. For year-round comfort, the payoff is sealing: a pocket system can still be drafty, but you can fix it with a tight head seal and a bottom sweep.
Confirm the pocket cavity depth first by measuring from finished wall to the opposite interior surface; aim for at least the door thickness plus roller clearance. Frame the pocket opening, install the track inside the cavity, and mount the roller brackets so the door hangs plumb. Use frosted tempered glass sized so the panel clears the opening edge by a consistent gap. Add a magnetic or compression head seal at the top and a replaceable sweep at the bottom, then test slide smoothness with the door fully open.
Paint the pocket door frame with a mildew-resistant bath paint before hanging the glass — it’s much easier than cutting around hardware later.
Don’t assume the cavity is empty — check for electrical runs and plumbing before you frame.
3. Bypass two-panel door with clear glass and an aluminum divider line
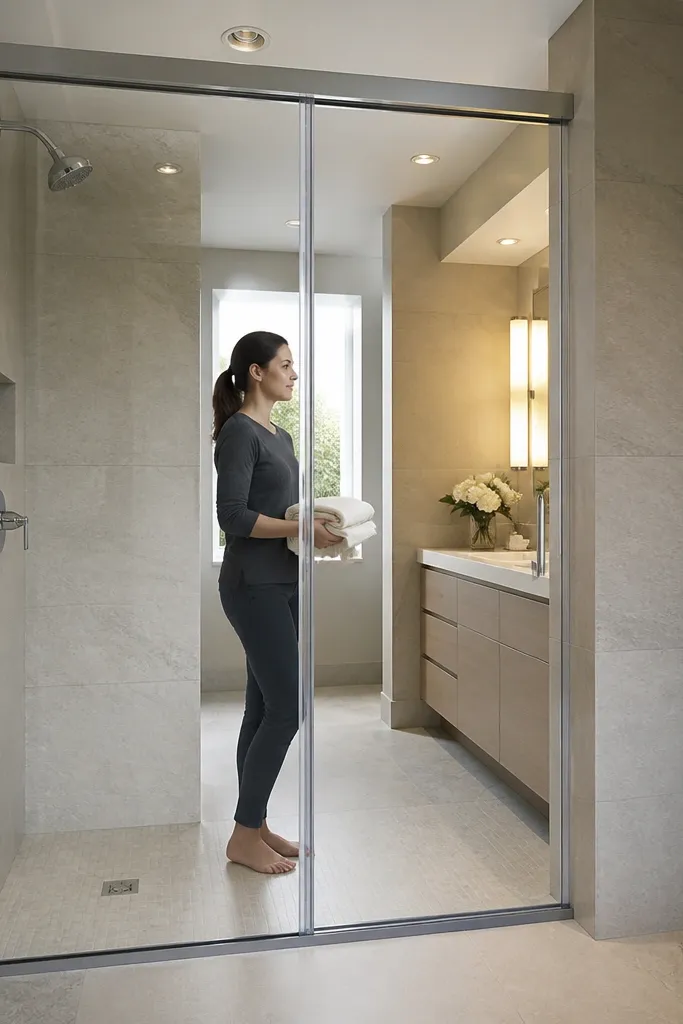
A two-panel bypass door makes a small bathroom feel wider because clear glass lets light pass while still giving you two “sections” that frame the opening. The slim aluminum divider line adds design structure — it’s a visual guide that makes the door look intentional rather than generic. This is a strong year-round choice because the two-panel layout lets you place seals where you can actually control drafts: the closed edge and the panel bottom. If you want the door to look modern without going fully frameless, this is the sweet spot.
Editor's noteUse a straightedge to confirm the track is level — bypass doors show misalignment fast because both panels move in the same plane.
Choose a bypass track rated for the glass weight and install it level across the header. Mount the fixed panel first if your system includes one, then hang the moving panel using the rollers and keep the overlap consistent across the full height. Install side seals on both the fixed jamb and moving edge, then fit a bottom sweep that contacts the threshold strip. Finish by adding a thin vertical strike plate or guide so the moving panel closes flat and doesn’t leave a gap.
Skip thisDon’t skip a threshold strip — a bare subfloor invites puddles and makes the sweep fail early.
4. Corner sliding door with frosted glass and a curved track
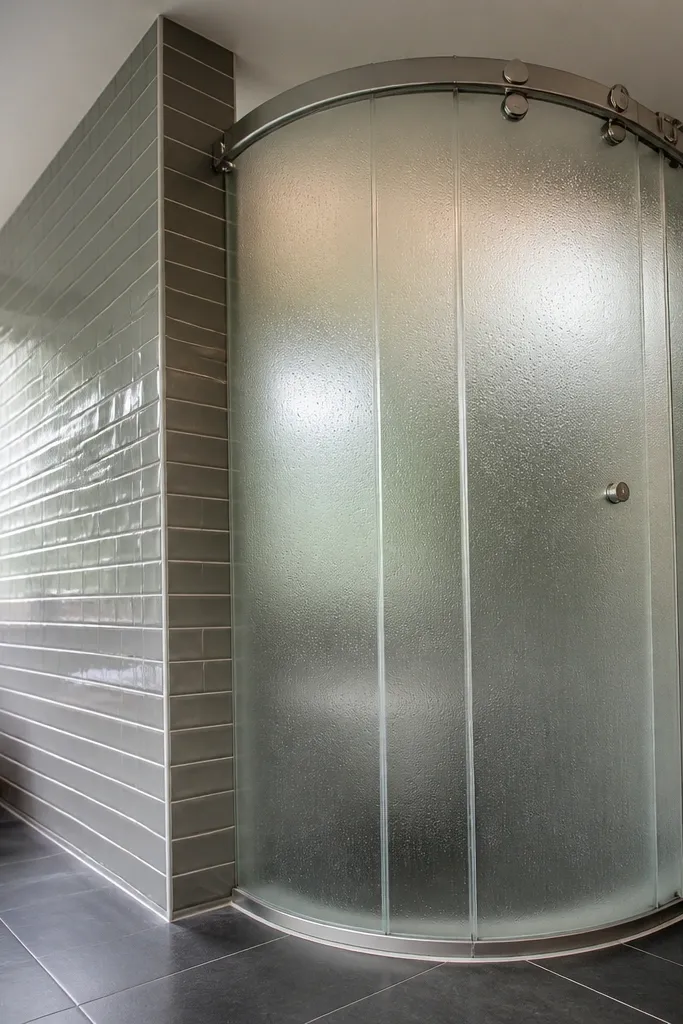
Corner sliding systems solve layout problems that straight tracks can’t, and they look architectural instead of awkward. Frosted glass keeps the corner from showing every detail behind it, so the room stays calmer. The curved track also lets you use a wider privacy panel without blocking the doorway swing path. For year-round performance, the goal is sealing: corner doors often leak at the edges because alignment is harder, so you need a system with proper compression gaskets and a bottom guide that stays aligned through the curve.
Editor's noteMark the door orientation before you install rollers — corner systems only align correctly one way.
Map the travel path with painter’s tape on the floor and walls so you know where the door will be when fully open and fully closed. Install the curved track with the correct radius and anchor points, then fit the corner guide hardware so the door stays centered through the turn. Use frosted tempered glass and mount rollers designed for curved tracks. Add side compression seals and a bottom sweep, then run a flashlight test around the perimeter to catch daylight gaps.
Skip thisAvoid forcing a curved track into a slightly wrong radius; it leads to rubbing and seal failure.
5. Sliding barn-style bathroom door with clear glass inserts
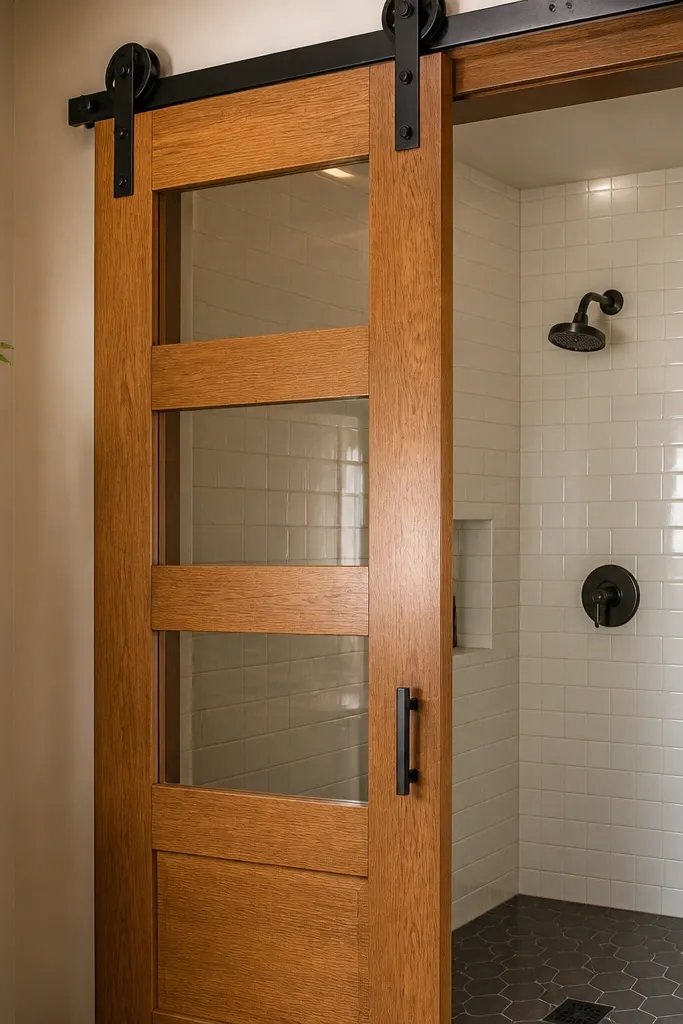
If you like warmth but still want a clean look, a barn-style sliding door with clear glass inserts is a strong small-space option. The wood gives you texture and hides fingerprints better than all-metal hardware, while the clear inserts keep the bathroom from feeling boxed in. Year-round comfort comes from how you build the door: use a sealed wood core and add weatherstripping around the inserts and frame edges. This is also one of the easiest ways to get a photogenic door without going fully frameless.
Build the door slab with a sealed core (use moisture-resistant plywood and edge banding) and add a glass insert grid with tempered glass. Install a heavy-duty overhead track with wall anchors that hit studs, then mount the hangers so the door rides straight and doesn’t wobble. Fit perimeter weatherstripping on the inside face where the door meets the frame, then add a bottom sweep at the door edge. Finish the wood with a bathroom-safe clear topcoat and caulk the insert edges so steam can’t creep in.
Use stainless or black zinc-coated hardware — the fasteners near showers rust faster than people expect.
Don’t rely on decorative brush seals only; you need contact seals that actually compress.
6. White framed sliding door with vertical ribbed glass for glare control
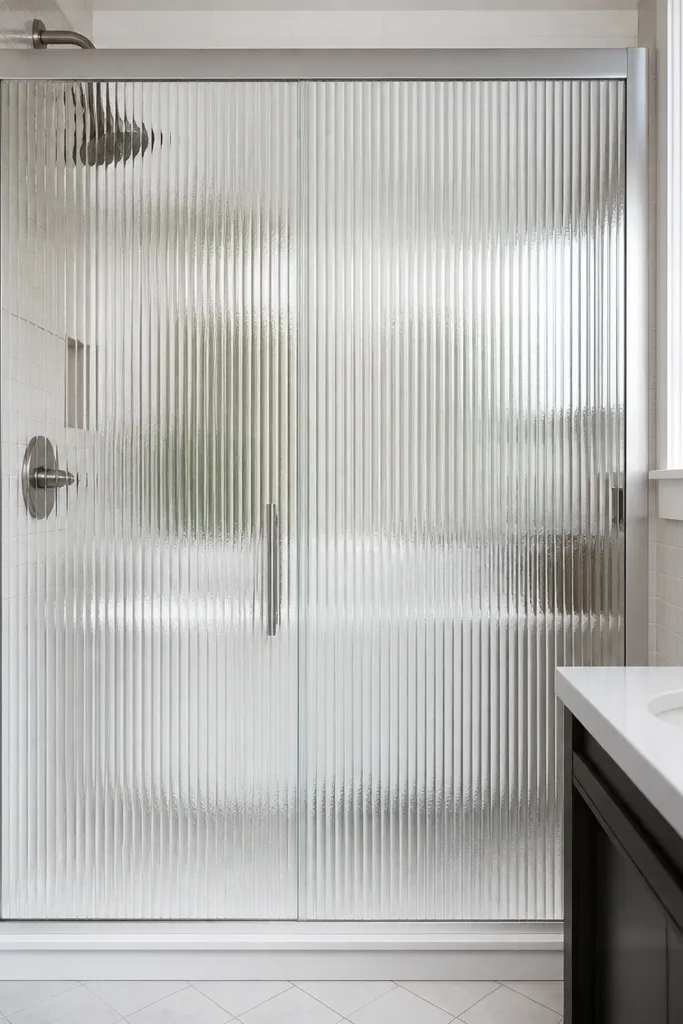
Ribbed glass looks designer and solves glare without fully blocking light, which is huge in a small bathroom. The vertical texture makes the door look taller and cleaner on camera, especially with white framing that matches trim. This option is also practical for year-round use because ribbed glass hides water spots better than flat clear glass. You’ll still need real sealing — ribbed glass changes privacy and glare, not air leakage.
Editor's noteChoose ribbed glass with consistent rib spacing — uneven rib patterns show through the frame and look cheap.
Pick ribbed tempered glass panels sized to fit a white aluminum or vinyl-framed door system. Install the track and hang the door, then fit compression seals along the frame edges. Add a bottom sweep with a replaceable rubber insert so you can swap it when it wears. Seal glass-to-frame joints with a bathroom-grade silicone designed for glass fixtures, not general caulk.
Skip thisAvoid painting a track or using DIY foam-only sealing; the door will leak steam and dust.
7. Two-track system with removable privacy panel insert
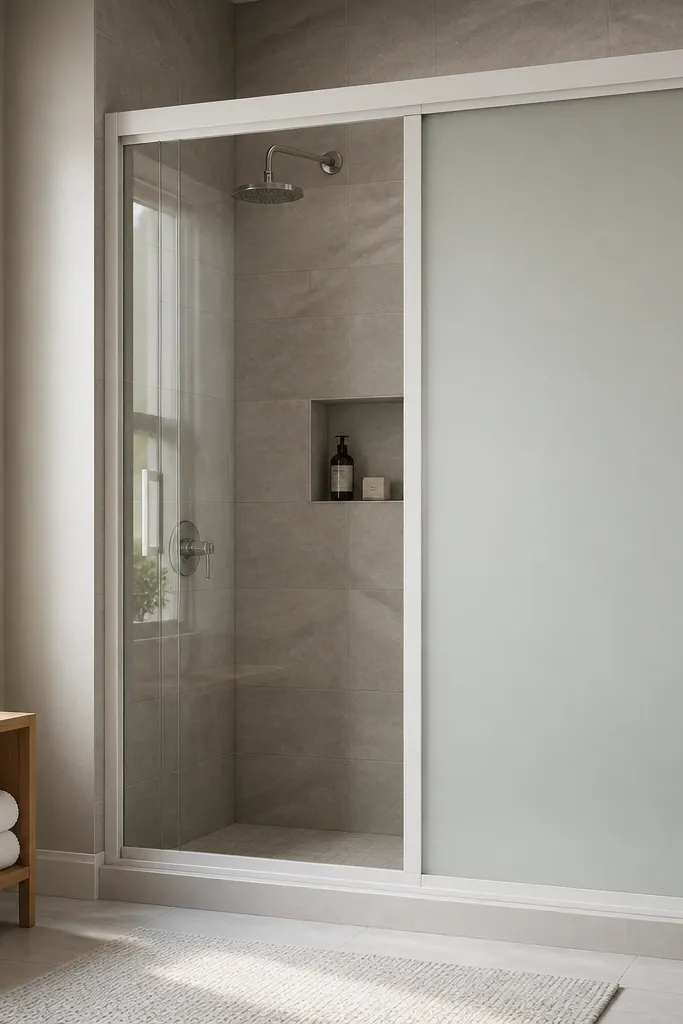
This is a smart-looking option when you want the “open light” look most of the time but need privacy during showers. The design uses two tracks or a modular insert so you can swap clear and privacy surfaces without replacing the whole door. It’s photogenic because the layout looks intentional — you’re not hiding a curtain, you’re changing the panel. Year-round performance comes from having sealed edges on the active panel and a bottom sweep that keeps water from migrating into the track.
Select a door system that supports panel inserts or a removable secondary panel, then plan the opening so the active panel fully covers the jamb when closed. Install the main track and guide first, then mount the insert rail so it locks with tight overlap. Use tempered glass for safety and add seals to the insert perimeter, not just the main frame. Finish by installing a threshold strip and checking that the insert still compresses seals when locked.
Use a magnetic latch or positive mechanical lock for the insert — gravity-only setups drift over time in humid bathrooms.
Don’t rely on friction-fit inserts; humidity makes them slide and creates gaps.
8. Textured film on tempered glass with matte black hardware
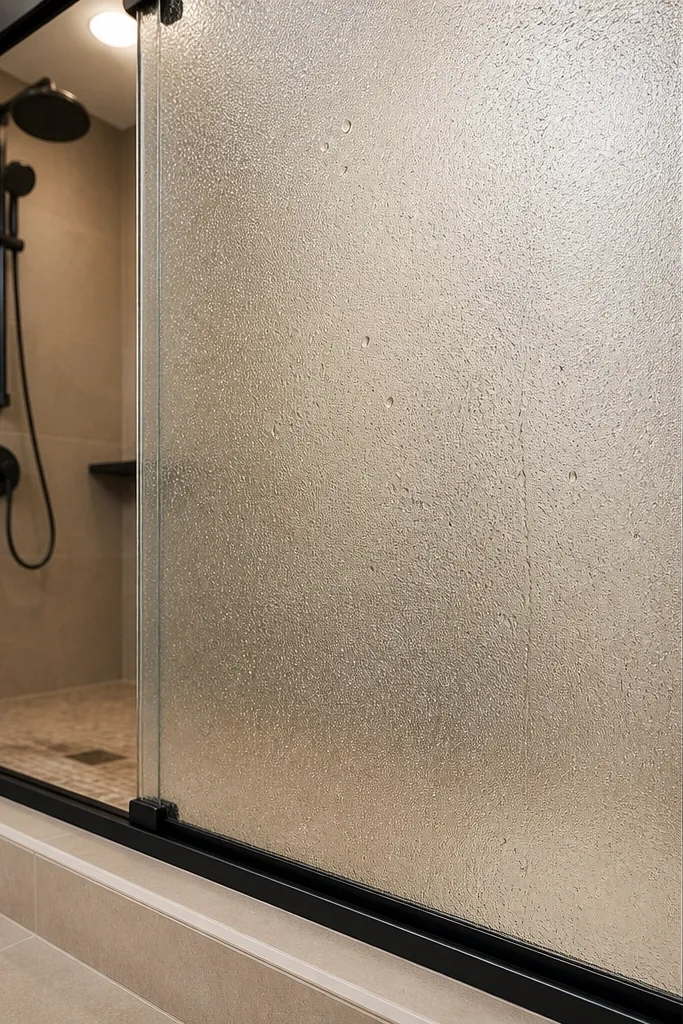
If you want a high-end look without changing the whole door system, textured privacy film on tempered glass is the move. It creates a frosted effect with a more interesting surface than plain frosted, and it hides water spots better than clear glass. Pair it with matte black hardware and a simple frame so the texture reads as design, not “DIY wrap.” Year-round comfort depends on seals and hardware — film only changes privacy and glare, so plan compression seals and a proper sweep.
Start with tempered glass panels that fit your existing or planned track, then clean the glass with a degreaser made for glass so film sticks. Apply textured privacy film using a squeegee and a spray bottle mix so you can reposition before it grabs. Trim edges tightly and seal the film perimeter with a clear edge finish made for window films. Install the door with compression side seals and a new bottom sweep, then run a perimeter check for daylight gaps with a flashlight.
Do the film application in a dry room — trapped moisture under film shows as bubbles that never fully disappear.
Avoid applying film over dirty glass or old hard-water residue — it lifts and looks messy fast.
9. Wood-look sliding door with frosted glass top band
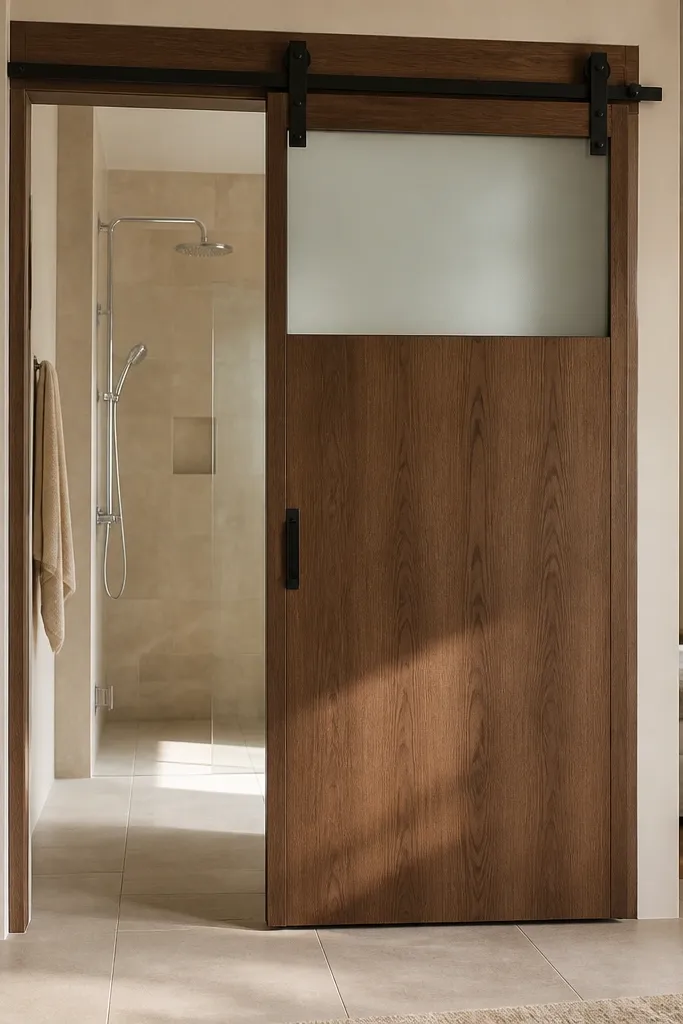
This design balances privacy and airflow: the frosted top band blocks direct sight while the lower area keeps the bathroom bright. Wood-look panels give you warmth without the maintenance headaches of real wood in constant steam. It photographs well because the frosted band creates a clean horizontal line that looks intentional, especially with brushed brass or black pulls. For year-round sealing, treat the door like an exterior door: perimeter weatherstripping and a bottom sweep are non-negotiable.
Build or buy a wood-look door slab with a sealed surface and install tempered frosted glass for the top band section. Mount the overhead track and hangers with level alignment so the glass section doesn’t bind. Add compressible weatherstripping around the door perimeter and a replaceable bottom sweep at the threshold. Seal the glass-to-door edges with bathroom-rated silicone and wipe off excess so it doesn’t smear when steam hits.
Use a threshold that has a built-in water channel or a replaceable drainage strip — it keeps the sweep from sitting in puddles.
Don’t leave the bottom gap too high; drafts win there and the door looks off on camera.
10. Stainless steel track with clear glass and anti-drip bottom rail
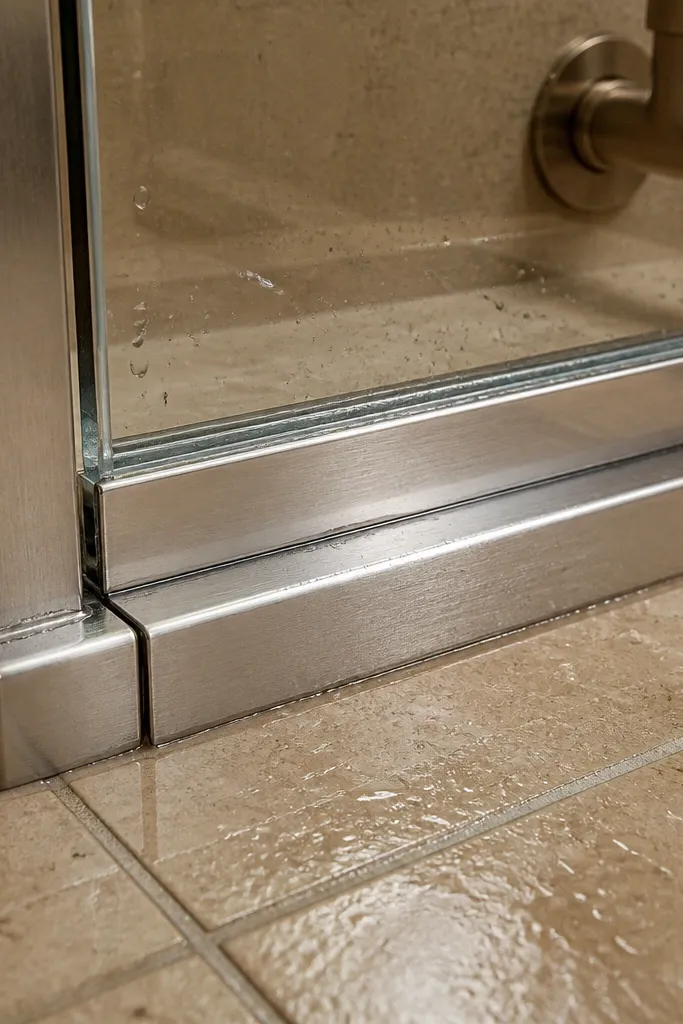
Clear glass plus a stainless track looks crisp and modern, and the stainless resists corrosion from steam better than most coated metals. The aesthetic stays clean because the hardware doesn’t discolor around the shower zone. The real win for year-round sliding glass door comfort is the bottom rail: an anti-drip design reduces puddling that causes moldy track mess. If you keep your bathroom bright and you want the door to look like it belongs in a modern hotel bathroom, this is the direction.
Choose a stainless track system with a bottom rail that includes drainage channels or a removable drip insert. Install the overhead rail with anchors into studs, then mount the bottom guide so it sits aligned under the rollers. Use tempered clear glass and add side compression seals to the frame. Finish by fitting the drainage insert and testing for smooth travel while pouring a small amount of water along the bottom to confirm it routes away from the track.
Buy a bottom rail insert that’s replaceable — you’ll swap it instead of rebuilding the whole system when it wears.
Avoid painted tracks in wet zones; chips and steam discoloration show up quickly.
11. Sliding glass door with integrated towel bar and slim frame
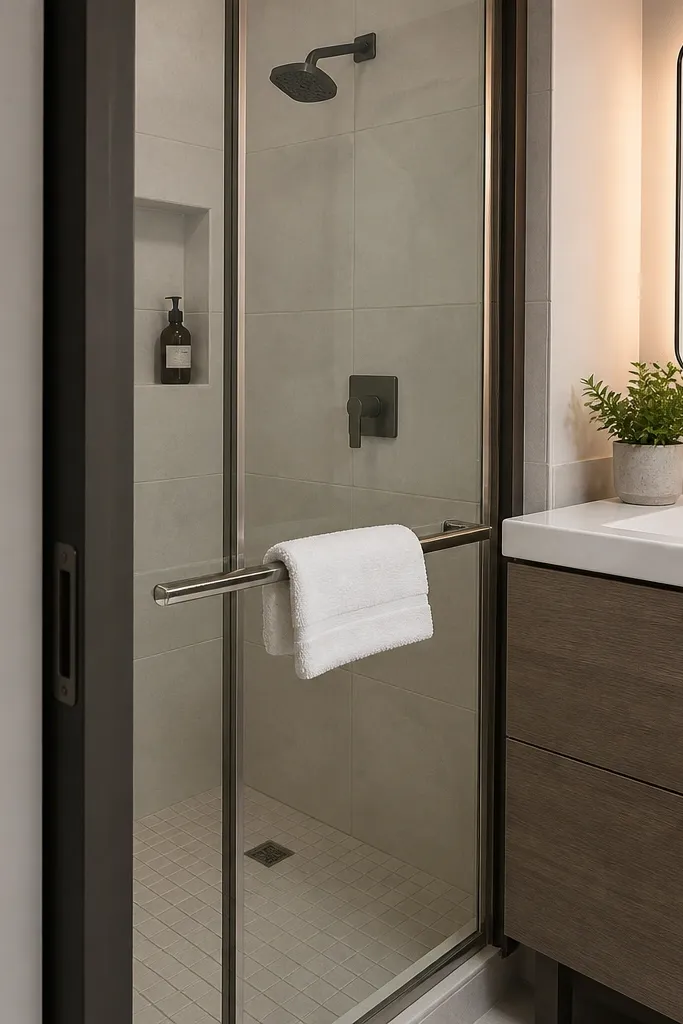
This is a small-space idea that looks intentional because it turns the door frame into a usable surface. The slim frame keeps the bathroom airy, while the integrated towel bar makes the door area practical without adding extra clutter. For year-round comfort, you still need the same sealing basics, but the payoff is daily function: towels dry better when they hang close to where steam collects. The look is photogenic because the hardware lines up cleanly and reads as one system, not a DIY mashup.
Editor's noteUse a towel bar finish that matches your shower trim — mismatched metals look messy when the door is the focal point.
Pick a slim-framed sliding door kit that includes an integrated accessory channel or predrilled mounting points for a towel bar. Install the track and guide first, then mount the door panel and verify the gap at the sides is even. Attach the towel bar bracket with stainless fasteners and check it’s secure before you close the access cover. Add compression seals at the jamb and a bottom sweep, then run a flashlight test around the edges.
Skip thisDon’t mount accessories to the glass panel itself; the load should go to the frame hardware.
12. Matte white sliding door with frosted glass and concealed handle channel
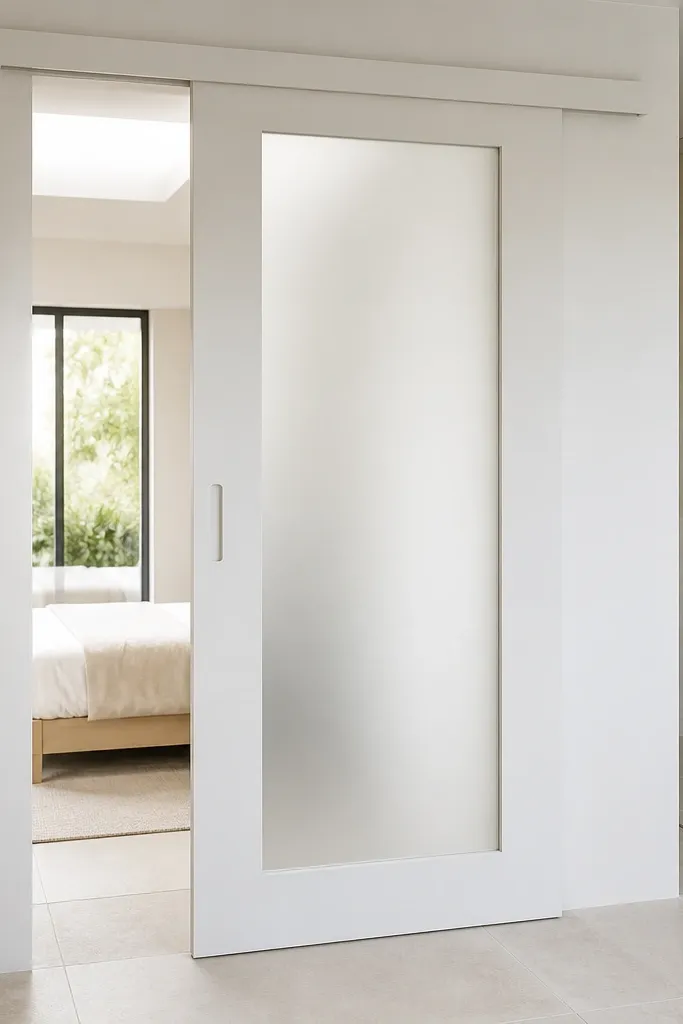
Matte white looks clean in bathrooms and hides scuffs better than glossy paint. A frosted panel gives privacy while keeping the room bright, and a concealed handle channel makes the door look custom. This style is especially good for small spaces because the lack of a bulky handle reduces visual clutter near sinks and mirrors. Year-round performance comes from the same sealed perimeter — your handle choice doesn’t fix drafts, but it makes the door look finished.
Editor's noteBefore final tightening, close the door and slide a thin paper strip along the seal — stop when the strip drags evenly across the whole edge.
Install a matte white door frame system with a concealed handle channel or create one using a slim pull profile that mounts to the door edge. Mount the overhead track and align the door rollers so the panel sits centered in the opening. Use frosted tempered glass sized to fit the frame and keep the glass edges sealed with silicone. Add compression seals at the sides and a replaceable bottom sweep, then adjust roller height until the door closes flush without rubbing.
Skip thisDon’t ignore door-edge clearance; handle channels look crooked when the panel isn’t square.
13. Black-framed sliding glass door with herringbone tile accent wall
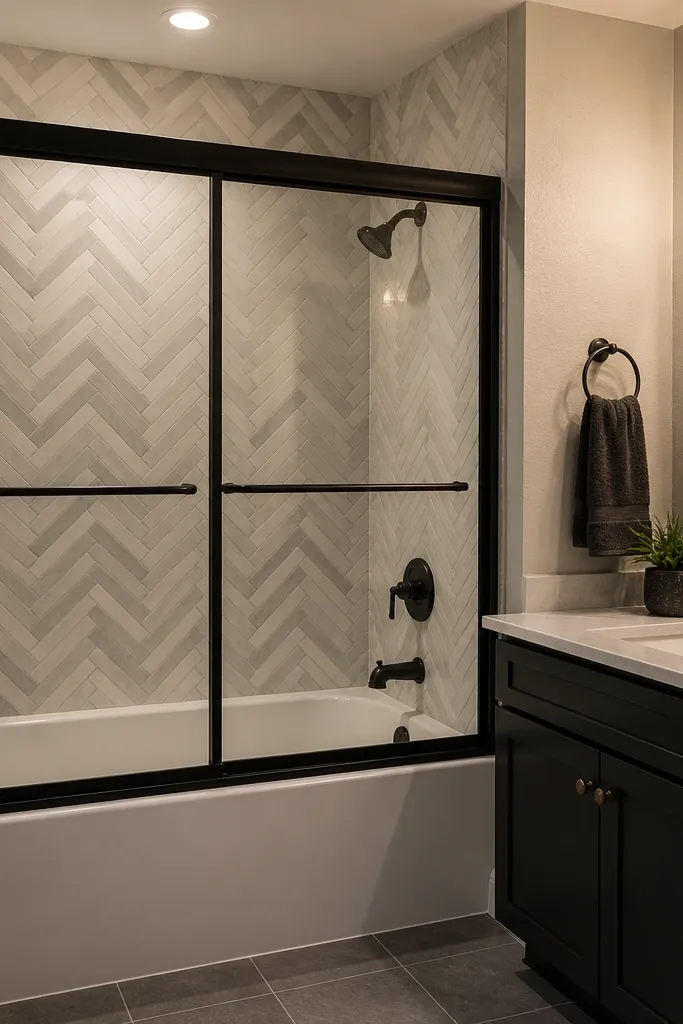
This idea is about making the door the design anchor. A black-framed sliding glass door gives you a dark line that makes tile patterns look sharper, and the contrast reads well in small bathrooms where every surface competes for attention. The herringbone accent wall also helps hide minor water staining because grout lines break up reflections. For year-round comfort, you still need proper sealing — the door frame must compress against seals, and the bottom must sweep the threshold.
Editor's noteKeep the frame width consistent — when the black frame thickness changes, the door looks accidental next to tile.
Plan your tile layout first so the accent wall lines up with the door centerline. Install the black frame track and jambs after tile is set, or protect tile edges during install if you’re doing the door first. Use tempered glass and mount the door with side compression seals and a bottom sweep. Finish by caulking frame-to-wall joints with bathroom-rated silicone and checking for gaps using a flashlight.
Skip thisDon’t caulk over gaps that should be sealed with compression — caulk hides leaks temporarily, not permanently.
14. Clear glass sliding door with brass standoff hardware and frameless look
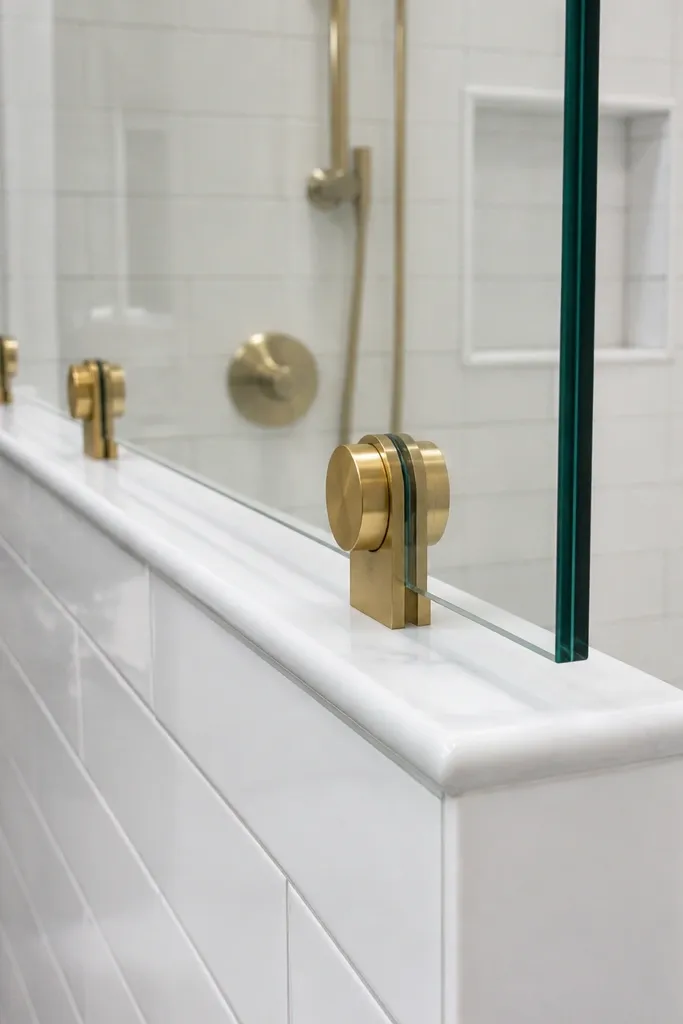
If you want a brighter bathroom without losing style, clear glass with brass standoff hardware looks upscale and stays photogenic. The standoffs create a clean, almost frameless appearance while still giving you a mount point that’s easier to service than full frameless systems. Brass also warms up the look of white tile and makes the door feel like a deliberate design choice. For year-round sliding glass door comfort, treat the seals as the priority: clear glass shows drafts, so you need tight compression gaskets and a bottom sweep.
Choose standoff hardware designed for sliding glass and verify load ratings for the panel weight. Install the overhead track, then attach standoff brackets at the correct spacing so the glass hangs evenly. Mount tempered clear glass and align the panel so it closes with consistent overlap. Add side compression seals and a bottom sweep, then wipe the standoffs and check slide smoothness with the door closed under light pressure.
Use a non-abrasive cleaner for brass — hard scrubbing removes the finish and makes water spots stand out.
Avoid mixing random standoff hardware with a mismatched roller system; the door will drift and leave gaps.
15. Sliding glass door with a continuous U-channel bottom track for drainage
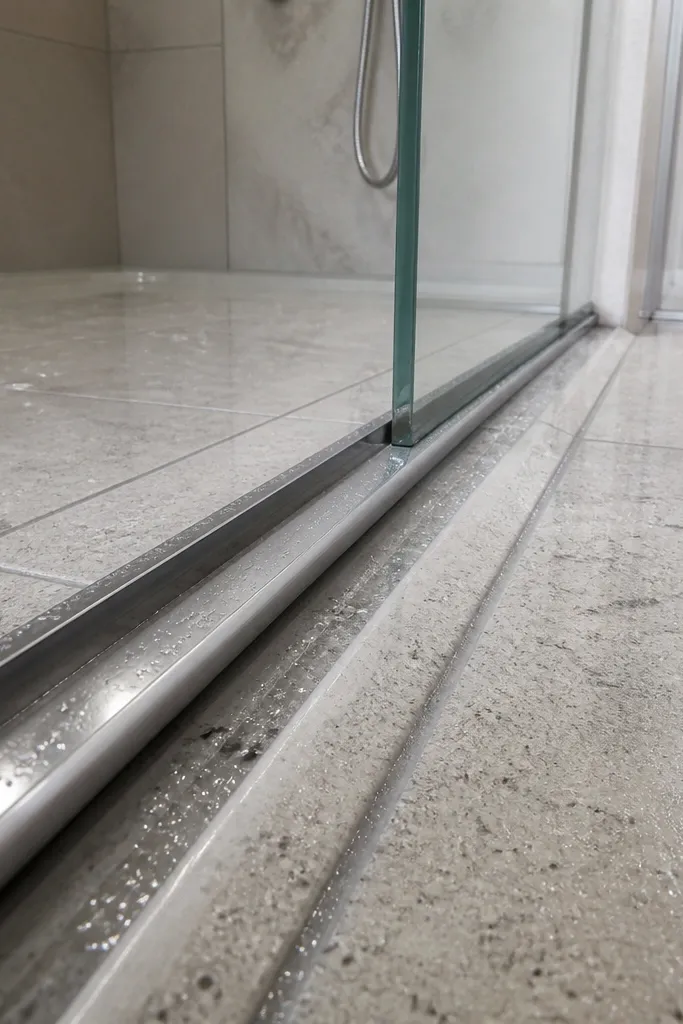
A continuous U-channel bottom track is one of the most practical aesthetic fixes you can make. When water drains instead of pooling, the track stays cleaner and the door looks new longer — that matters for year-round use because grime and mineral buildup make seals fail. This style looks sleek because the bottom hardware is straight and minimal, so the glass panel remains the focal point. It works in small bathrooms where every mess looks bigger because there’s less wall space to hide it.
Pick a sliding glass door kit that includes a U-channel bottom track with a removable insert or drain path. Install the overhead track first, then mount the U-channel level so the rollers track smoothly. Use tempered glass and fit side compression seals around the jamb edges. Add a bottom sweep designed to sit against the U-channel lip, then test with water — pour a small stream along the threshold and confirm it flows into the channel instead of spreading on the floor.
Plan for access: choose a bottom channel insert you can lift out without removing the door panel.
Don’t seal the bottom track permanently — you need access for cleaning and replacement.



