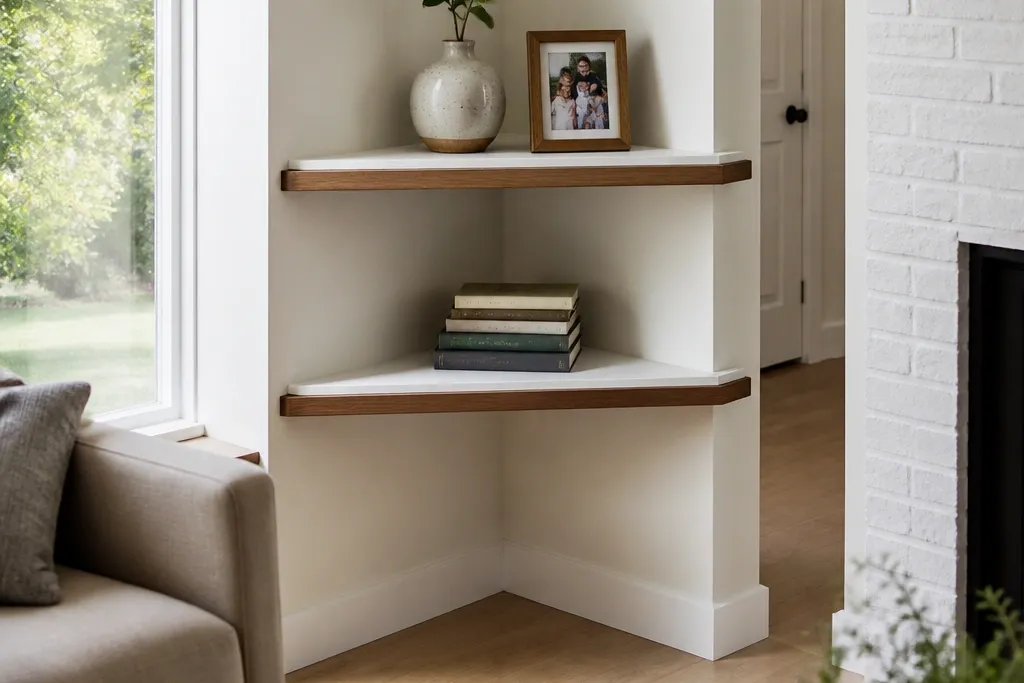

1. Wraparound L-Frame Corner Shelf in White + Oak Trim
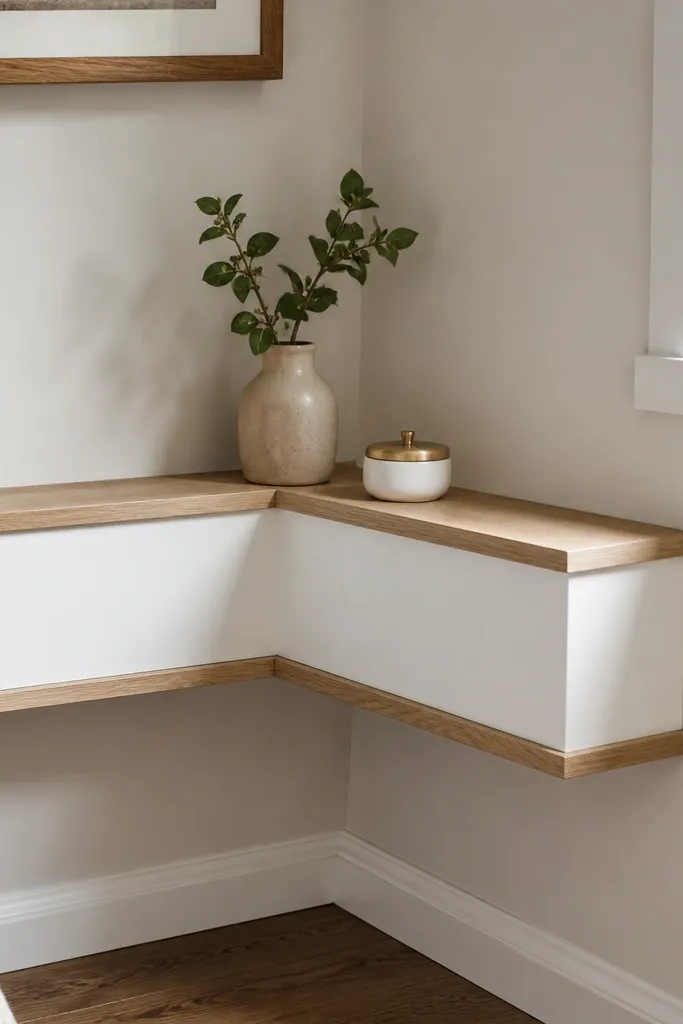
This is the “your corner looks designed” option because the shelf wraps the corner instead of ending abruptly at the wall junction. The white face keeps it bright, and the oak trim gives you that warm, finished edge that hides plywood layers. Build it as a shallow boxed shelf with an L-frame — it supports decor and small baskets without feeling fragile. It’s beginner-friendly because the geometry is simple and the install uses multiple screws through the frame. This works best in hall corners, entry nooks, and next-to-stair landings where you want storage that doesn’t steal floor space.
Editor's noteDry-fit the frame in the corner before you glue — corners aren’t always square, and a 1/4 in mismatch shows.
Cut two side panels and one back panel from 3/4 in plywood so they form an L-shaped frame. Set the shelf depth to 9 in and the shelf length to match your corner walls, then cut a top shelf board to fit the frame opening. Assemble with wood glue plus 1-1/4 in pocket-hole screws, then add oak edge trim (1/2 in wide) to cover exposed plywood. Finish by sanding to 150 grit, priming, and painting the faces with a satin cabinet paint. Install by locating studs or using heavy-duty anchors, then screw through the frame into the wall at the top and bottom corners.
Skip thisDon’t leave plywood edges raw; the exposed layers make the build look unfinished.
2. Triangular Corner Box Shelf with a Rolled-Toe Front
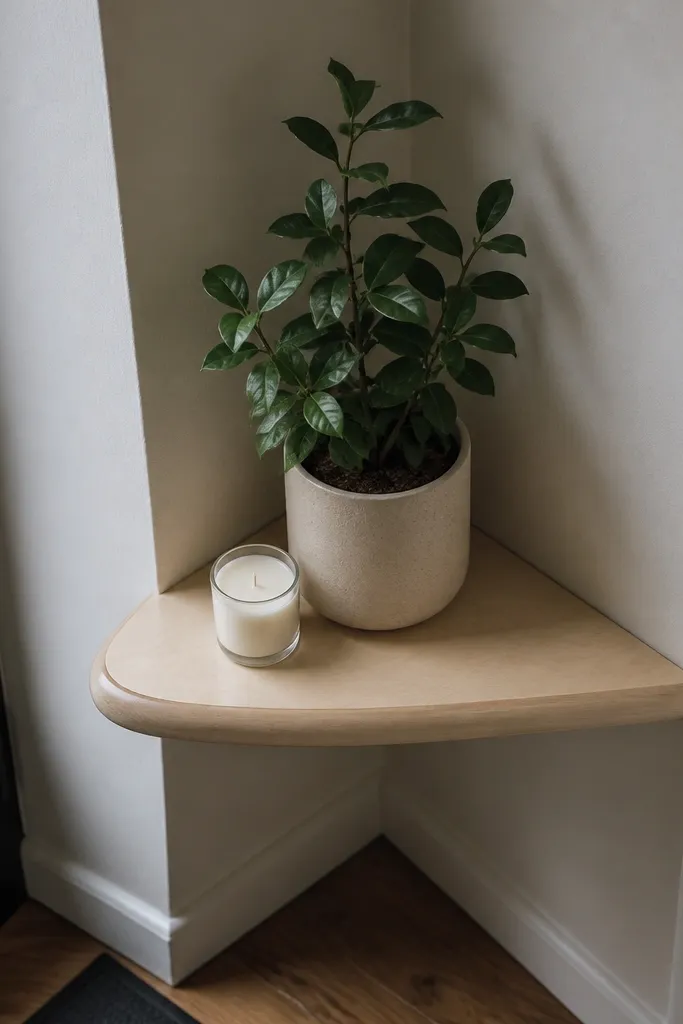
A triangular corner box solves the biggest corner problem: the shelf doesn’t fight the walls, it fits them. This design looks architectural because the front edge is softened, not sharp, and the triangular shape reads intentional in photos. You get solid storage for one tall plant, a candle set, or a stack of small books. Build it with plywood for strength and add a rounded front trim strip so it looks like a store-bought piece. Beginners can handle the cuts by using a simple miter approach for the triangle.
Editor's noteUse a radius trim strip instead of trying to route plywood fully — it’s easier to keep the curve consistent.
Cut three boards for the triangle: two equal sides and one back panel, all from 3/4 in plywood. Use a scrap cardboard template to confirm the triangle face size in your corner before committing to saw cuts. Glue and screw the triangle box using corner clamps, then add a top panel sized to overhang 1/2 in on each visible side. Round the front by routing a small radius on the front trim strip and attaching it over the front edge with wood glue and brads. Sand, prime, and paint or stain the box, then install using two to three mounting blocks on the back corners.
Skip thisSkip freehand triangle cuts; a tiny angle error leaves gaps at the walls.
3. Two-Tier Corner Ladder Shelves with Black Metal
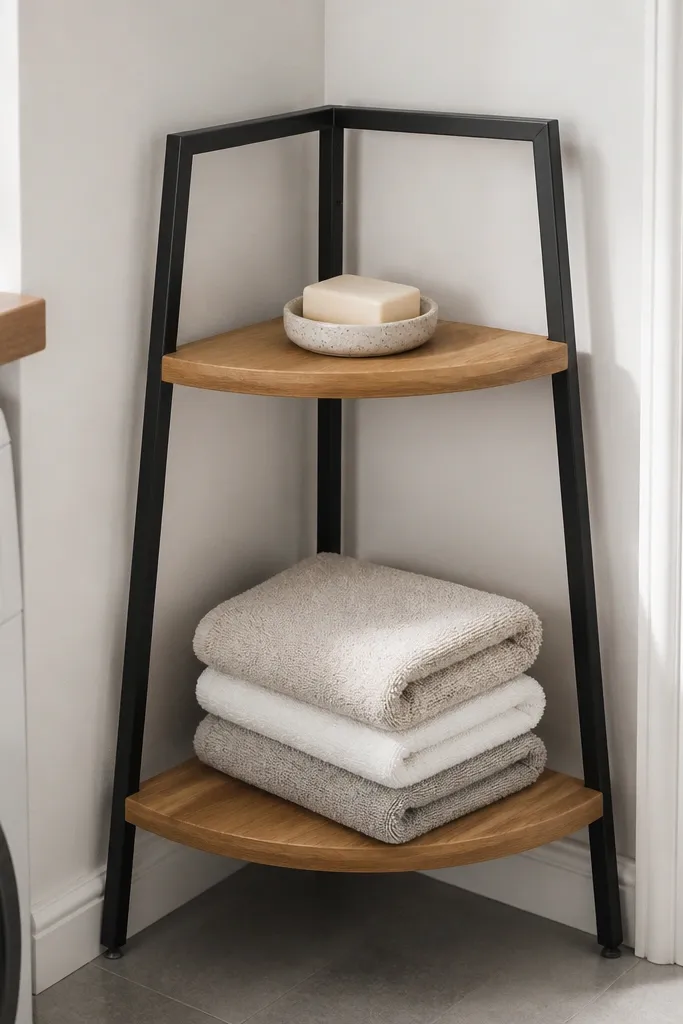
If your awkward nook is narrow, ladder shelves fix it by giving you vertical storage that doesn’t widen the corner. The black metal reads modern, and the wooden tiers keep it warm. This build looks great in tight bathrooms, laundry corners, and apartment corners where you need function but want it to look styled. You can keep the shelves shallow and stack decor without crowding. It’s beginner-friendly because you’re mostly assembling pre-cut metal angles and attaching shelves with screws.
Choose 1/2 in thick wood boards and cut two shelves to 8-9 in deep. Build a simple ladder frame using black metal angle brackets — two vertical runs and one bottom-to-top brace per side. Pre-drill shelf holes and screw the shelves to the metal using 1-1/4 in wood screws. Mount the ladder to the wall with a bracket at the top and bottom, then add a third point if you’re using anchors instead of studs. Finish by staining the wood or painting it, then seal with a clear matte coat.
Mark holes with painter’s tape on the shelf first — metal holes love to drift when you line up by eye.
Don’t mount the ladder with only one anchor point; it will rack when you place heavier items.
4. Corner Window Sill Shelf Look with a Floating Ledge
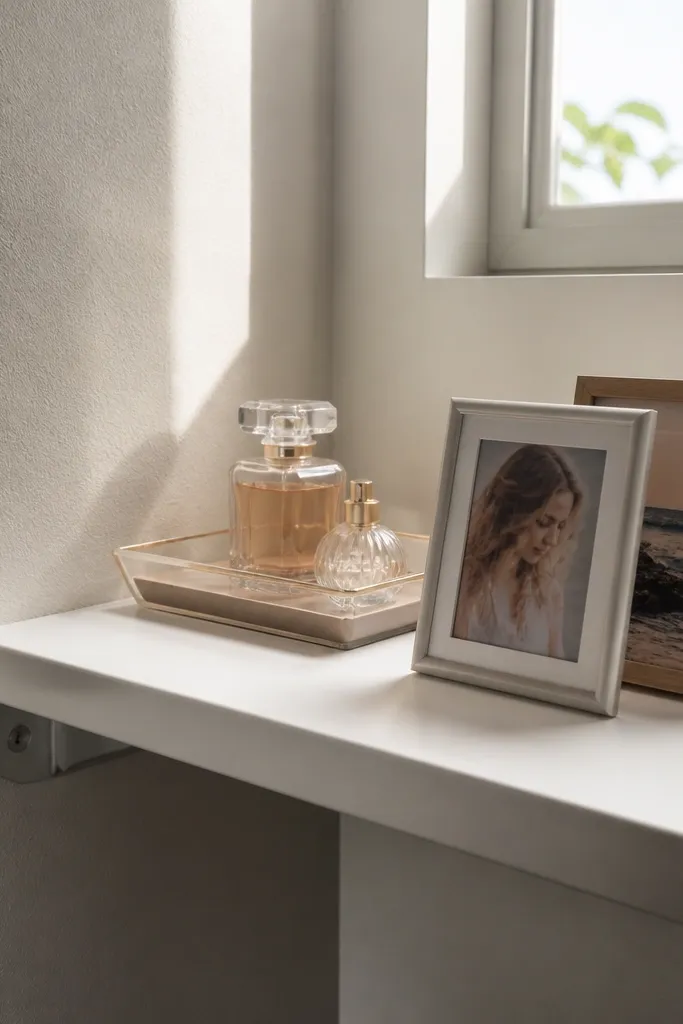
This idea mimics a window sill, so it looks like the corner was always meant to hold decor. The shelf has a small lip that keeps objects from sliding into the corner, which is a real problem with flat corner planks. Use it for small framed photos, a perfume tray, or a stack of books with spines facing outward. It’s beginner-friendly because you can build a simple box ledge and mount it with a standard French cleat or multiple brackets. The aesthetic is clean and photo-friendly because the lip creates a shadow line.
Editor's noteUse a satin paint on the shelf surface; matte shows scuffs and shiny spots unevenly.
Build a ledge box from 1x3 boards or 3/4 in plywood, with a front lip that’s about 1 in tall. Cut the top panel to the corner length and leave the back panel slightly shorter so the shelf sits flush without binding. Sand and paint the entire piece, then install with a French cleat for a level, stable hang. Position the cleat so the shelf top lands at your chosen height (often 16-18 in from the floor). Add two small corner blocks under the front lip if you want extra support for heavier decor.
Skip thisDon’t make the lip too low — if it’s under 3/4 in, items still slip.
5. Staggered Corner Shelves with a Single Continuous Back Panel
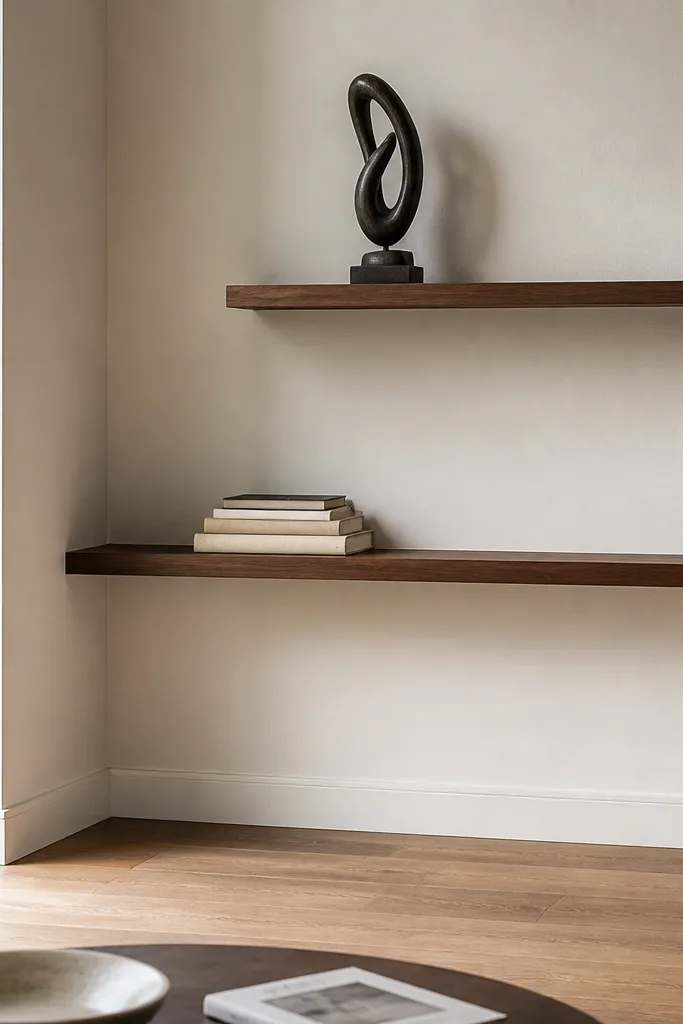
This is the cleanest way to do multiple shelves without them looking random. A continuous back panel creates one visual surface, so the corner looks like a built-in unit. Staggering the shelf levels lets you display items at different heights, which photographs better than perfectly aligned shelves. It also hides wall imperfections because the back panel covers gaps. It’s beginner-friendly because you’re cutting one back panel and several identical shelf pieces, then screwing everything to a straight reference line.
Editor's notePre-paint the back panel before mounting so you don’t miss spots behind shelf edges.
Cut a back panel from 1/2 in MDF or plywood sized to cover the corner area, and paint it before assembly. Mark three shelf levels with a pencil and level line, then cut shelves to 8-10 in deep based on your corner clearance. Attach shelves to the back panel using wood glue and screws from the back, keeping the top edges aligned. Install the back panel first into studs with screws through the panel, then add the shelves already attached. Finish with edge trim or a consistent paint finish on all exposed sides.
Skip thisDon’t eyeball the stagger spacing; use the same 10-14 in step for every shelf.
6. Corner Floating Shelf with Hidden Triangle Brackets
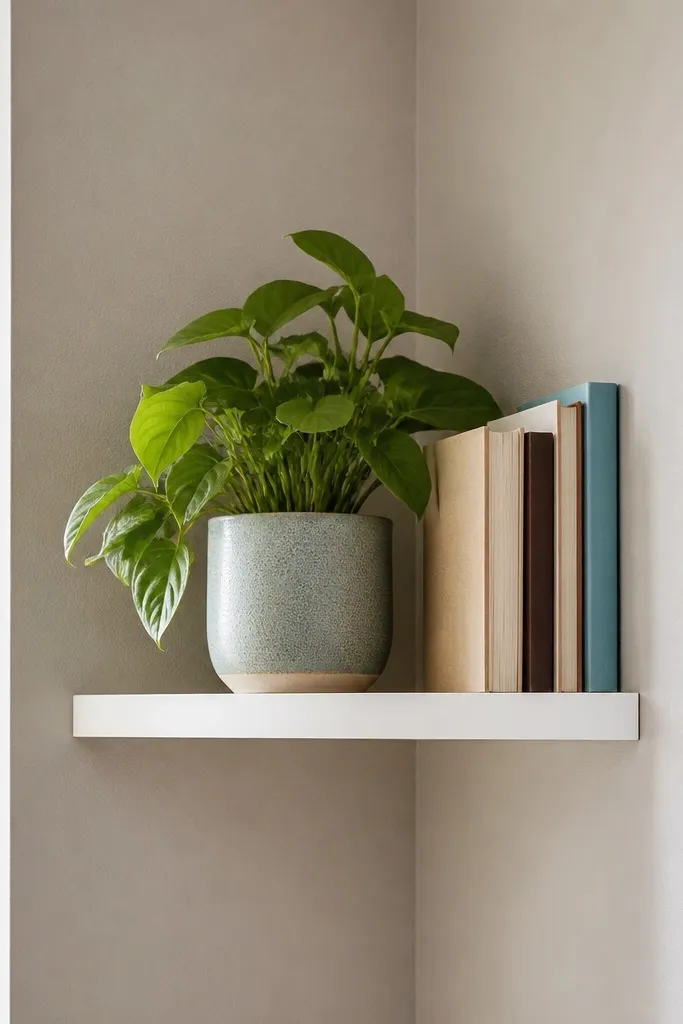
If you want the “floating” look without wobble, hidden triangle brackets are the answer. The triangular supports distribute weight into the corner so the shelf feels stable even with a slim front. This design looks modern and works great for small decor — think plant pot, candle, or a narrow book stack. It’s beginner-friendly because you’re using off-the-shelf brackets and focusing on alignment. The clean look comes from making the bracket line invisible behind the shelf.
Editor's noteUse a thin shim behind the shelf if the corner has a gap; otherwise the shelf will rock and the “floating” illusion dies.
Measure the shelf depth at 8 in and cut a 3/4 in wood board to fit your corner length. Choose triangle brackets that match the shelf thickness and pre-drill the shelf underside for bracket screws. Mark stud locations and install brackets into studs where possible, using anchors if you must. Position the shelf so the front edge is centered and the back sits tightly into the corner line. Sand, stain, or paint the top, then seal if you’re using stain.
Skip thisDon’t use tiny brackets for heavy items — a floating look still needs real load support.
7. Reclaimed-Style Corner Shelves with Limewash White and Walnut

This aesthetic fixes awkward nooks because it looks intentional and lived-in, not like you added a random shelf. Limewash white on the back panel and walnut-toned shelves create a high-contrast frame that shows up in photos. Use it when you want warmth without clutter. The reclaimed look comes from distressing techniques and visible grain on the shelf boards, but the build still stays beginner-friendly. You’ll also get a stronger mount by using a backer panel and multiple screws rather than thin planks.
Use 3/4 in walnut-stained boards for the shelves and a 1/2 in MDF back panel painted with limewash-style paint. Sand the shelf boards to 120 grit, then apply stain and wipe off evenly so you don’t get blotches. Install a back panel first into studs, then mount each shelf to the back using screws from underneath. Add a thin trim strip along the top edge if you want a framed look. Seal the shelves with a matte clear coat so the color stays even.
Distress lightly with sandpaper only on edges; heavy distress in the field makes the shelf look worn in a messy way.
Skip glossy clear coats — they make limewash look patchy and cheap.
8. Corner Shelf Cubby with Removable Drawer Front
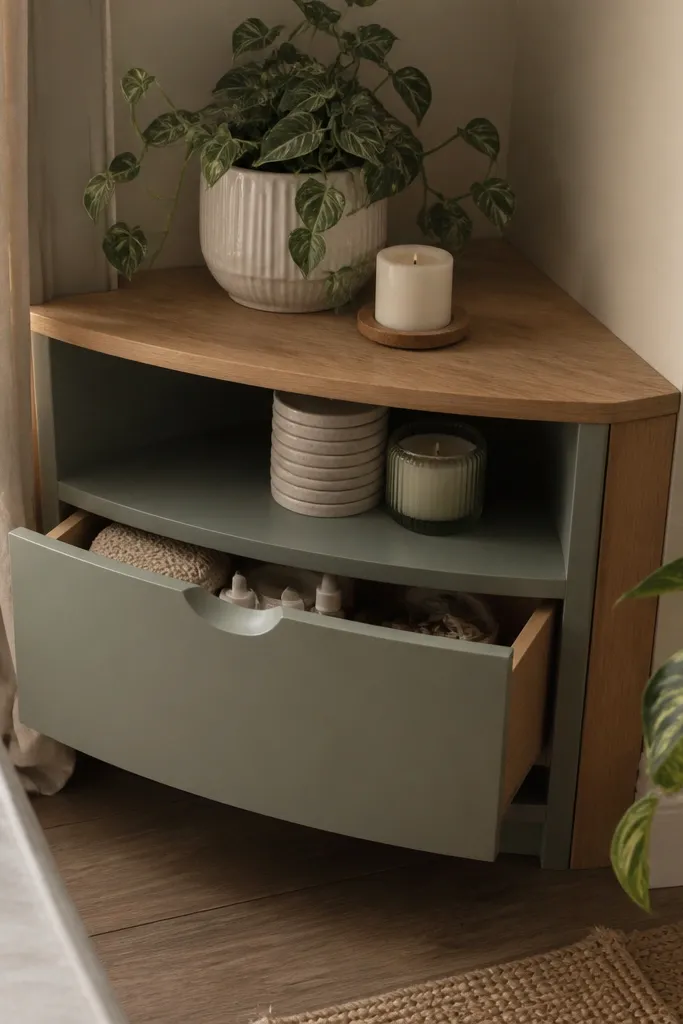
A cubby in a corner is where aesthetics meet function fast. The drawer front hides small clutter that always gathers in corners — chargers, hair tools, or extra candles. The visible shelf top still looks styled, but the drawer keeps the nook from turning into a junk landing. This build looks clean because the drawer face creates a flat plane, and you can match it to your cabinet hardware. It’s beginner-friendly if you stick to a simple plywood box and use a basic drawer slide or a pull-out drawer insert.
Editor's noteUse a magnetic catch on the drawer face so it closes cleanly without slamming.
Build a corner cubby box from 3/4 in plywood, with an open front and a top shelf surface. Cut an internal divider if you want the drawer to sit under the top shelf or keep it as a separate compartment. For the drawer front, use 1/2 in plywood or a thin panel and attach it to a simple drawer box. Install the cubby to studs, then mount the drawer using either full-extension slides or a simple wooden runner system. Paint or stain the drawer front to match the shelf, then add a pull centered on the face.
Skip thisDon’t oversize the drawer opening; if the drawer face sits too close to the walls, it will bind.
9. Rounded Corner Shelves with Edge Banding for a Soft Look
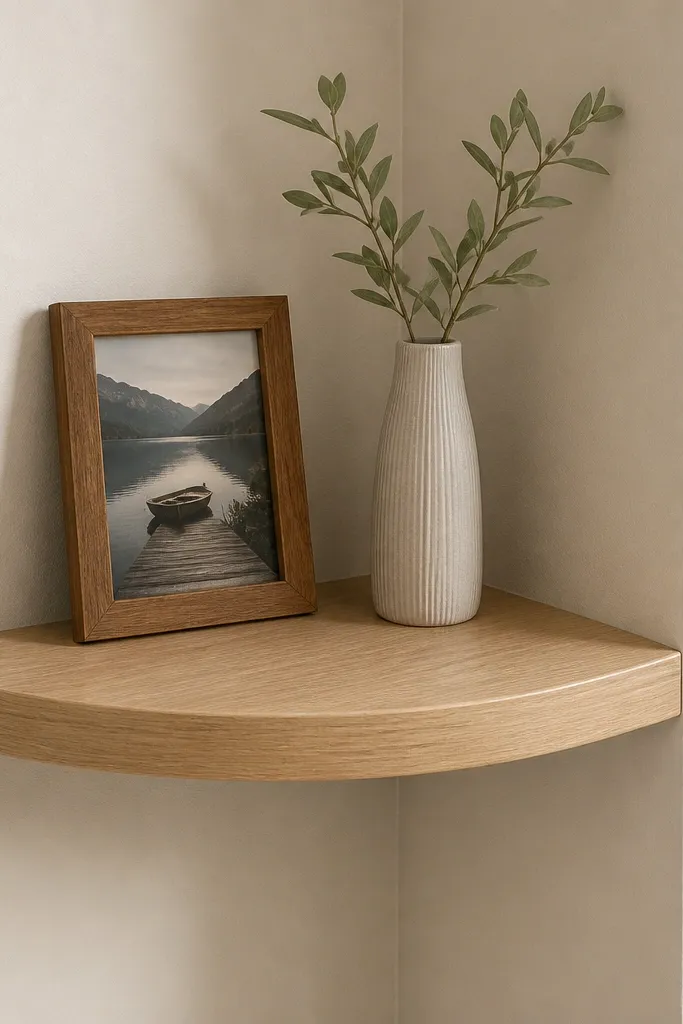
Edge banding and rounded edges turn a beginner shelf into something that looks professionally finished. This is a great option if you want a softer, calmer look than sharp L-brackets. The rounded edge also reduces snags on the shelf front and makes the shelf feel friendlier in a hallway. Use thin shelf boards if you want a light visual weight, but keep the back support solid. The build is straightforward: cut boards, apply banding, attach to a corner backer, then finish.
Editor's noteTrim edge banding while it’s still warm and slightly flexible so it sits tight without gaps.
Cut shelves from 3/4 in plywood and route a small roundover on the front edge using a 1/4 in radius bit. Apply iron-on edge banding to exposed sides, then trim flush with a sharp utility knife. Make a backer strip or back panel from 1/2 in MDF and mount it to studs in the corner. Screw shelves to the backer from underneath, then add a small cleat at the back edge to stop items sliding. Sand the rounded edge lightly and apply paint or stain plus clear coat.
Skip thisDon’t skip sanding after rounding — the first coat of paint will show every router ripple.
10. Corner Shelf Set with a Chalkboard Back Panel
A chalkboard back panel turns a corner shelf into a functional wall feature. The dark background makes lighter decor pop, and handwritten notes look intentional instead of messy. This setup is great for entryway corners where you want a spot for reminders or a menu board. It’s beginner-friendly because chalkboard paint is forgiving, and the shelf build is simple. Keep the shelves shallow and let the back panel do the heavy visual lifting.
Editor's noteAfter curing chalkboard paint, rub chalk over the surface and wipe it off before writing notes.
Cut a 1/2 in MDF back panel sized to the corner area and paint it with chalkboard paint in two coats. Let it cure fully, then lightly sand the surface for a smoother writing feel. Install the back panel into studs, then attach two shelves made from 3/4 in boards at staggered heights. Use corner braces or a few L-brackets under each shelf for support. Seal the shelf edges with paint or stain plus clear coat so the chalkboard doesn’t scuff when you brush the area.
Skip thisDon’t mount chalkboard MDF with a weak anchor pattern — the board can flex when you write on it.
11. Industrial Corner Shelves with Pipe Rails
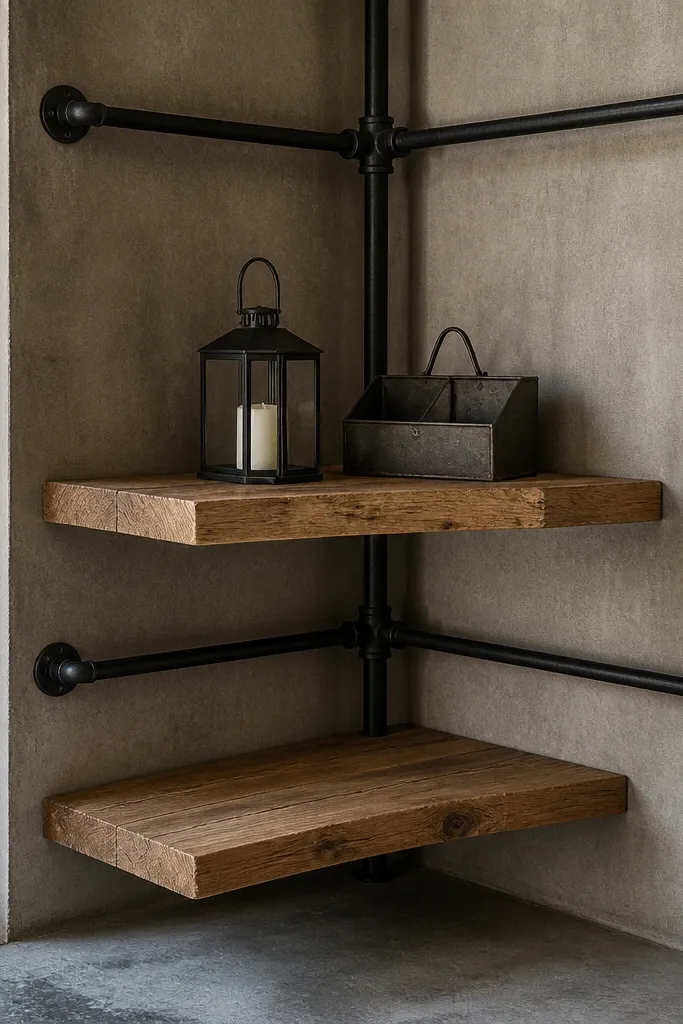
Pipe rails give you that industrial look without complex woodworking. The rail line creates a strong visual spine, and the shelves sit like they belong in a workshop. This looks especially good in garages, basements, and laundry corners where you want function but still want style. It’s beginner-friendly because you assemble with standard pipe fittings and screw wood planks to rail anchors. The look is photogenic because the black metal lines frame every item you place on the shelves.
Editor's noteUse a scrap board as a spacer when aligning shelf heights so both sides match the same plane.
Buy black steel pipe fittings and cut wood shelves to 8-10 in deep. Install two vertical pipe sections in the corner to studs using flange bases, then connect them with horizontal pipe rails at your desired shelf heights. Mark and pre-drill screw holes in the wood planks so you don’t split the grain. Attach the shelves to the rails with wood-to-metal brackets or U-bolts depending on your pipe size. Paint or clear-seal the wood, then tighten all fittings and check level with a small spirit level.
Skip thisDon’t skip pre-drilling; wood splits fast on planks this close to the rail edges.
12. Corner Floating Bookshelf with a Faceted Face Frame
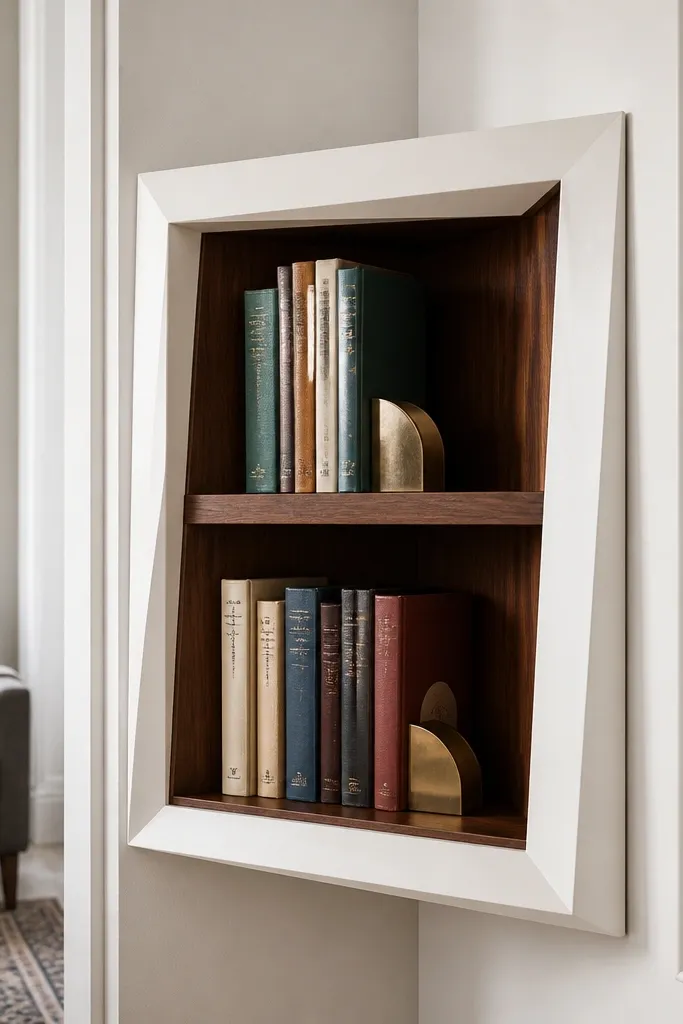
This one fixes awkward nooks for book lovers because it creates a clear “front” plane in a corner that usually looks unfinished. A faceted face frame makes the shelf look like furniture, not wall storage. The angled edges create shadows that photograph well, even with plain decor. It’s beginner-friendly if you’re comfortable making a few angled cuts and using pocket holes. Build it as a single strong box that mounts securely, then add the face frame for the look.
Editor's noteDry-fit every miter cut with the frame held in place before you glue — corner frames punish even small angle errors.
Build a base shelf box from 3/4 in plywood sized to your corner length and 9 in depth. Cut a face frame from trim boards and create the faceted look with 45-degree miter cuts on the visible edges. Attach the face frame to the box with glue and pocket-hole screws, keeping the frame flush. Mount the shelf box to studs with a ledger or bracket support so it doesn’t sag. Finish by painting the frame and staining the shelf interior to make the compartments stand out.
Skip thisDon’t rely on thin trim alone for strength; the box is what holds weight.
13. Corner Shelf with Vertical Slat Back for Airy Style
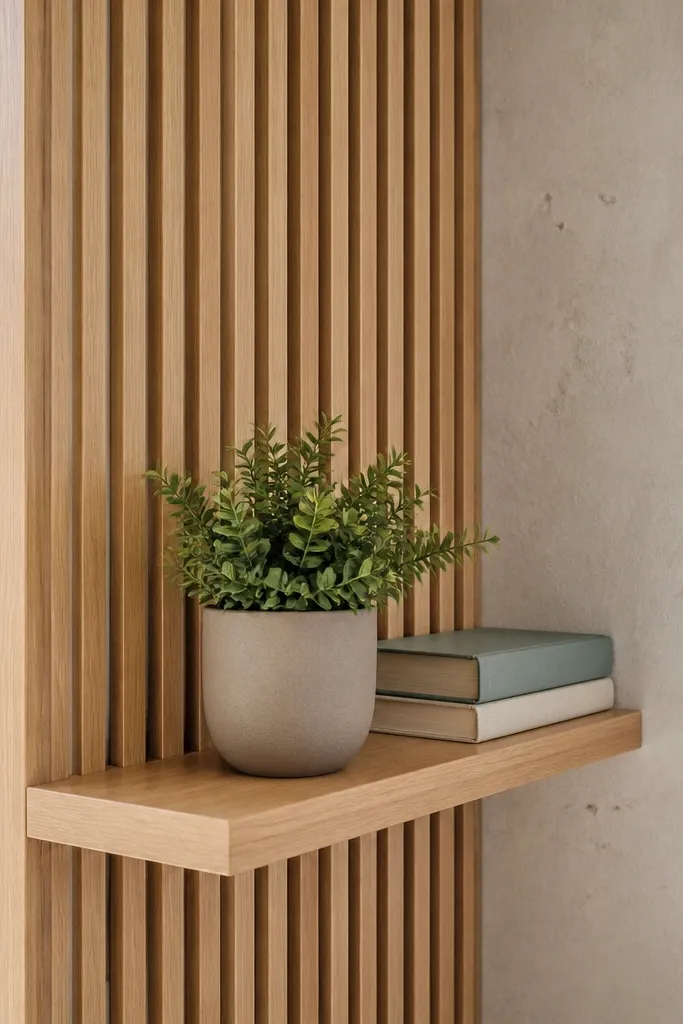
Vertical slats make a corner shelf look lighter and more intentional, especially in small rooms. The slats create texture without adding bulk, and they hide the wall line where awkward corners often show uneven paint. This design is great for plants, small art objects, and stacked books because the slat background gives everything a backdrop. It’s beginner-friendly because slats are easy to cut and attach, and the shelf itself can be a simple flat board. The result looks high-end because the back detail reads like furniture.
Editor's noteUse a single spacer strip for slat spacing — it keeps the pattern straight and photo-ready.
Cut a back panel from 1/2 in plywood, then attach vertical slats spaced 1 in apart using wood glue and 1 in brads. Leave the slat height slightly taller than the shelf so it frames the corner. Mount the slatted back panel to studs, then screw a 3/4 in shelf board to the top edge and add two hidden corner brackets for support. Sand and finish the slats and shelf together so the sheen matches. Paint the back panel behind the slats if you want a clean color contrast.
Skip thisDon’t use random slat widths; uneven slats read sloppy in a corner because they’re close to the camera.
14. Corner Shelf with Built-In Outlet-Friendly Back Gap
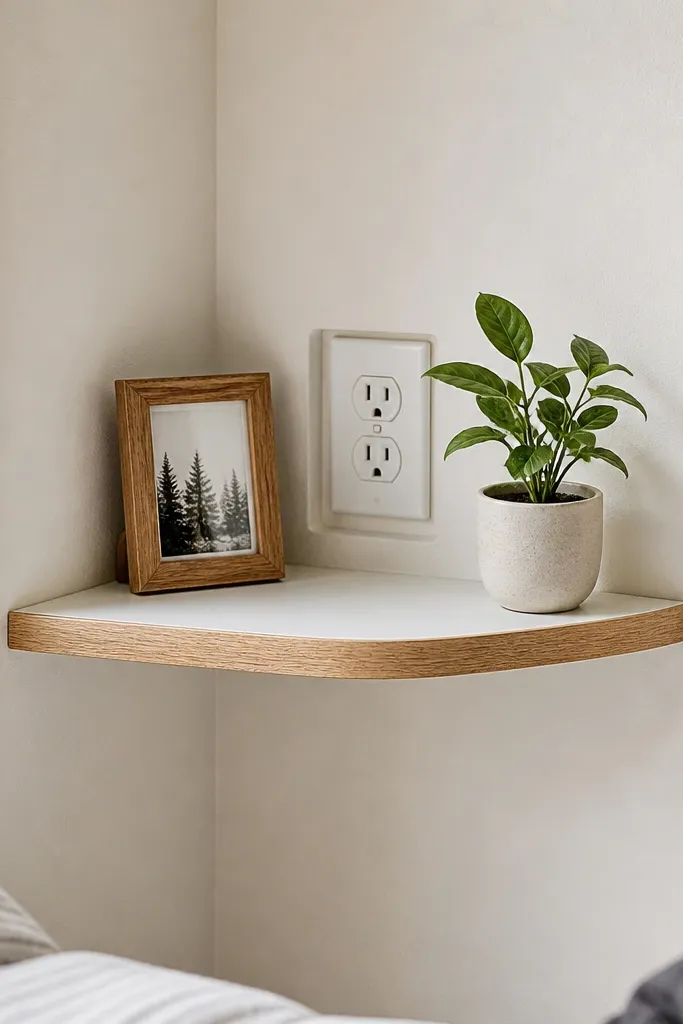
If your awkward corner has an outlet, this design fixes the real-life problem: you can’t mount a shelf flush without blocking plugs. The trick is building a shelf that has a shallow back gap or a routed notch behind the outlet area. The shelf still looks clean because the notch is hidden by the corner frame or a removable back cover. This is beginner-friendly if you measure outlet location carefully and use a backing board with a cutout. It looks tidy because cords can route through the gap instead of draping across the corner.
Editor's noteUse a depth gauge or painter’s tape on a drill bit to control screw depth near the outlet box.
Measure the outlet box height and its distance from the corner walls, then mark a cutout zone on the shelf backer board. Build a corner shelf frame from 3/4 in plywood with 9 in depth, and cut a 1/2-3/4 in deep notch behind the outlet area. Attach the shelf frame to studs, making sure screws avoid the outlet box. Add a removable cover panel over the notch using small magnets or screws so you can access the outlet. Finish the shelf with paint or stain and seal all cut edges.
Skip thisDon’t mount directly over an outlet box without a real cutout — you’ll create a wiring and access problem.
15. Corner Shelf with Door-Swing Clearance Cutout
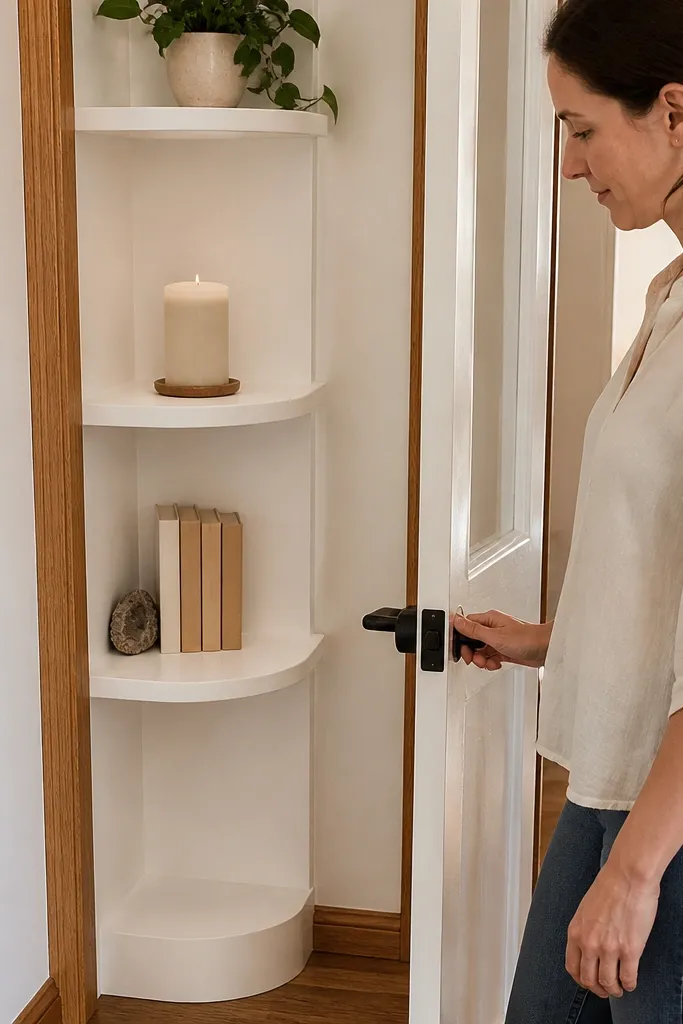
This is the fix for a corner next to a door where shelves usually get ugly or unsafe. Instead of forcing a full shelf that blocks the door swing, you add a clearance notch so the door passes without scraping. The look is still clean because the notch is aligned with the door edge, not random. It’s beginner-friendly because you’re doing one smart cut and using standard mounting. This design is perfect for entry closets, bathroom corners, and hallway doors that open toward the wall.
Editor's noteTest the door swing with masking tape stuck to the shelf outline before you cut — it prevents one of the most common DIY regrets.
Measure the door swing arc from the hinge side to find the closest point to the corner shelf. Build a corner shelf box at 8-9 in depth, then mark a clearance notch on the shelf front edge where the door will pass. Cut the notch using a jigsaw with a fine blade and sand smooth. Mount the shelf frame to studs and add a small back cleat so items don’t slide into the notch gap. Paint the shelf to match surrounding trim so the notch looks intentional.
Skip thisDon’t guess the door arc; hinge-side arcs are tighter than you think.
16. Corner Floating Shelf with Stacked Trim Borders
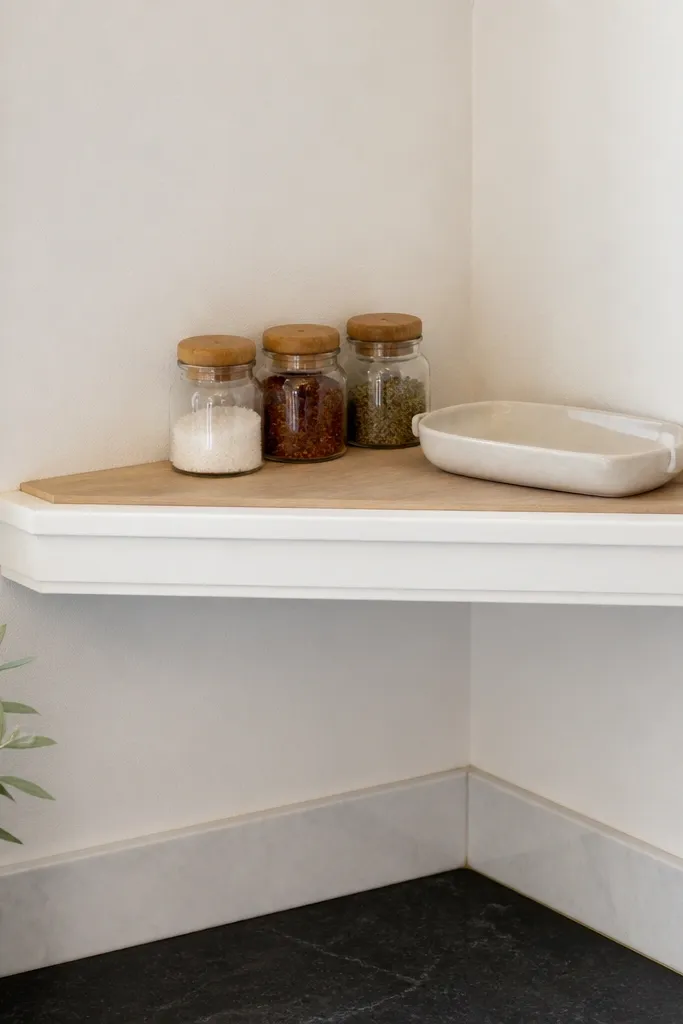
Plain corner shelves can look unfinished because you see the raw shelf thickness. Adding stacked trim borders creates a framed edge that reads like built-in cabinetry. The shelf stays minimal, but the trim gives it a clear border line that makes the corner look curated. This works well for small kitchens, spice corners, and bathroom display corners. It’s beginner-friendly because you can keep the shelf itself simple and use trim to do the visual work.
Editor's noteUse painter’s tape as a straightedge guide for trim placement so the border lines stay crisp.
Cut a 3/4 in shelf board to your corner length and depth (8-10 in). Mount it with hidden brackets or a French cleat into studs. Cut two layers of trim: one thin strip (about 1/2 in) and one slightly thicker strip (about 3/4 in) for a stacked border look. Attach the trim to the shelf front and sides with wood glue and finish nails, then fill nail holes. Sand and paint the entire border system so it looks like one unit.
Skip thisDon’t use trim with different sheen levels; mixed sheen makes the border look patchy.
17. Corner Shelf with Woven Basket Inserts for Instant Styling
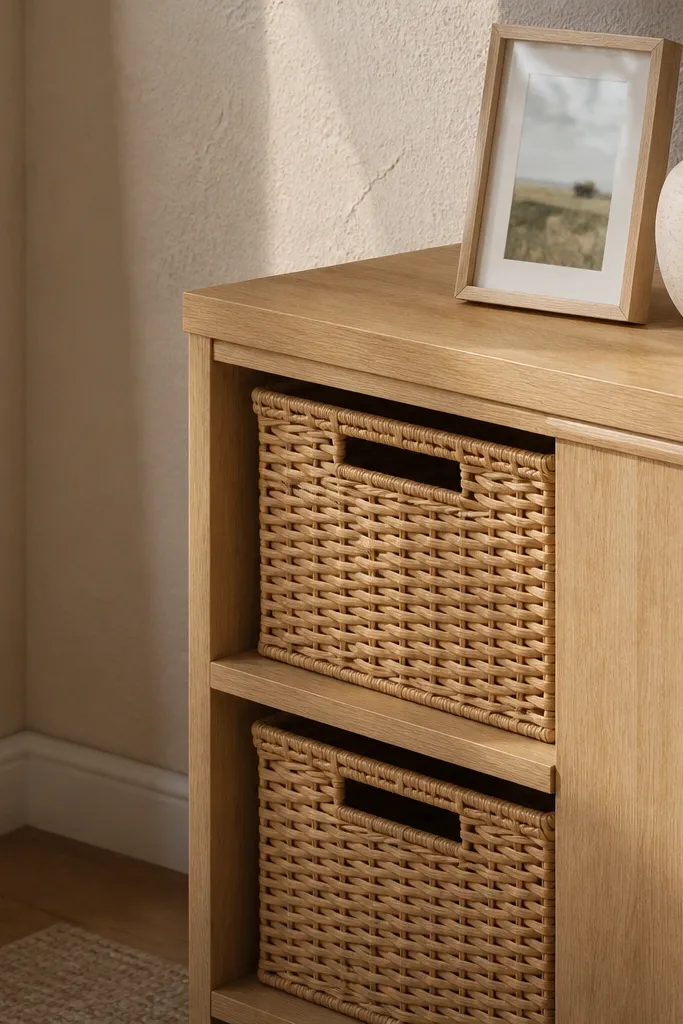
Woven basket inserts fix the “what do I put on it?” problem because the shelf already has a job. The baskets hide randomness and keep the corner looking neat even when you change decor seasonally. This design also adds texture, which photographs better than plain wood shelves. It’s beginner-friendly because the baskets act like a visual divider — you can build simple square openings and let the baskets do the rest. Use this in laundry, craft, or kids' rooms where corners collect small stuff.
Editor's noteMeasure baskets with a tape measure, not the label — thickness varies and affects fit.
Build a corner shelf frame from 3/4 in plywood with two or three shelf compartments sized to match common basket dimensions. Cut a grid of dividers so each opening fits the basket with about 1/4 in clearance on all sides. Mount the shelf unit to studs using a ledger or bracket rail across the top. Sand and paint the frame, then test-fit the baskets before final finishing touches. Add a simple shelf top if you want a display surface above the baskets.
Skip thisDon’t make compartment openings too tight; the baskets will scrape and you’ll hate adjusting them.
18. Corner Shelf with Built-In Wine Glass Stem Rack
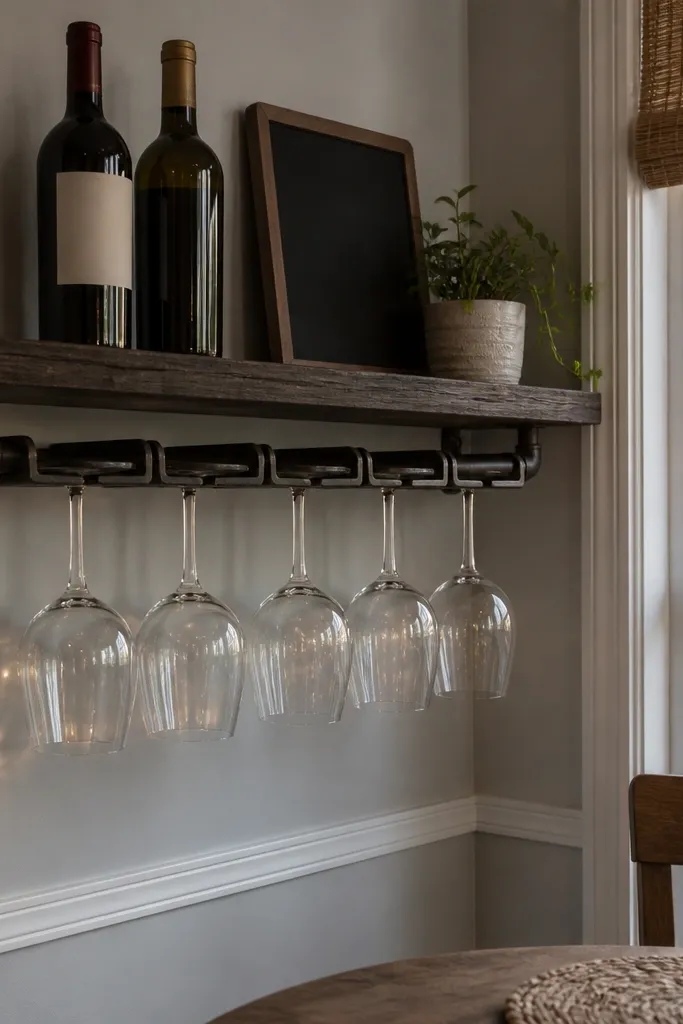
If your awkward nook is in a dining area, a stem rack turns corner space into a real bar moment. The shelf top holds bottles or decor, while the glass rack keeps stems off counters. The look is photogenic because glassware creates vertical sparkle against a clean background. This is beginner-friendly if you buy a stem rack kit and mount it to the shelf underside with reinforced screws. The shelf still needs solid mounting, but the rack itself reduces clutter instantly.
Editor's noteUse a microfiber cloth and a quick wipe schedule — fingerprints on glass racks show more than you think.
Build a corner shelf platform at 9-10 in depth from 3/4 in plywood and mount it to studs or heavy anchors. Position a stem rack under the shelf at least 6 in from the cabinet or wall behind so glasses don’t hit. Mark mounting points and pre-drill holes in the shelf underside for the rack screws. Add a front lip or trim border so bottles and decor don’t slide forward. Finish the shelf with paint or stain, then seal the underside too so cleaning doesn’t dull the finish.
Skip thisDon’t mount the rack too close to the corner walls; glass stems swing slightly when you grab them.
19. Corner Shelf Unit with Recessed Back for a Gallery Wall Look
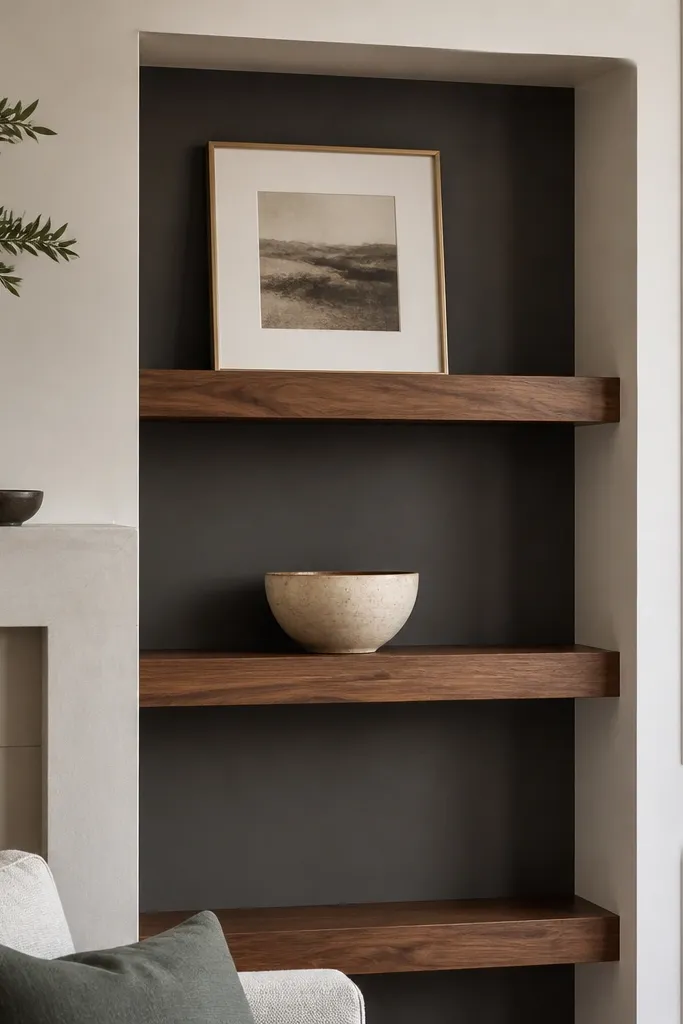
A recessed back instantly makes corner shelves look like a built-in niche. Instead of shelves sitting on top of the wall, the back panel steps in, creating a shadow pocket that frames whatever you display. This is the best option when your corner wall is messy or has patchy paint. It’s beginner-friendly because the recess can be shallow — you’re not doing cabinetry depth, just a 1-2 in step. The look is clean and modern, especially with painted backs and simple shelf tops.
Editor's notePaint the interior pocket first, then assemble and touch up edges; it prevents thin paint lines at seams.
Build a corner shelf box from 3/4 in plywood with a recessed back panel cut 1-2 in back from the front edge. Cut the back panel smaller so it forms a pocket, then attach it to the box with screws from the inside. Mount the unit to studs using a top ledger and side screws through the side panels. Add shelves inside the box as needed, keeping them 10-14 in apart. Paint the back pocket a darker color than the shelf face for strong contrast.
Skip thisDon’t skip sanding seam edges — recessed corners show drips and uneven caulk fast.
20. Corner Shelf with Pegboard Back for Tool or Hobby Organization
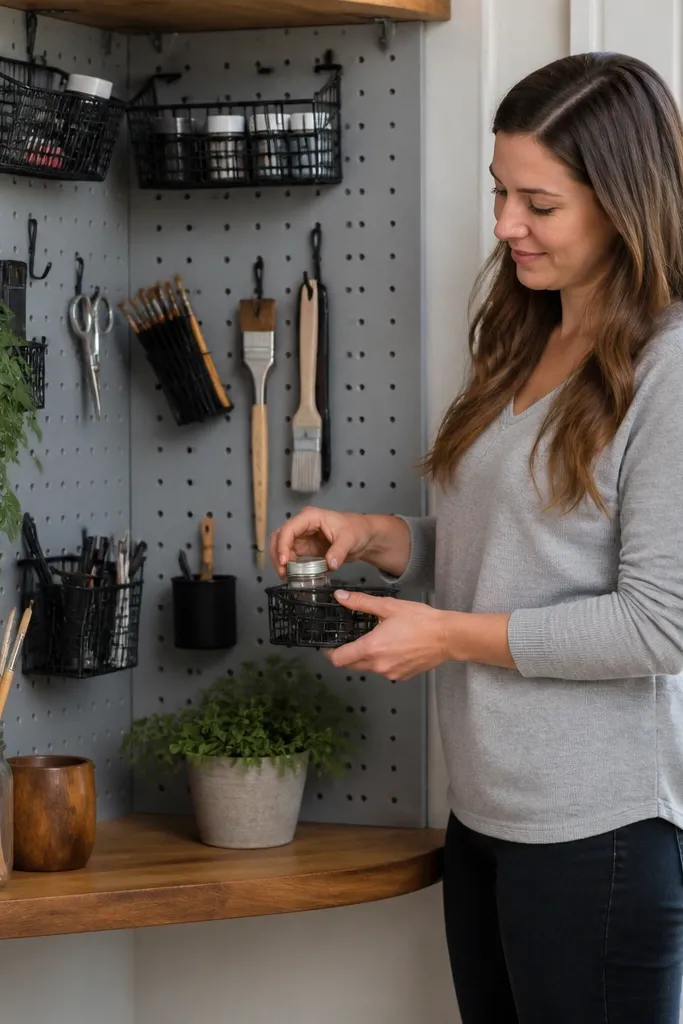
Pegboard behind a corner shelf solves the “shelf clutter” issue by turning the wall into a display and storage surface. You get a place for hooks, baskets, and small organizers so the corner stays tidy even when you’re actively using it. This looks great in craft rooms and garages because pegboard texture adds visual interest. The shelf top still gives you a clean horizontal surface for a lamp, plant, or labeled bins. It’s beginner-friendly because pegboard installation is straightforward and hooks are forgiving.
Cut a pegboard panel and mount it to studs in the corner with spacing that matches your pegboard holes. Add a 3/4 in shelf board on top using brackets or a ledger mounted across the top of the pegboard frame. Drill the pegboard and mount hooks and small shelves before final shelf placement if you want easier access. Seal the pegboard edges and paint it so it looks intentional, then attach the shelf top with screws into the ledger. Arrange items symmetrically so the corner looks styled, not random.
Label hooks with small removable dots so you can keep the layout consistent over time.
Don’t mount pegboard over drywall-only anchors for heavy loads; studs matter here.
21. Corner Shelf with Marble-Look Contact Paper Countertop Top
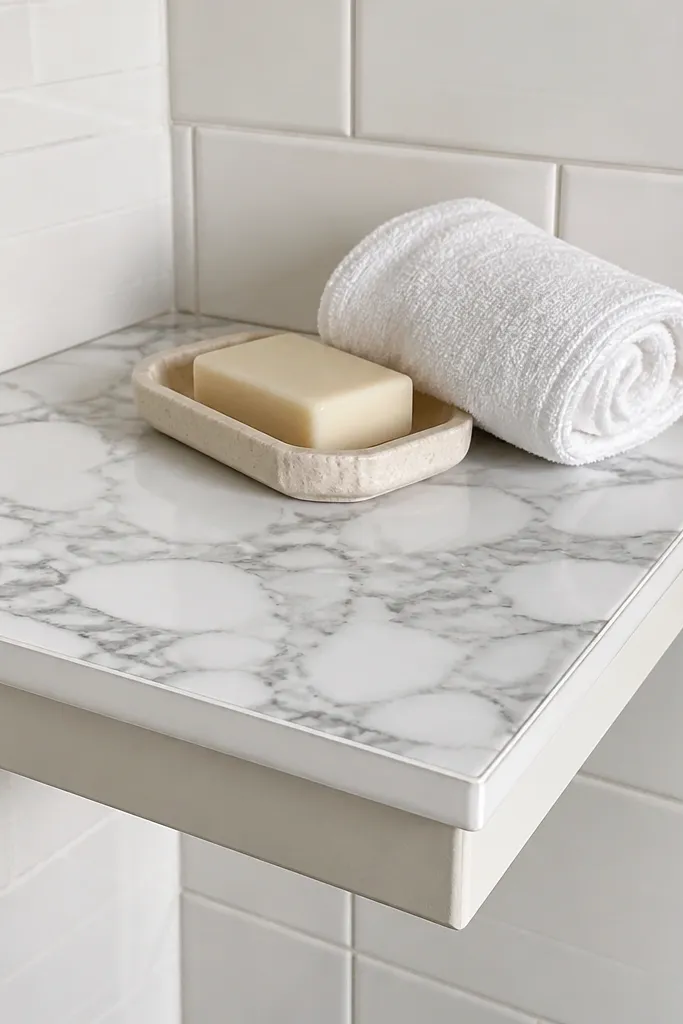
This is a high-impact trick for beginners: use marble-look contact paper on the shelf top while keeping the base painted and simple. The top instantly reads expensive because the pattern catches light and hides minor wood imperfections. It’s a great option for bathroom corners, coffee nooks, and entry trays where you want an easy-clean surface. Build the shelf frame normally, then apply contact paper carefully to avoid bubbles. The visual payoff is big while the skill level stays low.
Build a corner shelf base from 3/4 in plywood and paint it (satin works best). Cut a shelf top board and sand it smooth, then wipe with isopropyl alcohol so adhesive bonds well. Apply marble-look contact paper by aligning one edge first, then smoothing with a plastic scraper from the center outward. Trim the edges with a sharp utility knife and seal the contact paper edges by pressing them down and adding a thin clear seal on top if the product allows. Mount the shelf base into studs and keep the top clean and dry during curing.
Warm the contact paper with a hair dryer before applying so it conforms without wrinkles.
Don’t apply contact paper to rough sand — bubbles and lifting show up immediately.
22. Corner Shelf with Glass Door Cabinet Top (Open Lower Shelf)
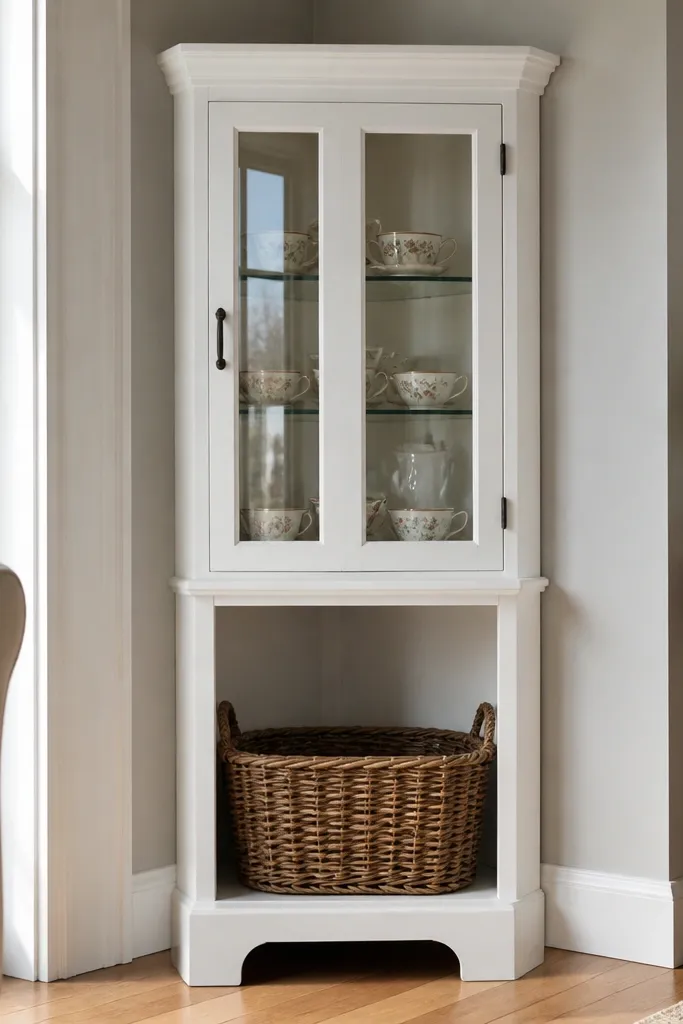
This design fixes awkward nooks because it separates “display” from “storage” in one unit. Glass doors keep decorative items protected while the open lower shelf is easy for everyday use. The corner frame makes it furniture-like, and the glass adds depth that looks great in corners with natural light. It’s beginner-friendly if you buy pre-made glass door hardware and focus on building the simple carcass. You also get a clean, symmetrical look because the door creates a strong vertical line.
Editor's noteUse a magnetic catch for the glass door so it closes without misalignment.
Build a corner cabinet frame from 3/4 in plywood with a lower open shelf and an upper compartment sized for a glass door insert. Install a shelf at the divider height and add a back panel behind the open shelf for stability. Mount the unit to studs with a top bracket and side screws through the frame. Attach the glass door using purchased hinges and a simple latch or magnetic catch. Paint the carcass and add a trim frame around the door opening for a finished edge.
Skip thisDon’t skip a back panel in the open section; without it, the unit can twist.
23. Corner Shelf with Built-In Desk-Lamp Clip for Night Reading

In corners that sit next to a reading chair, a shelf that holds a lamp instantly makes the nook usable. The trick is adding a small clip or rail on the side of the shelf so the lamp doesn’t topple onto decor. This keeps the corner looking tidy because the lamp has a dedicated spot. It’s beginner-friendly because you’re adding simple hardware and mounting the shelf correctly. It looks good in photos because books and a lamp create a natural styling triangle.
Build a corner shelf at 8-10 in depth with a simple boxed frame for strength. Mount the shelf so the top edge sits around 28-34 in above the floor if it’s near seating, then screw into studs. Install a lamp clip or small metal rail on the shelf side using machine screws and washers. Add a front trim border so the shelf edge looks crisp. Seal and finish the shelf, then test the lamp placement before styling with books.
Position the lamp clip so the lamp base sits 1-2 in back from the shelf front edge to prevent tipping.
Don’t mount the clip only into shelf edge grain; add backing blocks or screws into the frame.
24. Corner Shelf with Mirror Back for Light-Boost
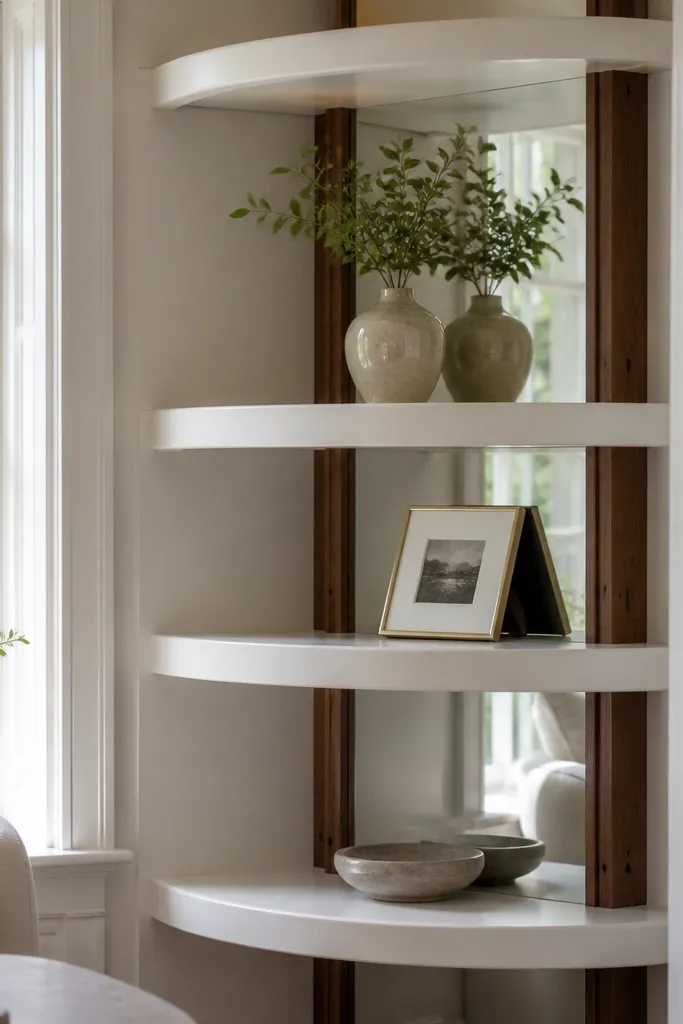
A mirror behind a corner shelf makes the nook feel bigger and brighter, which is exactly what awkward corners need. The mirror also makes decor look more intentional because it reflects light and adds depth behind small objects. This is a photogenic choice because the reflection creates a second “frame” for your items. It’s beginner-friendly if you use mirror sheet panels or framed mirror inserts and mount them safely. Keep the shelf depth moderate so the reflection doesn’t distort the corner visually.
Editor's noteUse mirror clips, not glue, if you want the mirror to be removable for cleaning.
Build a corner shelf frame from 3/4 in plywood and add a back panel space for the mirror insert. Choose a mirror insert with a safe backing and pre-drilled mounting points if possible. Mount the mirror to the back panel using mirror clips or screws through the frame with proper spacers. Attach the shelf top and front trim so the mirror sits inside the frame, not exposed at raw edges. Finish with paint or stain, then place small decor that won’t block the mirror line.
Skip thisDon’t use thin mirrors without proper backing; corners need stable, safe mounting.
25. Corner Shelf with Hidden Cable Channel for a Clean Tech Nook
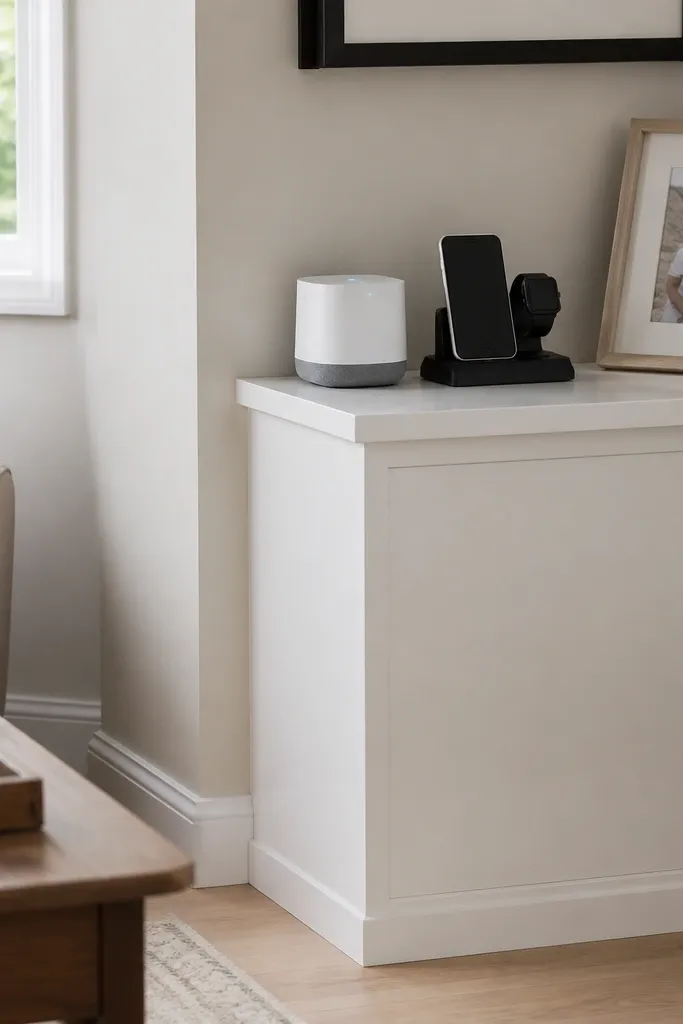
If your awkward nook has a router, speaker, or charging station, cables are what make it look chaotic. A hidden cable channel inside the shelf fixes that by routing cords behind a clean front panel. The shelf still looks like decor storage, but the wires disappear. This design is beginner-friendly because the cable channel can be a simple cutout and a removable back cover. It’s ideal for corners in living rooms, home offices, and bedrooms where tech needs to stay out of sight.
Editor's noteWrap power bricks in a small fabric sleeve so they don’t rattle and so the corner stays quiet.
Build a corner shelf frame with an internal divider so you create a cable cavity, leaving a 1-2 in channel space behind the top surface. Route or cut a cable pass-through opening at the back edge where cords can drop down. Install a removable back cover panel using magnets so you can add or remove cords later. Mount the shelf to studs and keep the cable channel tall enough for the power adapter length. Finish the shelf top and front edges, then test cord routing before you style items on top.
Skip thisDon’t pinch cables in tight corners; leave slack and avoid sharp bends near the shelf opening.