
1. Fog-proof mirror with a real defog pad and a clean frame
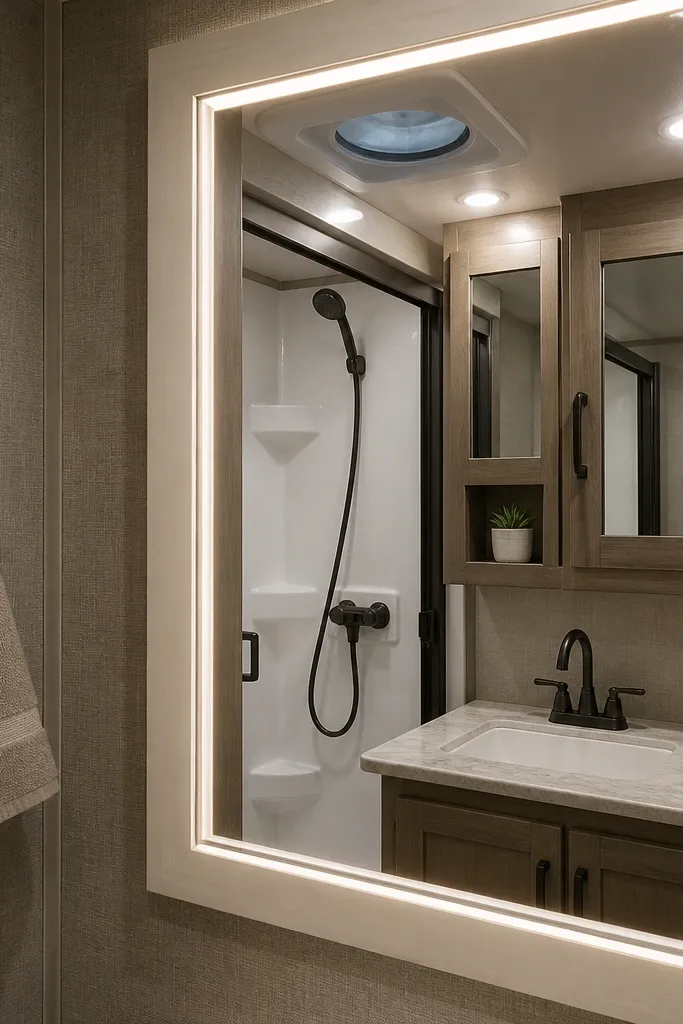
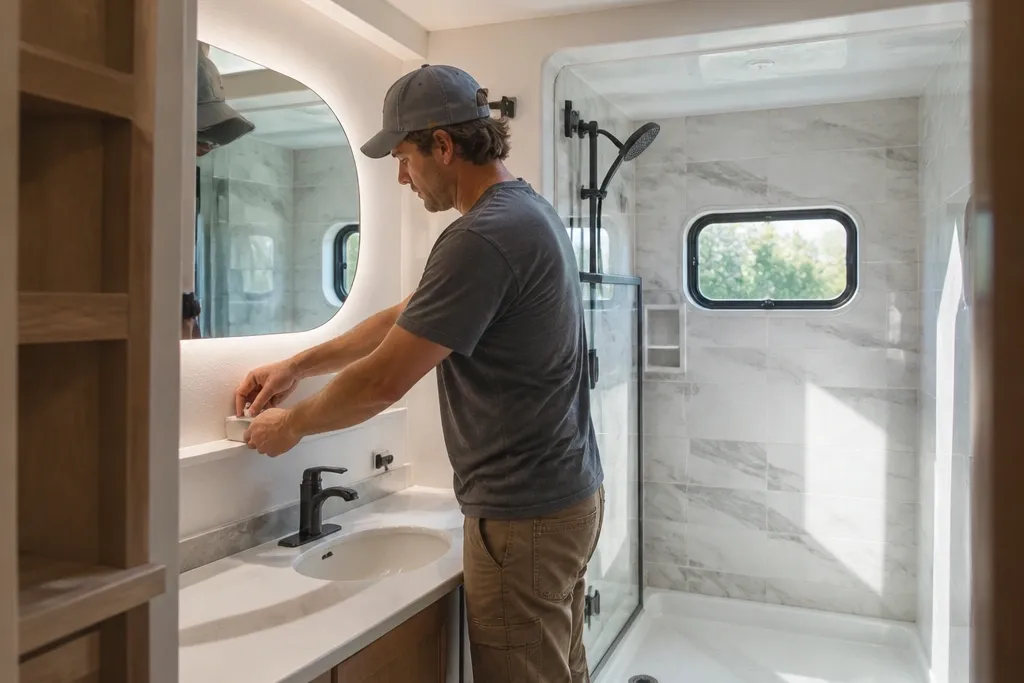
A foggy mirror makes the whole bathroom look neglected, even if everything else is new. The fix is a mirror with a defog pad or a defog system that prevents condensation from sticking to the glass. Choose a frame that matches your hardware finish so it looks like part of the remodel, not an add-on. This upgrade is mostly about visibility — your bathroom looks sharper because you can actually see it clearly after showers. It’s also a small, high-impact change that doesn’t require major demolition, so you get the RV-friendly win without the mess.
First, measure the mirror opening carefully: width at the widest point and height at the tallest point, then subtract 1/8 inch for clearance. Next, turn off power to the bathroom circuit and remove the old mirror or trim. Install the new mirror using the included mounting clips or manufacturer adhesive strips, then connect the defog pad to the proper power feed per the unit instructions. Finally, caulk the perimeter with a paintable, mildew-resistant bathroom sealant so steam can’t creep behind the glass.
Pick a mirror with a perimeter seal or gasket — it makes the install look finished and reduces steam intrusion.
Skipping a perimeter seal leaves a gap where moisture can collect behind the mirror.
2. One-piece fiberglass shower pan + tiled-look walls for a tighter, cleaner line
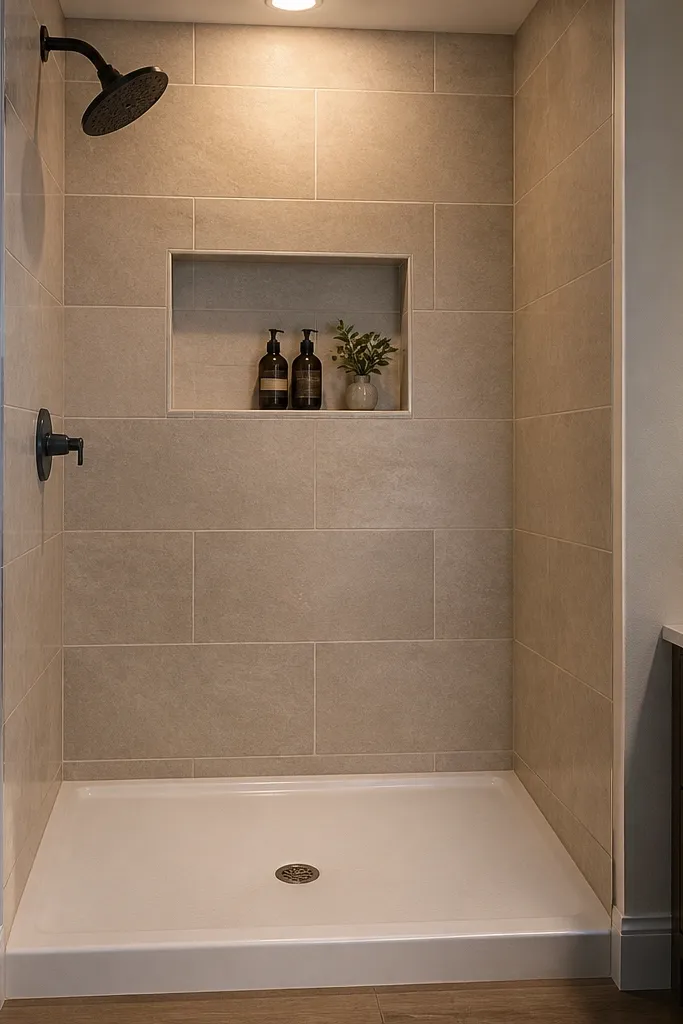
A shower remodel looks better when the floor and walls meet without messy seams. A one-piece fiberglass pan creates a smooth base that drains predictably and reduces the number of places water can sneak under. Pair it with waterproof, tile-look wall panels so the texture reads like real tile but the install is faster and less risky in an RV. Keep the wall color light (soft warm white or pale greige) so the bathroom doesn’t shrink visually. This is a smart aesthetic choice because your shower area becomes a clean rectangle — easy to photograph, easy to wipe, and less likely to show grout stains.
Start by removing the old shower surround down to the substrate and inspect for soft spots or delamination. Install the fiberglass pan on a properly leveled base, using shims where needed, then test for drain alignment before sealing. Next, mount waterproof wall panels from the bottom up, using the correct adhesive and wall anchors specified for RV use. Seal every corner and seam with a compatible waterproof sealant, then run a final bead at the tub/shower edges.
Dry-fit the first wall panel and mark level lines — one panel that’s off by 1/8 inch ruins the “straight” look.
Using standard construction adhesives that aren’t meant for wet-wall systems.
3. Matte waterproof wall paint in a warm-white tone with a satin topcoat
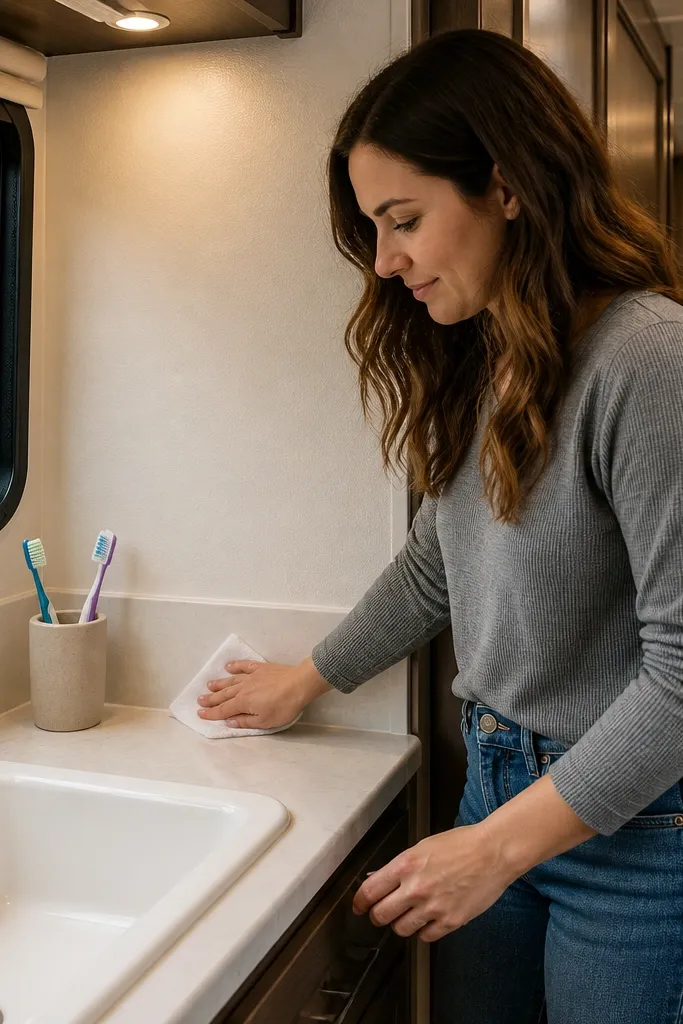
First, strip loose paint and sand glossy areas dull so the coating grabs. Clean with a moisture-safe degreaser, then let the walls dry fully before you prime. Roll on the waterproof matte wall paint in two thin coats, keeping a wet edge so you don’t get lap marks. After cure, apply satin topcoat to splash-prone areas, then inspect under bathroom lighting for missed spots.
Paint can look stunning in an RV bathroom when it’s the right type and sheen. Matte waterproof wall paint hides scuffs and small imperfections better than glossy finishes, which matters in a small space. Then you add a satin topcoat only where the walls get wiped hard — like around the sink and splash zones. Pick a warm-white tone so it doesn’t turn gray under RV LEDs. The look is clean and “finished,” not like a quick coat over peeling surfaces.
Skip thisPainting over damp walls or old mildew without sanding and priming.
Editor's noteUse a foam roller for the matte coats — it cuts down on roller texture that catches light and shows unevenness.
4. RV-safe peel-and-stick backsplash that actually looks like stone
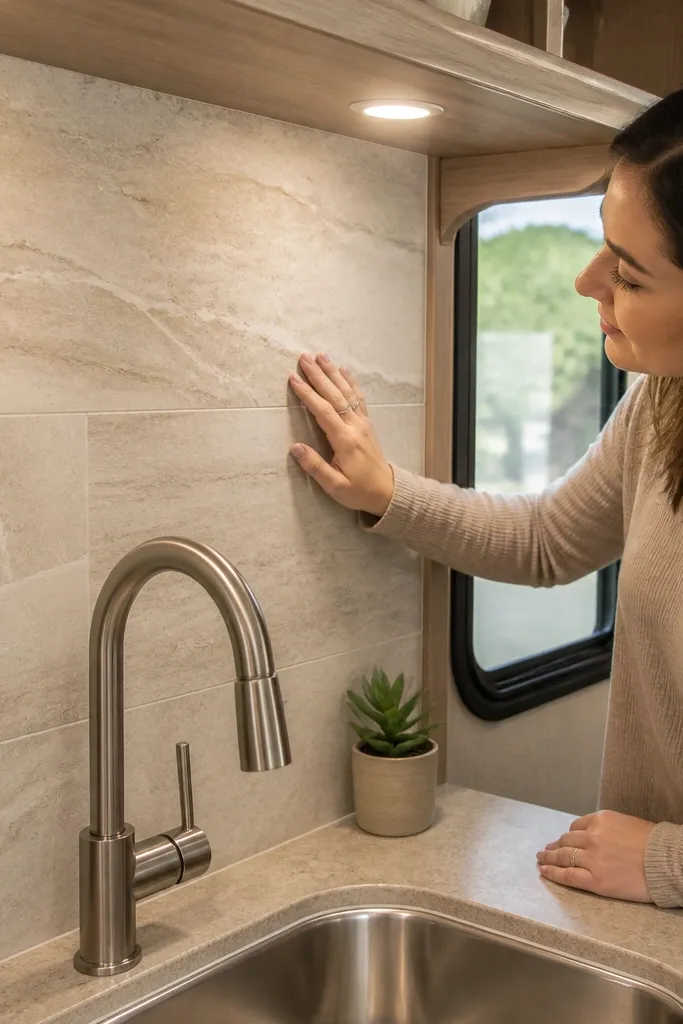
Start by measuring the backsplash area and marking a level baseline with painter’s tape. Clean the surface with a degreaser and wipe with an alcohol-based cleaner so adhesive bonds properly. Cut the sheet with a sharp utility knife and a straightedge, then apply from the bottom up, smoothing as you go to prevent bubbles. Seal edges with a clear, mildew-resistant bathroom caulk and let it cure before heavy splashing.
The key to making peel-and-stick look legit is material choice and edge control. Use a stone-look backsplash sheet designed for kitchens and bathrooms so it’s water-resistant and doesn’t curl at the edges. Choose a pattern with larger veining rather than tiny busy speckles — it reads upscale from a few feet away. Keep the backsplash height modest, like 18 to 24 inches, so it frames the sink and looks deliberate. This is a fast remodel move that makes the whole bathroom feel designed without a full wall tear-out.
Skip thisApplying over glossy residue or skipping edge sealing, which is where peel-and-stick fails visually.
Editor's noteWarm the sheet slightly with a hair dryer before applying — it lays flatter and reduces edge lift.
5. Shower niche with a waterproof insert and matching panel finish
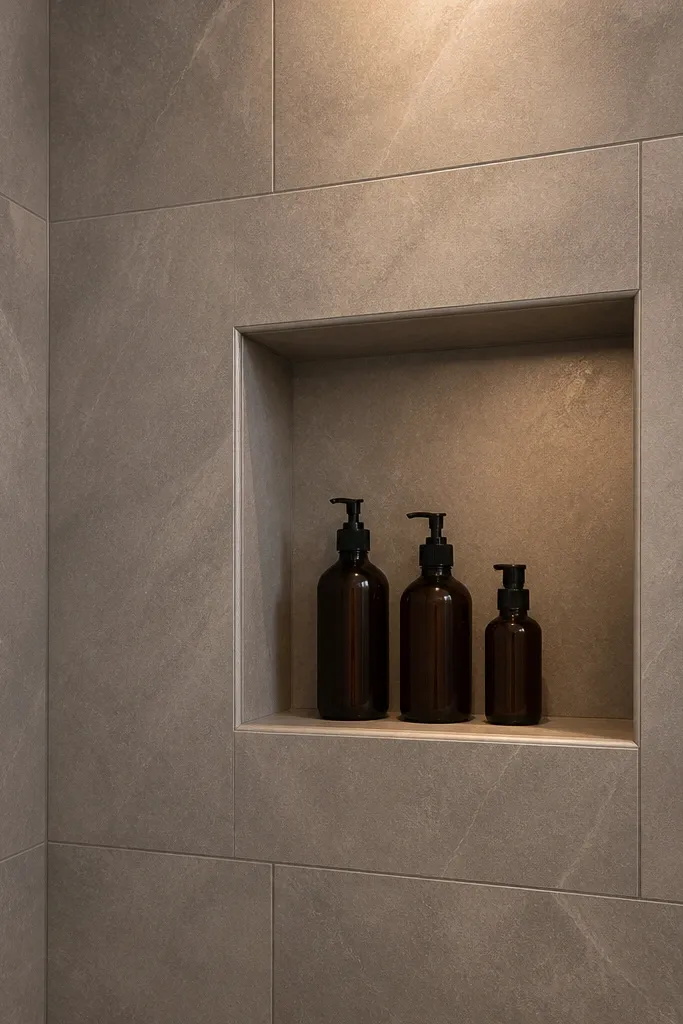
First, plan the niche size based on your bottles: a 12 x 10 inch niche fits most shower products without looking cramped. Cut the opening into the waterproof wall substrate according to the insert template, then dry-fit the waterproof niche insert. Install the niche with compatible adhesive, then seal around all edges with waterproof sealant. Finally, finish the niche with the matching wall panel trim so the corners look crisp and straight.
A niche changes both function and look. It gives you a place for shampoo and soap that doesn’t clutter the shower floor, so the space looks cleaner in every photo. For RVs, the aesthetic win depends on waterproofing — a niche should be lined and sealed like the rest of the shower wall, not hacked in with random caulk. Match the niche finish to your shower wall panels so it blends instead of looking like a DIY afterthought. This upgrade is especially good in small bathrooms because it reduces countertop clutter and keeps the shower wall visually calm.
Skip thisInstalling a niche without a full waterproof lining behind the insert.
Editor's noteSet the niche slightly higher than you think — bottles look better and you reach them without leaning into the shower wall.
6. Curbless-style shower look using a low-profile floor transition cover
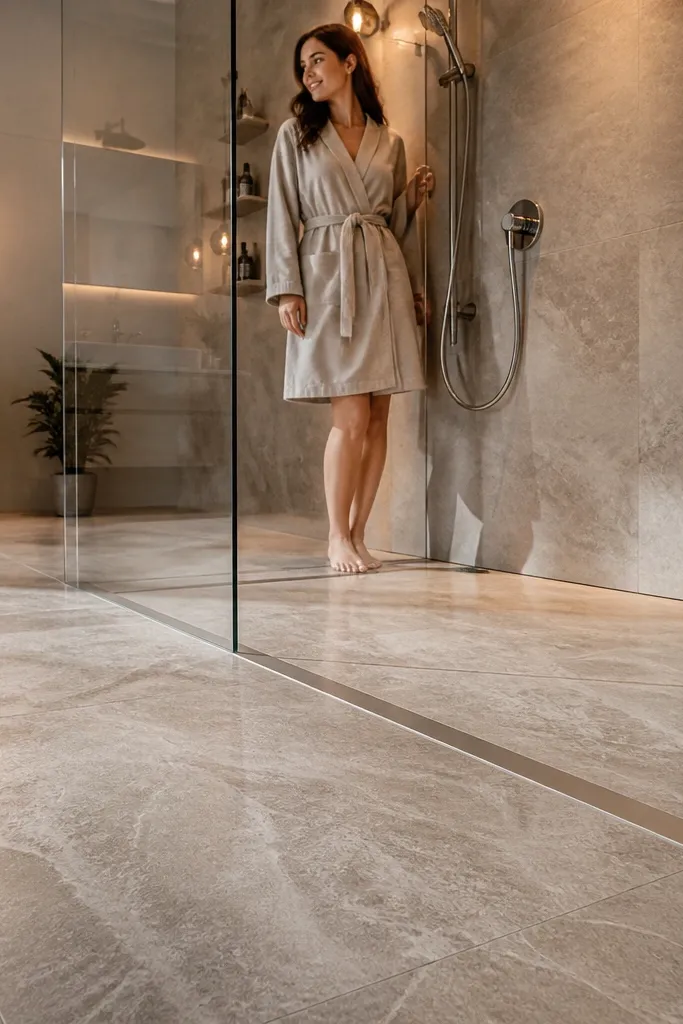
Start by confirming your shower footprint and drain position so you don’t create a bad slope. Install the floor system with correct slope toward the drain, then place the low-profile transition cover at the seam. Seal the edges with waterproof sealant compatible with your floor material, and ensure the cover sits flush. Finally, test for rocking or gaps by stepping carefully and running water for several minutes.
You can get a “curbless” look without doing a full custom build by using a low-profile transition system. The visual payoff is a smooth, continuous line from bathroom floor to shower — it reads modern and makes the small space feel larger. Choose a transition cover designed for wet areas so it grips and doesn’t lift under moisture. Keep the surrounding floor color light and cohesive so the transition blends instead of looking like an added strip. This is a styling move with real practicality: it reduces where water collects and makes cleaning faster.
Skip thisRelying on caulk alone to fix a height mismatch.
Editor's noteUse a straightedge across the transition during install — any dip shows up immediately in photos.
7. Skylight-style ceiling light with a frosted diffuser for even brightness
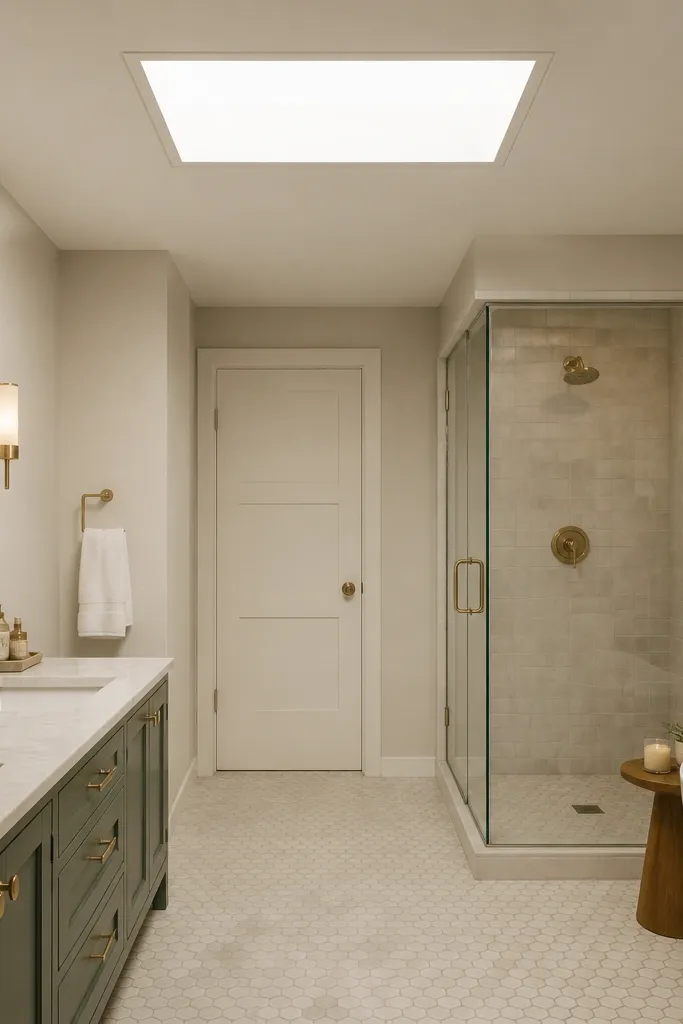
First, verify the fixture size and cutout dimensions against your RV ceiling framing. Turn off the circuit and disconnect power, then remove the old light. Install the new fixture with a secure mounting plate and strain relief for the wiring. Finish by checking coverage: turn it on and scan with your eyes for dark patches, then adjust placement if you have options in the ceiling frame.
RV bathrooms often have harsh, shadowy lighting that makes the room look dingy. A frosted diffuser ceiling fixture spreads light across the walls, so your new surfaces look the same color day and night. It also reduces glare on mirrors and makes the shower area feel brighter. Choose warm-white LEDs around 2700K so whites don’t turn blue. This upgrade is photogenic because the whole bathroom looks evenly lit, not like two bright spots and a dark corner.
Skip thisUsing a daylight-blue bulb that makes warm whites look sickly.
Editor's notePick a diffuser with a wide spread pattern — narrow beams create the “RV tunnel” look.
8. Wall-mounted vanity with a sealed base and open-under storage look
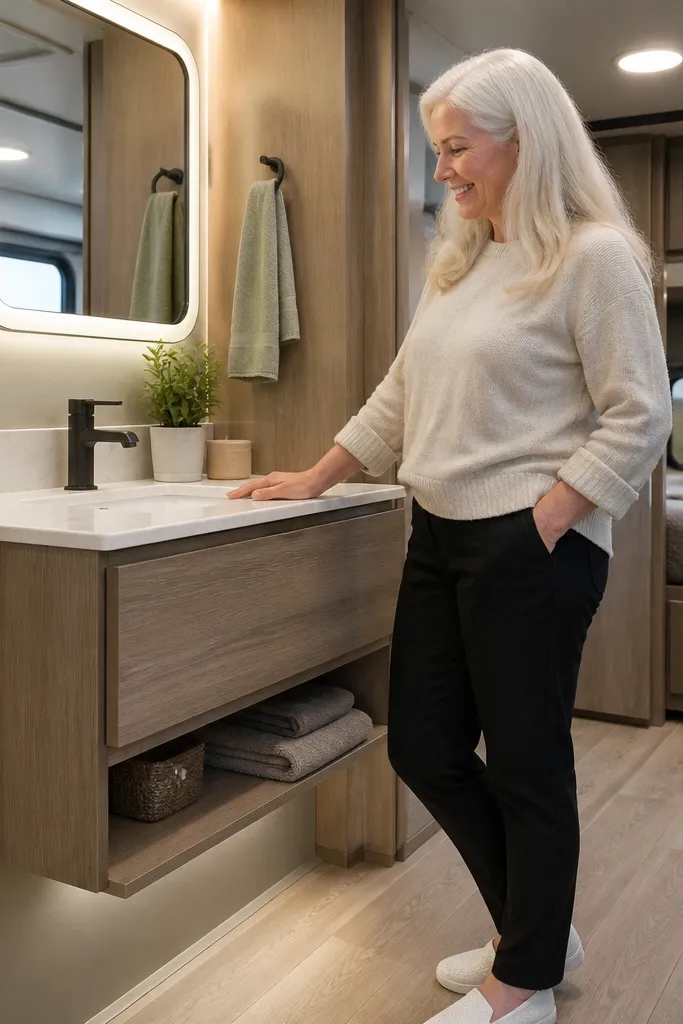
A wall-mounted vanity instantly changes the bathroom’s visual weight. Even in a small RV, it makes the floor feel more open, which helps the room look cleaner and bigger. The aesthetic depends on a sealed base so steam doesn’t get behind the vanity and ruin finishes. Choose a light countertop color like quartz-look white or pale stone for brightness. Add a matching framed mirror to complete the “designed” look.
Start by locating studs or the right mounting points in the RV wall structure and measure the vanity footprint. Install a sealed mounting support that spreads load and lets you attach screws without crushing the wall skin. Mount the vanity, then run a bead of mildew-resistant sealant where the vanity meets the wall. Finally, install plumbing connections with proper gaskets and check for leaks with paper towels around joints.
Use a level and install one side at a time — RV walls are rarely perfectly straight, and you want the countertop flat.
Mounting to weak surfaces without proper backing, which leads to sag and hairline gaps.
9. Countertop upgrade to quartz-look laminate with a waterproof backsplash edge
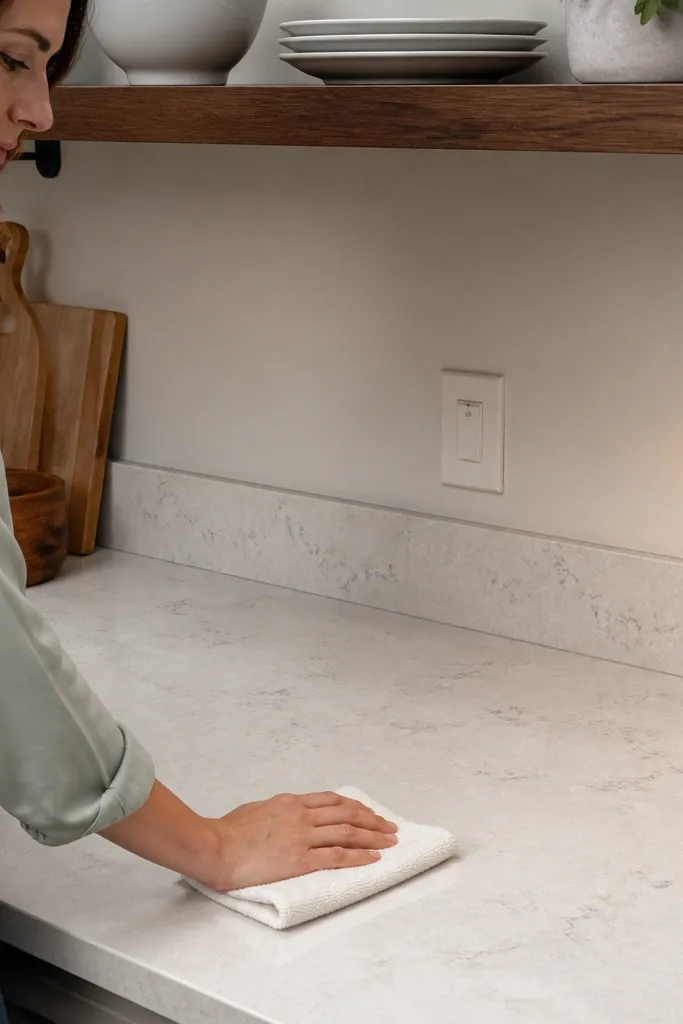
First, remove the old countertop and clean off any residue from the cabinet top. Measure the cabinet opening and test-fit the new laminate top, then trim carefully with a sharp blade. Apply waterproof seam tape or edge sealant at the backsplash connection point, then set the countertop in place. Seal the perimeter with a bathroom-rated silicone or polyurethane sealant and let it cure before using water heavily.
Your countertop is where the bathroom looks new or tired every day. Quartz-look laminate can look sharp in an RV when the edges are finished and the backsplash transition is sealed correctly. Choose a light, stone-pattern countertop with subtle veining so it doesn’t fight your wall color. The real win is the waterproof edge: it prevents swelling at the seam, which is a common RV failure point. This upgrade is also practical — laminate wipes clean and handles splashes better than porous surfaces.
Skip thisLeaving the backsplash seam unsealed, which is where swelling starts.
Editor's notePre-seal the cut edges before installation — raw laminate edges soak up moisture fast.
10. Matte black or brushed brass hardware swap with matching towel ring
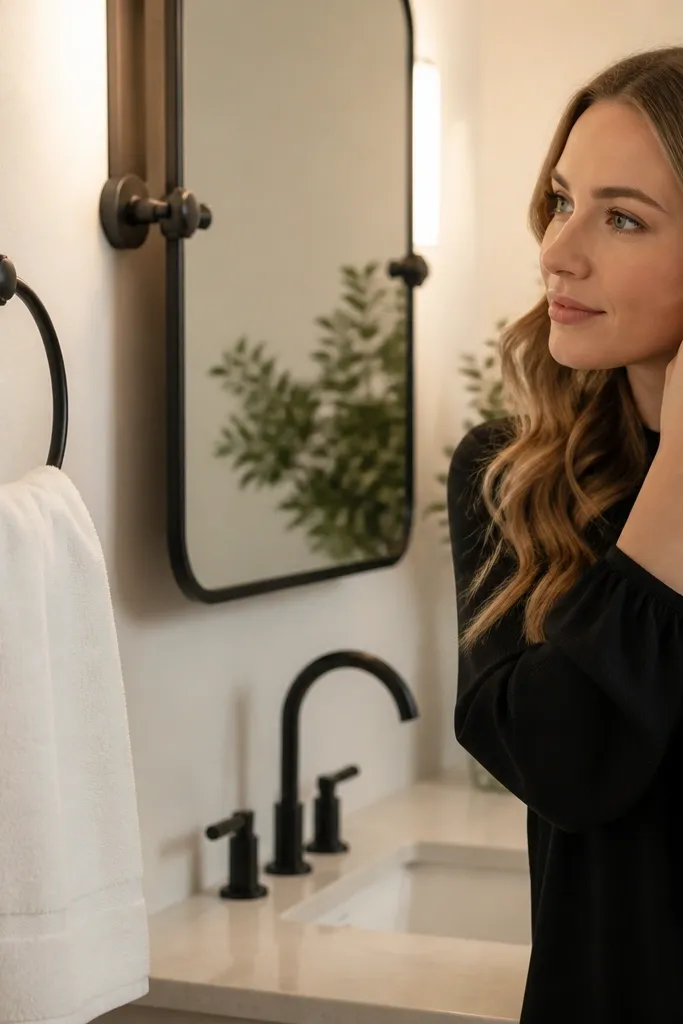
First, list what needs replacing: faucets, towel ring, toilet paper holder, and any cabinet pulls. Confirm hole spacing on the existing fixtures so you don’t end up drilling the wrong spots. Install new hardware using proper gaskets for plumbing parts and secure mounting for towel hardware. Finish by tightening evenly and wiping away squeeze-out sealant so the edges look neat.
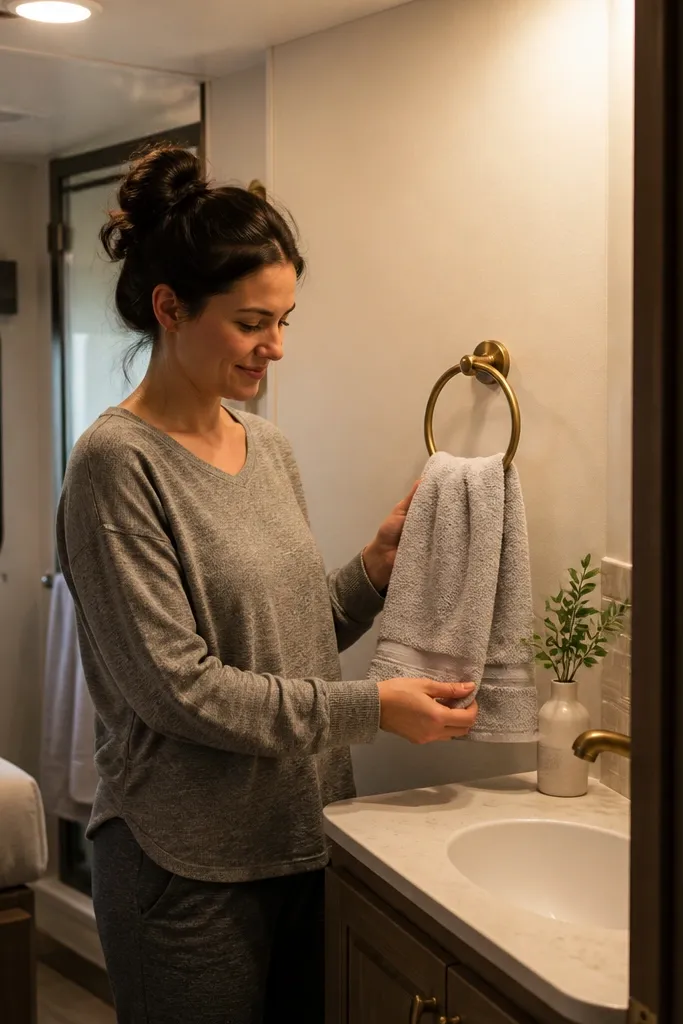
Hardware is the easiest way to make an RV bathroom look intentional. A consistent metal finish ties the mirror, vanity, and shower area together visually. Matte black hides water spots better than chrome-like finishes, while brushed brass warms up the room and looks great with warm whites. Add a towel ring that matches the metal so the bathroom reads cohesive, not like random parts. This is a small upgrade that photographs well because the metal catches light cleanly without sharp glare.
Skip thisMixing three metal tones — it makes the room feel temporary.
Editor's noteIf you’re switching finishes, replace the mirror clips or frame accents too. One mismatched metal makes the whole bathroom look off.
11. Vent fan upgrade with a stronger CFM and a clean vent grille
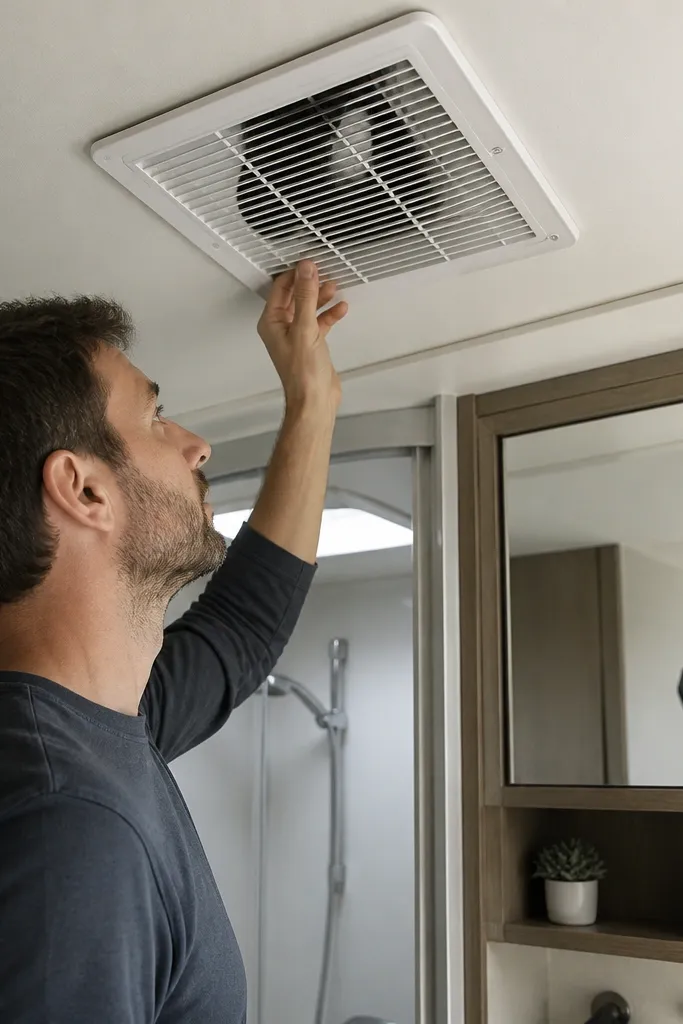
First, measure your current fan housing opening and confirm the replacement fit. Turn off power, remove the old fan, and inspect duct routing for kinks or gaps. Install the new fan, seal duct joints with foil-rated HVAC tape or the manufacturer-approved sealant, and secure the grille with the included hardware. Test it by running the fan during a shower and checking that airflow actually pulls steam out quickly.
A better fan changes everything: less fog on the mirror, fewer damp corners, and less smell after showers. RV fans are often underpowered for the actual moisture load, so the bathroom looks worse even after a remodel. Upgrade to a higher CFM unit that fits your ceiling opening and install it with a proper duct connection and sealed edges. Choose a vent grille that looks simple and bright so it doesn’t draw attention to itself. This is not glamorous, but it protects your new surfaces and keeps the bathroom looking crisp.
Skip thisLeaving gaps around the fan housing where steam escapes into the ceiling cavity.
Editor's noteSeal the duct seam — air leaks reduce performance even with a “stronger” fan model.
12. Tile-look floor with a thin waterproof underlayment and staggered pattern
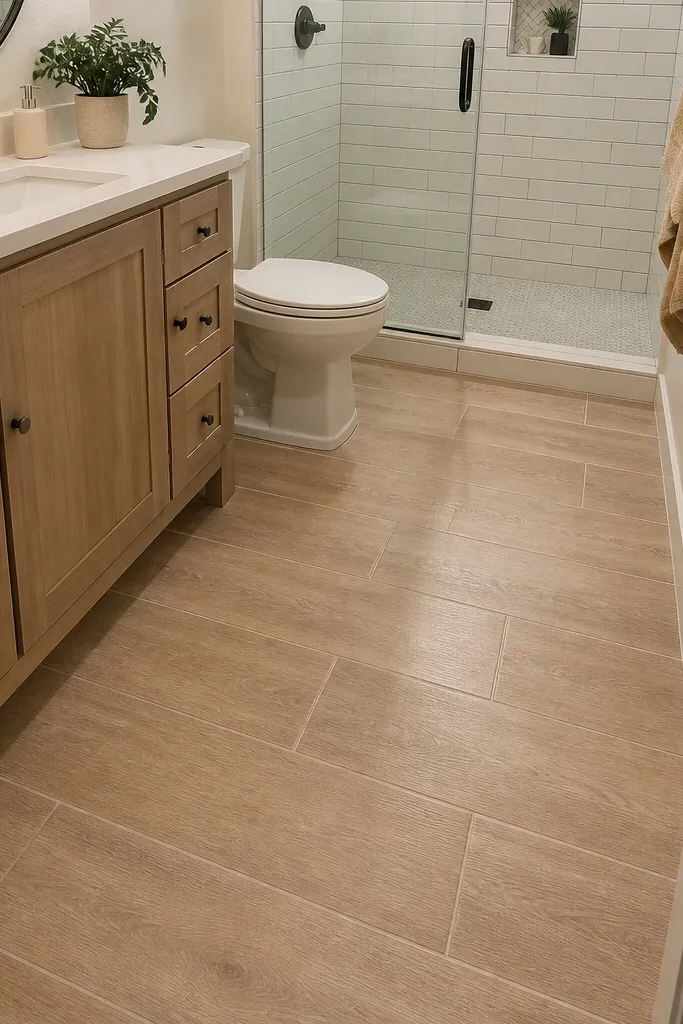
First, remove the old flooring and check the subfloor for soft spots or lifting seams. Install a waterproof underlayment or membrane system appropriate for your flooring type, then tape seams if the product calls for it. Acclimate the flooring material in the RV for the recommended time so it doesn’t buckle. Install planks with staggered joints, maintain expansion gaps at walls, then seal edges with the right trim pieces and bathroom-safe caulk where needed.
Floors take the abuse — wet feet, dropped bottles, and constant micro-movement. Tile-look vinyl planks or sheet flooring can look excellent if you prep correctly and use waterproof underlayment where your RV allows it. Pick a pattern with a staggered layout so it reads like real tile from across the room, not like a straight strip. Light floors make the bathroom feel bigger and cleaner. This upgrade is worth it because it protects the subfloor and turns the bathroom from “tired” to “finished” fast.
Skip thisInstalling over a dirty or uneven subfloor — the pattern will telegraph every bump.
Editor's noteUse a chalk line to keep the first row straight. The rest of the pattern depends on that first edge.
13. Shower door upgrade for a clear, bright opening and fewer splash marks
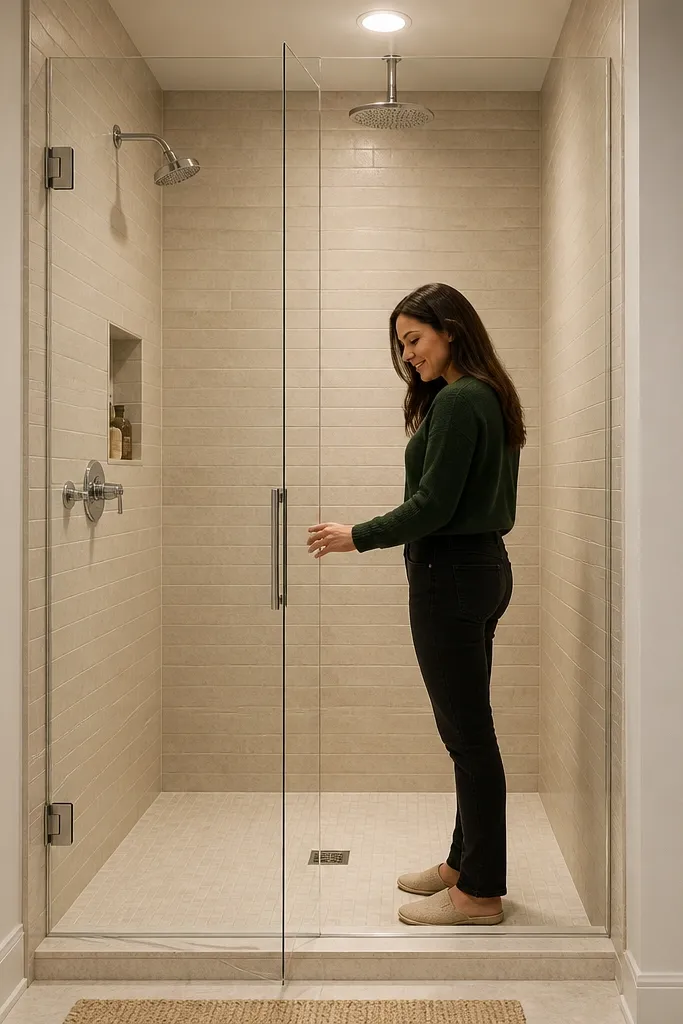
A shower curtain can work, but it makes the bathroom look casual and it collects spray. A shower door upgrade gives you a crisp, glassy opening that looks clean in photos and keeps water off the walls and floor. Choose a clear door system with minimal frame so it doesn’t visually shrink the room. Add a magnetic seal or tight closing edge so you stop the “always damp outside the shower” problem. This idea is photogenic because it creates a clean boundary line and reveals your new shower walls.
First, measure the shower opening width and height where the track will sit, accounting for any uneven walls. Remove the old curtain rod or door hardware and check the mounting surface is solid. Install the door track and hinges or sliding rails, then attach the door panels and test movement. Seal gaps at the bottom edge if the system includes a threshold strip, and adjust alignment so the door closes evenly.
Use a thin bead of clear sealant only where the system calls for it — too much sealant looks messy and can interfere with closing.
Skipping alignment adjustments — doors that rub or don’t close straight ruin the look quickly.
14. Soft, warm mirror lights with dimmer control for flattering bathroom photos
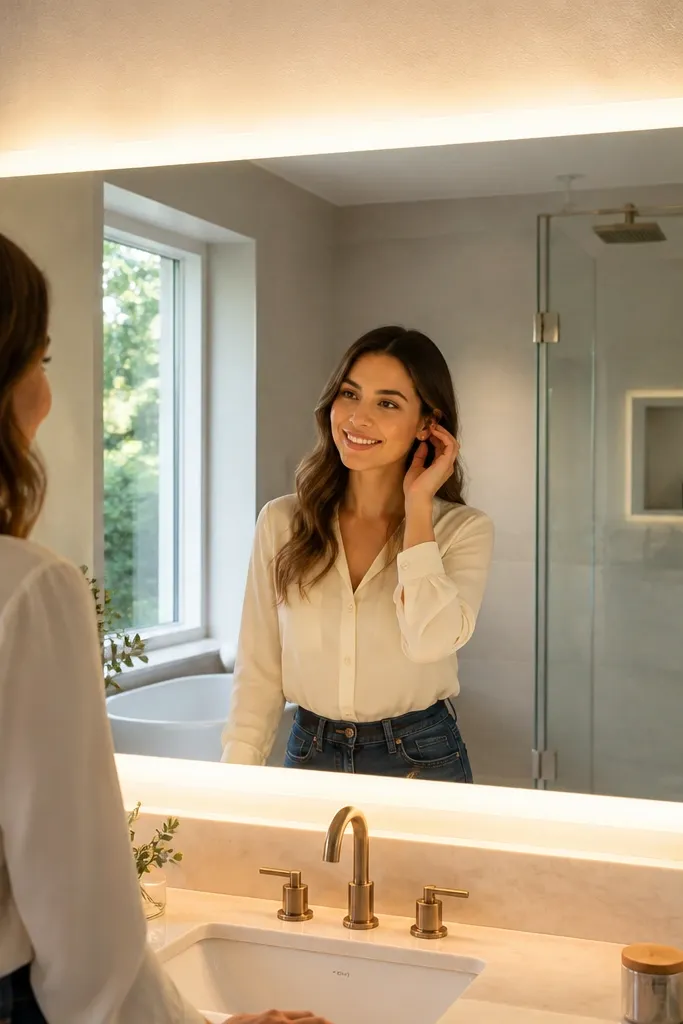
Lighting is the difference between “nice remodel” and “looks expensive.” Warm mirror lights around the vanity area make skin tones look normal and whites look clean instead of blue. A dimmer is the secret weapon for RV bathrooms because the space changes with time of day and battery power levels. Choose fixtures with diffusers so you don’t get harsh hotspots on the mirror. This upgrade is photogenic because it reduces glare and makes the whole wall look evenly lit.
First, pick a lighting color temperature around 2700K and confirm the fixture voltage matches your RV system. Turn off power and remove the old mirror light or vanity light. Mount the new light bars at the recommended height relative to the mirror centerline, then wire to the existing switch or add a dimmer if the circuit allows it. Test the full range from low to high before finalizing the trim and caulk.
Aim for even light distribution — if one side is brighter, photos look uneven even with perfect finishes.
Installing bright white bulbs that overpower warm walls and make everything look gray.
15. Seam-Smart Waterproof Accent Wall with Removable Trim Panels
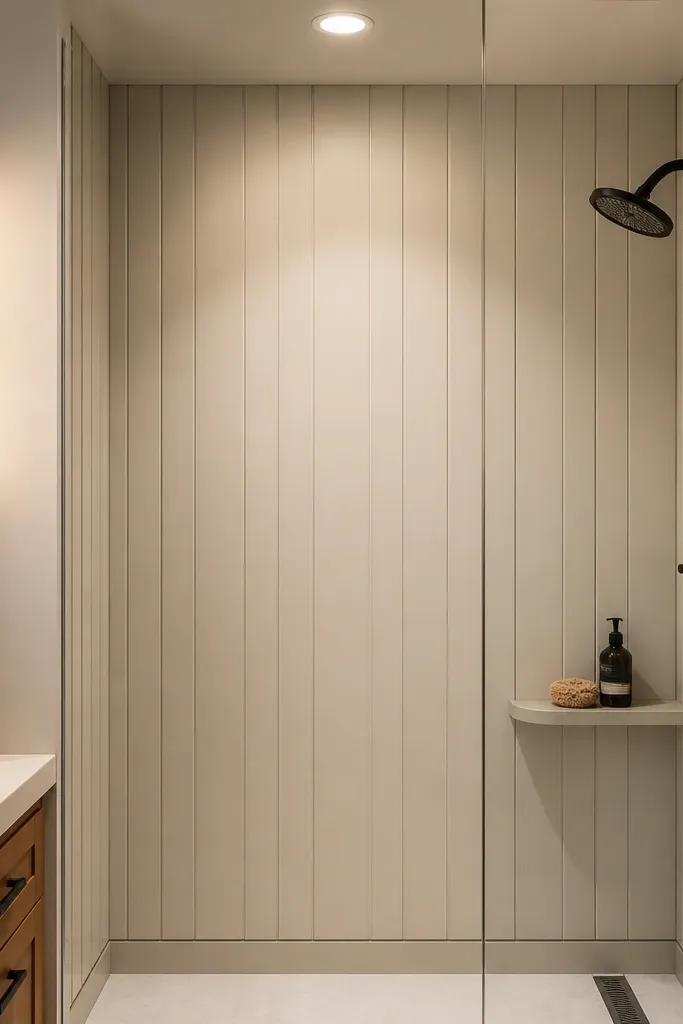
Step 1 — Pick your waterproof panel material and build the layout. Use 1/8 in to 1/4 in thick FRP (fiberglass reinforced plastic) sheets or PVC wet-wall panels for the accent area, and choose a trim that matches a clean profile like 3/4 in wide PVC trim with rounded corners. Measure the wall height and width, then dry-fit panels so vertical seams fall where you can hide them under trim. Plan for a 1/8 in gap at panel edges for expansion and to keep trim from trapping moisture. Step 2 — Install on sealed substrate. If your RV wall is not already smooth and solid, add a thin waterproof backer like cement board or a waterproof wall underlayment, then seal all joints with a wet-area sealant made for RVs and tubs. Apply a continuous bead of panel adhesive (not spot-only) along studs and at the perimeter, then press panels in place and weight them until the adhesive sets. Step 3 — Add removable trim and seal edges. Use screws only through the trim, not through the panel face, and bed the trim with a thin bead of bathroom-grade sealant; wipe squeeze-out clean. Caulk only the outer edge where the trim meets the RV wall — leave panel seams covered by trim so you don’t create a new crack line.
This is the one upgrade that makes an RV bathroom look intentional in photos, not patched. You cover the high-splash wall with a waterproof panel system, then frame it with removable trim so any future leak hunt stays simple. The look is crisp vertical lines with a matte finish that hides scuffs and water spots better than glossy coatings. It fixes the real RV problem — messy seams around plumbing and uneven wall surfaces — by letting you build a uniform face and keep edges protected. This suits year-round RV bathrooms where temperature swings make regular paint and caulk lines crack. The skill level is medium DIY: you need straight measuring and careful sealing, but the materials are designed for wet-wall installs.
Skip thisAvoid installing panels directly over loose wallpaper glue or peeling paint — the seam will fail long before the panel looks bad.
Editor's noteUse a chalk line to mark every trim location before you open the adhesive. Cleaner layout beats faster work with this kind of panel system.



