
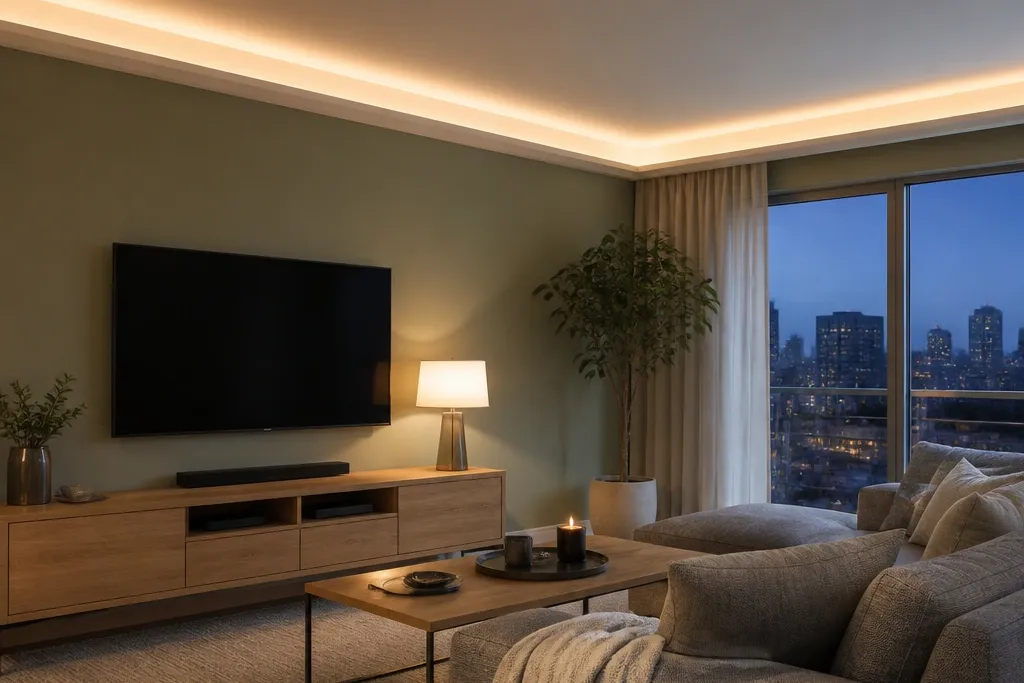
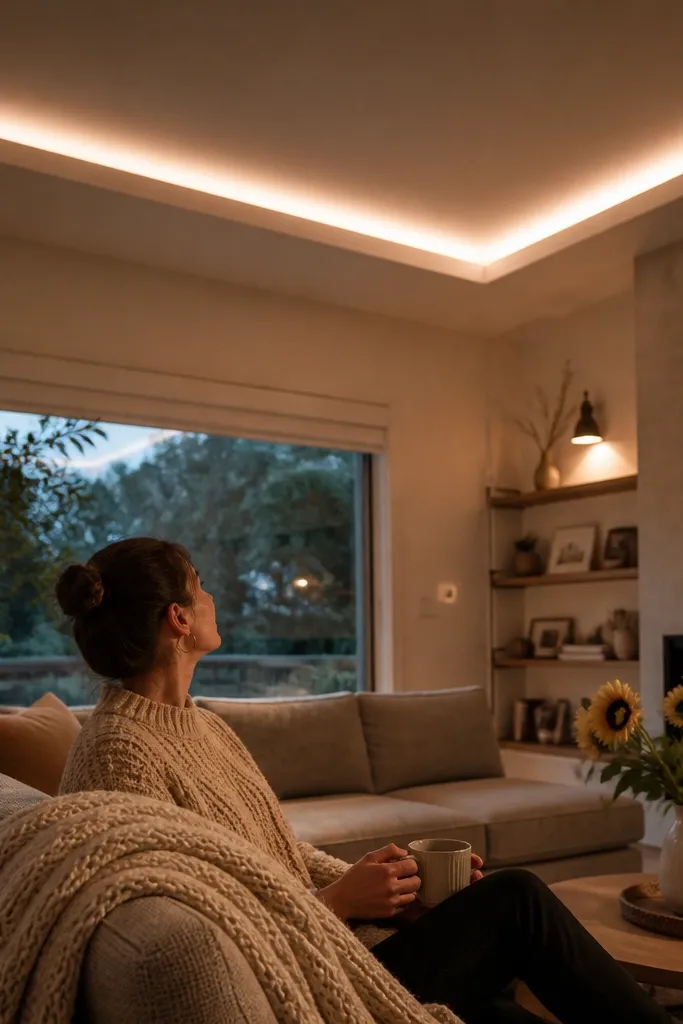
1. Perimeter cove with 45mm frosted diffuser
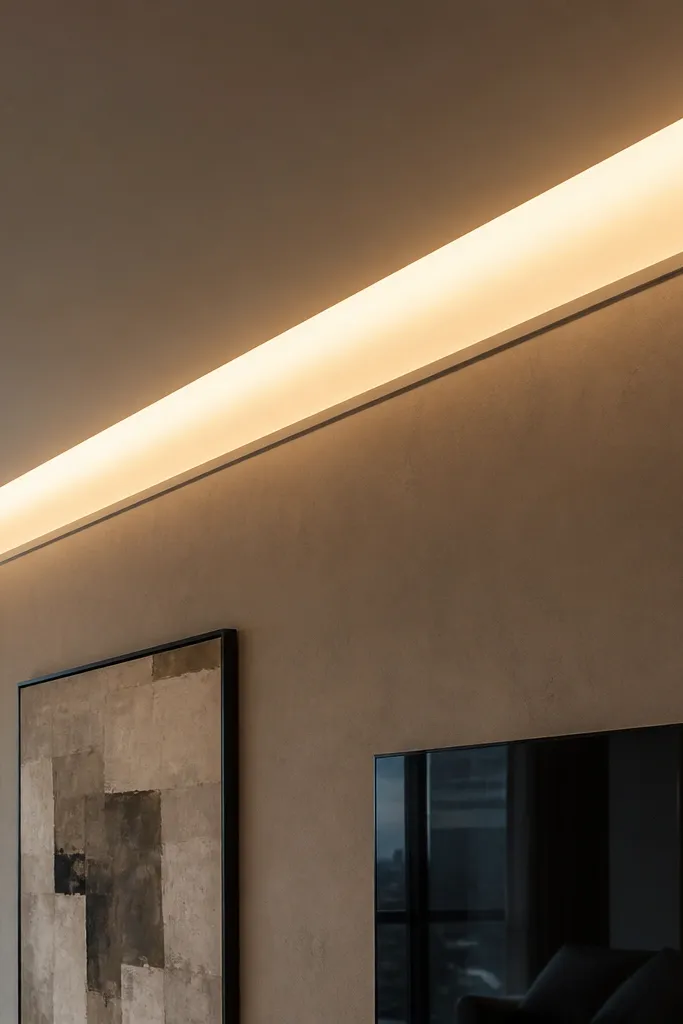
This is the safest option for year-round False Ceiling Living Room because it makes the whole room feel finished. A perimeter cove with a frosted diffuser hides the LED strip so you see a smooth ribbon of light, not point sources. The look flatters almost every wall color because the glow washes the upper wall without creating harsh shadows. Use this when you want calm ambience for everyday use and a clean background for photos and evening gatherings. It’s also friendly for DIY because the design is repeatable along every wall.
Start by marking a level line around the room at your chosen drop height, typically 70-120mm from the main ceiling. Install the main ceiling frame and then build a secondary cove box so the LED sits inside the cavity, not on the bottom face. Fit a frosted diffuser channel cover around 45mm wide so the light spreads evenly; keep the LED strip at a consistent distance from the diffuser. Wire the LED strip to an LED driver and include a small access hatch near the driver location before you close with boards. Finish with two coats of primer and paint so the cove edges look crisp under the glow.
Dry-fit the diffuser cover before painting so you can adjust the LED-to-diffuser gap and avoid bright hotspots.
Don’t mount the LED too close to the diffuser — if you do, you’ll see bright stripes instead of a smooth line.
2. TV wall soffit with a U-shaped hidden light frame
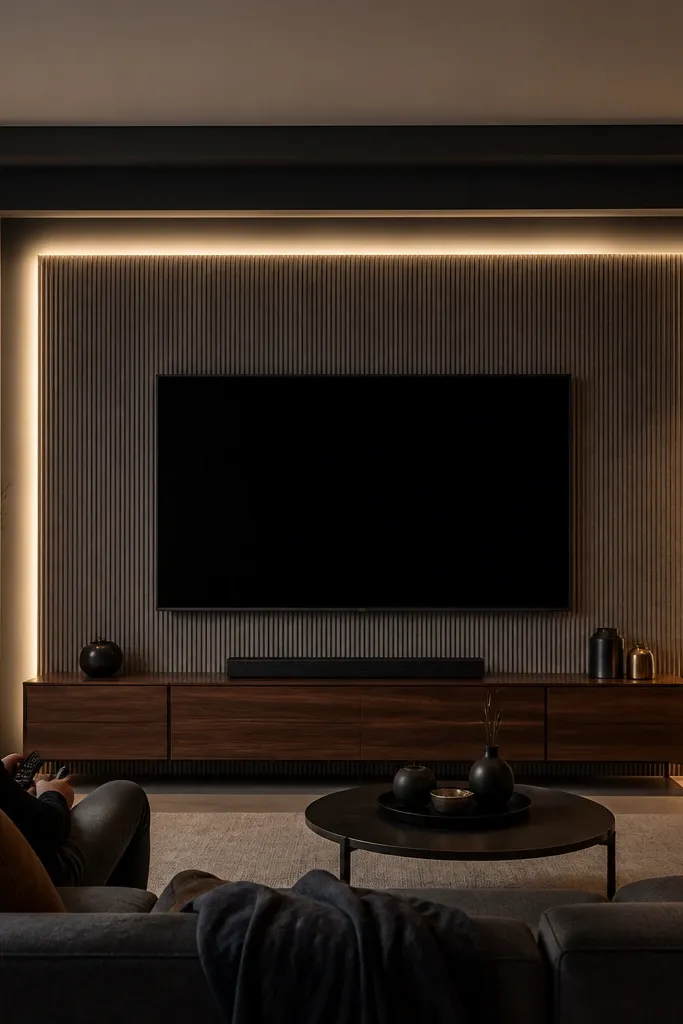
If your living room has a TV, framing it with a U-shaped soffit glow looks deliberate and modern. The light wraps the TV wall area and gives the screen a soft halo, which makes the room feel designed instead of random. This works especially well when your TV wall has texture or a feature panel, because the indirect light reveals the surface without glare. It also lets you control the brightness separately from the rest of the room if you wire it to its own dimmer. The geometry is photogenic because the glow line is a clean border around the focal point.
Start by measuring the TV wall width and decide the soffit drop, usually 90-140mm so it doesn’t feel heavy. Build a U-shaped frame on the ceiling plane above the TV niche, leaving a cavity for the LED strip and diffuser. Install the LED strip inside the cavity and cover it with a frosted diffuser or a channel with a light-baffle lip. Run the wiring back to a driver box near the side of the TV wall, not behind the TV. Patch, sand, and paint the soffit surfaces in matte white so the glow stays soft and doesn’t reflect too much.
Use a diffuser with a baffle lip (a small overhang) — it blocks direct LED visibility from the seating angle.
Don’t paint the inside cavity glossy — it turns indirect light into visible glare.
3. Two-level stepped ceiling with side cove lighting
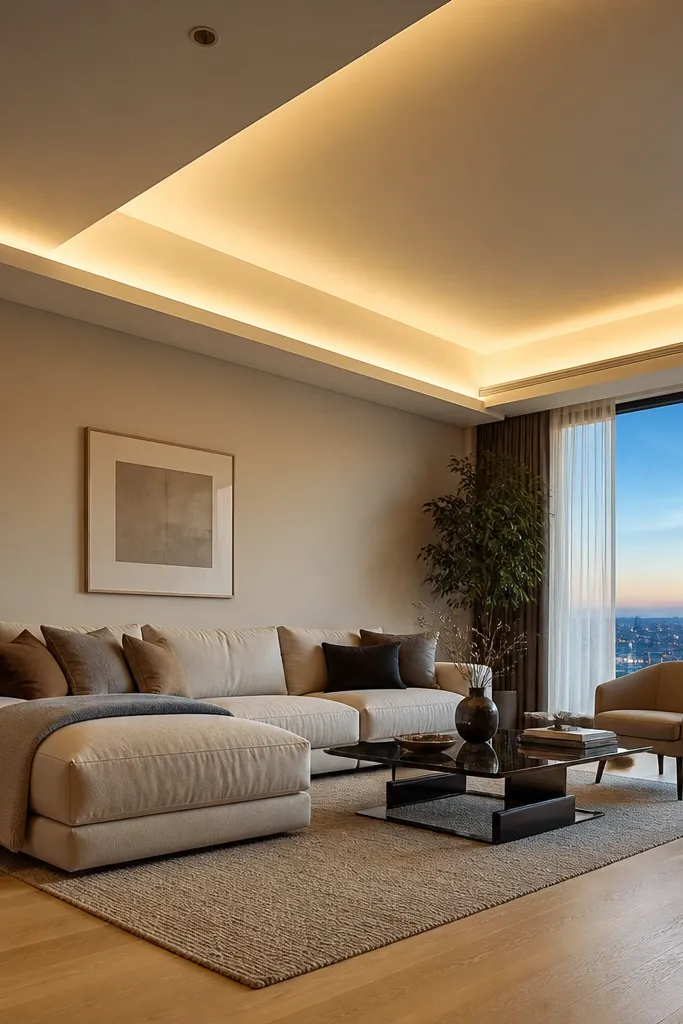
A two-level step gives you depth, and the side cove lighting makes it look intentional. The step creates a shadow line that separates ceiling planes, so the glow looks layered instead of flat. This is a great pick for year-round False Ceiling Living Room when you want a “designed” look without adding heavy beams. The light also helps hide minor ceiling imperfections because the glow draws attention to the planned lines. It’s photogenic from both wide shots and close angles because the step geometry catches light.
Editor's noteMark the step reveal width with painter’s tape before framing so your shadow line stays consistent across the room.
Start by choosing the main drop for the lower level, often 120-170mm, and keep the upper level higher to preserve room height. Build the upper perimeter first, then add the lower stepped soffit along one or two long walls. Place LED strips in the side cavity of the step and cover with a frosted diffuser so the viewing angle doesn’t reveal dots. Install a dimmable driver so you can dial brightness for daytime and evenings. Finish with matte paint and sharp corner edges using a putty knife and sanding block for clean lines.
Skip thisAvoid uneven step heights — even 5mm variation shows clearly under indirect light.
4. Recessed ceiling grid with concealed perimeter glow
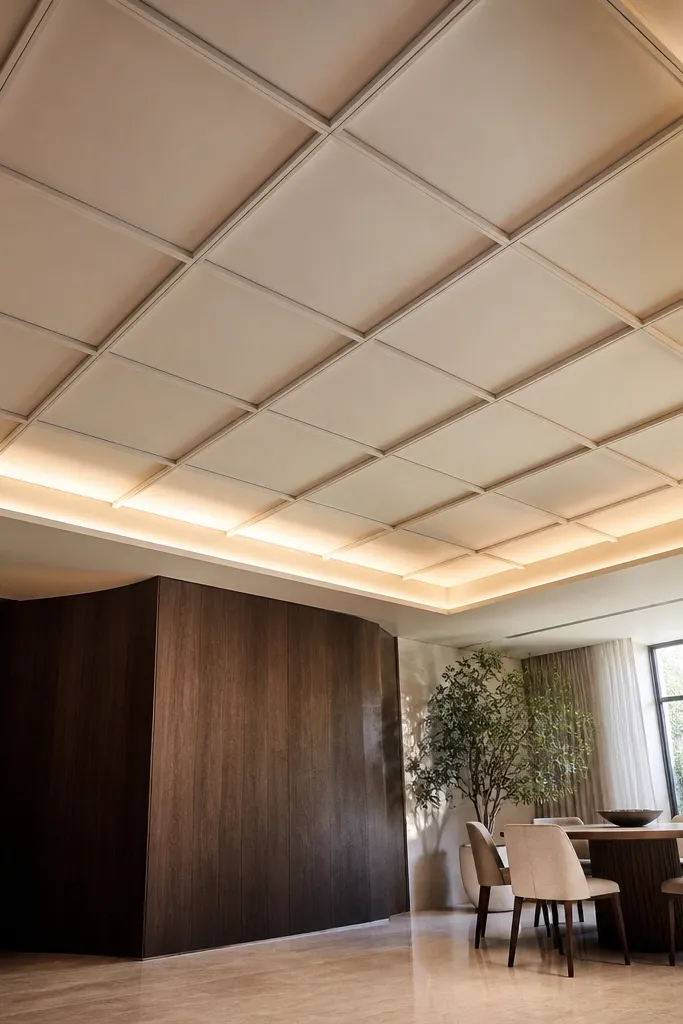
This idea mixes classic recessed ceiling panels with hidden perimeter glow, so you get texture and ambience without a complicated soffit. The recessed grid adds visual interest that still looks clean on camera, while the perimeter glow keeps the room warm and inviting. It works well when you want a living room that feels polished but not overly dramatic. The perimeter glow also helps unify wall colors and makes the ceiling feel higher. For a DIY-friendly build, the grid frames are repetitive, and the lighting stays simple at the edges.
Start by creating a perimeter cove channel first, using a diffuser so the light stays smooth. Then build a simple grid of recessed boxes using ceiling battens or metal sections, keeping box sizes consistent (example: 600x600mm or 500x500mm). Install the recessed panel boards and ensure the outer cove cavity has enough space for LED placement. Wire the LED strip to a driver and keep the driver accessible via a small panel near a corner. Prime and paint the entire ceiling, using matte paint on the board faces to prevent shiny reflections.
Keep the recessed panel edges slightly chamfered or rounded with putty — it softens the look under glow.
Don’t skip primer in the cove — unprimed board can look patchy when lit from the side.
5. Floating beam look using thin soffits and hidden LEDs
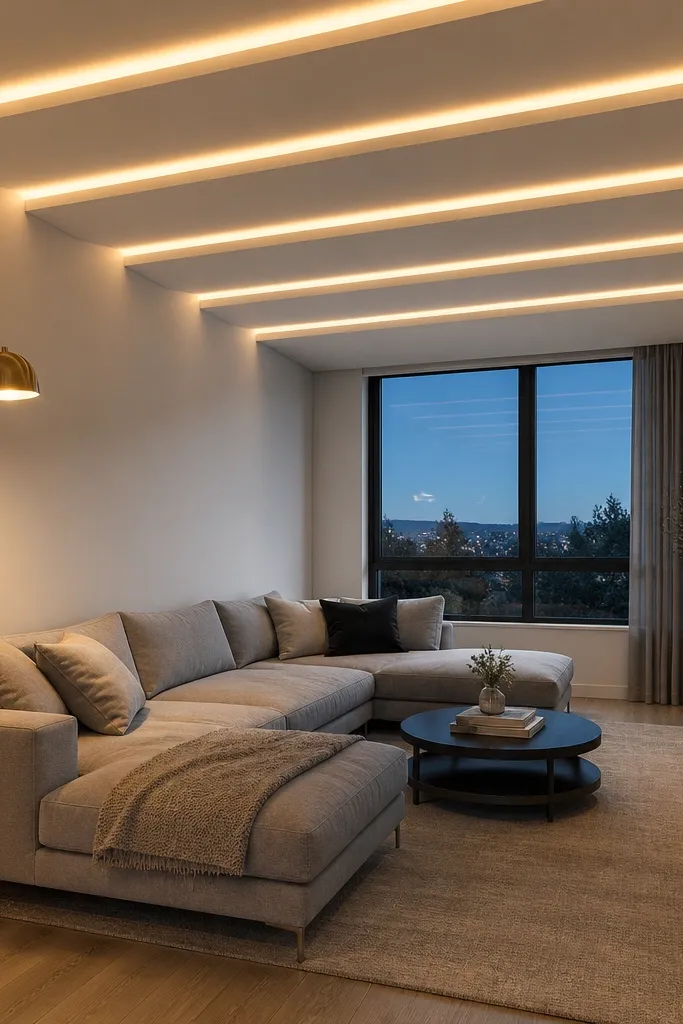
Floating beam styling makes the room feel architectural without installing real heavy beams. The trick is to use thin soffit strips with hidden LEDs tucked inside, so you see light lines rather than bulky structures. This looks sharp in modern living rooms, especially with neutral walls and light flooring. It also gives you a balanced ceiling composition because the beams guide the eye toward the seating area. For year-round False Ceiling Living Room, the glow stays consistent and the beams add structure across seasons and decor changes.
Editor's noteUse a laser level or long straight edge to align beam lines — misalignment ruins the “floating” effect.
Plan your beam layout before framing: space beams evenly, typically 600-900mm apart depending on ceiling width. Build thin soffit strips along the layout, leaving a cavity for the LED strip and diffuser cover. Install LED strips along the soffit length and fit a frosted diffuser that blocks direct LED visibility. Connect to a dimmable driver so you can shift the mood from bright daytime to warm evenings. Finish by sanding the soffit faces smooth and painting everything matte white or a soft warm off-white.
Skip thisDon’t make the soffits too thick — thick beams make the room feel lower under indirect light.
6. Corner cove glow with a soft L-shape wash
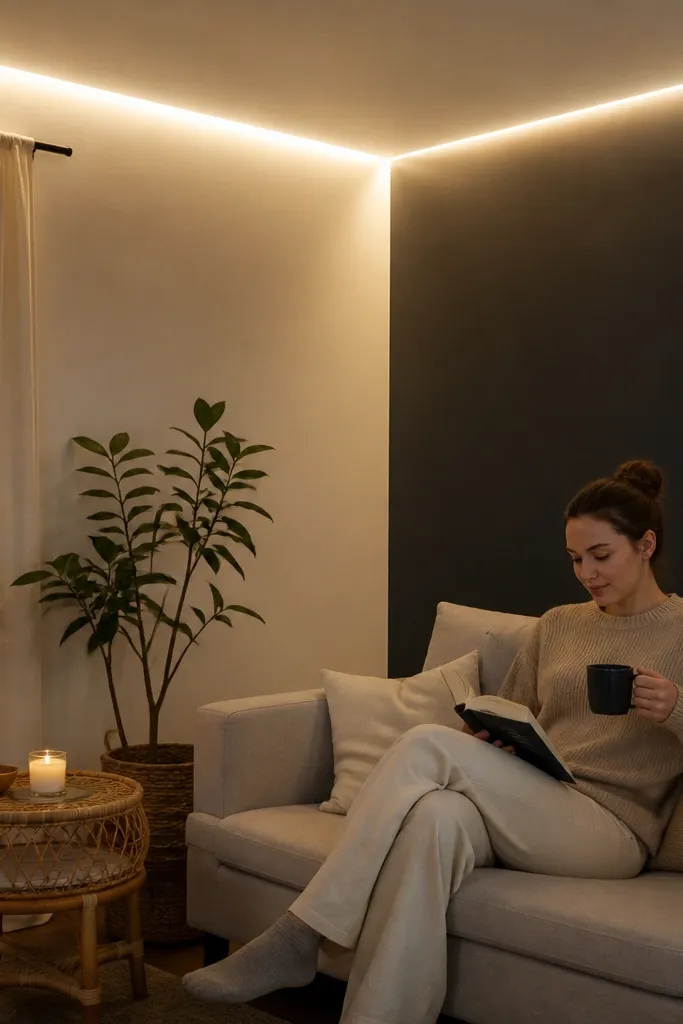
Not every living room needs full perimeter lighting. A corner cove glow in an L-shape gives you a designer look while keeping the build lighter and faster. The glow spreads across two walls, making the corner feel brighter and more intentional. This is a good choice for small living rooms or for apartments where you don’t want to drop the ceiling all around. It also works well behind a sofa or near a reading nook, where the corner glow frames the seating area. It’s photogenic because it creates a clean, diagonal light feel from the corner.
Editor's noteAim for a diffuser that creates a wider beam spread; it makes the corner wash smooth instead of patchy.
Start by choosing one major corner and marking an L-shaped cove line with a level. Build a cove box only along that L, keeping the drop shallow, around 80-110mm. Install LED strips inside the cove and use a frosted diffuser so the light spreads across the walls. Route wiring back to the nearest power point using concealed conduits in the ceiling cavity. Paint the cove interior matte and keep the diffuser edge neat for a crisp line.
Skip thisDon’t place LED too close to the corner edge — you’ll see a bright flare spot.
7. Ceiling wave cove with concealed LED strip
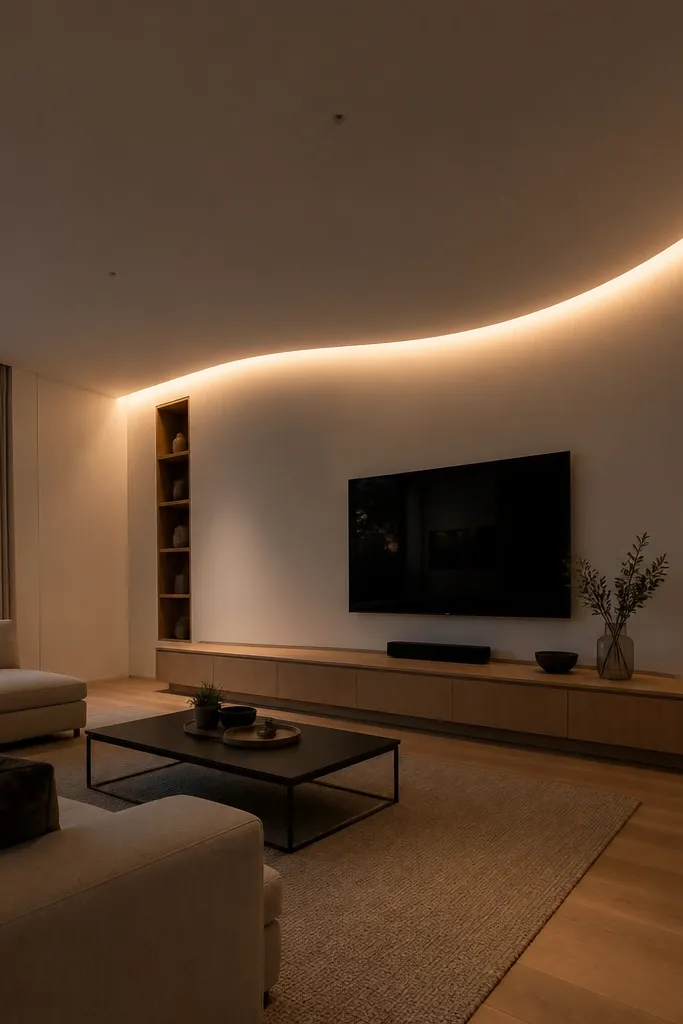
A wave cove turns a plain living room ceiling into something that looks custom. The indirect lighting follows the curve, so you get a soft, moving feel without using any flashy fixtures. This works best when your living room has smooth walls and minimal clutter, because the wave line becomes the visual anchor. It’s also a great way to hide small ceiling junctions since the curve disguises straight-line seams. For year-round False Ceiling Living Room, the wave glow stays flattering in both morning and evening lighting because it’s not harsh or spot-based.
Editor's noteUse thin boards for the wave lip so you get a tight curve without cracking.
Start by deciding the wave amplitude and frequency, like a gentle 300-500mm wave width so it doesn’t look busy. Build the wave frame using flexible metal sections or carefully cut battens, then attach boards for the cove lip. Install LED strips inside the wave cavity and cover them with a frosted diffuser that follows the curve. Run wiring to a driver box and add an access point before closing the final face. Sand and paint the wave surfaces matte so the glow reads as a smooth ribbon.
Skip thisAvoid sharp corners in the wave lip — they show as flickering highlights under moving shadows.
8. Mirror-sheen wall edge lighting using ceiling spill
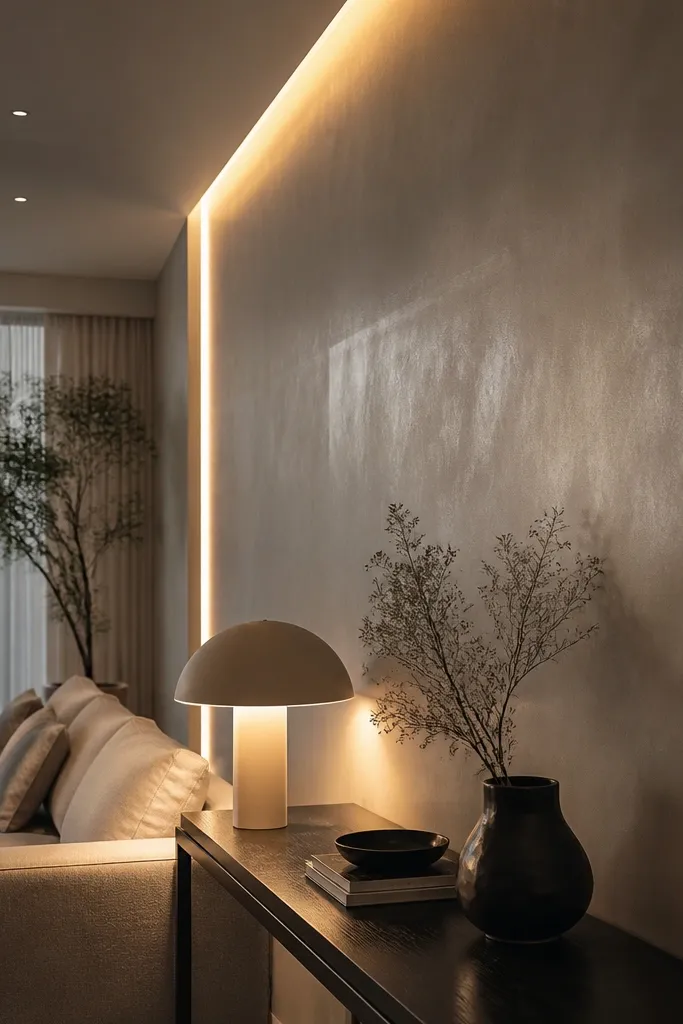
This is the “designer trick” for living rooms that feel flat. Instead of lighting the whole ceiling, you create a narrow glow band that travels down the wall edge, which makes the room feel bigger. It works especially well with light-colored walls and a slightly textured wall finish, because the light catches the texture softly. The ceiling still looks clean, and the glow looks intentional from the couch. For year-round False Ceiling Living Room, this method stays flattering even when your decor changes, since the light band is always consistent. It’s also budget-friendly because you’re focusing LEDs on one perimeter edge.
Editor's noteTest the glow with a temporary power connection before final paint — you’ll see if the band is too bright or too faint.
Start by choosing one wall edge to highlight and mark a narrow cove line, usually with a 60-90mm drop. Build the cove box along that edge and install LED strips into the cavity. Use a diffuser that creates a wider spread so the light forms a band on the wall rather than a bright line at the ceiling. Wire to a driver and keep the driver accessible behind an inspection panel. Paint the ceiling and cove lip matte, then test brightness by temporarily powering the LEDs before final paint touch-ups.
Skip thisDon’t aim LEDs too sharply at the wall; you’ll get a hot stripe instead of a soft band.
9. Pop-down ceiling panel with hidden perimeter LEDs
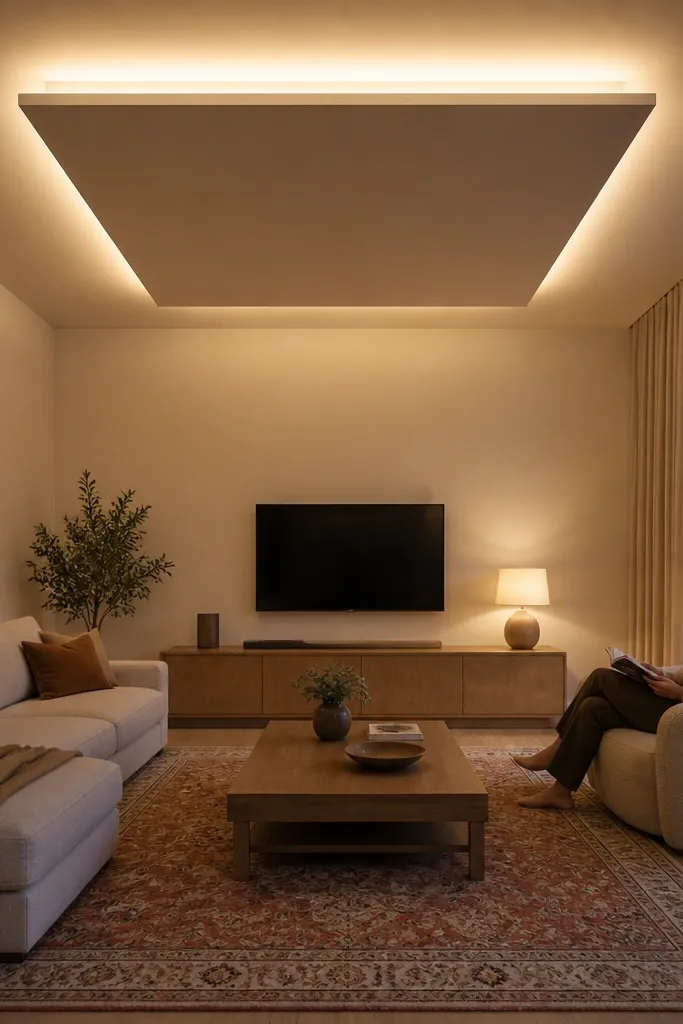
A pop-down ceiling panel is a clean way to add a focal glow without dropping the whole ceiling height. You create a central lowered section, then hide LEDs around its perimeter so the light spreads outward. This looks great in living rooms where the center ceiling is plain and you want a feature that still feels airy. It also pairs well with a modern chandelier-less design because the glow becomes the main “statement.” For year-round False Ceiling Living Room, the central glow keeps the room cozy during evenings and doesn’t overpower daytime light.
Editor's noteKeep the lowered panel edges crisp — sharp outlines make the glow look premium.
Start by measuring the room and choosing a central panel size, like 2.0x2.0m for medium rooms or 1.5x2.0m for smaller areas. Build a reduced drop area, typically 100-150mm, with a perimeter cavity for LED placement. Install LED strips around the cavity and cover with a frosted diffuser or a channel with a baffle lip. Route wiring to a driver located near an accessible corner or behind a small service hatch. Finish by sealing board joints with putty, sanding smooth, and painting matte white to prevent glare.
Skip thisAvoid oversized central panels in low rooms; it can make the ceiling feel lower than you want.
10. Kitchen-to-living open plan: split glow zones
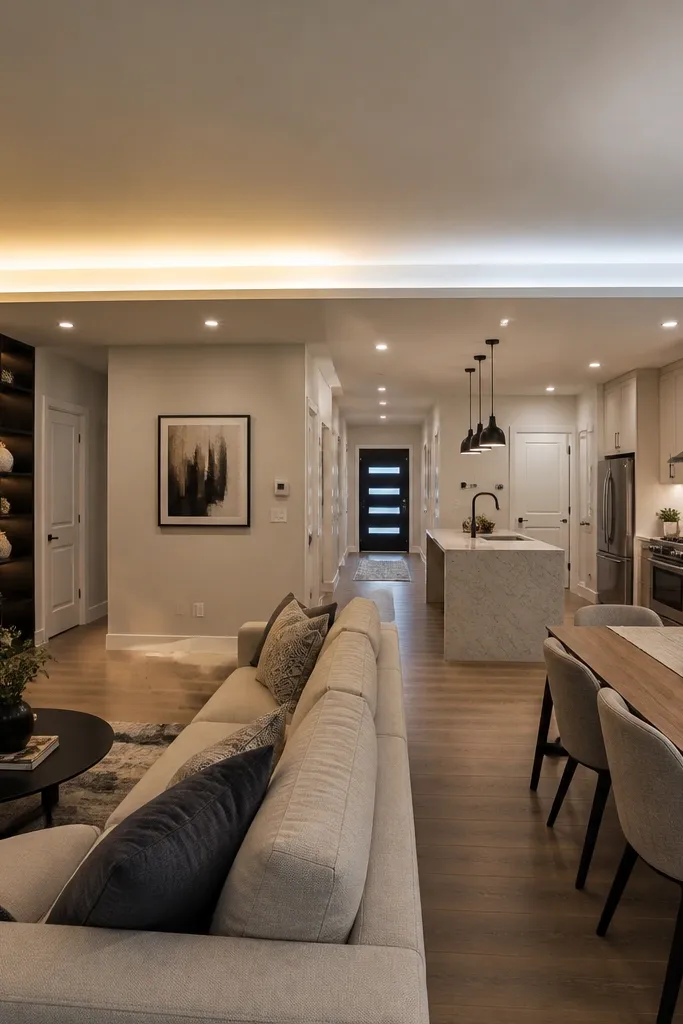
Open-plan living rooms need lighting control, not one continuous glow everywhere. Split glow zones let you set different moods for living seating and dining or kitchen adjacency, which matters year-round when you use the room differently. A false ceiling with two hidden lighting lines also looks stylish because the ceiling layout matches how people move. You get a clean boundary between zones without visual clutter. This is a smart choice if your living area is connected to dining and you want the living zone to feel softer at night.
Editor's noteLabel your wires and drivers before closing — it saves hours when you troubleshoot later.
Start by drawing a ceiling plan that separates zones with a line where the soffit changes height or shape. Build two perimeter coves or one perimeter plus one local soffit, each with its own LED strip and driver. Use warm white for the living zone and a neutral option for the dining zone if you want more clarity near the table. Install dimmers or separate switches so you can control each zone independently. Paint both ceiling levels matte and keep the diffuser widths consistent for a clean look across the boundary.
Skip thisDon’t wire both zones to one driver; you lose control and the glow ends up looking mismatched.
11. Hidden LED behind gypsum bead trim line
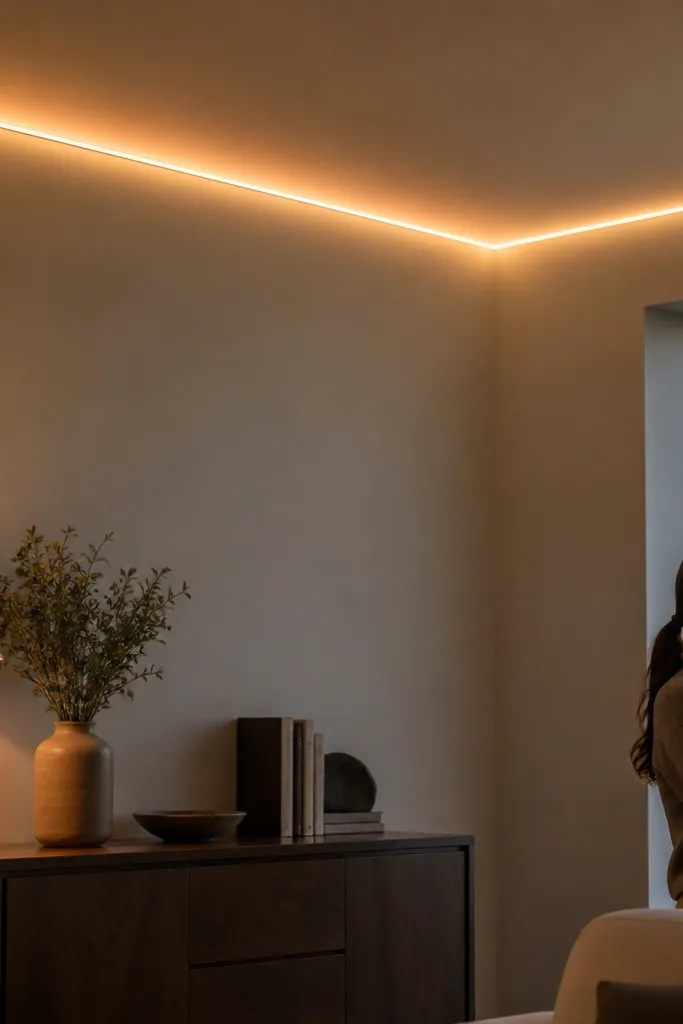
This one looks expensive because the light line is thin and clean, like a boutique hotel ceiling. You install a narrow gypsum bead trim or cove lip and hide the LED behind it so the glow appears as a delicate edge. It’s perfect for year-round False Ceiling Living Room when your ceilings are already low and you want minimal drop. The result is subtle but sharp, especially on light walls where the glow band reads as a design detail. This approach also hides wiring neatly along the trim line.
Start by deciding the trim line path, like along the top edge of the main wall or around a TV feature section. Frame a narrow cavity behind the bead trim, keeping drop height around 50-80mm so it doesn’t steal room height. Install LED strip inside the cavity and use a diffuser cover that matches the narrow channel width. Attach the bead trim boards on the face so the LED is fully blocked from direct view. Prime and paint the trim and ceiling matte, then run a test light-on before final touch-up.
Use a narrower LED strip width that matches the cavity, so the light stays even and doesn’t bleed out unevenly.
Avoid leaving any LED visible through gaps at corners — tiny leaks show up instantly under glow.
12. Wall washer cove for textured feature wall
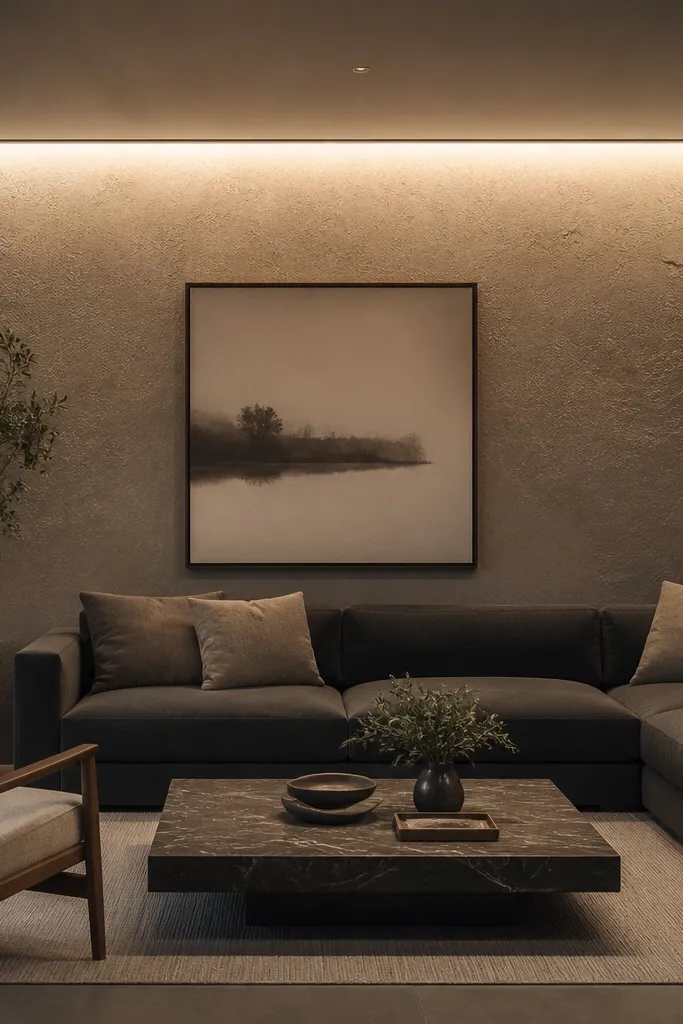
If your living room has a textured feature wall, you don’t want spotlights. A wall washer cove creates an even wash that makes texture look expensive instead of messy. The glow is wide and consistent, so patterns on the wall appear balanced rather than dotted. This works year-round because the light stays flattering in both bright daytime and evening ambience. The ceiling remains clean because LEDs are hidden behind a diffuser and the light spreads across the wall. It’s also excellent for hiding uneven paint or minor texture imperfections.
Editor's noteAim for a diffuser that creates a wide beam spread (not a narrow spotlight lens) for texture walls.
Start by measuring the feature wall height and choose a cove that positions the LED strip to wash from top down. Build a cove on the ceiling near that wall, with a drop around 90-140mm and enough depth for a diffuser. Install LEDs at a distance that gives even coverage, then fit a frosted diffuser or a specialized lens diffuser. Wire to a driver and keep the driver accessible through an inspection hatch. After painting matte, turn on the LEDs and check the wall wash at seating height; adjust diffuser choice if you see hot spots.
Skip thisDon’t use bare LED strips for wall washing — you’ll get visible bright dots.
13. LED halo around ceiling recess for a chandelier-free look
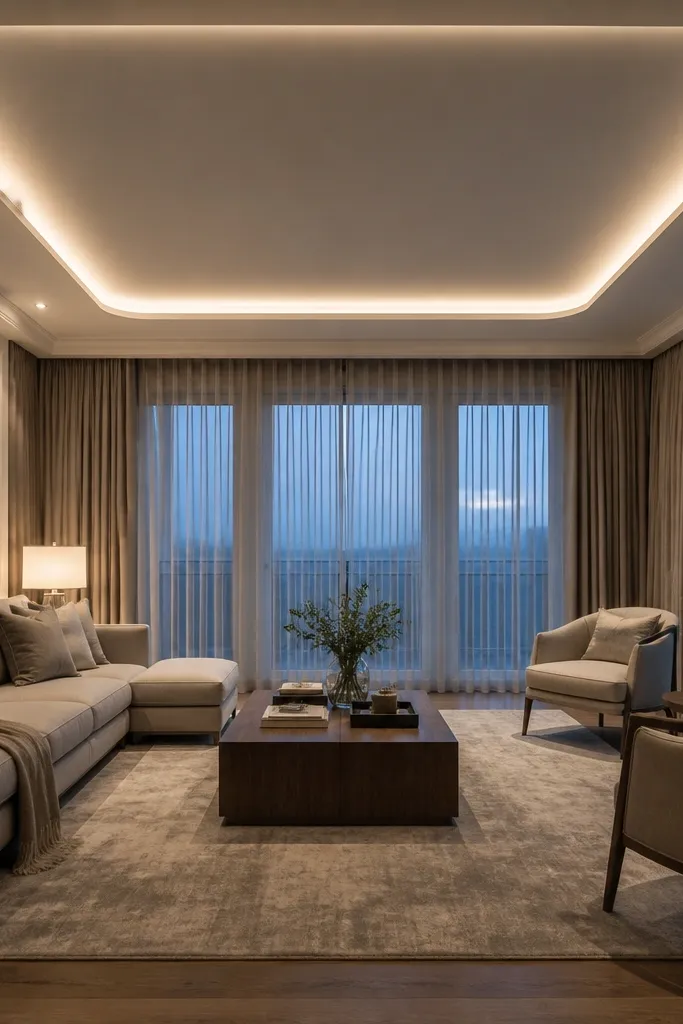
A halo around a central ceiling recess gives you the “ceiling jewelry” effect without installing a chandelier. It’s a clean, modern look that makes the center of the room feel intentional. The hidden lighting also helps balance the room so corners don’t feel dim. This works well when you want year-round False Ceiling Living Room comfort but you hate the glare or dust of hanging fixtures. It’s photogenic because the circular glow reads clearly in wide shots and looks soft in evening lighting.
Editor's noteUse a dimmer so the halo can be bright for hosting and softer for winding down.
Start by marking a circular or octagonal recess area on the ceiling, like 700-1000mm diameter depending on room size. Frame the recess drop, typically 70-120mm, leaving a cavity for LED placement around the recess edge. Install LED strip around the perimeter and cover with a frosted diffuser that blocks direct visibility. Route wiring to a driver box near an access panel and keep the cable tidy with clips. Finish by sealing seams, sanding smooth, and painting matte white so the halo edge stays crisp.
Skip thisAvoid glossy paint on the recess face — it creates a harsh bright ring instead of a soft halo.
14. Symmetrical corner coves with seating-side glow
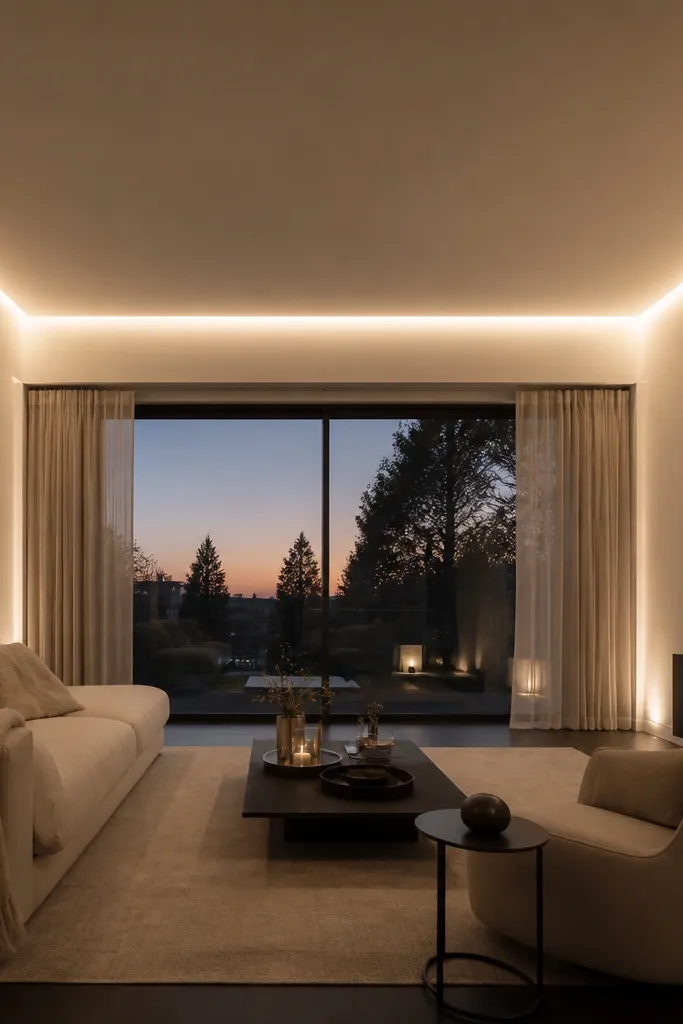
Symmetrical corner coves look balanced and make the seating area feel wrapped in light. Instead of one perimeter line, you build two coves on opposite corners (or the two corners facing the sofa), so the glow frames where people sit. This is a smart year-round False Ceiling Living Room option when the room has one strong seating wall and you want the light to support it. The symmetry reads well in photos and gives you an easy way to hide LED runs without overbuilding the ceiling. It’s also a good choice if you have one side of the room that you want to keep visually calmer.
Editor's noteUse the same LED strip batch and diffuser type for both coves so color and diffusion match across the room.
Start by marking two ceiling corners for coves and measure the cove length so both sides match within 5mm. Build the cove boxes with a shallow drop, about 80-120mm, and ensure the LED cavity is deep enough for a diffuser cover. Install LED strips along both coves and connect each to its own driver or a shared dimmer depending on your control preference. Run wiring back to a driver location accessible through the ceiling’s nearest service gap. Paint the cove faces matte and keep the diffuser edges aligned so the glow lines look straight.
Skip thisDon’t mix diffuser thicknesses between corners — the glow width will look uneven immediately.
15. Perimeter cove plus cross soffit for a clean modern frame
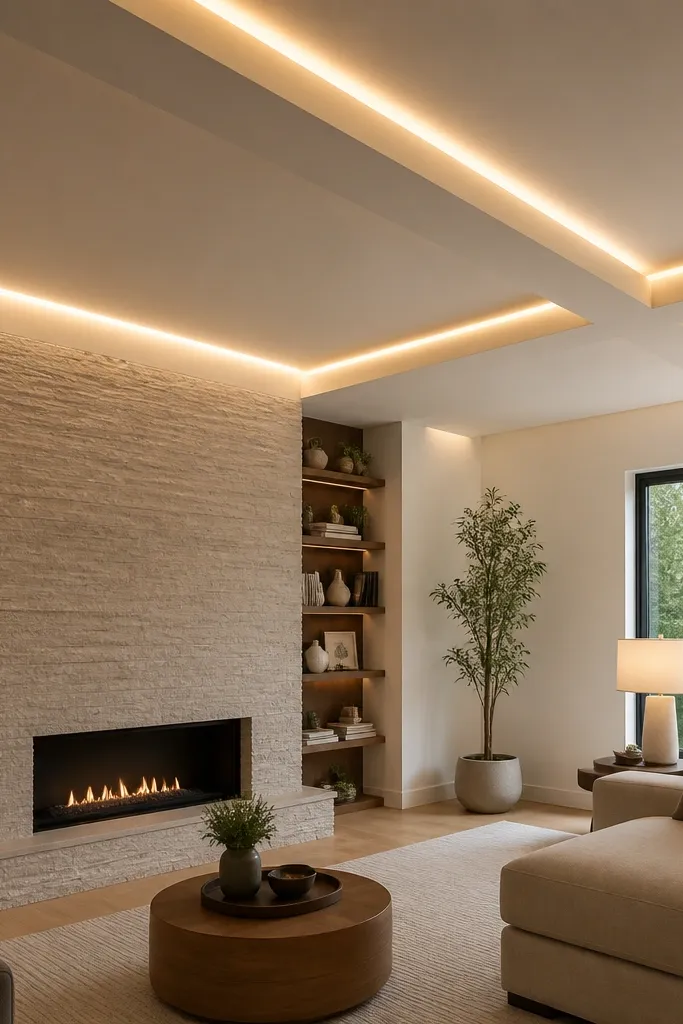
This is the “modern frame” look: perimeter cove glow gives the room warmth, and a cross soffit adds structure so the ceiling doesn’t feel plain. The cross soffit breaks up the ceiling into sections, and hidden LEDs in the cross line create a second layer of light that looks intentional. It’s a strong option for year-round False Ceiling Living Room because it keeps the ambience consistent while giving you a more premium ceiling design. This works best in rectangular rooms where a cross line helps balance proportions. It also photographs well because you get two intersecting glow lines with clean geometry.
Editor's noteCheck alignment by sighting from the doorway — cross soffits expose crooked framing faster than perimeter-only designs.
Start with a full perimeter cove using a frosted diffuser and matte paint. Then add a cross soffit in the middle of the room, typically 300-600mm wide, with a cavity for LED strips along the top edge. Keep the cross soffit drop slightly deeper than the perimeter so the layers show clearly. Install LED strips in both the perimeter and cross cavities, and wire each to a dimmer or separate switch if you want control. Patch joints, sand smooth, and paint so the glow edges stay sharp and uniform.
Skip thisAvoid wide cross soffits in small rooms; the ceiling can feel visually crowded under indirect light.



