
1. Tall Picture-Frame Panels in Soft White
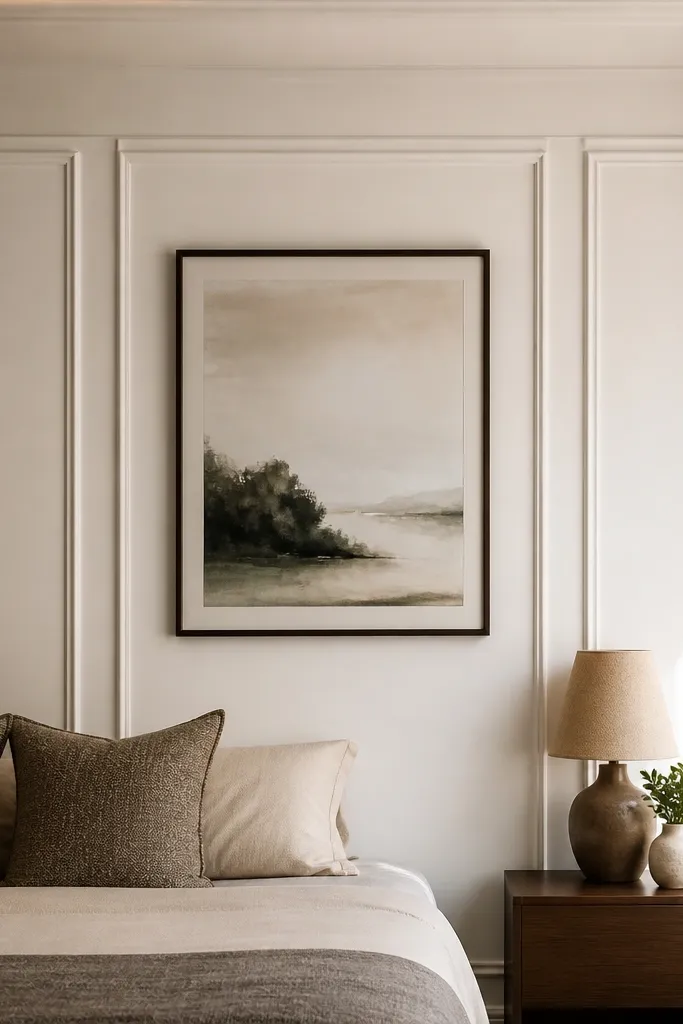
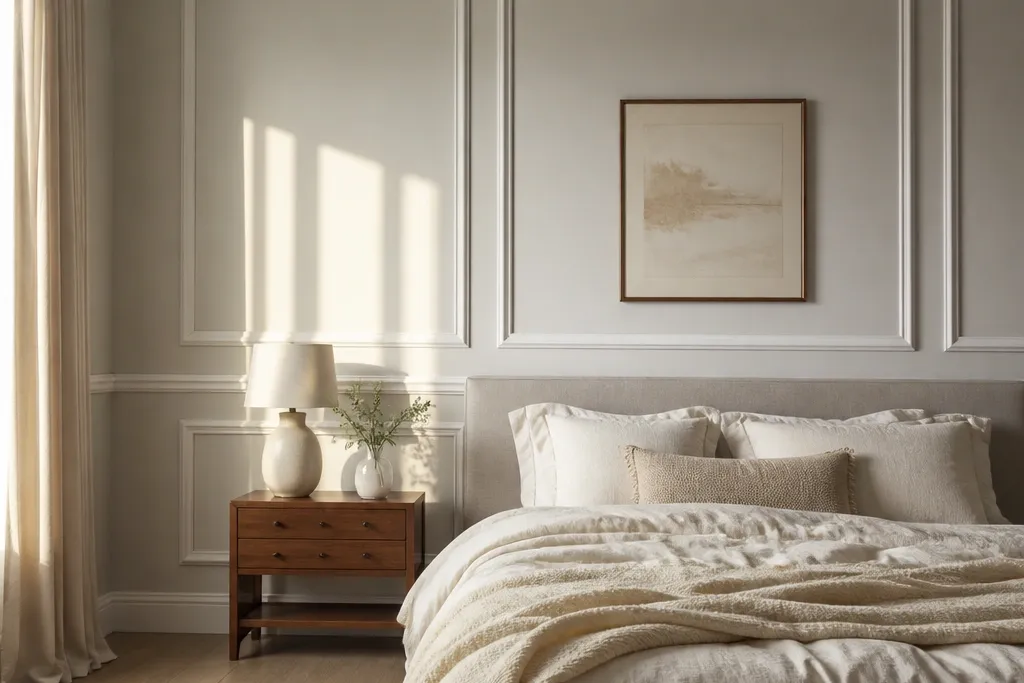
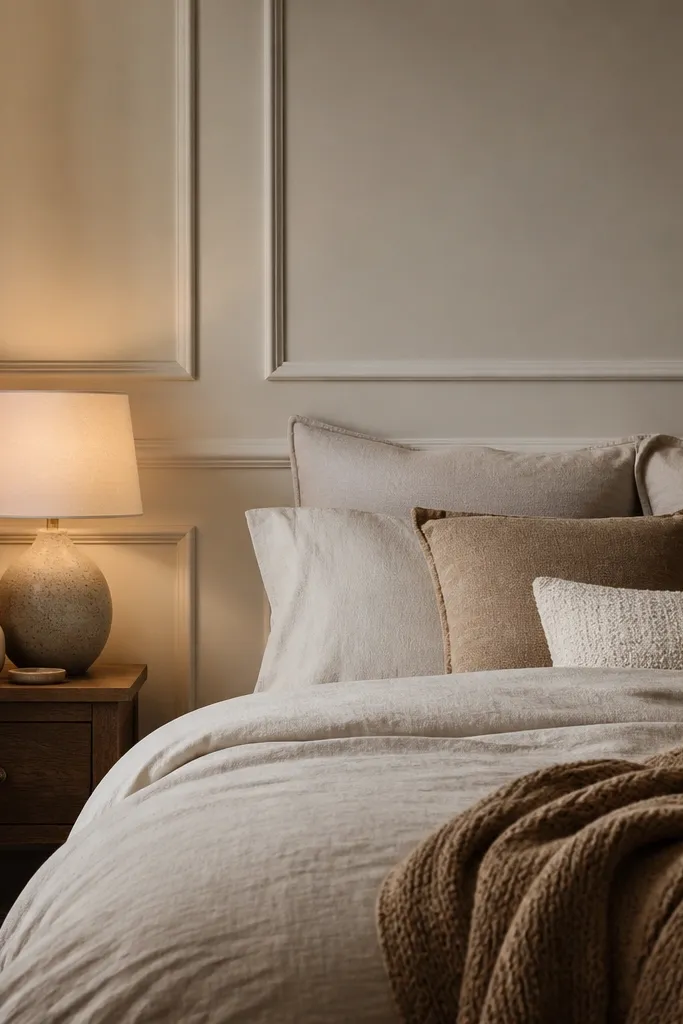
This look turns a plain bedroom wall into a gallery wall without adding shelves. Tall panels make the ceiling feel higher because the vertical rails pull the eye up, and the framed recess hides small wall imperfections. Use a crisp soft white on the moulding and a slightly warmer white on the wall so the shadow line shows in both bright summer light and dim winter evenings. It’s photogenic because each panel reads as a clean rectangle with a consistent gap and a neat outer border.
Editor's noteDry-fit the layout with painter’s tape and step back from 6-8 ft to confirm the panel widths before you cut anything.
1) Measure the wall height and mark a top and bottom border line first, keeping the outer frame centered on the wall. A practical starting layout is a 3-4 panel stack with equal vertical spacing; keep each panel width between 12-20 in for a balanced look. 2) Install the outer border and vertical rails, then add horizontal rails to close each panel. Use 2-1/2 in finish nails or a brad nailer and wood glue for MDF, and run a thin bead of paintable caulk at every seam before priming.
Skip thisDon’t vary the panel widths — one “odd” panel makes the whole wall look DIY-rushed.
2. Modern Chair-Rail with a Wider Upper Cap
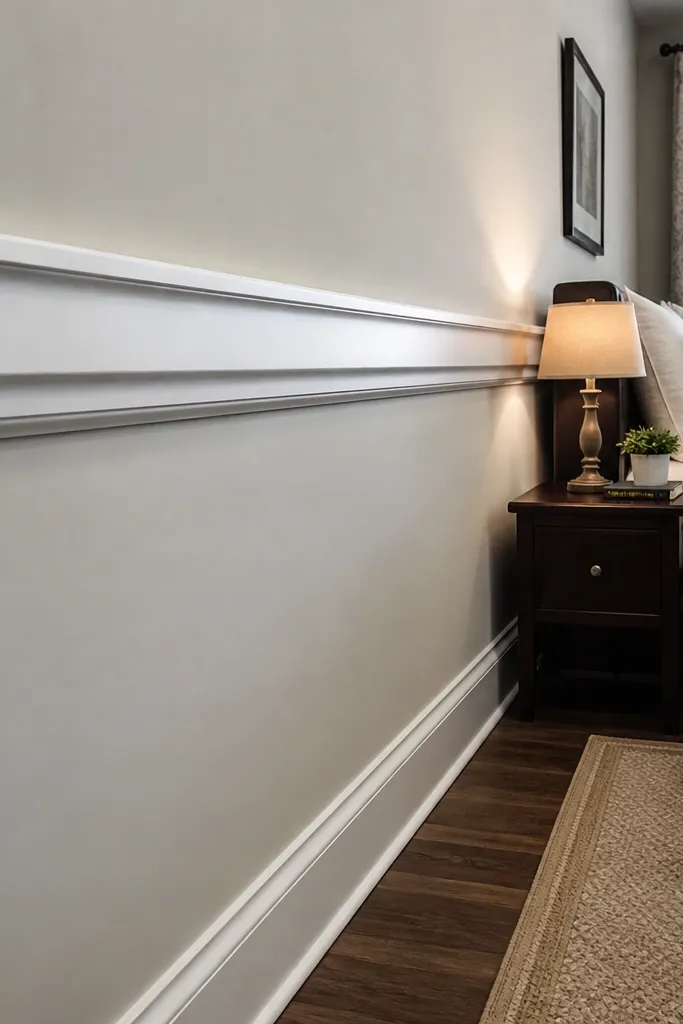
Chair-rail moulding gets a modern upgrade when the top cap is wider than the rail below. That proportion gives you a clean band that reads intentional in photos, and it breaks up a long wall without turning it into a busy grid. In bedrooms, it also helps you style around the wall: nightstand lamps sit under the upper zone, while bedding and art sit above or within the framed area. The result is a finished look that doesn’t fight with changing decor.
Editor's noteUse a backer board line when possible so the bottom edge stays straight even if the wall has a slight wave.
1) Pick a chair-rail profile around 1/2 in thick and a cap around 3/4 in, then decide your height — 35-38 in from the floor to the top of the chair-rail is a solid starting point for most bedrooms. 2) Level the rail line with a laser, install the upper cap first, then the chair-rail underneath. Caulk the top edges, fill nail holes, prime, and paint with a trim paint in a satin or semi-gloss finish.
Skip thisSkip “eyeballing” the height — a chair-rail that’s off by 1/2 in shows instantly in side lighting.
3. Coffered Panels on One Accent Wall
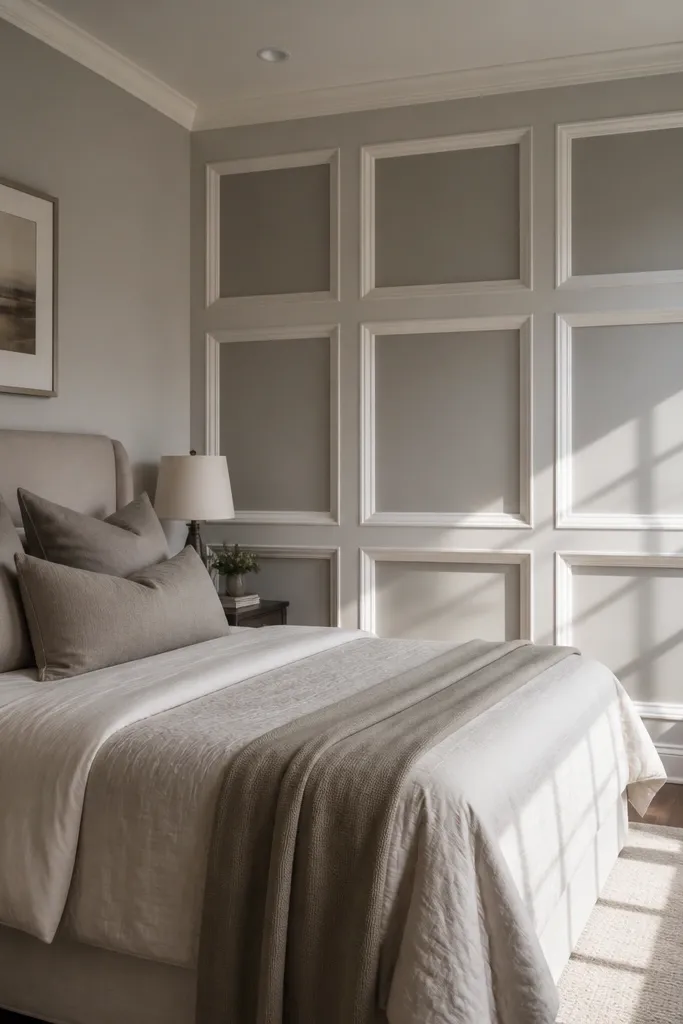
Coffered moulding looks dramatic, but doing it on one wall keeps it from overwhelming the room. Large recessed boxes create depth you can photograph from different angles, and the shadow lines stay visible even when your bedding changes color. This is the moulding idea that makes a bedroom look “architect-designed” because the scale is big and the grid stays clean. Keep the finish smooth and the paint color consistent so the recesses read as crisp geometry.
Editor's noteMark every rail intersection with a small pencil tick before cutting miters; it saves you from alignment drift.
1) Choose a single wall and plan a grid with 2-3 rows of boxes, keeping each box size roughly 18-30 in depending on wall dimensions. Install a perimeter frame, then add vertical and horizontal rails to create the box edges. 2) Cut and install the inner spacers (or the moulding returns) so the recess depth is consistent; aim for a 1/4-1/2 in shadow gap. Prime and paint in two coats, letting the first coat dry fully before the final coat so edges stay sharp.
Skip thisDon’t use tiny coffer sizes — small grids look fussy and hide wall flaws instead of covering them.
4. Single-Line Border Frame Around the Bed Wall
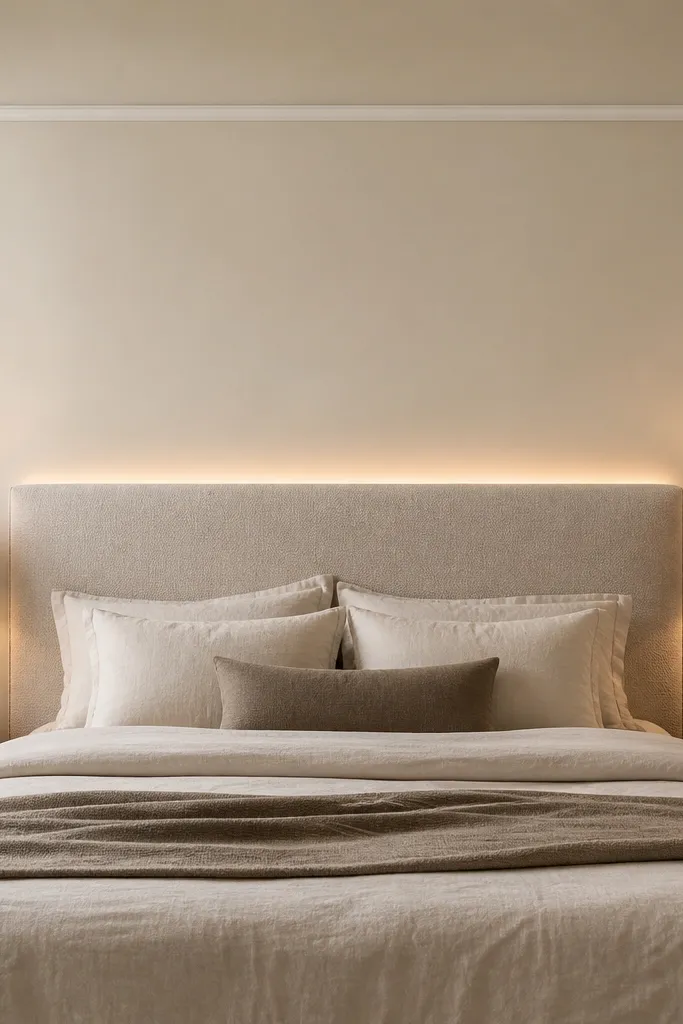
If you want moulding that looks polished but doesn’t eat your weekend, this is the move. A single border frame around the headboard wall defines the space and gives your bed an instant “anchor,” which looks great in photos. The slim profile creates a refined shadow without making the room feel busy. This also works when you rent or can’t redo the whole room — the visual payoff is big for a small build.
Editor's noteUse a mitre saw stop block to repeat cut lengths and keep corner heights identical.
1) Decide your outer rectangle dimensions by measuring the wall area behind the headboard and leaving 4-8 in clearance around the top and sides of the bed. Install the border using pre-primed MDF casing or a 1/2 in flat profile, mitering corners cleanly. 2) Add corner blocks or simple miters, then caulk seams, fill nail holes, and prime. Paint the moulding the same color as the trim in the room or choose a slightly brighter white to make the shadow line pop.
Skip thisDon’t place the border too close to the bed — the frame should read as intentional, not cramped.
5. Wainscoting-Style Panels with a Top Rail
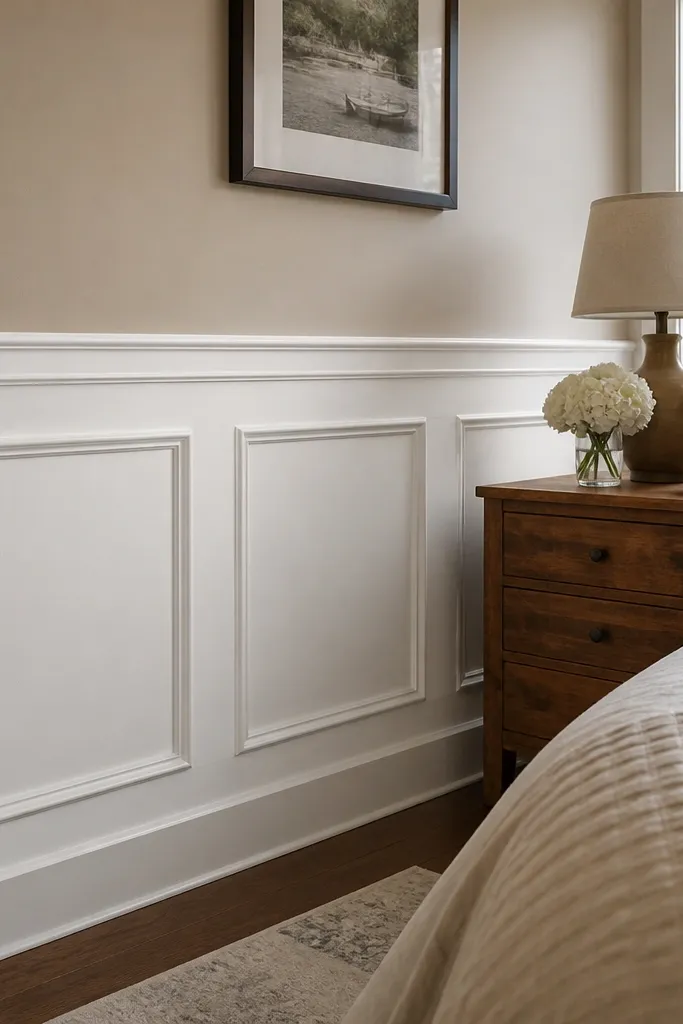
Wainscoting in a bedroom looks formal in the best way, especially when you keep the panel lines simple. The bottom zone hides scuffs and makes the wall feel grounded, while the top rail gives your eye a stopping point before it hits art or a headboard. For year-round style, it’s forgiving with decor because the moulding creates structure even when you swap bedding colors. Keep panels larger rather than tiny to keep it modern.
Editor's noteUse a 1/8 in consistent reveal for the panel recess so the shadows stay even.
1) Choose a top rail height around 42-48 in and a panel height around 16-24 in, then lay out one or two large panels per wall section. Install the bottom rail first, then the stiles (verticals), then the rails that form each panel. 2) Use MDF panels or cut moulding to create the recessed face, then caulk all edges and fill nail holes. Prime and paint with a trim finish; satin looks clean and doesn’t show every brush mark.
Skip thisDon’t skip primer — raw MDF edges drink paint and look blotchy under strong light.
6. Herringbone Moulding Accent Stripe
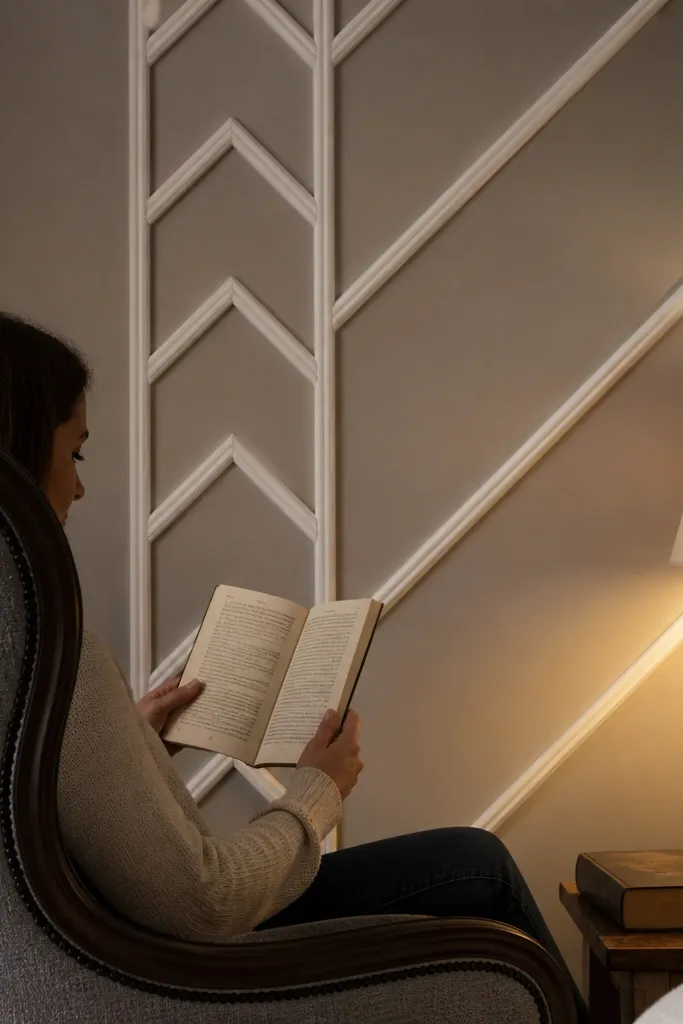
This is the most “photo-ready” option because the pattern creates texture you can see from across the room. A narrow herringbone stripe on one wall adds movement without covering the whole space. It works especially well behind a reading chair or on the side wall near a lamp where angled light will catch the pattern. Keep the stripe narrow and the rest of the wall simple so the moulding stays the star.
Editor's notePre-paint the strips before install if you can — it reduces brush marks in the recess lines.
1) Pick a stripe width between 6-10 in and use thin moulding strips around 1/4 in thick. Mark a centerline, then layout the herringbone angle (commonly 45 degrees) with painter’s tape before cutting. 2) Install the strips from the center outward, using construction adhesive plus brad nails for each segment. Caulk along every seam, then prime and paint; two thin coats beat one thick coat for clean edges.
Skip thisAvoid using thick, wide strips — the pattern loses definition and looks chunky.
7. Floating Shelf Moulding Ledge Without Shelves
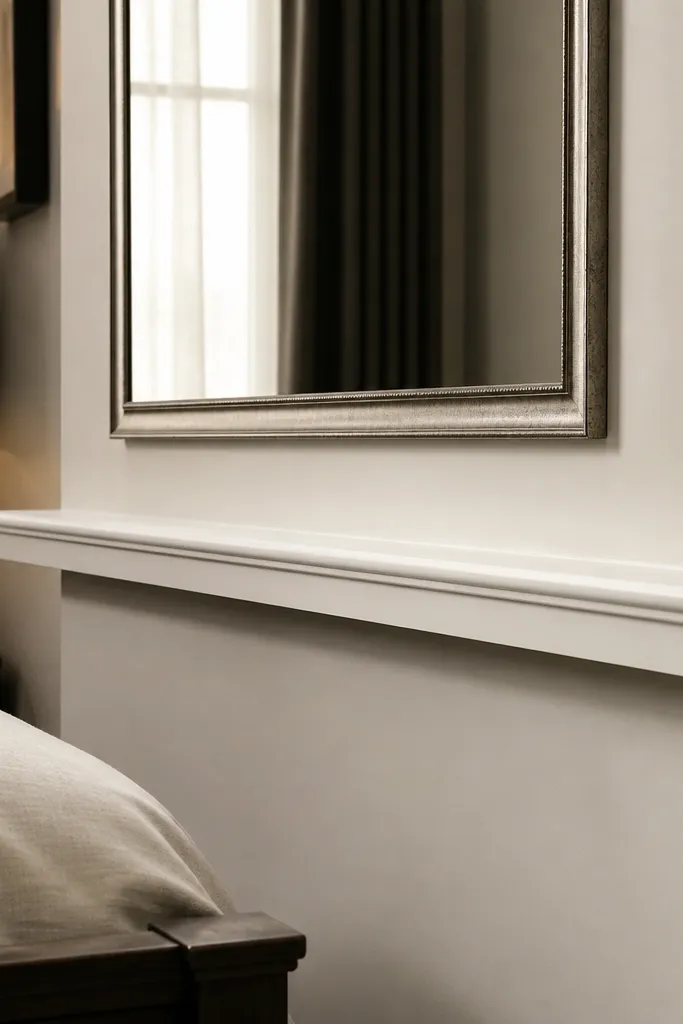
This gives you the look of architectural shelving without the clutter. The trick is a projecting moulding ledge with a visible shadow gap below, so your wall reads layered and intentional. In a bedroom, it frames wall art or a mirror and gives you a “floating” feel that stays good with any season because it doesn’t rely on decor. It’s also practical — dust collects less on flat ledges when you keep it as a thin shadow recess rather than a deep shelf.
1) Choose a ledge profile that projects 3/4-1 in from the wall and add a slim undercut piece to create a 1/4 in shadow gap. Mark a level line at your chosen height (often 55-62 in from the floor to the top of the ledge) and install the top ledge first. 2) Install the underside strip to create the gap, then fill nail holes, caulk the edges, and prime. Paint with a smooth trim finish so the underside edge stays crisp.
Use painter’s tape as a temporary spacer to hold the shadow gap while the adhesive cures.
Don’t make the gap too small — if the shadow is under 1/8 in, it reads like a single flat strip.
8. Greek Key Border for a Modern Heritage Look
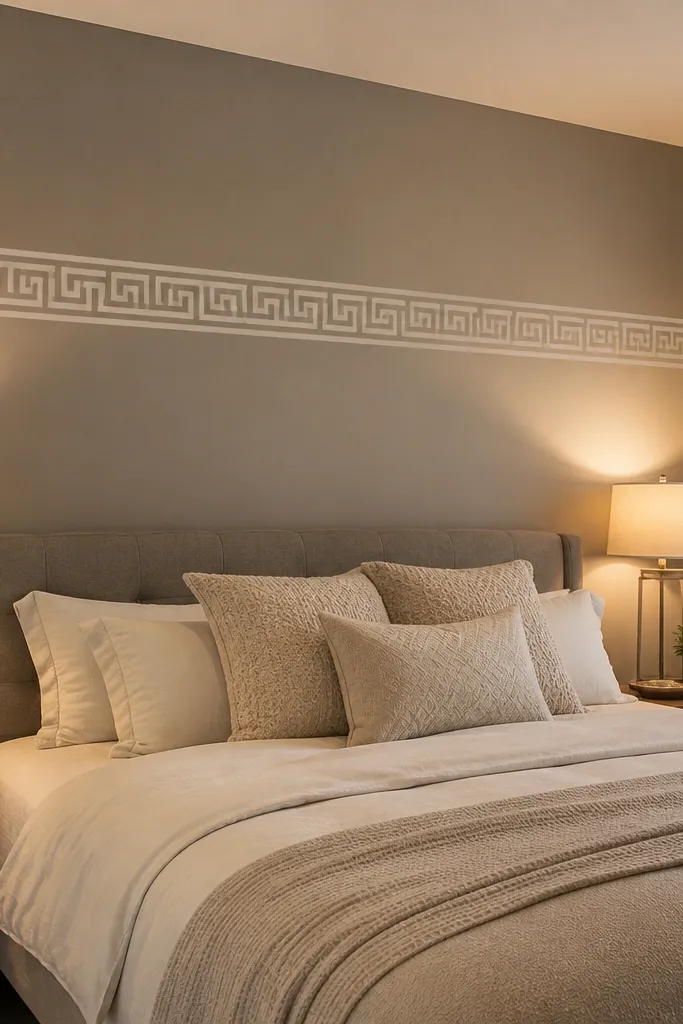
A Greek key border feels bold, but it works in bedrooms when you keep it to a single band. The repeating pattern creates strong visual rhythm in pictures, and it hides minor wall irregularities because the design is already structured. Place it around eye level, or above a headboard, so the pattern sits where you’ll notice it daily. Choose a high-contrast paint color for the border so the recess lines show.
1) Use a pre-made Greek key moulding strip if you want clean repeats; otherwise, cut individual pieces with a jig and label each segment. Mark the band height and keep the run straight with a laser line. 2) Install with construction adhesive plus brads, then caulk around the edges and paint with two coats. Mask carefully along the pattern peaks so the color stays crisp.
Dry test the color contrast by painting a small scrap strip — matte vs satin changes how the pattern reads.
Avoid placing a busy border too low — it competes with furniture silhouettes in photos.
9. Arched Panel Moulding (Soft Curve, Not an Overhaul)
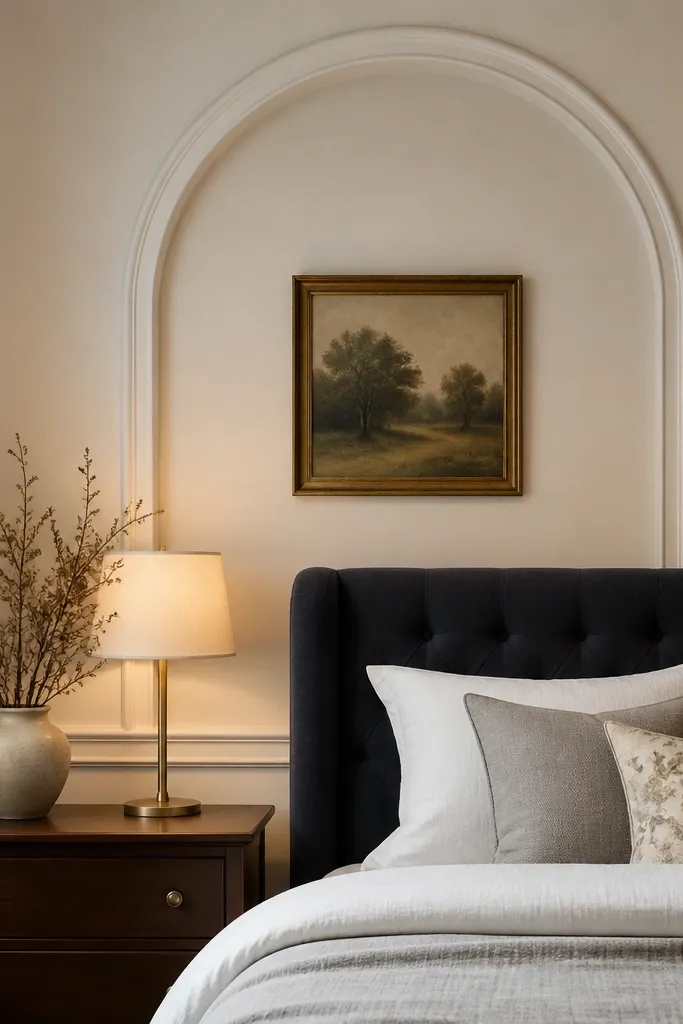
Arched moulding adds softness to bedrooms without turning it into a full romantic theme. The curve reads expensive in photos because light grazes the arch and creates a smooth shadow gradient. Keep it simple: one or two arches above a lower rail or around a single art spot. This style also works well if your bedroom has modern furniture, since the arches add contrast to straight lines.
1) Decide the arch size and build the frame using MDF for the arch rails; typical arch heights are 20-30 in depending on wall. Create a template from MDF scrap and trace it onto the moulding pieces so both sides match. 2) Install the outer arch frame first, then add inner stiles and a bottom rail to form the panel. Caulk seams, fill nail holes, prime, and paint with satin trim paint for a clean edge profile.
Use a sharp pencil and mark the template centerline — arched panels look wrong fast if the curve is off-center.
Don’t use flexible trim for the arch — it makes the curve uneven and the shadows look messy.
10. Vertical Groove Boards with a Thin Border
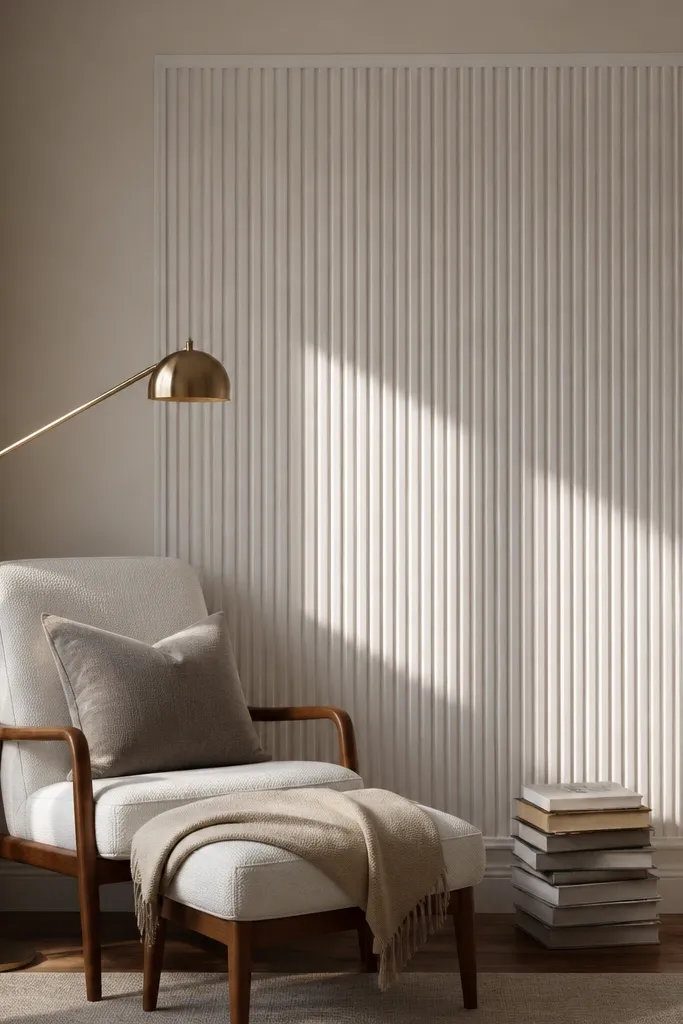
Groove boards give you depth even when the paint color stays simple. The repeated vertical grooves catch light differently across the day, so the wall looks alive in winter and summer. Add a thin outer border to keep it from looking like unfinished paneling. This is a strong choice for reading corners or behind a dresser where you want a textured backdrop without adding more furniture.
Editor's noteSand the caulk only after primer — it helps you see low spots before the finish paint goes on.
1) Use MDF board panels or simple flat strips spaced to create grooves; keep the groove width consistent at about 1/4-1/2 in depending on your trim thickness. Install the outer border first, then mark and nail the vertical strips inside the frame. 2) Caulk every seam, sand the caulk lightly after it cures, then prime and paint. Two coats are key — grooves show thin coverage immediately.
Skip thisSkip inconsistent spacing — one wider groove breaks the rhythm and looks cheap.
11. Picture-Frame Wall with Crown Top Detail
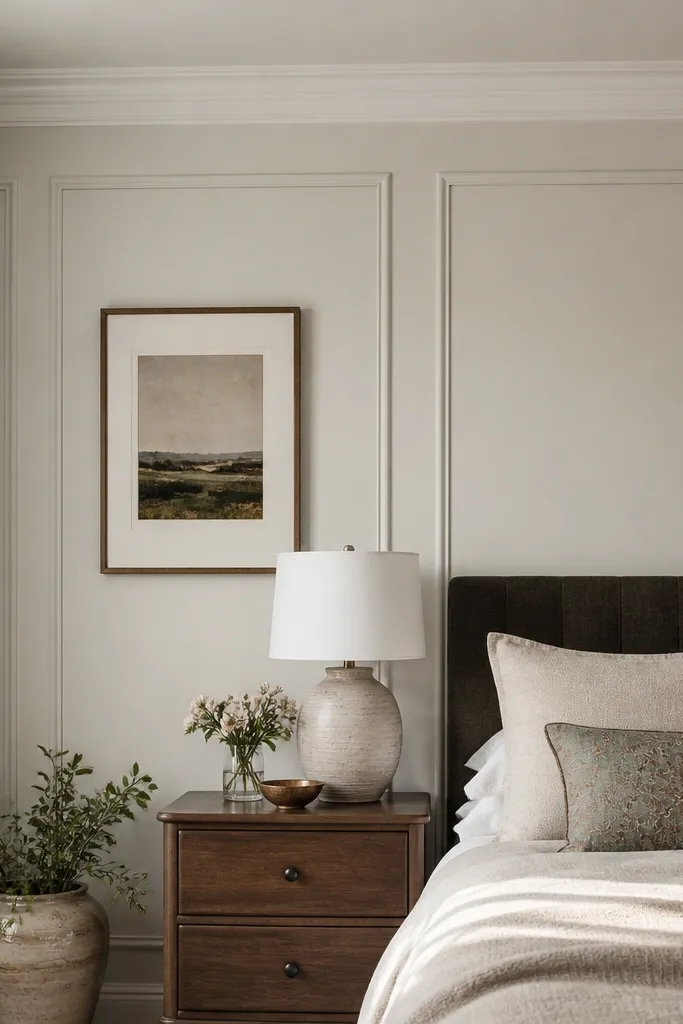
This gives you the framed-panel look plus a small crown detail, which reads “custom” in photos. The top crown creates a finished ceiling-to-wall transition, and the framed panels keep the wall from feeling flat. It works great if your bedroom has a plain ceiling line and you want a stronger architectural finish without doing full ceiling moulding. Choose a crown that’s not too tall so it stays bedroom-friendly and not overwhelming.
Editor's noteCut crown corners slowly and dry-fit with painter’s tape so the crown sits level before nailing.
1) Install a top crown moulding first, then build a framed grid underneath it with consistent panel sizes. A clean layout is two to three large frames across the wall height, with equal spacing between vertical rails. 2) Use mitered corners, then caulk the crown-to-wall seam and the frame joints. Prime and paint in two coats, keeping the crown and frames the same color so the shadow breaks up the pattern.
Skip thisDon’t choose a crown that’s too deep — it makes a small bedroom feel lower.
12. Two-Tone Shadow Box Panels (Wall Color + Trim Color)
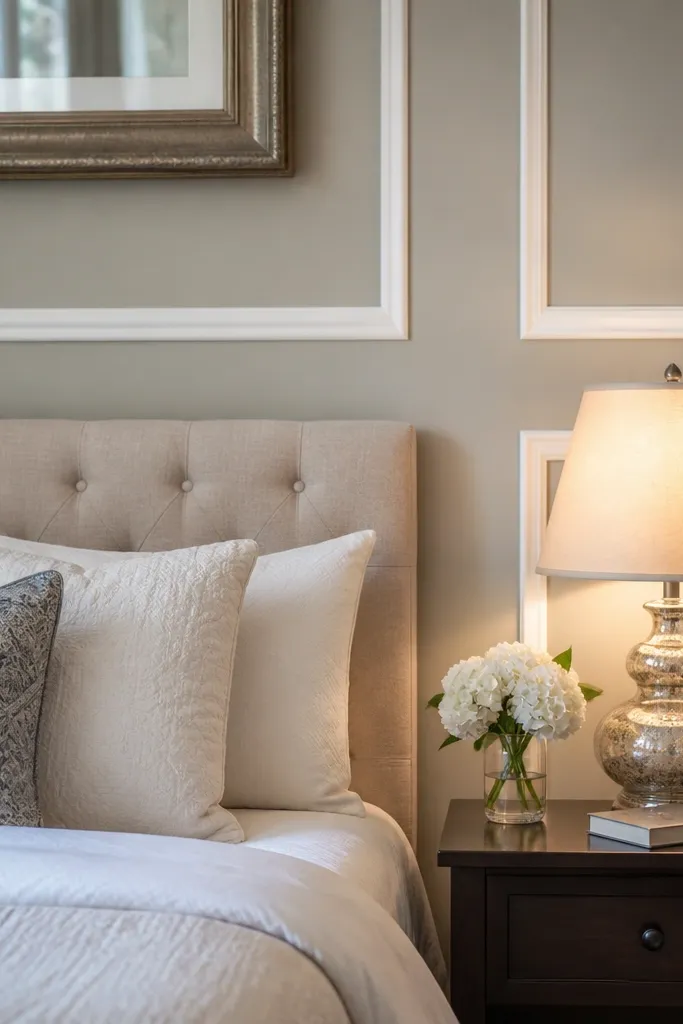
Two-tone shadow boxes make the moulding look crisp even from a distance. Paint the inner recess a slightly deeper shade than the wall, and keep the outer frame a brighter trim color. That contrast makes the recess lines pop in both daylight and lamp light, which is exactly what you want for year-round bedroom photos. It also hides uneven wall texture because the recess creates intentional depth.
Editor's noteUse a foam roller for the recess walls so you don’t leave brush ridges inside the boxes.
1) Build the shadow box using moulding casing to create an outer frame and a recessed inner section; keep the recess depth consistent at about 1/4 in. Mask carefully so you get clean edges: wall color stays on the main wall, trim color goes on outer moulding, and the recess gets the deeper tone. 2) Prime everything first, then paint in this order: wall, outer trim, then recessed tone. Caulk seams before any paint so the color edges stay sharp.
Skip thisDon’t rush masking — uneven tape edges ruin the crisp two-tone look.
13. Oversized Chevron Frames Above Nightstands
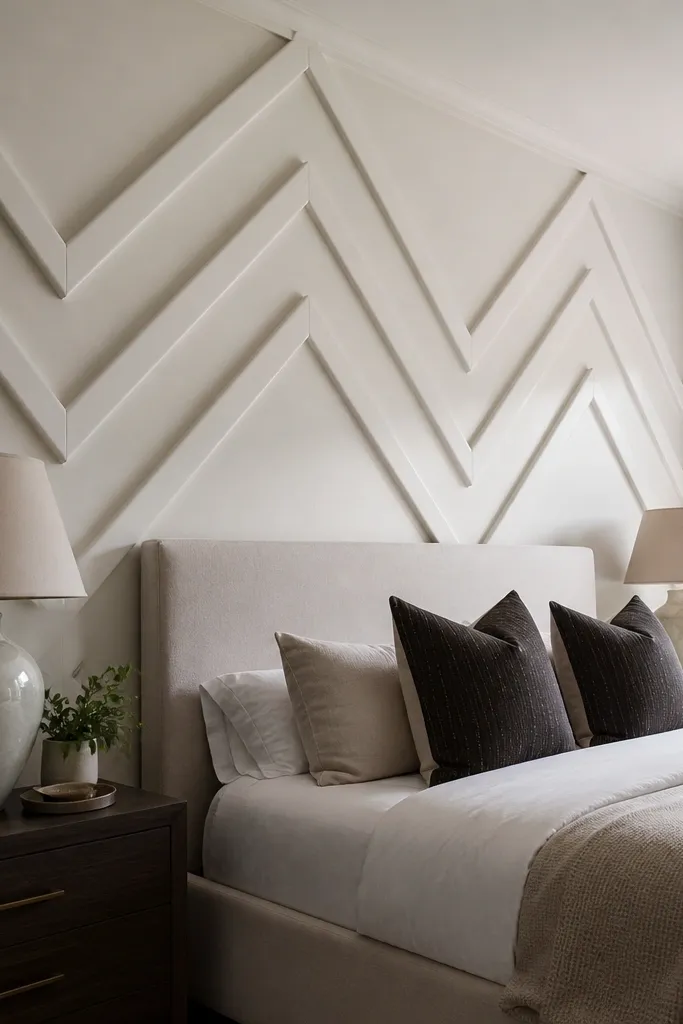
Chevron frames look bold but controlled when you limit them to a band above nightstands. The angled lines create a strong geometric focal point, and the recess shadow reads clearly in photos. This works especially well when your headboard is simple and you want the wall to carry the style. Keep the chevrons large enough to be readable from across the room.
Editor's noteLabel each chevron piece as left or right on your cut list — it prevents mirrored mistakes.
1) Sketch the chevron geometry on paper using your wall width; then transfer the layout to the wall with a laser and a level. Cut MDF strips for the chevron arms, and install the outer border lines first so the pattern stays straight. 2) Nail the chevron arms to the border, then add inner stops if you want a recessed look. Caulk all seams, fill nail holes, prime, and paint with satin trim paint for clean shadow edges.
Skip thisAvoid tiny chevrons — small angles blur into a stripe instead of a pattern.
14. Modern Panel Columns Flanking a Mirror or Headboard
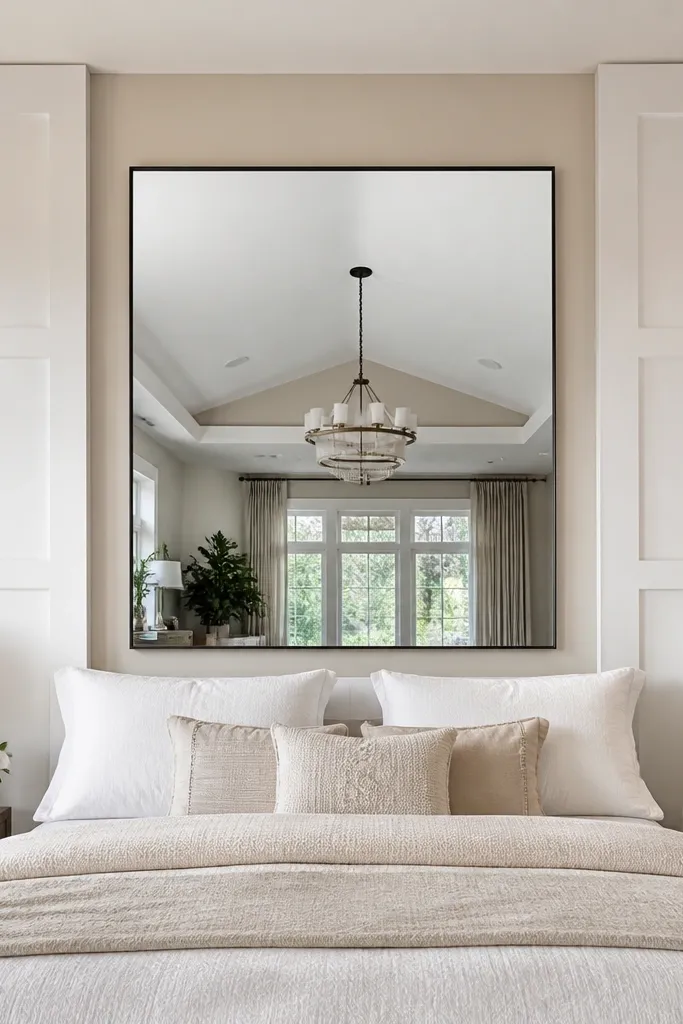
This is a smart way to make one focal point look designed. Two tall “columns” frame a mirror, art piece, or headboard and add symmetry without covering the whole wall. The moulding reads clean and modern when you keep the column width consistent and avoid extra crossbars. For year-round appeal, it stays crisp with any bedding pattern because the structure is fixed.
Editor's noteUse a straightedge to check the column faces at multiple heights — slight bowing shows up under side light.
1) Choose a central focal height and width, then plan two columns on each side with equal spacing from the center. Install the outer vertical rails first, then add a top and bottom cap to form each column frame. 2) If you want a recessed center, add an inner frame using slimmer casing so you get a shadow gap. Caulk, fill, prime, and paint; keep the finish consistent across the columns so the edges look sharp.
Skip thisDon’t add extra small details inside the columns — it turns modern framing into clutter.
15. Ceiling-to-Wall Vertical Strips with a Bottom Border
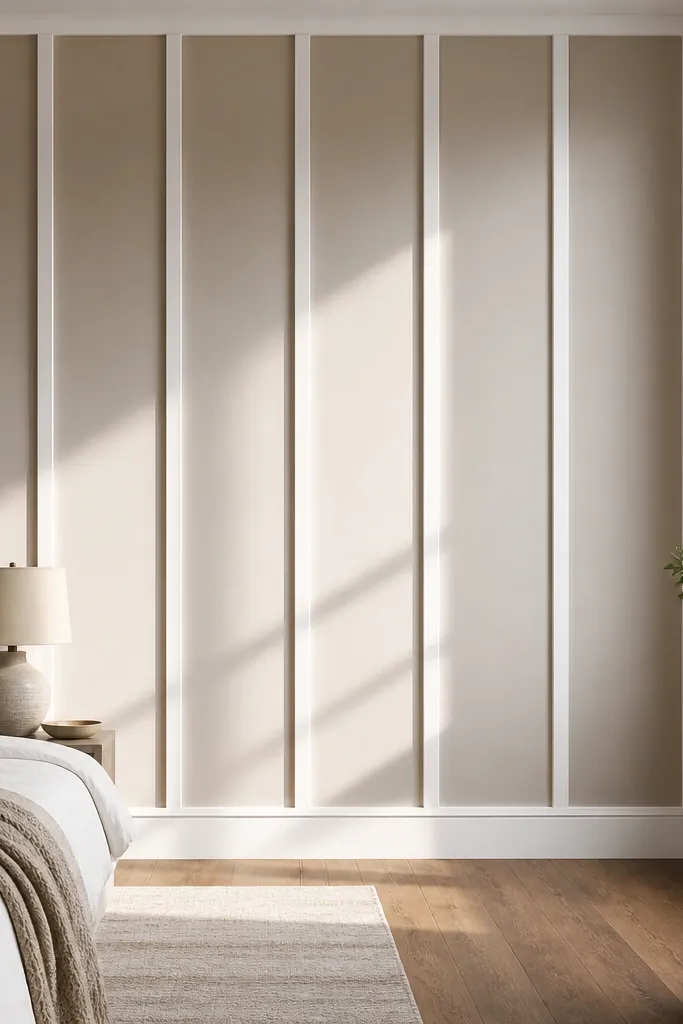
Vertical strips that run up toward the ceiling make bedrooms feel taller without needing ceiling moulding everywhere. The bottom border anchors the design so it doesn’t feel like accidental paneling. This look is especially good in small rooms because the lines pull the eye vertically. Paint it in a bright trim white and keep the wall slightly warmer — the shadow reads even when the room is dim.
Editor's noteIf your walls have bumps, use a thin shim under the strip ends so the gap stays consistent.
1) Mark the ceiling line and set your strip widths and spacing; plan for equal spacing so the pattern feels intentional. Install the bottom border first, then nail vertical strips upward, checking alignment every 2-3 strips with a level. 2) Caulk the seams, sand after primer if needed, and paint in two coats. Use a satin finish on the moulding so it reflects light without looking shiny.
Skip thisSkip the spacing math — random strip spacing makes the wall look uneven even if everything is level.



