
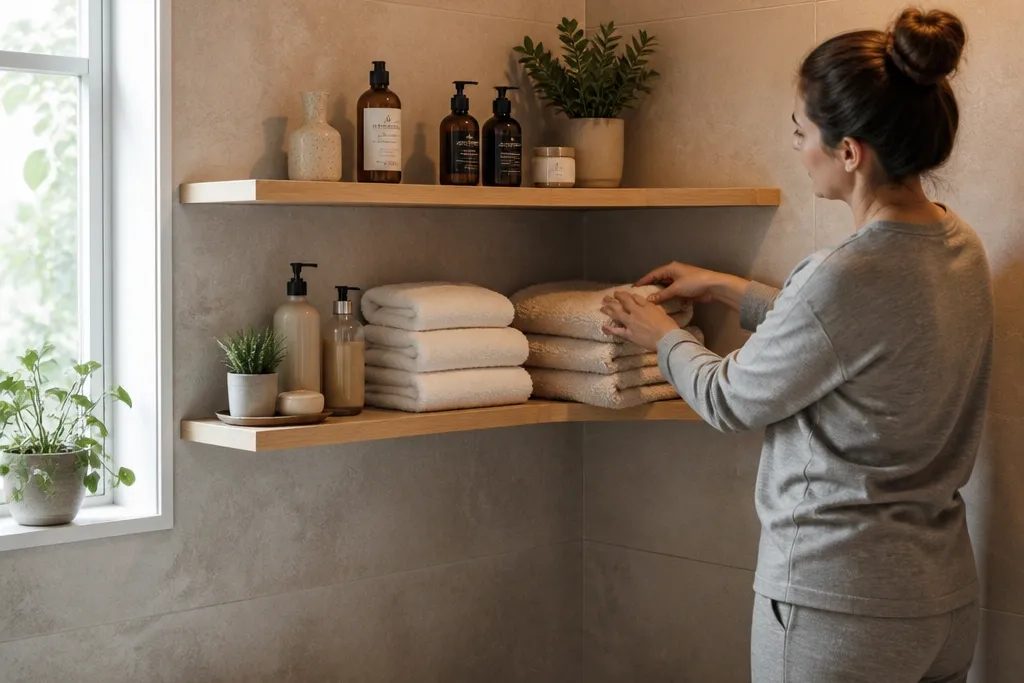
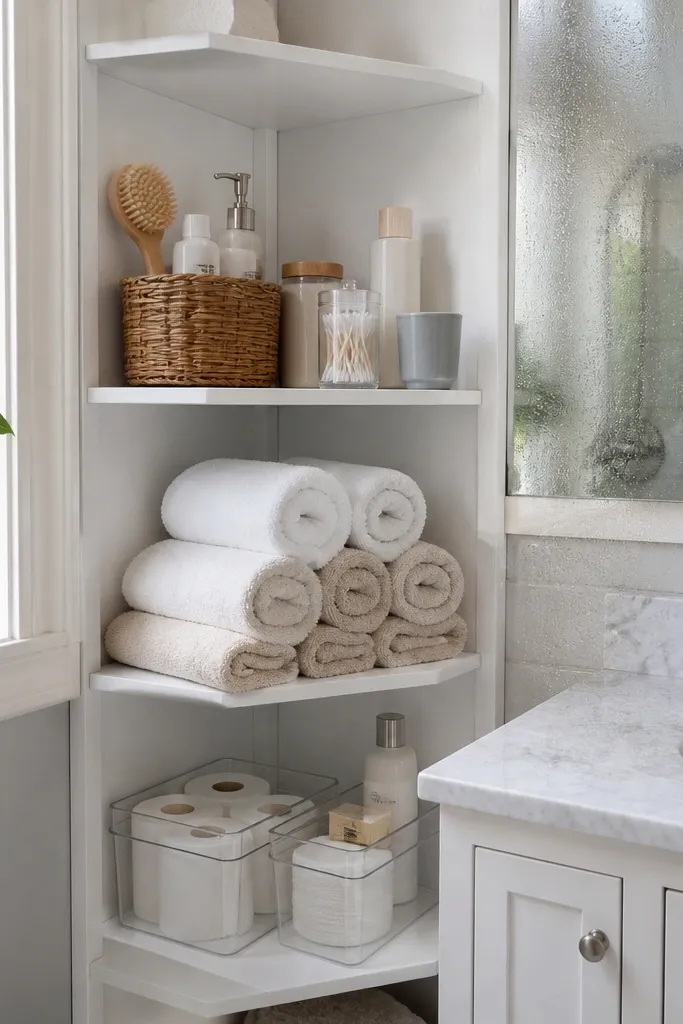
1. Wrap-Around L-Shelf with Rounded Front Lip
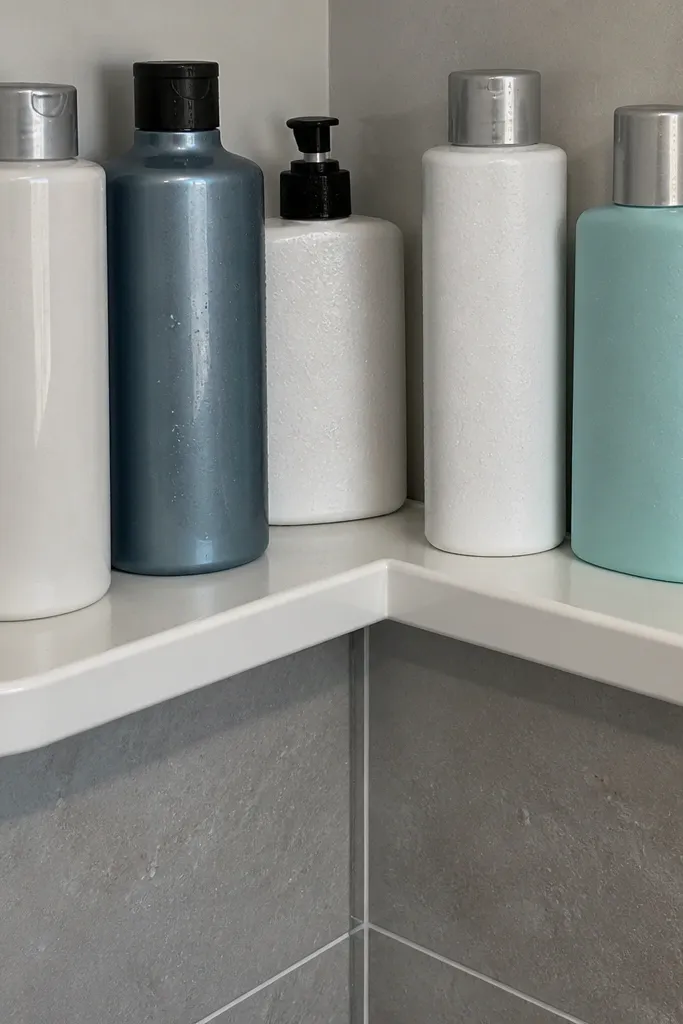
This is the corner shelf build that looks built-in even when it’s just two wall runs. The wrap-around L shape uses the corner as “one continuous unit,” so your storage doesn’t feel split across two walls. The rounded front lip is the aesthetic detail that also fixes the annoying practical problem: bottles stop sliding forward and folded towels don’t snag on sharp edges. Use a light, matte finish so it doesn’t glare under harsh bathroom lighting, and keep the shelf depth consistent on both sides for a clean look. It works best in bathrooms where the corner is clear and you want a simple storage line for daily products.
Start by measuring the corner and marking two level lines on each wall for the shelf heights. Cut two matching shelf boards and add a 1/4-inch rounded edge with a router or sand by hand with progressively finer grits. Install ledger cleats into studs (or use heavy-duty anchors if you can’t find studs) so the shelves sit tight to the corner without rocking. Then screw the shelves to the cleats from underneath, and finish with a bathroom-rated clear coat in at least two thin layers, sanding lightly between coats. Finally, wipe the corner clean and add felt pads under any contact points to prevent squeaks.
Seal the shelf underside and edges too. That’s where moisture sneaks in first.
Avoid thin shelf boards without a lip — they flex and make the corner look crooked fast.
2. Triangular Corner Floating Shelves Trio
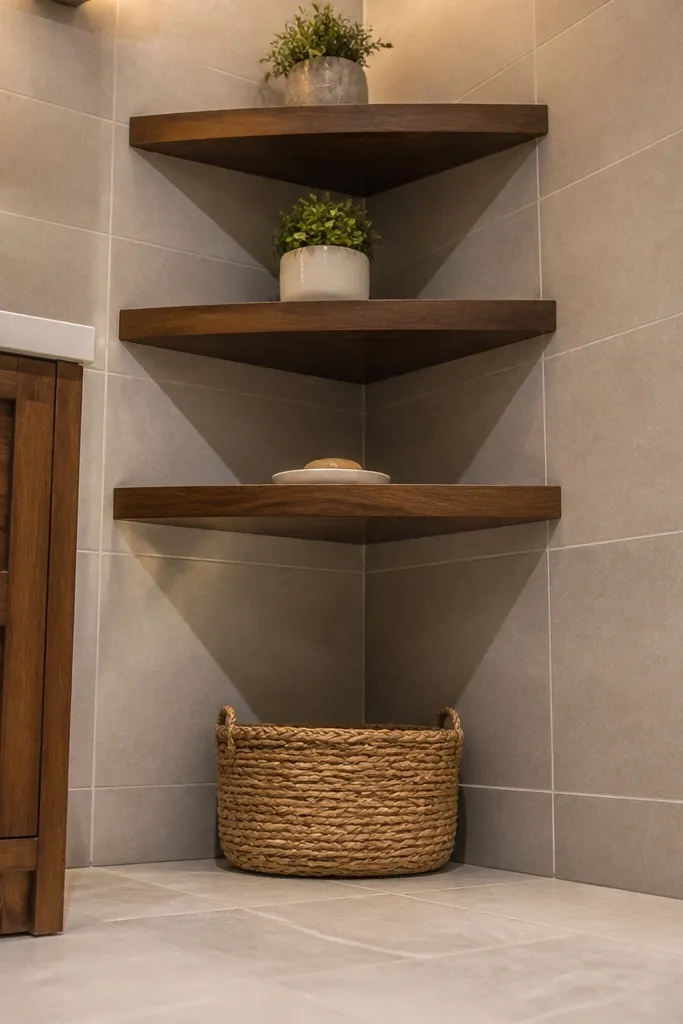
Triangular floating shelves are the cleanest way to use the dead corner space when you don’t want a bulky frame. They look sharp because each shelf is a distinct plane; under bathroom lighting, the angles create a subtle shadow line that makes the corner feel designed. You can stack them at different heights for a “styling ladder” effect: top for perfume or a candle, middle for daily skincare, bottom for backup items. This works in smaller bathrooms where you need storage without blocking the sink or mirror. The key is keeping the shelves consistent in thickness and aligning them so the triangles feel intentional, not random.
Cut three right-triangle shelf pieces from 3/4-inch plywood or solid wood, each sized to fit your corner depth (measure from wall to wall along both faces). Use a single jigsaw template so the angle stays identical across all three shelves. Install hidden floating shelf brackets rated for the shelf weight, then mount them one level at a time using a laser level or long straight level. Screw the shelf onto the bracket tabs, then apply a moisture-resistant finish with two coats and a topcoat that dries clear. Add a small felt strip at the back edge where the shelf touches the wall to prevent vibration.
Dry-fit the brackets and check the triangle alignment before finishing. Once coated, you don’t want to re-sand.
Skip drywall-only mounting for anything heavier than toiletries. Use rated anchors or hit studs.
3. Reclaimed Cedar Corner Ladder Shelves
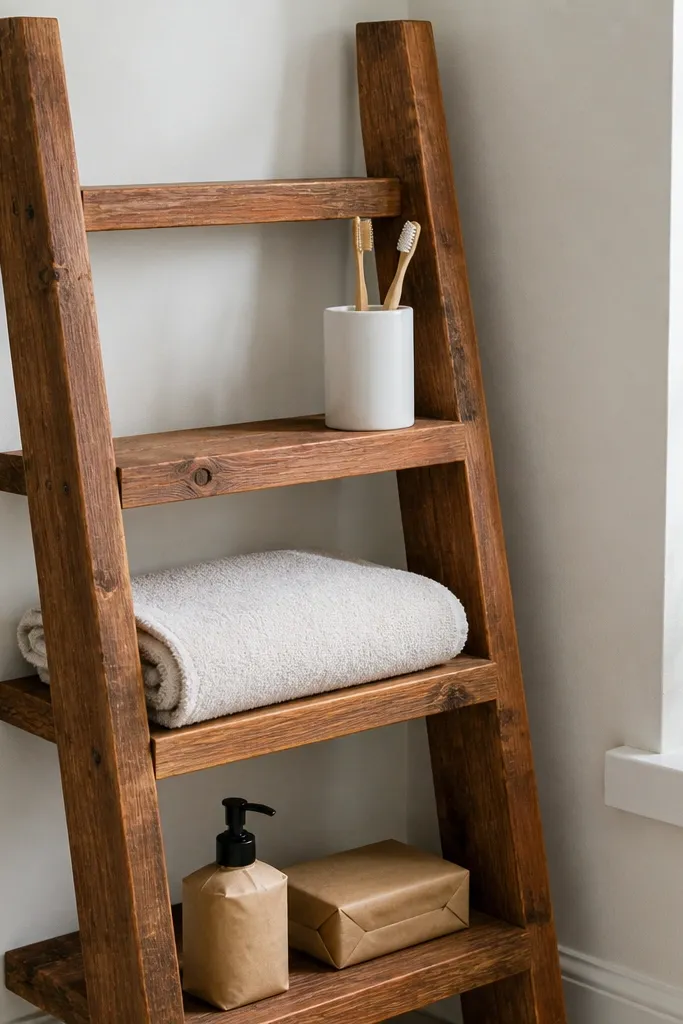
A corner ladder shelf gives you vertical storage that looks good in photos and works in real life because you can see what you’re grabbing. Cedar’s natural scent is a bonus, but the bigger win is that it takes a finish well and resists humidity better than many softwoods when sealed correctly. The ladder style also hides imperfections: if your corner isn’t perfectly square, the angled frame makes it look deliberate. Keep the tiers open so towels don’t trap moisture and so you can wipe the area quickly after showers. This is a strong choice for bathrooms that need more than one shelf line but can’t handle a full cabinet.
Build a simple ladder frame with two vertical side rails and three cross-tiers, using 1x2 or 1x3 cedar for the look. Cut the tiers to your corner dimensions with a slight overhang on both walls so the edges catch light. Pre-drill every joint to prevent splitting, then assemble with exterior wood screws and waterproof wood glue. Anchor the frame into studs through the side rails, using at least two anchors per rail. Finish with a bathroom-grade sealer and a matte topcoat, then add small rubber feet if any part rests on the floor.
Use a matte topcoat. Gloss shows every water spot and smudge under bathroom lighting.
Don’t place towels directly against raw wood. Seal all contact surfaces and keep airflow.
4. Stone-Look Tile Corner Niche Shelves (Surface Build)
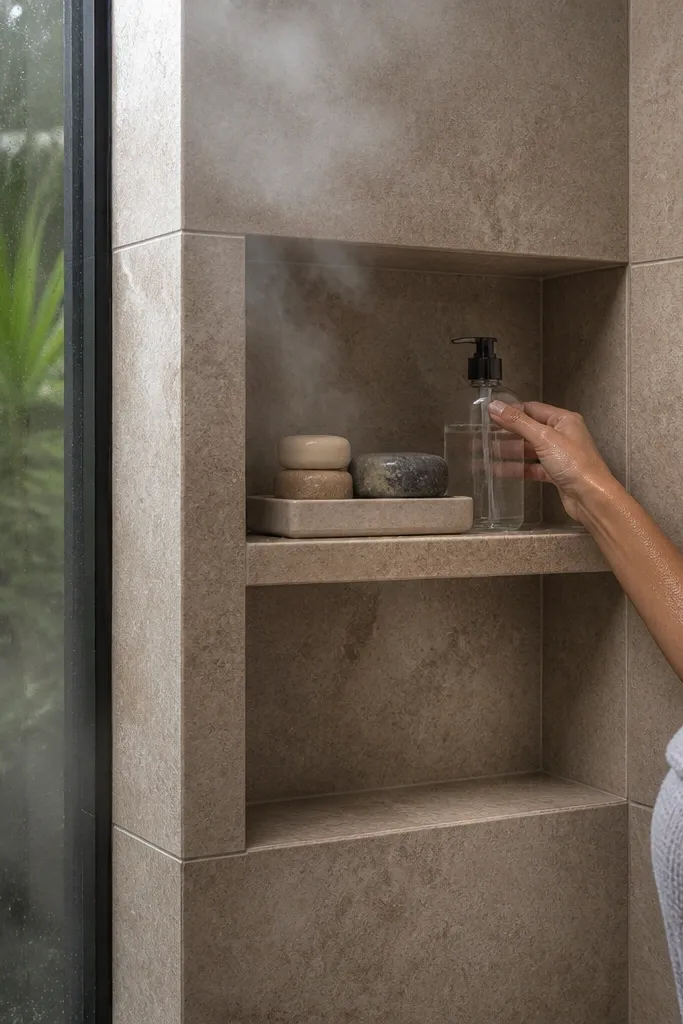
If you want year-round bathroom corner shelves that shrug off steam, tile wins on durability and visual consistency. This design is a surface-build niche shelf, so you’re not doing full demolition. The stone-look tile finish creates a high-end look with minimal maintenance, and grout lines help the shelves read as intentional planes rather than “random boards.” Use this when the corner sees heavy humidity — like a small bathroom without great ventilation. It’s also great for people who want wipe-clean storage for hair tools, styling products, and extra rolls.
Create a base frame from moisture-resistant plywood or cement board cut to your shelf sizes, then coat the top surfaces with thinset-ready primer. Tile the top first, then wrap tile around the front edge so nothing raw stays exposed. Use spacers to keep grout lines straight, and let cure fully before sealing grout with a bathroom grout sealer. Secure the frame to studs or masonry anchors, then caulk the perimeter gap with a mildew-resistant silicone. Finish by cleaning grout haze and sealing all edges.
Dry-lay a few tiles to find the best pattern alignment. Stone-look tile looks much better when veining lines up across the shelf front.
Don’t rely on thin caulk alone at the shelf edges. Tile needs a proper sealant line where movement happens.
5. Matte Black Steel Pipe Corner Shelves
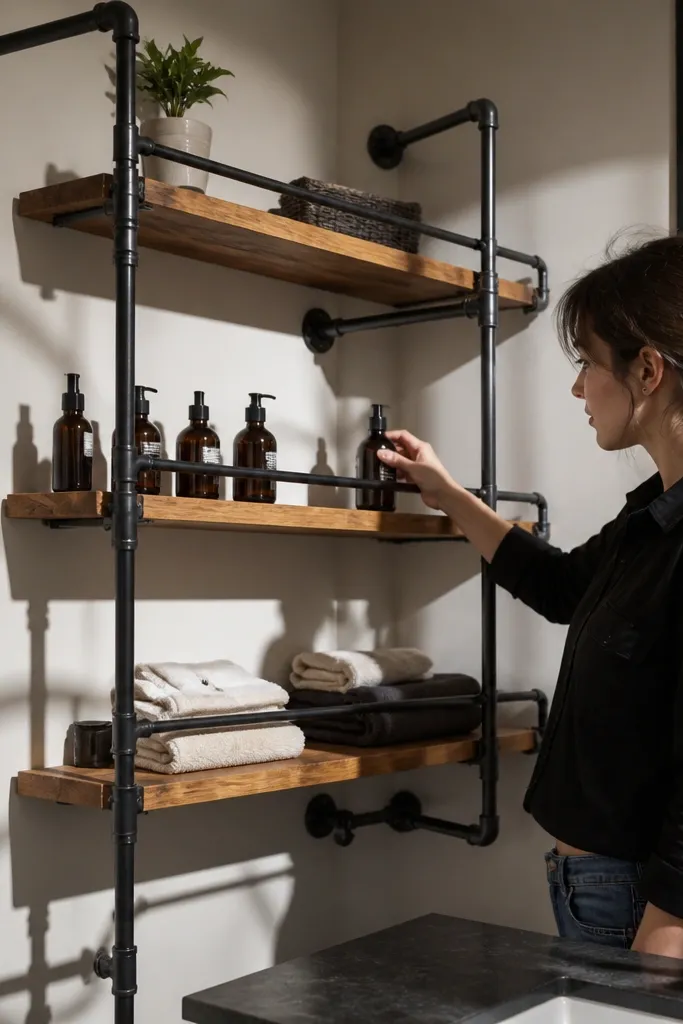
Steel pipe shelves are the easiest way to get a bold, photogenic corner unit that handles humidity without drama. Matte black hardware looks clean against light walls and makes the wood shelves look intentional instead of DIY. The pipe system also lets you adjust shelf heights later, which is handy when your bathroom products change over seasons. This build works best in modern bathrooms, but the real win is practicality: pipe is straight, brackets are sturdy, and the finish resists steam better than most painted wood hardware. You also get a strong visual rhythm because the pipes create vertical lines in the corner.
Cut two wood planks to your desired shelf depth, and pre-drill mounting holes at consistent intervals for even spacing. Assemble pipe elbows and tees to form two wall runs that meet in the corner, then mark bracket positions on the wall. Mount the pipe brackets into studs or use heavy-duty anchors rated for the shelf load, keeping everything level with a long level. Slide the wood planks onto the pipe fittings and tighten the clamps or collars to lock the height. Finish by wiping down metal and sealing the wood with a clear matte coat.
Use washers under screws when attaching flanges. It prevents the wood from compressing and loosening over time.
Avoid shiny varnish on the wood planks. Steam lights up glare and makes the shelf look messy.
6. Light Oak Corner Shelves with Hidden French Cleats
French cleats are the secret to shelves that look perfectly aligned and stay that way. In a corner, a hidden cleat system makes the unit feel built-in because you don’t see ugly brackets or rails. Oak gives you warm color that looks good year-round, and the clean face makes it easy to style with baskets or a simple soap tray. You also get a practical advantage: you can remove the shelves for cleaning or re-coating without prying off hardware. This is a smart choice when you want a polished aesthetic and you’re comfortable doing accurate cuts and straight mounting lines.
Cut cleat strips from 1/2-inch plywood: one set mounts to the wall at a consistent angle, and the matching set mounts under each shelf. Choose a cleat pitch that matches your shelf weight and thickness, then label left and right pieces so you don’t mix them up. Mount the wall cleats into studs with screws, checking level line by line because corners can be slightly out of square. Attach the shelf cleats under each shelf, then hang the shelves by sliding them onto the wall cleats. Seal the shelves with at least two coats of bathroom-rated clear finish, sanding between coats for a smooth face.
Mark a single reference height from the floor and build from that. Corners lie; your level line shouldn’t.
Skip testing one shelf first. If the cleats bind, you’ll fight every shelf after.
7. Corner Shelf Frame with Fabric Drawer Inserts
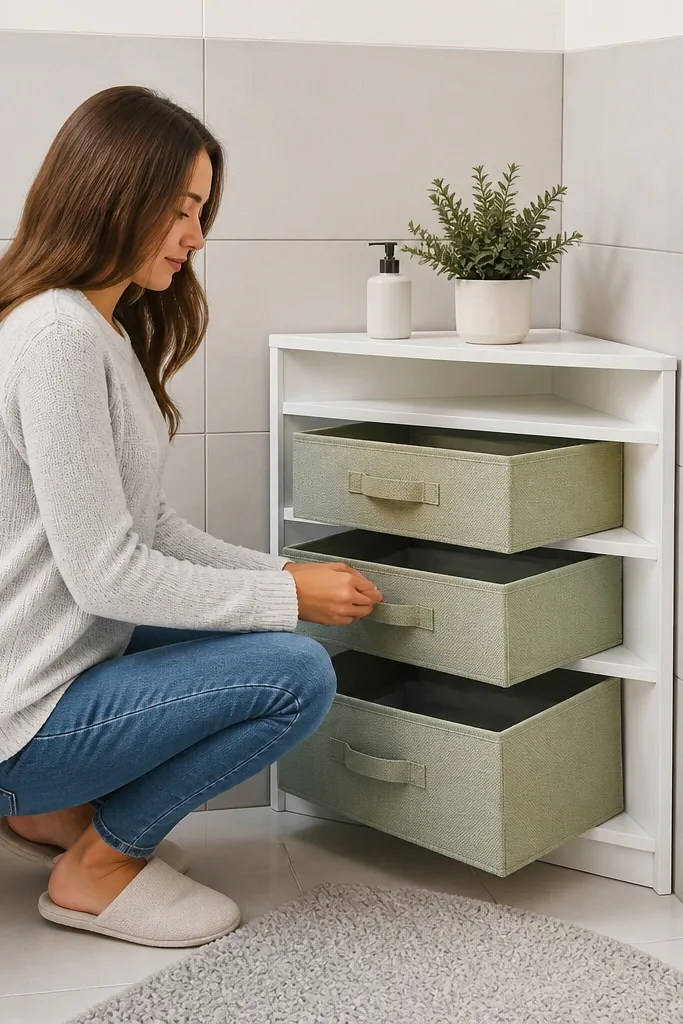
This is the corner shelf idea for people who hate clutter showing through. You get the clean look of open shelves, but the storage is controlled by fabric drawer inserts that slide in and out. The corner frame can be simple wood or plywood, but the aesthetic comes from consistent drawer sizes and matching fabric tone. It’s great for year-round bathroom corner shelves because you can swap drawer inserts by season: summer sunscreen and travel sizes, winter bath salts and extra hand soap. The front edges of the drawers also soften the look and make the corner feel warmer.
Build a corner shelf frame with two side panels and three shelf openings, keeping the openings consistent so drawer boxes fit without wobbling. Cut the drawer boxes from thin plywood or sturdy plastic frames, then sew fabric liners with a stiff interfacing panel at the front edge. Add runners or friction-fit rails so drawers glide in and out smoothly without catching. Seal and paint the shelf frame with a moisture-resistant product, then attach end stops so drawers can’t slide out. Finish by adding a simple label tag inside each drawer for quick sorting.
Editor's noteUse a fabric with a tight weave and a water-resistant coating. It wipes clean without soaking up bathroom humidity.
Skip thisDon’t leave drawer fronts unsealed if they touch water. Moisture will stain fabric fast.
8. Floating Corner Shelves with Beveled Edge Boards
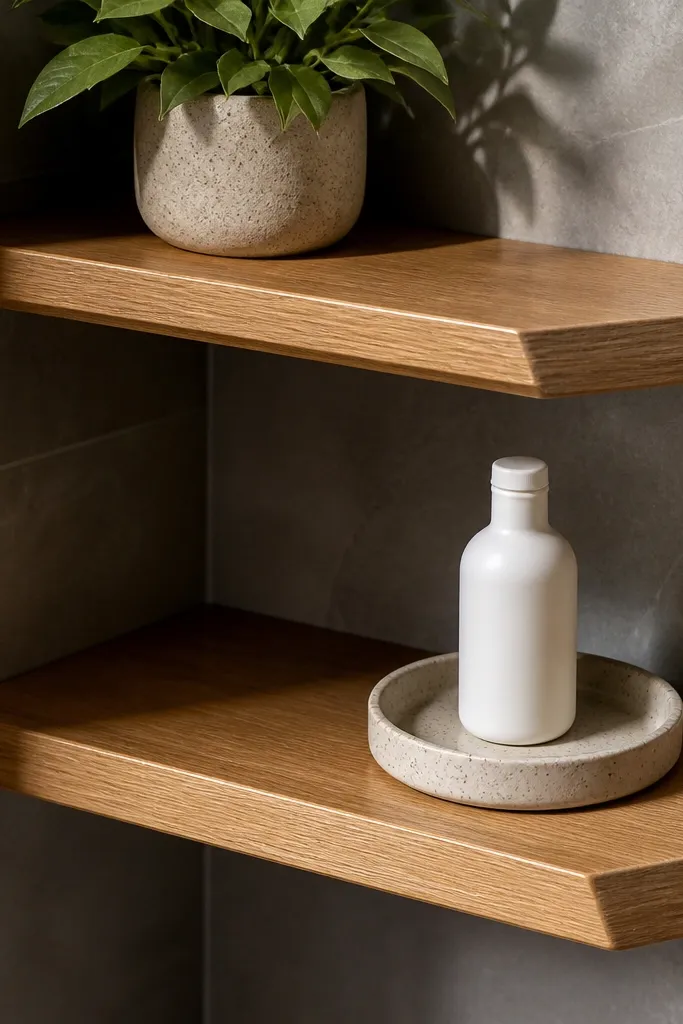
Beveled front edges make floating shelves look expensive because they catch light and hide minor wall imperfections. In a bathroom corner, the bevel creates a clean shadow line between shelf face and wall, which makes the whole unit read as intentional. This build is excellent for small spaces because you can keep shelves slim and still make them feel substantial. Use a warm wood tone or painted finish, but keep the bevel consistent across every shelf for that tidy, photogenic look. It’s best for lightweight storage like skincare, small jars, and decorative bottles.
Cut shelf boards with a consistent bevel, typically 1/2-inch wide at a slight angle, using a router or a table saw setup. Choose hidden mounting brackets sized for your shelf thickness and load. Mark mounting points on the wall and mount brackets into studs or use anchors rated for shelf loads with at least two per shelf. Hang the shelves, then add a thin back spacer if the wall isn’t perfectly flat so the shelf doesn’t rock. Seal the bevel areas thoroughly because they trap moisture if left unfinished.
Sand the bevel by hand with a sanding block. It keeps the line crisp instead of rounded and dull.
Avoid leaving the underside raw. The bevel underside is where humidity causes warping.
9. Corner Pegboard Shelves with Display Hooks
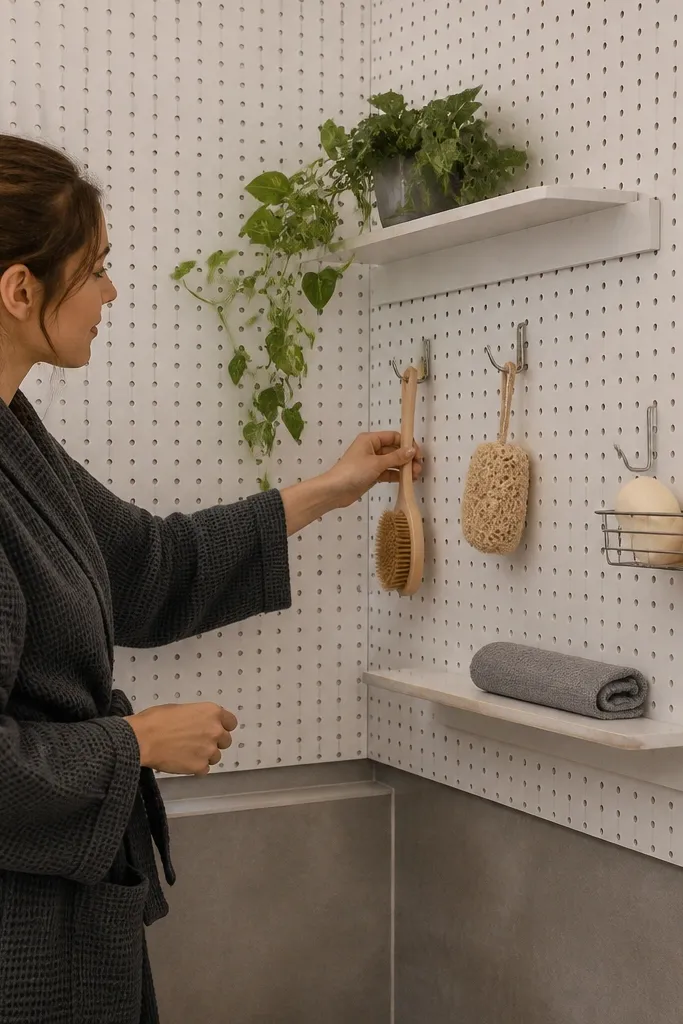
Pegboard in a bathroom corner looks tidy and lets you change your setup without rebuilding. The aesthetic comes from the grid — it makes hooks and small shelves look organized, not random. You can hang daily tools like brushes, loofahs, and small baskets, then add one or two corner shelves for items you want visible. This works well where counter space is tight and you want a functional wall system. It also supports year-round flexibility: swap hooks for different bottle shapes and keep everything in reach.
Pick a moisture-resistant pegboard sheet and cut it to fit the corner area, allowing a small gap from the adjacent wall for alignment. Mount it into studs with corrosion-resistant screws, then attach shelf brackets made for pegboard spacing. Install hooks where you want daily items, and add a small tray or shelf for items that slide less. Seal the pegboard with a moisture-resistant topcoat, then finish the shelf surfaces with the same system so everything ages evenly. Keep shelves shallow if you’re storing bottles to reduce tipping risk.
Use stainless hardware and a clear matte topcoat. It prevents rust and keeps pegboard from looking glossy and spotty.
Don’t mount pegboard over crumbling paint. Scrape back to solid surface so screws hold.
10. Two-Tone Painted Corner Shelves with Tile-Front Base
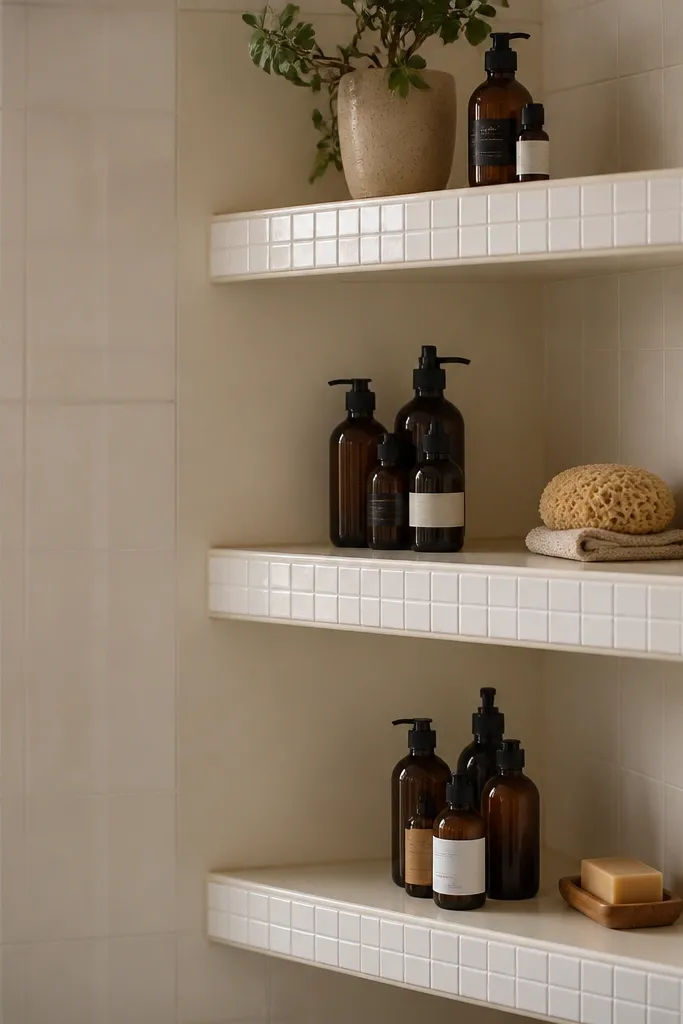
Two-tone corner shelves look intentional because you separate the shelf face from the shelf edge. Pairing a painted top with a tile-front base gives you a clean, photo-friendly contrast that also protects the most abused area: the front edge where water drips and hands touch. This build is perfect if you want a softer look than steel pipe but still want year-round durability. It also makes the corner feel bigger because the shelf face stays bright while the edge hides scuffs. Store towels, small baskets, and backup supplies on the wider shelves.
Build a corner shelf frame from plywood and sand it smooth, then apply primer and paint the shelf faces in your chosen tone. For the tile-front base, measure the shelf front length and height, then cut tile and thinset a strip onto the front edge only. Seal grout fully and wipe off haze after cure. Mount the frame into studs and add a waterproof sealant line at the perimeter. Finish the top surfaces with a protective clear coat compatible with your paint system.
Use painter’s tape to protect the painted faces while tiling the front strip so your lines stay sharp.
Avoid painting over unsealed plywood edges. Those edges wick moisture and peel the paint.
11. Corner Glass Shelf with Water-Resistant Metal Brackets
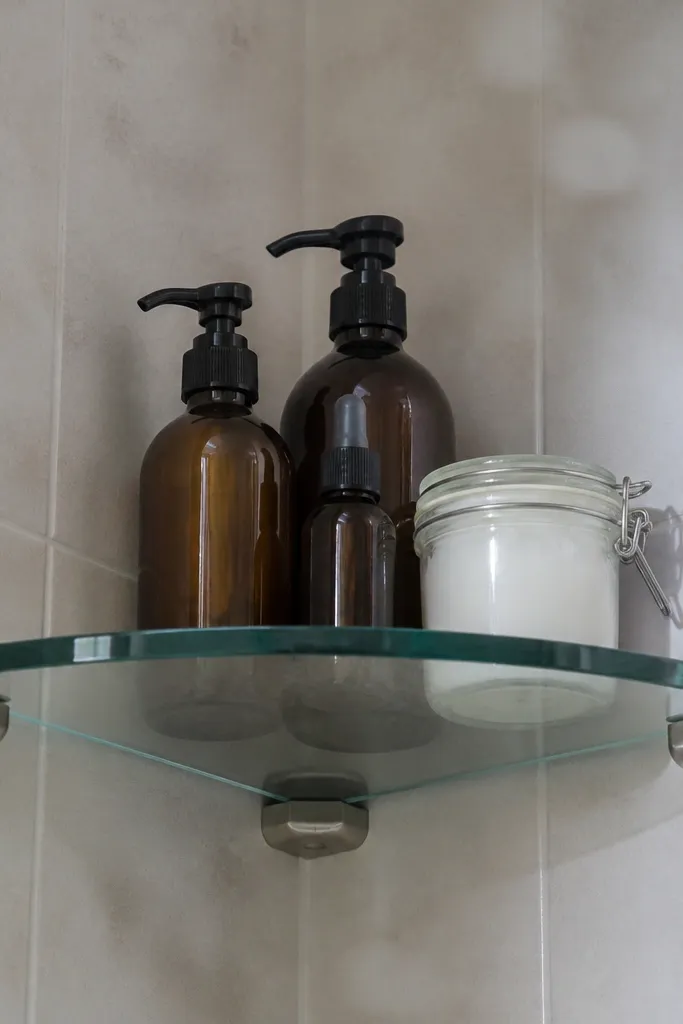
Glass corner shelves give you that airy look that works in small bathrooms because the unit doesn’t visually block light. The key is using water-resistant metal brackets and proper silicone pads so the glass stays stable and doesn’t rattle. This is ideal for storing items you want to show off — nice bottles, a small plant, or decorative soap — and it stays clean because glass wipes fast. If you want year-round bathroom corner shelves that look crisp and modern, glass with metal is hard to beat. Keep shelf depth moderate so items don’t slide toward the corner.
Use tempered glass shelves cut to size, then drill or mount using bracket systems designed for glass. Mark bracket locations on each wall, then mount into studs where possible; otherwise use anchors rated for the bracket load. Add rubber or silicone pads between glass and brackets to prevent stress points. Tighten bracket hardware evenly and check the shelf is level across the corner. Clean the glass with a streak-free cleaner, then wipe the metal with a corrosion-resistant protectant.
Editor's noteUse a microfiber cloth and a glass-safe cleaner. Bathroom residue builds up faster than people expect.
Skip thisDon’t use cheap bracket kits without a proper glass pad. Stress can chip glass over time.
12. Corner Shelf with Removable Wicker Baskets
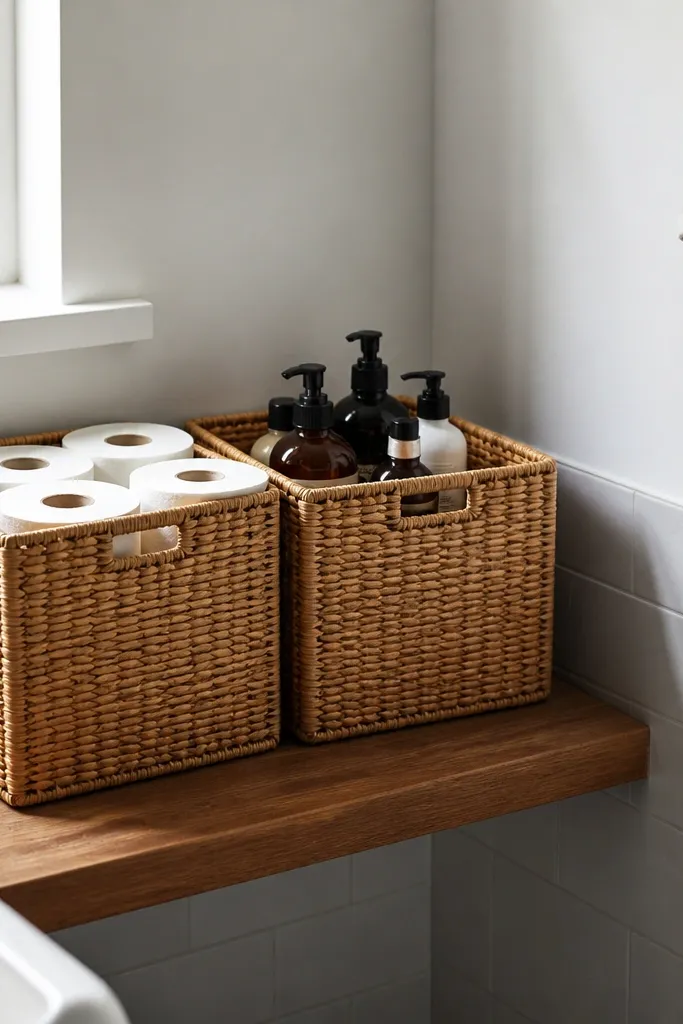
Baskets make corner shelves look warm and organized because you’re not relying on perfect bottle placement. Wicker or woven baskets also hide the visual chaos of year-round bathroom supplies: extra rolls, backups for face wash, and seasonal items. The shelf top can be simple, but the baskets are what make it photogenic and user-friendly. Choose baskets with handles or a front lip so you can lift them out for cleaning. This build fits bathrooms that need storage but still want a softer look than metal and tile.
Build or mount two or three corner shelf platforms, keeping the shelf opening size slightly larger than your basket footprint so baskets slide in cleanly. If you’re building from scratch, add a small lip or cleat inside each shelf to stop baskets from sliding forward. Sand and seal the shelf top so baskets don’t stain the wood. Measure basket dimensions carefully and test-fit before you finalize shelf heights. Finish by adding a moisture-resistant spray to the baskets if they’re not naturally water-friendly.
Pick baskets that match your shelf depth exactly. A 1-inch gap looks sloppy in photos and lets items shift.
Avoid baskets with loose weave at the bottom. Moisture stains and makes them look worn quickly.
13. Corner Shelf Built from Waterproof PVC Board
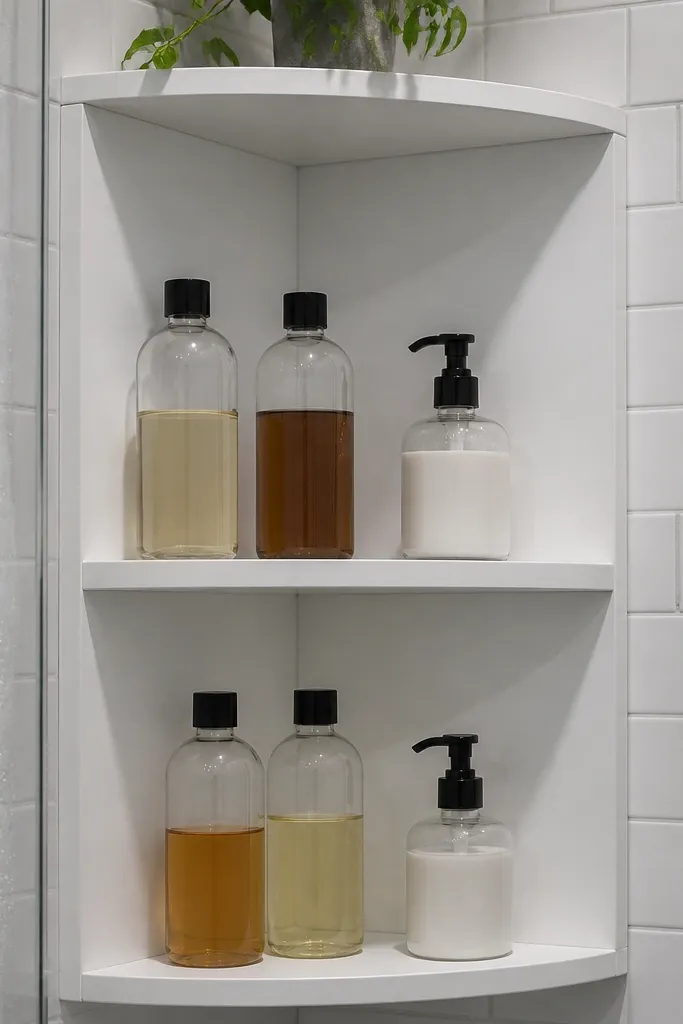
If you want year-round bathroom corner shelves with the least worrying about humidity, waterproof PVC board is a straightforward choice. It doesn’t swell like plywood, and it sands less messily than many composites. The look is modern and clean, especially when paired with simple white shelves and minimal hardware. This project is perfect for bathrooms where the corner gets steam and you want a wipe-clean surface that doesn’t need frequent re-coating. It also works well if you want to paint — PVC takes paint when you prep it correctly.
Cut PVC shelf boards to size using a fine-tooth blade and sand the edges lightly for paint adhesion. Build a simple mounting frame from aluminum angle or treated wood cleats, then secure into studs or use heavy anchors. Prime PVC with a bonding primer, then apply a bathroom-rated paint in two thin coats. Seal all edges and the underside with the same system so moisture can’t creep into cut lines. Mount shelves with corrosion-resistant screws and add a silicone bead where the shelf touches the wall if you want extra protection.
Editor's noteRoughen PVC lightly with 220-grit before primer. Paint sticks dramatically better.
Skip thisDon’t skip priming. PVC paint failure looks peeling and cheap within a few months.
14. Wood and Tile Corner Shelf with Raised Back Splash
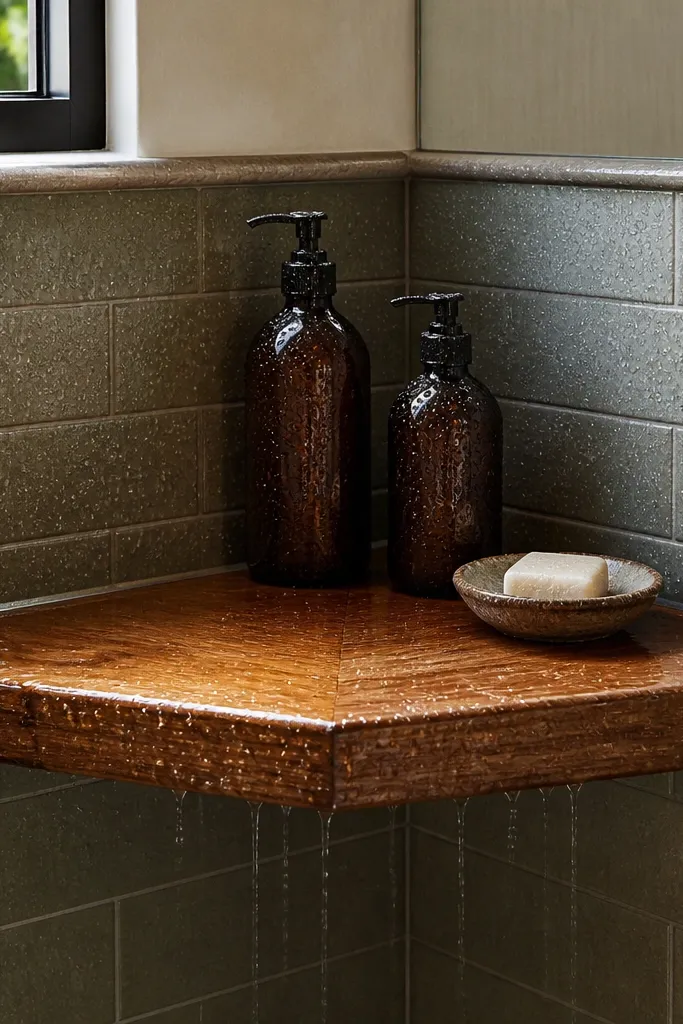
A raised back splash is a small detail that makes wood corner shelves perform like they’re built for steam. Water drips down the wall and lands at the corner edge; without a splash, it soaks into the back of the shelf and into the wall seam. This design adds a tile or waterproof panel at the back edge so droplets roll down instead of soaking. Visually, the splash also frames the shelf like a mini backsplash, which looks deliberate in photos. It’s best for corners near showers, sinks with splashing, or bathrooms without strong ventilation.
Build a standard corner shelf base from sealed plywood or solid wood, then tile or waterproof-panel the back edge area. Cut a backsplash strip to run along the back where water hits, and install it with thinset or waterproof adhesive depending on your materials. Mount the shelf into studs and seal the perimeter edges with mildew-resistant silicone. Finish the shelf face with a clear bathroom topcoat, and make sure the underside and cut edges are fully sealed. Let everything cure fully before putting products back.
Slope the shelf top by a tiny amount toward the front (about 1/16-inch). It helps water evaporate instead of pooling.
Avoid leaving the back edge unfinished. That spot will darken first.
15. Corner Floating Shelves with Brass Edge Accents
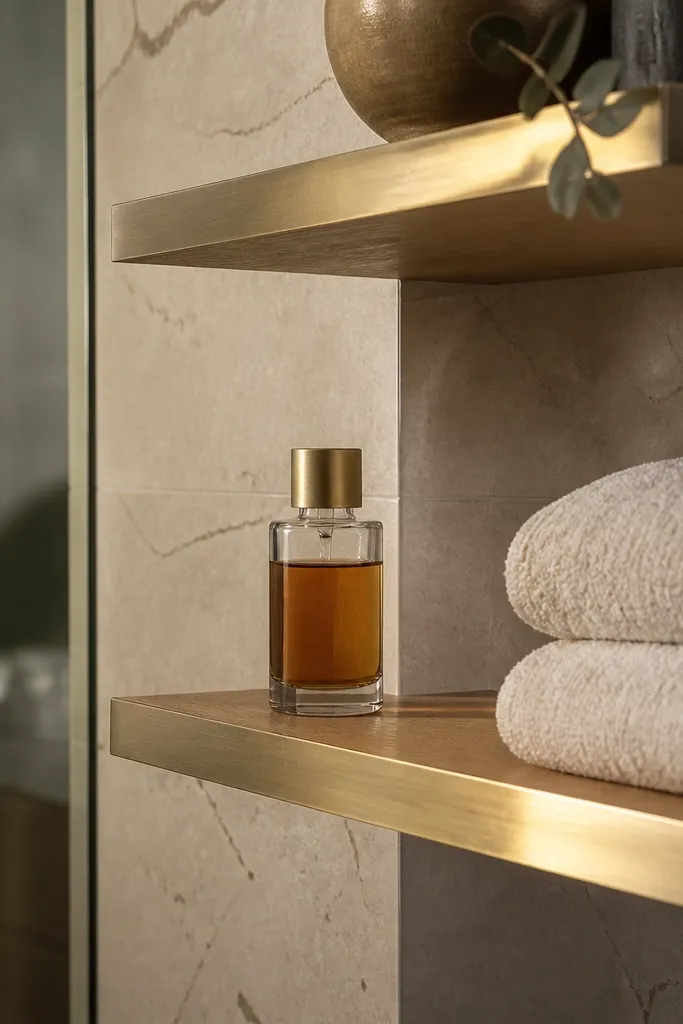
Brass edge accents add a warm, high-end look that still fits small bathrooms because the detail is thin and doesn’t add bulk. The shelf itself can be light wood or painted MDF, but the brass trim along the front creates a crisp line that stands out under bathroom lighting. This is a good choice if you want year-round bathroom corner shelves that look styled and not purely functional. It also helps hide minor nicks on the shelf face because the brass catches the eye instead of the scratches. Keep the number of shelves limited so the brass trim doesn’t look busy.
Cut shelves to size and sand smooth, then fit a brass edge trim along the front using adhesive made for metal and wood. Install hidden brackets into studs, or use heavy anchors if studs aren’t available, keeping spacing consistent across both walls. Mount one shelf at a time and verify level from two directions because corner walls can twist. Seal the wood face with a clear matte topcoat, then attach the brass trim after sealing so you don’t trap moisture under it. Clean and polish the brass lightly so it doesn’t look dull or fingerprinty.
Use painter’s tape to protect the shelf face while trimming. Brass adhesive smears easily.
Don’t use glossy finish with brass. Water spots show more on shiny surfaces.
16. Corner Cabinet-Style Shelves with Slim Doors
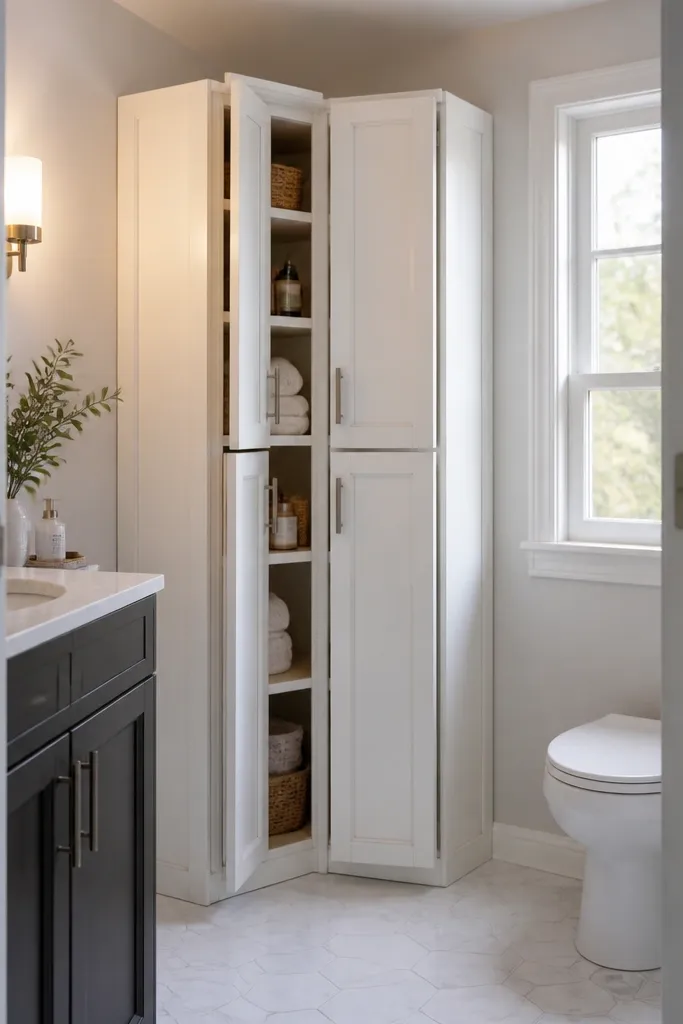
When your bathroom corner is visible from the hallway or mirror, doors make a big difference. Slim cabinet-style doors keep year-round bathroom supplies from looking messy while still giving you easy access. The look is modern because the unit reads like furniture, not a set of shelves. This build is especially good for hiding cleaning supplies, extra hair products, and anything you don’t want on display. Choose a simple door style like shaker-lite or a flat slab, and keep hardware minimal for that clean line.
Build a corner frame with two side panels and a back panel, then add internal shelves from moisture-resistant plywood. Install hinges rated for humid spaces and mount the doors with consistent gaps using a hinge jig or careful marking. Add a magnetic catch so doors close quietly and stay shut in steam. Finish the cabinet frame and shelves with a durable topcoat, then seal all cut edges and screw holes. If you’re mounting to drywall, anchor the frame to studs and add a top support point so the unit doesn’t pull away over time.
Use a small vent gap or add a vented backing strip inside. It reduces smell and moisture buildup.
Avoid particleboard for the cabinet frame. It swells and warps under bathroom humidity.
17. Corner Shelf Rail with Hanging Towel Bar
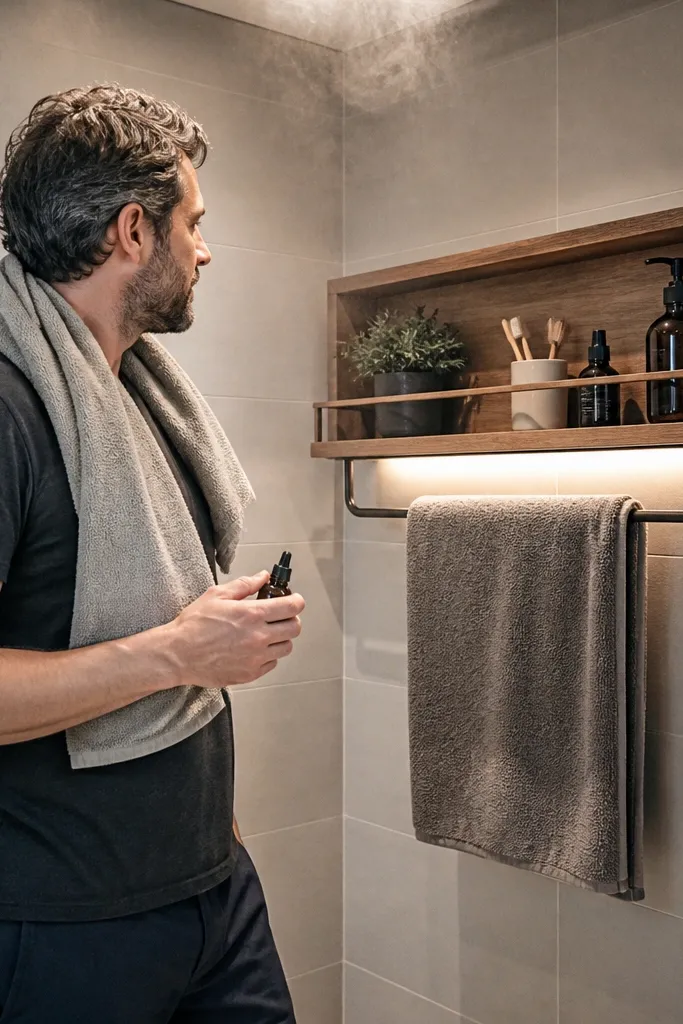
This build is for bathrooms where towels always end up on the floor. A corner shelf rail with a hanging towel bar gives you two jobs in one clean design: storage on the shelves and a dedicated place for towels. The aesthetic looks intentional because the bar creates a strong horizontal line that balances the vertical corner. It also helps year-round organization — you can keep a spare hand towel on the bottom shelf and a fresh one hanging ready. Use corrosion-resistant hardware finishes like brushed nickel or matte black so the bar doesn’t rust from damp towels.
Start by choosing shelf sizes and decide where the towel bar sits relative to your sink or door swing. Build a simple corner frame or mount brackets into studs, then install a rail that supports the towel bar at a slight height where towels hang without touching the shelf. Attach shelves below the rail with a level line and consistent depth. Use stainless or coated brackets for the towel bar and verify the bar is centered in the corner for even hang. Finish shelves with a waterproof topcoat and add small feet or spacers if the unit contacts trim.
Hang towels with a slight slack. Tight towels dry slower and leave more dampness on the rail.
Don’t mount the bar too close to the shelf. Wet towels will drip onto stored items.
18. Corner Floating Shelf Set in Matching Color Blocks
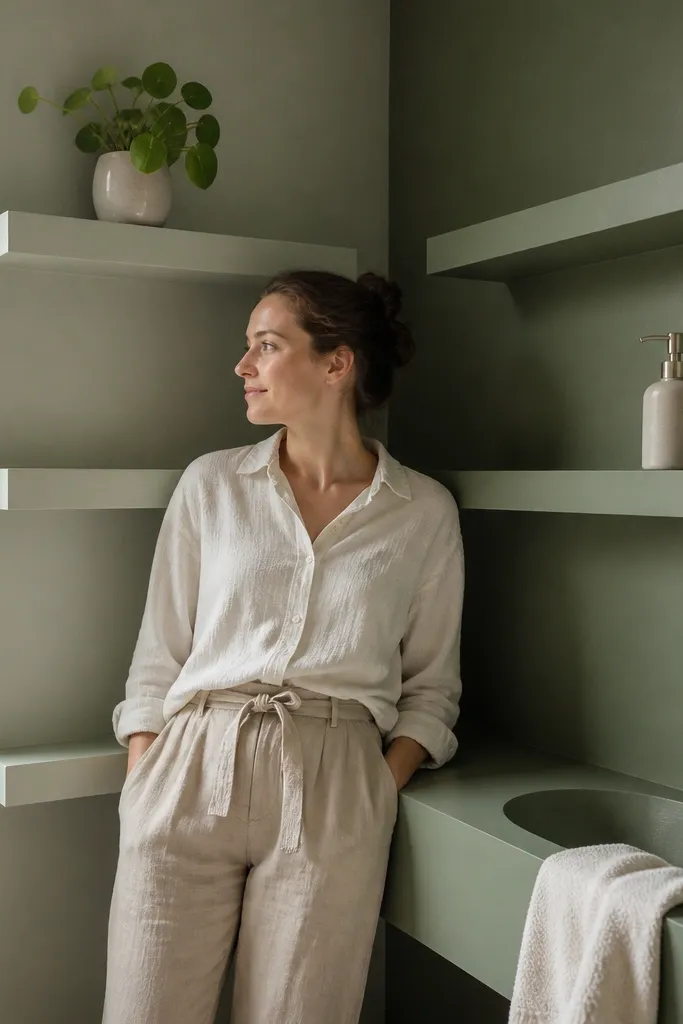
Color block shelves make a small bathroom corner look styled instead of cramped. By painting each shelf face in the same palette but varying shade slightly (one wall lighter, one wall deeper), the corner reads as a design feature. This design is great when you want year-round bathroom corner shelves that don’t depend on wood grain or expensive materials. Keep the shelf depth uniform and the spacing consistent so the color blocks align visually. It also works well for styling: baskets, a soap dispenser, and neatly placed bottles look more intentional against the color.
Sand and prime the shelf boards, then paint two matching tones for the two walls or staggered shelf faces. Mark shelf heights and mount hidden brackets into studs, keeping all bracket lines aligned with a laser. Hang shelves one at a time and check the color alignment from the doorway view, not just from the corner. Apply a moisture-resistant clear topcoat over painted surfaces to protect from steam and wipe-cleaning. Touch up any screw holes with matching paint and let cure fully before loading.
Use painter’s tape to mask the front edge so paint lines stay crisp. Tape quality matters more than brand.
Avoid high-gloss paint. It shows water spots and fingerprints under bathroom lighting.
19. Corner Shelf with Chalkboard-Label Front Panels
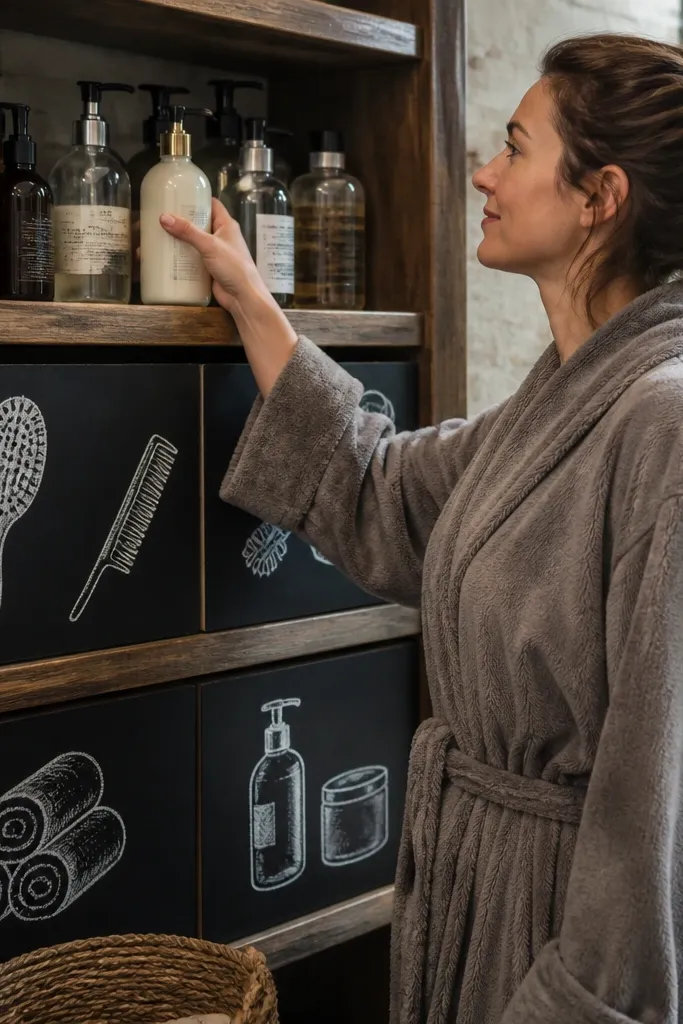
Label panels turn a corner shelf into a practical system and they look fun in photos without needing clutter. Chalkboard-front panels on the lower shelf face let you write what’s inside — extra conditioner, backup body wash, or seasonal items. The look is clean because the labels sit on one consistent surface, and it’s easy to update year-round as your routine changes. This is best when you store multiple similar items and you want quick sorting without rummaging. Seal the shelf structure well and use a chalkboard paint designed for durability.
Build a corner shelf base from sealed wood or PVC board, then cut front panels sized to match the shelf openings. Paint panels with chalkboard paint and cure it properly before using. Mount panels with hidden screws or strong adhesive so the surface stays flat. Seal all other shelf surfaces with a bathroom-rated topcoat, and leave chalkboard panels unsealed so chalk works. Add a simple lip so labeled items don’t slide into the corner gap.
Editor's noteUse a light-colored chalk marker for easy readability on photos and in dim bathroom light.
Skip thisDon’t place chalkboard panels directly in splash zones. Water ruins the surface fast.
20. Corner Shelf with Removable Step-Style Base Tray
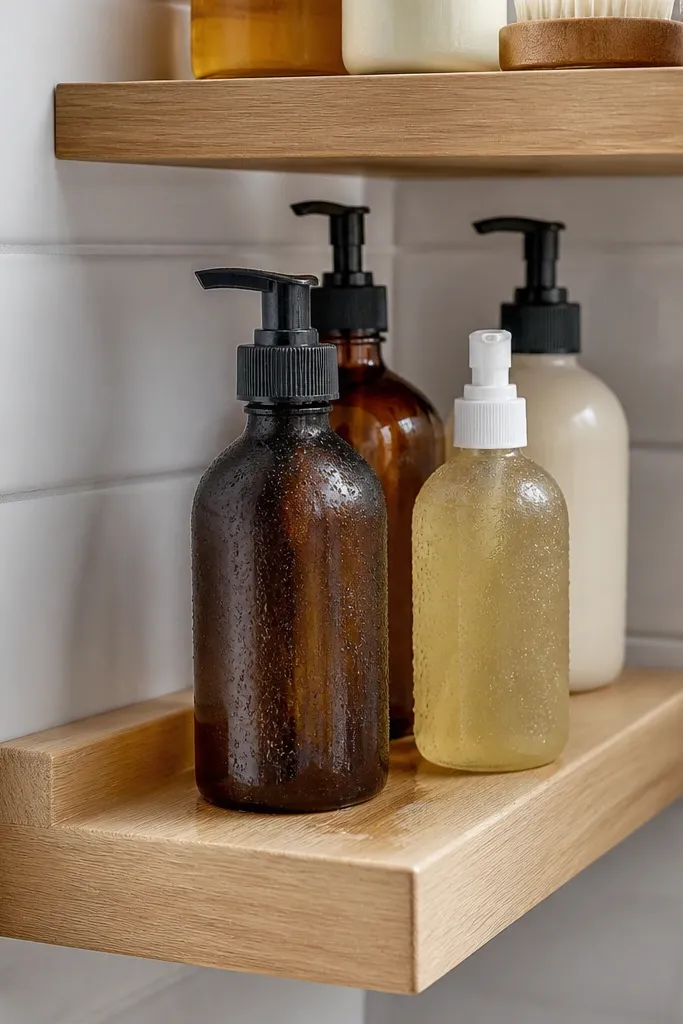
A removable base tray is a smart aesthetic-and-function detail for bathroom corners because it catches drips from bottles and keeps the wall behind cleaner. The tray reads visually like a step detail, which makes the corner shelf look designed rather than basic. You can pull the tray out to wipe, and the shelf above stays looking fresh even when you’re using products daily. This works best for corners near the sink where splashes are common. Keep the tray edges slightly raised so water doesn’t run off onto the floor.
Build or mount your corner shelves first, then size a tray that fits under the bottom shelf with a small clearance for removal. Use a waterproof material like acrylic, sealed plywood with a non-slip top layer, or metal with a corrosion-resistant coating. Install two small cleats or magnet strips so the tray slides in and locks without screws. Seal the tray edges and ensure the tray sits level so water collects instead of spilling. Finish by adding a removable non-slip mat inside the tray so bottles don’t slide.
Choose a tray material with a matte finish. Gloss shows water streaks quickly.
Avoid leaving a gap between tray and shelf that water can seep into.



