
1. Concealed steel L-bracket with underside lip
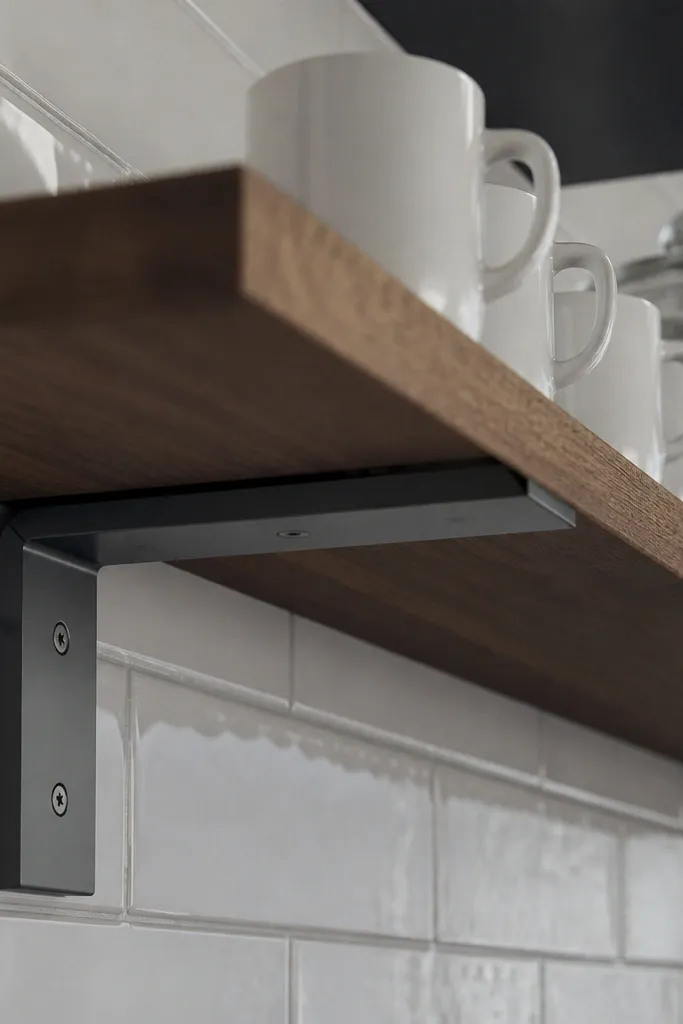
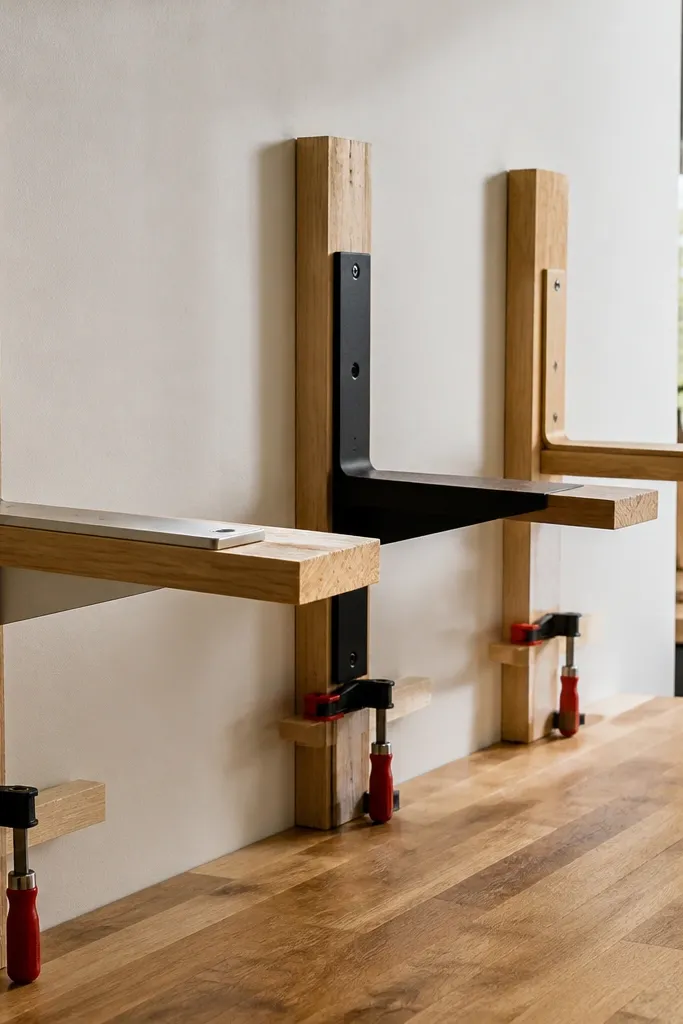
This is the bracket style I’d pick first for kitchen floating shelves if you want reliable strength. The underside lip grabs the shelf bottom so the shelf can’t easily peel upward or rock when you load mugs and jars. Metal keeps its shape under repeated weight cycles, which matters in a kitchen where you’ll bump shelves and reload them constantly. It also hides fasteners behind the shelf, so the front stays clean and “floating.” For beginners, the install is straightforward once studs are found, and the result looks sharp with both light and dark wood shelves.
Start by locating two studs and marking their centers. Position the bracket so the lip supports the shelf underside, then pre-drill pilot holes through the bracket using a 1/8 inch bit for most screws. Use screws that reach the stud by at least 1.5 inches, then tighten until snug without stripping. Dry-fit the shelf so you can confirm the lip seats fully before final tightening. Finally, add a thin furniture pad or felt strip where the shelf meets the bracket only if you see a tiny gap that could rattle.
Editor's noteUse a 4-foot level and check both the stud-to-stud line and the bracket lip height before you drive the last screw.
Skip thisDon’t mount into drywall anchors for a “floating” look; it fails more often than people admit.
2. Adjustable rail brackets with hidden leveling slots
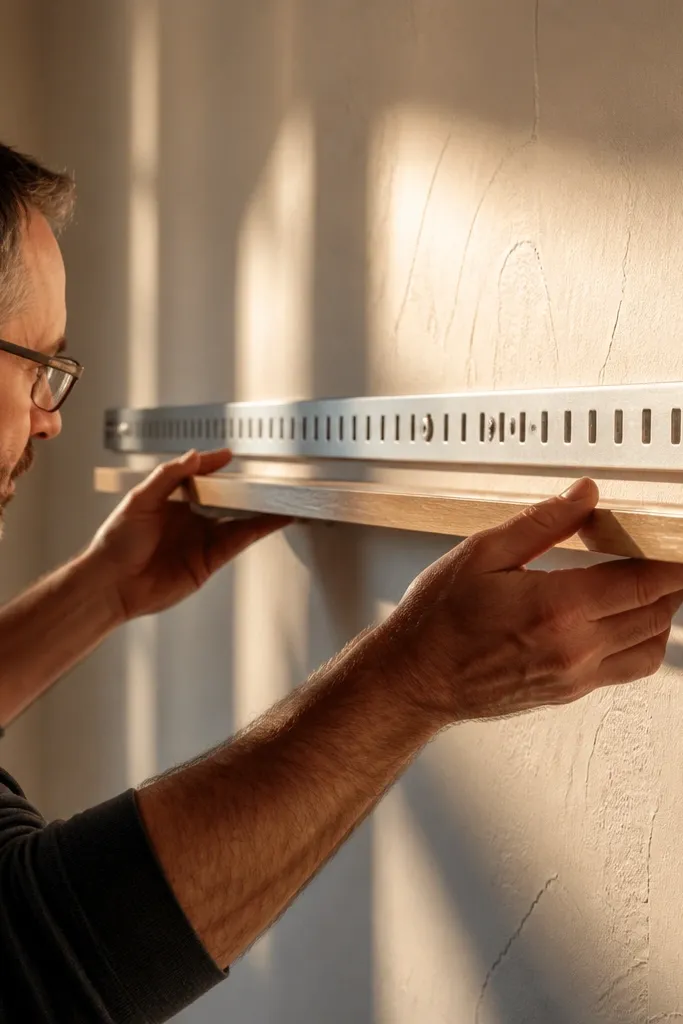
If your wall has old plaster ridges or paint bumps, adjustable rail brackets make the whole project less stressful. The slots let you fine-tune height while the bracket stays aligned to studs, so you don’t end up with one corner lower than the other. The metal rail spreads load across a slightly larger contact area, which helps prevent the shelf from feeling “springy” when you set down a heavy bowl. This style also keeps the front clean because the hardware is buried behind the shelf face. It’s a strong pick for kitchens because it stays square and resists long-term sag.
Mark stud centers, then mount the rail brackets using two screws per side in the slot area. Level the rail by installing one bracket first, then use a straightedge across both rails to set the second at the same height. Pre-drill pilot holes so screws pull in cleanly instead of twisting the rail. Once both rails are fixed, test-fit the shelf bottom to confirm it fully engages the hidden lip or hanger point. Finish by tightening all slot screws and wiping away any dust so the shelf sits flush.
Editor's noteSnap a chalk line at shelf height, then measure down from the line to the bracket lip so both sides match even if the wall isn’t flat.
Skip thisDon’t tighten one side completely before you set the other; you’ll lock in an off-level shelf.
3. Rust-resistant steel brackets for steam-heavy kitchens
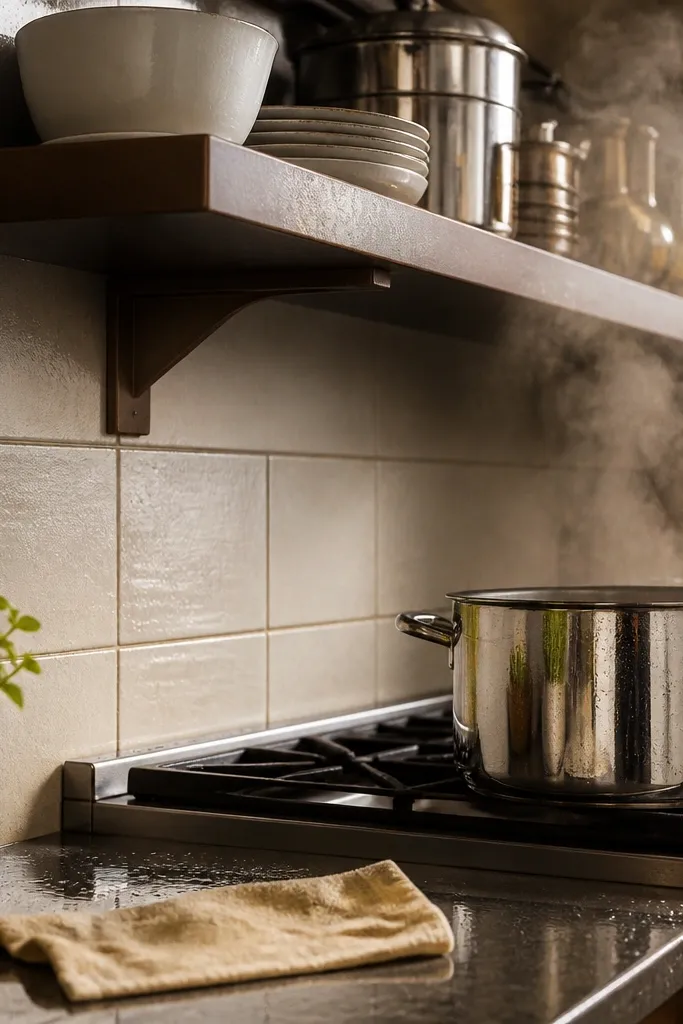
Kitchens are brutal on hardware finishes. If you wipe shelves with damp cloths or you’ve got steam from a range nearby, rust-resistant steel finishes reduce ugly spotting and loosening over time. This bracket type is still beginner-friendly because the install method is the same as other concealed metal brackets: mount to studs, clamp the shelf underside, and hide the screws. The payoff is practical — the bracket stays crisp-looking and doesn’t develop corrosion around screw heads. Pair it with a sealed wood shelf so moisture can’t creep into the bracket area.
Choose a bracket with zinc-plated or stainless hardware and a powder-coated body. Locate studs and mount the brackets at the same height using pilot holes and screws long enough to bite the stud securely. Seat the shelf so the underside lip engages fully; if the shelf is thick, check that the lip clears without forcing. Apply a food-safe finish to the shelf top and edges, then let it cure fully before loading. Do a gentle weight test by placing a few books and nudging the shelf — you should feel no rocking at the front edge.
Seal the shelf underside too, not only the top, because moisture travels through end grain and can reach bracket edges.
Don’t use raw, unsealed wood shelves in kitchens; bracket-area swelling makes “floating” shelves look crooked.
4. Solid wood corbel brackets with a wide contact face
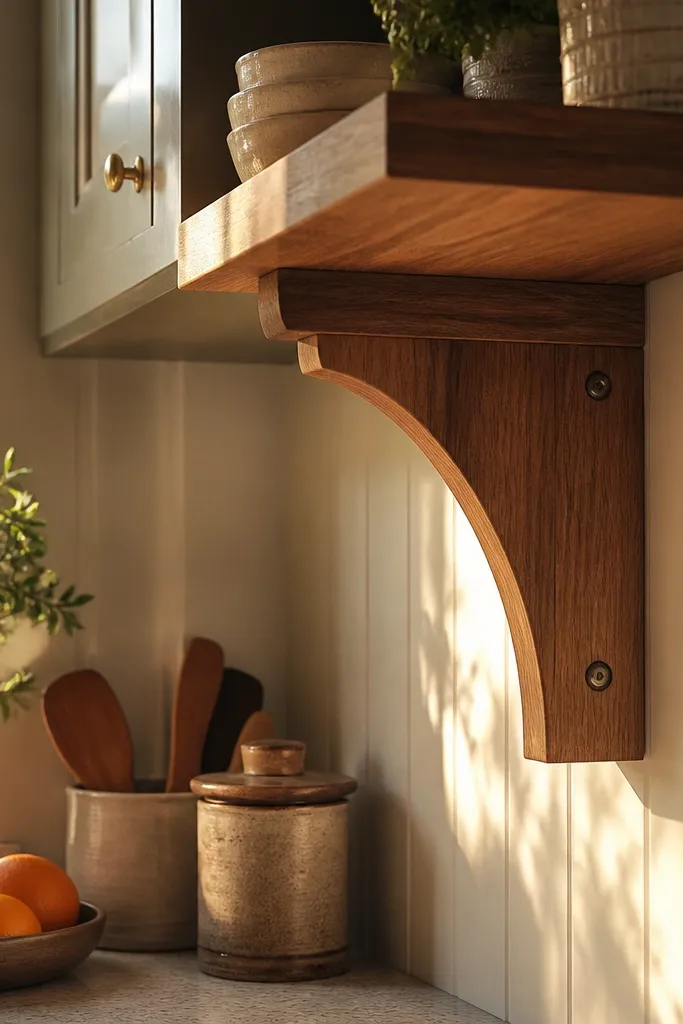
Wood corbel-style brackets give you the warmest look, and they can be strong if the contact face is wide and the screws bite into studs. The key is that the bracket supports the shelf with friction and a large wood-to-shelf glue or contact area, reducing wobble. For beginners, wood is easier to cut or tweak if your shelf ends up slightly off compared to the stud spacing. This is best for smaller shelves holding light decor, cookbooks that aren’t heavy stacks, or a few framed photos. In kitchens, wood brackets need sealing because splashes and steam can soften the surface over time.
Pick corbels sized to match your shelf depth so the bracket doesn’t stick out or leave a gap under the shelf. Pre-drill pilot holes through the corbel into the stud and use screws long enough to pull tight into framing. If the shelf is thick, test-fit the corbel position before committing so the shelf sits flat without rocking. Mount with a carpenter’s square to keep the corbel face true, then clamp the shelf in place to check alignment. Finish by sealing the brackets with a wipe-on polyurethane or varnish, especially on the underside where moisture hits.
Editor's noteIf your shelf is 3/4 inch thick, choose corbels with a matching top recess so the shelf doesn’t rely on just screw pressure.
Skip thisAvoid mounting wood brackets with short screws; wood can split and pull out even when the bracket “feels solid.”
5. Hybrid wood bracket with a concealed metal hanger insert
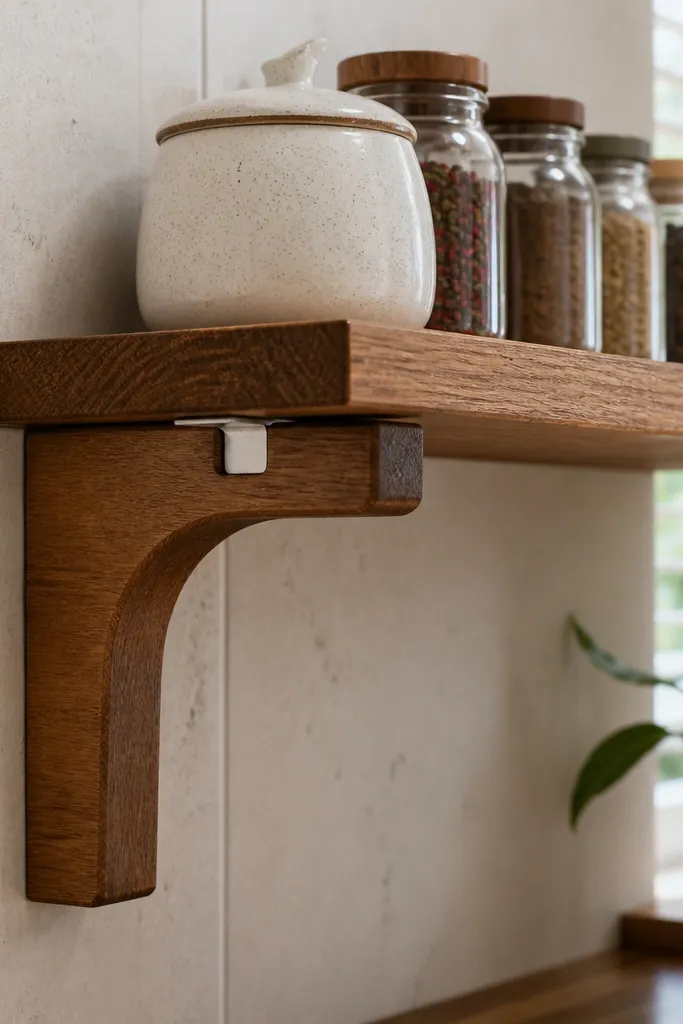
This hybrid approach is for people who want the wood look but don’t want to gamble on pure wood strength. The metal insert gives you a tougher mounting and a more consistent shelf engagement point, which helps prevent rocking as you load and unload kitchen items. You still get the warm front-facing bracket look, but the shelf attachment behavior is closer to metal brackets. It’s beginner-friendly because the metal piece gives you repeatable seating depth and reduces how much you have to “eyeball” the shelf engagement. Great for kitchens where you want a clean front and sturdy feel without visible hardware.
Start by confirming the insert’s hanger height matches your shelf thickness so the shelf bottom seats cleanly. Mark stud centers, then hold the bracket in place and pre-drill pilot holes through the wood body into the stud. Screw down the wood body, then test-fit the shelf to ensure the metal insert captures the underside lip or hanger point. If there’s any gap, fix it with proper bracket placement rather than forcing the shelf into position. Seal all exposed wood surfaces, including the bracket edges, and let the finish cure before loading.
Editor's noteUse a magnetic stud finder with a quick finishing nail check; hidden studs keep the hybrid bracket from drifting.
Skip thisDon’t rely on glue between shelf and bracket; use screws and mechanical seating first.
6. Wood back-support strip bracket for narrow shelves
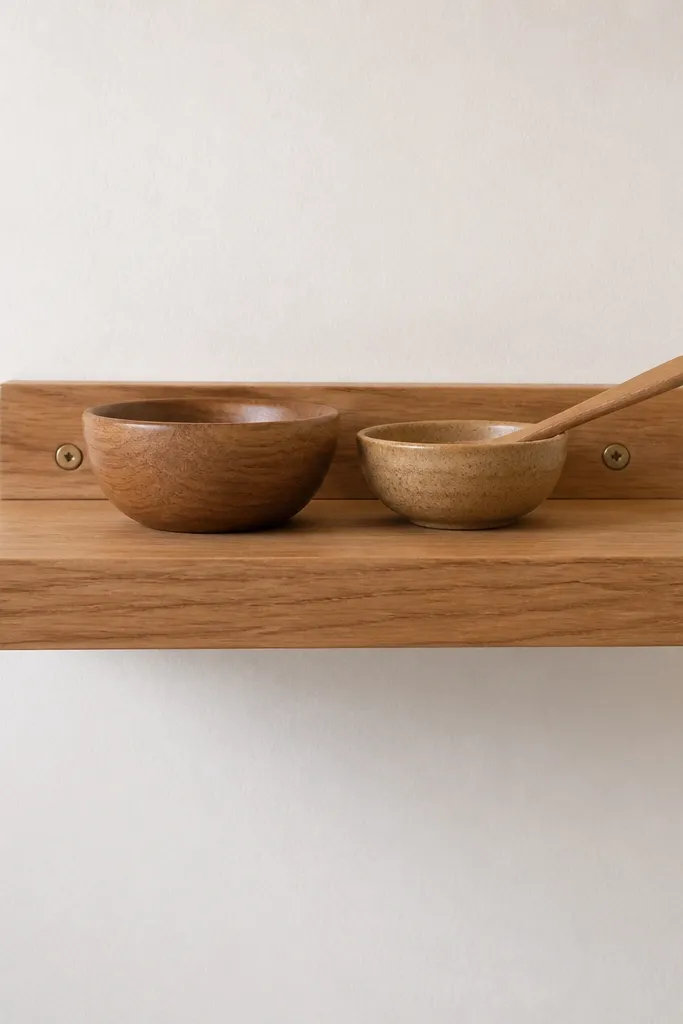
This bracket style works when your shelf is narrow and you can’t fit a full underside clamping lip. A back-support strip supports the shelf from the rear, which can look clean because the front stays flat and uninterrupted. It’s a decent beginner option when you’re building shorter shelves and the load is light, like spice jars in small quantities or a few decorative items. The trade-off is that it’s more sensitive to shelf alignment; if the strip isn’t perfectly level or square, the shelf can tilt when you add weight. In kitchens, it’s also more affected by wood swelling, so sealing matters.
Measure shelf depth and choose a strip bracket that matches the shelf underside so there’s full contact. Mark stud centers and mount the strip into studs using pilot holes and screws that bite deeply into framing. Dry-fit the shelf, then check level across the front edge with a 2-foot level. If the wall is uneven, shim behind the strip at stud points so the shelf sits flat. Seal the shelf underside and the strip, then let it cure before placing items.
Editor's noteUse two mounting points per shelf even for short shelves; twisting is the enemy with back-support designs.
Skip thisDon’t mount only one side of a narrow shelf; it will rack the first time you load it.
7. Metal "invisible" bracket pair with a shelf locking pin
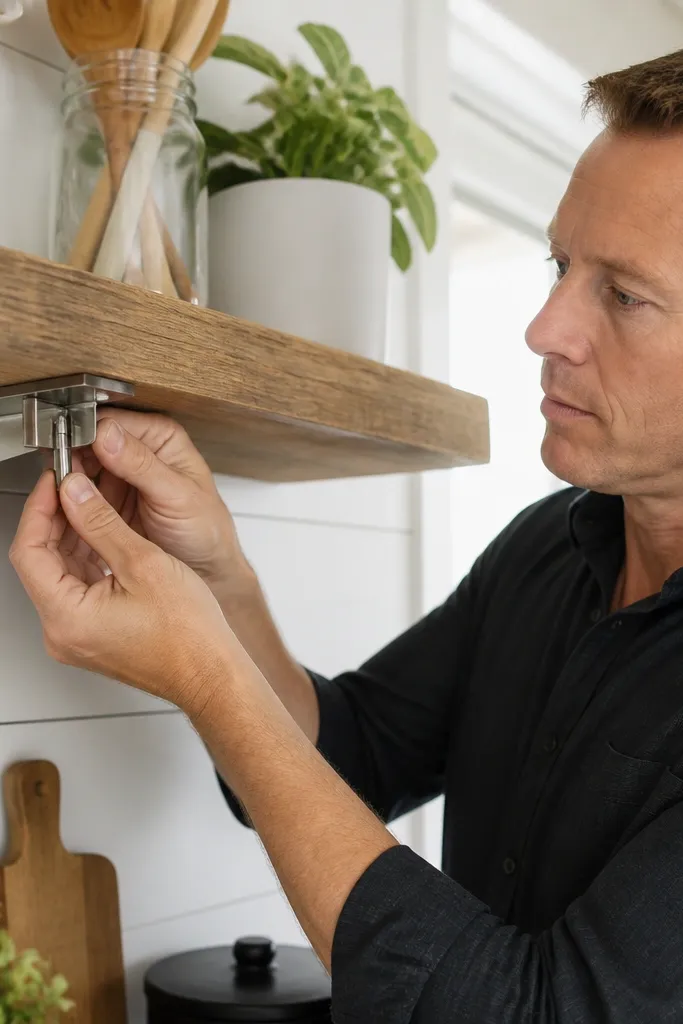
Locking-pin metal brackets are the most reassuring option when you want the shelf to feel locked in place. The shelf engages with a pin or latch, so once it’s seated you don’t get that subtle front-edge wiggle that some concealed brackets show. For kitchens, this is a big deal because vibration from doors and daily use can loosen a bracket that relies only on friction. This style also helps beginners because the shelf placement is more binary — either it locks or it doesn’t — which reduces guesswork. It looks clean because the locking mechanism hides behind the shelf.
Install the bracket bodies on studs using pilot holes and the correct screw size for the bracket’s mounting holes. Set the bracket height so the shelf bottoms align with the locking pin position. Hang the shelf carefully and check that the locking point aligns; adjust bracket height before tightening fully if needed. Once engaged, tighten the bracket screws and test by pushing gently at the front edge — it should resist movement. Finish by wiping the shelf contact area clean so dust doesn’t prevent full seating.
Keep a scrap piece of the shelf thickness nearby and use it as a spacer to confirm engagement depth before the final lock.
Don’t force the shelf into the lock; misalignment can chip wood and create a permanent gap.
8. Steel bracket with spacer shims for imperfect studs
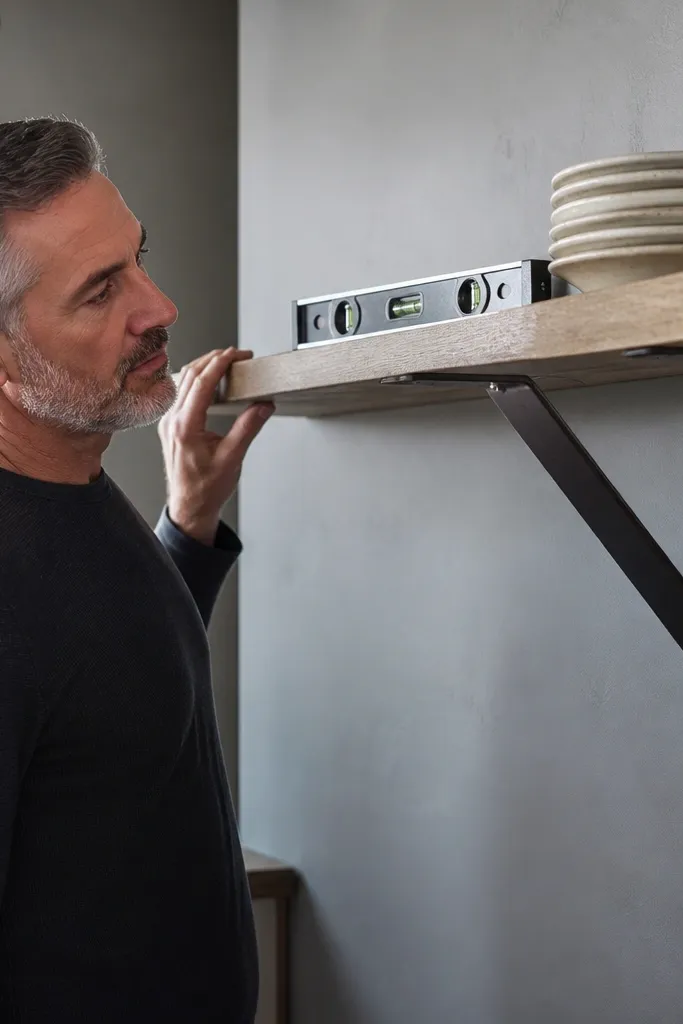
Some walls have studs that aren’t perfectly in line, especially in older homes or after renovations. A steel bracket system paired with thin shims lets you keep the shelf level without over-tightening screws that would bend the bracket. It’s a smart beginner-friendly approach because it turns a “my shelf is crooked” problem into a controlled fix. Metal also tolerates minor wall irregularities better than wood-only brackets because it doesn’t warp and it stays square. Use this when you want the clean floating look but your stud layout isn’t perfect.
Dry-fit the bracket against the wall at the marked stud location and check level with a straightedge. If one side sits proud, slide thin plastic shims behind the bracket at the screw points, then re-check level. Pre-drill pilot holes and drive screws through the bracket and shims into the stud. Tighten until snug, not crushing, so the bracket stays straight and the shelf sits flat. Install the shelf and confirm full underside contact along the lip before loading anything heavy.
Use thin shims that match the screw holes and keep them near the mounting points, not spread across the whole bracket face.
Avoid thick shims that force the bracket to bow; that creates a shelf twist.



