
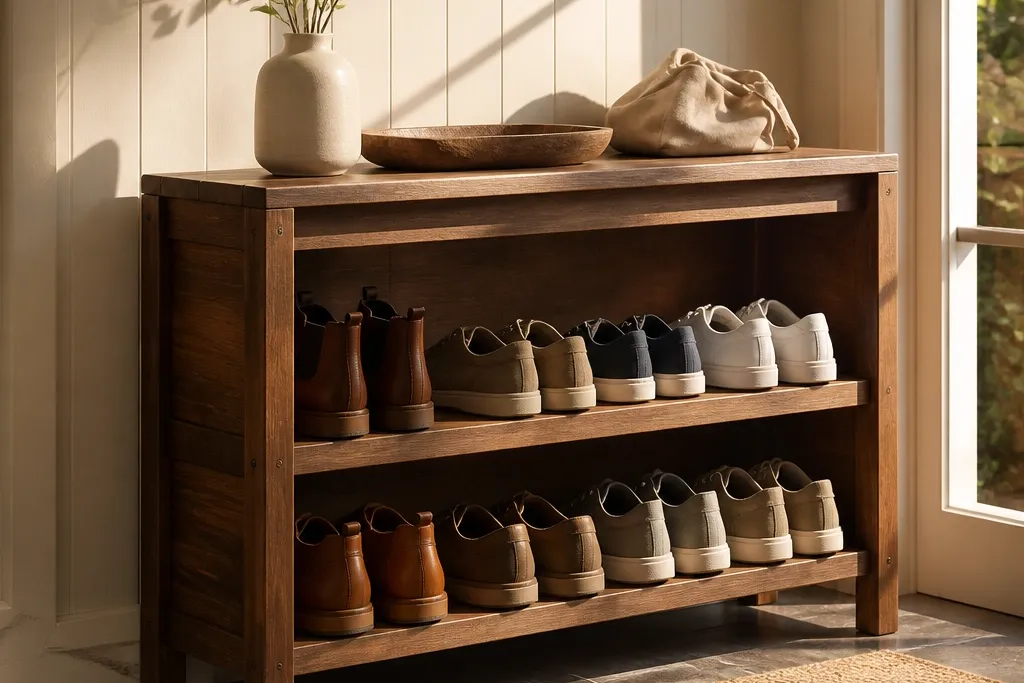
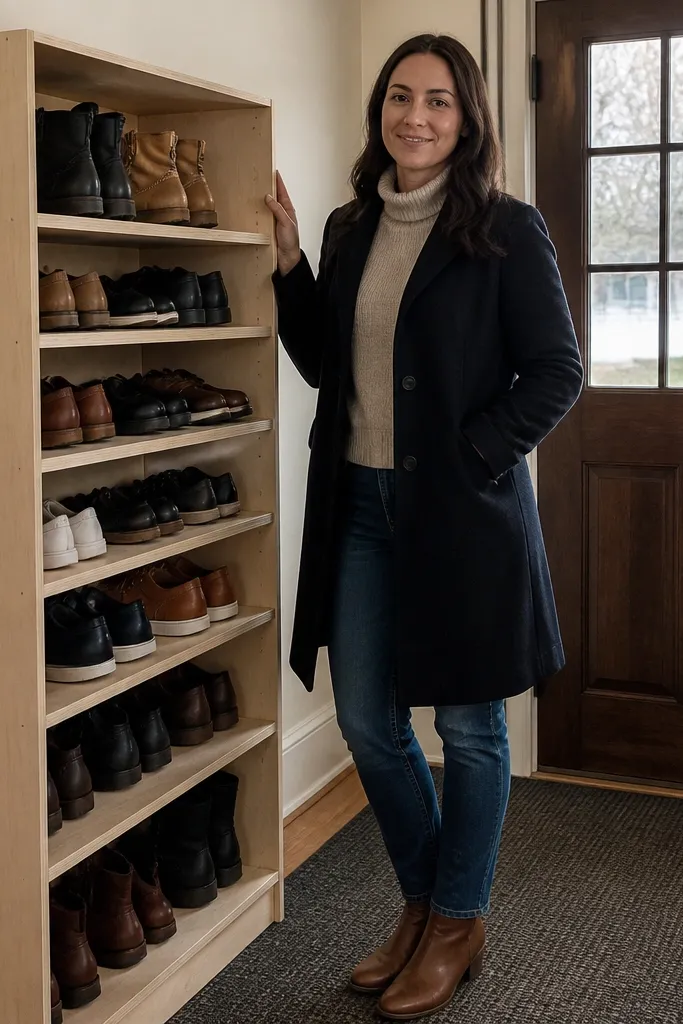
1. The 2x4 Slat Frame Shoe Rack with Hidden Back Panel
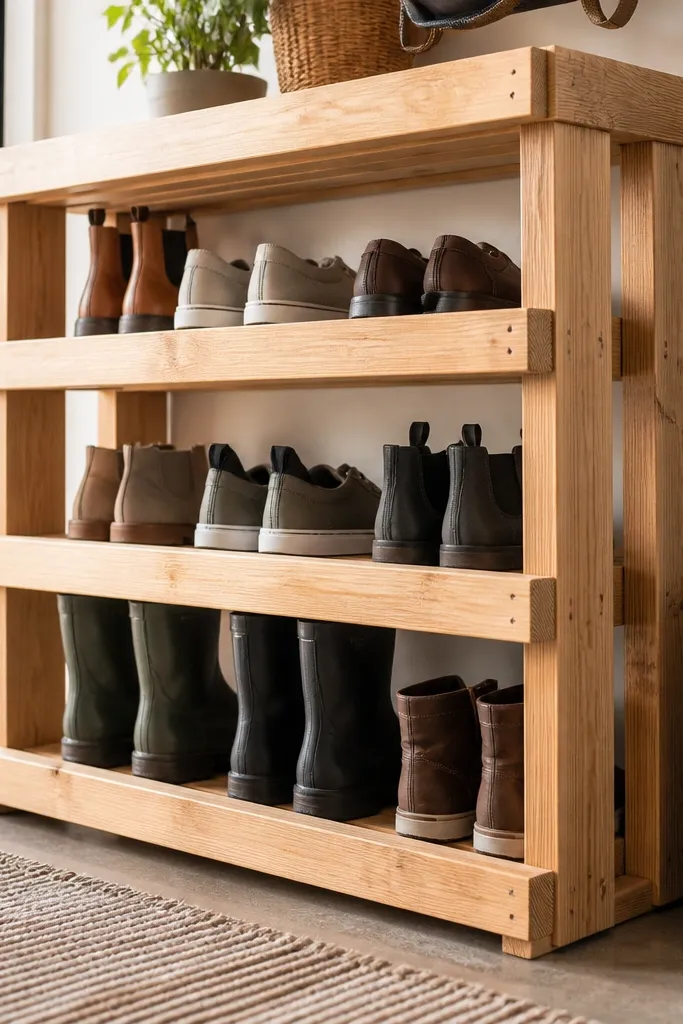
This is the “why is this so clean?” rack because the front looks airy while the back blocks the shoe pile visual mess. The frame uses 2x4 rails for stiffness, and the shelves are simple slats that show airflow and keep odors from trapping. You get strong storage without fancy joinery — just straight cuts and a square build. It works great for entryways where you want shoes visible enough to grab quickly, but not messy.
Start by building a rectangle frame from 2x4s cut to your wall space width and height. Add internal rails at the shelf heights using 2x4 or 2x2 offcuts so each shelf has solid support. Then lay slats across the rails with screws, and add a thin solid back panel (1/4-inch plywood or hardboard) behind the shelves to hide gaps. Finish by sanding edges and applying a wipe-on polyurethane or water-based clear coat on the front faces.
Pre-drill slat screw holes so the wood doesn’t split, then countersink just enough for flush heads.
Don’t skip the back panel if you hate the “open shelf chaos” look.
2. Plywood Box Shoe Rack with Recessed Door-Stop Top
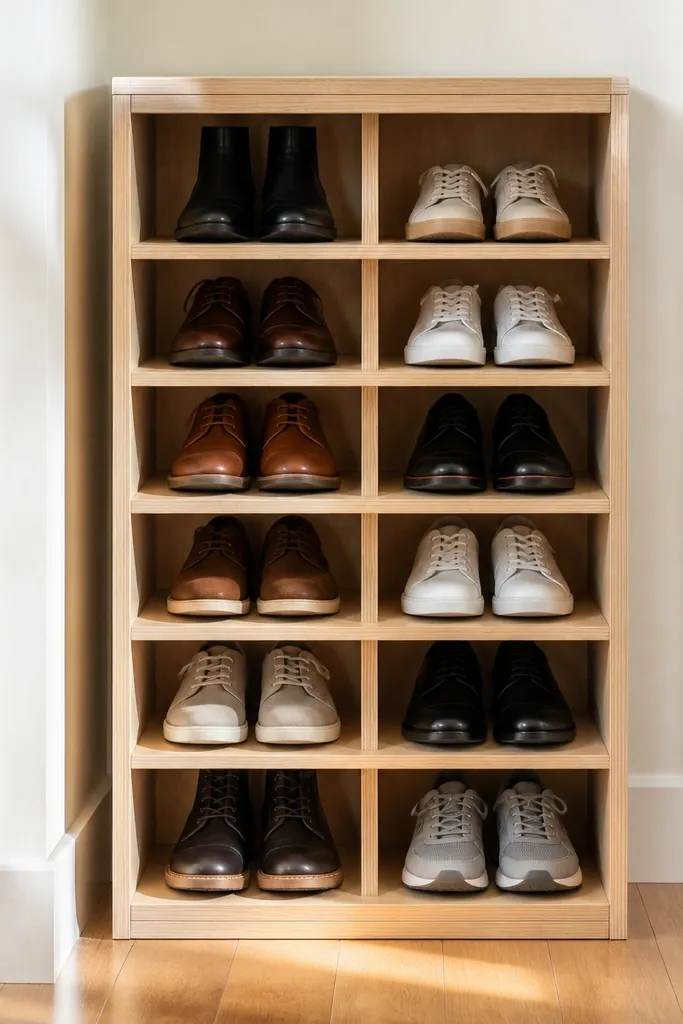
If your shoes collapse into each other, a box-style rack fixes it by giving each pair a defined space. Plywood sides create straight, crisp edges that look built-in even though the build is straightforward. The recessed top rail acts like a door stop so shoes sit consistently and don’t slide forward when you toss them in fast. This one is ideal for small spaces because it uses vertical height without making the unit feel tall and thin.
Cut plywood panels for two side walls, a back, and a top frame, using 3/4-inch plywood for stiffness. Install internal dividers using 1/2-inch strips so each compartment has a consistent width for sneakers and flats. Add a shallow recessed top strip so the shoes rest against it instead of drifting. Screw everything together, check squareness by measuring diagonals, then seal with edge-friendly finish like polyurethane.
Measure diagonals after assembly; if they don’t match, fix the frame before you add dividers.
Don’t use 1/2-inch shelves if you want it to stop sagging under daily shoe weight.
3. Staggered Ladder Rack with Adjustable Shelf Cleats
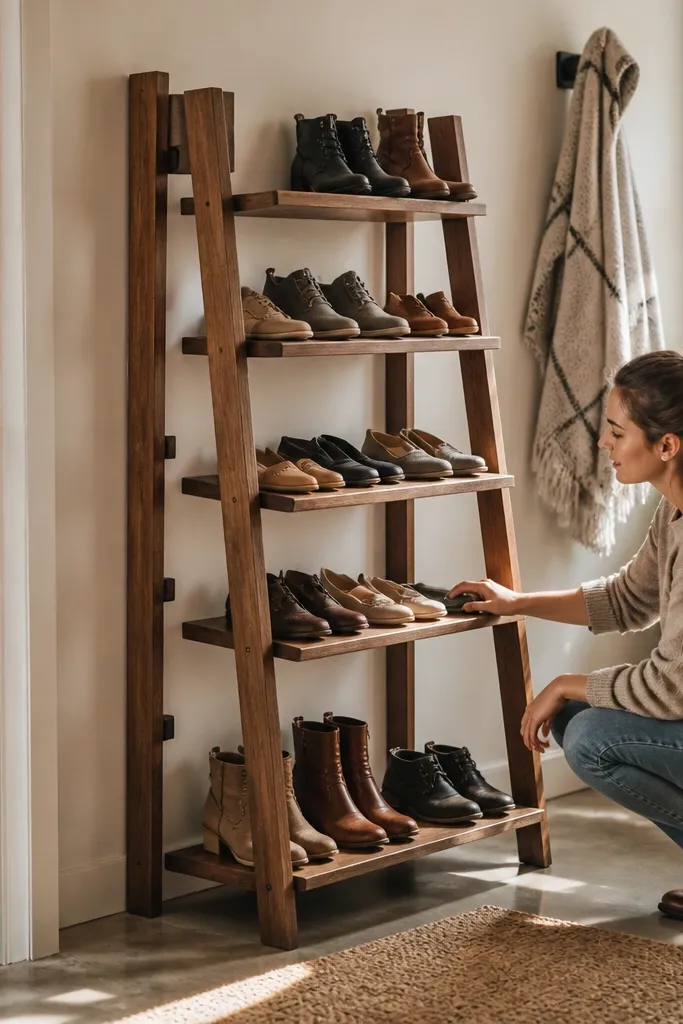
This design upgrades the classic ladder rack by making the shelf heights adjustable. Staggered levels look stylish, but the real win is flexibility: you can set the gaps for flats one week and boots the next. Use cleats instead of fixed shelf positions so the rack adapts to your actual shoes. It’s a good fit for hallways where you want a vertical storage piece that doesn’t take up much floor area.
Build two ladder side rails from straight 2x2s or 1x3s, and mark shelf positions with a consistent spacing grid. Instead of screwing shelves directly, install cleats (small strips) at multiple heights along the rails. Cut shelves to the width you need, then screw them into the cleats for each configuration. Sand, then apply a clear coat to all shelf surfaces so wiping up shoe scuffs is easy.
Use a shelf lip — even 1/2-inch — to stop shoes from sliding off the front edge.
Don’t rely on shelf screws alone into end grain; cleats spread the load and prevent loosening.
4. Narrow Hallway Shoe Rack with 3-Board Depth and Flip-Top Tray
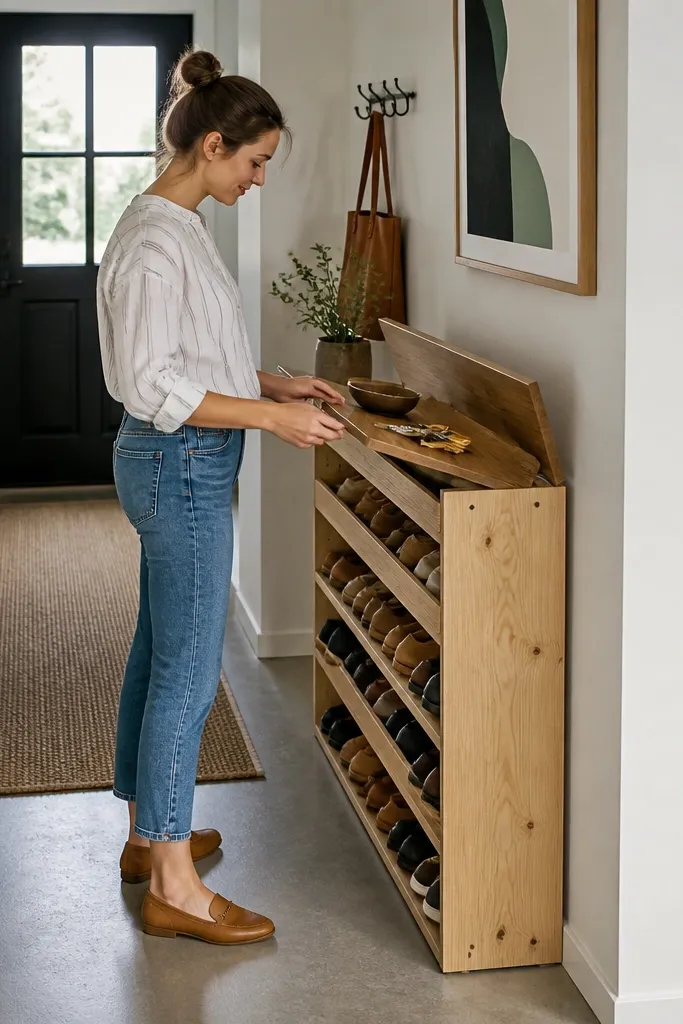
For tight entryways, the best “after” is what happens above shoe level. This rack keeps shoes in two rows while adding a flip-top tray for keys or small items, so the floor stays clear. It uses a shallow 3-board depth so it doesn’t stick out into the walkway. The flip-top also solves the “where do I put stuff” problem that usually ruins a clean shoe area.
Cut two side panels and two fixed shelf boards using 3/4-inch wood, making the depth shallow (around 8-10 inches). Add a middle divider board so you get two rows with consistent spacing. Build a simple top tray from a thin board with a hinged back edge, then attach it above the rack. Finish by rounding edges that touch hands and applying a wipe-clean topcoat.
Use a soft-close hinge or a friction hinge so the tray doesn’t slam and loosen over time.
Don’t make the depth 12+ inches in a narrow hall — it blocks door swing and kills the neat look.
5. Reclaimed-Board Style Shoe Rack with Fixed Toe Kick Rails
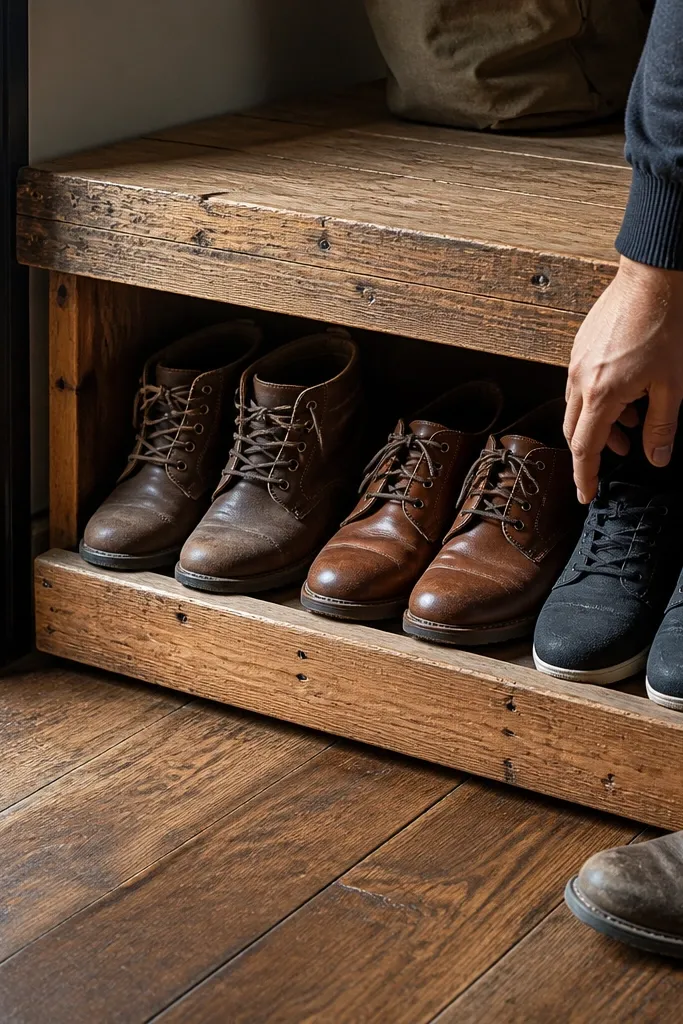
This is for people who want “warm wood” without buying new furniture. Mixed reclaimed boards can look great, but they need a plan so the shoes don’t slide and the rack doesn’t look random. Toe kick rails at the front create a straight resting line for shoes, so even imperfect board widths still look intentional. It’s best in a casual entryway where you want character but still want the before-and-after neatness.
Sort boards by thickness and sand them flat enough to sit evenly on the supports. Build a frame from straight lumber, then attach toe kick rails along the front edge at about 1 inch tall. Install shelves using the mixed boards laid across the rails with even spacing. Seal the top surfaces with a clear coat that won’t turn blotchy, then stain only if the boards are already consistent in color.
Editor's noteIf the reclaimed boards are uneven, shim under the low spots with thin scrap strips before screwing.
Skip thisDon’t leave sharp reclaimed edges — shoe scuffs will catch and ruin the look fast.
6. X-Brace Shoe Rack with Two-Shelf Storage and Cable Tie Back
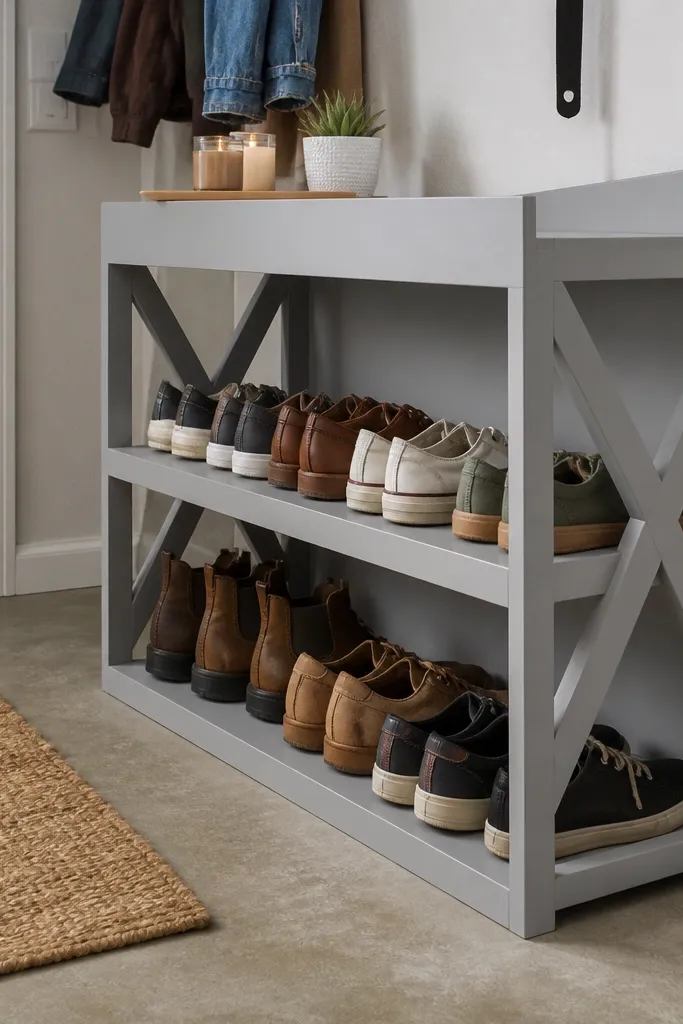
Wobble is what ruins DIY shoe racks, and X-bracing is the fix. This rack uses an X pattern between side frames so the shelves stay rigid even when shoes get shoved in quickly. The two-shelf layout keeps it simple, and the bracing also hides the “inside mess” so the front looks tidy. It’s a strong choice for renters who need something stable without heavy joinery.
Cut side rails to your desired height, then cut diagonal brace pieces to fit snugly between them. Assemble the frame with screws, add the X braces, and check for square before you tighten everything. Install two shelves across the frame with support cleats so the shelf can’t flex. Add a thin backing or fabric-backed hardboard to block shoe visibility, then apply finish to the shelf tops.
Tighten diagonal braces after you confirm the frame is square; once it’s locked, it stays locked.
Don’t skip a shelf support cleat; flat shelf boards without supports flex and loosen over time.
7. Vertical Slot Shoe Rack with Thin Slats for Boots and Sneakers
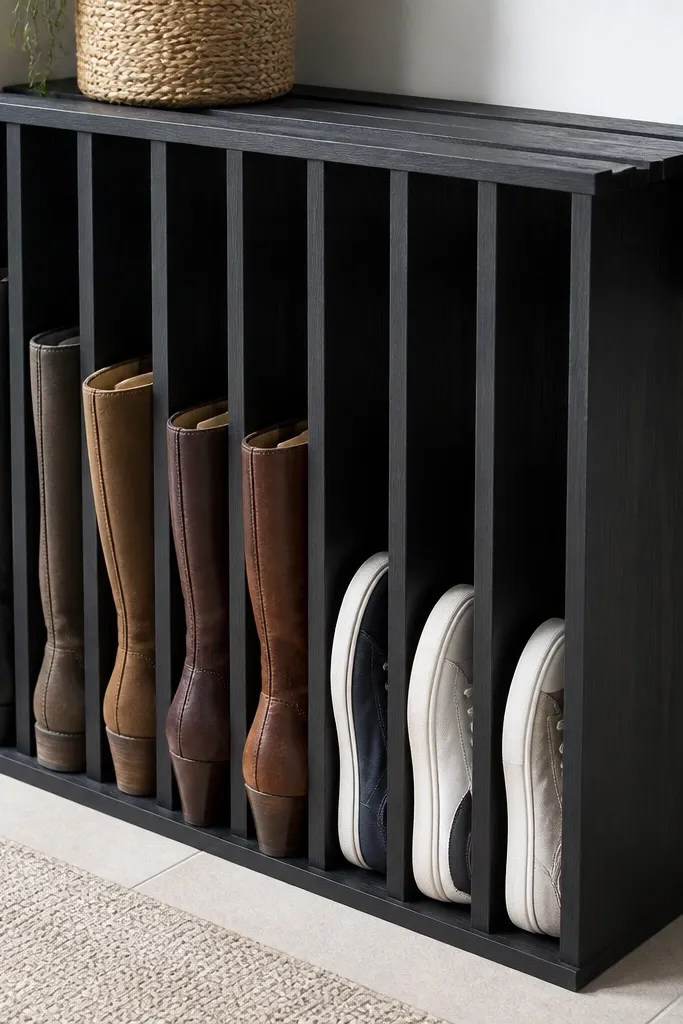
This one is a visual tidy-up because shoes stand upright in slots instead of stacking sideways. Vertical slats also let you see what you own, which reduces the rummaging that turns floors into piles. It’s especially good for boots and sneakers because you control slot width and shelf height. The look is clean and modern, but the build stays budget-friendly because you’re using thin strips and simple framing.
Build a back frame and two side uprights from 1x3 or 2x2 lumber, then decide slot spacing based on your widest shoes. Cut thin slats (around 1/2-inch thick) and attach them to the frame with equal spacing using spacers. Add a bottom shelf board for stability and a top rail to keep slats from bowing. Sand edges, then seal with a clear coat that handles scuffs.
Use a spacer block to set every slot gap so the rack looks intentional, not “handy.”
Don’t make slot gaps too tight for boot shafts — you’ll end up forcing shoes and loosening slats.
8. Corner Triangle Shoe Rack with Angled Shelves and Stops
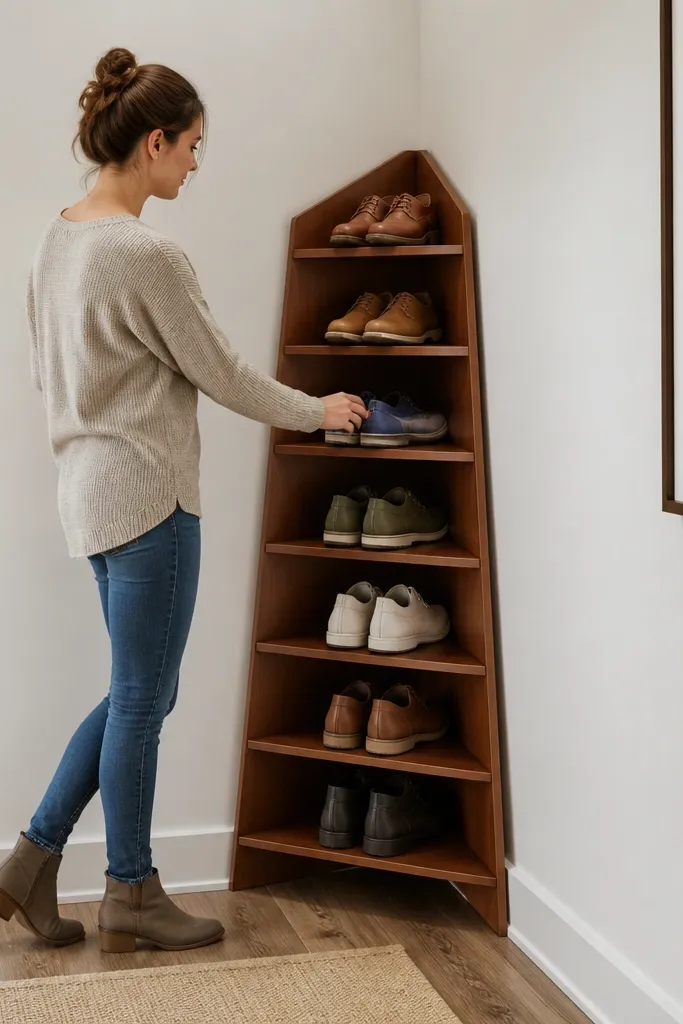
Corner storage is where shoe piles go to hide, so cleaning them up has a big payoff. A triangle rack fits the corner without eating hallway space, and angled shelves help shoes slide into a consistent resting position. Add front stops so shoes don’t migrate forward and spill out. This design looks custom because the geometry is the point, not because you used fancy hardware.
Measure the corner and sketch a triangle footprint, then cut side panels to match the angles. Build shelves with a slight slope so each shelf naturally encourages shoes to sit back against the rear. Install front stop strips on each shelf so shoes don’t fall out when you grab quickly. Screw and glue joints, then finish the whole unit with a wipe-clean topcoat.
Dry fit every shelf before final screws; corners punish small mistakes.
Don’t build it with only one side panel — triangle racks need cross bracing to stay square.
9. Rolling Shoe Rack on Wood Base with Locking Casters
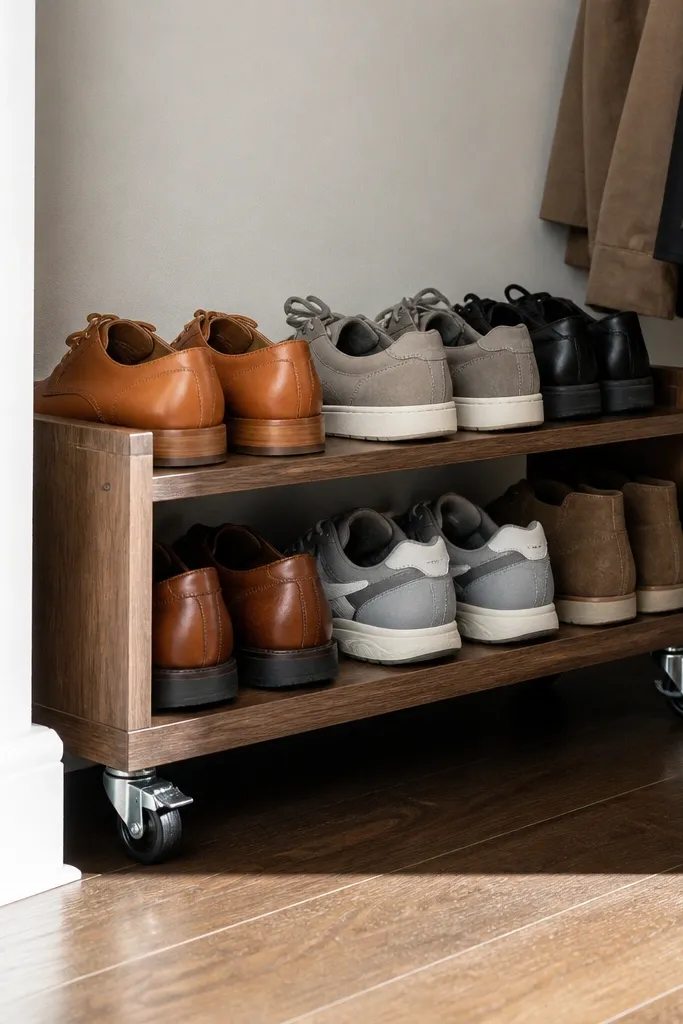
If your entryway is tight but you still want access, rolling storage is a practical upgrade. This rack has a wood base and two shelves, then wheels it into place when you need it and locks it down when you don’t. The after look is clean because the rack can be moved out of sight when guests come over. Use it for sneakers and flats; boots need extra height adjustments.
Build a simple rectangular base frame from 2x2 lumber, then attach two shelves across internal rails. Install four locking casters in the corners, checking that the rack sits level and doesn’t rock. Add a back panel or slat backing to keep the inside from looking cluttered. Sand everything, then seal the wood so scuffs from moving don’t turn ugly.
Editor's noteBuy casters with a metal plate and 3-inch wheels so they roll over entry rugs without snagging.
Skip thisDon’t use non-locking casters — a rolling rack that slides is a mess waiting to happen.
10. Built-In Look Shoe Rack with Raised Back and Flat Front Lip
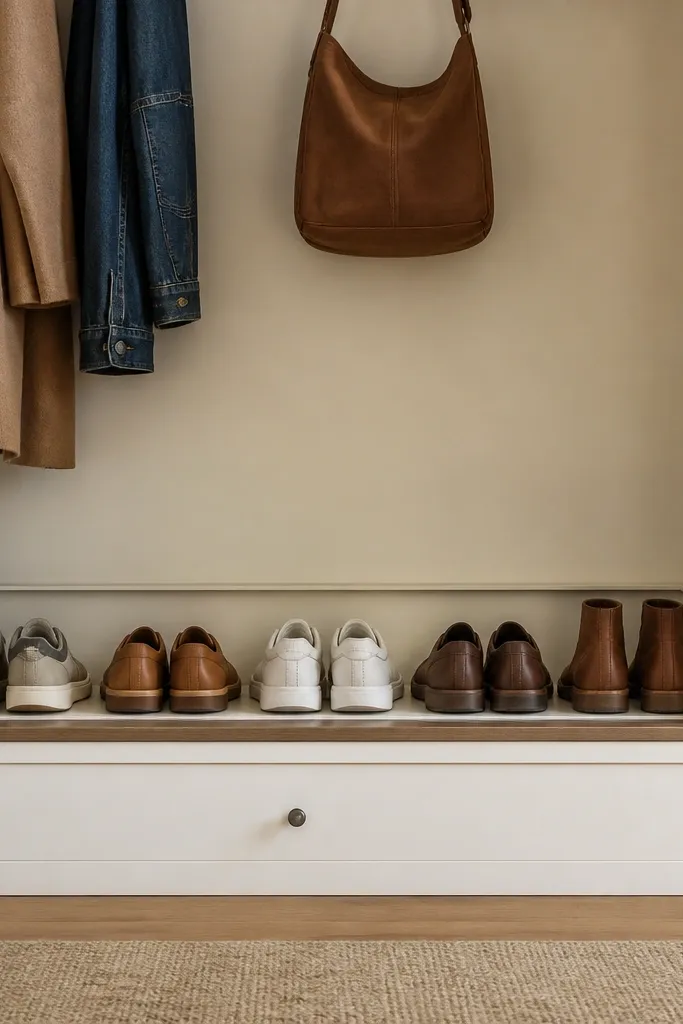
This is the rack that makes your shoes look lined up even when you toss them in fast. The raised back panel gives each pair a place to rest, while the flat front lip keeps them from sliding forward. It’s a clean, built-in look without actually installing into studs. This works well for people who want a tidy entryway but don’t want to deal with complex hinges or adjustable parts.
Cut a back panel higher than the shoe height and build two side panels that support shelf boards. Install shelf boards with a consistent depth, then attach the raised back board so shoes can’t drift backward. Add a front lip strip to prevent forward sliding. Finish with edge sealing and a clear coat on the top surfaces.
Editor's noteUse 1/2-inch lip stock so it’s thick enough to stop shoes but not so tall it blocks entry.
Skip thisDon’t make the back panel too short; if shoes can tip past it, the whole system fails.
11. Slim Shoe Rack with Shelf Pegs for Future Proofing
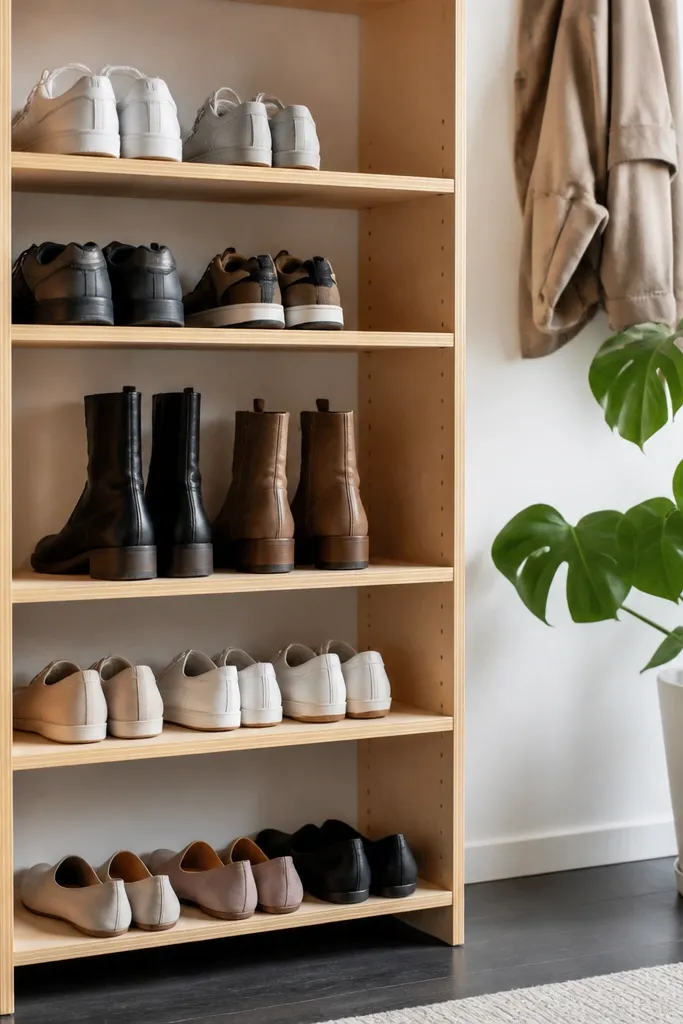
When you change shoe types over seasons, fixed spacing becomes annoying fast. Shelf pegs let you adjust the shelf height without rebuilding the rack, and that keeps the “after” look longer. The slim footprint is great for apartments where every inch matters. Use this when you want one rack that can hold flats now and boots later.
Build a narrow frame from 3/4-inch lumber and drill peg holes into the side rails at regular intervals. Cut shelves to fit between rails, then insert shelf pegs so shelves can move. Add a bottom shelf board for stability and a top rail to keep things from racking. Sand and seal all faces, paying extra attention to peg holes so moisture from damp shoes doesn’t swell the wood.
Label the peg positions with a small marker so you can reset shelf heights quickly.
Don’t drill peg holes too close to board edges; you’ll split the rail when you tighten shelves.
12. Bench-Style Shoe Rack with Lift-Up Lid Storage
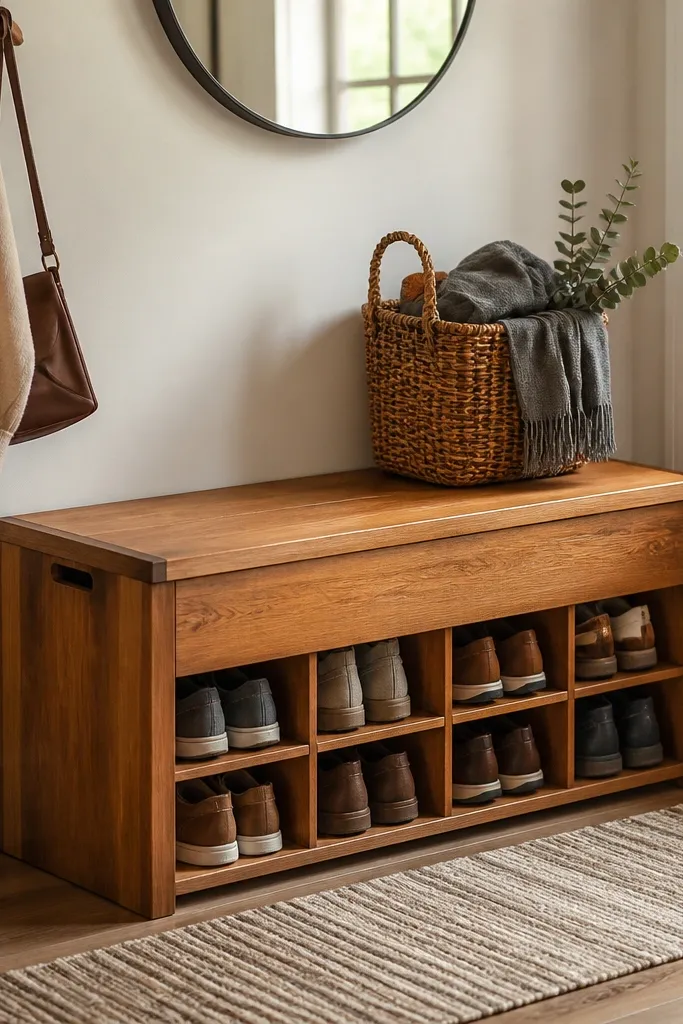
A bench-style rack cleans up the entryway because you get a landing spot for shoes and bags, not just storage. The lift-up lid hides extra pairs and keeps the top surface usable. This design works best when you want shoes out of view and you still need a place to sit while putting them on. Budget-wise, it’s mostly wood and hinges, but you need to build it stiff so the lid doesn’t sag.
Build a rectangular base frame from 2x lumber, then add a top lid frame from 1x boards with plywood skin or a solid board top. Install internal dividers to create shoe compartments, leaving enough height for your tallest shoes. Add hinges on the back edge of the lid and a simple lid prop or stay hinge so it holds open safely. Sand, then seal the bench top with a tougher finish like polyurethane.
Editor's noteAdd a soft-close hinge or a lid stay so the lid doesn’t slam and loosen fasteners.
Skip thisDon’t rely on thin plywood for the lid without a frame; it will warp and scrape.
13. Corner Entry Shoe Rack with Removable Drawer for Small Stuff
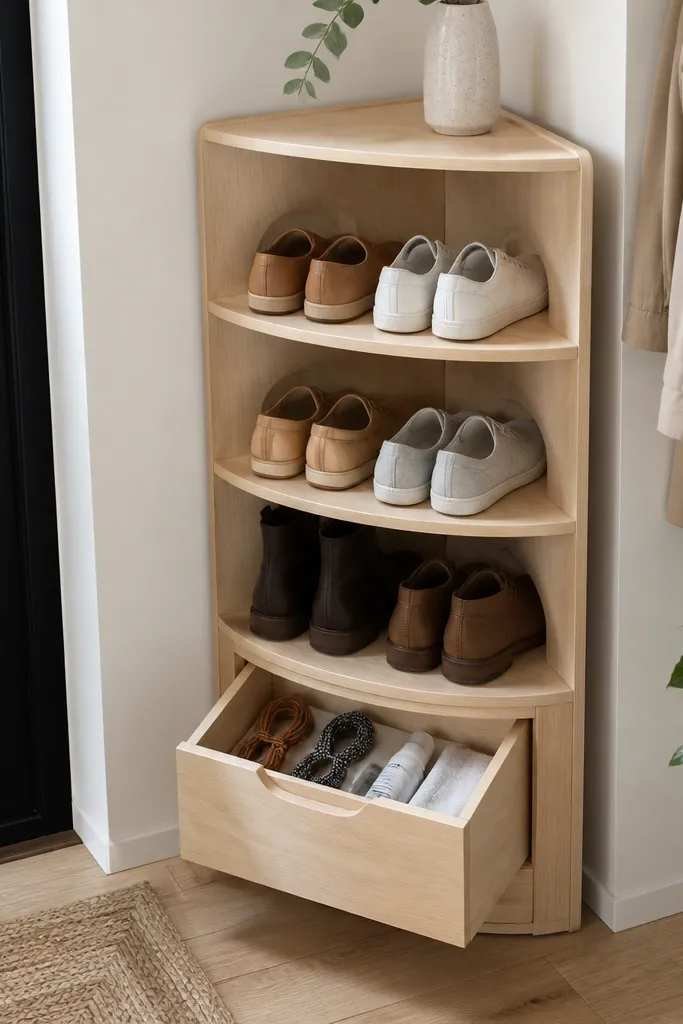
This fixes the annoying spillover problem: shoe care, laces, and sprays end up on the floor or on top of the rack. A removable drawer keeps small items contained so the before-and-after stays clean. The drawer also gives you a place for “stuff you need today” without turning the front into a cluttered shelf. It’s a smart add-on when your entryway is already short on surfaces.
Build the shoe rack body from 3/4-inch plywood or lumber with two rows of shelves. Add a drawer opening at the top front and build a shallow drawer box from 1/2-inch plywood with a simple front panel. Install drawer slides rated for light loads, then test fit before final sealing. Finish the rack and drawer faces, then pull the drawer out to coat the edges for durable wipe-clean surfaces.
Editor's noteUse a shallow drawer for shoe accessories; deep drawers waste space and turn into a junk pit.
Skip thisDon’t mount slides to thin side panels without reinforcement or the screws loosen quickly.
14. Open-Front Shoe Rack with Fabric Back for Dust Control
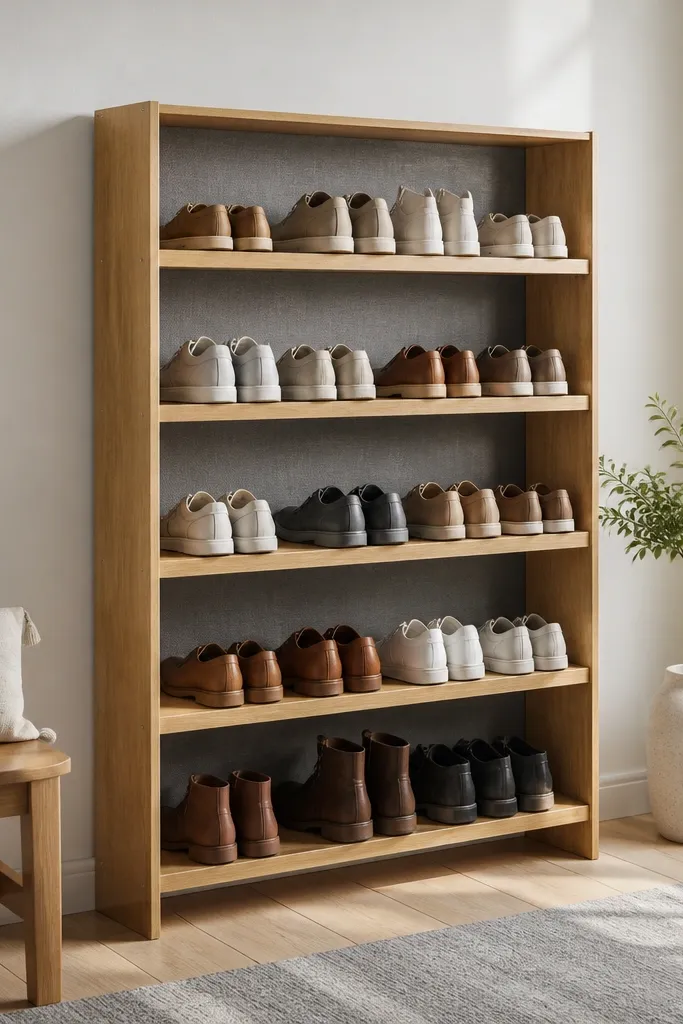
This is for people who hate bulky backs but still want the view to be clean. A fabric back behind open shelves blocks dust and hides the messy angles of shoe soles, while keeping the front light and airy. It also reduces scuffing because fabric absorbs tiny impacts. The look is modern and forgiving, especially if you have lots of different shoe shapes.
Build a standard open front rack frame from 2x2 or 1x3, then install shelves with internal supports. Staple or screw a breathable fabric panel (like canvas) behind the shelves so it sits taut and doesn’t sag. Add small wood trim strips around edges to keep the fabric from fraying and to make it look intentional. Sand and seal shelf tops so wiping shoe marks is easy.
Use a staple gun with a backing strip so staples don’t pull out when you move the rack.
Don’t use plastic sheeting — it looks cheap and traps moisture against the wood.
15. Wall-Mounted Wood Shoe Rack with French Cleat for Easy Leveling
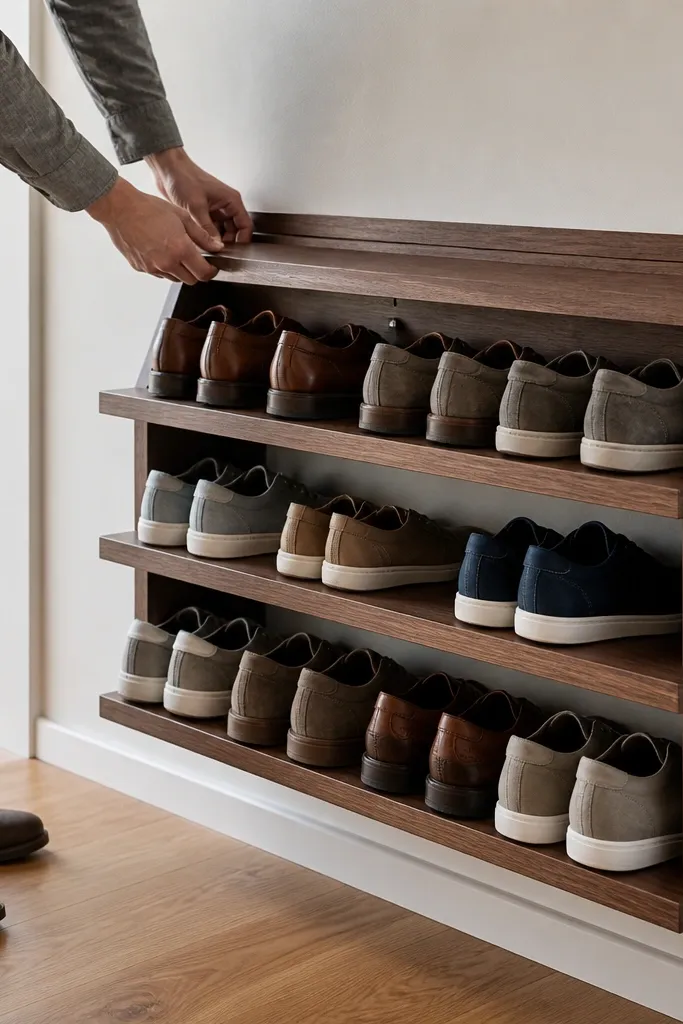
Wall mounting is the fastest way to get a floor that actually stays clear. This rack uses a French cleat so you can level it accurately and remove it later if you repaint or move. The shelves are small and sturdy, so it works for sneakers, flats, and small collections without turning into a bulky cabinet. It’s ideal for entryways where floor space is the real bottleneck.
Make a French cleat pair from 3/4-inch wood strips, with one strip mounted to the wall studs and the matching strip attached to the rack back. Build the rack body with two shelves supported by side rails that connect to the back cleat. Hang the rack by hooking the cleats, then add a safety screw through the lower edge if you want extra security. Seal the shelf tops and edges for clean wipe-downs.
Use a stud finder and mount at least two cleat screws into studs so the rack doesn’t flex.
Don’t mount into drywall anchors only; shoe racks get bumped and the failure is ugly.



