
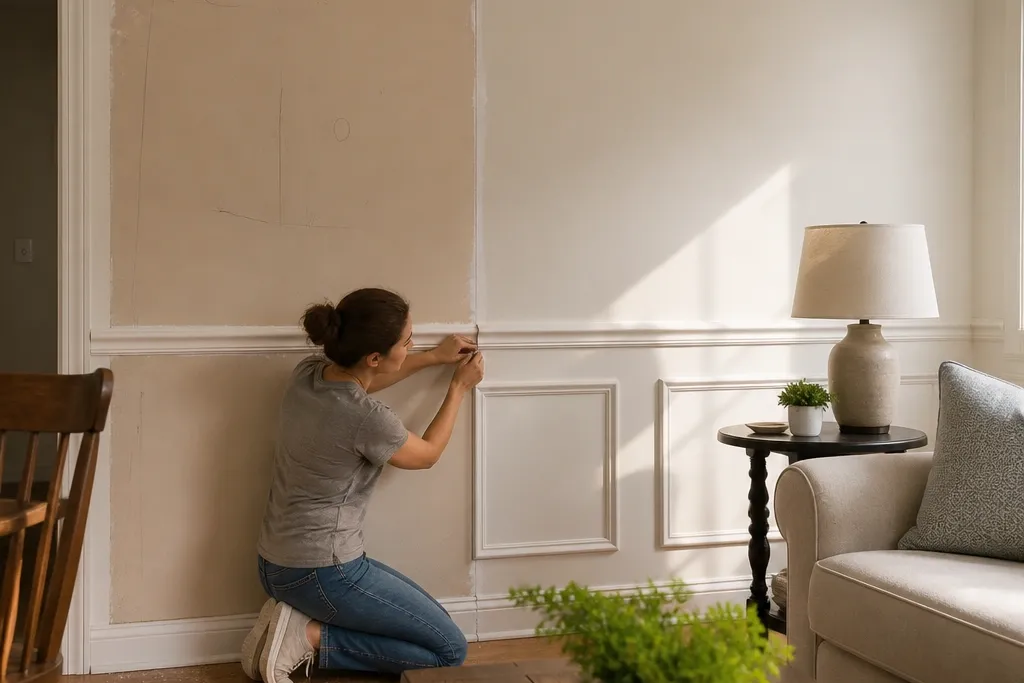
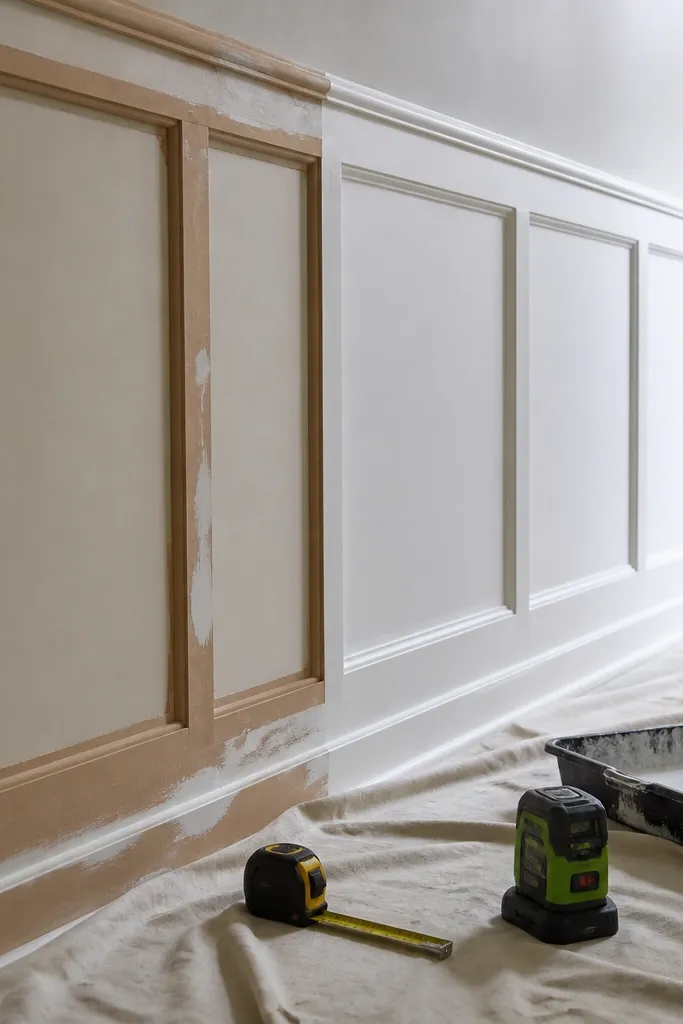
1. Chair rail that looks straight even on a wavy wall
A chair rail is the fastest way to create a “before and after” because it frames the wall and adds a second horizontal line that the eye trusts. The reason DIY versions often look wrong is simple: people snap a line, then fasten to the high spots and leave gaps where the wall dips. This fix uses a slightly smarter approach so the moulding sits consistently and the caulk line stays thin. You’ll end up with a crisp, gallery-like look that works in hallways, dining rooms, and bedrooms even if the wall isn’t perfect.
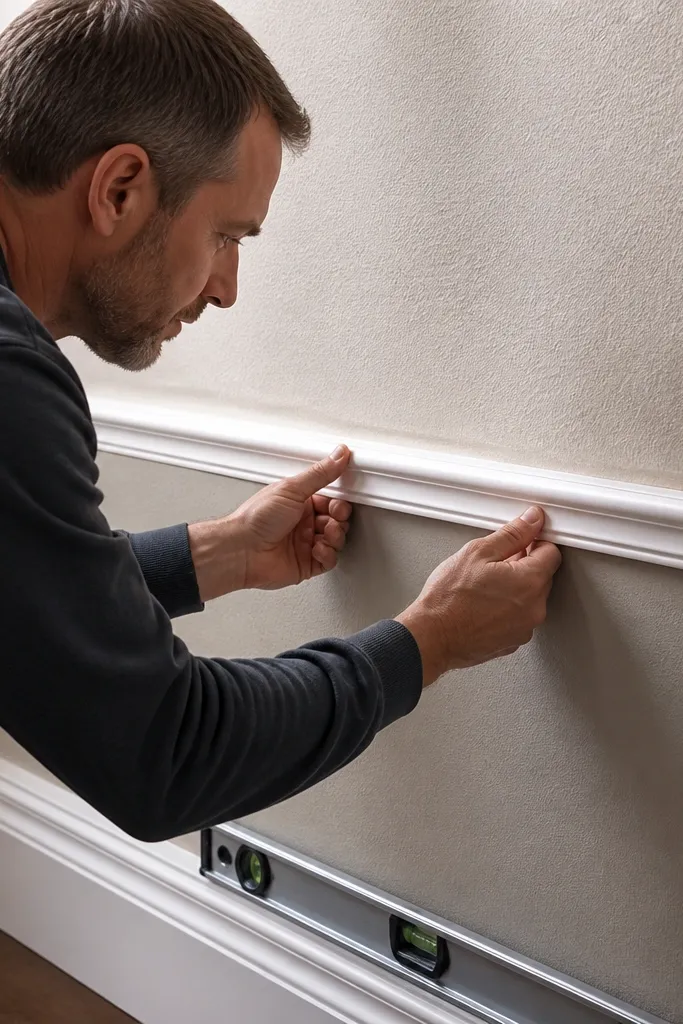
Start by finding your real reference line with a 4-ft level and pencil marks at high and low spots. Mark the chair rail height at both ends, then snap a line only after you’ve confirmed it stays level across the wall. Cut your rail in sections, dry fit, and check for daylight gaps at every joint before fastening. Fasten with a brad nailer, then fill nail holes with a paintable wood filler and caulk only the gap at the wall edge. Prime, sand lightly, then paint with a trim enamel so the caulk edge disappears.
Hold a strip of painter’s tape along the moulding edge as a visual guide while you caulk — it keeps the bead narrow.
Skipping dry fit is how you end up caulking a gap that’s too big, which cracks after the paint cures.
2. Picture frame panels with tight corners that don't look DIY
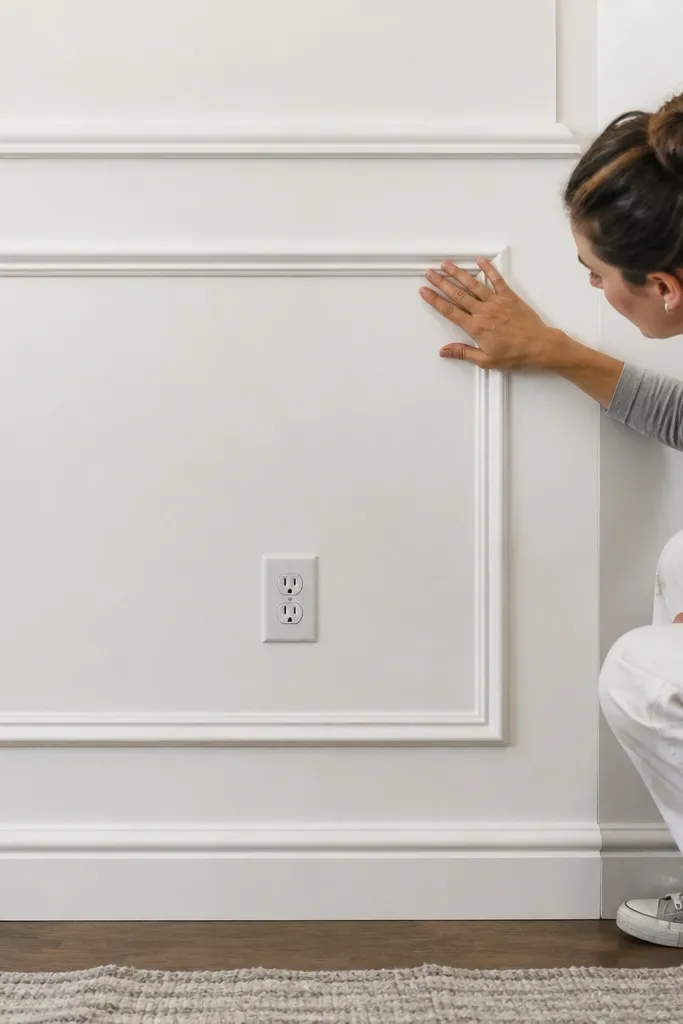
Picture frame moulding turns a flat wall into something architectural. The “after” looks sharp because each panel has crisp edges and consistent reveals. The common before problem is mis-measured panel sizes, so the grid ends up uneven and the eye catches it immediately. Another issue is corner treatment: people either rely on butt joints or use miters without accounting for trim thickness. Done correctly, you get repeatable squares that look custom even though the cuts are standard.
Measure the wall width and decide your panel size and spacing first — don’t start cutting. Use a consistent reveal width (like 1/4 in) around each panel by building a simple layout: outer frame, then inner squares. Cut the vertical and horizontal pieces, dry fit each frame section, and label them so the “top” and “bottom” pieces never swap. For corners, use miter cuts where the profile demands it, and fill the seams with a thin layer of wood filler before sanding smooth. Prime the whole grid, then paint in two coats with a small foam roller for even coverage.
If your walls aren’t square, make one long measurement adjustment at the outer frame and keep the inner panels consistent.
Cutting all pieces to “looks right” measurements without a full dry layout is how you get a grid that drifts.
3. Wainscot look with board-and-batten spacing that actually lines up
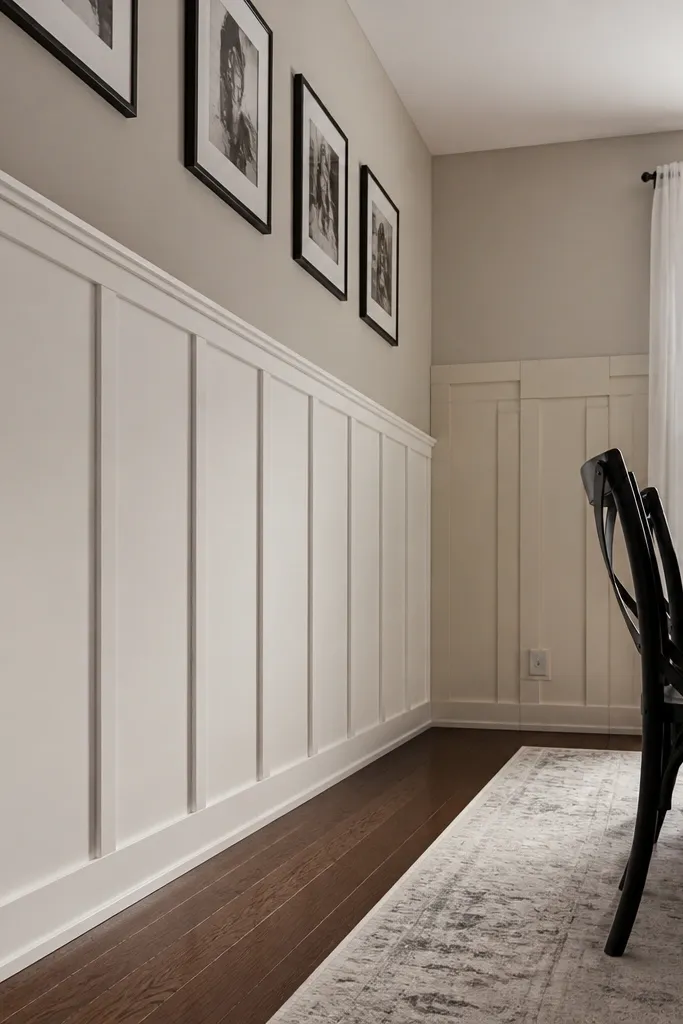
Pick your batten width and your reveal gap (example: 1 in batten with a 3/8 in gap). Measure the wall span and calculate how many battens fit while leaving consistent gaps on both ends — write the math down. Install the base horizontal rail first at the height you want, then mark batten centerlines on the wall using a tape measure and pencil. Cut battens, dry fit each one, and nail into studs when possible; if you’re landing on drywall, use construction adhesive behind the batten for extra hold. Fill nail holes, caulk all edges, prime, then paint the battens and rails in a satin finish.
Board-and-batten style moulding makes a wall feel taller and more structured. The transformation is dramatic because you’re adding both horizontal and vertical lines that break up a big surface. DIY fails usually come from sloppy spacing — battens don’t match each other, so the wall looks like it was measured by eye. This method creates a clean rhythm by locking the spacing to a single reference and keeping batten width consistent across the run. It’s great for entryways, stair landings, and rooms where you want texture without wallpaper.
Skip thisNailing battens without locating studs or using adhesive on drywall leads to loose edges and visible separation later.
Editor's noteUse a scrap spacer cut to the exact reveal width so every batten gap stays the same.
4. Crown line update that hides popcorn grit and looks crisp
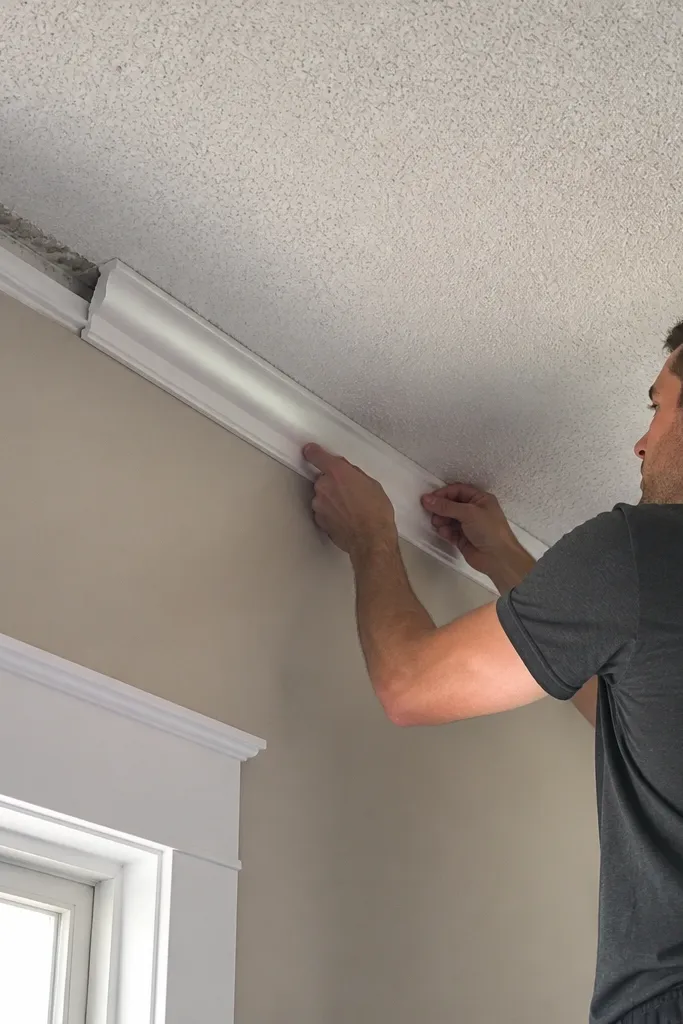
Updating or adding crown moulding makes a ceiling feel intentional, even if you don’t add full crown height. The “before” usually has messy edges because the ceiling texture or old paint dust prevents caulk and paint from sticking evenly. This project focuses on making the joint paint-ready so the moulding line looks sharp, not fuzzy. It works in living rooms and bedrooms where the ceiling is visible and the wall looks unfinished near the top.
Clean the wall and ceiling edge thoroughly, then scrape any loose paint or dust. Sand lightly where the moulding will touch so the surface is uniform, then vacuum again. Dry fit the crown pieces and mark where miters land; cut carefully and label left/right. Nail along the wall side into studs or use a combination of nails and construction adhesive if the ceiling area is weak. Caulk the top and bottom edges with painter’s caulk, smooth with a damp finger, then prime and paint with trim enamel.
Tape off along both moulding edges before caulking so you don’t smear caulk into the wall texture.
Caulking over dusty, chalky paint — it looks fine for a week, then peels or cracks.
5. Simple vertical accents that read like built-ins

Choose a layout: two vertical strips is easiest, plus a top and bottom rail if you want the frame look. Measure from a door casing edge or a corner, then mark plumb reference lines with a 4-ft level. Cut the vertical strips to height, dry fit, then nail through the ends into studs. Add the horizontal caps, ensuring they align with the vertical strip faces. Fill and sand seams, then prime and paint; use a small angled brush to keep the paint inside the moulding edges.
Vertical accents give you that “built-in” feeling without the full project cost. The after looks polished because each strip creates a shadow column that adds depth. DIY before versions look off when the strips aren’t level-plumb to the same line, or when the caps don’t sit square. This is a small project with a big payoff when you place accents around doors, on either side of a fireplace, or along a blank wall. It’s also forgiving because you can adjust the placement to match existing features.
Skip thisAttaching caps first and then cutting verticals to “fit” — you end up with uneven reveal sizes.
Editor's noteUse a laser level if you have one — it makes the plumb lines consistent across the whole wall.
6. Single-room baseboard refresh with matching profile
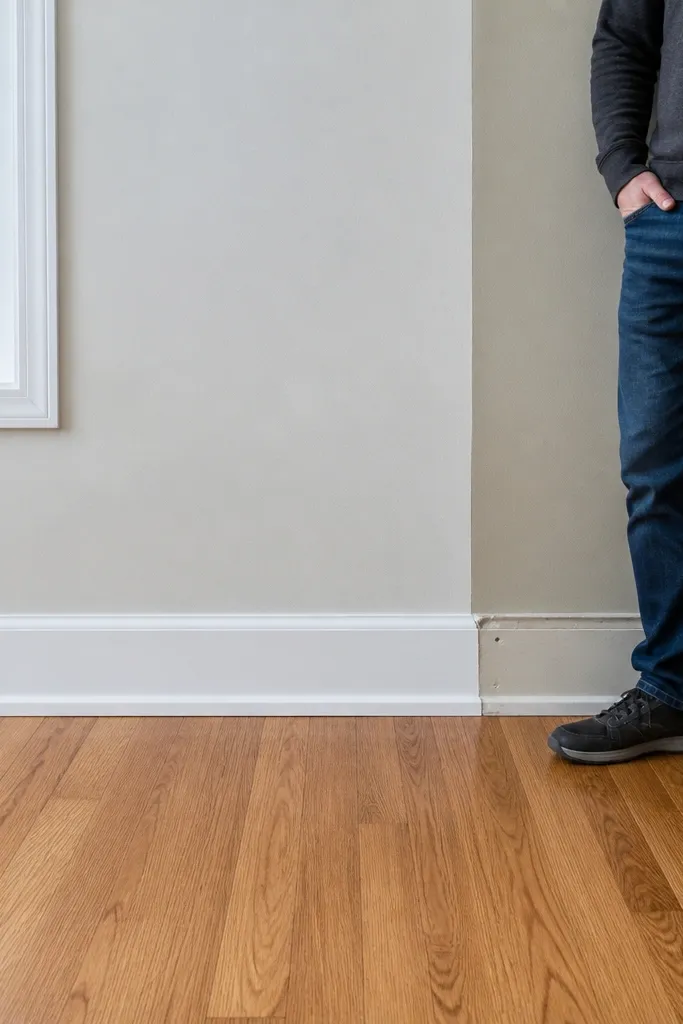
Measure each wall segment and plan your joints: inside corners usually need coping, outside corners usually need miters. Dry fit the first corner and adjust the cut until it closes tight without forcing the board. Nail baseboard into studs where possible, and use construction adhesive on the back edge if the wall is uneven. Fill nail holes, then caulk the top edge where it meets the drywall and the corner seams. Sand after caulk dries, prime, then paint with two thin coats for a crisp line.
Replacing or adding baseboard moulding is one of the clearest before and after diy differences because baseboards sit in everyone’s line of sight. The best-looking DIY baseboards aren’t thicker or more ornate — they match the profile of the rest of the trim and have clean corner joints. The before problem is mismatched profiles or rushed corner cutting, which makes the room look patchy. This approach also solves the common issue of gaps along the wall edge by using the right caulk and sanding sequence. Great for bedrooms, hallways, and rooms where you’re painting walls anyway.
Skip thisUsing painter’s caulk as filler for big gaps — it shrinks and leaves a line.
Editor's noteCope inside corners instead of mitering — it hides small wall squareness issues better.
7. Shadow gap moulding look using spacer-perfect reveals
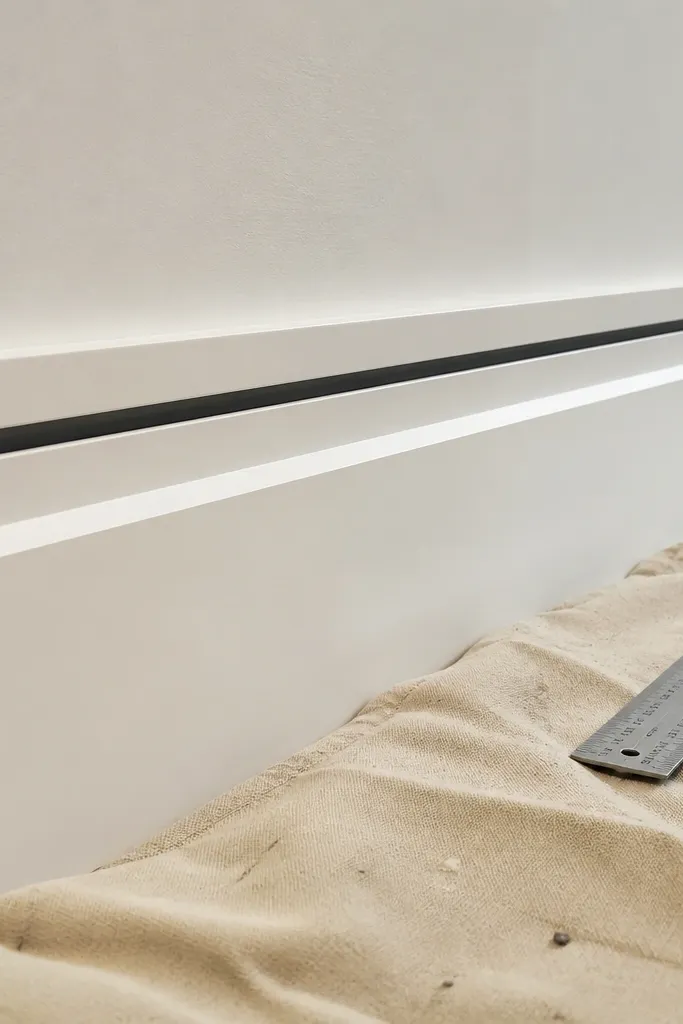
A shadow gap look is about the spacing — that thin dark line makes moulding feel modern and intentional. DIY before versions usually have a reveal that’s inconsistent, so the shadow band disappears in spots. This project works because you build the spacing into the install using spacers and then keep the trim faces aligned while fastening. It’s ideal for modern living rooms, hallways, and feature walls where you want a clean, graphic effect without wallpaper. If you’re chasing that “designer” edge, this is the style that delivers the difference.
Pick a reveal target like 1/4 in and choose moulding profiles that create a flat secondary face. Cut a spacer block to your reveal width and use it between the trim pieces as you dry fit. Mark and install the back trim first, then slide the spacer in place while you position the front piece. Nail the front trim in short bursts, then remove spacers and check the reveal line lengthwise. Fill micro-gaps with a thin caulk bead, sand smooth, prime, and paint; use a satin finish on the trim for a clean shadow effect.
Check the reveal at eye level at several points, not just at one corner.
Fastening one side fully before checking the reveal — you lock in a crooked gap.
8. Corner bead miters that don't open up after paint
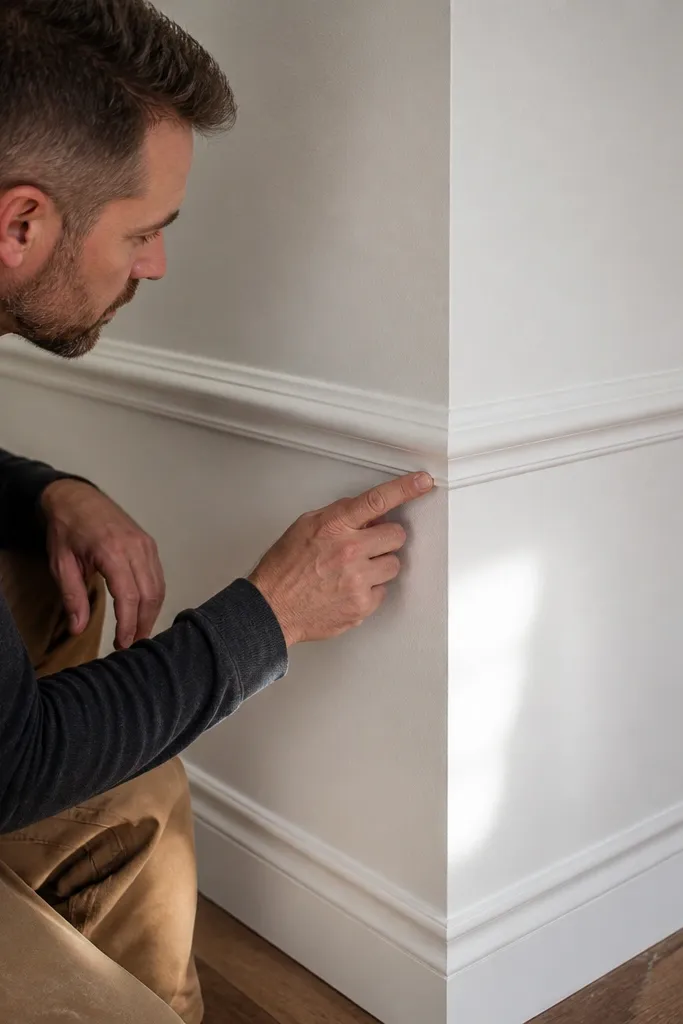
Corner seams are where DIY moulding most often fails. The before photo usually shows a tiny opening that grows after paint and seasonal movement. The after fix is to use the right joint method for the corner type and to prep the seam like you’re painting it, not just caulking it. This is a small set of skills, but it changes how the whole room reads. It’s perfect for adding trim around doorways, window casings, and any boxed-in moulding run.
For outside corners, cut clean 45-degree miters and dry fit with the pieces held tight — do not force them. For inside corners, cope the profile so it follows the wall line and closes better. Sand the seam lightly and remove dust so filler sticks. Apply a thin layer of wood filler to the seam, let it cure, then sand until flat. Caulk only the edge where moulding meets wall surface, prime, then paint with a trim brush.
Use a sanding block, not a random orbit on profiles — it keeps the edges sharp instead of rounding them.
Relying on caulk alone to close a seam — caulk shrinks and cracks along miters.
9. Doorway frame moulding that hides wall gaps instead of showing them
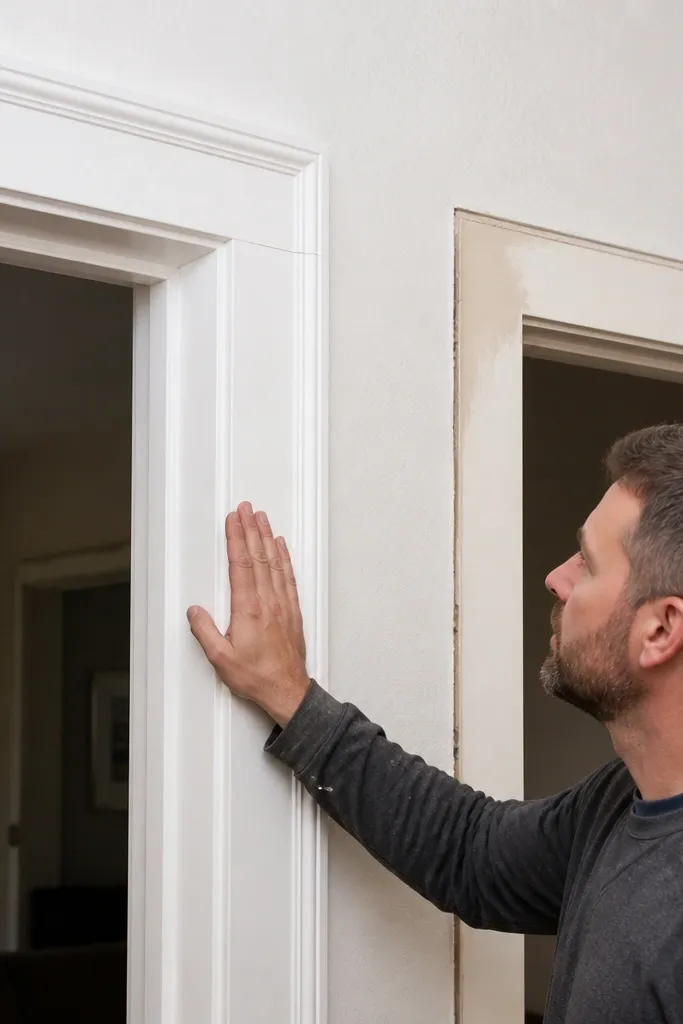
Measure the doorway opening at three points: top, left, and right at mid-height. Choose a casing reveal like 1/8 to 1/4 in and set the trim so it matches that reveal all around. Dry fit each casing piece, shim behind it where the wall is uneven, then nail into studs. Fill nail holes and use wood filler for seam gaps, then caulk the trim-to-wall edges only after the filler is sanded smooth. Prime and paint; keep the paint edge crisp with painter’s tape and an angled brush.
Doorway casing makes a room look built-in because doors are visual anchors. The before problem is uneven gaps between the trim and the wall, often from measuring one side and assuming the other matches. This project makes the gaps disappear by planning reveals and using shims or filler where it belongs. You’ll get a tight, even line that reads clean from across the room. It suits older homes, remodeled walls, and any entry where the trim looks patchy.
Skip thisCutting casing to “perfect” dimensions without shimming — the wall will win and you’ll end up with a gap line.
Editor's noteMark your casing pieces with left/right and top/bottom so you don’t flip a profile and lose the reveal line.
10. High-low moulding combo for small rooms that need definition
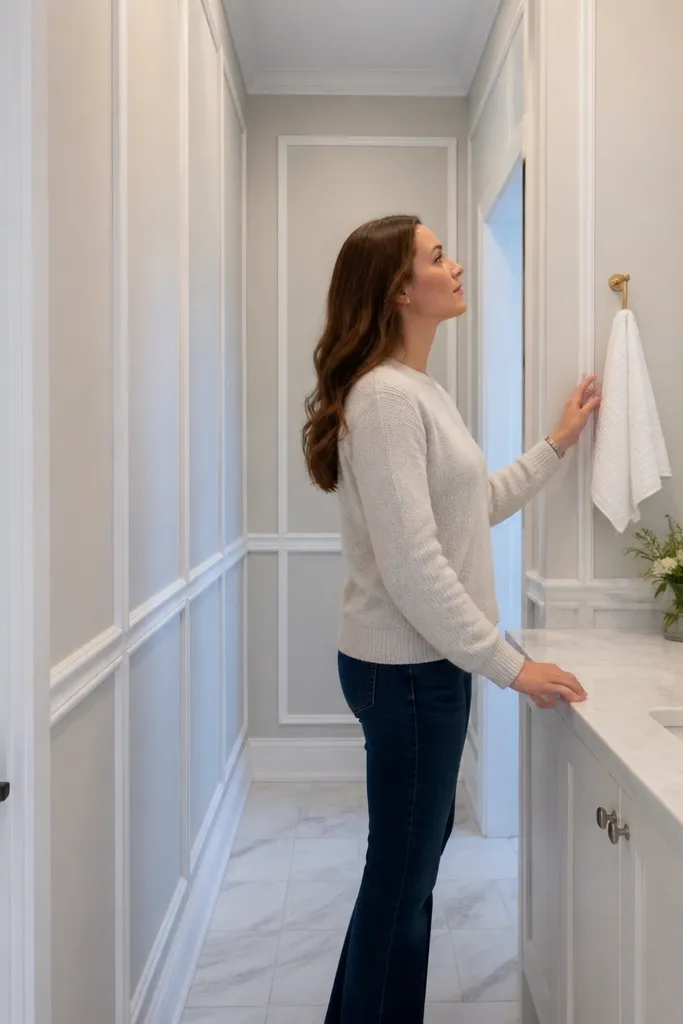
Combining chair rail height with simple vertical accents adds definition without taking up floor space. The after effect is layered: horizontal structure plus vertical depth. DIY before versions look busy when spacing is random or when the moulding heights don’t relate to each other. This project keeps it calm by tying the vertical accent heights to the panel area between the chair rail and baseboard. It’s great for powder rooms, small hallways, and stair landings where you want “finished” fast.
Pick your chair rail height first using a consistent rule like about 36 in to the top of the rail, then measure the wall area between baseboard and rail. Decide your vertical accent width and number of panels based on that space, keeping reveals consistent. Mark reference lines for chair rail and each vertical strip using the same tape measure starting point. Install chair rail first, then add verticals, then top rails if you want caps. Fill, caulk edges, sand, prime, and paint in two coats with a trim enamel.
Use the same paint finish for all moulding pieces so the light hits them the same way.
Mixing multiple reveal sizes — it makes the design look accidental.
11. Fast DIY moulding install with adhesive + brad nails on drywall
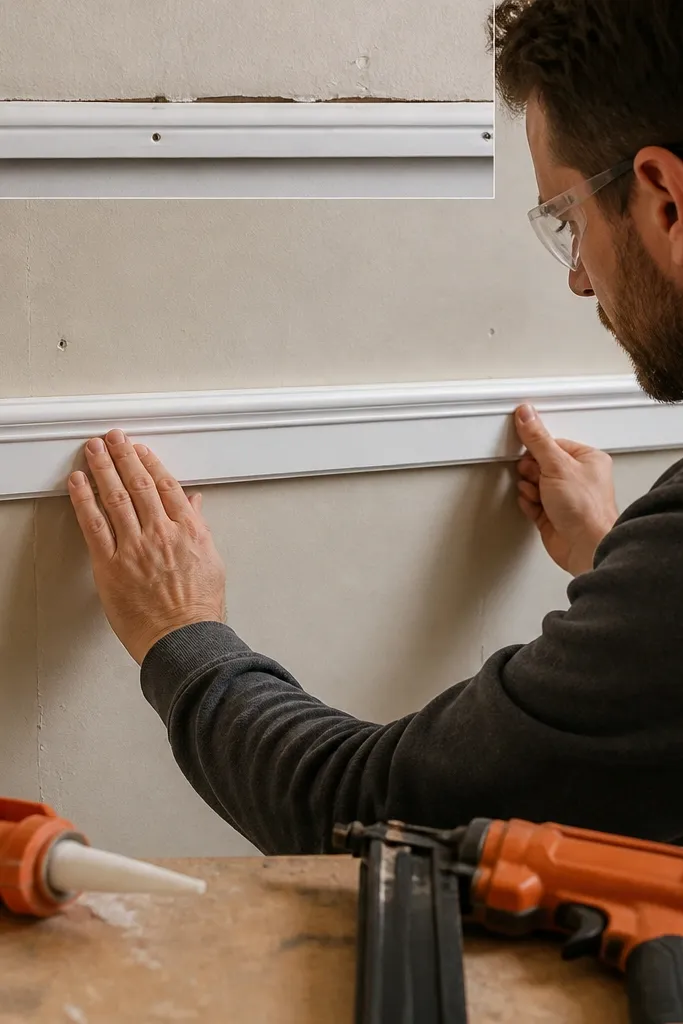
If you’ve got drywall that isn’t perfectly flat, adhesive plus brad nails makes moulding hold tight without gaps. The before look comes from nails alone — the moulding lifts where the wall dips, and you end up with a caulk line that gets wider and wider. This method gives you control: adhesive grips quickly, nails lock it while you align. It’s ideal for straight runs like simple wall trim, picture frame borders, and chair rails. You’ll finish with a cleaner edge and fewer “fix it with caulk” moments.
Dry fit all pieces, then mark stud locations so you know where nails will land. Apply construction adhesive in a thin bead along the back of the moulding, then press it in position against your pencil line. Nail along the length — don’t nail randomly; place nails where the adhesive is thickest and where studs are. Remove squeeze-out with a damp rag before it cures. Fill nail holes, sand, prime, caulk edges lightly, and paint.
Work in sections you can place and nail within 5-10 minutes so adhesive doesn’t skin over.
Using too much adhesive — squeeze-out expands the gap and creates a messy paint edge.
12. Caulk line that stays tight: the paint-ready sequence
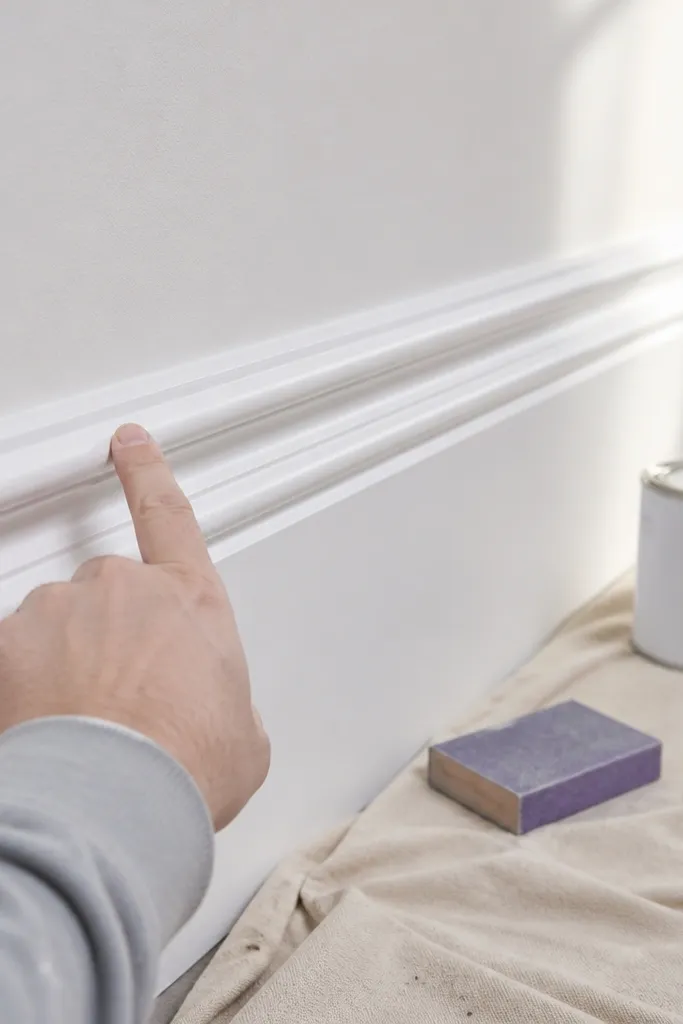
Most moulding before photos have one thing in common: the caulk bead shows. That’s not because caulk is bad — it’s because the sequence is wrong. If you caulk before filler is sanded smooth, you trap ridges. If you skip primer on filled spots, paint sinks and highlights every seam. This entry is about finishing discipline so your moulding after looks factory-clean. It’s useful for any style in this list because the joint prep is the same.
After installation, fill nail holes with a paintable filler and let it fully cure. Sand the filled spots flush, then vacuum dust so primer grips. Prime the moulding and the filled seams, then sand lightly again after primer dries. Caulk only the edge where moulding meets the wall, using a thin bead and smoothing it with a damp cloth or caulk tool. Paint with trim enamel in two coats, keeping the first coat thin so it doesn’t drag.
If the caulk line looks dull after drying, it needs another light sanding before paint.
Caulking over unpainted filler ridges — it looks bumpy once the sheen hits.
13. Priming strategy for MDF moulding that never looks blotchy
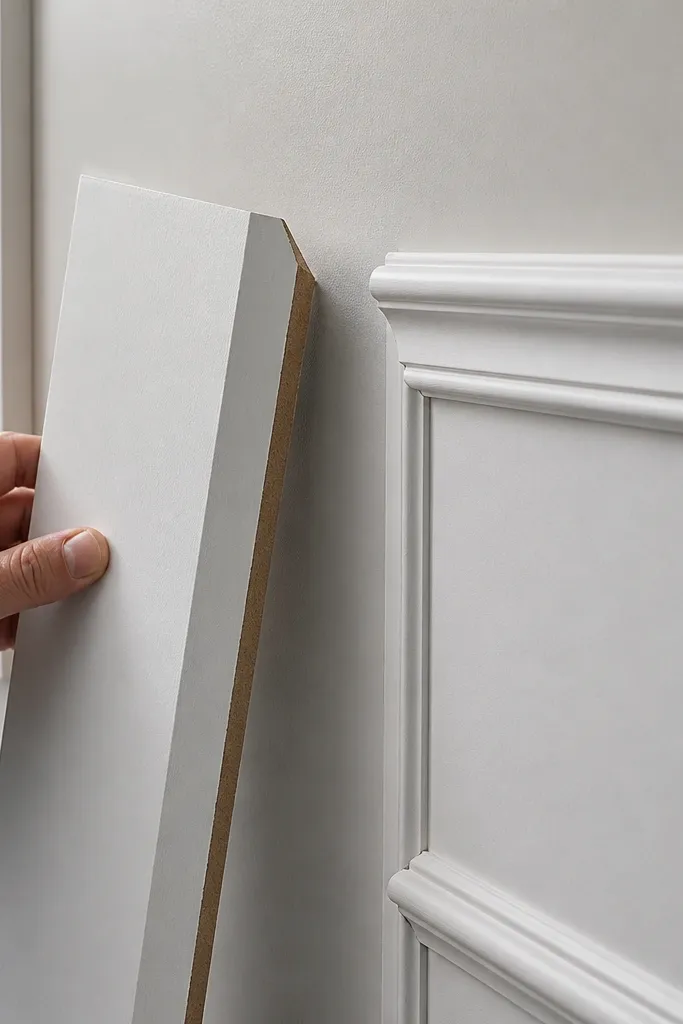
MDF moulding looks perfect until paint — then seams can look darker and edges can look fuzzy if you don’t prime correctly. The before version is usually patchy coverage where filler is porous and primer wasn’t applied evenly. This fix is about using the right primer coverage and sanding between coats so paint goes on uniform. MDF is great for crisp profiles because it cuts clean and holds detail. It’s a smart pick for picture frames, chair rails, and door casing where you want sharp lines without warping.
Sand the moulding lightly before install to knock down fuzz, then wipe dust off. After installation and filling, apply a primer designed for trim and MDF, covering all seams and filled areas. Let it dry fully, then sand lightly with fine-grit paper to knock down any raised filler texture. Caulk edges after primer dries so you don’t seal in dust or filler ridges. Paint with trim enamel, two thin coats, using a brush for edges and a foam roller for long runs.
Don’t flood paint on MDF edges — thin coats prevent a raised, furry surface.
Skipping primer on filler seams — it makes them show through even after multiple paint coats.
14. Ceiling medallion-style trim that frames lights without gaps
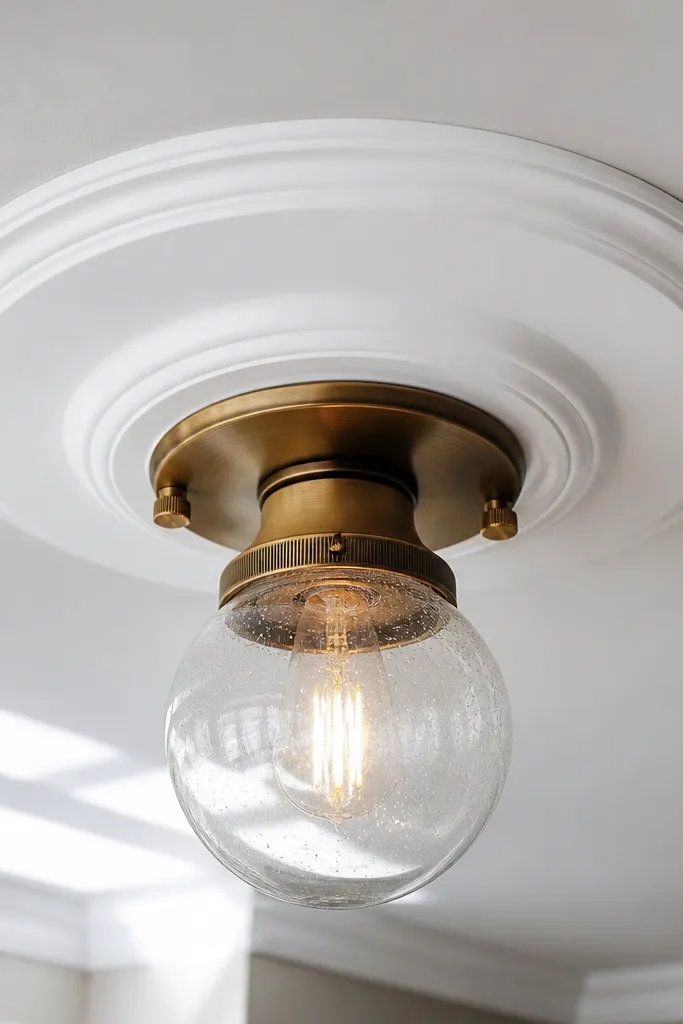
Measure the fixture trim opening and draw a ring layout on paper so you can transfer the dimensions accurately. Cut the moulding into segments if needed so it follows the ceiling line without forcing. Dry fit the ring around the fixture, mark high spots, and trim those areas until it sits evenly. Fasten using small nails where possible and add adhesive where the ceiling surface is weak. Fill and sand any seam lines, prime, then paint; keep the paint edge crisp around the light trim.
Framing a light fixture with moulding is a small upgrade that reads expensive because it creates a clear boundary on the ceiling. The before problem is gaps around the fixture because the ceiling isn’t level and installers cut rings without checking the actual ceiling plane. This approach makes the trim sit flat by planning the ring segments and fastening with the right supports. It’s best for flush mounts, small chandeliers, and recessed light trims where you want the ceiling to look finished. The result is a clean, centered look that doesn’t wobble visually.
Skip thisCutting one continuous ring and forcing it onto an uneven ceiling — it creates a gap you can’t caulk away cleanly.
Editor's noteTest fit twice before you commit to final adhesive so you don’t end up with a ring that rocks.



