

1. Mistake 1: I Skipped the Pre-Wash
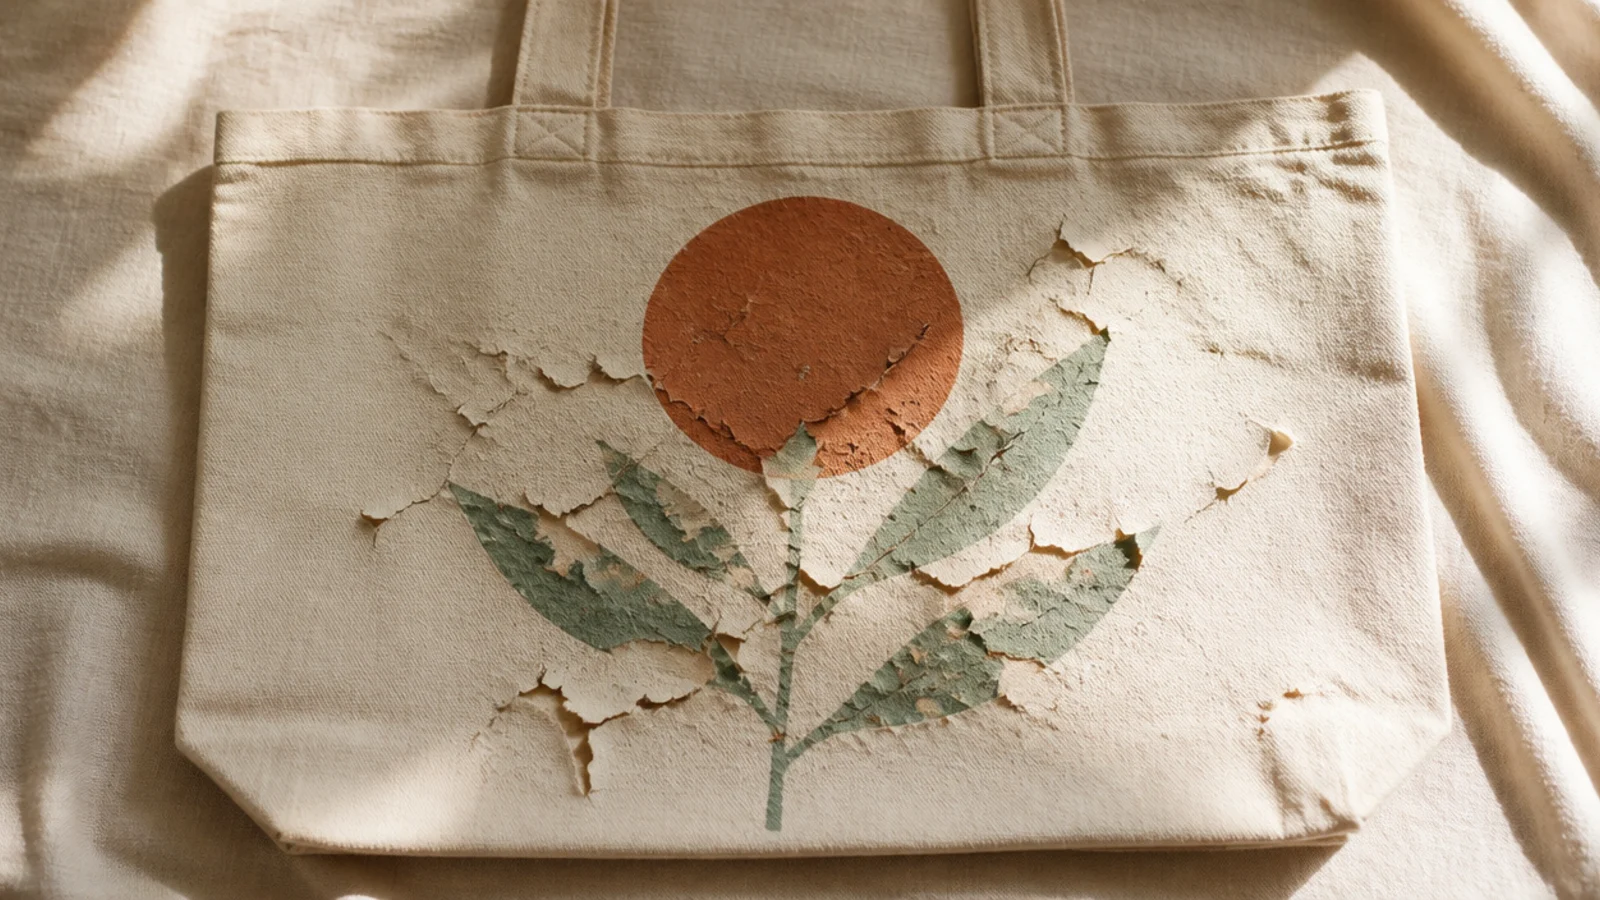
My very first tote looked great for a day, then the paint started flaking off in the folds. I had painted straight onto a brand-new bag. The factory sizing was repelling the paint the whole time and I had no idea.
Editor's noteWash a stack of blank totes at once so you always have a prepped, ready-to-paint bag on hand and are never tempted to skip it.
New canvas totes come coated in a starch-like sizing that stops paint from gripping the fibers. The fix is simple: machine-wash the bag in warm water with a little detergent and no fabric softener, dry it fully, and iron it flat before you paint. Do not use starch, which just adds another coating. A clean, matte, washed bag is the foundation everything else depends on.
Skip thisDo not paint a bag straight off the shelf; the sizing guarantees your design will crack and peel within a wash or two.
2. Mistake 2: I Forgot the Cardboard Inside
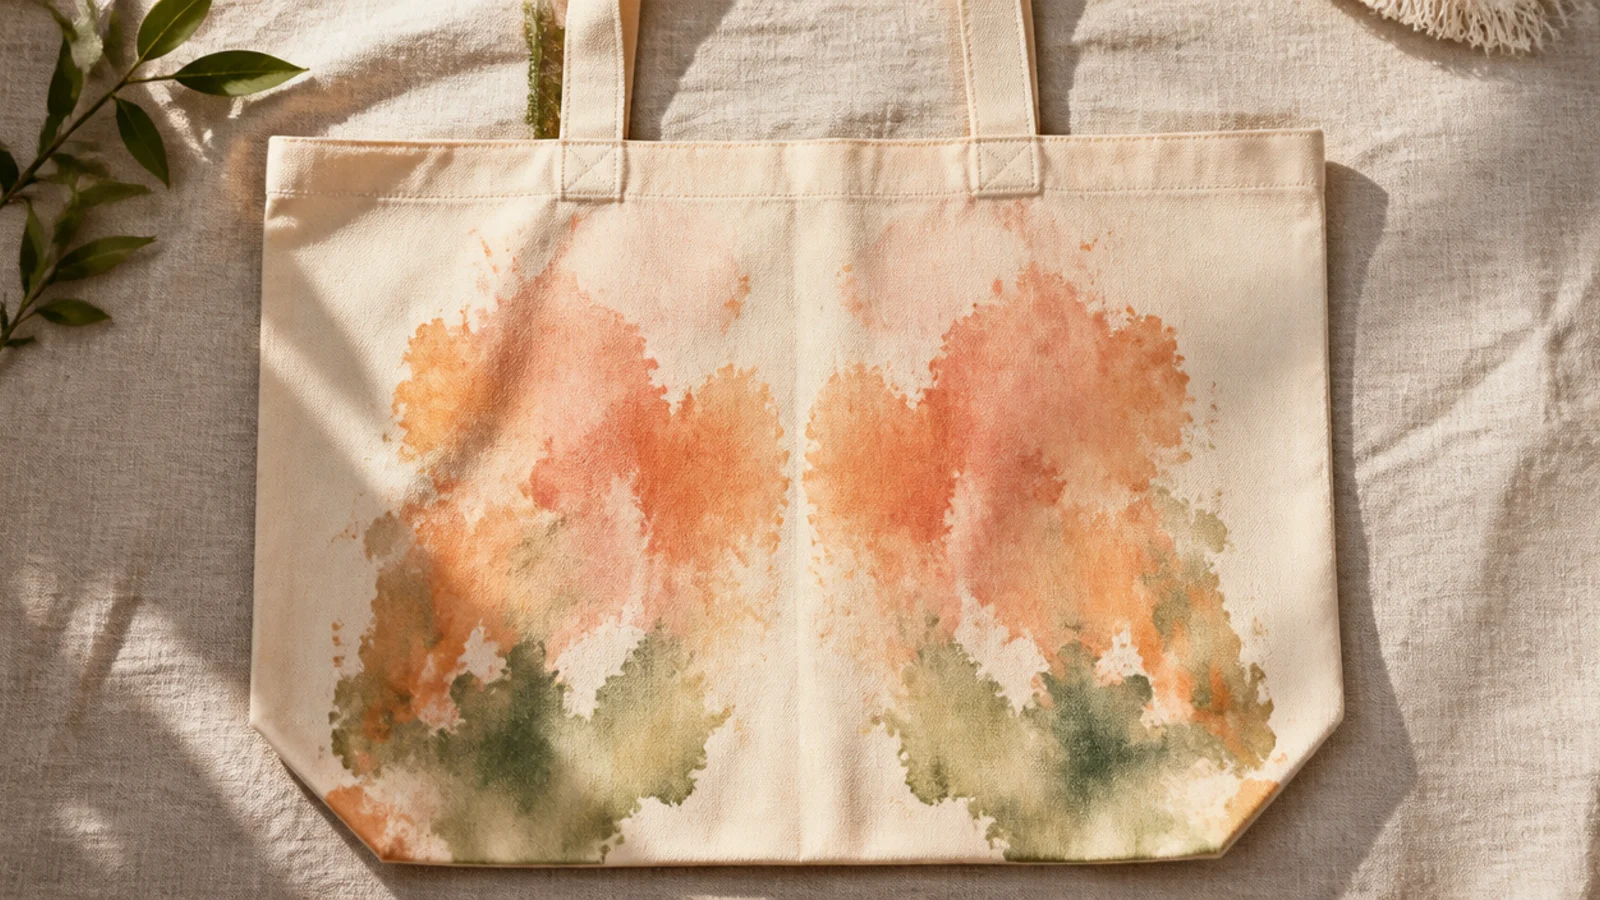
My second bag had a clean design on the front and a mysterious blotchy ghost of it on the back. The paint had soaked straight through the thin canvas. I had painted it flat with nothing inside.
Canvas is thin and absorbent, so paint bleeds through to the back unless you block it. Before painting, slide a piece of cardboard, a cutting board, or several layers of wax paper inside the bag and smooth the front panel taut over it. The barrier stops bleed-through and, as a bonus, the taut surface makes your brushwork cleaner. I now cut a piece of cardboard to fit each bag size.
Cut a sturdy cardboard insert to your tote’s exact size and reuse it for every bag; a snug board keeps the front panel drum-tight.
Do not paint with an empty bag lying flat; the front and back touch and paint transfers between them or soaks through.
3. Mistake 3: I Used Plain Craft Acrylic
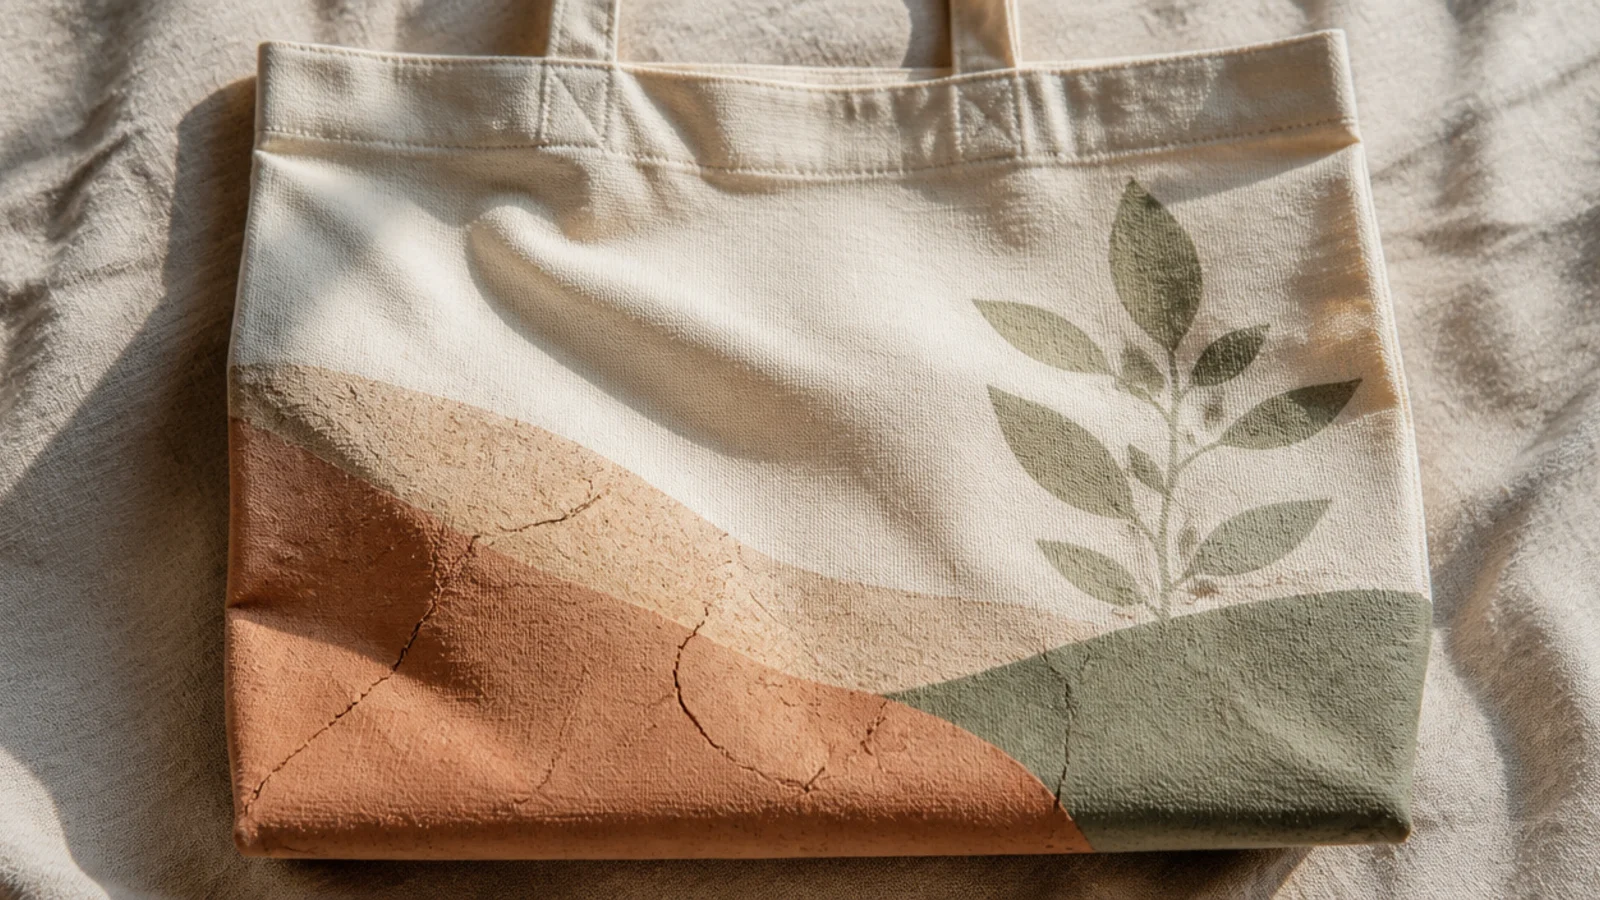
I had a drawer of craft acrylic, so I used it straight. The design dried hard as a plastic patch, then cracked like dried mud the first time the bag folded. The color was fine; the paint was wrong.
Plain craft acrylic dries stiff and inflexible on fabric, so it cracks wherever the bag bends. Either use real fabric paint, which stays soft, or mix your craft acrylic two parts paint to one part textile medium to soften it. Textile medium is cheap and one bottle lasts ages. Mix it thoroughly on a plate until smooth before you start, and the same acrylic colors suddenly behave like proper fabric paint.
Keep a bottle of textile medium next to your acrylics permanently; mixing it in becomes automatic and rescues any color you own.
Do not use craft acrylic straight on fabric; without textile medium it dries into a stiff patch that cracks and peels.
4. Mistake 4: I Glopped On One Thick Coat
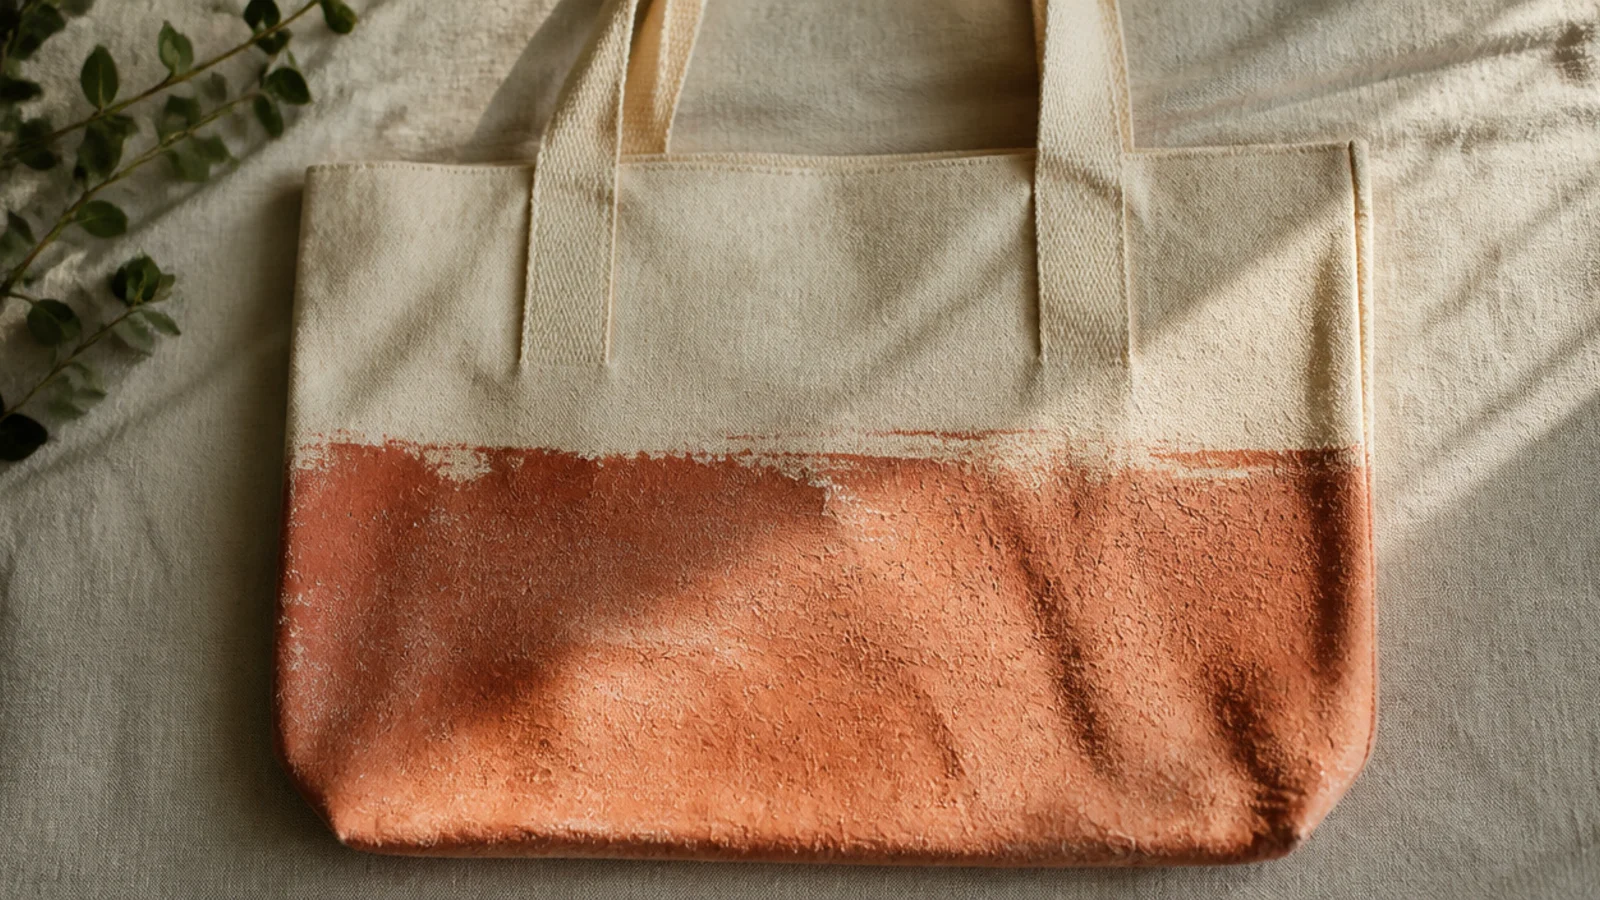
Impatient to see the color, I loaded the brush and laid it on thick to cover in one pass. It dried streaky, sat up stiff, and cracked at the edges. One heavy coat looked worse than two light ones ever would.
Thick paint dries unevenly and cracks as the fabric moves, while thin coats soak in and stay flexible. Load the brush lightly and paint two thin coats, letting the first dry to the touch before the second. Thin the paint with a single drop of water only if it drags. Two thin coats give richer, more even color than one thick coat, and they bond far better to the cotton.
Wipe excess paint off the brush on the plate’s edge before each stroke; a lightly loaded brush is what makes thin, even coats possible.
Do not try to get full coverage in one pass; a thick coat streaks, stiffens, and cracks where the bag creases.
5. Mistake 5: I Forgot to Heat-Set It
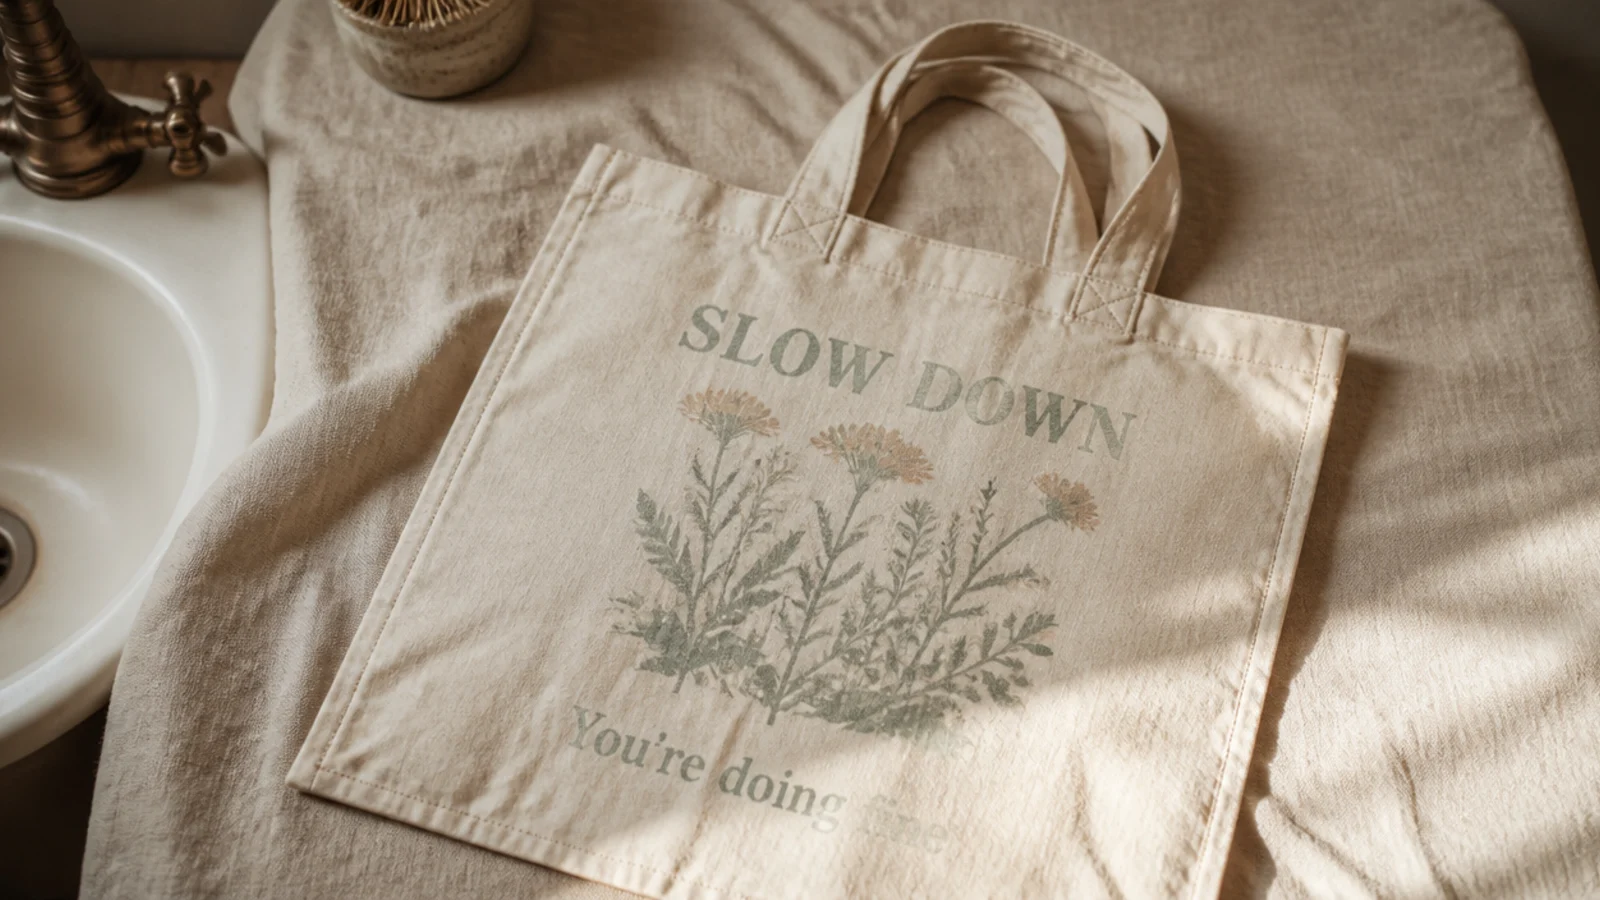
My favorite early bag came out of its first wash pale and patchy, the crisp design half gone. I had let it dry and started using it, but I never heat-set it. The paint had never actually bonded.
Fabric paint needs heat to cure permanently. Let the finished design dry for a full 24 hours, then lay a thin cotton cloth, pillowcase, or parchment over it and press with a dry iron on the cotton setting for 3-5 minutes, keeping the iron moving; you can also press from the back. Wait another day if you can, then wash inside out on cold. Heat-setting is the step that separates a bag that lasts from one that fades.
Set a timer for the full 3-5 minutes of ironing; it feels long, but stopping early is why a design still fades in the wash.
Do not use or wash a painted tote before heat-setting; unset paint lifts and fades the first time it gets wet.
6. Mistake 6: I Crammed In Too Much
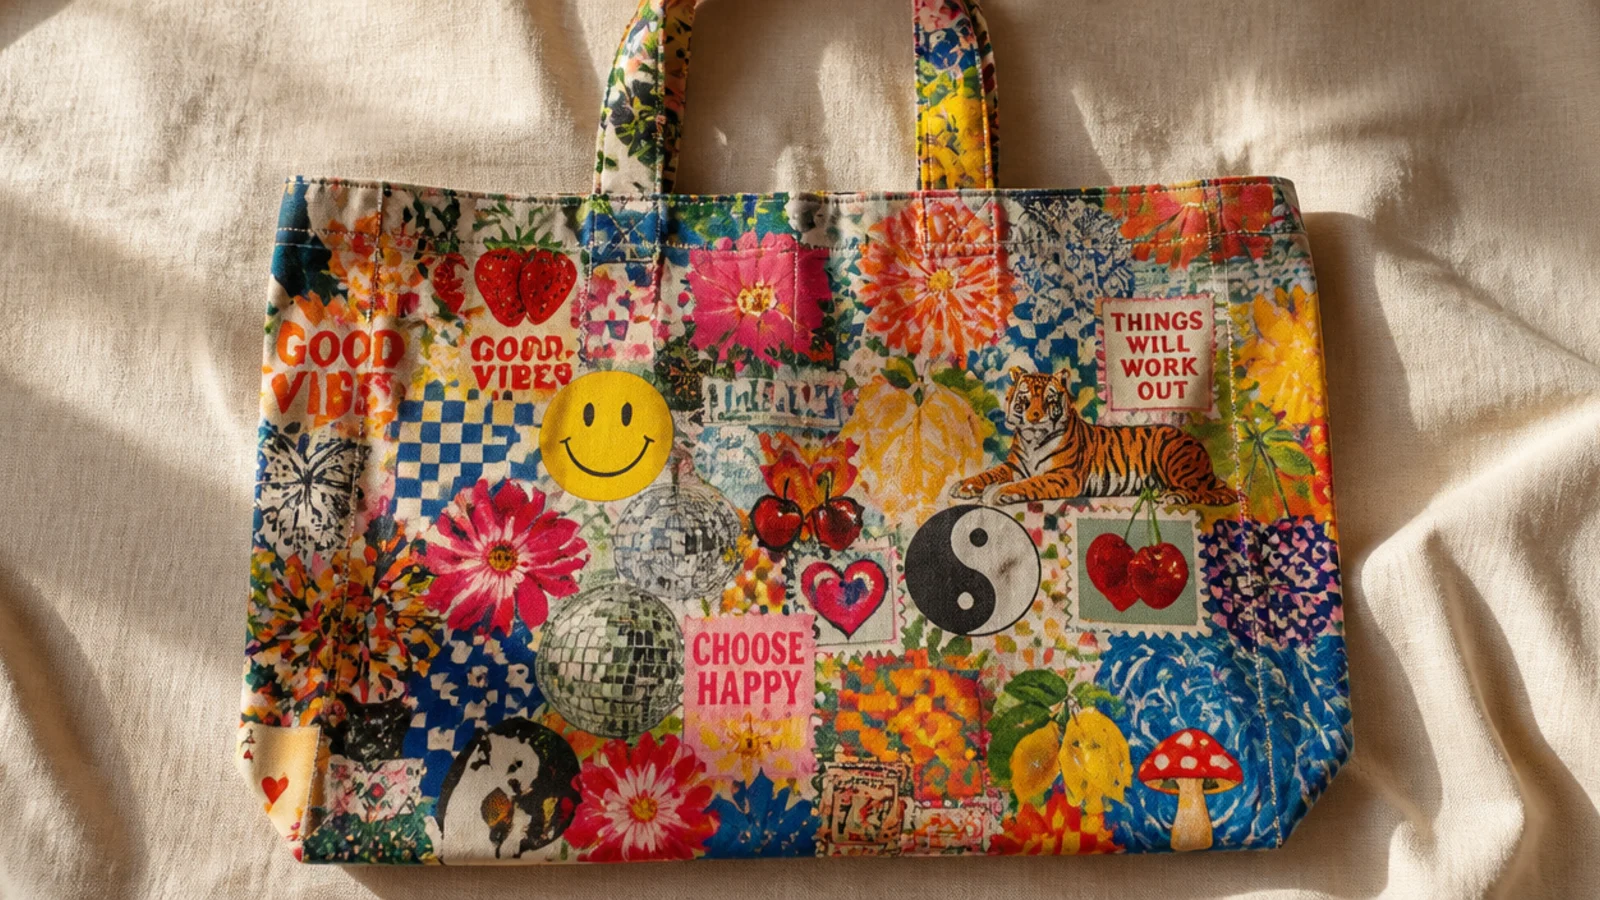
Excited by all the ideas, I put flowers, stars, stripes, and a quote on one bag in six colors. It looked chaotic and homemade, not designed. More ideas made it worse, not better.
Editor's noteBefore painting, cover part of your sketch with your hand; if it looks better with less showing, that is your real design.
A crowded front with many colors reads as craft-fair; restraint reads as boutique. Pick one motif or one simple pattern, keep to two or three colors plus a neutral, and leave plenty of bare canvas around the design. Negative space is what makes a tote look intentional. If you have five ideas you love, spread them across five bags instead of forcing them onto one.
Skip thisDo not fill every inch or use every color you own; overcrowding is the fastest way to make a tote look amateur.
7. Mistake 7: I Freehanded Straight Lines
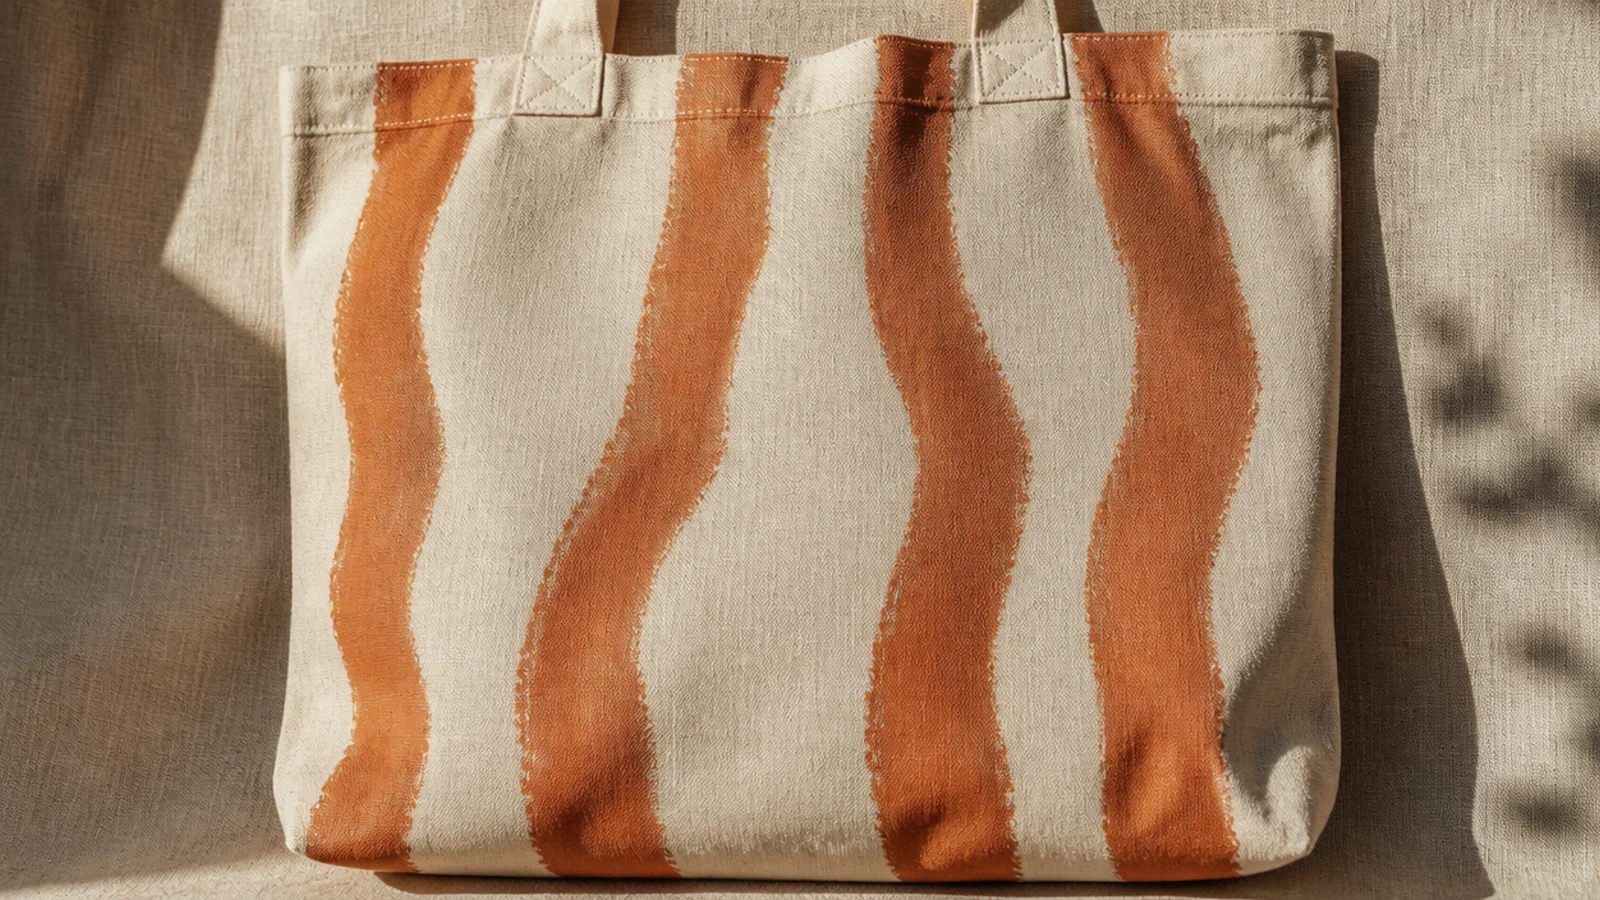
I tried to paint clean stripes by hand and they came out wavy, uneven, and fuzzy at the edges. I thought I just needed a steadier hand. What I actually needed was tape and an ironed bag.
Editor's noteRun your fingernail firmly along every taped edge before painting; that burnished seal is the whole secret to a crisp line.
Straight lines and crisp edges come from painter’s tape, not a steady hand. Iron the bag flat first so the tape can seal against a smooth surface, lay your tape, and burnish the edges down hard with a fingernail so paint can’t creep under. Paint over the edge and peel the tape while the paint is still slightly wet. For repeated shapes, cut a freezer-paper stencil instead of freehanding.
Skip thisDo not freehand lines you want straight, and never tape over a wrinkled bag; both let paint bleed into wavy, fuzzy edges.



