

1. Potato Stamp Print
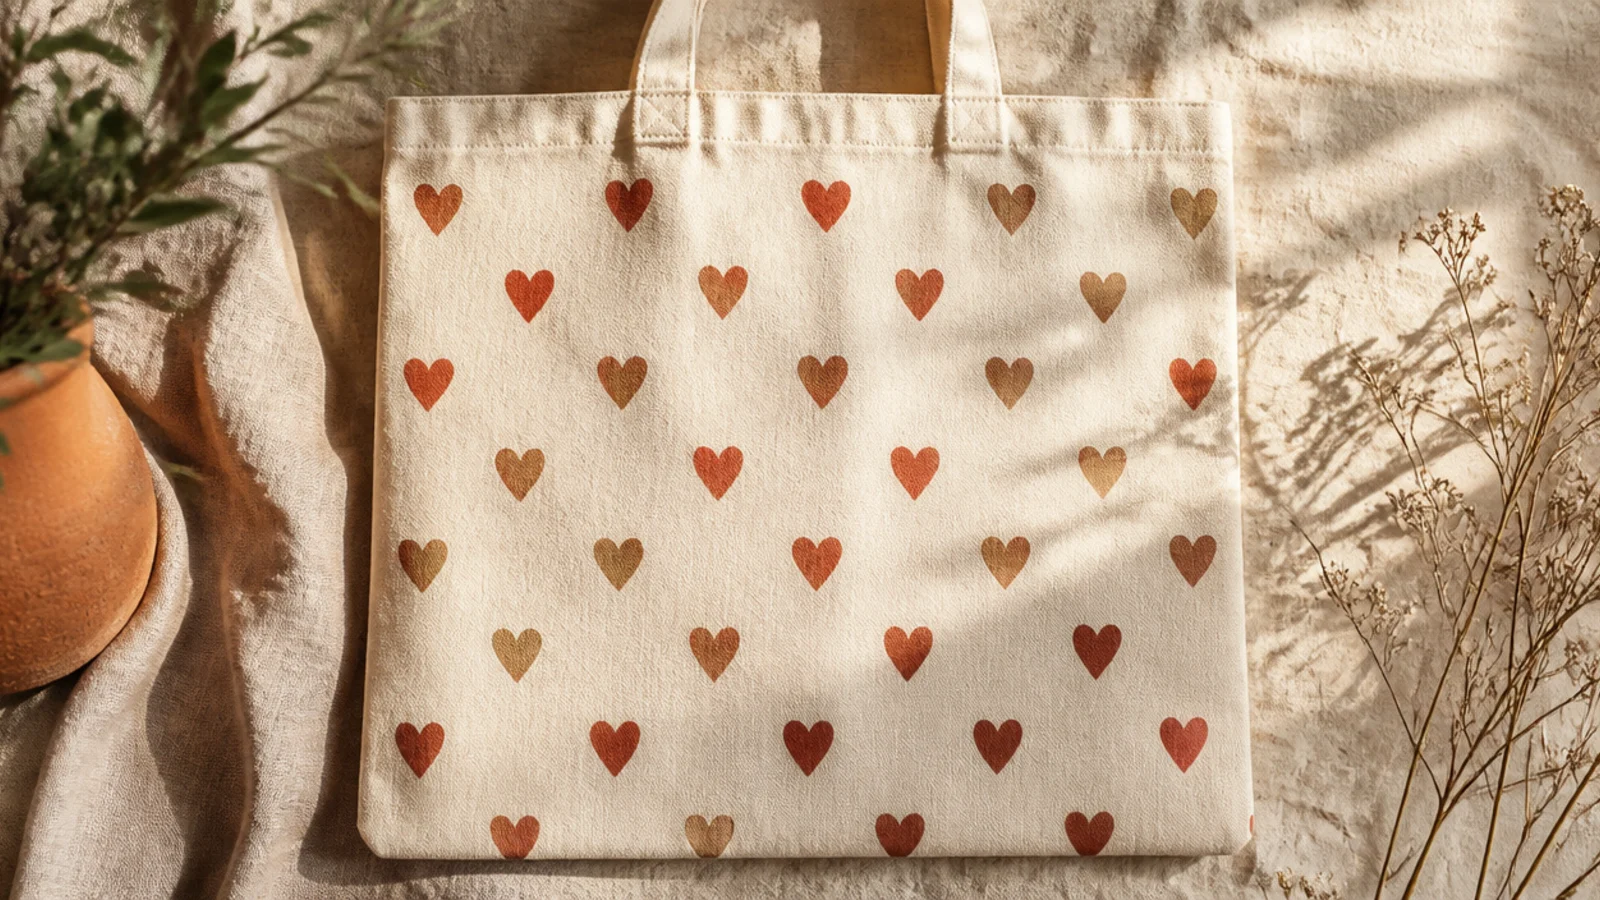
Carving a shape into a potato half gives you a reusable stamp for a clean, repeating pattern. It is the most beginner-friendly DIY here because the potato makes the same mark every time. A simple shape — a heart, a leaf, a diamond — repeated across the bag looks like real printed fabric.
Prep and iron the tote, then insert cardboard. Cut a potato in half, blot it dry, and carve a simple raised shape with a paring knife, cutting away the background about a quarter inch. Load the raised face with fabric paint using a foam brush, press it straight down onto the canvas, and lift straight up. Re-load for every print, space them evenly, cure, and heat-set.
Editor's noteBlot the cut potato on a paper towel before loading paint; the surface moisture is what makes early prints watery and blurred.
Skip thisDo not dip the potato in a pool of paint; dipping floods the carving, so brush a thin even coat on instead.
2. Freezer-Paper Stencil Motif
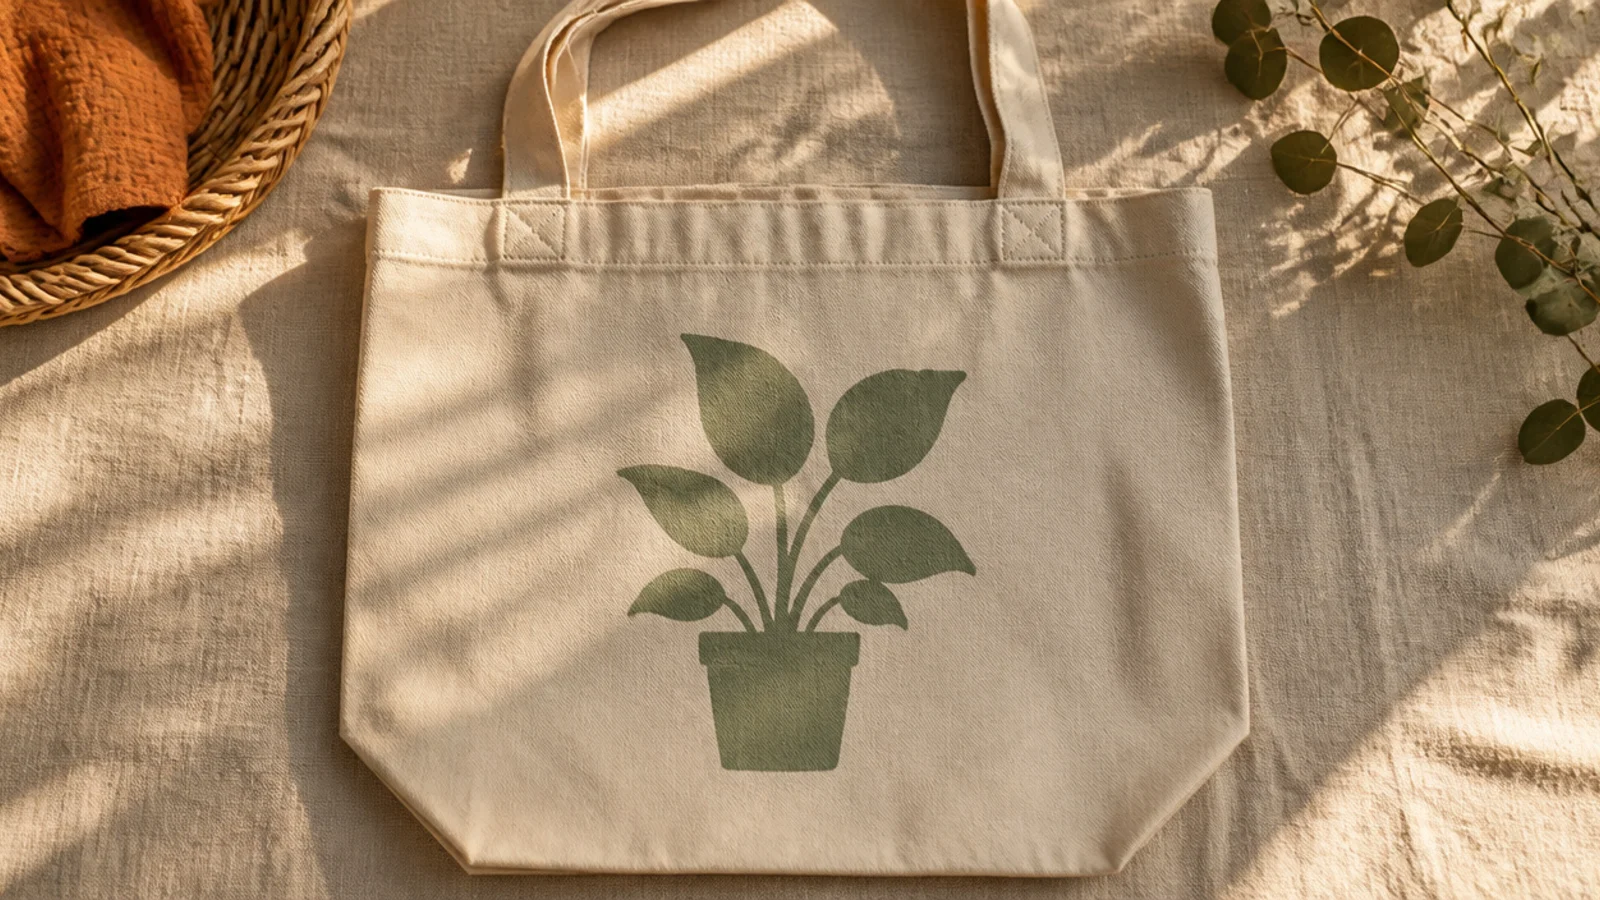
A freezer-paper stencil gives you a razor-clean motif with no drawing on the bag itself. Because the paper irons down and seals, paint can’t creep under the edges. It is the DIY way to get store-bought crispness on any shape you can cut out.
Prep the tote and insert cardboard. Draw or print your motif on the dull side of freezer paper and cut it out to leave a window. Iron the paper shiny-side down onto the bag for a few seconds so the edges bond. Dab fabric paint inside with a sponge in thin coats, then peel the paper while the paint is wet. Cure and heat-set.
Editor's noteIron the whole stencil edge firmly, especially any fine cut lines; a sealed edge is the difference between crisp and fuzzy.
Skip thisDo not brush paint toward the stencil edge; dab straight down so paint can’t be pushed under the paper.
3. Bubble-Wrap Dot Texture
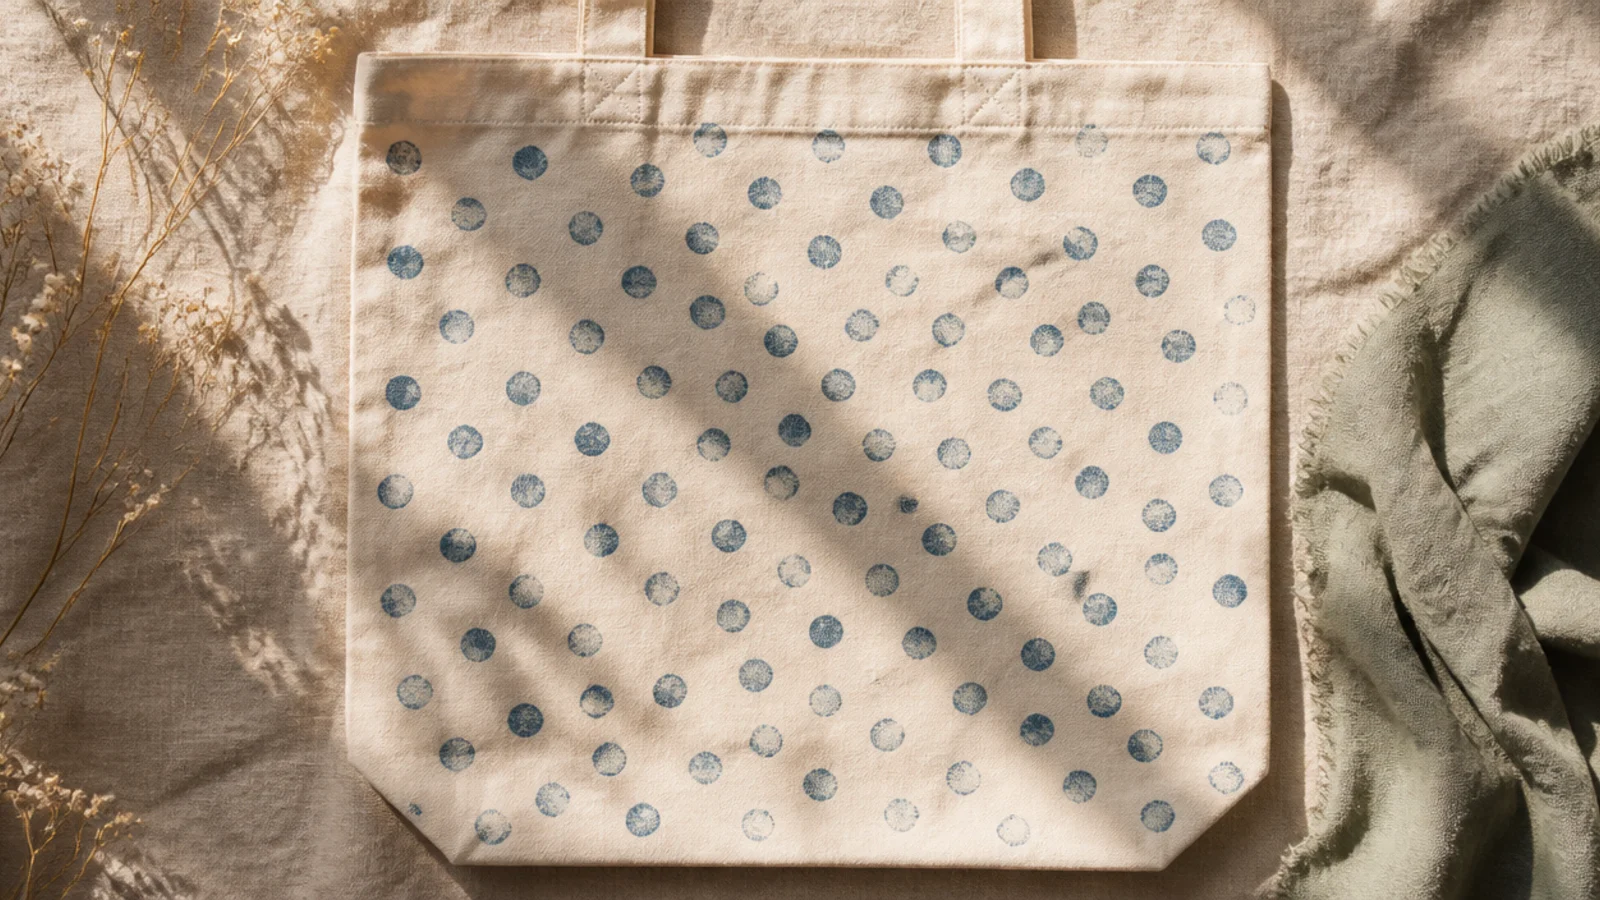
A square of bubble wrap prints a perfect field of dots in one press — instant polka-dot texture with zero effort. The regular grid of bubbles does all the spacing for you. It covers a lot of bag fast and looks deliberately patterned.
Prep and iron the tote, insert cardboard. Roll or brush a thin, even coat of fabric paint across a sheet of bubble wrap, bubble-side up. Lay the tote front-down onto it, or press the wrap onto the bag, applying even pressure across the whole sheet. Lift straight up, re-coat for a second area if needed, cure, and heat-set.
Editor's noteApply even pressure across the entire sheet with a flat hand or a book; uneven pressure leaves gaps where bubbles miss.
Skip thisDo not use too much paint on the bubbles; a heavy coat fills the gaps between dots and turns the pattern into a smear.
4. Cardboard-Edge Stripes
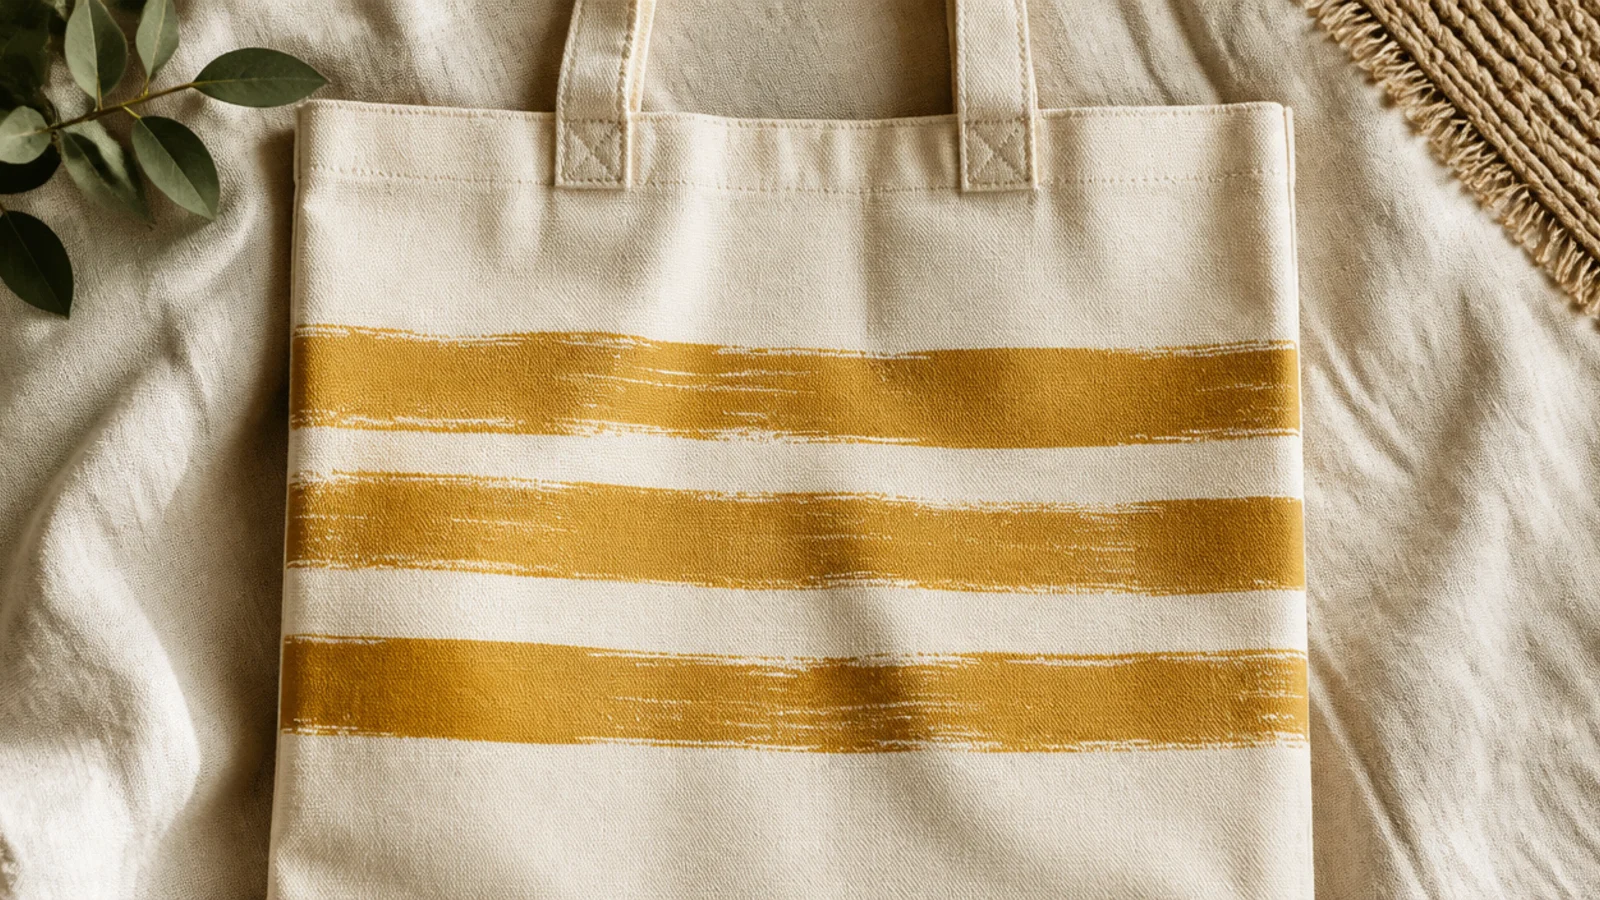
The straight edge of a scrap of cardboard, dipped in paint and dragged, makes a wide textured stripe in one stroke. It is faster than taping and gives a hand-printed, slightly imperfect line. A few dragged stripes look modern and artisanal.
Prep the tote and insert cardboard behind the front. Cut a stiff cardboard strip the width you want your stripe. Dip its long edge into fabric paint spread on a plate, then drag it across the bag in one steady horizontal pull. Re-dip for each stripe, spacing them evenly, cure, and heat-set.
Editor's notePull the cardboard in one smooth continuous motion; stopping mid-stripe leaves a visible seam where the paint reloads.
Skip thisDo not overload the cardboard edge; too much paint blobs at the start of the stripe instead of dragging out evenly.
5. Lace Doily Stencil
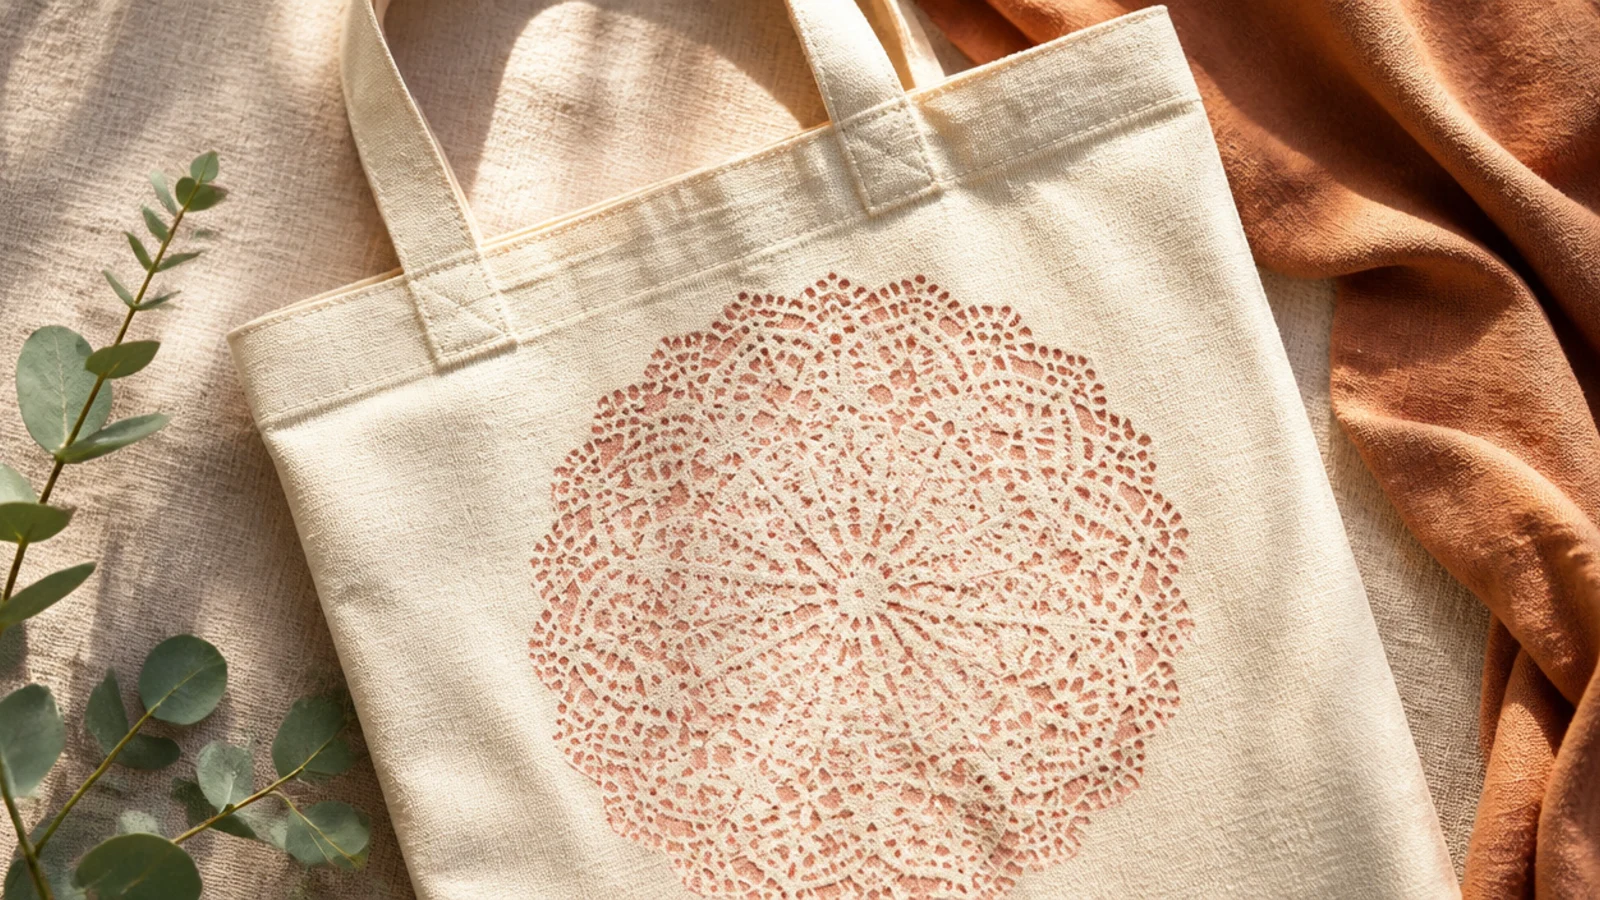
A paper lace doily is a ready-made stencil with an intricate pattern you could never draw by hand. Sponge paint through it and lift for a delicate circular medallion. It looks elaborate but takes five minutes and needs no cutting.
Prep and iron the tote, insert cardboard. Lay a paper doily flat on the front and hold it still, or tape the edges lightly. Dab fabric paint through the openings with a nearly dry sponge, using light pressure so paint doesn’t pool. Lift the doily straight up while wet to reveal the lace print, cure, and heat-set.
Editor's noteKeep the sponge nearly dry and dab lightly; a wet, heavy sponge pushes paint under the doily and blurs the fine lace.
Skip thisDo not slide the doily as you lift it; drag it sideways and the delicate pattern smears into a blur.
6. Cookie-Cutter Outline Stamp
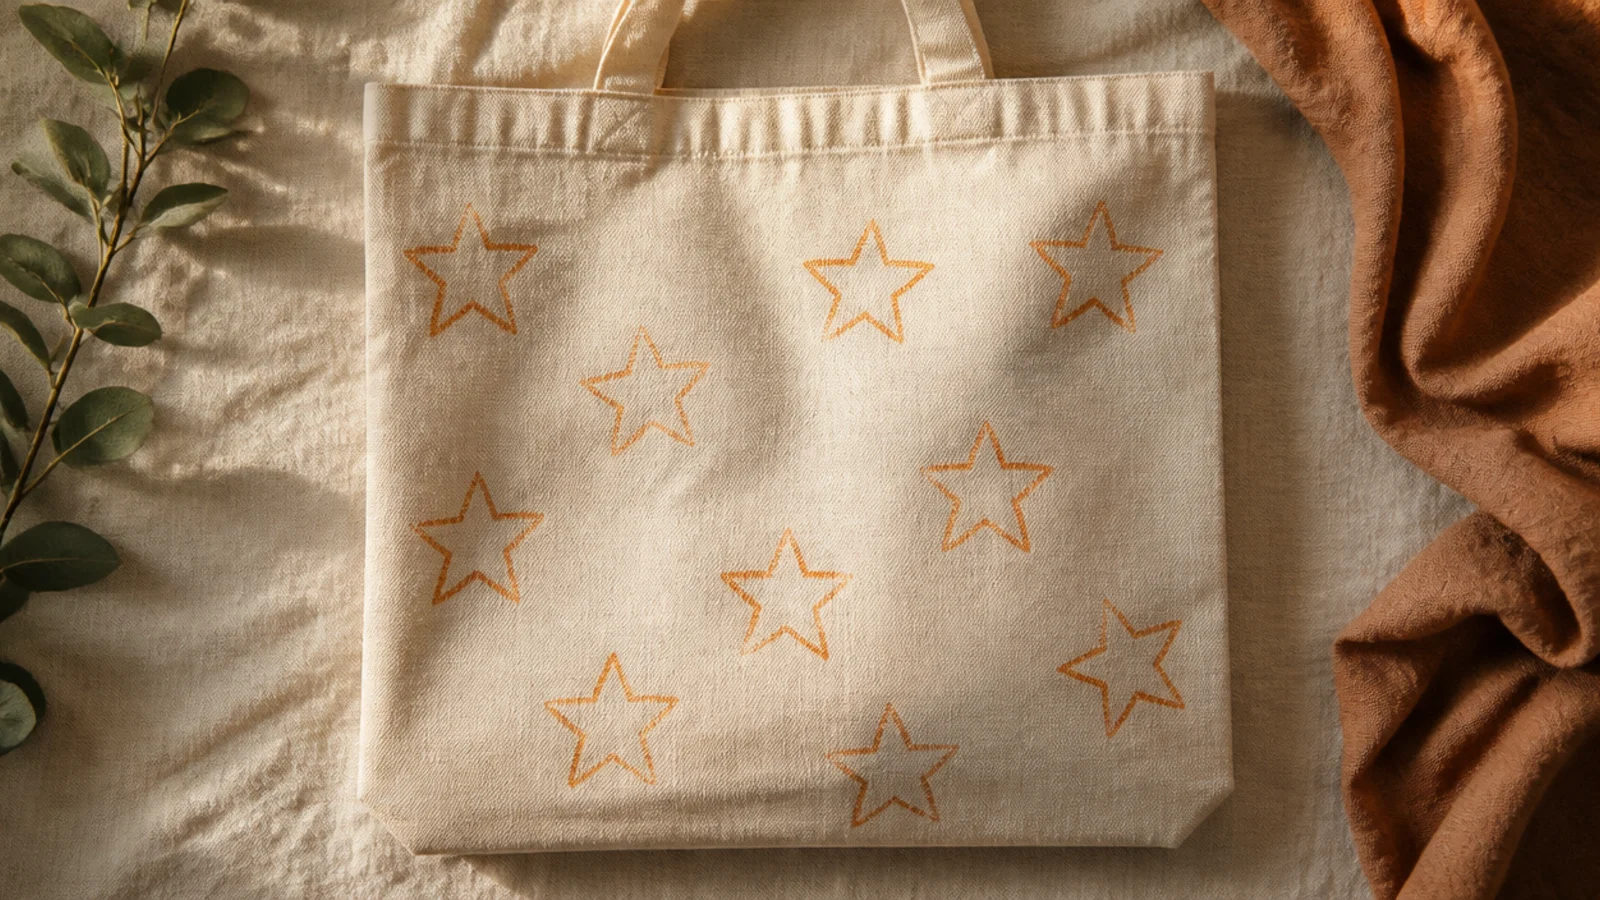
A metal cookie cutter dipped edge-down in paint stamps a perfect outline shape — stars, hearts, gingerbread people — with no carving. The thin metal edge gives a clean line drawing in one press. Repeat a shape or scatter a few.
Prep the tote and insert cardboard. Pour a thin layer of fabric paint onto a flat plate. Press the cutting edge of a cookie cutter into the paint so only the rim is coated, then stamp it straight down onto the canvas. Lift straight up, re-ink between prints, space them out, cure, and heat-set.
Editor's notePress the cutter into a thin, flat puddle of paint rather than a deep one so only the edge inks and the outline stays fine.
Skip thisDo not rock the cutter as you press; rocking prints part of the shape twice and doubles the outline.
7. Sponge Cloud Sky
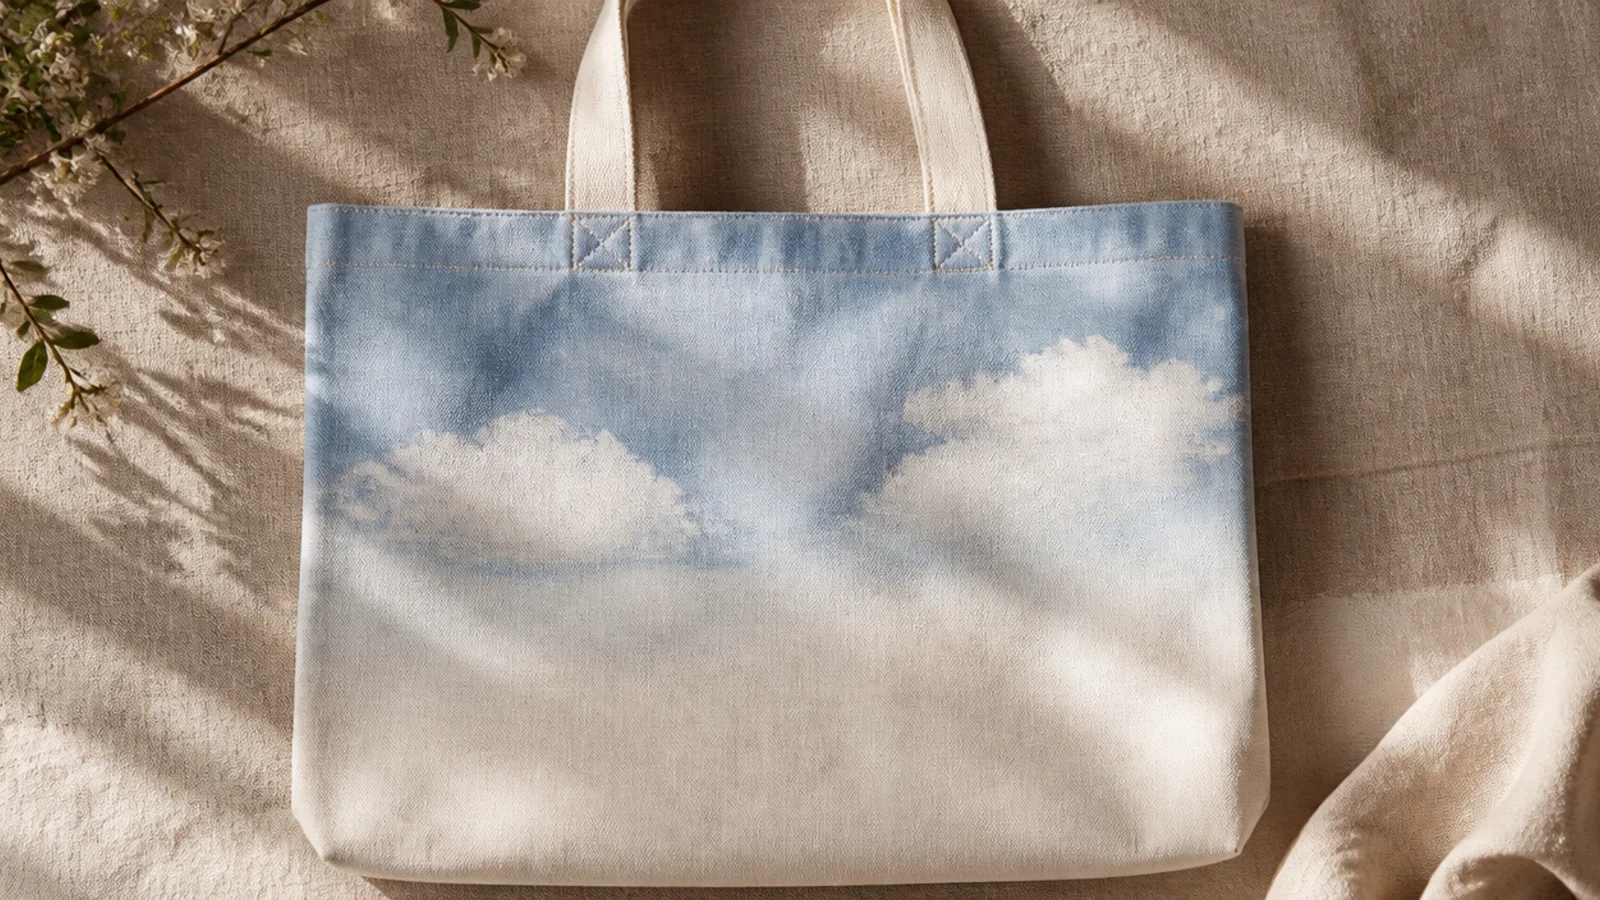
A natural sea sponge dabbed in white makes soft, realistic clouds against a painted sky. The irregular sponge texture gives clouds their fluffy edges automatically. It is a simple scene with a lot of charm.
Prep and iron the tote, insert cardboard. Wash a soft blue over the upper front with a wide brush and let it dry. Dip a damp natural sponge lightly in white fabric paint, tap off the excess, and pounce a few cloud shapes onto the blue, keeping the bottoms flatter than the tops. Soften edges with a clean sponge, cure, and heat-set.
Keep cloud bottoms flatter and tops puffier; that shape reads instantly as a cloud rather than a shapeless blob.
Do not use a smooth kitchen sponge; its even texture gives flat clouds, while a natural sponge makes fluffy edges.
8. Rubber-Band Sunburst Resist
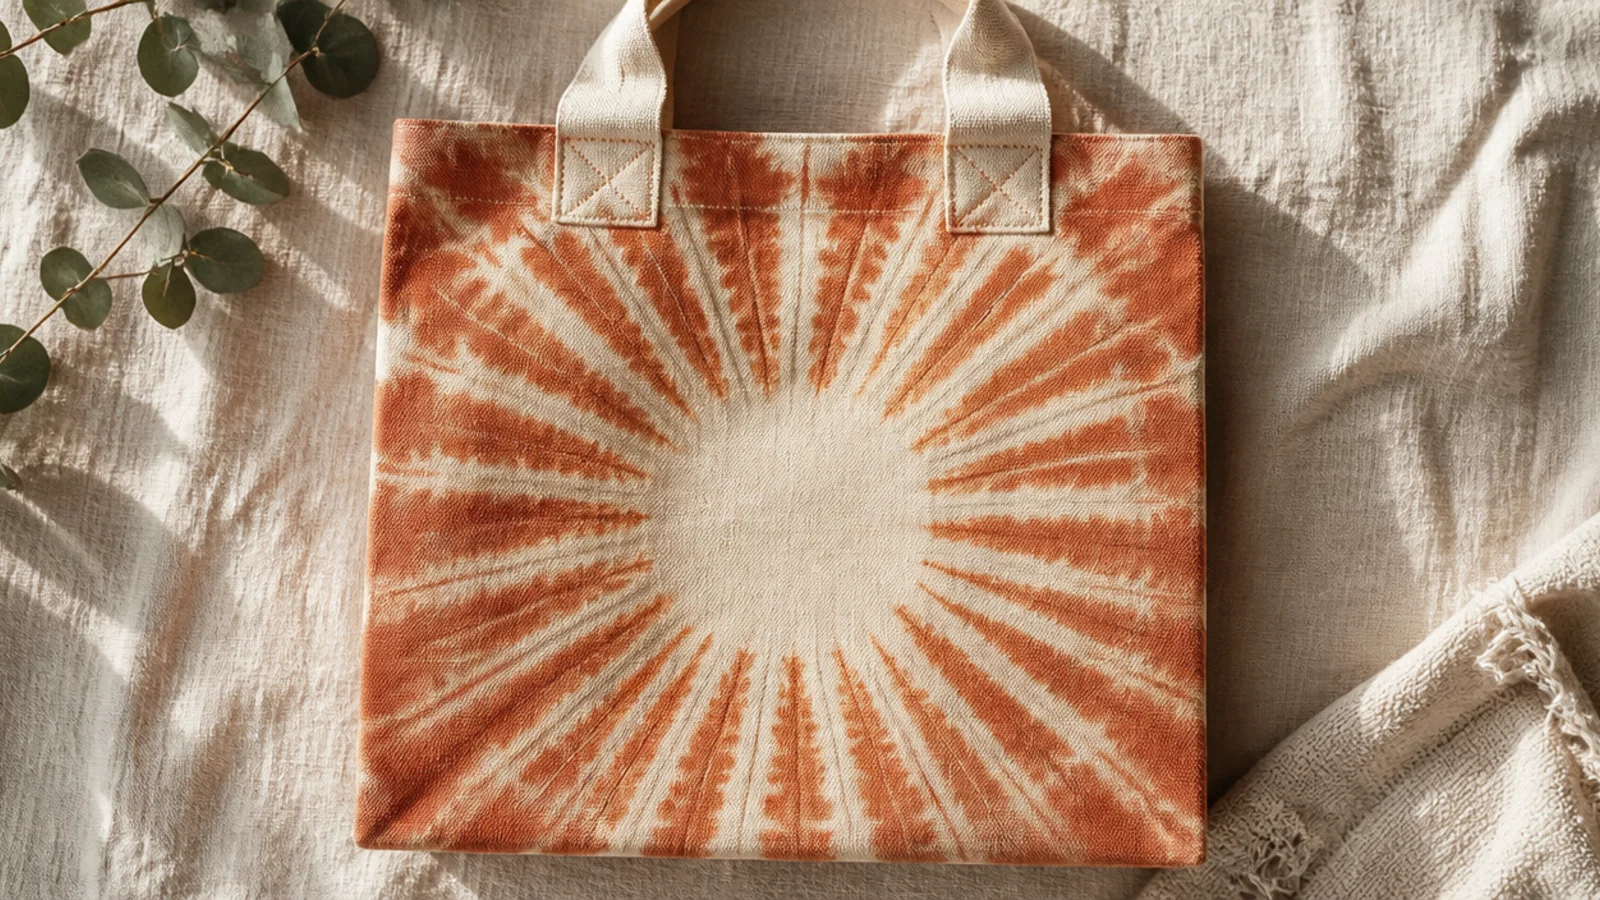
Bunching a patch of the bag and wrapping it with rubber bands creates a resist — painted areas around bare, banded lines — for a sunburst or starburst effect. It is a low-tech tie-dye style with fabric paint. Each bag comes out a little different, which is the fun of it.
Prep the tote but skip the cardboard for this step. Pinch a point on the front and wrap rubber bands tightly around the gathered fabric at intervals. Brush or sponge fabric paint over the raised, bunched area. Let it set briefly, unwrap the bands, and lay flat to reveal the resist lines. Once dry, insert cardboard, cure, and heat-set.
Editor's noteWrap the rubber bands as tightly as you can; loose bands let paint seep into the folds and blur the crisp resist lines.
Skip thisDo not soak the bunched fabric in paint; too much bleeds past the bands and fills in the bare sunburst rays.
9. Fork-Drag Combed Pattern
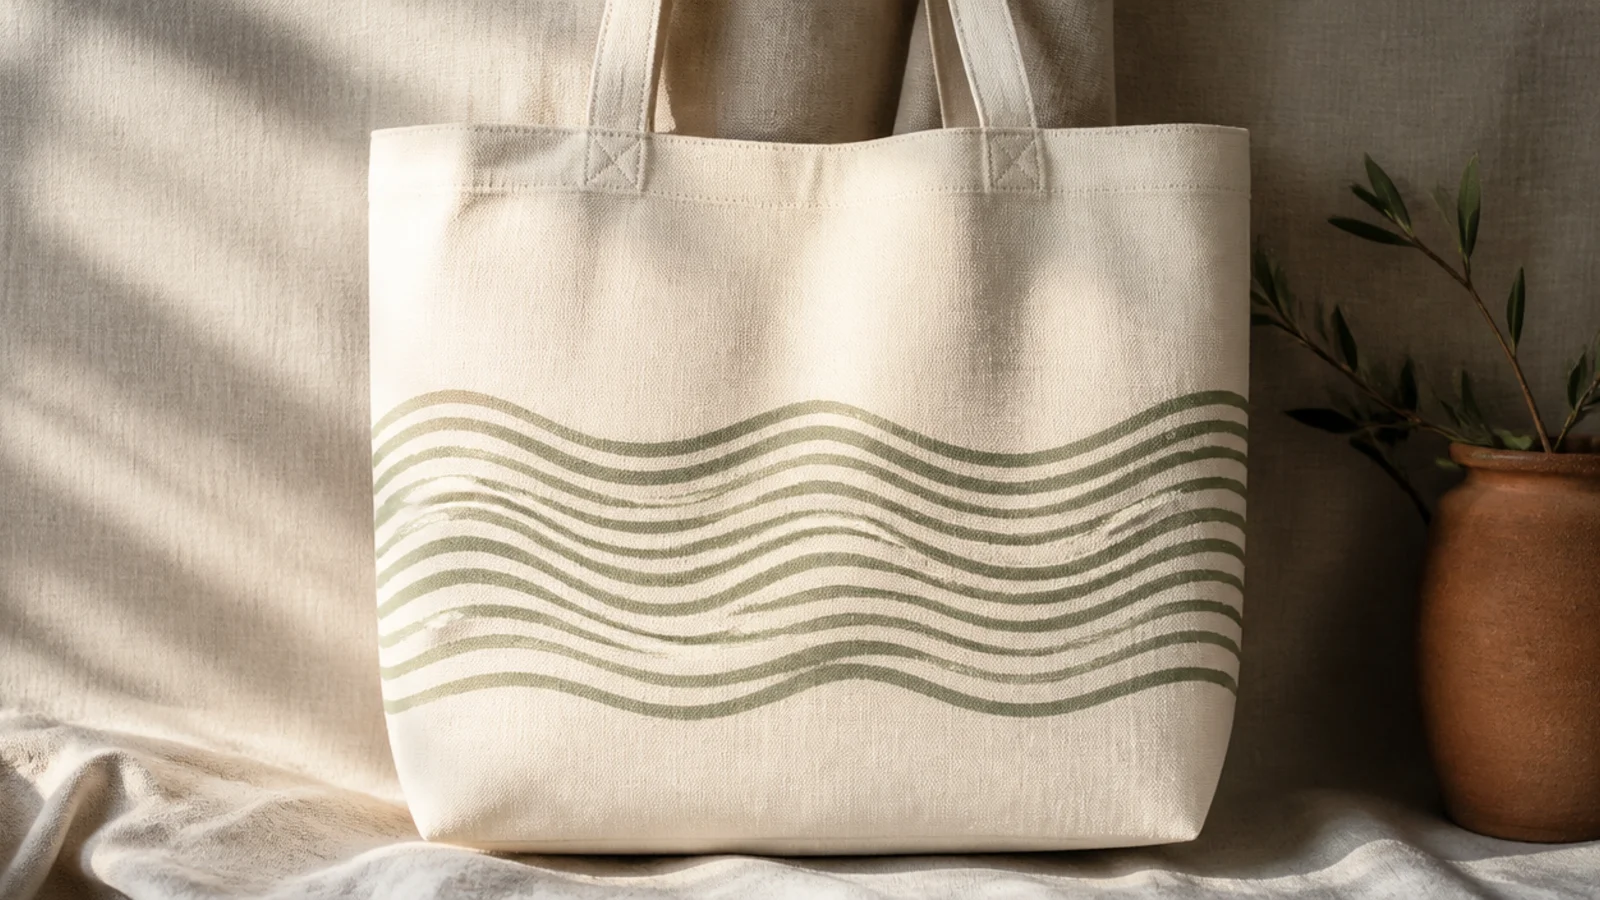
Dragging a fork through a wet band of paint combs it into even parallel lines or waves. The fork tines space the lines for you, so the pattern stays regular. It gives a textured, hand-combed stripe in seconds.
Prep and iron the tote, insert cardboard. Brush a wide band of fabric paint across the front, keeping it wet. Immediately drag a clean fork through the band — straight for parallel lines, or in gentle S-curves for waves — so the tines scrape the paint down to canvas. Wipe the fork between passes, cure, and heat-set.
Editor's noteWork fast while the paint band is still wet; once it starts to skin over, the fork drags and tears instead of combing clean lines.
Skip thisDo not press the fork too hard into the canvas; heavy pressure snags the weave, so let the tines glide through the paint.
10. String-Print Swirl
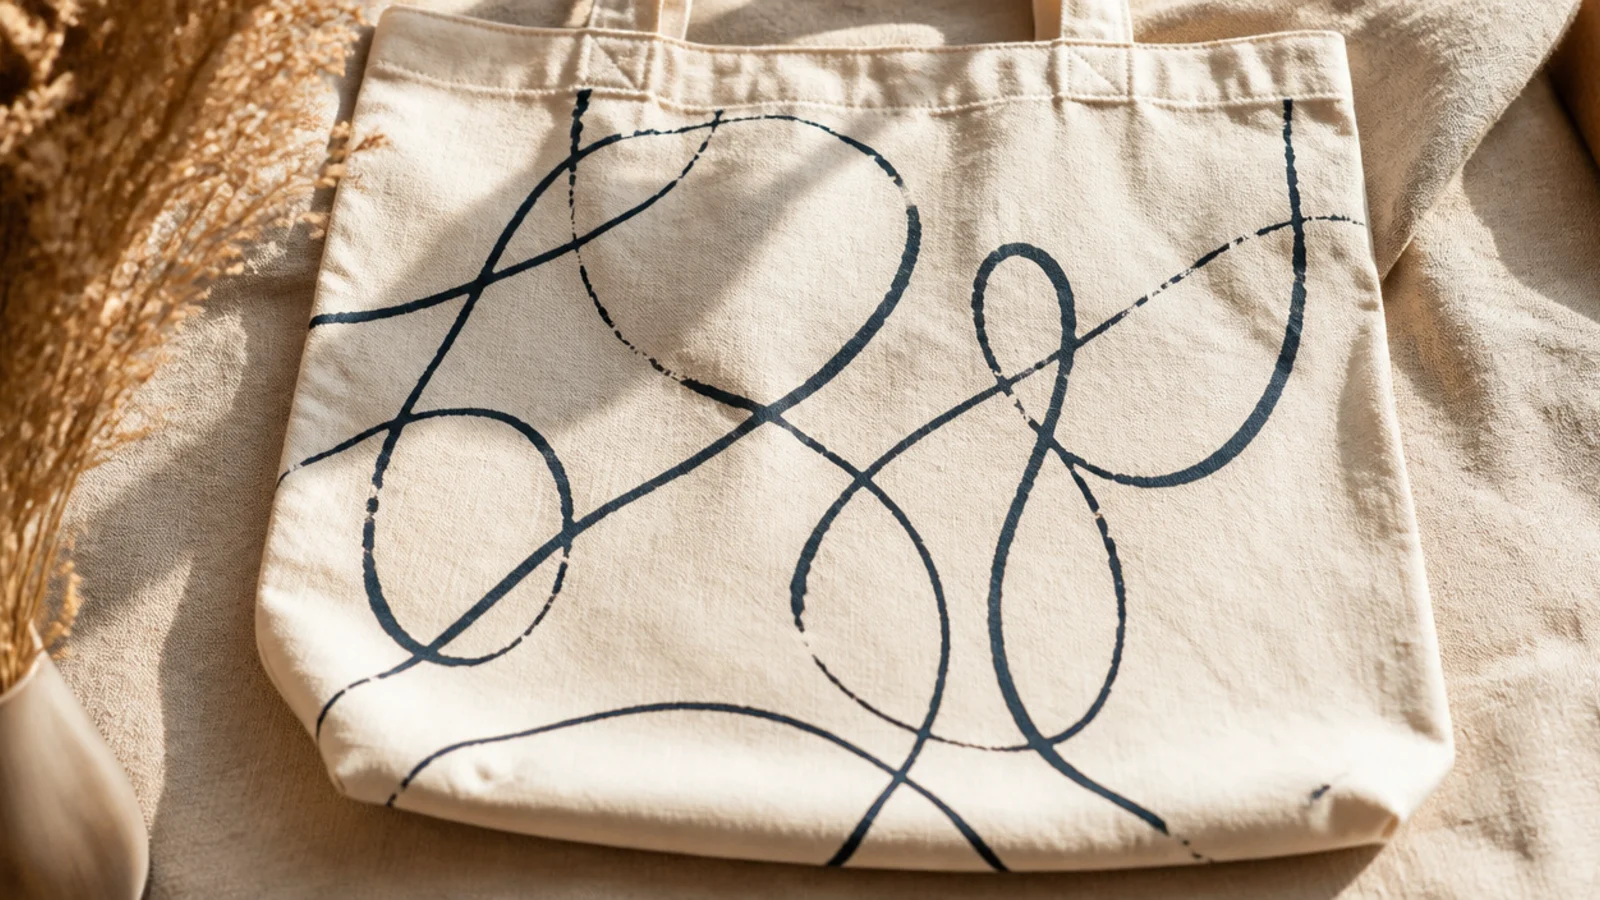
A length of string dipped in paint and laid in a loop prints an organic, flowing line you couldn’t draw so freely by hand. Pressing it down transfers the exact curve of the string. It gives a loose, artistic swirl or a whole tangled pattern.
Prep the tote and insert cardboard. Dip a length of cotton string in fabric paint and gently pull it between two fingers to strip the excess. Lay it onto the canvas in a loop or swirl, cover with a paper towel, and press evenly with your hand. Peel the string up to reveal the printed line, cure, and heat-set.
Editor's noteStrip the excess paint off the string before laying it down; a dripping string blobs, while a lightly coated one prints a fine line.
Skip thisDo not shift the string once it touches the fabric; sliding it smears the crisp printed line into a smudge.
11. Thumbprint Critters
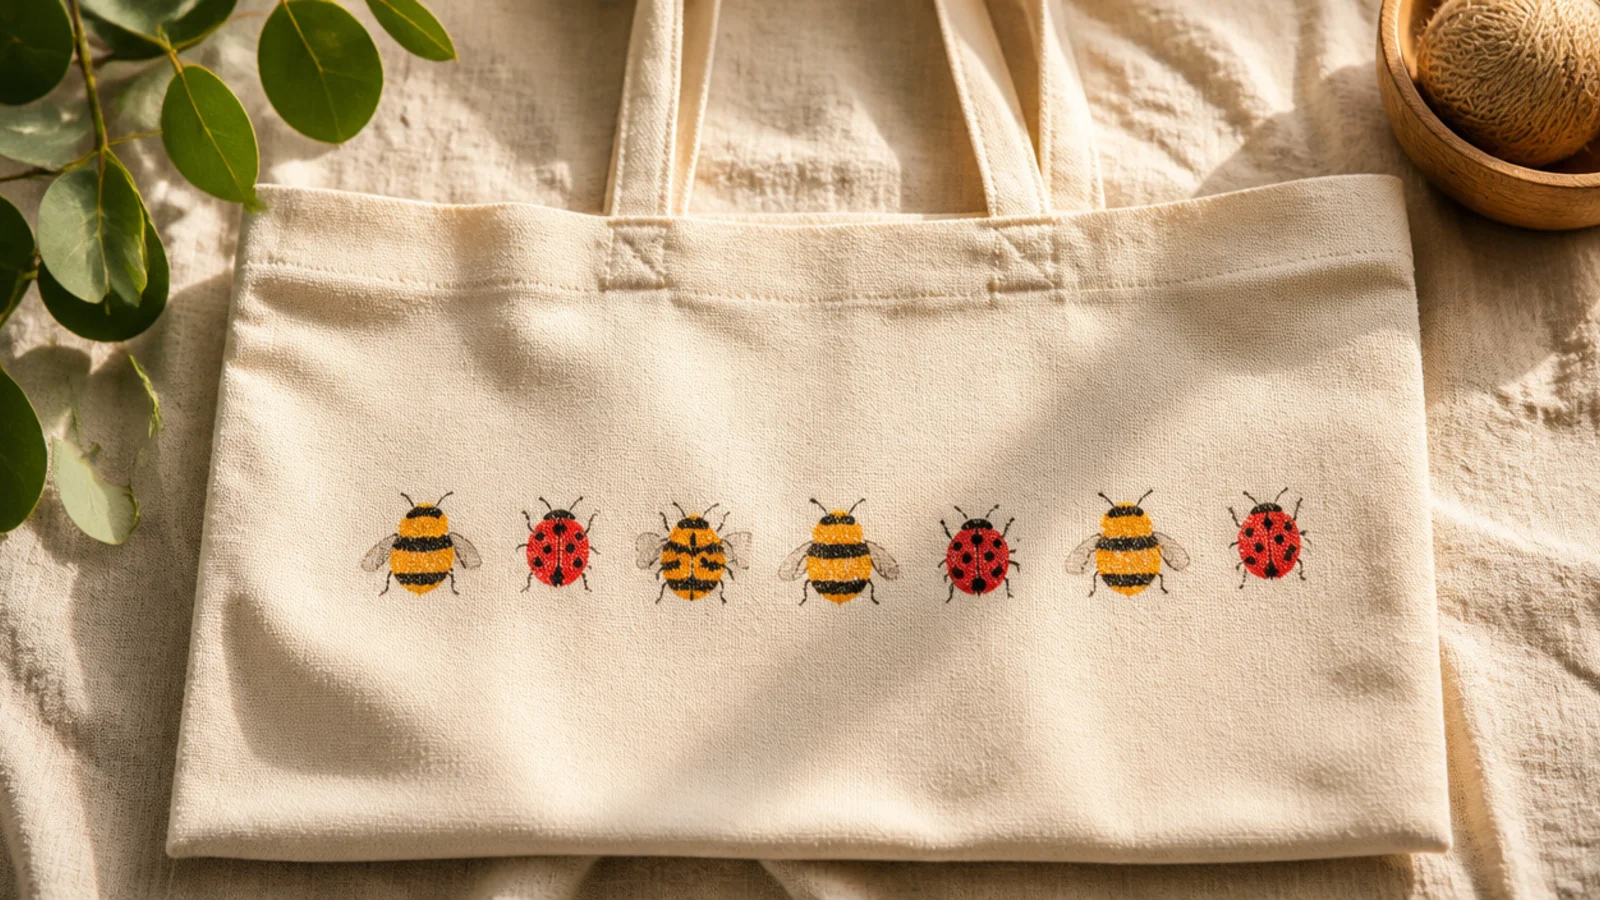
Your own thumbprint becomes the body of a tiny bee, ladybug, or bird with a few added details. It is a playful, personal DIY that kids love to help with. A little row of critters along the bottom is cheerful and sweet.
Prep and iron the tote, insert cardboard. Press your thumb into a thin coat of fabric paint on a plate, then stamp it onto the canvas for each body. Once dry, add details with a fine brush — stripes and wings for bees, dots and a head for ladybugs. Keep the row evenly spaced, cure, and heat-set.
Editor's noteLet the thumbprint bodies dry fully before adding the tiny details, so wings and stripes stay crisp instead of bleeding.
Skip thisDo not overink your thumb; a heavy print loses the fingerprint texture and just looks like a paint blob.
12. Bleach-Pen Reverse Design
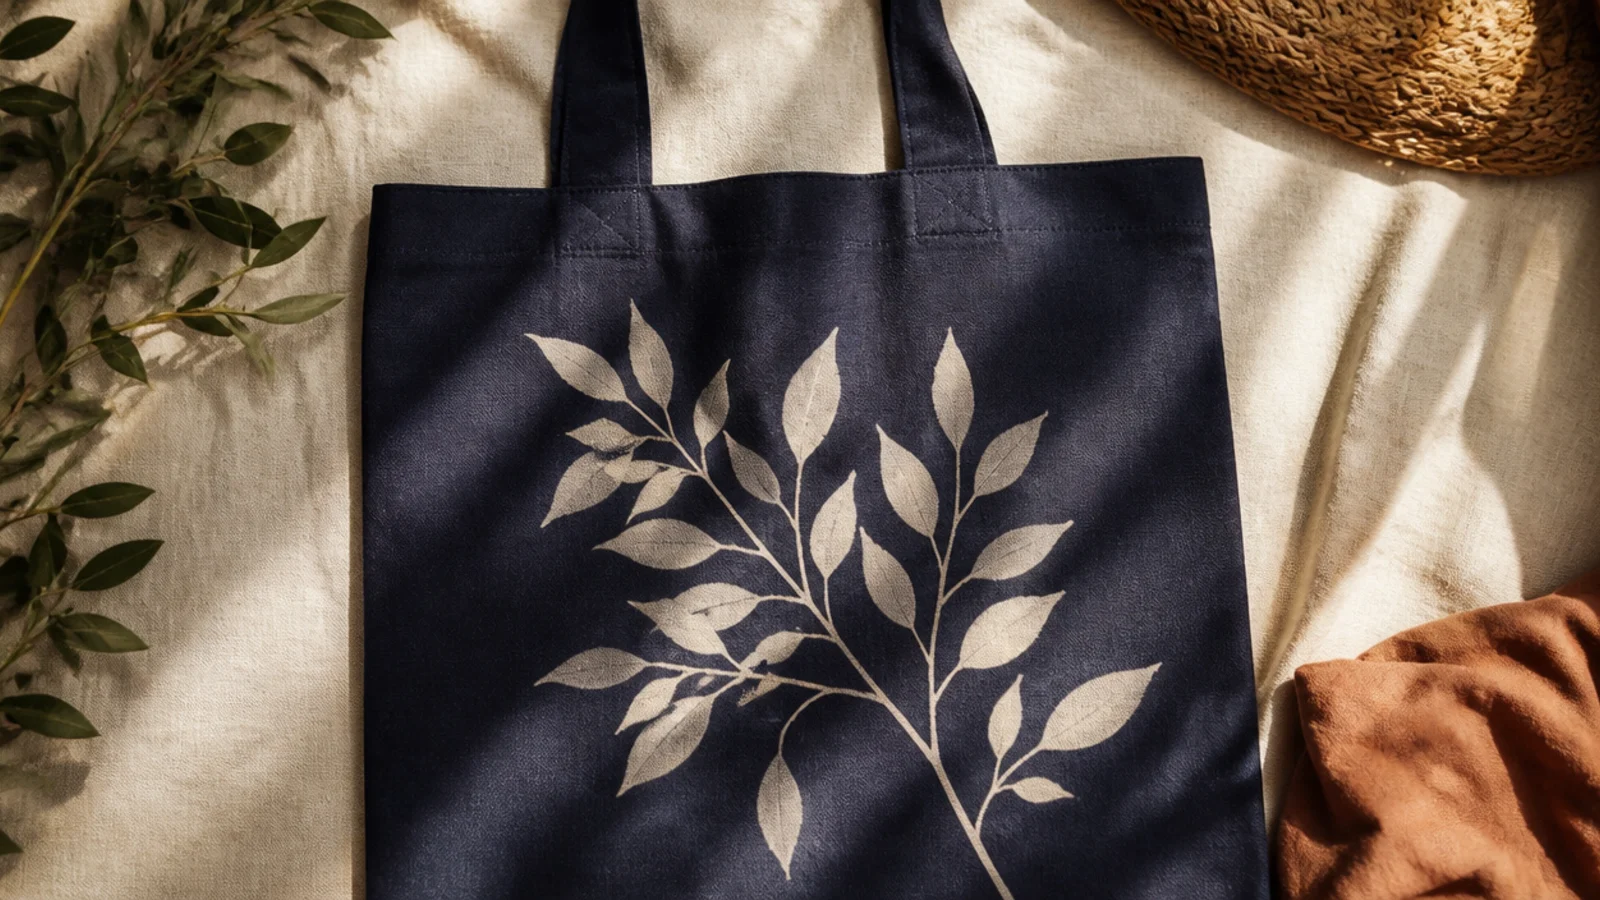
On a colored tote, a bleach pen removes color to draw a pale design instead of adding paint — a striking reverse effect. The gel pen lets you draw fine lines that lighten the fabric. It works only on dyed cotton, and every bag lightens to a slightly different tone.
Work on a colored cotton tote in a ventilated space and insert cardboard. Draw your design with a bleach gel pen, keeping lines even. Watch as the color lifts, usually within a few minutes, then rinse the whole bag thoroughly in cold water and a splash of hydrogen peroxide to stop the bleaching. Dry, iron, and there is no heat-set needed since no paint is used.
Editor's noteRinse the bag the moment the design reaches the shade you want; bleach keeps working, so leaving it lightens the lines too far.
Skip thisDo not use bleach on a white or cream tote; there is no color to remove, so the design simply won’t show.
13. Painter's-Tape Mudcloth
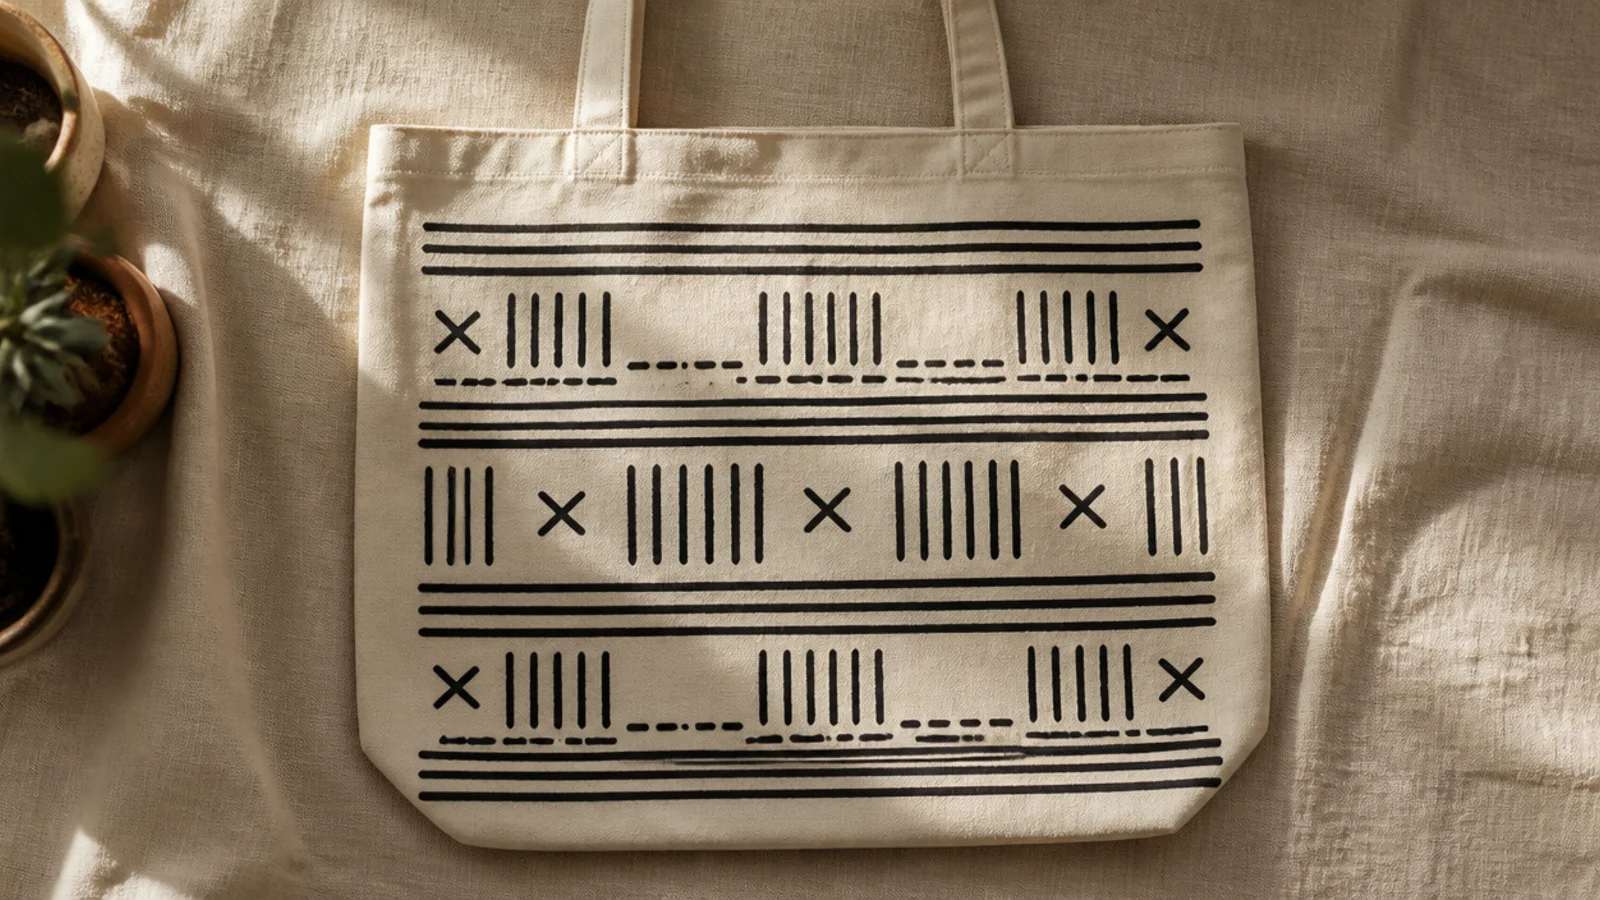
Strips of painter’s tape plus a few hand-added marks create a mudcloth-style graphic pattern. The tape gives crisp lines and bare gaps while the dashes and Xs add the traditional texture. It looks intricate but is mostly tape.
Prep and iron the tote, insert cardboard. Lay painter’s tape in a few vertical and horizontal lines, pressing edges firmly. Sponge black fabric paint over the open areas, then peel the tape while wet to reveal clean bare stripes. Once dry, add rows of small hand-painted dashes and Xs between the stripes, cure, and heat-set.
Add the little dashes and Xs freehand after peeling the tape; the mix of crisp taped lines and hand marks is the mudcloth look.
Do not overcrowd the pattern; mudcloth relies on bare negative space between the marks, so leave the canvas room to breathe.
14. Splatter Flick Finish
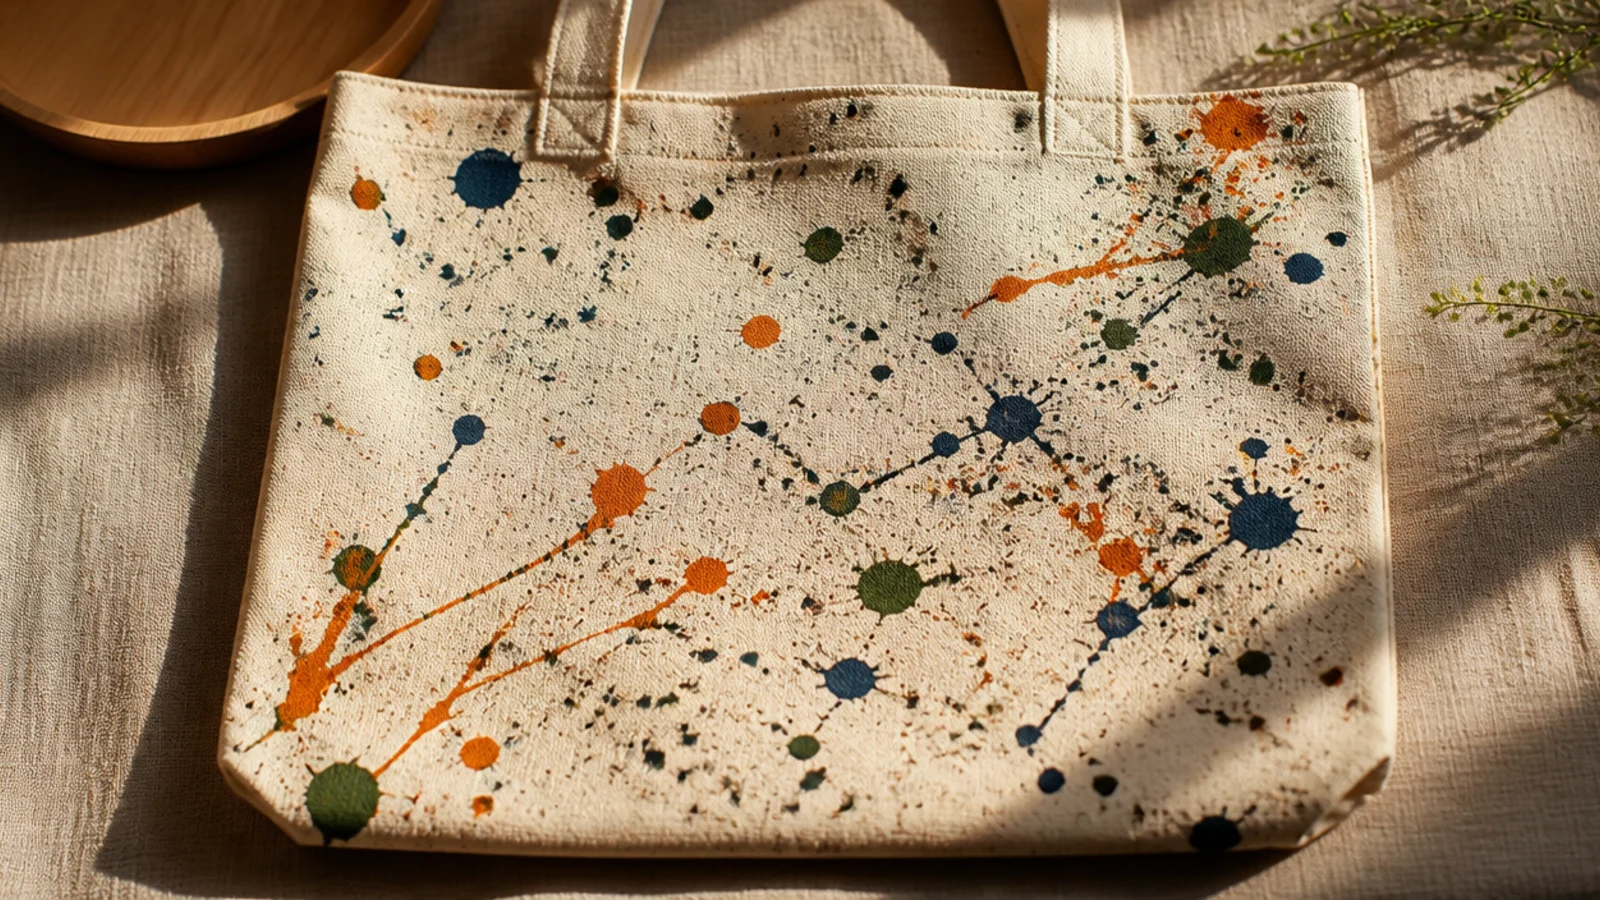
Flicking thinned paint off a stiff brush covers the bag in energetic, artistic splatters. Layering two or three colors gives it depth and movement. It is the most forgiving DIY because there is no pattern to get right.
Prep the tote and insert cardboard, then lay scrap paper around the edges. Thin each fabric paint color slightly with water. Dip a stiff brush or toothbrush, then run your thumb across the bristles to flick splatters onto the canvas. Let each color dry a little before adding the next so they stay distinct, cure, and heat-set.
Editor's noteLayer the colors from lightest to darkest and let each dry slightly; overlapping wet splatters muddy into one brown mess.
Skip thisDo not over-thin the paint; watery splatters run down the canvas in drips instead of landing as crisp specks.
15. Freehand Doodle Line Art
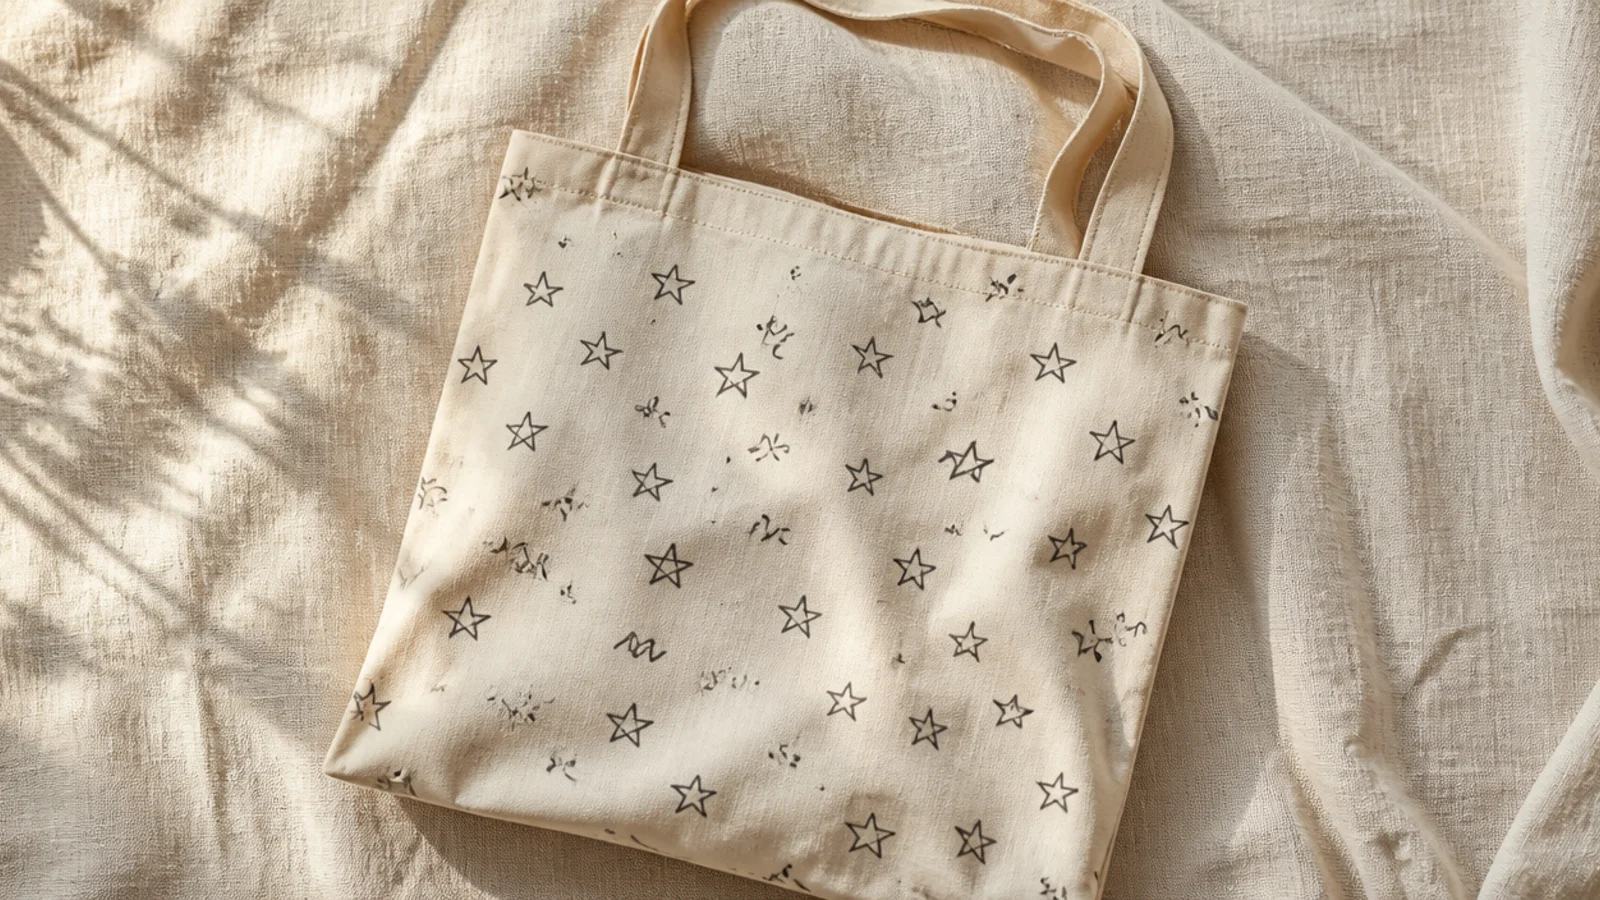
An all-over doodle of tiny simple shapes — stars, hearts, squiggles, dots — is a relaxed, personal DIY that improves with imperfection. A fabric marker makes it as easy as sketching on paper. It fills the bag with charm and hides any wobbles as part of the style.
Prep and iron the tote, insert cardboard. Using a fine-tip fabric marker, doodle small simple shapes across the whole front, spacing them loosely and mixing the shapes. Keep each mark small so the pattern reads as texture. Let the ink dry fully, then heat-set under a cloth — no wet paint means it is the quickest to finish.
Editor's noteMix a handful of different tiny shapes and scatter them evenly; variety plus even spacing is what makes a doodle look intentional.
Skip thisDo not press hard or go over lines; a fabric marker bleeds if you retrace, so draw each mark once with a light hand.



