
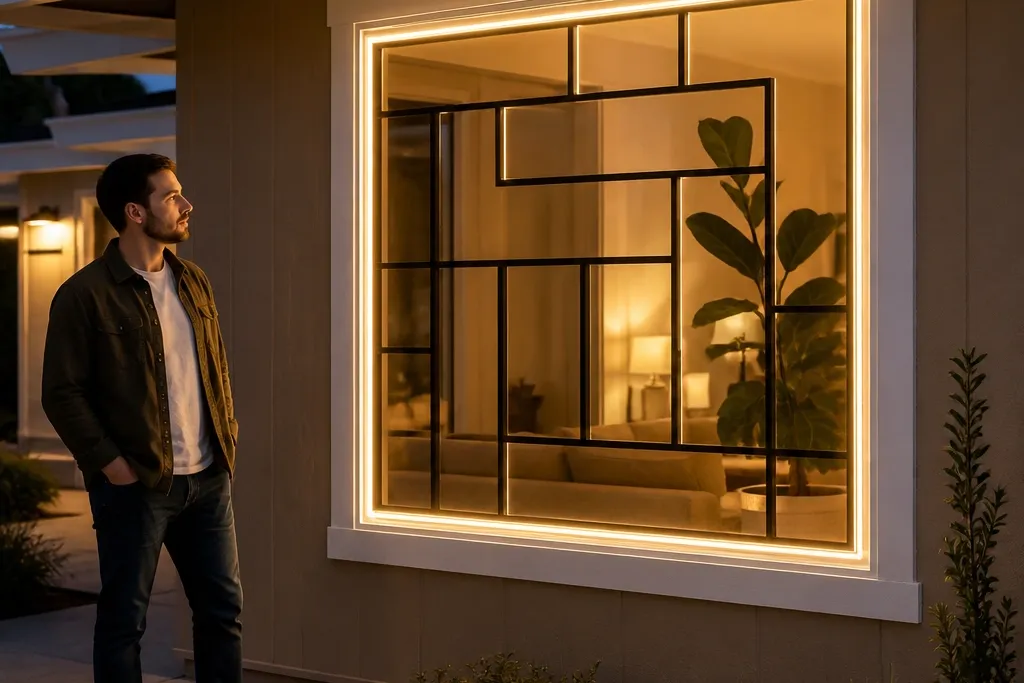
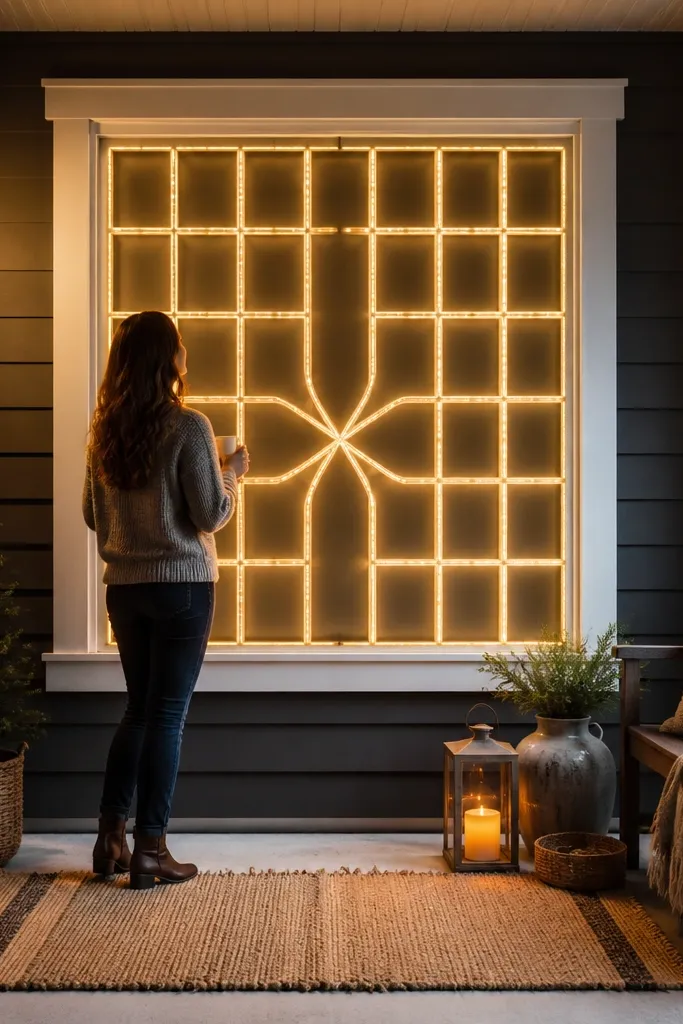
1. Matte Black Grid with Warm White Micro-Lines
This is the modern choice when you want “themed window grill with lights” to look clean from the sidewalk. The grid pattern gives you structure, and the warm white LEDs make the window feel like a feature wall. Matte black hides small imperfections in the metal and looks good against white trim, beige siding, and brick. The lights sit behind the bars so the glow reads even instead of like random dots. It’s a beginner-friendly build if you’re comfortable cutting straight pieces and drilling consistent holes.
Editor's noteIf you’re using LED strip or mini string lights, put them in a channel 1/2 inch behind the bars so the glow spreads instead of beading.
Start by measuring the inside opening and cutting a rectangular frame from steel or aluminum angle stock. Build a simple grid using evenly spaced bars — pick a spacing you can repeat (for example, 3 to 4 vertical bars depending on your width), then mark them with a square before you drill. Attach the bars to the frame, then add a shallow back channel or small standoffs so the LED string sits slightly behind the grill. Route the LEDs along the back edge, test the lighting with the grill held in place, then secure the wiring with zip ties and heat-shrink or outdoor-rated tape. Paint the whole assembly with a metal primer and matte black topcoat, let it cure fully, and mount it with exterior screws into solid trim.
Skip thisDon’t mount LEDs directly against the front bars — you’ll see bright hotspots and the wiring will look messy.
2. Clean Diamond Lattice with One-Line Starburst Theme
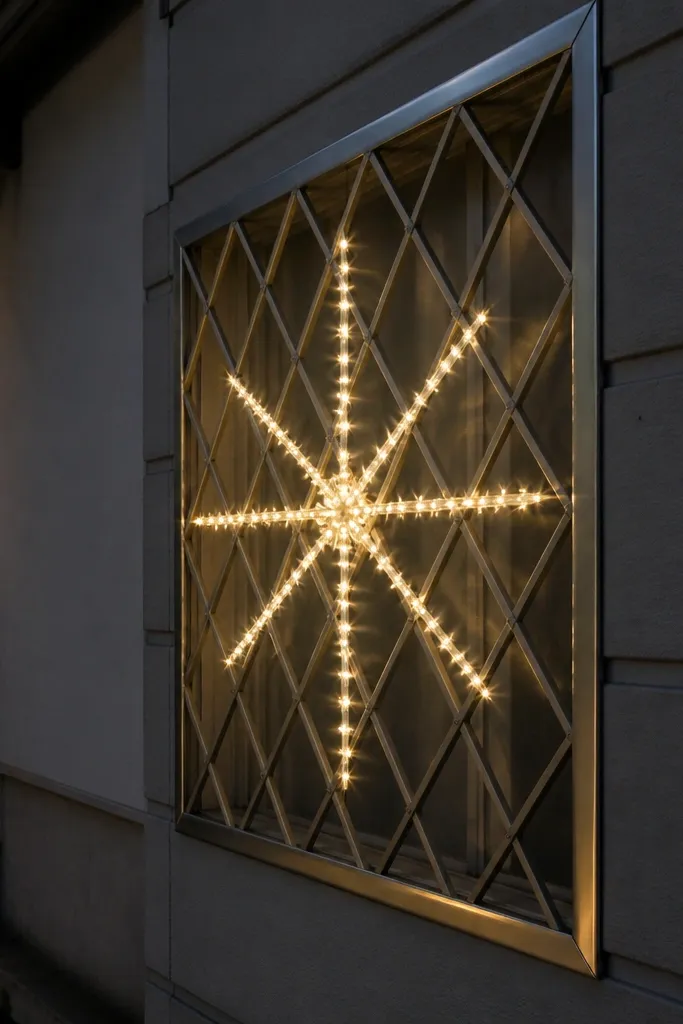
A diamond lattice looks modern because it’s repeating geometry, and it reads “intentional design” even when the window is simple. The theme here is one centered starburst, done with lights only — it gives you a themed focal point without turning the whole grill into a cartoon. Use warm white for the main glow and a tiny amount of accent color only if you really want it. This style also photographs well because the diamonds create depth and the center light draws the eye. It suits entryways, front doors, and covered porches where you want a greeting vibe.
Editor's noteUse a center reference mark and measure from it every time you place a ray — symmetry is what makes this look premium.
Cut a rectangular frame and then create the diamond lattice using pre-measured crossbars at consistent angles. The easiest method is to mark the intersections using a template made from cardboard, then transfer marks to the metal. Assemble the lattice on a flat surface so the diamonds stay symmetrical, and tack it together before final fastening. For the starburst, map a small set of LED nodes radiating from the center — keep the number of rays consistent so it looks clean, not random. Secure LED leads on the back with zip ties and small standoffs, test the pattern, then prime and topcoat with matte black or dark bronze. Mount with spacers so the grill doesn’t scrape siding when the door or window shifts.
Skip thisDon’t add extra icons around the edges. One clear focal light pattern beats a cluttered theme.
3. Vertical Slat Modern Grill with Hidden Light Channel
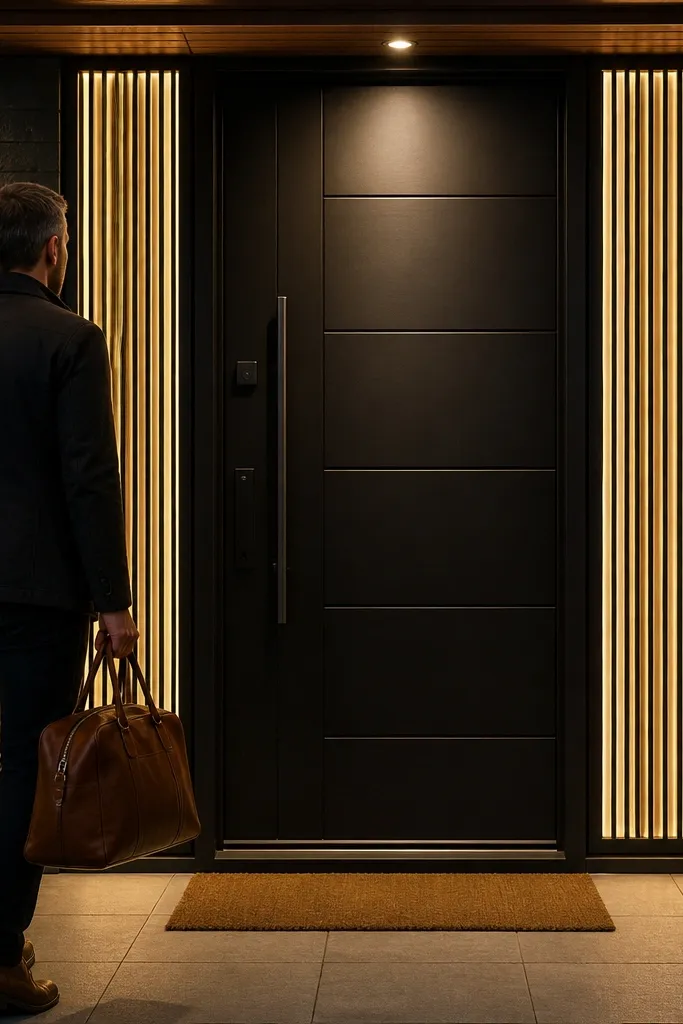
Vertical slats are the quickest path to a modern look because they elongate the window and make the lights look like a curtain of glow. The hidden light channel is the secret: it keeps wiring invisible and spreads the light evenly across every slat. This design works great for narrow windows or tall sidelights because the vertical rhythm makes them look more architectural. It’s also forgiving if your window trim isn’t perfectly square, because the slats cover minor alignment issues. Skill level is medium only because you need consistent spacing and careful mounting.
Editor's notePaint after wiring tests. If you paint first, you’ll have to guess where the brightest points will land.
Build a frame from metal angle or square tubing, then cut straight slats at equal widths. Mark spacing with a spacer block so every gap stays the same from top to bottom. Install a shallow back channel (thin metal strip works) about 3/4 inch behind the front slats so the LEDs sit inside it. Route warm white LED strip or mini string lights through the channel, then tack the leads so they don’t shift when you paint. Test the glow with the grill held in position, then prime and paint the front and frame; avoid painting the LED channel area if it blocks light. Mount using exterior screws into the trim or studs, and add rubber washers to prevent metal-to-metal vibration.
Skip thisDon’t use thick slats with LEDs placed too close. The glow will look blocked and uneven.
4. Arch-Top Half-Circle Frame with Warm Halo LEDs
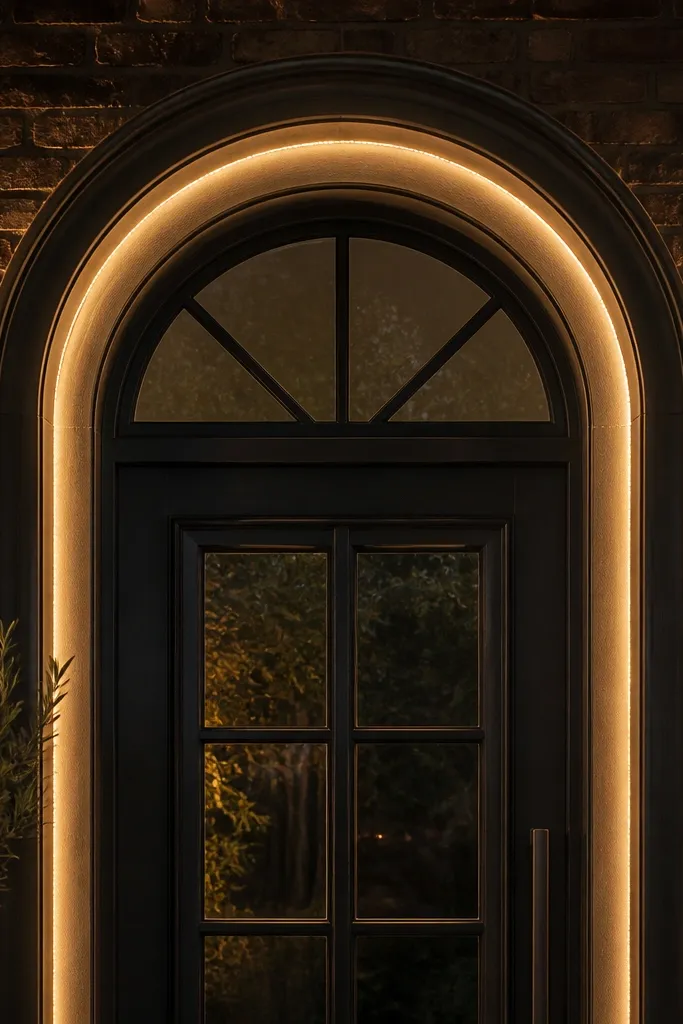
If your window is arch-topped or you want that classic-meets-modern vibe, this is a clean way to frame it with light. The halo effect is made by placing LEDs along the inner curve of the arch, so the glow outlines the shape instead of spraying everywhere. It looks especially good on front doors with matching arches and on houses with curved porch details. This is more of a “design statement” than a grid, but it still stays modern because the lines are simple. Time is moderate because you’re cutting a curve, but the result looks high-end.
Editor's noteUse a flexible measuring tape along the curve to size the LED strip length accurately before you cut anything.
Measure the arch radius or inner opening curve, then trace it onto thin metal or use a pre-made template to cut the inner arch frame. Build a rectangular outer frame and a curved inner arch piece, then connect them with straight side rails for stiffness. Place LEDs along the inner arch perimeter using adhesive-backed LED strip or a mini string laid into a shallow groove. Make a small notch for wiring so the wire path stays hidden behind the frame. Test lighting, then prime and paint with matte black or oil-rubbed bronze. Mount by aligning the outer frame first, then fasten at the corners and along the rails so the arch doesn’t wobble.
Skip thisDon’t glue LEDs directly onto bare curved metal without a protective layer. It can peel after heat and weather exposure.
5. Star and Stripe Theme Bars with Color-Accented LEDs
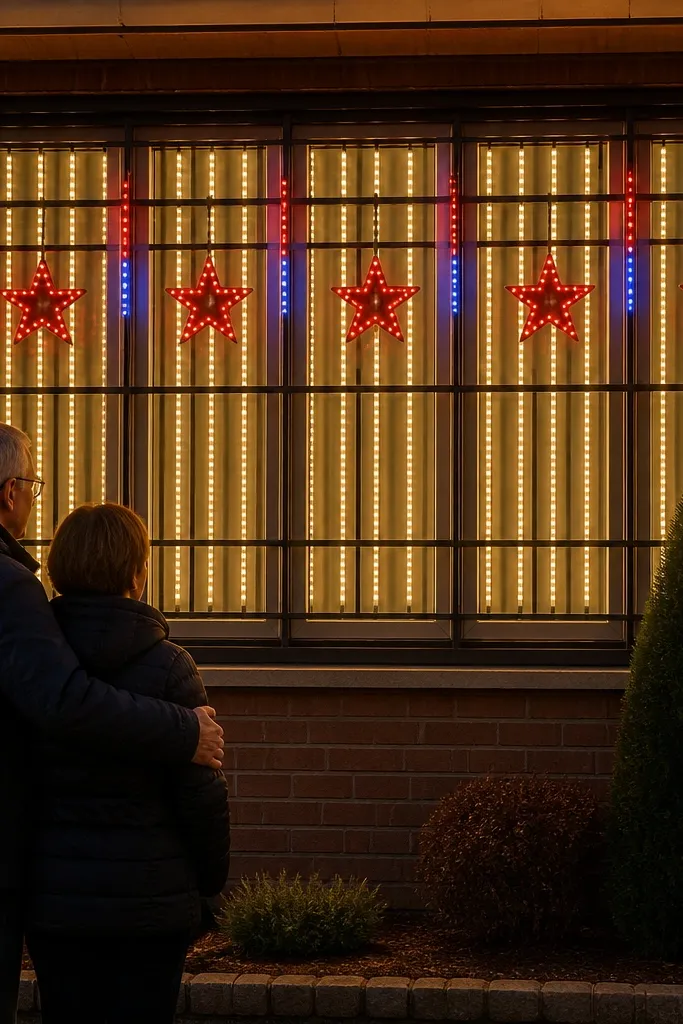
This is the themed option that still reads modern because the shapes are controlled: stars are repeated in one row or one column, and the “stripes” are straight light runs behind the bars. Use warm white as the base and add red or cool blue only in short accent segments so the window doesn’t look like a generic holiday decoration. The cutouts create visual texture even when the lights are off, which is what makes it feel like real design. This works best for front windows where you want a holiday vibe without going full inflatable. It’s a medium build because you’re cutting shapes cleanly.
Editor's noteIf you want stars to look crisp, sand cut edges lightly and paint the stars before mounting so the finish matches the frame.
Start with a metal frame and straight vertical bars, then decide where the star cutouts go. Use a star template and mark each cutout location so spacing stays consistent; cut stars from thin sheet metal and attach them behind or between bars so they don’t distort the front face. For stripe lighting, run LED segments horizontally behind the bars and keep each run at the same height. Use warm white LEDs for the base runs and add accent color LEDs only at the star rows. Secure all wiring with outdoor-rated cable clips, test the pattern, then prime and paint everything except the LED contact points you need to stay accessible. Mount with spacers so the theme pieces don’t scrape the trim.
Skip thisDon’t mix three light colors across the whole grill. Two colors max keeps the theme classy.
6. Sunburst Chevron Window Grill with Edge Glow
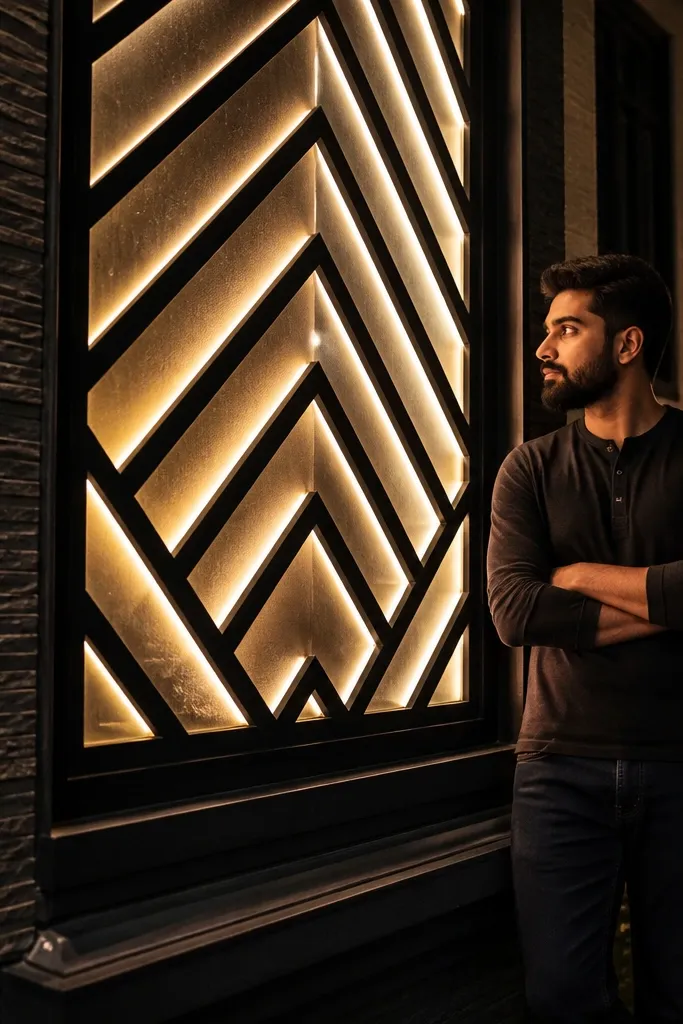
Chevron patterns look modern and directional, and they make lights feel like they’re coming from a source. This design uses a chevron layout that points toward the center, then hides warm LEDs along the back edges so the glow outlines each angle. The result is dramatic without being cluttered, and it reads “themed” because the lines create a sunburst feel. It’s perfect for entry windows and rooms where you want a focal point that’s visible from the street. Expect a slightly higher skill level because chevrons need careful measuring to keep the angles consistent.
Editor's noteMake one “perfect chevron” piece as your template and trace it for the rest. That’s how you keep symmetry without re-measuring every cut.
Build a rigid outer frame first, then mark a centerline. Cut chevron ribs so both sides mirror each other — do a dry fit before drilling anything. Attach the chevrons to the frame and add a back spacer strip so LEDs can sit behind the angled ribs without being visible. Place warm white LED strip along the back edge where it will light through the gaps between chevrons. Test the light pattern with the grill held against the window, then disassemble if you need to paint — or tape off LED contact areas. Prime and paint matte black, let it cure, then mount firmly using exterior screws and shims for alignment.
Skip thisDon’t eyeball the angles. Chevron symmetry is what makes it look designed, not DIY.
7. Minimal Oval Repeater with Soft Warm Flooding
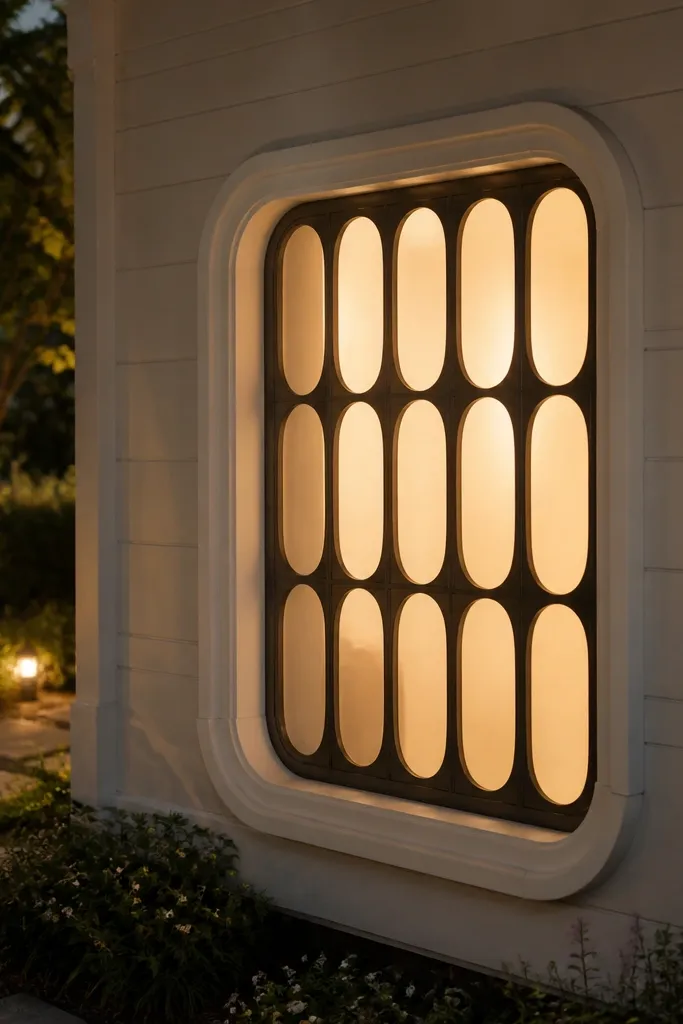
Ovals give you a softer modern look than grids and chevrons, and they look great on cottage-modern homes with rounded trim. The trick is to use oval cutouts as a repeating pattern and let warm lights “fill” the negative space. When the lights are evenly distributed behind the ovals, the glow looks smooth and calm instead of dotted. This style also works when you want privacy at night because the pattern breaks up straight sight lines. It’s a medium build because you need consistent oval cutouts and straight mounting.
Editor's noteFor a softer look, keep the LEDs behind the cutouts and add a small diffuser layer rather than moving LEDs to the front.
Create a rectangular frame and then mark oval cutouts using a consistent template size. Cut the oval shapes from thin sheet metal and attach them to the frame behind the front bar layer, or build them into a two-layer grill if you want extra depth. Add a back diffuser layer if you want softer glow — thin translucent plastic works but keep it weather-rated and secured so it doesn’t warp. Place warm white LED strip behind the ovals, then adjust placement until the glow looks even across the pattern. Prime and paint the metal parts, test lighting with the paint dry, and mount with standoffs so the grill stays off the window casing. Finish by checking for sharp edges and sealing any exposed metal.
Skip thisDon’t make the ovals too small. Tiny cutouts create harsh bright points instead of smooth glow.
8. Brick-Ready Dark Bronze Frame with Warm LED Rope
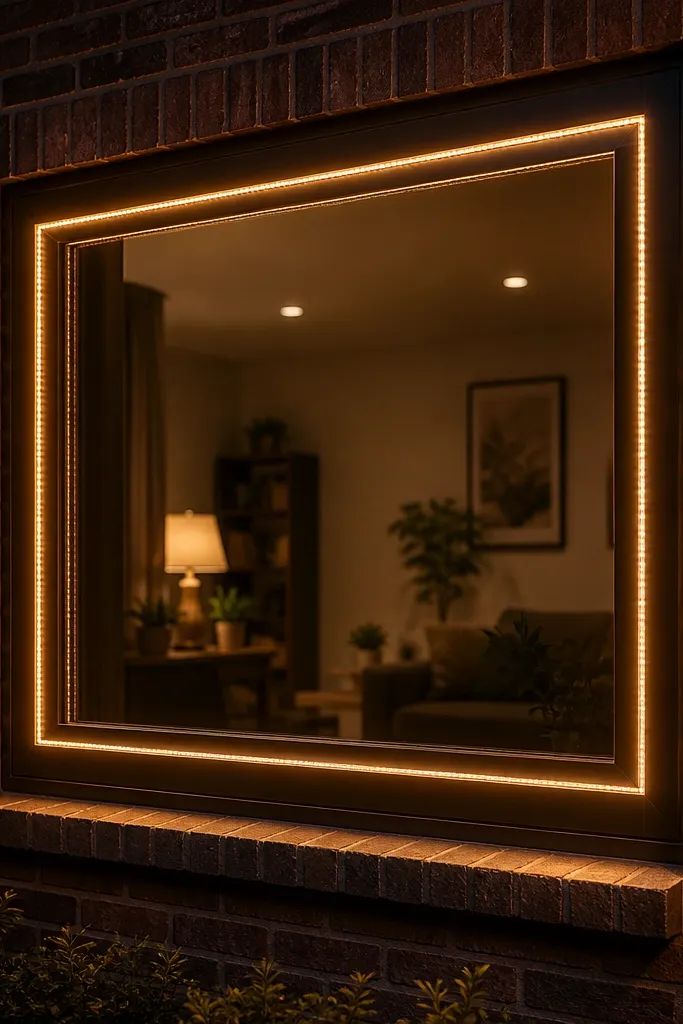
If you’re working with brick or textured siding, dark bronze looks warmer than black and hides scuffs better over time. This design keeps the grill simple — an inner border frame with a rope-like LED line that outlines the window area. The “theme” comes from how the border light wraps the window, making it feel like a sign without text. It’s a great option when you want a modern look but don’t want to cut lots of shapes. The build is mostly measuring and mounting, so it’s beginner-friendly.
Editor's noteUse a level when mounting the inner border light line. A slight sag reads sloppy even if the rest is perfect.
Measure the window opening and cut an outer frame plus an inner border frame from metal strip or angle. Leave a consistent gap between the frames so the light line has a clean visual channel. Install a warm white LED rope light or mini string along the inner border — keep the wire hidden behind the inner frame by using a shallow groove or cable clips. Secure the light line, test it, then paint the metal frames with a primer and dark bronze topcoat. After curing, mount the grill with exterior screws and add spacers so moisture can drain behind it. Finish by checking that the light line is level and doesn’t dip at the corners.
Skip thisDon’t use a shiny paint finish. Gloss reflects light and makes the wiring and hotspots stand out.



