
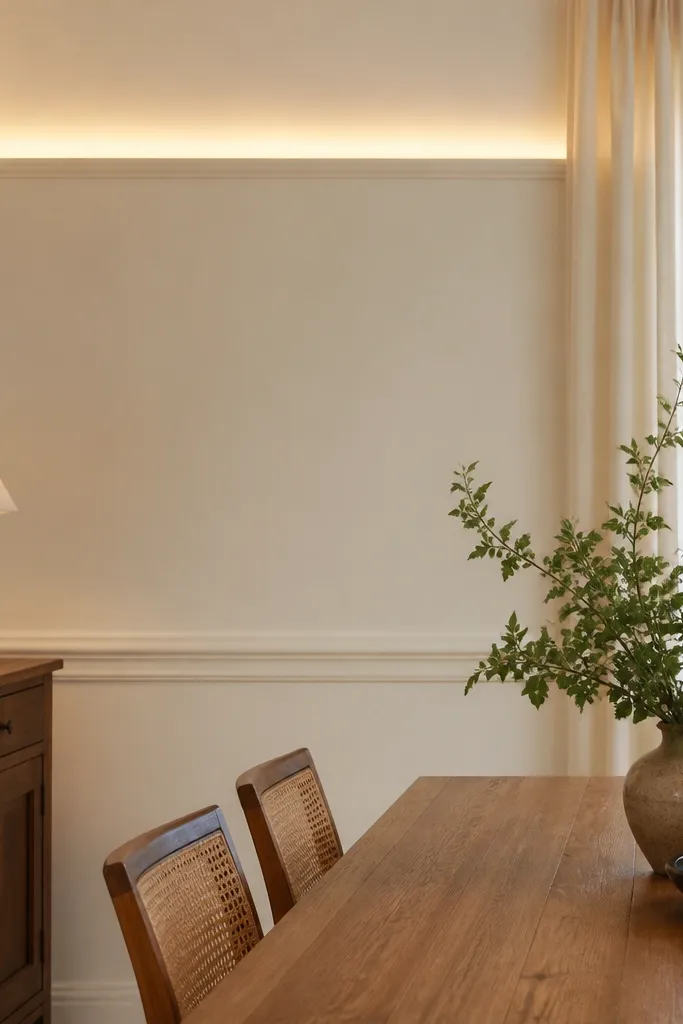
1. Picture-Frame Panels with Uplight Channels
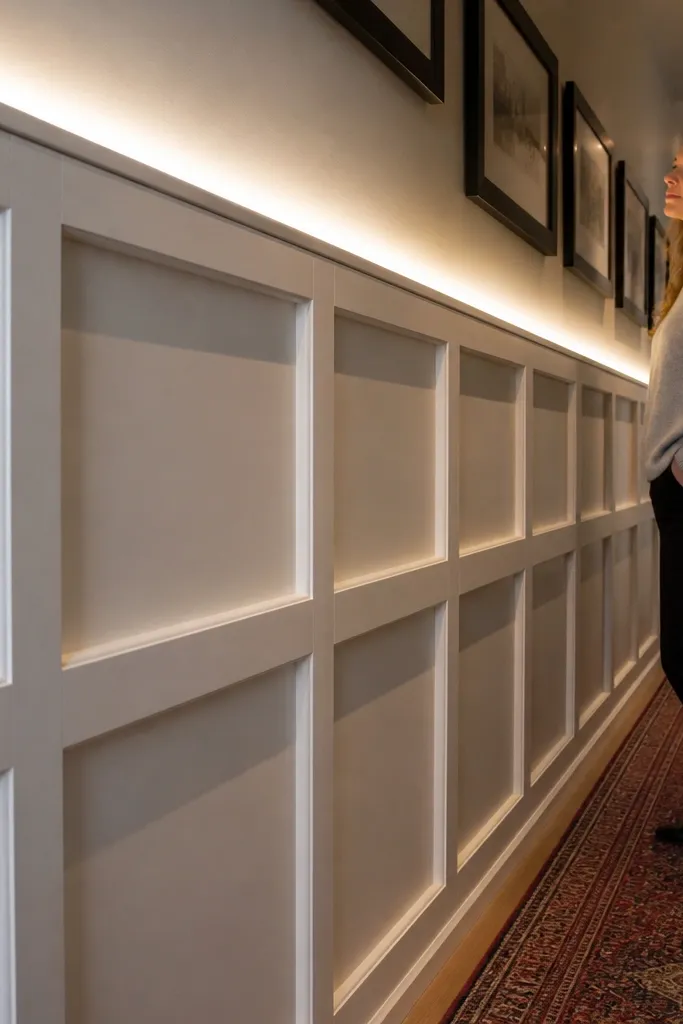
Start by marking a level grid on the wall with painter’s tape, keeping panel widths consistent (for example, 24-30 in wide sections). Install the top “rail” lines first using long straight lengths, then fit the side rails and internal stiles based on your measurements. Attach LED channels along the inside top edge line, with the diffuser aimed so the light spills across the moulding shadow, not straight into the room. Finally, patch any gaps with painter’s caulk, sand smooth, and paint the entire feature wall in one coat to keep sheen consistent.
This is the “designed house” look without the custom carpentry price. You build a grid of moulded rectangles, then run LED channels along the top edges so the light washes upward and makes the frame shadows look sharp. The moulding gives you structure; the uplight gives you depth. Use a crisp painted finish (semi-matte) so the light doesn’t show every brush mark. This works best on a single feature wall behind a sofa, bed headboard, or dining table where the eye can read the grid.
Skip thisDon’t mount the LED channel too far from the moulding edge; you’ll get a bright strip instead of a soft frame glow.
Editor's noteDry-fit every corner with the actual moulding profile before you glue — small profile differences can create ugly steps in the light.
2. Tall Vertical Columns with Side-Firing LEDs
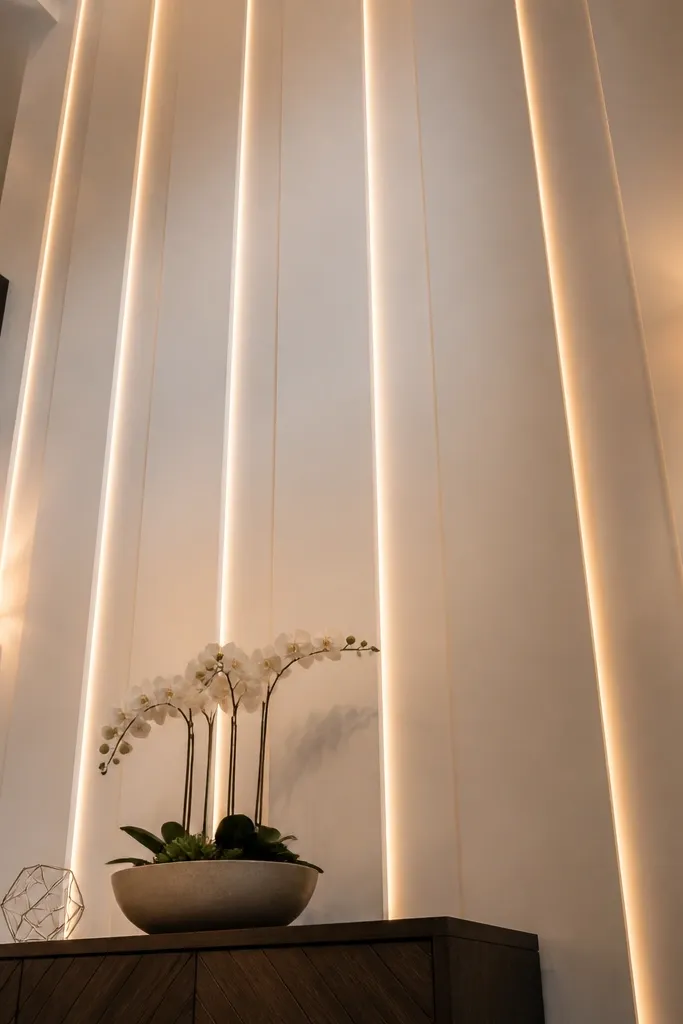
Measure your wall width and decide your column spacing so you end with clean edge margins (for example, keep outer columns about 6-8 in from corners). Mark vertical guide lines with a level and snap lines if the wall is long. Install the column moulding pieces first, then mount the LED channels inside the gap between columns so the diffuser faces the moulding edge. Connect the strip to a driver near a power source and use clips or channel-liner tape so the strip stays straight before you close the channel.
Vertical columns make a ceiling feel taller, and the side-firing light makes the wall look dimensional even when the room is dark. The moulding acts like a set of rails; the LEDs sit in channels tucked in the “valley” between columns so the glow traces the lines. Choose narrower columns if you want a modern look, or wider columns for a more classic feel. This is a great choice for hallways, entryways, and bedroom walls where you need visual height without clutter.
Skip thisSkip cheap RGB strips for this look — you’ll see color artifacts and uneven diffusion that fight the clean moulding lines.
Editor's noteUse a laser level if you have one; vertical lines look wrong fast when they drift by even 1/8 in over several feet.
3. Cove Border at Chair-Rail Height with Continuous Glow
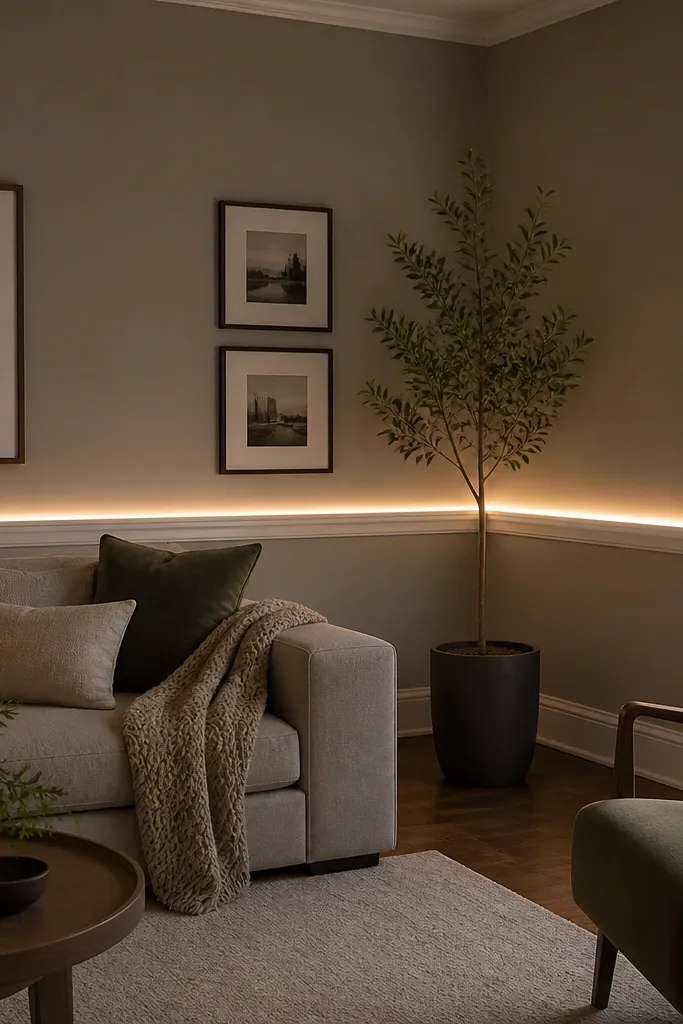
Find the chair-rail height you like by measuring from the floor and marking a level line around the room (common range is 32-36 in, depending on ceiling height and furniture). Install the moulding border along that line with adhesive plus small finish nails for stability. Mount a continuous LED channel slightly behind the moulding so the diffuser points toward the wall surface, not toward the room. Seal seams with caulk, paint the moulding and wall together where the glow line passes, and test the LEDs before the final paint coats.
This one is simple and looks expensive because it creates a continuous architectural line around the room. A chair-rail style moulding with a cove or shallow profile lets you hide LEDs in a channel behind the border, so you get one steady glow instead of scattered light spots. It’s especially good in living rooms and dining rooms where you want mood lighting without lighting up every wall blemish. Keep the border height consistent around the room so the glow reads like it belongs there.
Skip thisDon’t leave the LED channel exposed at corners; the light will leak and show messy gaps where miter lines meet.
Editor's noteUse a single LED driver and run one power route so you can turn the whole border on/off together with one switch.
4. Herringbone Accent Panels with Spot-LED Edge Lighting
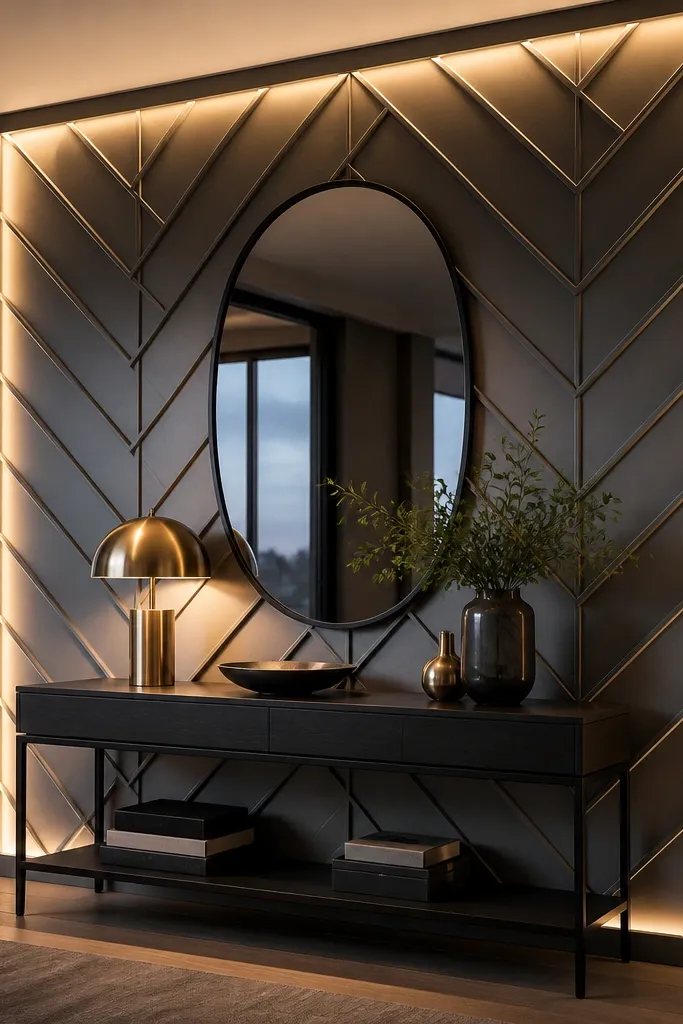
Herringbone moulding looks bold because the pattern catches light from multiple angles, and edge lighting makes the geometry pop. You’re not trying to cover the whole room — you’re building a focal panel that reads like a custom design feature. This works great behind a console table, fireplace surround, or the back wall of a small office nook. Keep the panel size manageable so you can control alignment and avoid a crooked pattern that ruins the look.
Choose a panel area with clean edges, like 36-48 in wide and 24-36 in tall, and draw the herringbone layout on paper first. Transfer key guide points to the wall, then install the first set of moulding strips at consistent angles using a miter saw with a stop block. Add a second layer of small strips to complete the herringbone, then place LED channels along the outer edges of the panel or inside the “valleys” for a sharper glow. Connect the strip with quick connectors so you can remove a section if you ever need to service wiring.
Use spacers or a thin gauge block between strips so the pattern stays even when you’re working quickly.
Don’t skip pattern testing with painter’s tape — if the angles feel off on the wall, the LEDs will only make the mismatch more obvious.
5. Floating Rectangle Frame with Hidden LED Reveal
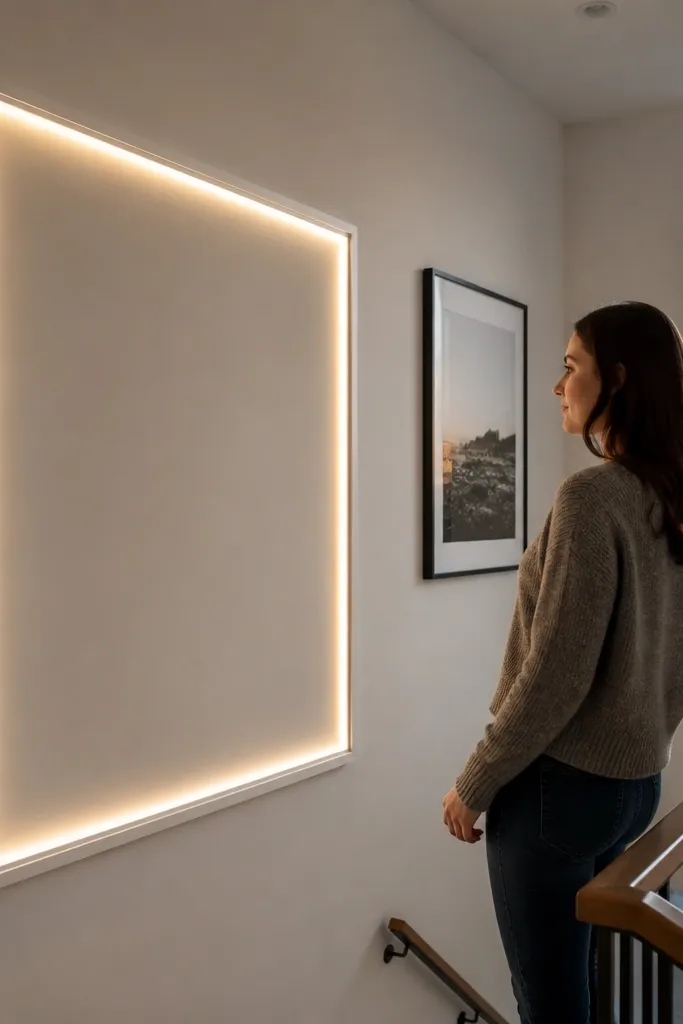
Mark the rectangle dimensions on the wall and confirm it’s centered using a tape measure from both sides. Build the frame by installing the outer border pieces first, then add an inner border strip that creates the reveal (keep the reveal gap consistent, like 1/4-3/8 in). Mount the LED channel behind the inner border so the diffuser faces the reveal gap. Test the lights before caulking the frame seams, then fill nail holes, sand, and paint the entire frame and surrounding wall for one uniform finish.
This is the cleanest modern look: one big floating rectangle, a thin reveal, and a controlled glow line. The moulding is built like a picture frame, but the LED sits in a channel so you see the light edge, not the source. It’s perfect for minimalist living rooms, stair landings, or any wall where you want one strong focal point without lots of repetition. The visual trick is the reveal depth — it needs to be consistent so the glow line looks intentional.
Skip thisDon’t mount the LED too close to the inner border; you’ll get a hot spot instead of a smooth reveal line.
Editor's noteCut the inner border pieces a hair long and sand to fit — that tiny adjustment makes the reveal look straight.
6. Corner-to-Corner Crown Panels with Downlight Effect
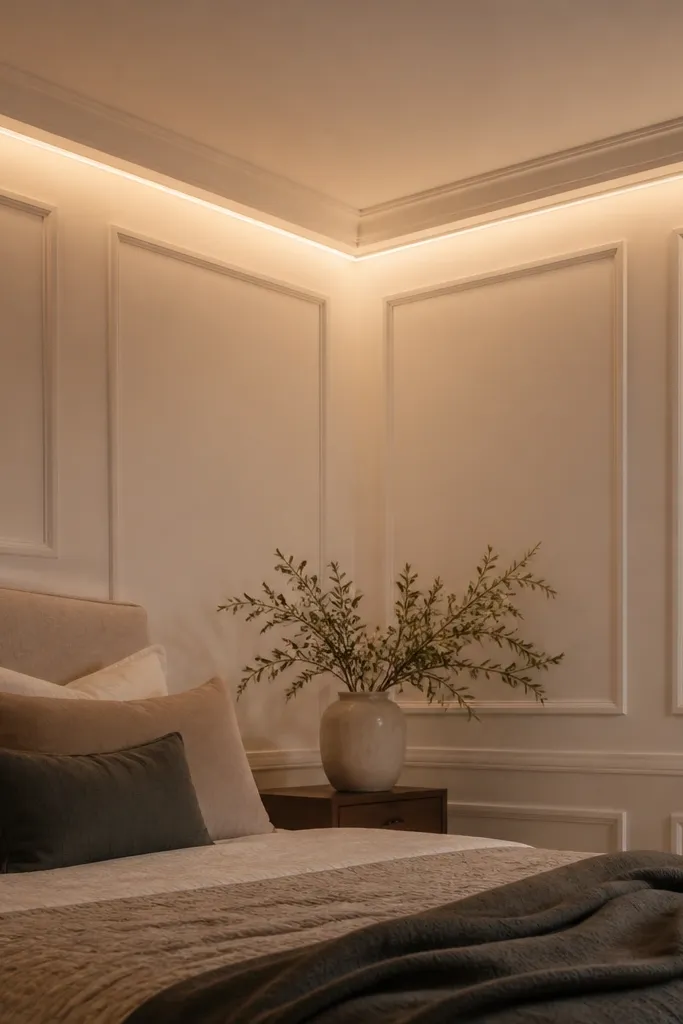
Measure the wall area and decide how wide the crown panel band should be (often 6-10 in). Mark a level line across the wall for the top of the crown and another line for the bottom edge if your profile needs it. Install the crown moulding along the top band, then place an LED channel inside the recess so the diffuser points downward at about a 30-45 degree angle. Run wiring along the top edge to a driver location you can access later, then caulk seams and paint after a full light test.
If you want that cozy “glow from above” look without changing your ceiling fixtures, use crown-style moulding panels and aim LEDs downward. The moulding creates a ledge line that makes the light feel intentional, and the downlight effect softens shadows under shelves or wall art. This is great for rooms where you don’t want a strong grid but still want a high-end finish. Keep the crown profile simple so the light stays smooth.
Skip thisSkip cool white — it makes the crown shadows look harsh and exposes wall texture.
Editor's noteUse a dimmer if you can — downlight moulding looks best when you can dial it back at night.
7. Segmented Shelf-Feel Moulding with Under-Glow
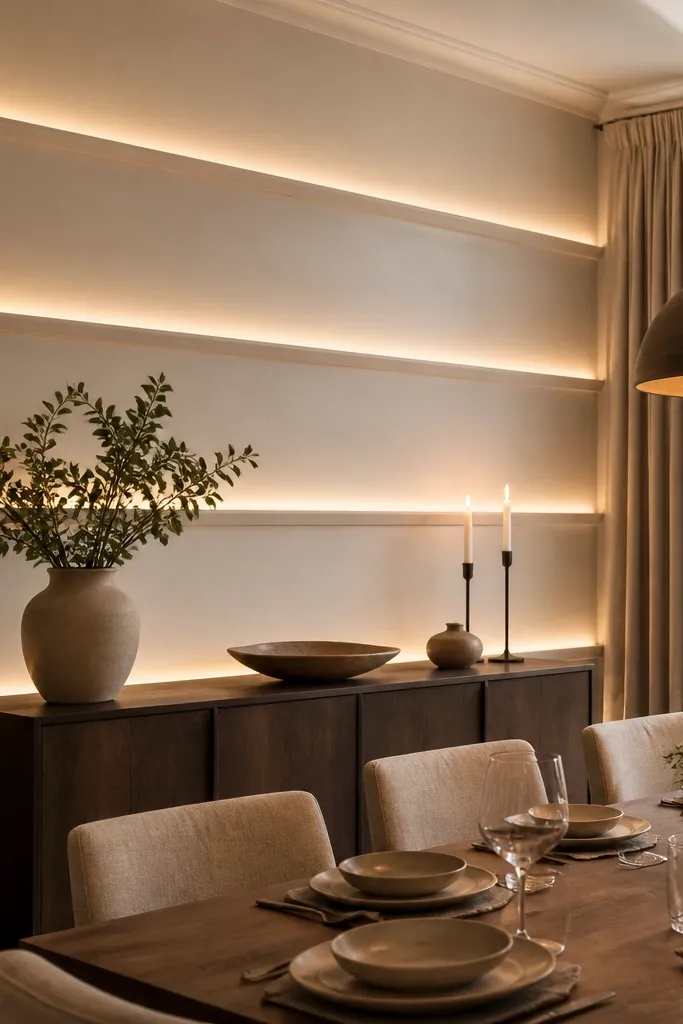
This look mimics built-in shelves without adding actual shelves. You build horizontal moulding ledges, then hide LEDs under the “shelf” line so you get a warm under-glow that makes the wall feel layered. It’s especially good above a console, along a TV wall, or in a dining room where you want lighting that frames the space. Keep your ledge spacing consistent so the glow bands look like one design.
Pick two or three ledge levels based on what you’re hanging (art height, TV center, or console top). Mark each ledge line with a level, then install the bottom moulding lip first so it creates a clean mounting reference. Mount LED channels under the top lip with the diffuser aimed toward the wall, not straight out. Seal caulk seams between segments and fill nail holes, then paint in a single direction so the finish looks smooth under the light.
Add a small shadow gap between the top lip and the wall so the glow doesn’t look like it’s coming from the wall surface.
Don’t overpack the LED channel with strip slack; sagging shows immediately in under-glow.
8. Round-Edge Arch Accent with LED Halo
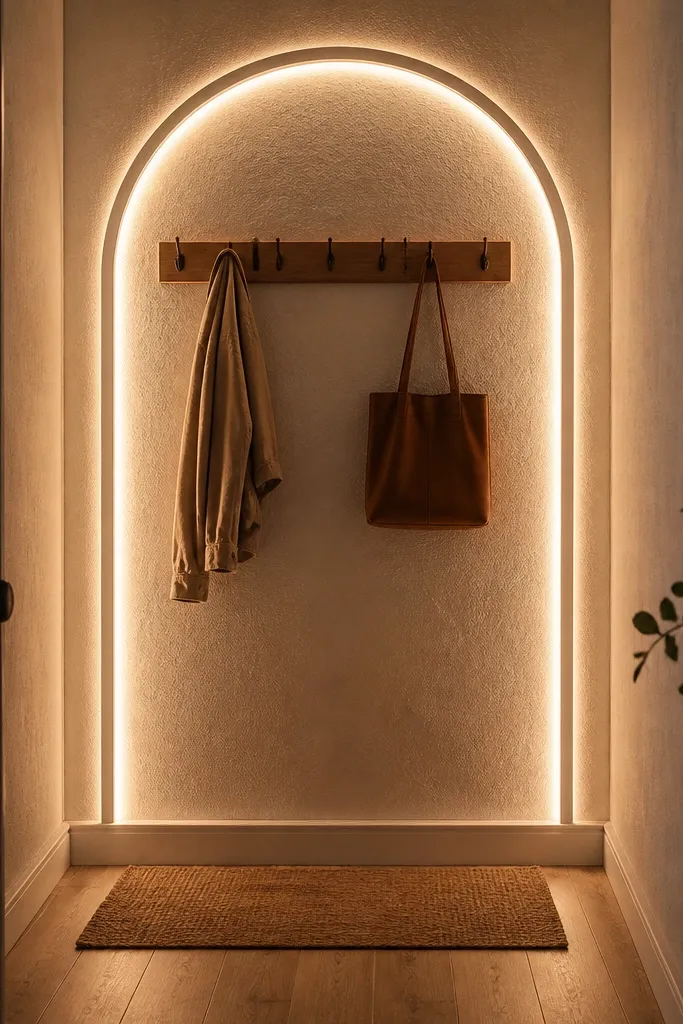
An arch accent looks soft and high-end, and an LED halo makes the curve feel like it’s floating. The moulding gives you the silhouette; the halo makes it glow evenly so the arch reads as one continuous shape. This is perfect for entry nooks, a bedroom feature wall, or behind a reading chair. The key is using flexible methods for the curve so you don’t end up with a wavy arch that ruins the symmetry.
Choose the arch width and height, then draw it on the wall with a string compass or a flexible batten for the curve. Install straight moulding pieces for the sides first, then use a method for the curve — either pre-made flexible moulding or carefully kerfed MDF strips that you can sand smooth. After the arch frame is secure, mount an LED channel around the inside edge so the diffuser faces outward toward the wall. Test the halo glow before caulking, then sand and paint so the glow line stays crisp.
Sand the curve lightly after installation and before paint; tiny bumps show harshly under a halo.
Don’t rely on caulk to hide a curve that’s off — caulk thickens and the halo line turns uneven.
9. Modern Grid with Thin Shadow Gaps and LED Lines

Mark a grid using tape and a level, then decide on a repeating module size (for example, 12 in squares or 16 in rectangles). Install moulding strips to build the grid lines, keeping the gap between strips consistent for the shadow effect. Place LED channels inside each gap line, and aim the diffuser so the light fills the shadow gap evenly. Connect strips to a driver, then caulk every seam and paint with a roller for uniform texture so the LED lines don’t highlight uneven wall finish.
This is the clean, contemporary version of a panel wall. Thin shadow gaps make the grid look crisp, and LED lines in the gaps give a graphic glow that reads beautifully in photos. It’s a strong choice for office walls, stair landings, and modern living rooms. The look depends on consistency: equal spacing and straight runs matter more than adding extra detail.
Skip thisAvoid mixing moulding widths in the same grid — it creates a patchwork look once the LEDs turn on.
Editor's noteUse one spacer thickness for the whole grid so your shadows look the same width everywhere.



