
1. Space Mission Desk Mat with Constellation Lines
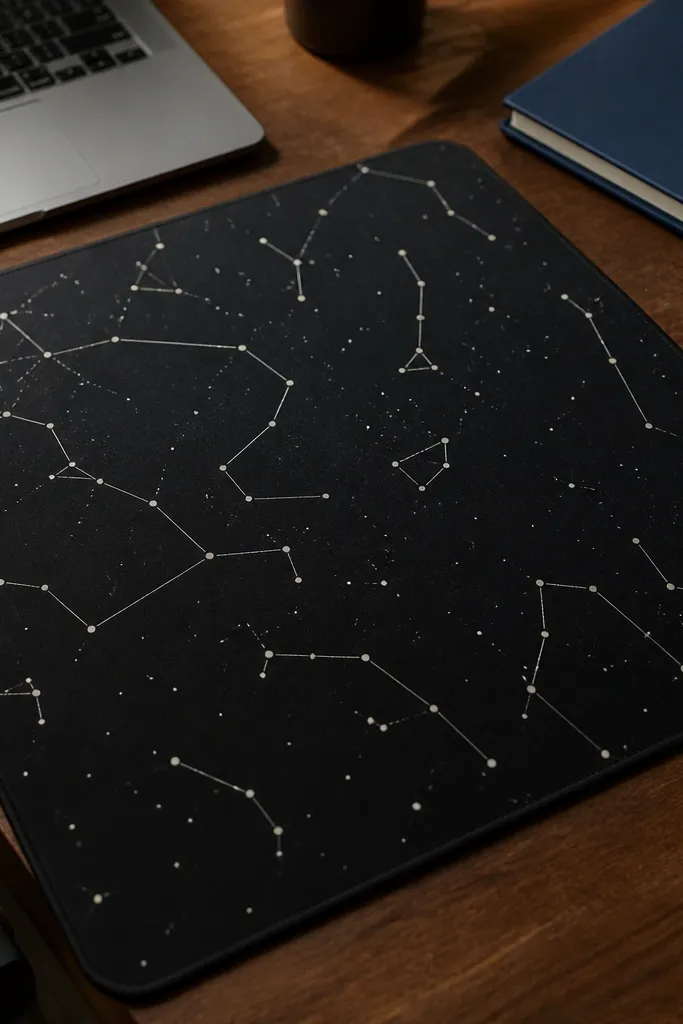
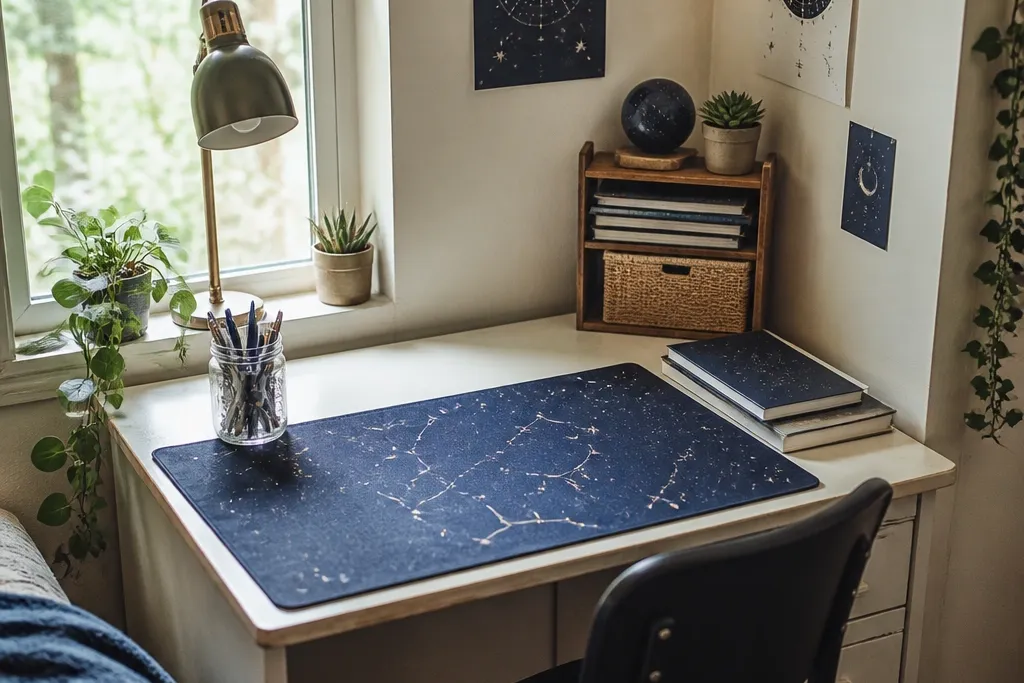
This one instantly makes a plain tabletop feel themed because the mat covers the biggest visual area you see every day. Use a matte black or deep navy base so the white “stars” read crisp instead of washed out. Add tiny constellation dots and thin connecting lines in off-white for a clean, not childish, space look. It works for any study table size because you can cut it to your exact footprint and it stays flat under notebooks.
Start with a roll of craft vinyl or desk mat sheet in matte black (or deep navy). Cut to your desk size, leaving a small border so it doesn’t snag the edges. Use a white paint pen or acrylic marker to dot random points, then draw 4-6 simple line connections to form constellations. Let it dry fully, then seal with a clear matte sealant if you used paint so it wipes clean.
Do a quick paper layout first: mark dot placements lightly so your spacing looks intentional.
Don’t use shiny glitter or metallic paint — it looks messy under desk lighting.
2. Cafe Window Organizer Wall for Pens and Sticky Notes
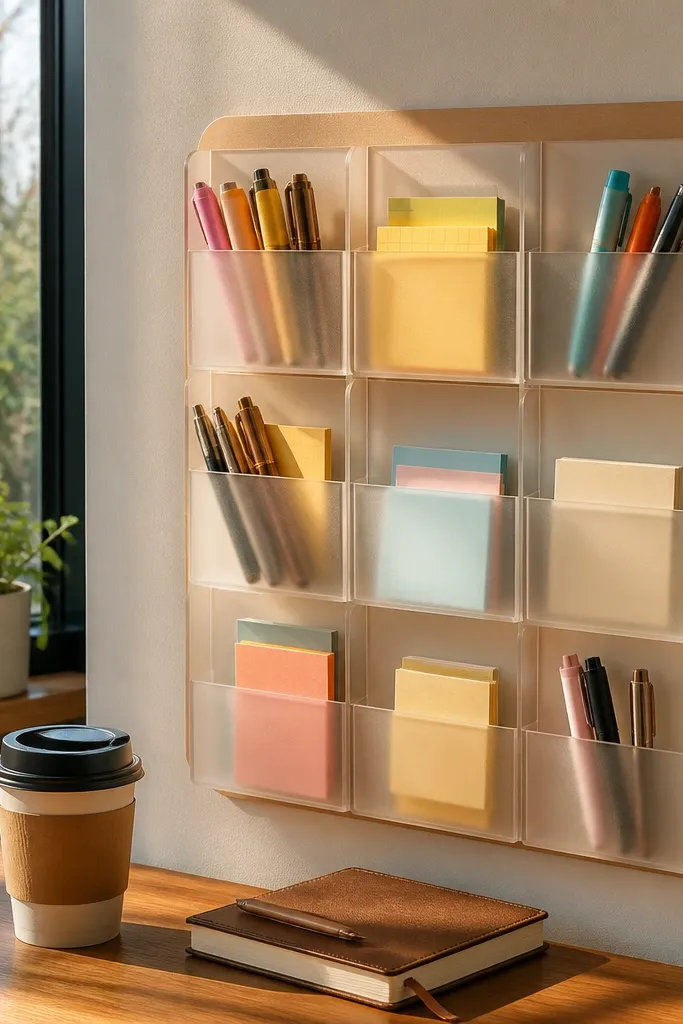
A cafe theme looks good because it adds warmth and a “cozy station” vibe without covering your whole desk. A window-style organizer gives you vertical storage, so supplies don’t sprawl across the surface. The grid also makes the theme look designed, like a little counter display. This suits students who want quick access to pens, sticky notes, and small stationery while keeping the desk tidy.
Cut a piece of thin plywood or foam board to about 12x18 inches, then paint it in a warm off-white or light wood tone. Add a simple grid with a ruler using acrylic paint (for example, 1.5-inch squares) and leave open rectangles for inserts. For slots, glue or staple small cardboard dividers (about 1/2-inch wide) into each section. Finish by adding 3-4 cafe labels like “Orders” for sticky notes and “Counter” for pens using printed paper and mod podge.
Editor's noteUse removable adhesive putty behind the organizer if you don’t want to drill into the wall.
Skip thisDon’t make slots too tight — pens should slide out with one finger.
3. Cherry Blossom Bookmark-Style Book Stand
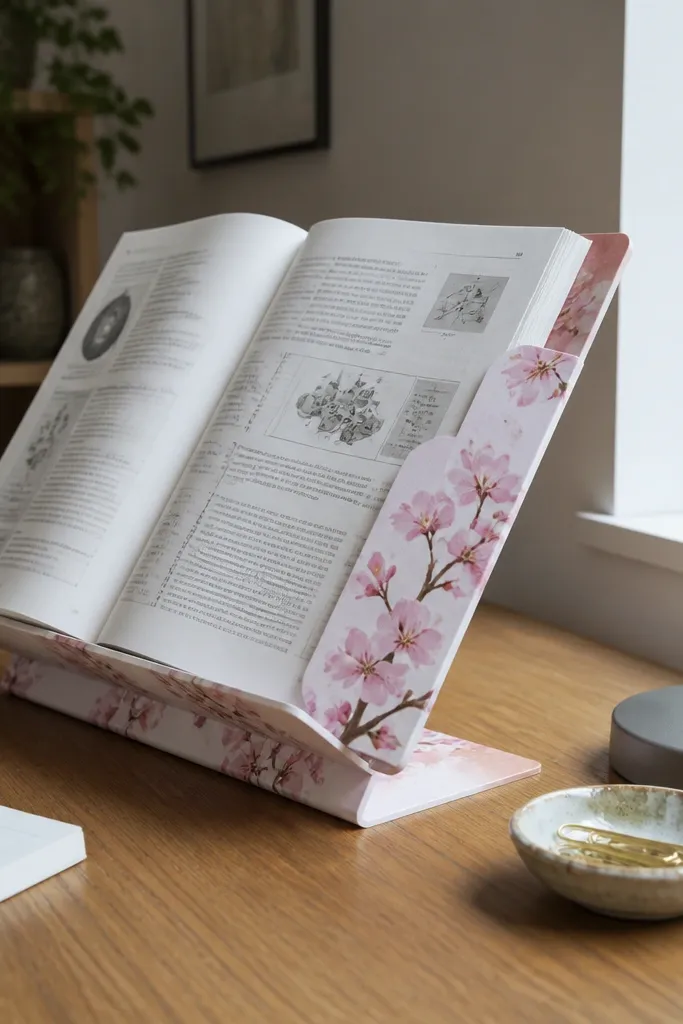
If your desk always looks cluttered, a book stand is the fastest way to make it look intentional. This design reads “themed” because the print sits right where your eyes land: the open page edge. Cherry blossom motifs are soft and pretty, and they work with study lighting without screaming for attention. It’s also cheap and simple, so you can swap themes seasonally.
Make a two-piece stand from thick cardstock or thin plywood: one base (about 8 inches wide) and one back support (about 6 inches tall). Cover both pieces with printed floral paper or patterned washi tape, then seal with a clear matte coat so ink won’t smear. Cut a small notch at the top of the back piece so the book edge sits securely. Test with your thickest textbook, then adjust the notch depth until the book doesn’t slip.
Editor's noteUse cardstock at least 2mm thick so the stand doesn’t bow when you place a heavy book.
Skip thisDon’t rely on tape alone for structure — the stand needs a stiff core.
4. Coastal Rope Tray for Scissors and Tape
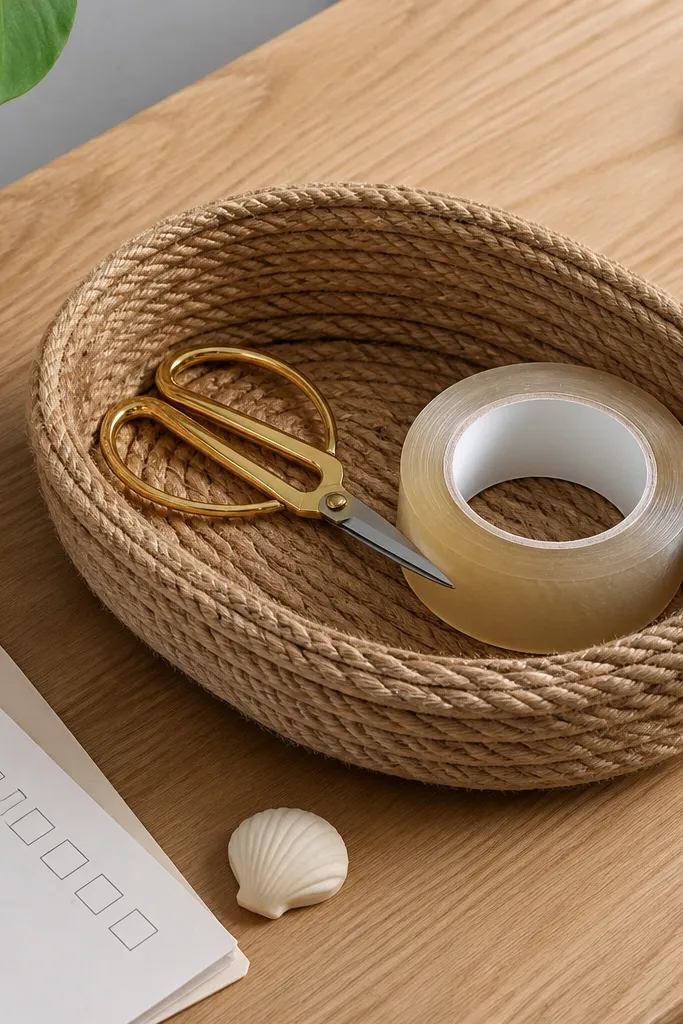
Coastal themes look expensive when you use one natural texture. A rope tray creates that texture instantly and gives you a dedicated home for small tools that usually end up scattered. It also photographs well because the rope fibers catch light softly. This is ideal for desks where you want fewer things on the surface but still want the theme to feel calm and airy.
Start with a shallow plastic or wood tray base (or use an old serving tray) and cover it with rope using hot glue in tight rows. Coil rope around the edges first, then fill the center with overlapping loops. Paint rope only if you want a specific color — for coastal, keep it natural jute or dye it light sand. Seal the glue lines with a thin layer of clear craft varnish so it holds up to daily handling.
Editor's noteCut rope ends at a slight angle so seams look neat instead of blunt.
Skip thisDon’t leave glue ridges on the top rim — tape rolls will snag.
5. Monochrome Grid Desk Shelf with Spacers
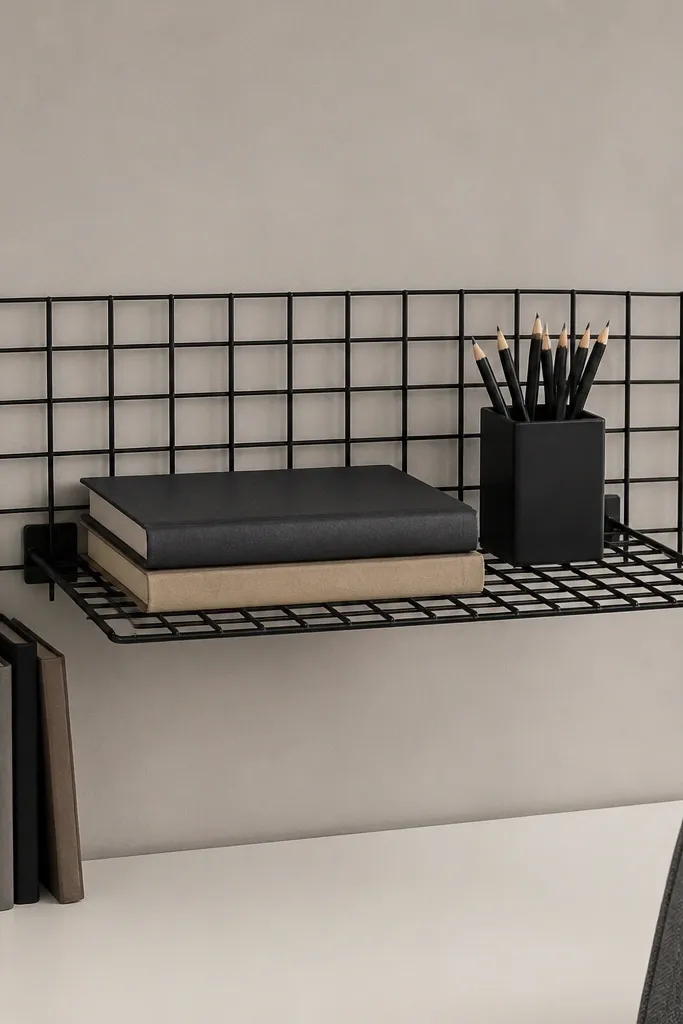
A grid shelf makes a desk look organized even when you’re mid-semester. The monochrome look is clean, and the grid turns random items into a visual system. Keep it small — around a foot wide — so it frames the desk without blocking your view. This works best for people who study with multiple books and want them displayed neatly.
Mount a simple floating shelf (about 12-16 inches wide) or build one with a scrap of plywood. Paint the shelf and any back panel matte black or charcoal. Add a removable grid background behind it using painter’s tape first, then paint thin lines or apply vinyl grid lines. Add spacers: small foam strips under items so books and binders sit at the same height for a uniform look.
Editor's noteUse felt pads under binders to stop scratches and keep the shelf quiet.
Skip thisDon’t stack items above eye level — it looks heavy and blocks light.
6. Rainbow Tape Cable Management with Color Rules
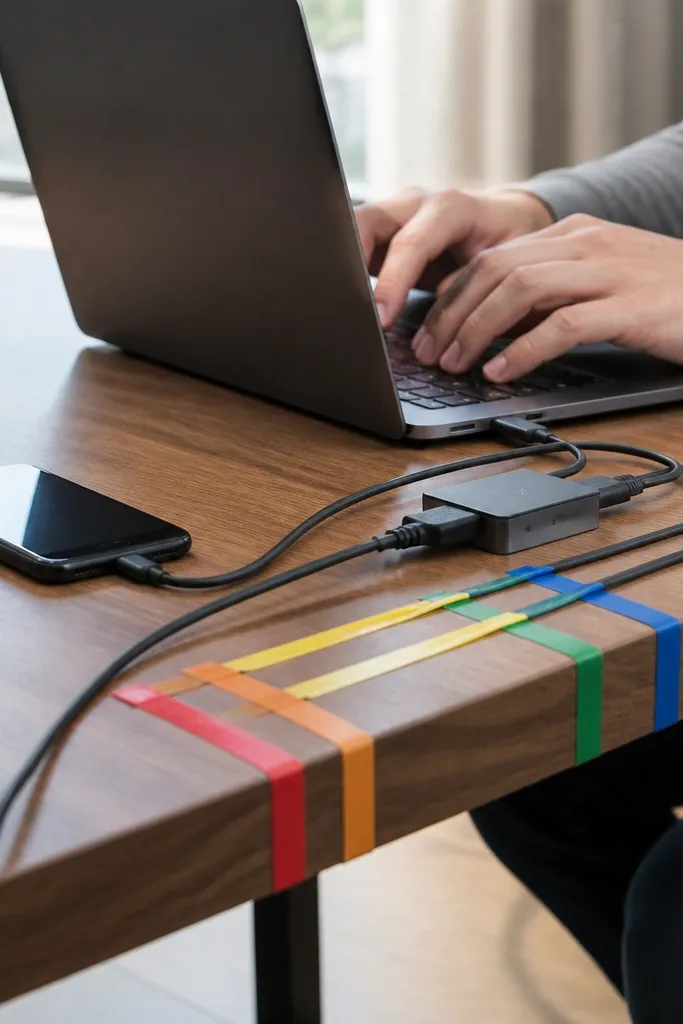
A theme fails when cables look like spaghetti. This idea makes cables part of the aesthetic using tape labels and consistent colors. It’s photogenic because the labels create a tidy pattern, and it’s practical because you can trace chargers fast. It’s perfect if your desk has a laptop, phone charger, and one or two peripherals.
Bundle each cable group with a Velcro strap or zip tie, then wrap the bundle lightly with painter’s tape. Use a small label system: pick one color per device (for example, blue for laptop, yellow for phone). Write the device name on the tape with a fine marker, then press tape flat so it doesn’t peel. Finish by routing bundles along the desk edge and securing with removable adhesive clips.
Editor's noteUse painter’s tape for labels — it comes off clean when you switch devices.
Skip thisDon’t wrap tape directly over fragile cable joints; keep it on the straight sections.
7. Botanical Study Station with Leaf-Lined Drawer Inserts
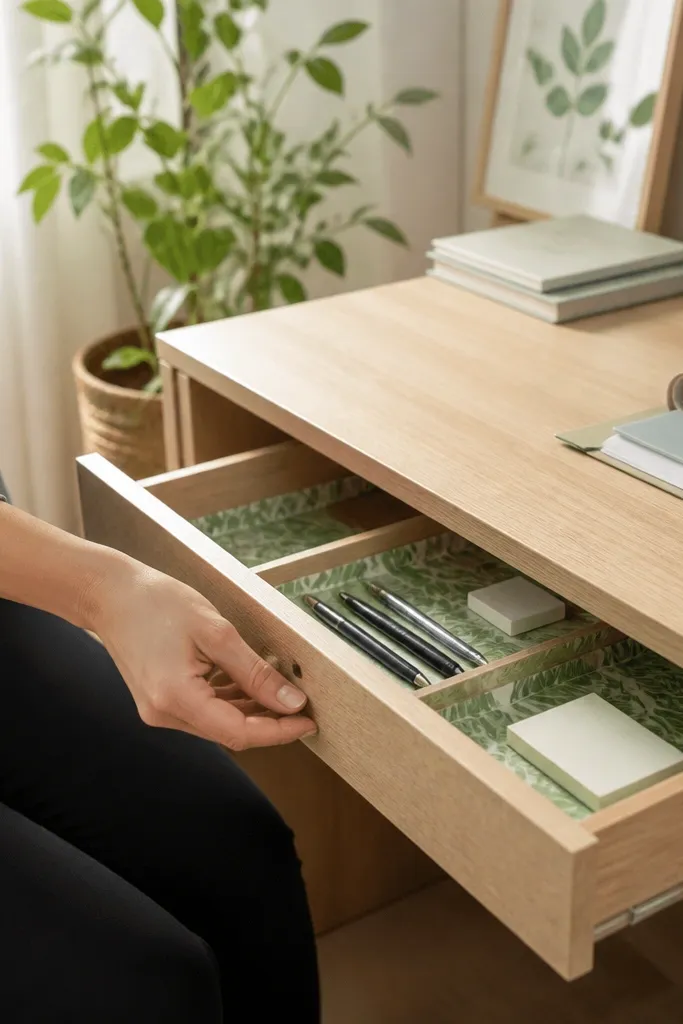
Drawers hide mess, but the inside usually looks boring and makes you dump everything back in. Leaf-lined inserts make the inside feel like part of the theme, so you actually put things away. Botanical palettes also look calm and help your desk feel less hectic. This suits anyone who stores supplies in a small drawer or under-desk organizer.
Measure the inside dimensions of your drawer and cut thin sheets of patterned paper or vinyl to fit the base and sides. Make dividers from foam board strips (about 1 inch wide) and line them with the same pattern. Use double-sided tape or contact paper to secure the inserts so they don’t shift when you open the drawer. Add 3-4 labeled sections with small cutout shapes like leaf icons and place your pens and clips in matching groups.
Editor's noteChoose one leaf pattern and repeat it — mixing patterns makes the drawer look busy.
Skip thisDon’t cover the drawer with glossy paper; glare makes the theme look cheap.
8. Japanese Paper Lantern Light Shade for a Cozy Glow
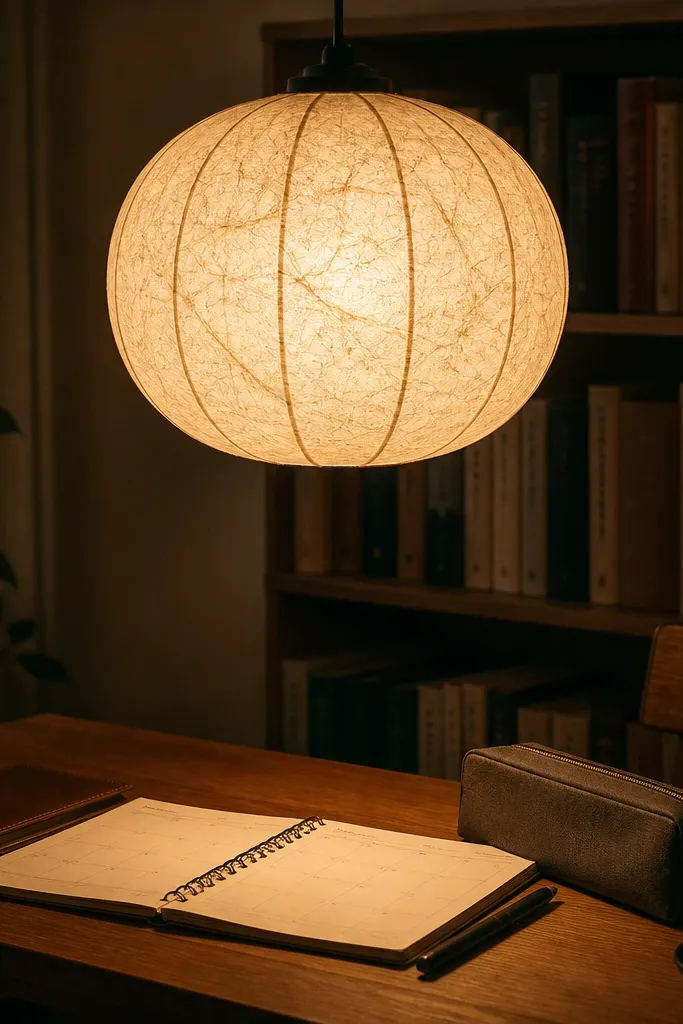
Lighting changes the entire look of a desk more than people expect. A paper lantern shade gives you a soft, warm glow that makes your themed accessories look better instantly. Choose a simple off-white shade with subtle texture so it looks grown-up, not party-decor. This is great for evening studying because it reduces harsh overhead light.
Get a clip-on or compatible desk lamp shade base that fits your lamp neck. Attach the paper lantern shade using the manufacturer’s clips or a simple wire ring adapter. Test the fit with the lamp off, then turn it on briefly to check heat — use a low-watt bulb or LED bulb. Wrap the cord neatly with matching twine or cloth tape for a cohesive look.
Use a warm LED bulb around 2700K for the best cozy color on paper and wood.
Don’t use a high-watt incandescent bulb under paper — heat is a real safety issue.
9. Sports Playbook Clipboard with Team Color Strip

A clipboard turns your desk into a “workstation” instead of a storage pile. Sports themes look great because you can go bold with color blocks and clean typography. The clipboard also keeps your current study pages visible without stacking loose sheets. This works for students who do problem sets and need pages held at a comfortable angle.
Buy a plain clipboard and paint or wrap the board with a matte team color (navy, forest green, or crimson). Add a 2-inch vertical color strip on one side using painter’s tape for crisp edges. Cover the top clip area with matching tape so it doesn’t look mismatched. Add page corner tabs from cardstock so sheets align every time, then clip your planner or worksheet pages.
Use matte acrylic paint over glossy surfaces so the tape and paper stick better.
Don’t cover the clip hinge — it should keep gripping papers securely.
10. Vintage Map Pinboard with Pushpin Labels
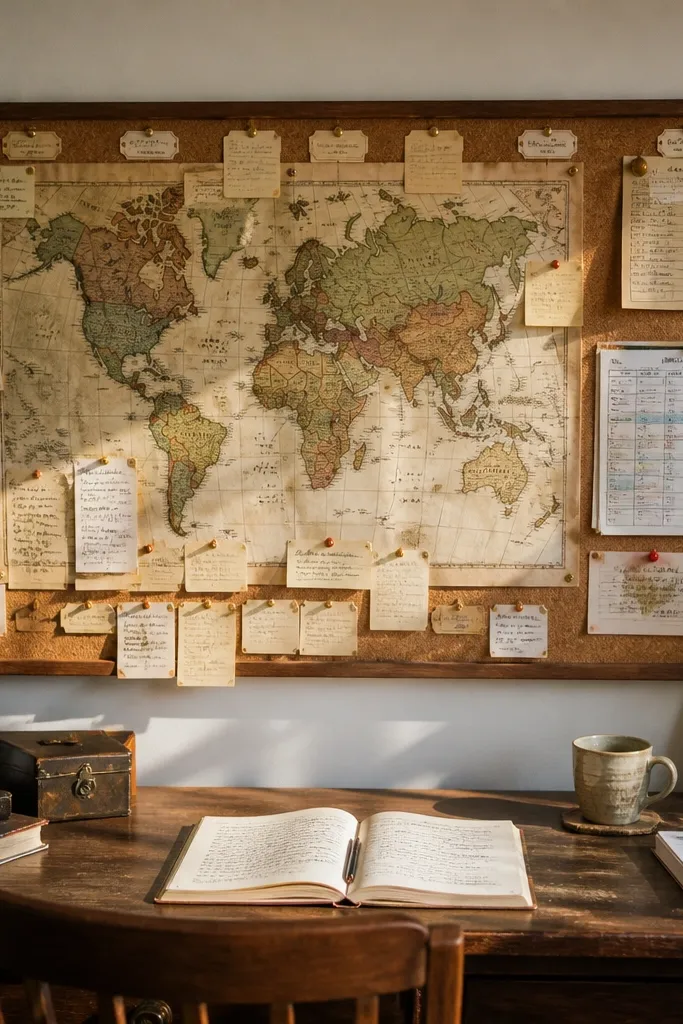
Map themes feel smart and aesthetic because they look like a real planning wall. Pinboard layouts are also functional: you can pin reminders, study schedules, and sticky notes without covering your desk. The map print gives instant texture, and the pushpins add a clear visual rhythm. It suits desks where you want a clear “current focus” area.
Cover a cork board or foam board with vintage map print using spray adhesive or mod podge. Cut a few thin strips of colored paper to act like route lines, then pin them with pushpins. Add a simple label system: 3 categories like “Read,” “Do,” and “Review,” using small printed cards. Place pins in a grid-like pattern so it looks organized instead of random.
Editor's noteUse 2 pin colors only, so the board stays readable from across the room.
Skip thisDon’t pin heavy stacks directly — press the paper flat so the board doesn’t warp.
11. Dessert-Themed Pen Cup from a Mason Jar
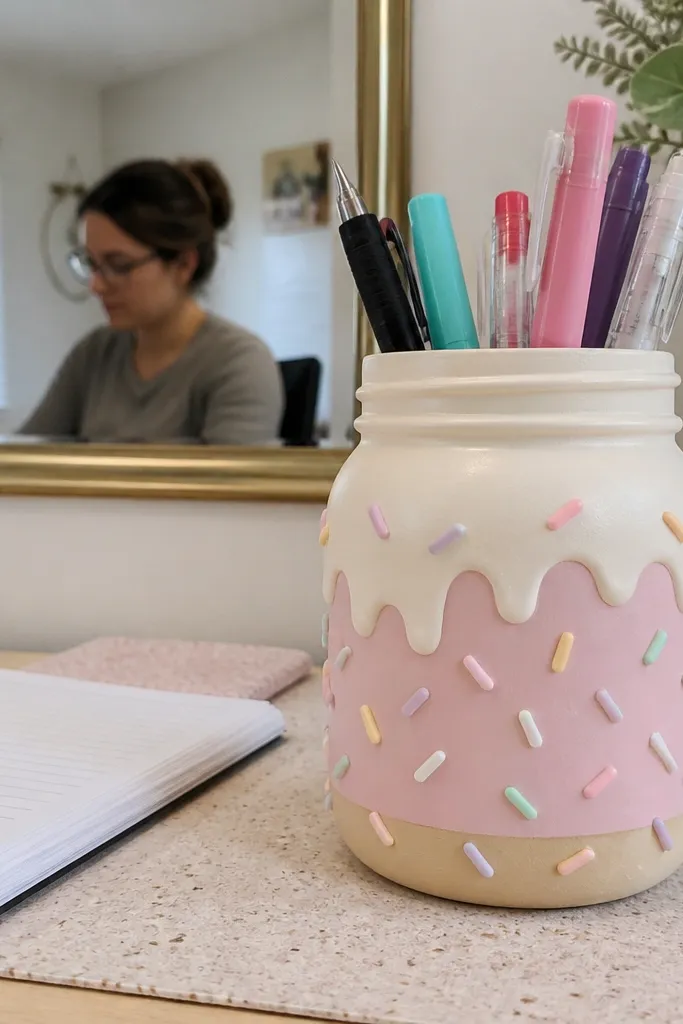
A pen cup is small, but it’s right in your face every day, so it’s the perfect place to make a theme pop. Dessert themes look cute without going childish if you keep the colors soft and the shapes simple. This also stops the “random pen pile” problem because you’re forced to put pens back in one container. It suits desks with a few daily tools: pens, highlighters, scissors, and sticky notes.
Clean a mason jar, then paint it with matte pastel acrylic (cream, light pink, or mint). Add a simple frosting band around the top using a contrasting paint color, then add a sprinkle pattern with a small dot stencil or paint pen. Seal with clear matte varnish so it wipes clean. Fill it with felt or cardboard strips rolled into thin tubes to keep pens from rattling and sliding.
Editor's noteLet each paint layer dry fully before adding details so edges stay crisp.
Skip thisDon’t use glossy paint — it reflects light and looks slick instead of cozy.
12. Minimalist Study Table Backdrop with Framed Color Blocks
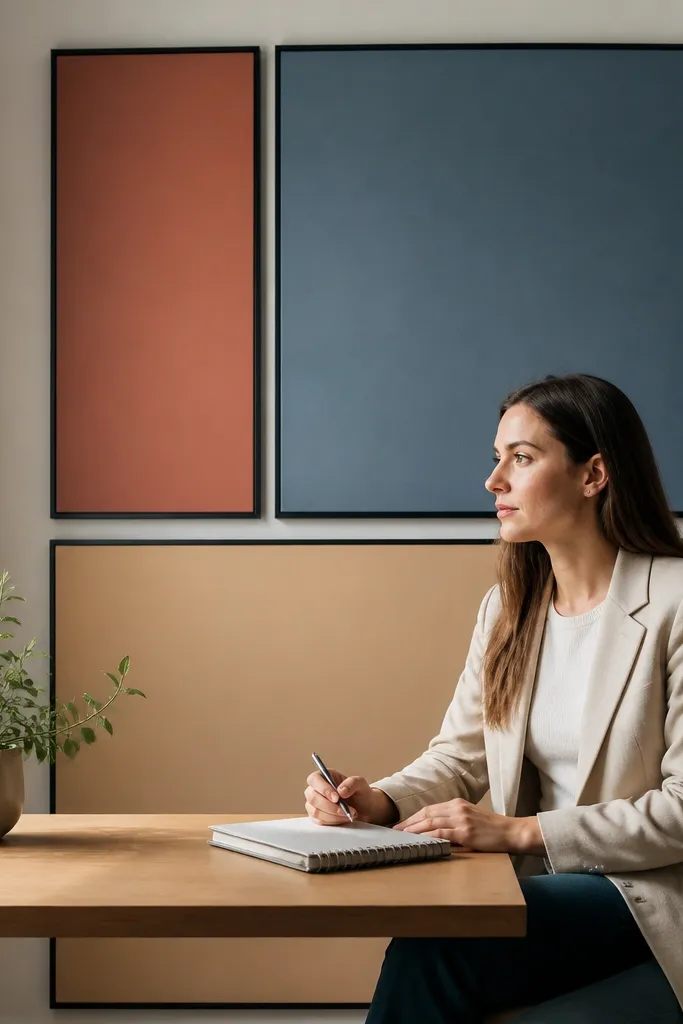
If your desk looks messy even after you organize, your background is probably doing you dirty. A framed color-block backdrop makes the desk feel like a set, which makes everything in front look cleaner. Keep the colors flat and matte. This is a great pick for neutral desks and for people who want the theme to feel grown-up instead of cutesy.
Choose a foam board or canvas panel about 16x20 inches and paint 2-3 large color blocks (for example, cream, sage, and charcoal). Add a simple border using tape lines so it looks like graphic design. Frame it in a cheap poster frame or mount it with picture-hanging strips. Place your desk items symmetrically: notebook centered, pen cup on one side, small organizer on the other.
Editor's noteUse painter’s tape for straight edges and remove it while the paint is slightly tacky.
Skip thisDon’t add lots of tiny patterns — the background should calm the space.
13. Under-Desk File Drawer with Color-Coded Tabs
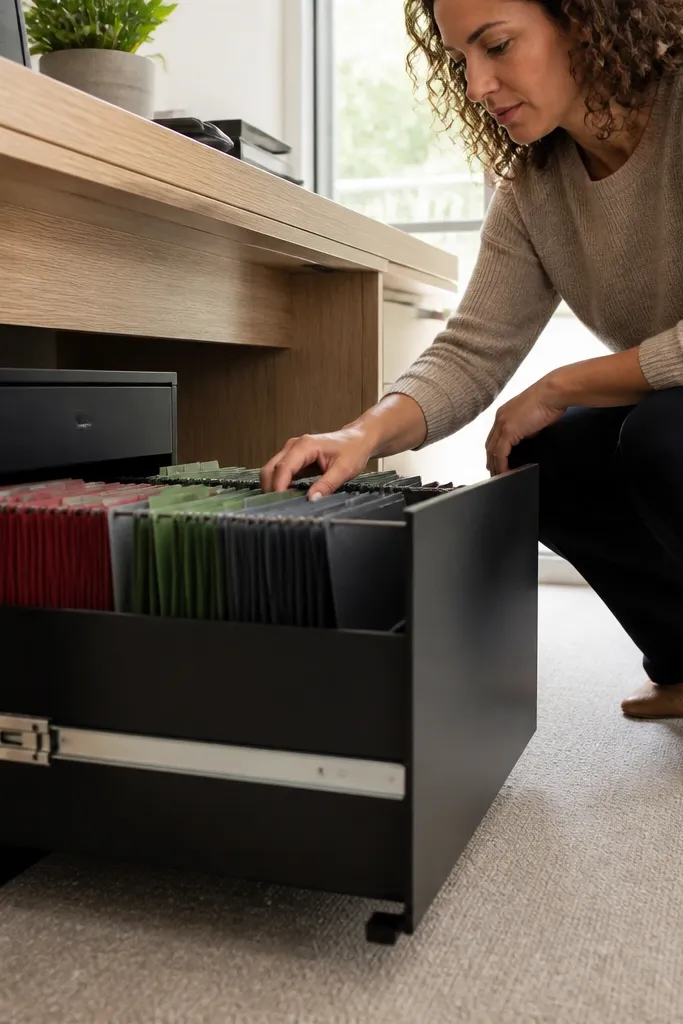
Most desks look chaotic because papers have nowhere to go. A color-coded file drawer makes your themed Study Table Ideas feel real because you’re sorting what you study, not just decorating it. Tabs also make it faster to find the right folder without digging. This works great for students handling multiple classes and wanting a clean workflow.
Get a small plastic drawer or file organizer that fits under your desk (measure first). Cut folder tabs from cardstock or buy inexpensive file labels, then paint or sticker them with your theme colors. Place one folder per class and label the tab with thick marker. Add a thin strip of matching paper at the drawer front so it looks like a cohesive theme even when the drawer is open.
Editor's noteLabel with one word only per tab so you can scan quickly during study sessions.
Skip thisDon’t use random label colors; pick the same palette as your desk mat and pen cup.
14. Origami-Style Desk Organizer from Folded Cardboard
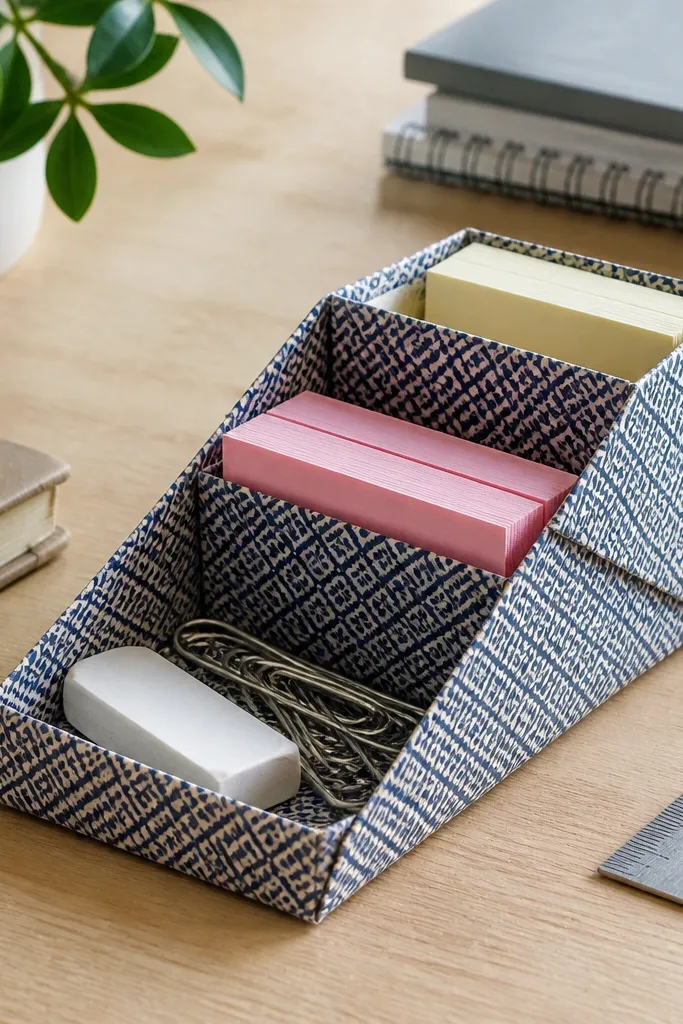
This is one of the cheapest ways to get a themed look that looks handmade and intentional. Folded cardboard organizers create crisp geometry, so your desk looks structured instead of cluttered. Pick a single patterned wrapping paper or vinyl so the folds read as one design. It’s best for small items like clips, erasers, and small sticky note stacks.
Cut cardboard sheets into rectangles and fold using a scoring tool so edges stay sharp. Choose one pattern paper and wrap the outside before final assembly. Build 2-3 sections: a front tray (about 10 inches wide), a side holder (about 3 inches deep), and a small top cup for clips. Seal seams with matte glue or clear tape on the inside so it holds up to daily grabbing.
Editor's notePress folds under a heavy book for 20 minutes before assembling.
Skip thisDon’t use thin flimsy cardboard — it collapses and ruins the clean look.
15. Lemonade Stand Theme Sticky Note Holder
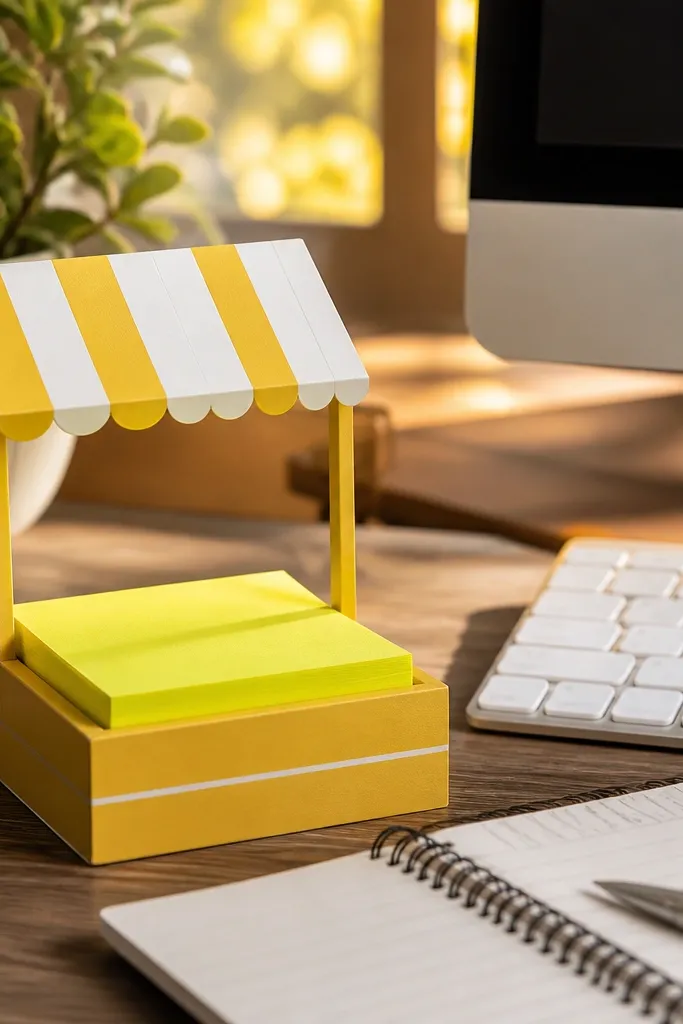
Sticky notes are a study reality, and this turns them into décor instead of visual clutter. The lemonade stand theme works because stripes and bright yellow look cheerful and help your desk feel awake. It also gives you one spot for notes so they don’t cover your keyboard. This suits students who use sticky notes for reminders and quick “next steps.”
Build a simple note holder from foam board: a U-shaped base about 6 inches wide and 4 inches tall. Cut a front panel and add yellow-white stripes with painter’s tape for clean lines. Decorate the top with a small “awning” strip and attach a thin cardboard ledge so notes don’t fall. Seal with matte varnish and place a stack of sticky notes inside.
Angle the ledge slightly so notes slide out one at a time.
Don’t make the back too tall — it blocks visibility of your notes.
16. Monochrome Marble Look Desk Shelf with Contact Paper
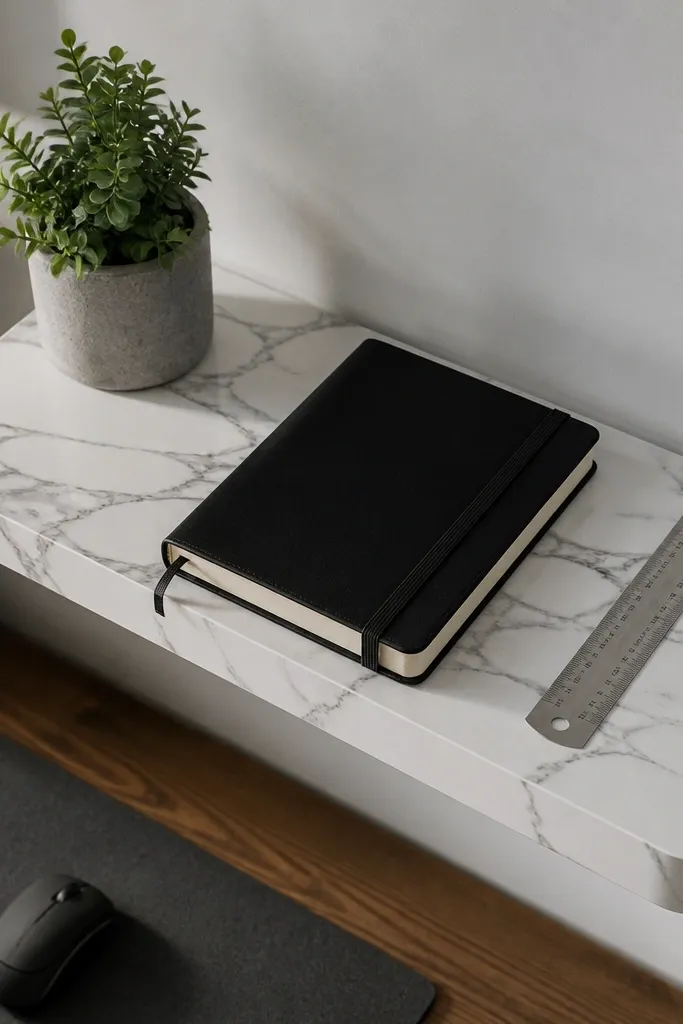
Marble contact paper gives you a high-end look without paying high-end prices. A small shelf instantly creates a themed “display area” for a planner, ruler, and a small plant. Keep the theme monochrome so it reads clean and not costume-y. This is ideal for desks with limited storage where you need a tidy surface above the main workspace.
Use thin plywood or a store-bought floating shelf about 10-14 inches long. Cover the shelf top with white marble contact paper, trimming edges with a craft knife. Mount it using picture-hanging hardware or wall anchors if you drill. Add one matching tray on top covered with the same contact paper to keep the display consistent.
Warm the contact paper with a hair dryer so it molds cleanly around corners.
Don’t trap air bubbles under contact paper — press from the center outward.
17. School Library Card Catalog Mini Labels
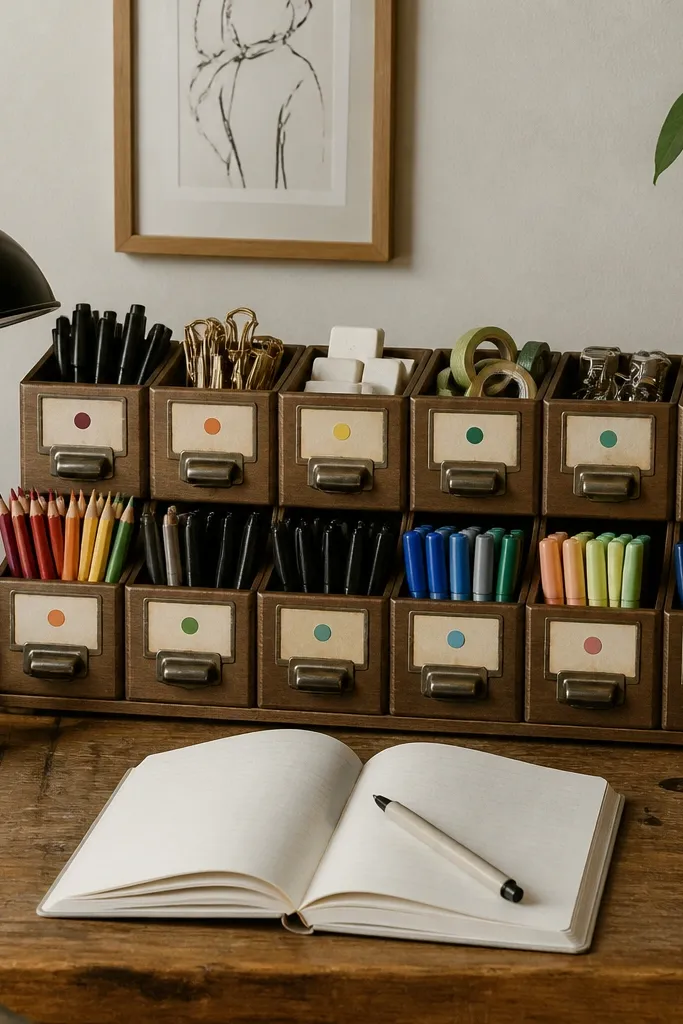
A card catalog theme makes your desk feel organized by design, not by luck. The labels are what make it photogenic: they add typography and a timeline-like order to your supplies. Pair it with small bins or drawer compartments so each class or subject has a “catalog entry.” This works best if you already have a drawer organizer and want it to look like a system.
Grab small bins or drawer compartments and measure front widths for label size. Print label cards in vintage fonts or use brown paper cutouts with marker text. Add 2-3 label categories only, like “Science,” “Writing,” and “Math,” matching your theme colors. Place the labels on the bin fronts, then add small number stickers (1-3) so the system looks consistent.
Use black ink for text and keep it centered so labels look crisp.
Don’t label everything — 6+ labels makes the desk look cluttered again.
18. Terracotta Desk Organizer with Clay-Colored Spray Paint
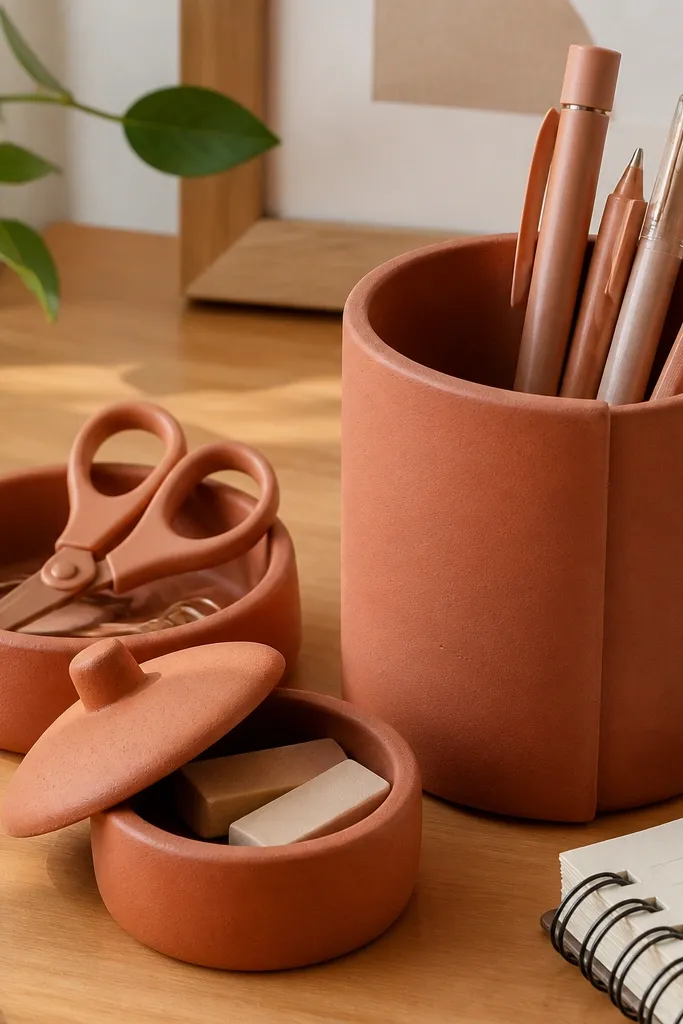
Terracotta is one of the easiest “themed” palettes because it looks natural and warm with almost any wall color. The trick is to keep shapes simple and finishes matte so the palette looks intentional. This idea fixes the common problem of mismatched plastic organizers by giving them a unified color family. It suits desks in white, beige, and light wood spaces where you want warmth without loud patterns.
Collect 2-3 plain plastic organizers or jars and clean them with rubbing alcohol. Spray paint with terracotta matte paint in thin coats, letting each coat dry before the next. Add a small accent line using cream paint or vinyl on one organizer so the theme feels designed. Arrange them in a row: pens in the tallest, highlighters in the medium, sticky notes or clips in the smallest.
Editor's noteLightly sand glossy plastic before painting for better adhesion.
Skip thisDon’t paint over dusty surfaces — it leads to peeling and rough texture.
19. Art Supplies Palette Desk Tray for Color-Coding Notes
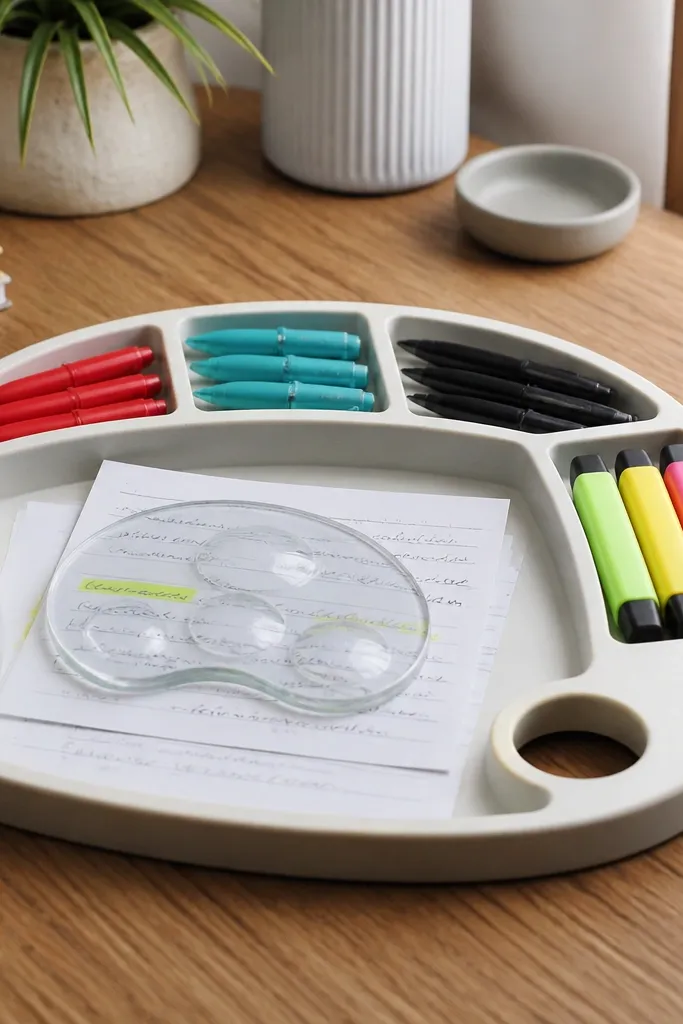
An artist palette shape is instantly themed because it signals “study like making art.” It’s also practical: it forces you to separate items by type and color. The palette outline looks fun, but keep colors controlled so it still looks clean. This works best for people who use colored pens and want their notes to look organized at a glance.
Use a sturdy cardboard palette template or buy a small wooden palette tray and paint it matte. Mark 5-7 “wells” with tape and paint each well in a chosen palette color. Add a small center well for paper clips or a mini eraser. Finish by sealing with matte varnish, then place sticky notes and markers so each color has a matching spot.
Use one color for each subject and keep it consistent across notes.
Don’t cram the tray — leave empty space so the shape stays readable.
20. Terrarium-Inspired Desk Terracotta Planter Organizer
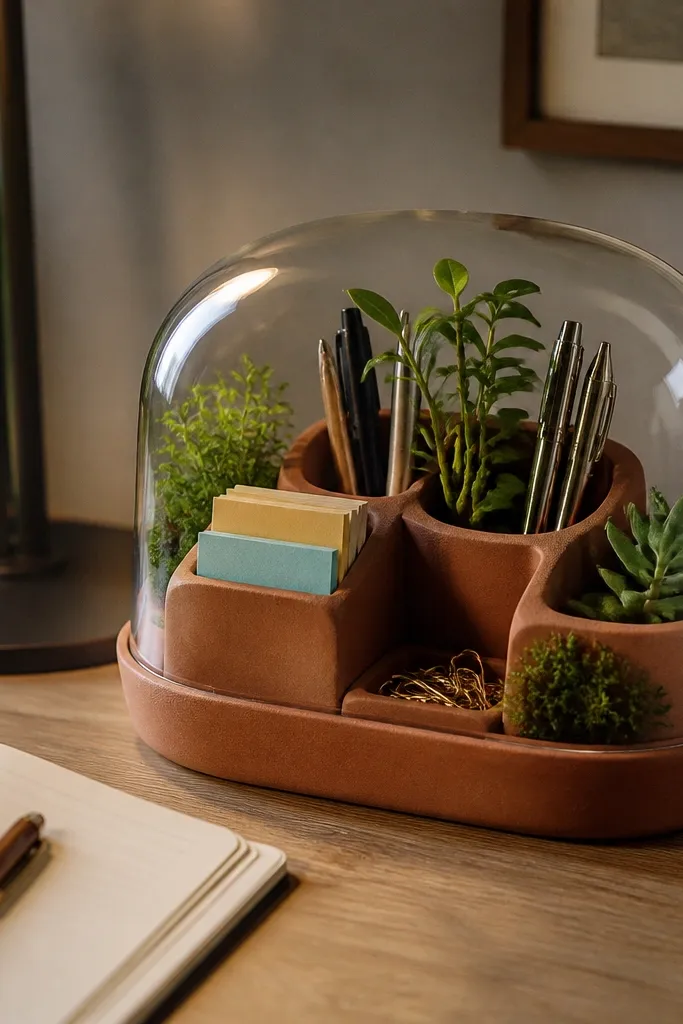
This is a themed Study Table Ideas setup that makes your desk look like a tiny greenhouse — clean, organized, and photogenic. You get a compact organizer for pens, sticky notes, paperclips, and small tools, all sitting in one “planter” with a clear dome top. The terracotta color hides small scuffs and looks warm under daylight, while the dome keeps dust off your supplies. It fixes the usual desk mess problem by giving every item a visible home and a lid that stops clutter from spreading. This is beginner-friendly carpentry-free DIY that takes about 60-90 minutes, and it looks great in a study nook, dorm desk, or craft corner.
Gather a terracotta plant saucer (9-10 inch), two small terracotta pots (about 3-4 inch each), a clear plastic storage dome or clear acrylic sheet cut to fit the saucer, and thin craft wood strips or foam board for dividers. Hot-glue the two small pots onto the saucer so they sit side by side, leaving a gap in front for a pocket area — keep the pot rims level so the dome sits flat. Cut foam board dividers to create three compartments across the front gap and behind one pot for paperclips and erasers; glue them in place and let cure fully. Paint any exposed foam edges with terracotta acrylic paint so the organizer looks intentional, then label compartments with a fine-tip paint marker. Finish by setting the clear dome over the saucer and securing it with a few glue dots on the underside so it can be lifted to grab supplies.
Editor's noteRough up the terracotta with 220-grit sandpaper before painting or gluing so the finish grips and won’t peel.
Skip thisDon’t glue the dome directly on top of labels — heat and pressure can smear ink.



