
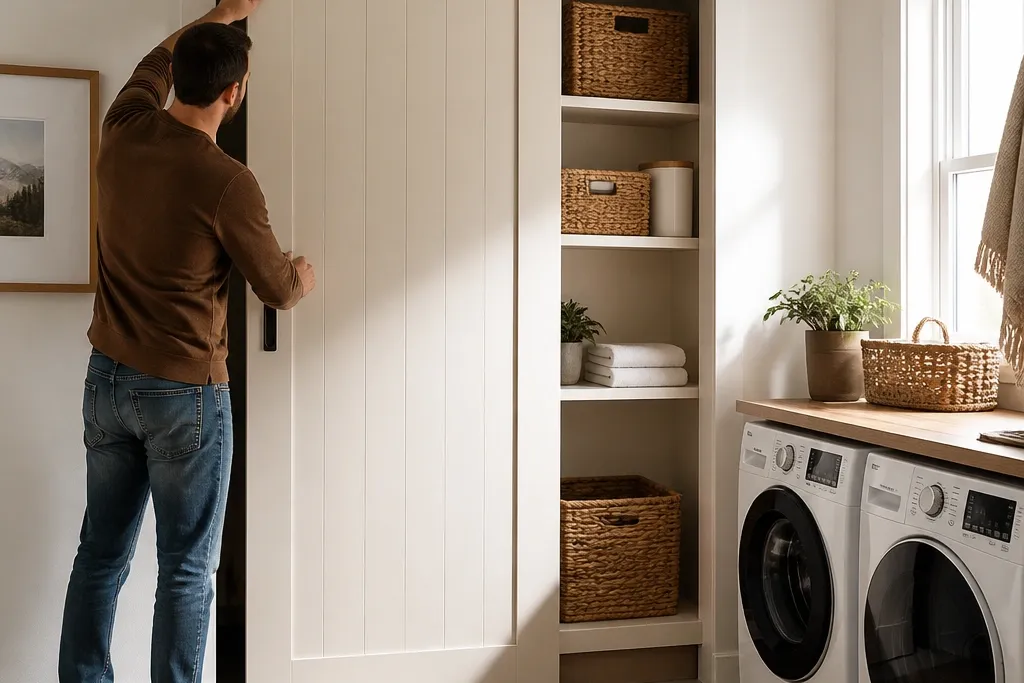
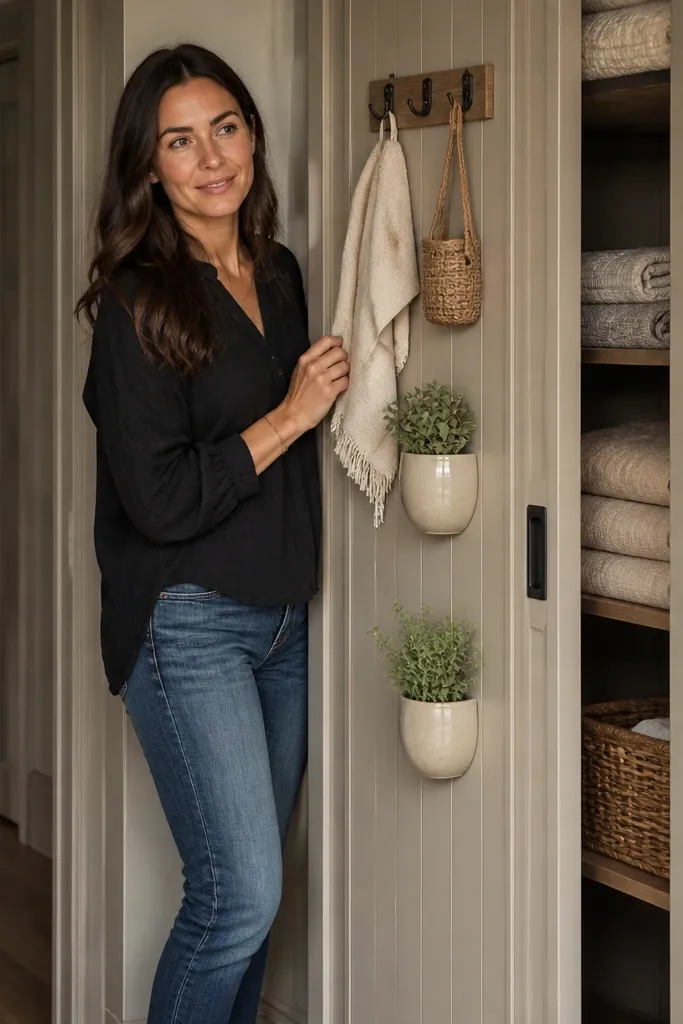
1. Farmhouse barn-door look with open cubbies on the inside
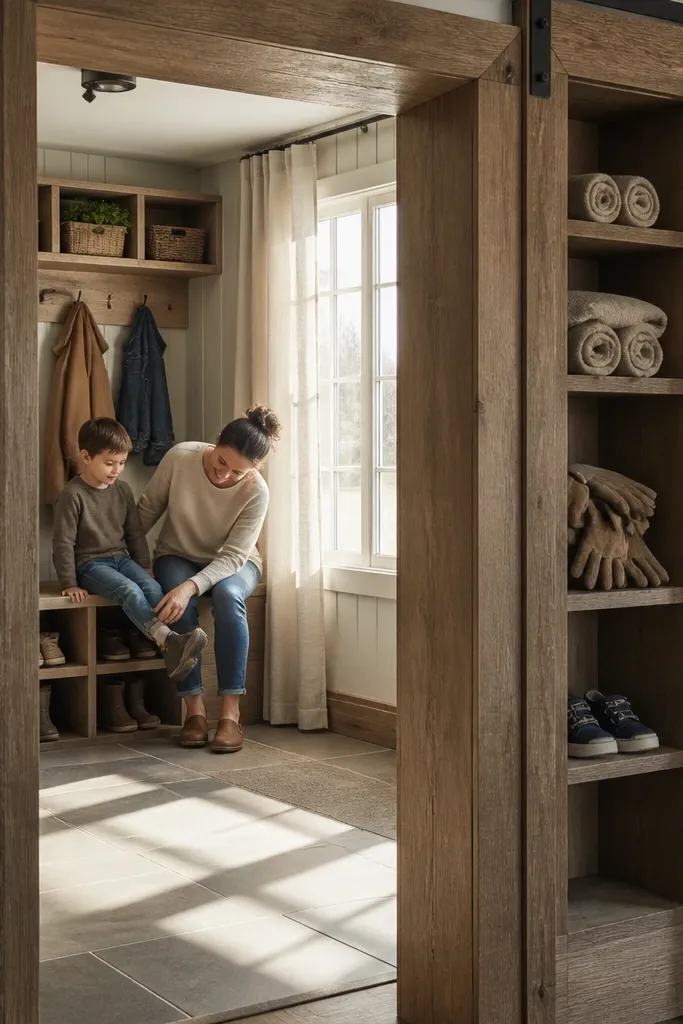
This is the themed sliding door with storage that photographs well from across the room. The open cubbies create visible rhythm, and the barn-door trim lines make the door feel architectural instead of “a door with boxes stuck on.” Use it in a laundry nook or mudroom where you want gloves, towels, or kid shoes to live behind something that still looks like decor. The storage is easy to access because you can see what’s inside, and you don’t have to fight a latch to reach small items. Skill level is beginner-friendly if you’re comfortable with basic carpentry and cutting plywood panels.
Start with a door leaf frame made from 1x2 or 2x2 lumber, then skin it with 1/2-inch plywood or 3/4-inch MDF. Build two to four cubby bays inside the frame, spacing them so each cubby is about 10-12 inches wide and 10-12 inches tall for practical storage. Add backer strips where the cubby dividers meet the frame so nothing flexes when you pull items out. Hang the door on a barn-door style track, then set the clearance so the bottom edge stays 1/2-3/4 inch above the floor. Finish by sealing the wood with primer and paint, and install black corner brackets or trim to lock in the barn-door look.
Editor's notePre-paint the cubby interiors before you assemble the door leaf so you don’t miss edges that later become impossible to reach.
Skip thisDon’t make cubbies too shallow — anything under about 6 inches turns into useless “display space” instead of storage.
2. Modern flush door with hidden pull-out bins

If you want the sleek, gallery-like look, this one keeps the door face clean while the storage is there when you need it. The trick is using pull-out bins mounted inside the door so the outside stays smooth and themed with slim grooves or panel lines. This works especially well in a home office for charging cables, notebooks, and small tools, because you can hide clutter instantly. The door reads modern because there are no visible open shelves to visually clutter the wall. Build it with sturdy drawer slides so the bins run smoothly and don’t rack the door when fully extended.
Build a rigid door leaf with a frame and 3/4-inch MDF skin, then add internal rails for the drawer slides at consistent heights. Mount full-extension drawer slides inside the door so the bins sit flush when closed; aim for a bin depth of 7-9 inches so the bins hold more than scraps. Install two bins (or one long bin) depending on your door width, keeping slide alignment within 1/16 inch to prevent binding. Attach the track to a level mounting board or directly to studs, then hang the door and adjust rollers until it glides without scraping. Finish the door face with paint-grade primer and two coats of durable enamel for a smooth, themed look.
Editor's noteUse a small gap between the door and the wall stops (about 1/8 inch) so the door doesn’t rub when humidity shifts.
Skip thisSkip cheap slide hardware — weak slides wobble and make the door feel low-quality even if the face looks perfect.
3. Kids' storybook theme with picture frame panels and labeled storage
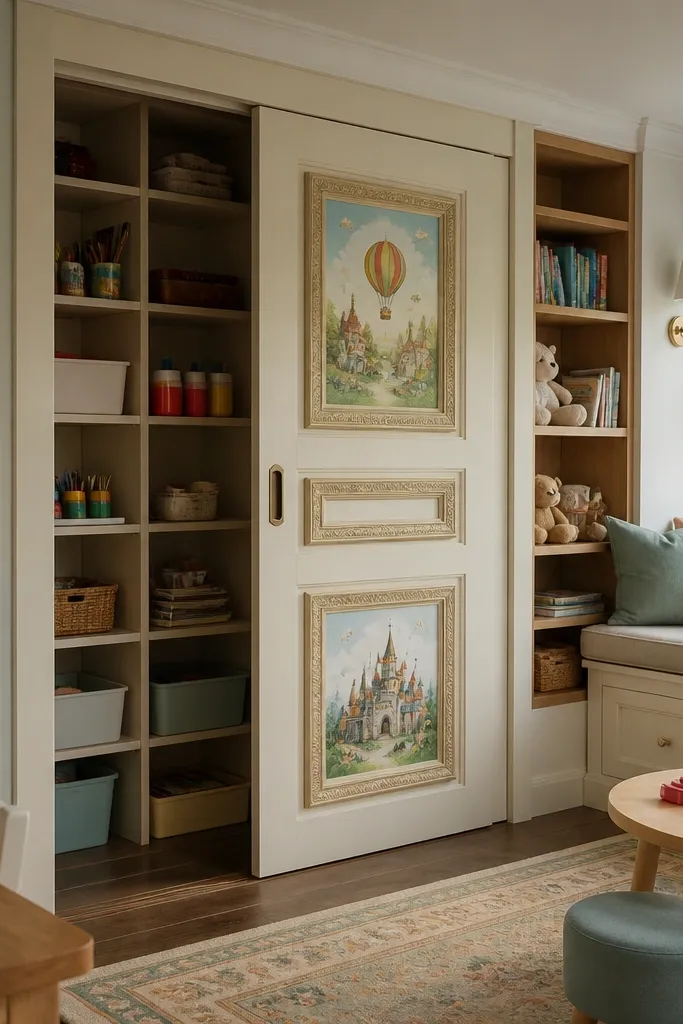
This themed sliding door with storage works best when you want it to feel like part of the room, not a closet door. Picture-frame trim makes the door look like a set of “covers,” and labeled cubbies keep the storage usable for kids without constant reminders. The storage compartments also make the door functional — art supplies, library books, and small toys have a home that’s easy to spot. Choose a theme palette (primary colors or soft pastels) and repeat it on the trim and labels so it looks intentional. It’s an intermediate build only because you’ll want neat label placement and consistent trim spacing.
Start by sketching a panel grid on the outside face using 1x2 trim strips, then cut matching frames so each panel is the same size. Build the door leaf with a frame and 1/2-inch plywood skin, then add internal cubbies behind the framed panels. Make cubbies about 9-10 inches wide and 10 inches tall so kids can reach and remove items without tipping. Install a simple track and roller kit rated for the door weight, then set the door so it clears the floor by 1/2-3/4 inch. Seal and paint the trim, then add weatherproof labels to the cubby fronts using vinyl label sheets or laminate for easy wipe-down.
Editor's noteDo a dry fit of the trim frames on the door before painting so you can correct any tiny warps before the final finish.
Skip thisDon’t place labels on the door face — labels belong on the storage fronts so you can read them when the door is open.
4. Coastal theme with shiplap-style texture and towel-and-basket storage
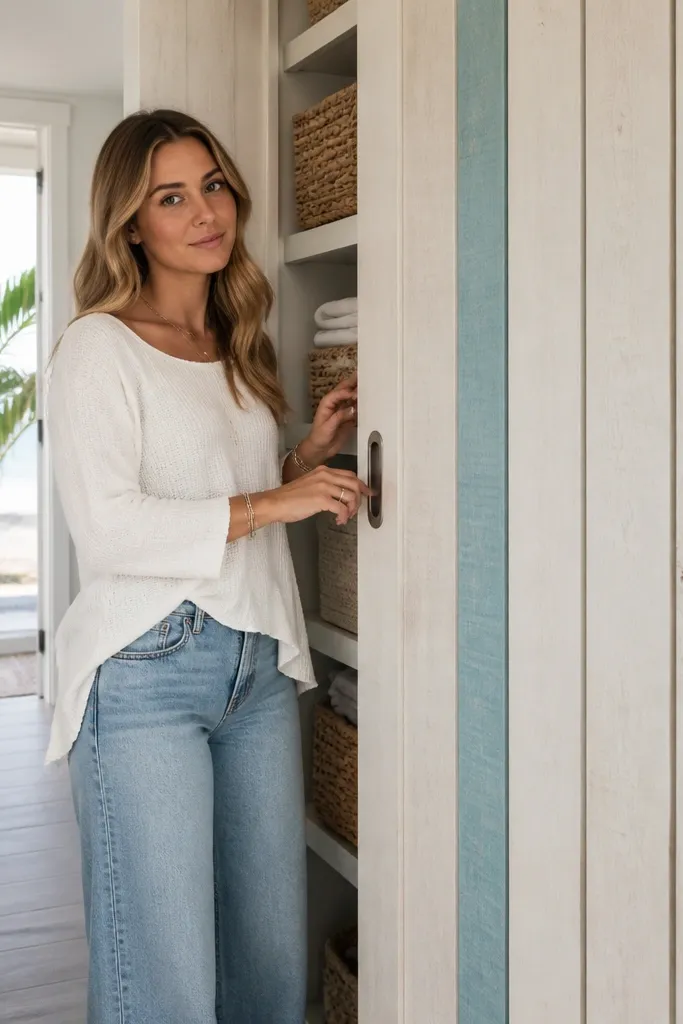
A coastal-themed door looks right when the texture is part of the theme, not just paint. Shiplap-style boards or thin panel strips create that beachy rhythm, and baskets inside the door turn storage into something you can swap seasonally. Use it in a bathroom or hallway where towels, washcloths, and bath accessories need a neat home. The door stays photogenic because the texture catches light, and the baskets keep the interior tidy even if you toss things in quickly. This is a beginner-friendly build if you keep the door leaf thickness consistent and don’t overcomplicate the basket mounts.
Build a door leaf frame and skin it with 1/2-inch plywood, then add thin strip “shiplap” pieces on the outside face. Leave a flat area where you’ll mount the internal basket supports so the baskets sit level and don’t tip forward. Install two basket bays with a shelf ledge so each basket has a 1-inch lip to rest on. Mount the track to a solid mounting board and level it carefully so the door doesn’t drift — coastal doors look bad when they hang crooked. Finish with a moisture-resistant primer and two coats of semi-gloss paint, then add a soft bumper stop on both ends of travel.
Editor's notePre-seal the shiplap texture with primer before topcoat; it prevents uneven absorption that makes the texture blotchy.
Skip thisSkip MDF for the texture if the door will live near steam — use sealed plywood or primed boards.
5. Industrial theme with metal grid trim and spice-rack style storage
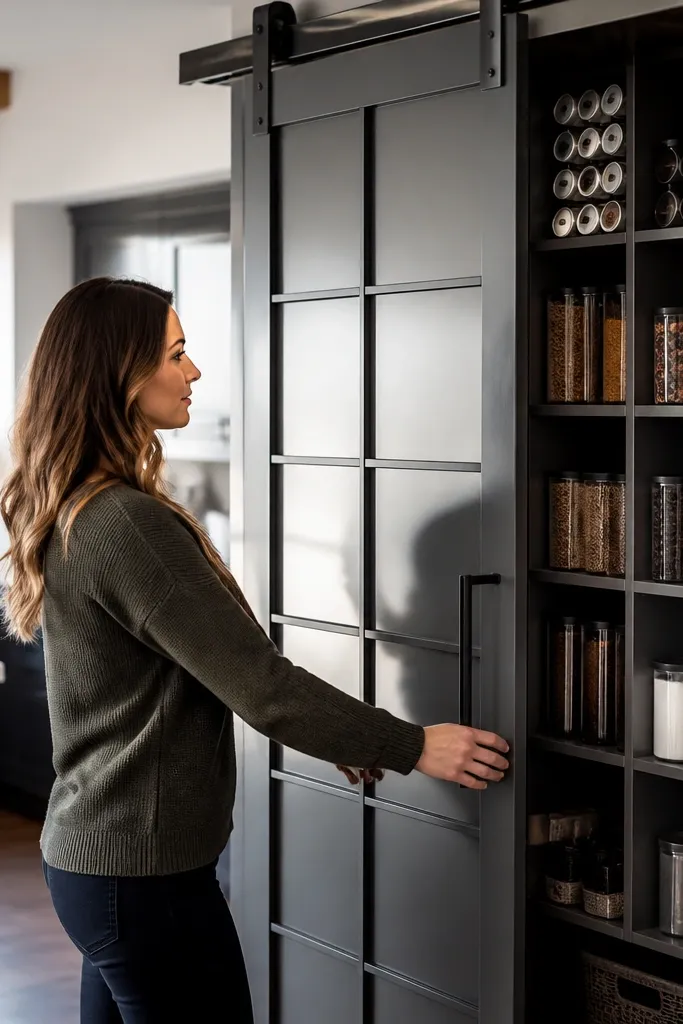
Industrial themed sliding door with storage looks best when you combine a strong grid pattern with compact compartments. A metal grid (or faux metal trim) frames the storage and makes the door feel like furniture, not a DIY cover. Spice-rack style cubbies are perfect for kitchen pantry overflow, coffee pods, or small pantry jars when you want items to be easy to grab. The grid also hides imperfect interior storage because the pattern visually ties everything together. This is a moderate build because you need straight trim lines and careful alignment, but the end result looks sharp.
Build a rigid door leaf using a frame and 3/4-inch MDF skin, then cut open compartments inside the door for small cubbies. Keep cubbies consistent at about 4-6 inches wide so jars and tins sit without wobbling. Install metal grid trim on the outside using screws into the door leaf frame, not just into the skin. Mount the door on a heavy-duty track, then adjust rollers so the door glides and the grid stays perfectly parallel to the floor. Finish the metal trim with matte black paint or a rust-resistant coating, and seal the MDF with a durable paint topcoat.
Editor's noteUse a laser level or a long straightedge to align grid lines before you screw anything — one crooked line ruins the whole industrial look.
Skip thisDon’t mount grid trim only to the MDF skin; it will loosen with time and make the door look DIY.
6. Scandi theme with light wood slats and vertical organizer slots
Scandi-themed doors look clean because the storage is organized vertically and the wood tones stay warm. Light wood slats on the outside create a calm, striped look that photographs well in bright rooms. Inside, vertical organizer slots hold rolled items, cutting boards, or craft supplies without turning into messy stacks. This build is especially good for craft rooms or entryways where you want order but don’t want closed cabinet doors. The door feels intentional because the slats align with the storage slots behind them.
Build the door leaf frame and skin it with plywood, then attach thin slats spaced about 1 inch apart for that airy scandi rhythm. Mark and build internal vertical slots using plywood dividers, keeping slot widths around 2-3 inches for rolled items and thin tools. Add a bottom stop ledge so items don’t fall when you slide the door open. Install your track and set the door clearance to 1/2-3/4 inch, then adjust roller height so the door stays level. Finish with sanding, then a clear matte sealer or a light stain plus water-based topcoat for durability.
Editor's noteSand slats to the same thickness and edge radius so the shadows between slats look crisp, not fuzzy.
Skip thisAvoid thick slats with narrow spacing — it makes the door look heavy and the storage harder to access.
7. Monochrome gallery theme with framed panels and adjustable shelf inserts
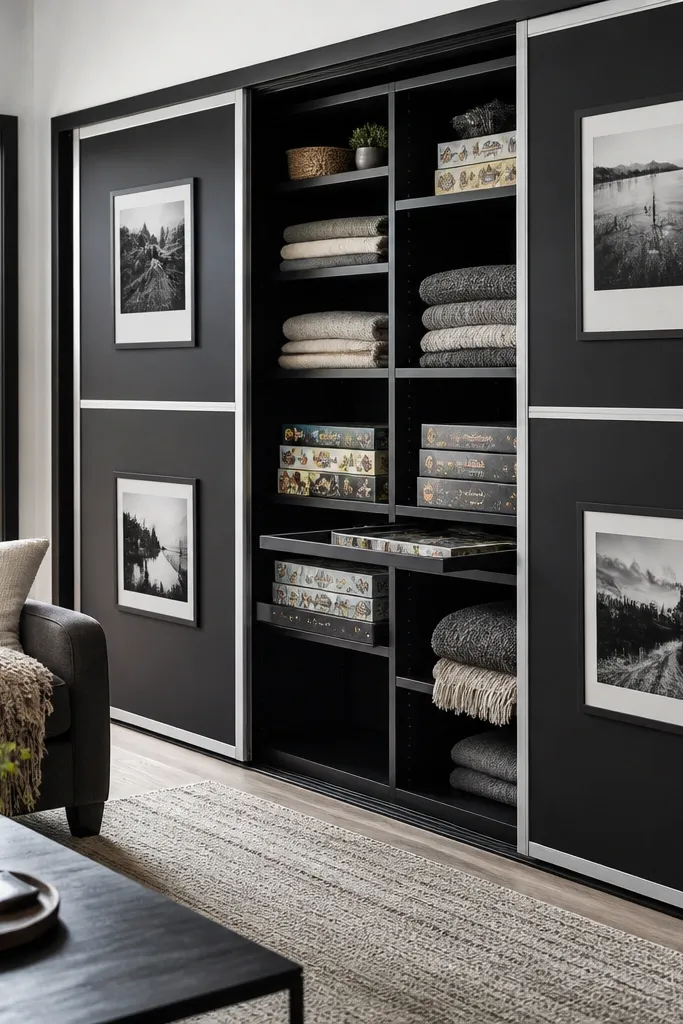
A monochrome gallery door makes the storage feel like built-in furniture. Framed panels on the outside give you clean geometry, and adjustable shelf inserts inside let you reconfigure the compartments as your needs change. This works great in a living room for board games, blankets, or tech accessories — the door looks like decor even when storage is full. The matte finish hides small scuffs and keeps the look consistent. It’s intermediate because adjustable shelves require careful drilling and straight spacing so the shelves don’t sit crooked.
Construct a door leaf with a sturdy frame and MDF skin, then add trim frames on the outside to create the gallery panel grid. Inside, install shelf pin rails or a simple track system for adjustable shelves; drill holes at a consistent spacing like 1-1/2 inches so you get flexibility. Build shelves from 1/2-inch plywood so they don’t sag, and add stops at the back to keep items from sliding out. Mount the track and hang the door, then test the slide with empty shelves first to confirm the door is level and quiet. Finish everything with a matte paint system, then add felt bumpers where the door meets the wall stops.
Label shelf locations on the inside with small pencil marks before you paint — it saves guesswork when you rearrange later.
Don’t use glossy black unless you’re ready to touch up — fingerprints and tiny scratches show immediately.
8. Vintage crafts theme with pegboard door face and removable organizers
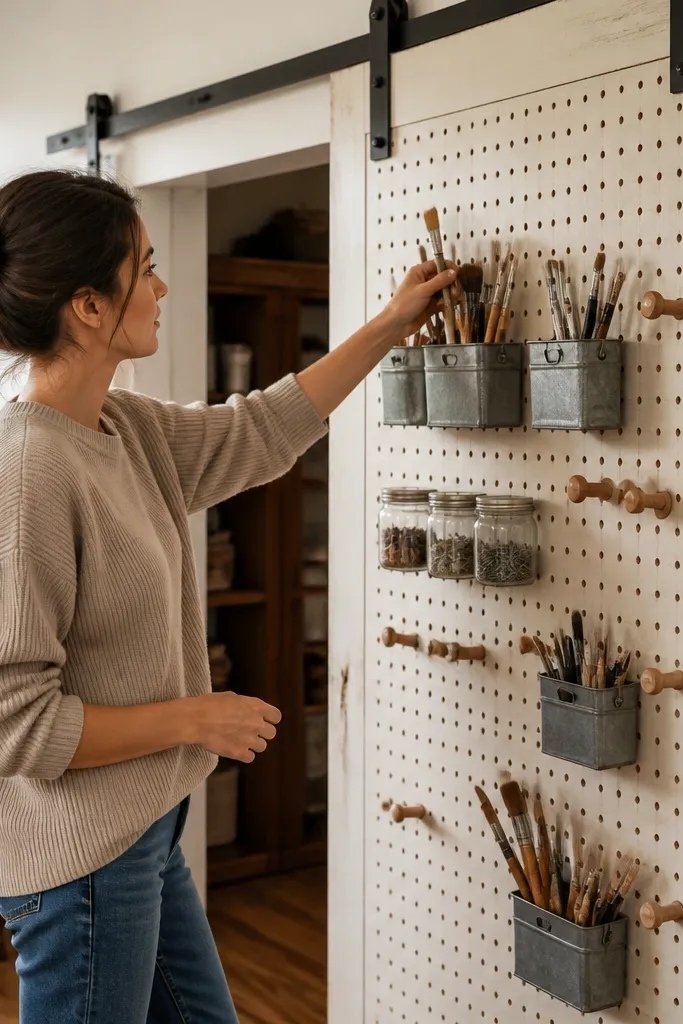
A pegboard-faced themed sliding door with storage looks like craft furniture, and it lets you change the interior layout without rebuilding the door. The pegboard gives you a tidy, grid pattern that reads vintage without needing fancy art. Use it for tools, paintbrushes, and small hardware — hang what you want on the face and stash the rest in removable bins behind it. This build is great for people who store supplies that change often, like seasonal holiday craft stuff. The look stays photogenic because the grid and hardware create structure.
Build a door leaf frame and skin it with 1/4-inch pegboard on the outside face, backed by plywood so it stays rigid. Install internal removable bin supports using cleats so the bins slide in and out without loosening the door face. Mount the track and set the clearance at 1/2-3/4 inch, then check for sway — pegboard doors can feel flimsy if the frame is underbuilt. Add a stop block so the door doesn’t slam into the wall, and install magnetic or latch-style bin retention so bins don’t drop when you slide quickly. Finish the wood tone with stain and a clear coat made for shop surfaces, then paint or seal the pegboard so it’s easy to wipe.
Editor's noteUse short pegboard hooks and hang only the heaviest items near the center to keep the door from pulling forward.
Skip thisDon’t attach pegboard directly to thin frame pieces — it will bow and the face will look wavy.



