
1. Cove Line Lighting Under the Upper Overhang
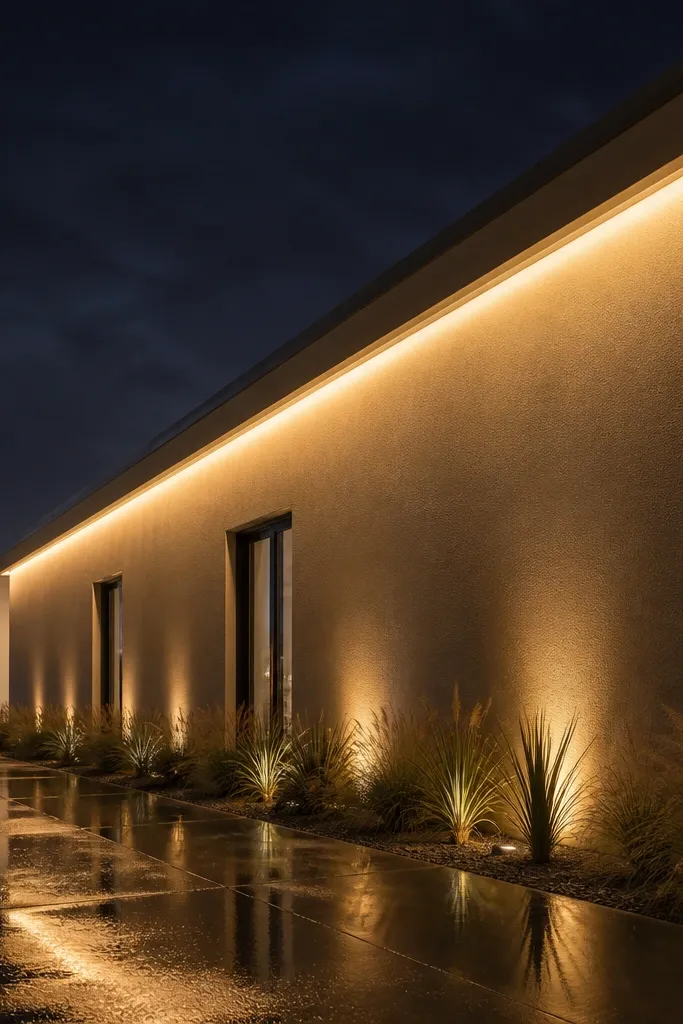
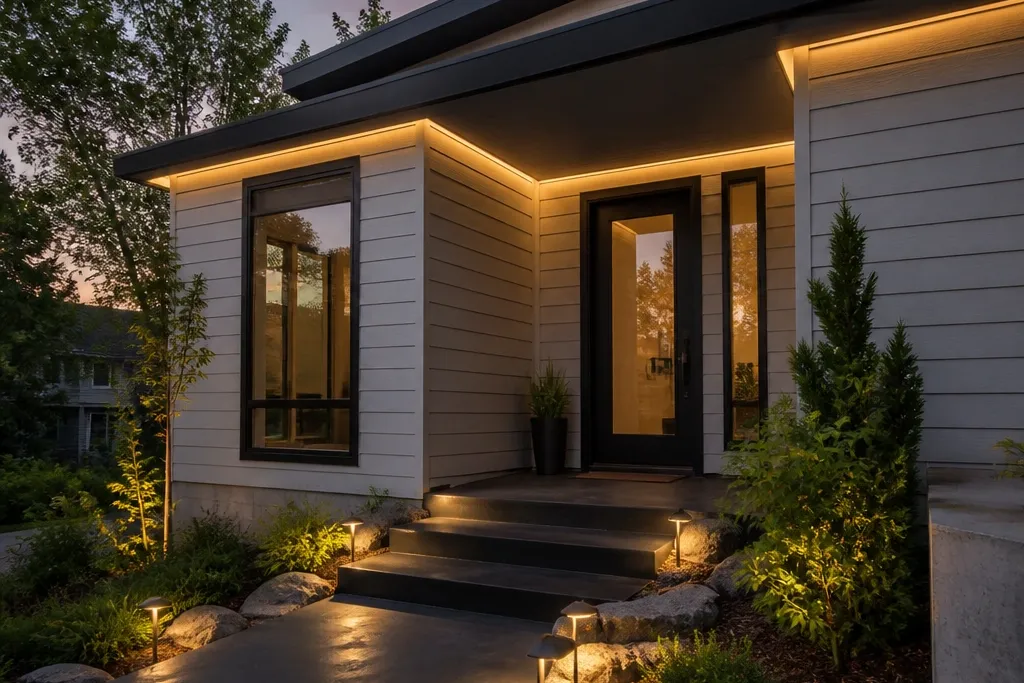
This is the cleanest “modern facade with lights” look because the glow comes from a single controlled line. You’re basically drawing a soft horizon under the overhang, which makes the house feel taller and more designed. It works especially well on flat or boxy facades with straight trim, because the light follows lines you already have. Use warm white if you want inviting curb appeal; use 4000K if you want a crisp, contemporary edge. Skill level is moderate: you’re installing a channel and hiding the diffuser, but you’re not doing electrical inside walls.
Editor's noteUse a frosted diffuser channel, not bare strip LEDs, or you’ll see bright dots in daylight.
Measure the underside length of the overhang and pick an aluminum LED channel with a frosted diffuser. Install the channel with exterior-rated screws into the framing or blocking, then feed the low-voltage LED strip inside the channel. Run the wire to a weatherproof low-voltage transformer location, then test before you close anything up. Finally, cap the channel ends and seal any outdoor gaps with exterior-rated silicone or channel end caps so water can’t get trapped.
Skip thisDon’t mount the strip too close to the edge — you want the glow to wash downward, not light the soffit directly.
2. Vertical Light Launders on a Feature Wall
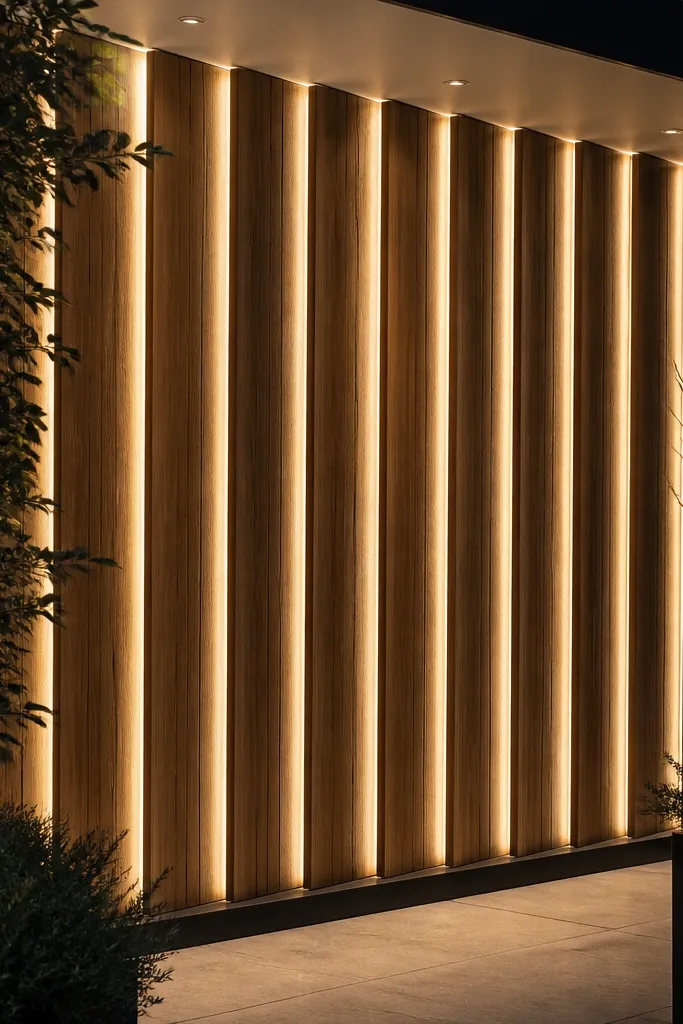
Vertical light “launders” are one of the most photogenic themed modern house facade ideas with lights because they create a tall, gallery-like shape without adding clutter. You choose a feature wall section — a vertical slat panel, a smooth stucco bay, or a narrow accent cladding — and light it with narrow beams that track the wall’s height. The result is a modern, sculpted facade at night, and during the day it still looks intentional because the light elements sit in clean channels. This setup is best when you have a clear vertical surface that’s tall enough to show the effect.
Editor's noteAim the LEDs slightly inward so the brightest part stays off the camera line; you’ll get a softer wall glow.
Mark two vertical lines on the feature wall where you want the glow to hit, then install two slim surface-mounted raceways or recess-ready channels. Use narrow-beam LED strips or LED boards designed for vertical illumination, and keep the spacing consistent between the two runs. Connect to a low-voltage driver and route the wiring behind a raceway cover so you don’t see loose cable. After testing the brightness and aiming angle, lock the covers in place and seal the raceway seams for outdoor exposure.
Skip thisAvoid using wide, unshielded LED strips — they create glare bands instead of clean vertical light.
3. Step and Path Uplight Grid for a Clean Entry
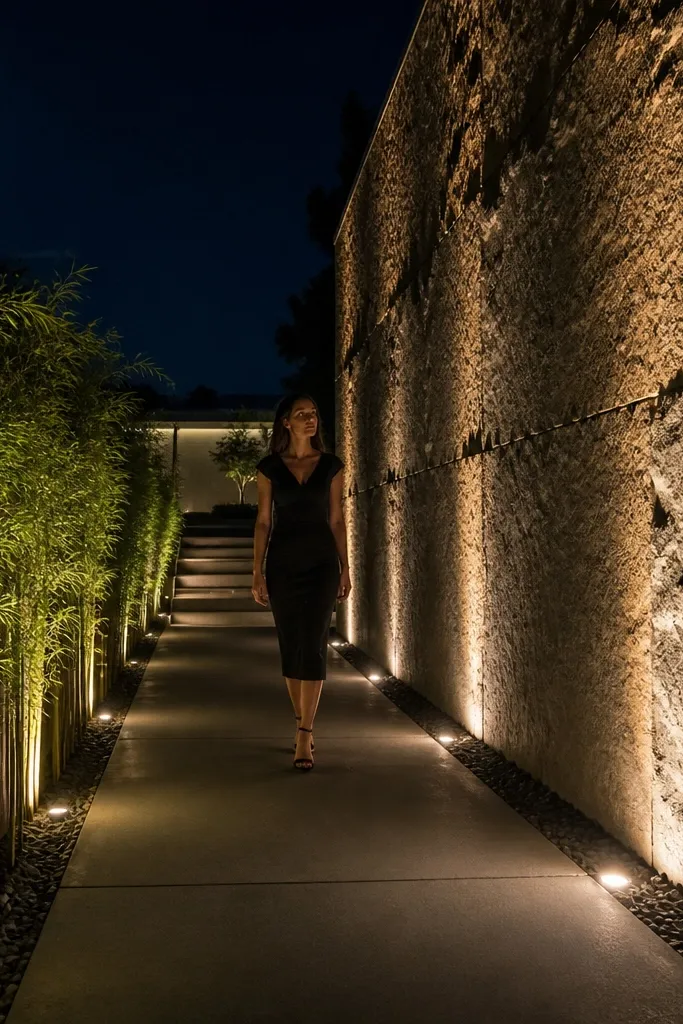
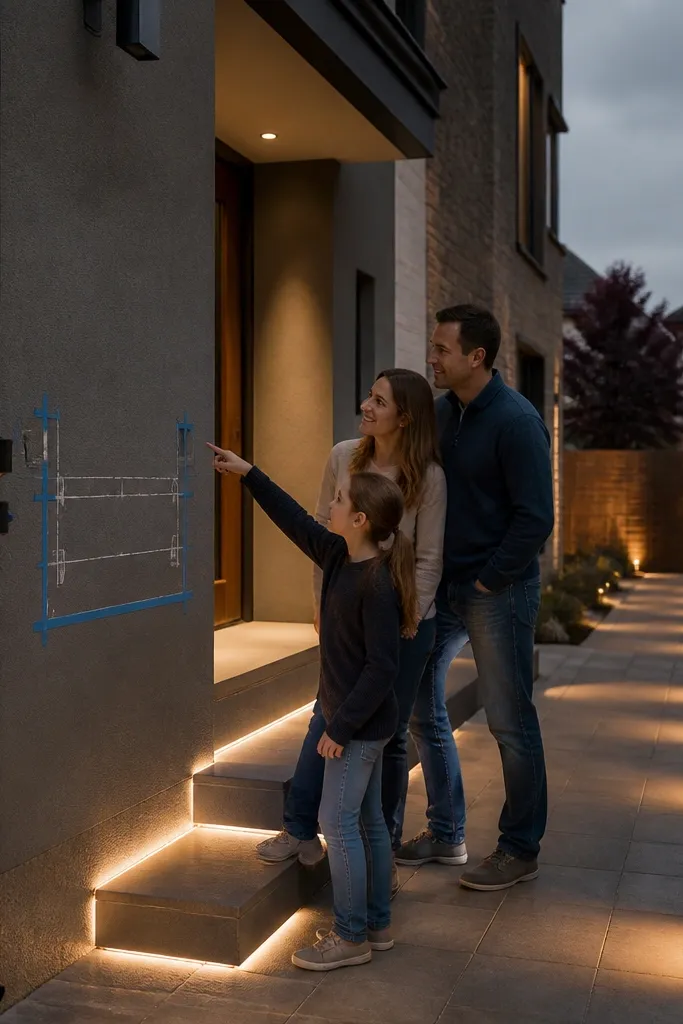
If your entry is the main thing people see, a tight uplight grid makes the whole facade feel designed. This look works by lighting vertical surfaces at the points your eye already lands — step risers, the base of a wall, and the edge of a walkway. In photos, it reads as crisp depth instead of “a few random lights.” It also helps visibility without turning your entry into a floodlight scene. Keep the beam tight and the placement consistent, and you’ll get that modern architectural glow.
Editor's noteUse a light meter app or just compare at night: if you see hotspots on the wall, shift the head angle down 5-10 degrees.
Lay out your grid before you buy anything: mark locations every 24-36 inches along the path run and every 24 inches along the step edge where you want the light. Use low-voltage landscape uplights with adjustable heads, then set them at a consistent height (typically just above the ground line). Connect the fixtures in a series/parallel layout per the transformer rating, and test each position before final landscaping fill. Once you’re happy with the wash, secure each fixture firmly, then cover any exposed cable with outdoor-rated conduit or low-voltage cable protectors.
Skip thisDon’t place uplights too close to the wall — you’ll get harsh glare instead of a smooth wash.
4. Door Frame Glow With Hidden Side Recess Lights
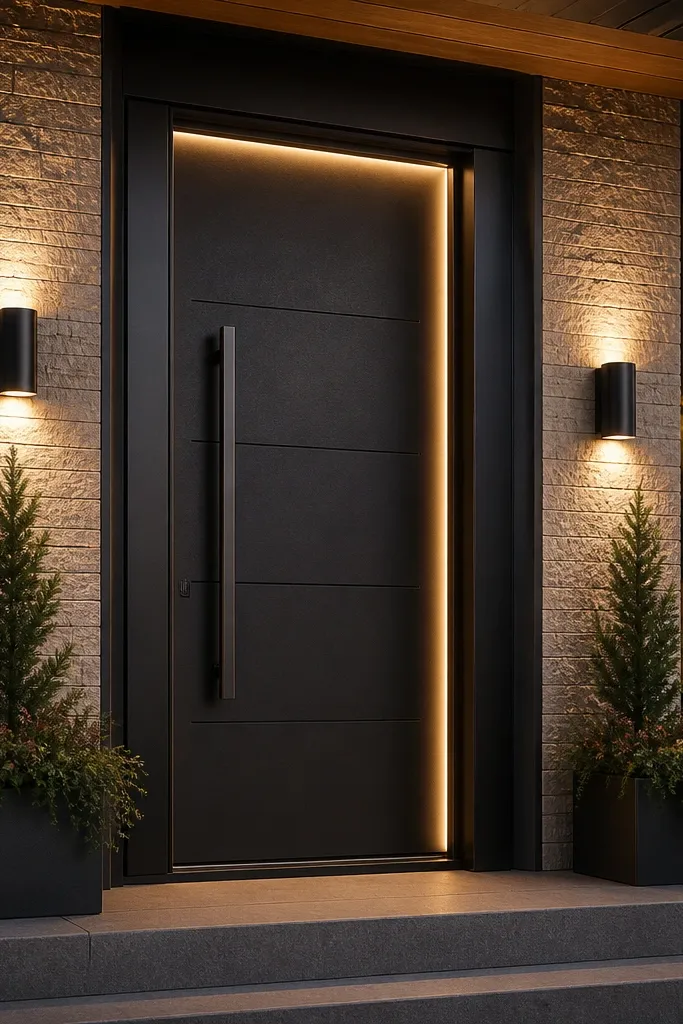
A door frame glow is the fastest way to make a modern facade feel “themed,” because it frames the main focal point. You get a halo-like effect without visible bulbs, which keeps the look sleek. This setup works great on modern front doors with straight trim — metal, fiberglass, or wood panels — and especially when you have a recessed entry porch or a narrow side reveal. Choose warm white for a welcoming curb appeal and add a dimmer so the glow feels right at night.
Editor's noteUse dimming with a warm LED driver so the glow doesn’t look harsh in the first hour after sunset.
Decide whether you’re working with a recessed reveal or adding a shallow trim box. If you have a reveal, mount slim LED channels along the inner side edges of the door opening so the light points toward the door and slightly outward. If you’re building a shallow soffit-style trim box, frame it with exterior-rated furring strips, then mount the LED channel to the underside and side. Run wiring to a weatherproof low-voltage junction and add a dimmer rated for LED drivers, then test and adjust before sealing the trim.
Skip thisSkip open LED strip edges — you’ll see individual points and it stops looking modern.
5. Window Reveal Micro-Spot Highlights for Modern Frames
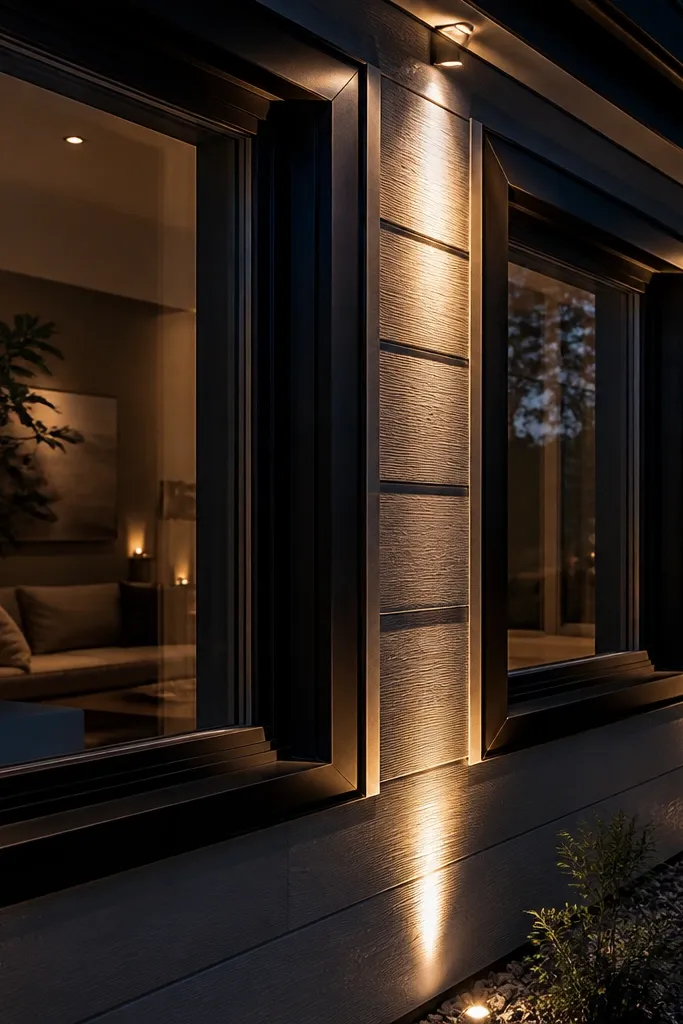
Micro-spot highlights make modern window lines look intentional because they create controlled sparkle on trim and reveal shadows. Instead of lighting the whole wall, you graze the vertical and horizontal edges, so the facade looks layered. This is one of the best themed modern house facade ideas with lights when your windows have strong geometry — black frames, clean stucco reveals, or a grid pattern. It looks sharp in photos because the highlights are narrow and the shadows stay deep.
Editor's noteTurn off all porch lights during testing so you can see whether you’re lighting trim or washing the wall behind it.
Choose low-voltage micro uplights or adjustable spot modules with a narrow beam angle (around 15-25 degrees). Mount them at consistent heights near the window corners or along the window head line, aiming so the beam hits the trim edge, not the glass. Use a layout template: measure the distance from corner to light and keep it the same for every window. Route cables behind exterior-rated raceways and secure with UV-resistant clamps, then test with the door open so you can see glare angles from the street.
Skip thisDon’t aim spots at the camera path — if you see a bright dot from the street, it will look messy in night photos.
6. Front Sign and House Number Light Bar With a Diffused Face
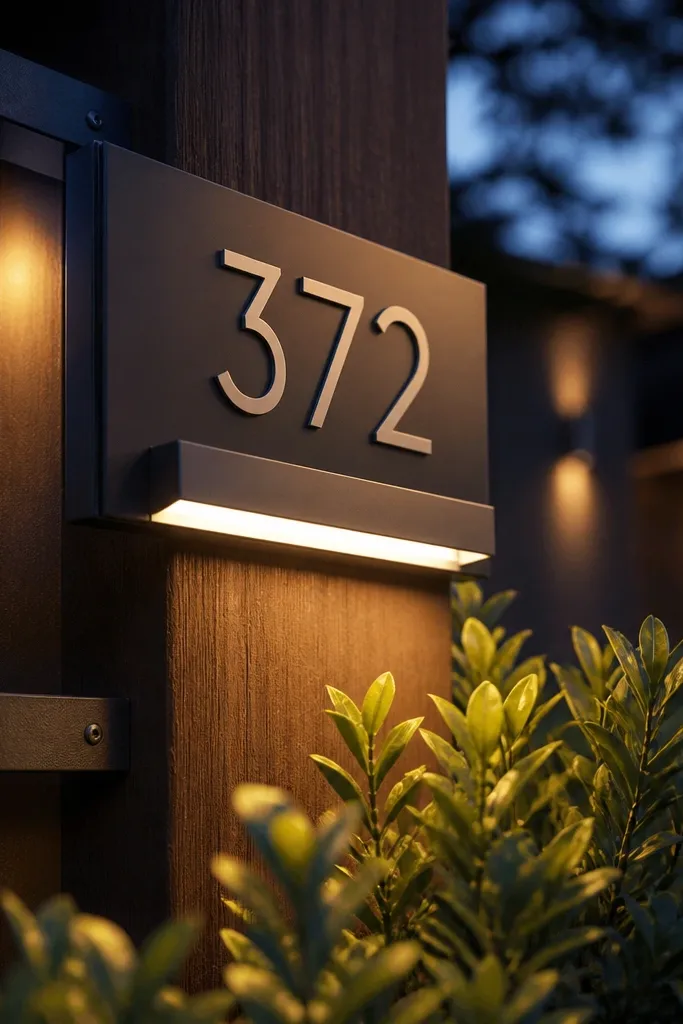
This is the “modern and clean” themed approach because it adds a precise functional glow, not a random porch light. A diffused light bar under a house number panel or sign makes the numbers readable and looks designed even in daylight. It also lets you control color — warm for classic modern, neutral for a flatter contemporary look. If your facade has minimal decor, this is a smart way to add a theme without cluttering the front. The build is beginner-friendly because you’re mostly working with a small, flat mounting surface.
Editor's noteChoose an opaque backing behind the LEDs so light doesn’t leak upward into the wall and create a dirty halo.
Pick a house number plate or sign panel with a flat bottom edge and mount it at a standard readable height (around 48-60 inches from the ground). Use an IP-rated low-voltage LED strip or LED board inside a small aluminum channel under the plate, with a frosted diffuser facing downward. Wire it to a weatherproof driver and connect to a switch or photocell so it turns on at dusk. Finally, check readability from the street at night and adjust the diffuser spacing so you don’t see individual LED points.
Skip thisDon’t mount the LEDs directly to the face of a clear acrylic plate — you’ll get hotspots and uneven brightness.



