
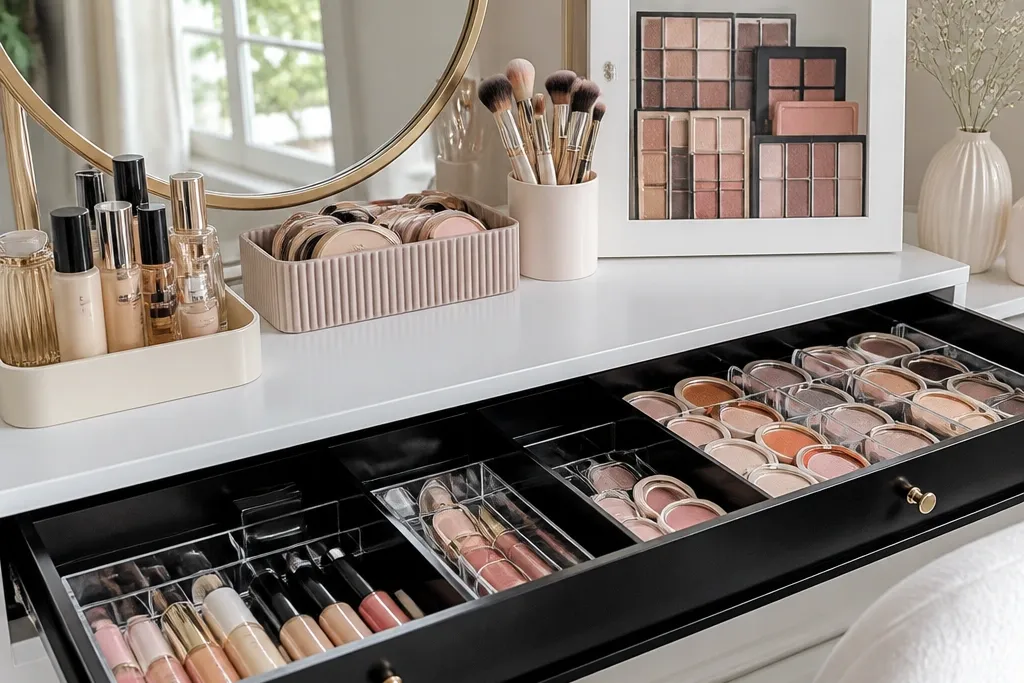

1. Blush-and-Brass Tray Stack for Daily Makeup
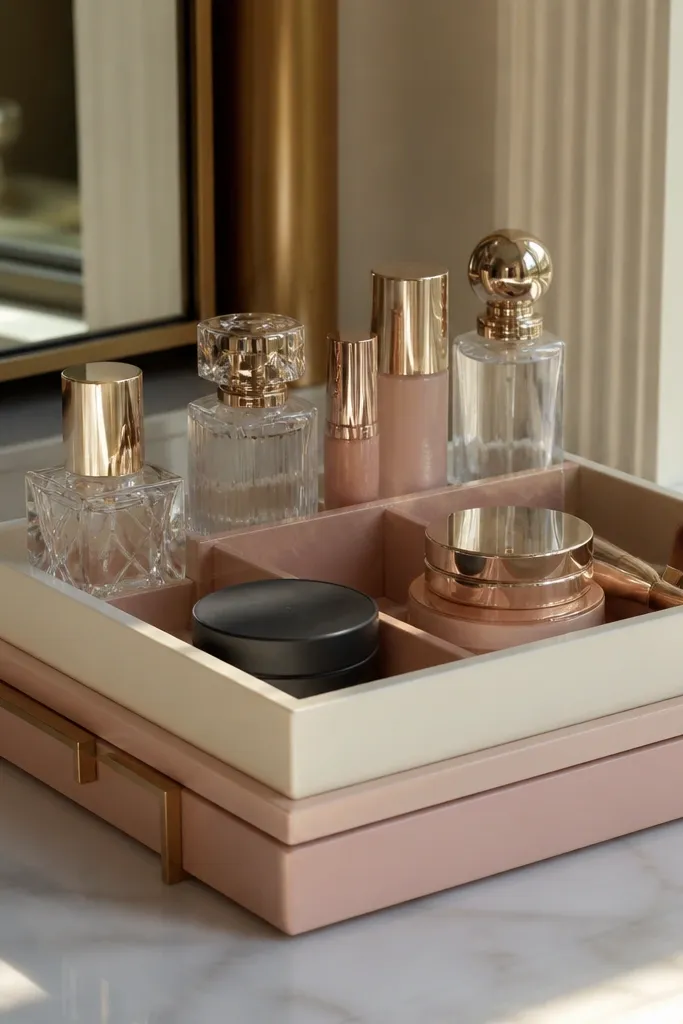
This look is for anyone who wants their vanity to feel calm while staying practical. A tray stack groups your “used today” items into one clean footprint, so your morning routine never turns into a rummage. Go with cream or off-white trays and blush dividers so the color reads soft against glass bottles and compact cases. It also photographs well because the dividers create neat lines and the tray edge frames everything like a display shelf. Skill level is beginner-friendly — you’re basically arranging and fastening lightweight pieces — and it takes about an afternoon.
Editor's noteUse adhesive felt feet under dividers so bottles don’t slide and you don’t scratch the tray.
Start by measuring the top surface and picking a tray footprint that leaves 2-3 inches of breathing room around the edges. Add blush acrylic or painted wood dividers inside the tray to create 3 zones: face (powders/bronzer), eyes (palettes/liners), and lips (lipsticks/lip gloss). Place your most-used items on the top row facing forward, then set backups and rarely used shades in the back row or a covered mini container. Finish by adding a brass-toned catchall for small tools like tweezers and sponges, then wipe the tray and dividers with a damp cloth before styling.
Skip thisAvoid mixing too many divider colors — stick to blush plus one neutral so it still looks themed.
2. Black Lacquer + Clear Acrylic Drawer Inserts

This is the clean, high-contrast option that makes a vanity look expensive without adding visual clutter. Clear acrylic lets you see product labels at a glance, while black dividers keep everything aligned and “designed.” The theme is strong because the drawer becomes a grid — eyes naturally read neat rows instead of random stacks. It’s ideal if you own a lot of small items like concealers, eyeliners, and minis that normally disappear in the drawer. You’ll get a fast reset because each drawer has a labeled job and a fixed bin count.
Editor's notePut a thin sheet of clear contact paper under the bins so drawer liner stays clean from makeup smudges.
Pull every item out of one drawer and sort into three groups: complexion, eyes, and lips. Measure the drawer interior width and depth, then buy or cut-to-fit acrylic bins and insert dividers so you can make 3-4 compartments without gaps. Spray-paint or buy pre-made black drawer liners, then install them so bin edges sit against a matte background. Place larger items first, then fill smaller items in their bin so nothing tips. Finish by adding a small label card under each bin with a simple word like “EYES” or “LIPS.”
Skip thisDon’t cram bins too tightly — if lids or caps catch, you’ll stop putting items back.
3. Coastal Rope Handles for a White Vanity Organizer
If your room style is airy or coastal, this theme looks right and keeps your vanity from feeling like storage. Rope handles make it easy to lift a basket without hunting for tools, and the texture adds visual warmth. Use white or natural baskets so your makeup doesn’t look like it’s fighting a dark storage system. This works best when you have more brushes, hair tools, and skincare extras than compact powders. The “themed” part is the handle repeat — once every basket has the same rope look, your setup feels intentional even with different products.
Editor's noteWrap rope handles with waxed cotton thread where they meet the basket for a tighter, cleaner look.
Choose two small baskets and one medium basket that fit your vanity width with at least 1 inch of clearance. Secure rope handles using a hot glue gun for temporary grip, then reinforce with small screws or zip ties if your baskets have anchor holes. Line the bottom of each basket with a removable silicone mat or thin fabric liner so powders and spills don’t stain. Assign the medium basket to brushes and tools, one small basket to skincare backups, and the other small basket to daily face items. Set your daily items on top of the baskets in a tray so your grab zone stays visible.
Skip thisSkip floppy liners that bunch — they make baskets look messy and trap crumbs or powder.
4. Terracotta Modular Cups for Brushes and Lip Tools
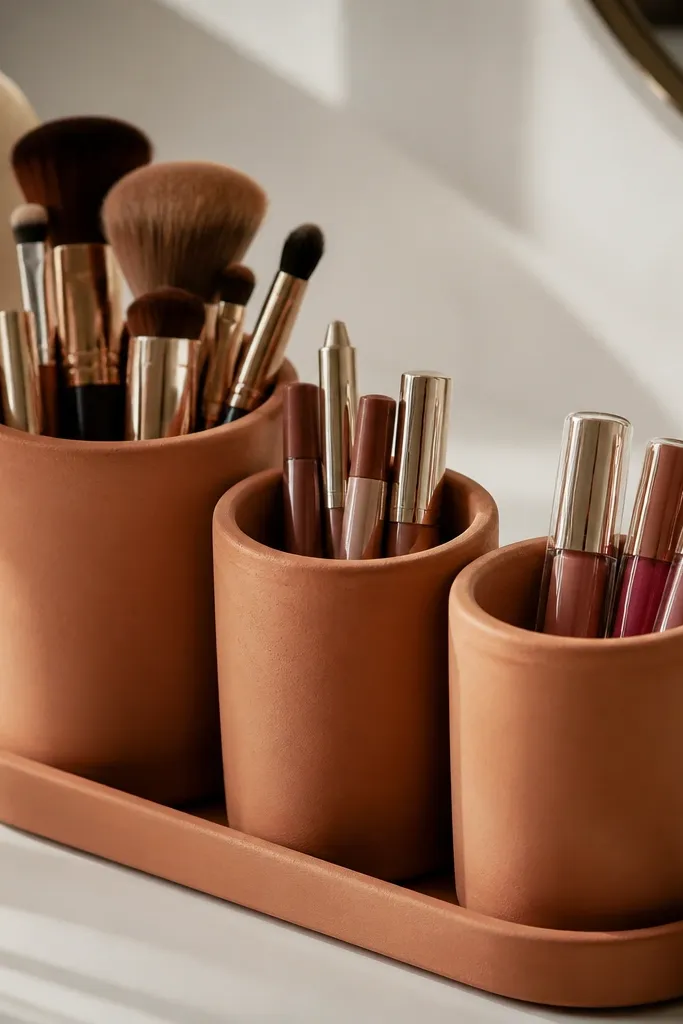
Terracotta reads warm, grounded, and photo-friendly. The modular cup setup keeps tools upright and separated, so you don’t mix brush bristles with loose lip products. It’s also a practical way to organize without buying a full drawer system. Use terracotta tones for people who want their vanity to look like a styled shelf, not a utility cabinet. This theme works especially well on white, cream, or light oak vanities where warm colors pop.
Editor's noteUse a brush cleaning mat or folded microfiber pad under the brush cup so stray powder doesn’t stain the surface.
Pick 3-5 cups in matching terracotta tones, with one slightly larger cup for brushes. Wash and dry all cups, then apply a clear matte sealant to protect against makeup stains if the cups are porous. Arrange cups in a straight line so brushes live on one side and lip tools on the other. Add a small acrylic or wood tray in front for lip liners and lipsticks so they don’t roll. Finally, group by routine: brush cup gets daily brushes, lip tools cup gets liners and gloss, and the larger cup holds backup sponges.
Skip thisDon’t place cups too close — bristles and caps need space so you can grab without knocking over.
5. Marble-Look Vinyl Labels and a Color-Coded System
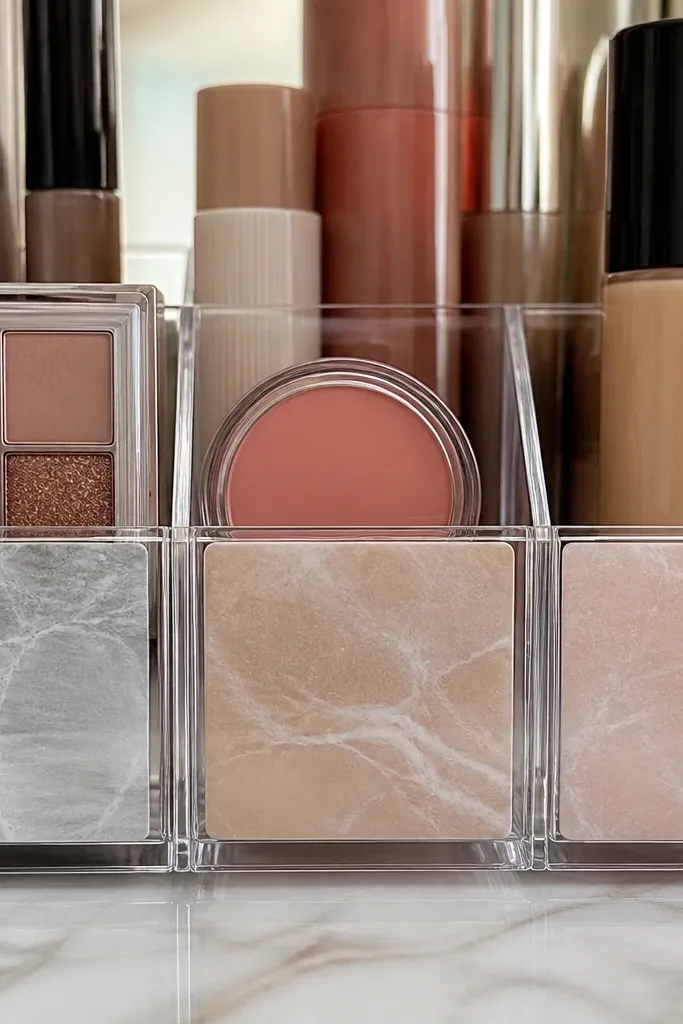
This is the “themed but functional” idea: your theme is the label style, not just the containers. Marble-look vinyl labels make your vanity look designed even when products come in random packaging colors. Color-code by category so you find things in seconds: cool gray for eyes, warm taupe for complexion, and soft blush for lips. It’s perfect if you already have containers but they don’t look cohesive. The look is clean, and the function is even better because you can reset the vanity without thinking.
Editor's noteUse a corner rounder on label edges so they peel less and look smoother in photos.
Start with clear jars, small pump bottles, or acrylic containers you already own. Clean the outside and dry completely so vinyl sticks properly. Cut marble-look vinyl labels into consistent sizes, then print category words in a simple font and add colored dots for each category. Apply labels to the front of each container, and keep the same label placement on every jar. Arrange containers in rows: low row for palettes and compact cases, mid row for jars, and a single “tool” container for cotton pads and scissors.
Skip thisDon’t label every single item — label the containers and compartments that you open daily.
6. Vintage Vanity Window Display for Palettes
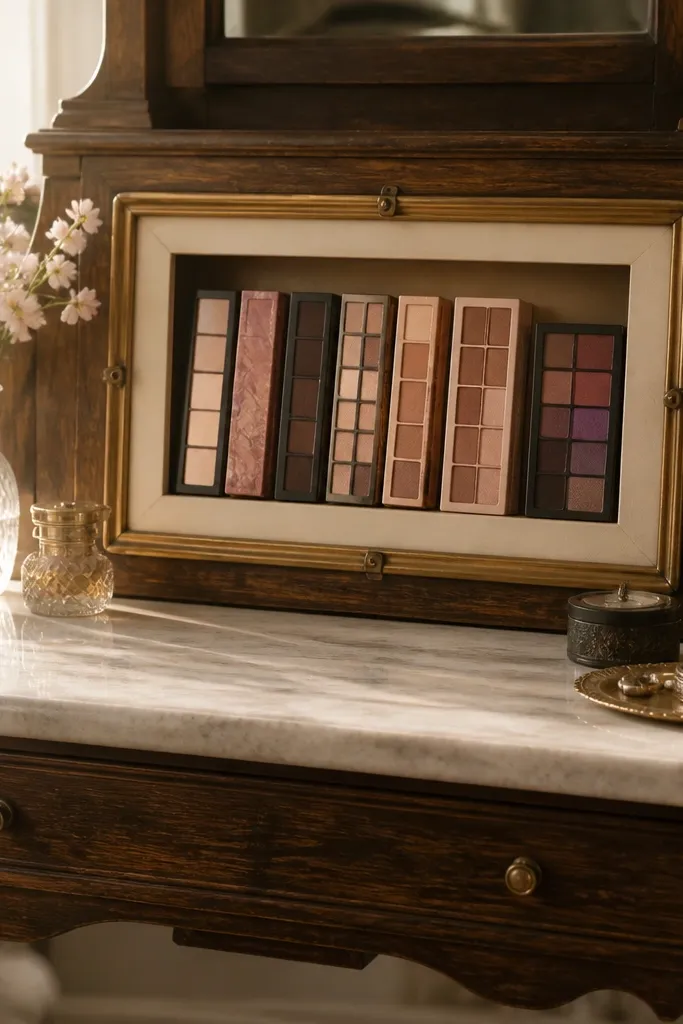
This theme turns your palettes into the star of the vanity instead of something you shove into a drawer. A small framed display gives you that “window” look — neat, structured, and instantly photogenic. It also solves the real problem: palettes are thick and awkward, so they always end up stacked and scratched. With a display, you keep them upright and visible, which means you actually use what you own. It suits people with 6-20 palettes and a vanity top large enough to hold a framed unit without crowding.
Editor's noteUse felt strips with a slightly thicker backing under each palette edge to prevent sliding and reduce scratching.
Find a small picture frame with glass or acrylic and remove the back panel. Add a foam board or thin wood panel inside the frame, then cut slots or use adhesive-backed felt strips to create upright channels for palettes. Paint the frame trim to match your theme — either matte black for contrast or antique white for softness. Secure the back panel with the glass/acrylic in place so palettes don’t tip forward. Place the framed display on the center of your vanity, then store backups in a drawer bin so the display stays uncluttered.
Skip thisDon’t use a frame that’s too deep — palettes will wobble and the window will look crooked.
7. Sage Green Acrylic Organizer with Gold Dot Accents
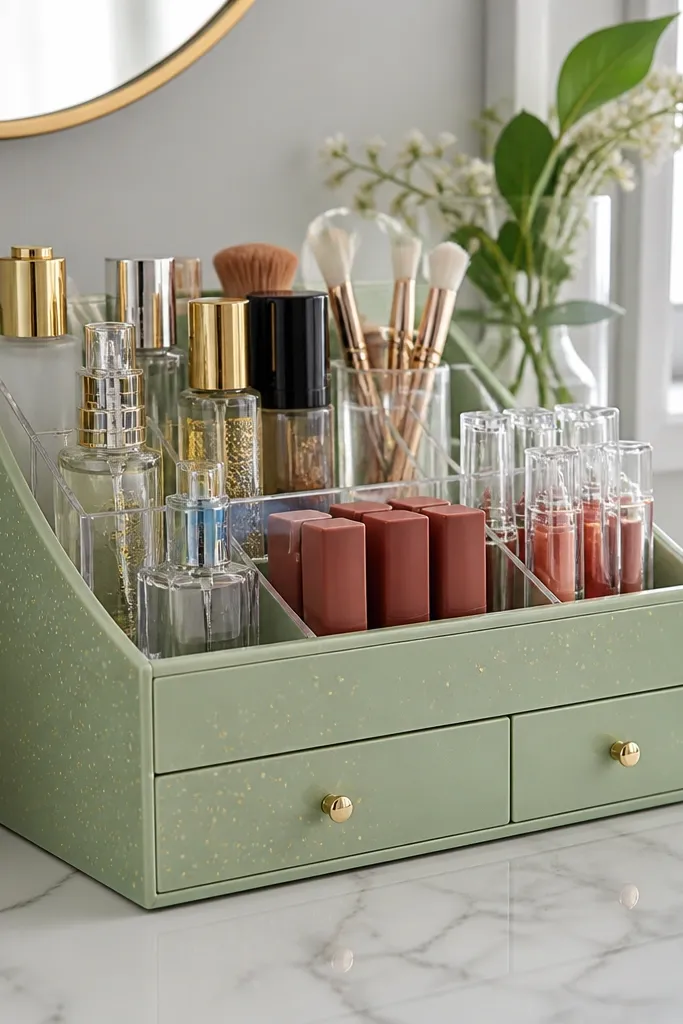
Sage green feels fresh and modern, and it hides small scuffs better than pure white. Acrylic organizers keep your bottles upright and reduce the chaos of caps rolling around. The gold dot accents are small, but they read as intentional styling, especially next to matte lipsticks and clear gloss tubes. This setup is best for a vanity that already has gold hardware or warm lighting. It also makes your daily routine look neat because everything has the same “upright” posture.
Choose one main organizer base in sage acrylic or matte sage plastic, plus a matching divider tray for smaller items. Place the base at the back of your vanity so your mirror and sink area still feel open. Put skincare pumps and toner bottles in the larger compartments, then use the divider tray for compacts, liners, and lip products. Add gold dot accents by using removable adhesive gold dot stickers on the tray edge and divider corners. Finish by wiping the acrylic with glass cleaner and a microfiber cloth so it doesn’t look cloudy.
If your acrylic scratches easily, add thin clear corner guards where you set bottles down.
Avoid mixing glossy and matte finishes — keep the organizer family consistent so it reads clean.
8. Two-Tier Vanity Stand for Quick Resets

Two-tier stands are the fastest path to a tidy, themed look because they force vertical organization. You get a low tier for palettes and powders and a higher tier for daily skincare and tools. That height separation makes your vanity look styled instead of stuffed into one flat space. This is a strong move if your vanity top is small and you keep stacking items in “piles” that never stay in place. It also helps with organization discipline: you can reset by moving everything to the right tier in seconds.
Editor's noteUse a tray liner in the same color as your theme on both tiers so spills don’t show and photos stay clean.
Pick a two-tier stand with a finish that matches your theme — matte white, black, or brass-tone metal. Measure your available top space and leave at least 1 inch between the stand and the mirror edge. Assign the bottom tier to face products (powder, bronzer, blush) and the top tier to eyes and lips (palettes, liners, lipsticks). Use small cups on each tier for tools so caps and brushes don’t roll. Secure loose items with removable tray inserts so the stand doesn’t become a dumping ground.
Skip thisSkip stands with wobbly legs — if it shifts, you’ll stop using it.



