
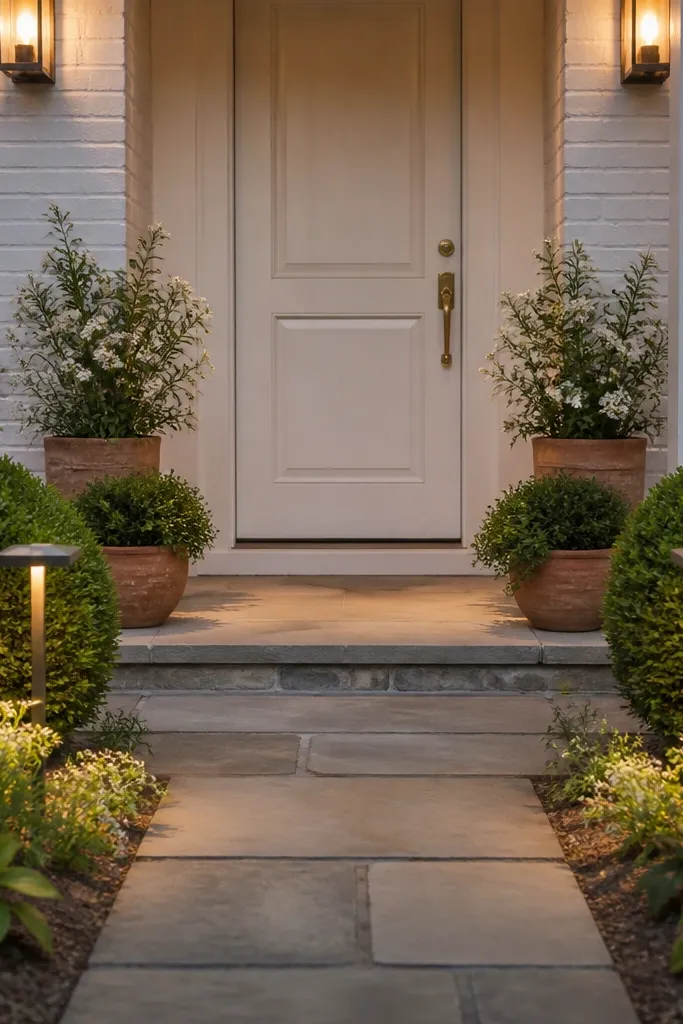
1. Warm Lantern Outline With Oil-Rubbed Bronze Hardware
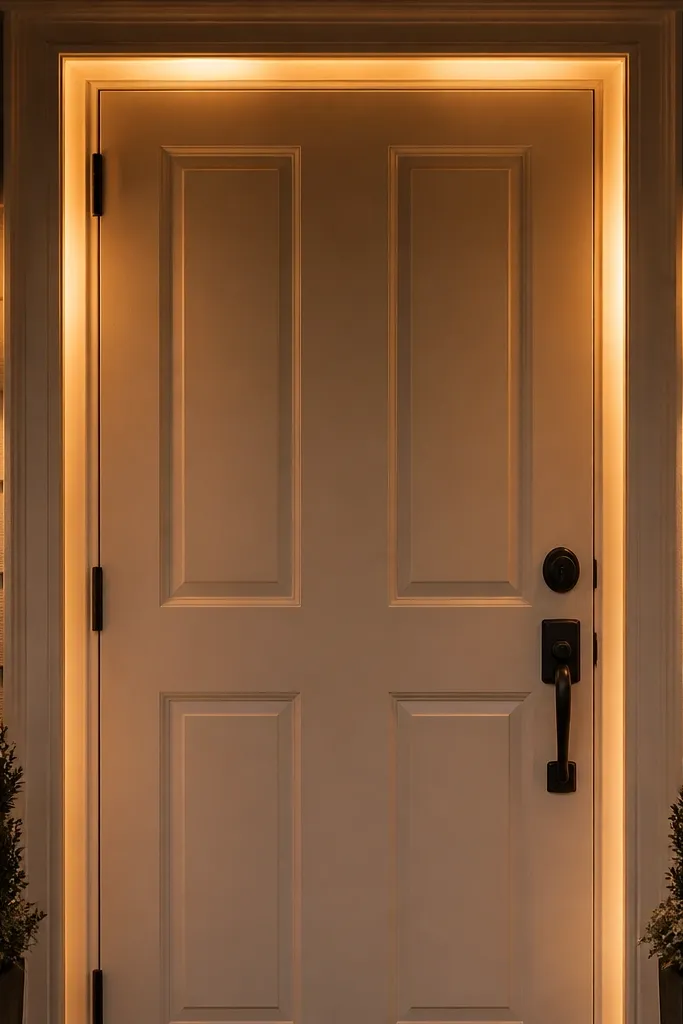
This look is cozy and readable from the curb because the lights trace the door frame in a simple, symmetrical way. It works best with warm wood tones, painted cream doors, and metal trim in oil-rubbed bronze or dark bronze. Use lantern-style wall sconces or slim pillar lights mounted beside the frame so the light washes the wall and gives you a soft glow on the door. The theme stays consistent because the fixtures repeat in pairs and keep the same height on both sides. Skill level is beginner-friendly if you’re surface-mounting with exterior-rated mounting hardware and using a plug-in or existing junction box.
Start by choosing two exterior-rated lantern sconces with warm LEDs around 2700K. Measure from finished floor up to where you want the bottom of each fixture, then mark the same height on both sides of the frame. If you’re hardwiring, turn off power at the breaker, mount the backplate to studs or a solid surface, then wire according to the fixture instructions and local code. If you’re using plug-in lights, mount the fixture bases with exterior screws and route the cord through an exterior-safe path. Finish by checking door swing clearance and then test the lights at night before you fully tighten everything.
Use a dimmer-rated driver or a low-voltage dimmer so the lantern glow doesn’t look harsh when people walk up.
Avoid mixing shiny chrome lights with oil-rubbed bronze hardware — the contrast makes the whole entry look mismatched.
2. Modern Matte Black Door With Crisp 3000K Halo Strip
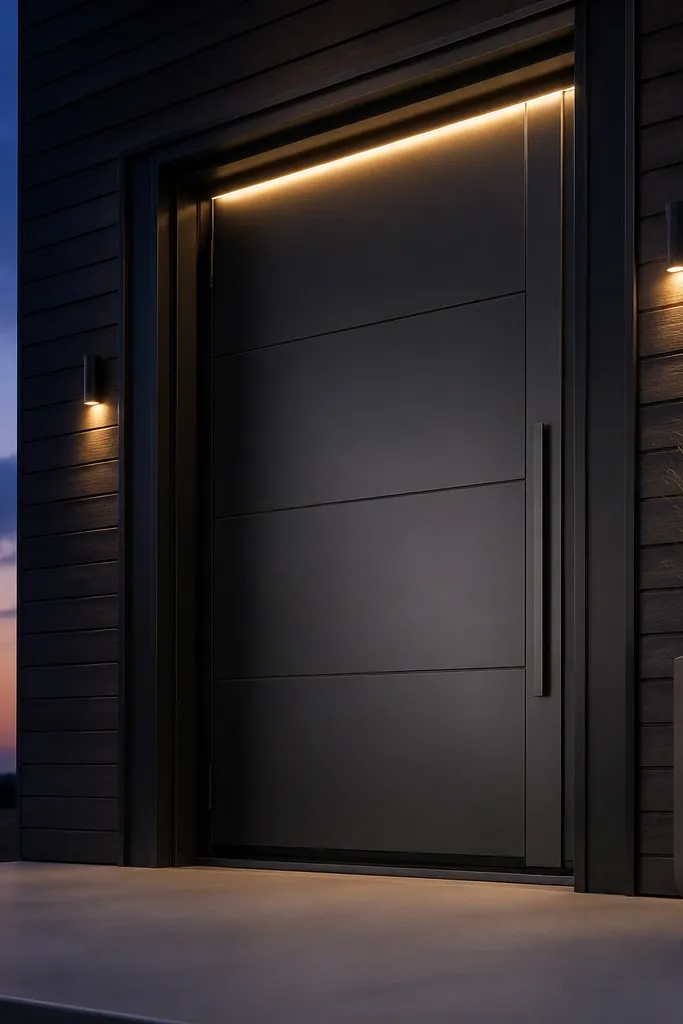
If you want a clean, modern theme, a halo strip above the door makes the entry look intentional instantly. Matte black doors hide dust and glare, so the light reads as a smooth line instead of a spotlight. Pair the top light with two small side accents so the doorway has depth, not just a single bright line. This design photographs well because it creates a strong horizontal boundary at eye level. It also suits narrow entryways where big sconces feel bulky.
Choose a continuous LED strip or rigid LED channel rated for exterior use, and pick 3000K for a crisp but not icy white. Install a mounting channel or use a shallow surface-mount track under the door head trim so the light doesn’t spill into people’s eyes. Dry-fit the light path first, then mark mounting points and drill pilot holes into the trim or soffit framing. Route wiring neatly to a transformer or driver, keep all connections in a weatherproof junction box, and seal exterior entry points with exterior-rated silicone. Turn it on and adjust the angle so the glow hits the wall and door face, not the person standing right in front of it.
Aim the strip slightly downward with the diffuser on — it turns harsh points into a clean line.
Skip uncovered “bare LED” strips — you’ll get visible dots and glare that kills the sleek look.
3. Cottage Teal Door With White Rope Light Wreath Effect
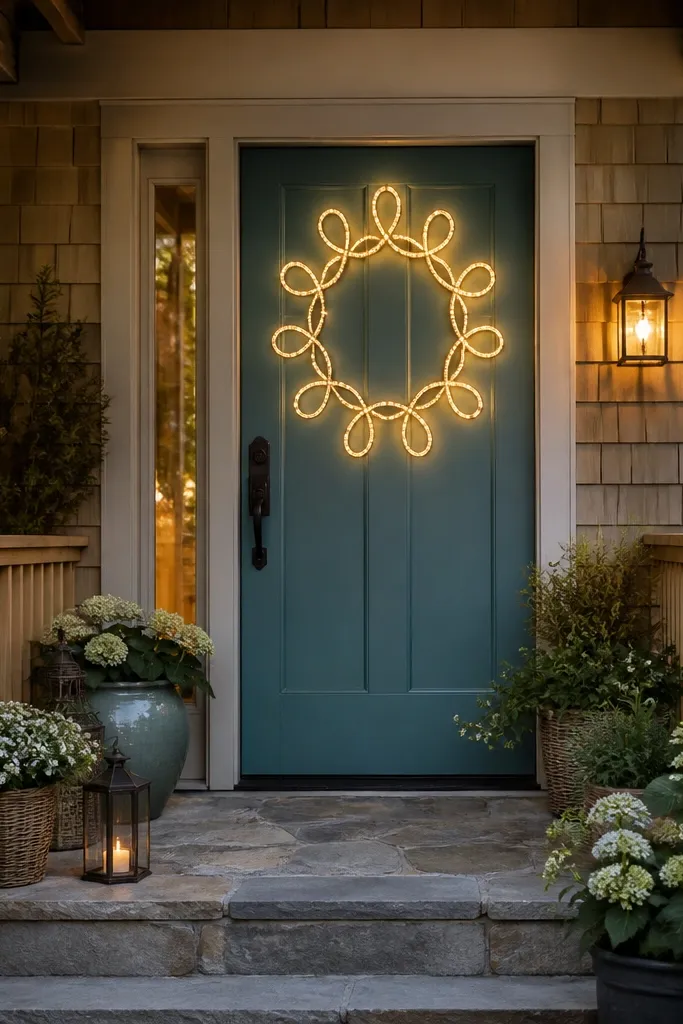
This is a playful themed look that still reads clean because the rope light pattern is controlled and repeats. A teal or muted blue door looks amazing with warm white rope lights because the color shifts nicely under 2700K. The rope-light wreath effect works especially well if you have simple trim or a flat panel door, since the light pattern becomes the decoration. It’s great for seasonal swaps too: you can keep the lights and change the door decor. The build is straightforward — you’re mostly measuring, mounting, and sealing.
Pick outdoor-rated rope lights with a warm white setting around 2700K and a plug-in controller if you want simple on/off. Plan your pattern on paper: either a loop around the door perimeter or a partial wreath shape like a U around the top and sides. Use exterior adhesive clips or small screw-in holders so the rope light sits evenly and doesn’t sag. Start mounting at the center top, work left-to-right, then mirror on the right so it looks symmetrical. Once the pattern is mounted, test, then seal any cord connections and secure the power cord so it doesn’t hang where rain can pool.
Editor's noteUse the same clip spacing every few inches — uneven spacing is what makes rope-light designs look messy fast.
Skip thisDon’t run rope lights across gaps where the door or weather stripping moves — you’ll get pinched sections and broken lights.
4. Stone-Gray Door With Recessed Step Lights Up the Sides
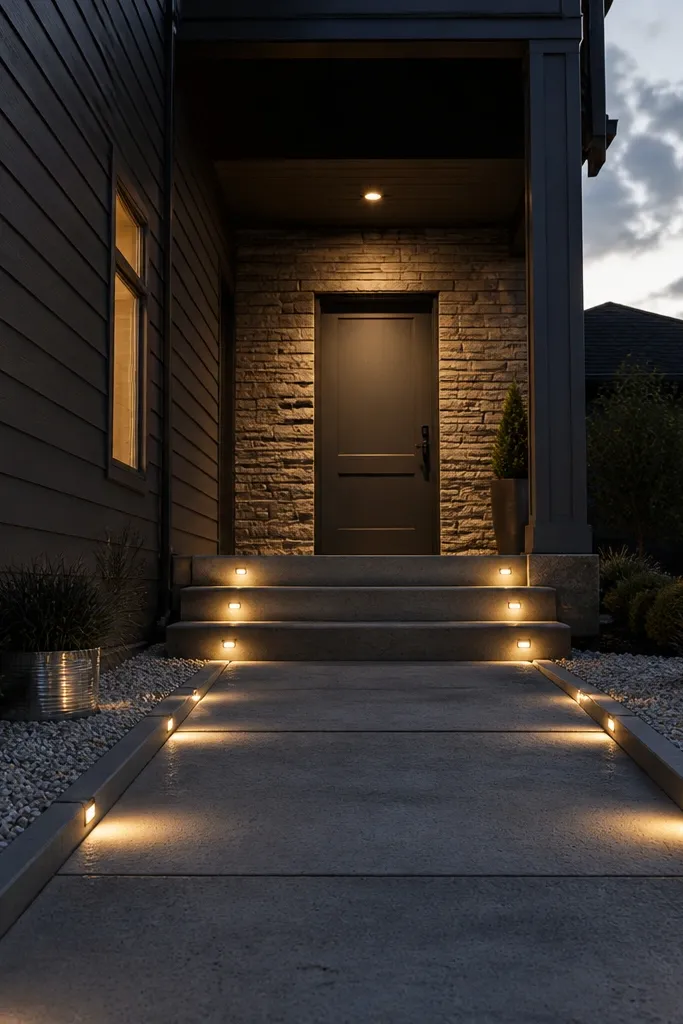
This is a themed entrance that feels architectural. Recessed step lights guide the eye toward the door and make the entry look deeper, especially if you have a small porch or a short walkway. Works beautifully with stone-gray doors, gray siding, and concrete steps. The trick is choosing low-glare fixtures so the lights don’t look like random porch bulbs. You end up with a clean path-to-door look that stays photogenic even when the door decor is minimal.
Choose low-voltage recessed step lights or deck lights designed for exterior wet locations. Decide your layout: two lights spaced evenly on each side of the walkway, aimed slightly toward the door so they create a visual tunnel. Mark the positions, cut or drill shallow recesses where required, and install the housings with the correct depth so the lens sits flush. Connect the low-voltage wiring in a weatherproof junction box, keep polarity consistent, and test before you finish with trim rings. Add a final pass to aim the lenses — small angle changes are what turn “bright spots” into a smooth glow.
Editor's noteUse a warm 2700K lens for curb friendliness; higher color temps can look cold on gray doors.
Skip thisAvoid placing step lights too high — if the lenses face straight outward, you’ll get glare instead of a walkway glow.
5. Rustic Wood Door With Twinkle Icicle Lights in a Clean Border
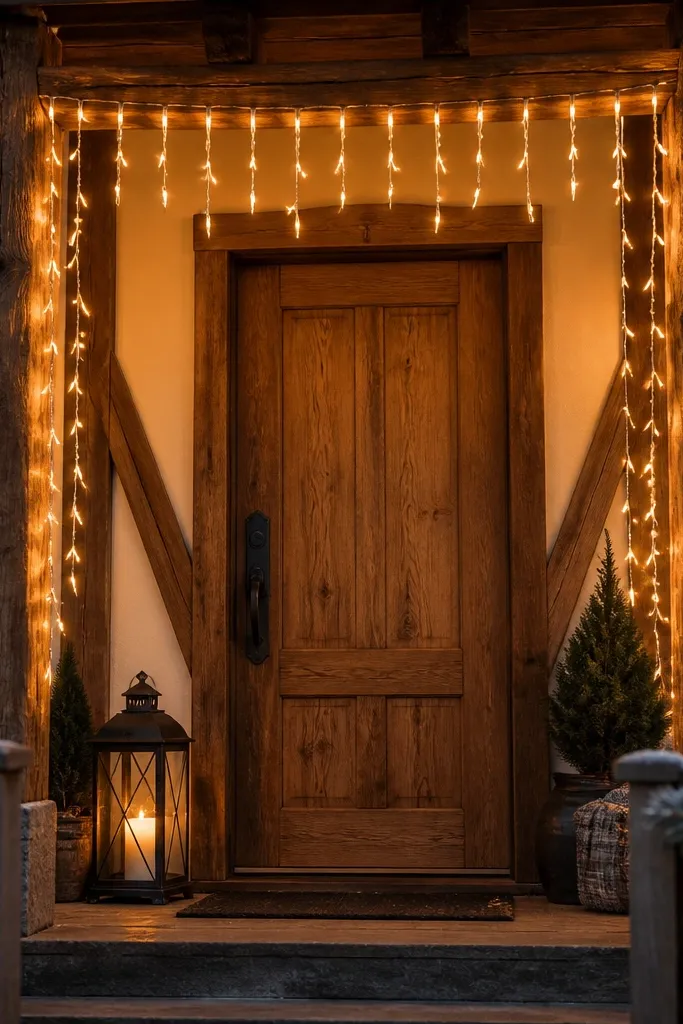
If your entry has rustic wood, beams, or farmhouse trim, icicle lights look right when you keep them disciplined. The aesthetic sweet spot is a clean border above the door and a few controlled strands down the sides — not a full chaotic curtain. Warm white (2700K) keeps it cozy and makes wood grain pop. This setup is great for people who want a themed look that still feels tidy in daylight because you can mount the clips neatly along trim lines. It’s also easy to remove when you want the door to look plain.
Buy outdoor icicle lights rated for wet locations and choose warm white. Measure the width of your door and plan a border that covers the top trim evenly, then add two shorter side drops that stop above the handle height. Use small outdoor light clips or zip-tie anchors along the trim edge so the strands hang straight. Start at the center top, secure the first strand, then work outward in a consistent spacing pattern. Plug in and check that the drops clear the door swing and don’t hang where rain splashes from the roof edge.
Editor's noteUse clear fishing line as a discreet guide line under the top edge if your strands want to drift.
Skip thisSkip random plug chains — if the strand length doesn’t match your layout, you’ll end up with uneven gaps.
6. Monochrome White Door With Hidden Under-Trim Light Channel
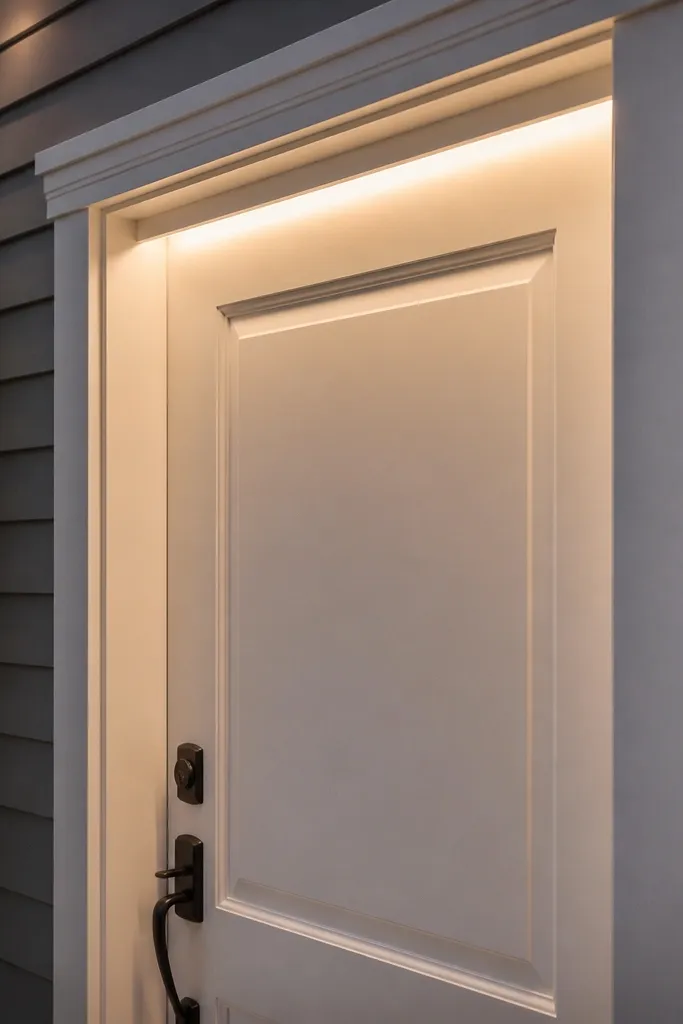
A white door looks expensive when the light is hidden and only the glow shows. Instead of visible fixtures, you mount a slim LED channel under the trim lip or along the inside edge of the door frame so the light washes the face without creating bright hotspots. This theme is clean, modern, and works with farmhouse or minimalist exteriors. It’s especially good if you hate seeing cords or bulky sconces. Skill level is beginner to intermediate because you’re working with mounting surfaces and want the channel straight.
Pick an exterior-rated LED channel with a diffuser and warm 2700K or neutral 3000K. Hold the channel up under the trim and mark where the light will land on the door — you want a gentle wash, not a direct beam. Drill pilot holes into the trim or mount to the framing behind it, then screw the channel in place and connect wiring to an exterior-rated driver. Test the system with power on before you seal anything, then use exterior caulk or trim cover to hide edges. Finish by checking for light bleed around corners and adjusting the angle by loosening and retightening mounting screws.
Use painter’s tape as a straightedge guide while you mark channel locations.
Avoid placing the channel too close to the edge — it can shine into the gap and create a harsh line instead of a soft glow.
7. Terracotta Door With Faux Sconces and Stained-Glass Panels
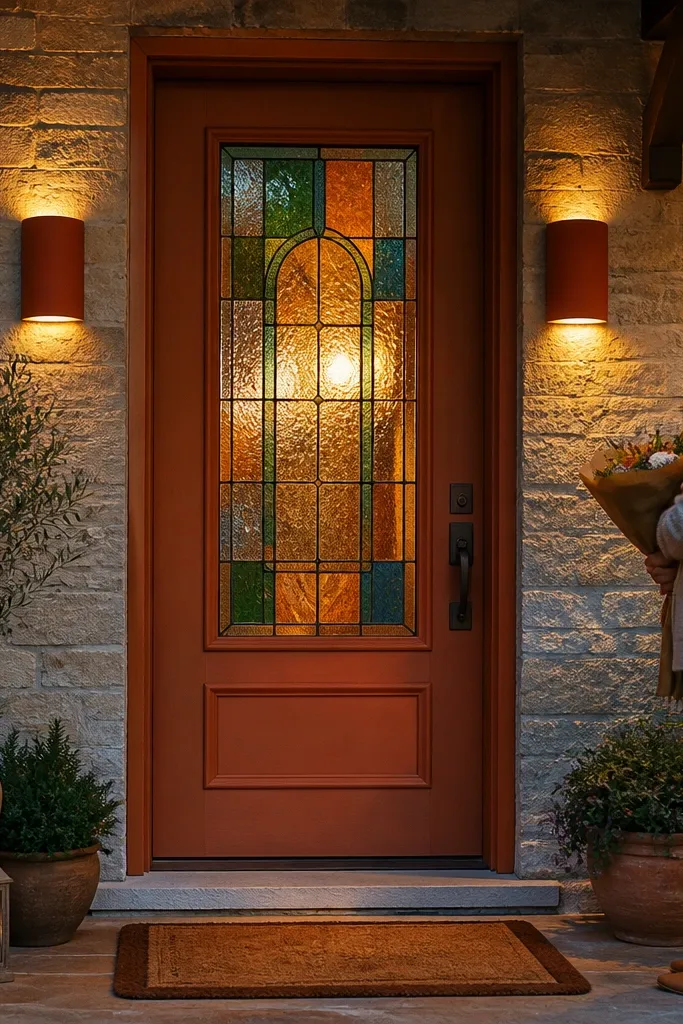
This is a themed entrance that feels artsy without being messy. A terracotta door plus warm light makes the color look grounded, and stained-glass-style inserts add sparkle when the lights hit them. The faux sconce approach lets you keep the look of wall lighting without complex wiring in some entries. Choose fixtures with warm white LEDs and mount them at equal height so the stained panels get consistent light. This design is photogenic because you get both a color theme (door) and a light theme (glow through glass).
Pick a door or door insert with small glass panels and choose warm white LEDs around 2700K. Install faux sconce bases on both sides — either surface mount with exterior screws into studs or use an adhesive-backed mount if your surface allows it. If wiring is available, run low-voltage wiring to the sconces; if not, choose plug-in sconces with a hidden cord route behind trim. Keep the sconces at least a few inches away from any door swing area and aim the light slightly inward toward the glass. Test at night and adjust any angle so the glass reflects without creating glare on the entry walkway.
Editor's noteIf your glass is glossy, use a slightly lower brightness LED so it doesn’t look washed out.
Skip thisDon’t place sconces too far above the stained panels — you’ll light the wall, not the glass.
8. Navy Door With Symmetry: Two Wall Washers and a Center Spot
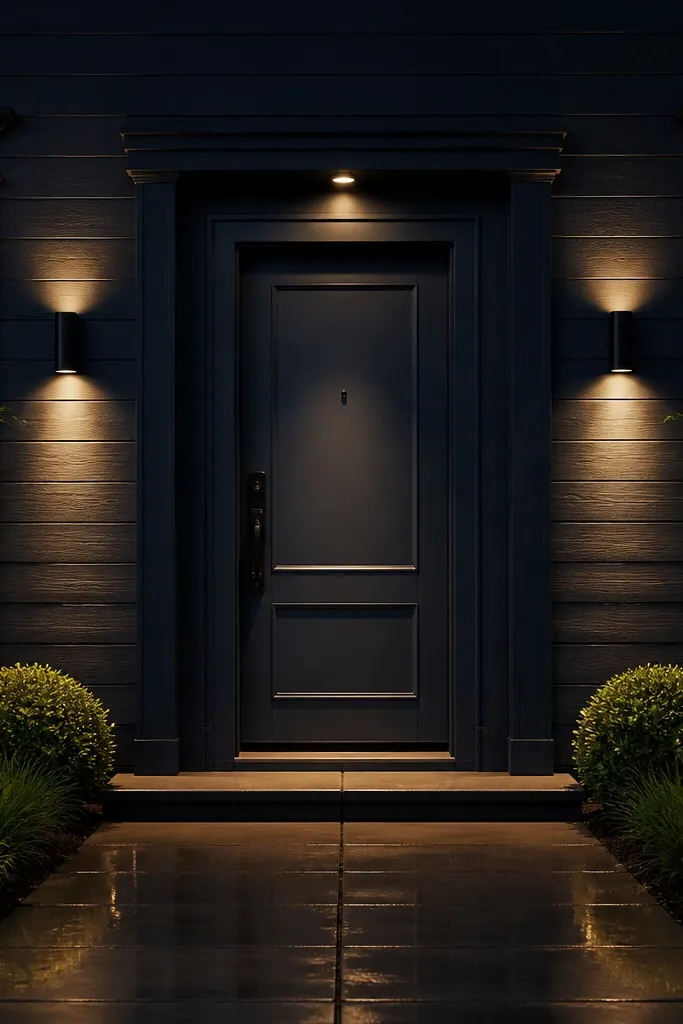
Dark doors can look flat in the evening unless you shape the light. This setup uses symmetry and layering: two wall wash lights on the sides for texture, and one small centered spot for the door face. Navy doors look especially good under warm 3000K because the color stays deep without turning brown. The layered look reads as intentional because the lights are positioned like a frame around the door. It’s a strong choice when you have textured siding, brick, or a wall that benefits from wash lighting.
Choose two exterior wall wash fixtures with warm 3000K and one small exterior spot or low-profile downlight centered above the door. Mount the wall wash fixtures at the same height on both sides, angled slightly toward the door so they hit the face and the trim. Mount the center light above the door at a height that doesn’t create glare in eye level — keep it aimed downward. Wire to a transformer if low voltage, or use an exterior-rated junction box for line voltage. Turn everything on and check the door face from standing height; adjust angles until the trim edges look defined without bright hot spots.
Editor's noteUse a matte lens cover or diffuser if your fixtures have exposed bulbs — it prevents harsh points.
Skip thisAvoid mixing beam angles (like one wide and one narrow) — it breaks the symmetry and makes the door look uneven.
9. Golden Oak Door With Greenery-Mount Light Clips
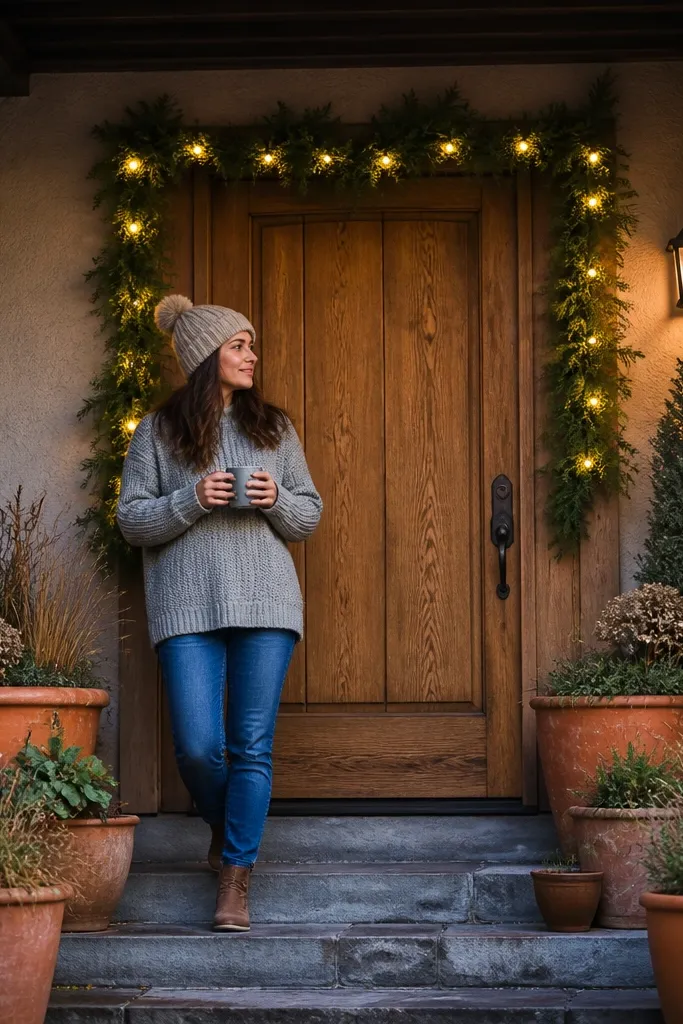
This is a themed approach for people who love seasonal decor but want the lights to look built-in. Instead of hanging lights randomly, you mount light clips along a greenery frame — like a simple faux wreath rail on the door. Golden oak wood glows under warm white, and the greenery gives you texture so the lights don’t look like detached holiday strings. The look is cozy, layered, and easy to update by swapping greenery types. It’s beginner-friendly because you’re working with clip placement and straightforward string-light installation.
Buy outdoor warm white string lights with a consistent spacing and choose clips rated for exterior use. Create a simple greenery mounting rail on the door — either a small wire wreath frame attached to the trim with outdoor hooks or a lightweight faux garland support. Clip the string lights to the greenery rail so the bulbs sit behind the leaves and the glow comes through. Start with the center top, then work outward and down both sides so the pattern mirrors. Secure the power cord along the trim with cord clips and test at night to confirm the light is visible through the greenery, not blocked by it.
Editor's noteIf the greenery is dense, use slightly brighter lights and keep bulbs closer together so you still see the warm glow.
Skip thisSkip indoor string lights — the first rain will wreck them and it’s a safety problem.



