
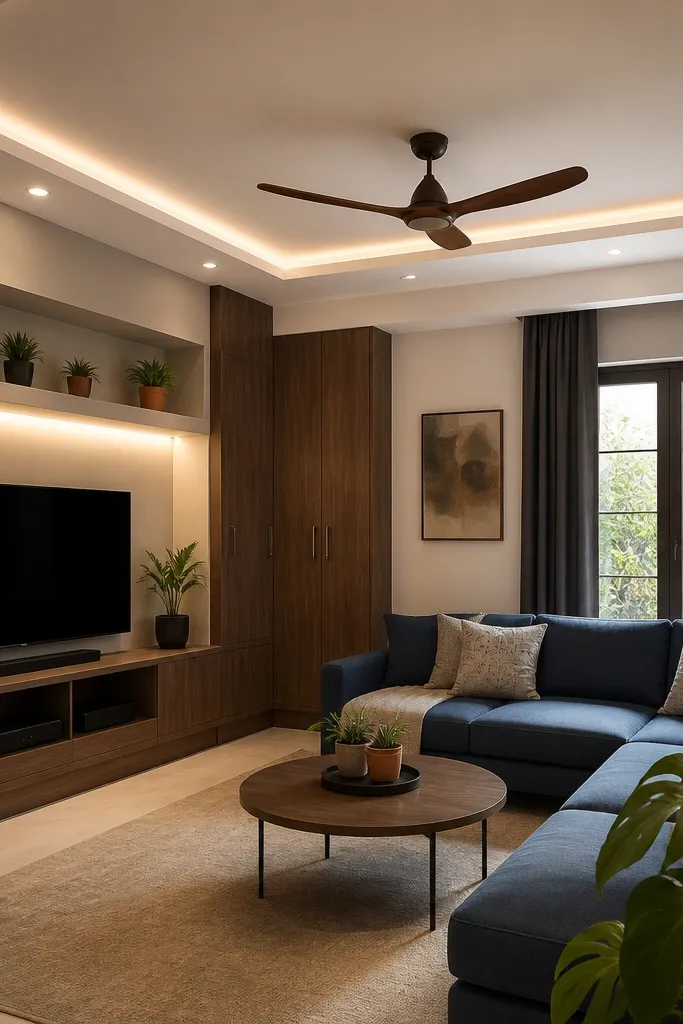
1. Cove-Glow Frame Around the Perimeter
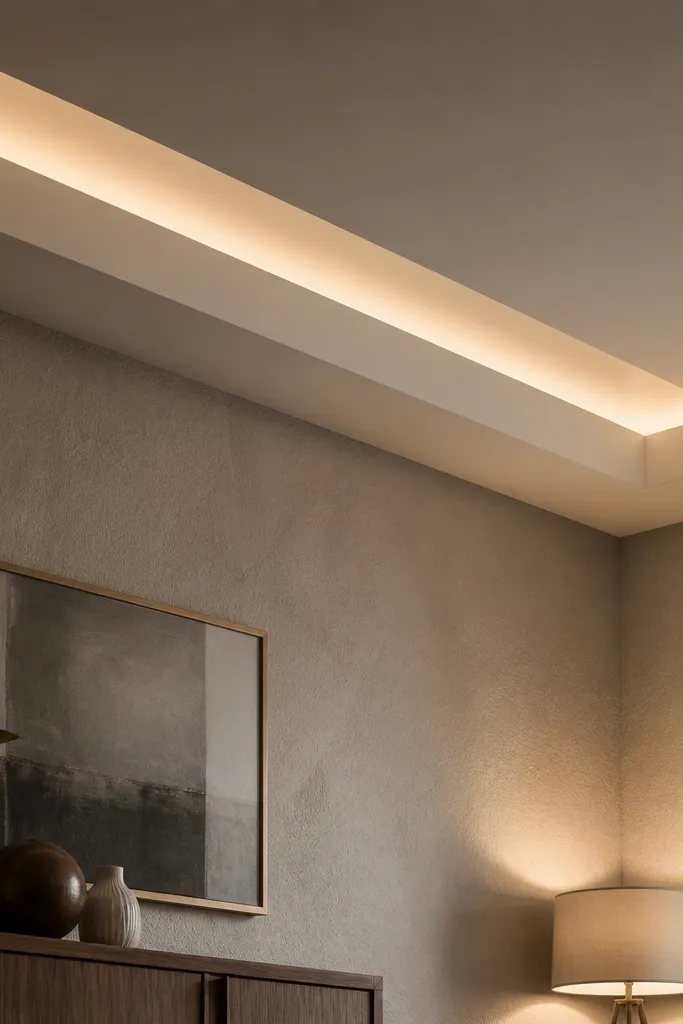
This is the safest way to make a themed False Ceiling Living Room look intentional: a stepped perimeter frame with a cove that hides the LED strip. The glow reads “designer” because it creates a soft ceiling edge and makes the room feel taller than it is. Use MDF or gypsum board only for the visible faces, but build the frame from metal channels so the cove stays straight over time. It suits most living rooms, especially with seating placed against a wall, because the light wraps around the room instead of lighting only one spot.
Measure the perimeter first and decide the cove depth. Mark a level line around the room at your main drop height, then install primary ceiling channels along that line with hangers at about 60 cm spacing. Build the cove face using a secondary track set back to create a shadow gap, typically 6-10 cm from the LED strip line to the visible face. Fix the boards in two layers if you need extra stiffness, then mount the LED strip on an aluminum channel and test the glow before you close the cove cover.
Use a frosted diffuser strip or a channel with a diffuser; it kills the visible LED dots and makes the glow look smooth.
Don’t mount the LED too close to the cove face — you’ll see the strip and the ceiling edge will look messy.
2. Symmetrical Center Medallion with Four Downlights
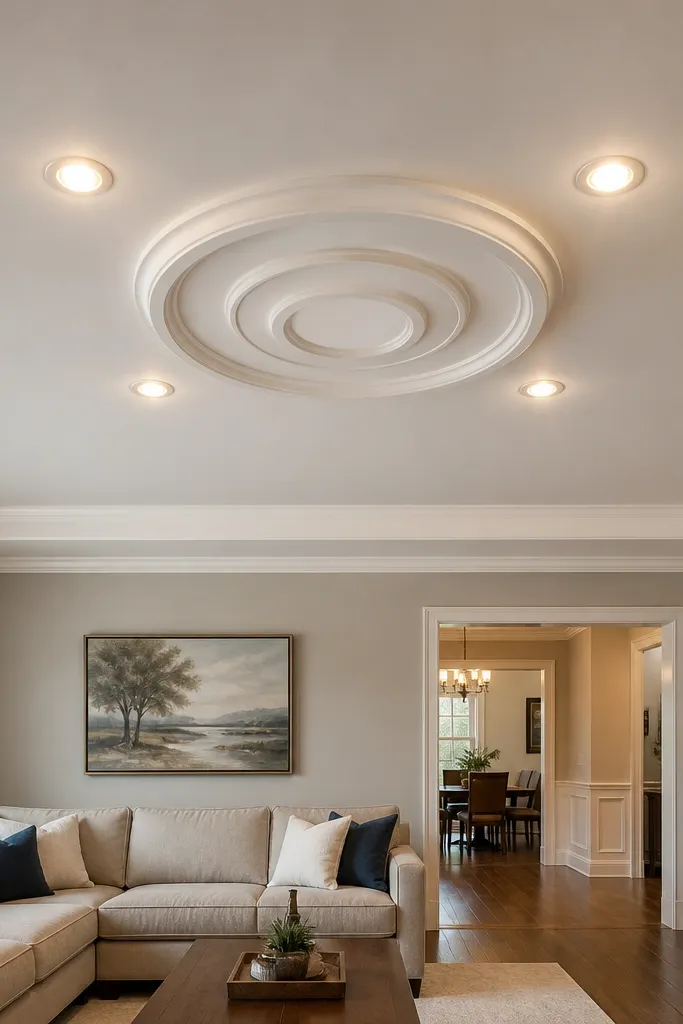
Find the ceiling center based on the room length and width, then draw a cross using chalk lines. Decide the medallion outer diameter (a common starting point is 60-90 cm depending on room size), and mark an inner step line so the medallion has at least a 5-8 cm face. Install ceiling channels for the medallion ring and the downlight cutout positions, keeping downlight centers consistent from the grid lines. Cut and fix boards to form the steps, then drill downlight holes last and test-fit the housings before wiring.
If you want the ceiling to look like a planned focal point, build a center medallion and place four downlights around it in symmetry. This works because the eye reads the center first, then the lights land evenly across the ceiling — no random brightness. Make the medallion with stepped gypsum panels so it casts a gentle shadow on its own edges. This look is great for living rooms with a clear seating center, like an L-shaped sofa facing a coffee table. It also photographs well because the shadow edges add depth even when the lights are off.
Skip thisDon’t center the medallion based on guesswork — measure the seating layout and align the center with the coffee table or TV focal line.
Editor's noteUse a template for downlight hole size so every cut is the same; mismatched holes look sloppy in photos.
3. Linear "Gallery" Strips with Recessed Slots
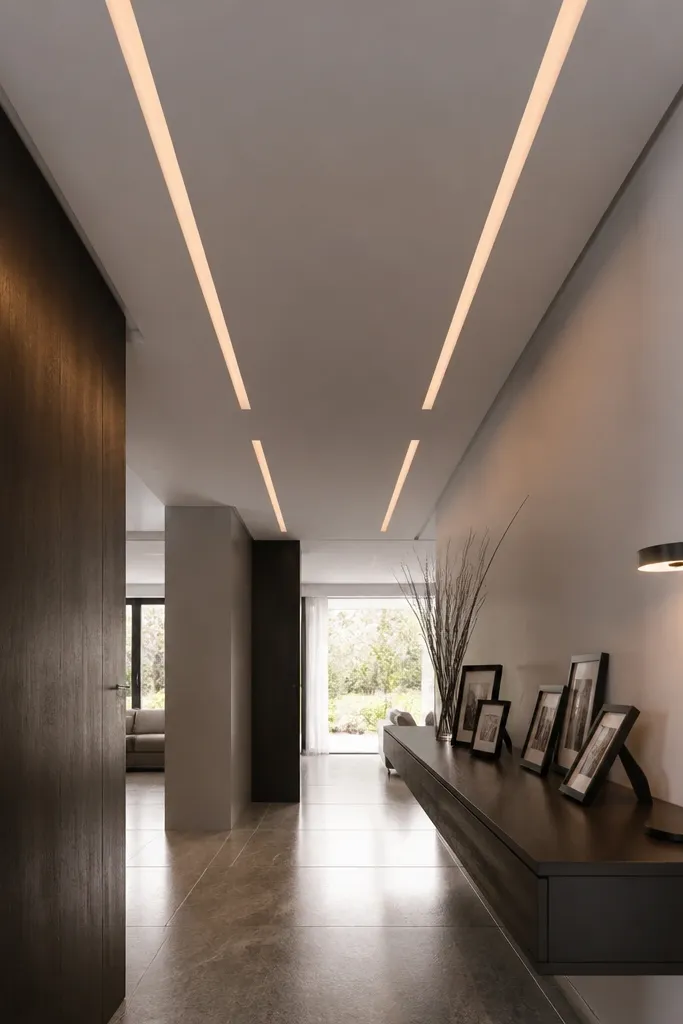
Decide how many light lines you want and where they sit relative to the TV or main seating line. Mark two parallel lines on the ceiling for each slot — one for the slot back and one for the visible front edge — then install channels between them at 40-60 cm intervals. Fix boards to form the slot pocket, leaving a consistent opening width for the diffuser. Wire the LED strips to a driver outside the ceiling void if possible, then test illumination before final board closure and paint.
This look is all about clean lines. You create long, straight recessed slots (or channel pockets) and run LED lighting inside them, like a gallery track across the ceiling. The glow stays controlled, and the room looks more modern because the light is directional and the ceiling edges are crisp. It’s especially good for themed False Ceiling Living Room designs where you want a “designed wall” effect, like a TV wall or a feature wall. Keep the slot layout parallel to the longest wall so the lines visually stretch the room.
Skip thisDon’t use glossy paint inside the slot — it reflects LED points and creates glare.
Editor's notePaint the inside faces of the slot with flat white or light gray to prevent yellow hotspots and keep the glow even.
4. Tiered Rectangle Frames for a "Themed" Look
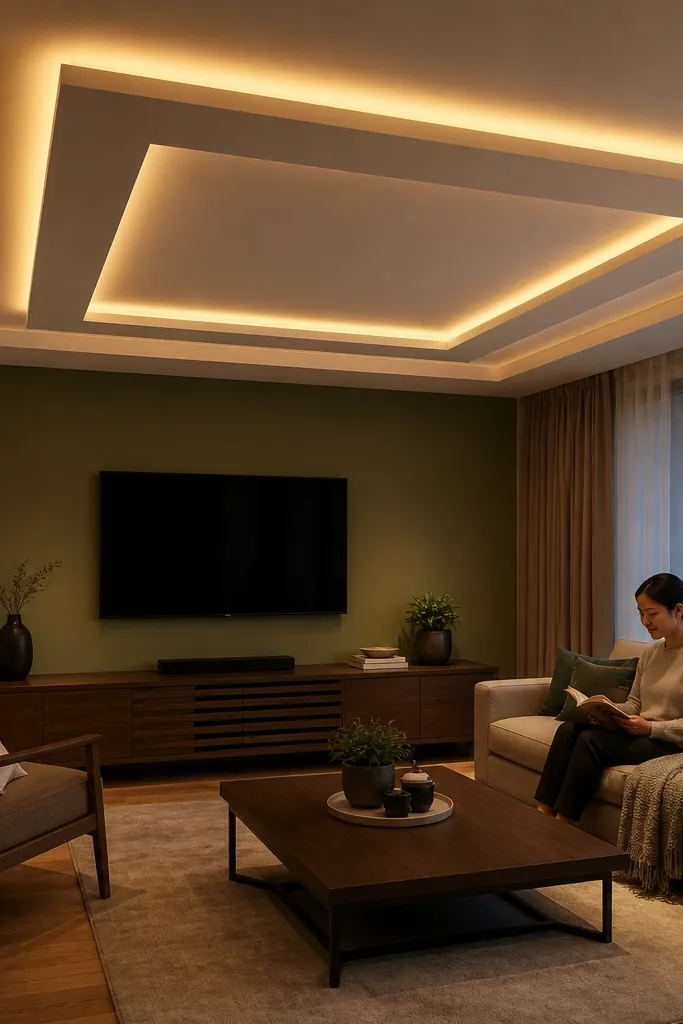
Pick your outer rectangle footprint first, based on the seating arrangement and the wall focal point. Mark the outer drop height perimeter line, then install ceiling channels for the outer frame with hangers every 60 cm. Build the inner rectangle by installing secondary tracks set back from the outer frame by a fixed distance, like 30-50 cm, so the tiers look balanced. Fix boards for the step faces, mount LED strips in the step channel, and route wiring along the frame edge before closing the last face.
Tiered rectangle frames make the themed False Ceiling Living Room look deliberate because the design has structure, not just lighting. You build one large rectangle near the perimeter, then add a second inner rectangle so the light can sit in the step. This gives you that layered, architectural look that shows up in photos even with lights dim. It suits medium to large living rooms and rooms with big wall space where a rectangular framing shape looks natural. Use consistent corner radii (sharp corners or gentle rounded corners) and keep the rectangles perfectly parallel so it looks designed.
Skip thisDon’t make the tier step too shallow; if the step is under about 4-5 cm, the shadow line disappears.
Editor's noteUse a laser line or long spirit level to keep both rectangles perfectly square; even a 5 mm drift becomes obvious once the lights turn on.
5. Floating Beam Illusion with Side-Glow LEDs
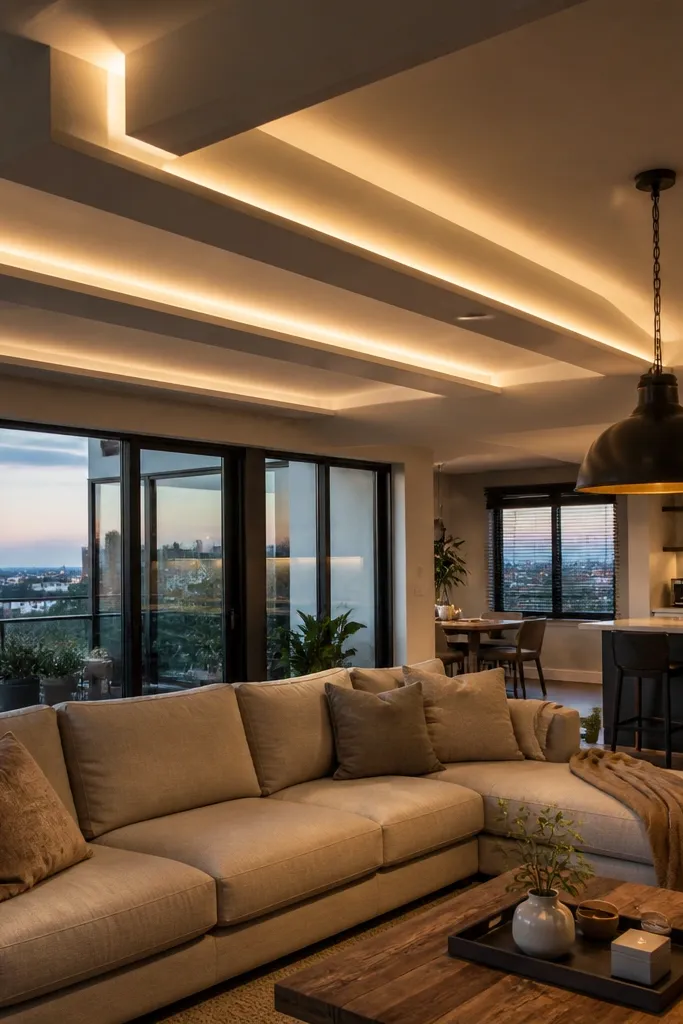
Mark beam layout lines on the ceiling based on room width, then decide beam spacing so beams land over seating zones. Install primary channels along the beam lines, then build a rectangular soffit box by adding secondary tracks for the beam’s top and sides. Leave a shadow gap inside the box where the LED sits, typically 5-8 mm between LED face and the beam edge. Fix boards to form the beam, mount the LED strip to an aluminum channel inside the box, and route wiring to a driver location you can access through a service panel.
If you want a themed look that feels like “floating” beams, build boxed beam sections with side-glow LEDs rather than top-facing downlights. The trick is that the light comes from the side of the beam, so the beam edges look crisp and the ceiling background stays softer. This style looks striking in living rooms with high-contrast paint colors, like warm white walls with darker ceiling tones or vice versa. It also hides minor ceiling unevenness because the beams create visual anchors. Skill level is moderate since you need consistent box dimensions, but the payoff is a high-end look.
Skip thisDon’t place LEDs where they point straight into the room — side-glow needs the diffuser and gap to hide the source.
Editor's noteUse warm-to-neutral LEDs around 3000K-3500K for living rooms; it flatters wall colors and makes the beam glow look softer.
6. Star-Point Accent with a Soft Halo Border
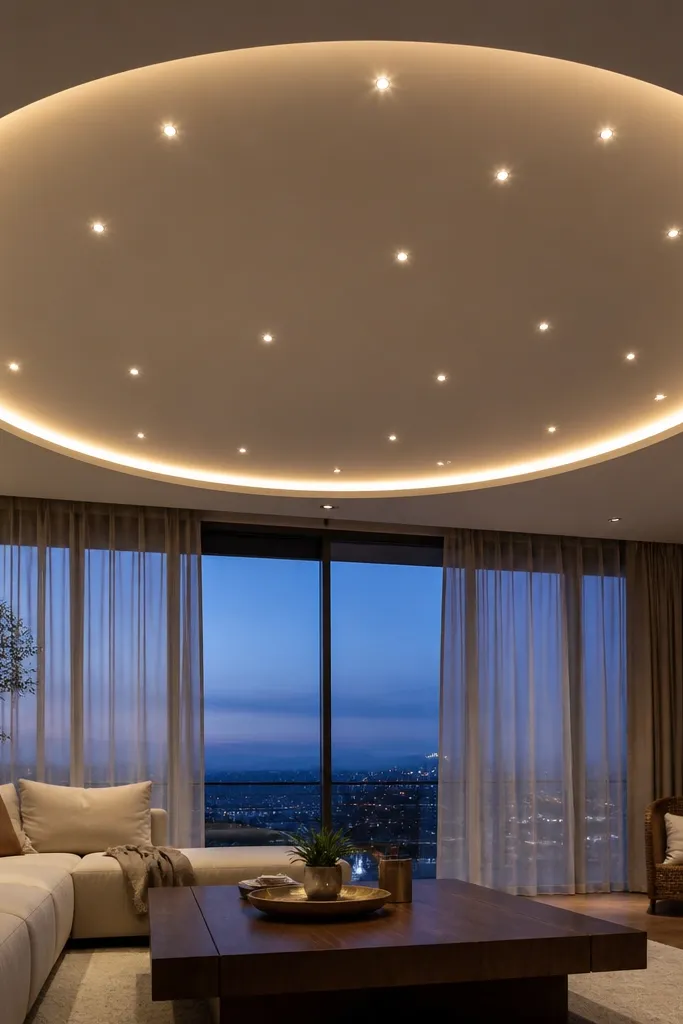
This is the themed False Ceiling Living Room option for people who want a “wow” effect without turning the whole ceiling into a disco. Use a halo border around a central panel, then add controlled star-point accents with low-glare LED dots or fiber-like points. The halo border is what keeps it from looking random; it frames the center so the star pattern feels intentional. This works best when the living room has a clear seating focus facing the ceiling, like a sofa opposite a TV or a conversation seating set. Keep the stars sparse — too many points kill the aesthetic and make it look like a gimmick.
Choose the central panel area and draw a circle or rounded rectangle for the halo border, then set your main drop height for enough space behind the points. Install the halo frame using channels and board layers, leaving a consistent border width so the glow looks even. Mark star-point positions on the central board using a simple pattern — for example, denser points near the center and fewer toward the edges. Drill or install point fixtures, route their wires to a driver/controller above the panel, and test the pattern before you paint the ceiling surface.
Paint the panel around the star points in a flat matte finish; glare makes the points look harsh in photos.
Don’t put star points too close together — the pattern becomes a bright blob instead of separate “stars.”



