
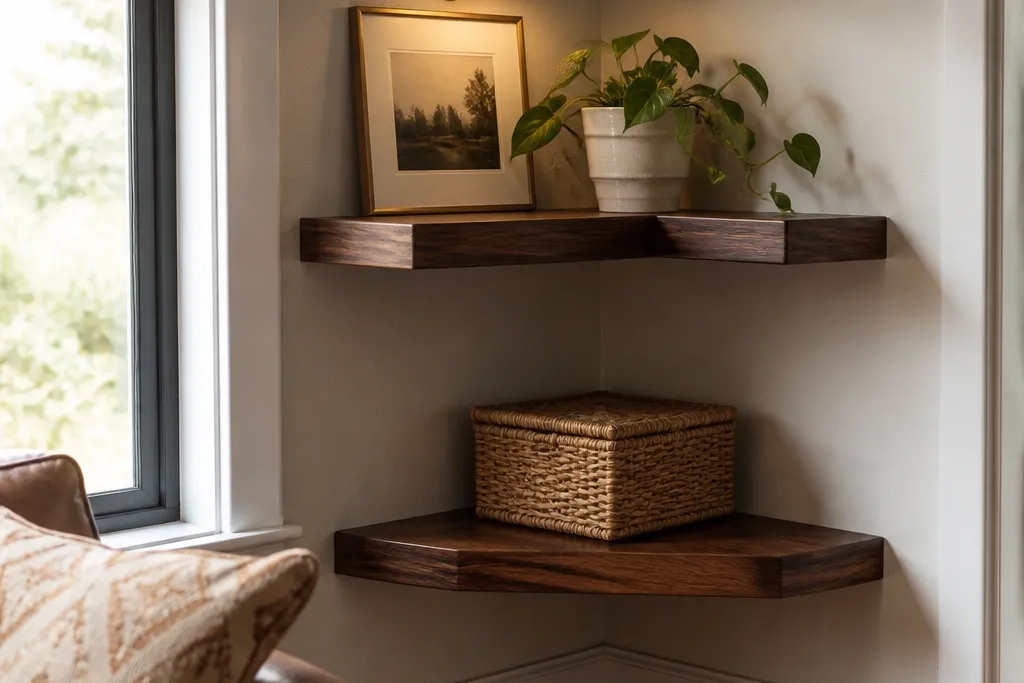
1. Mitered Walnut Corner Shelf with Brass-Lip Edge
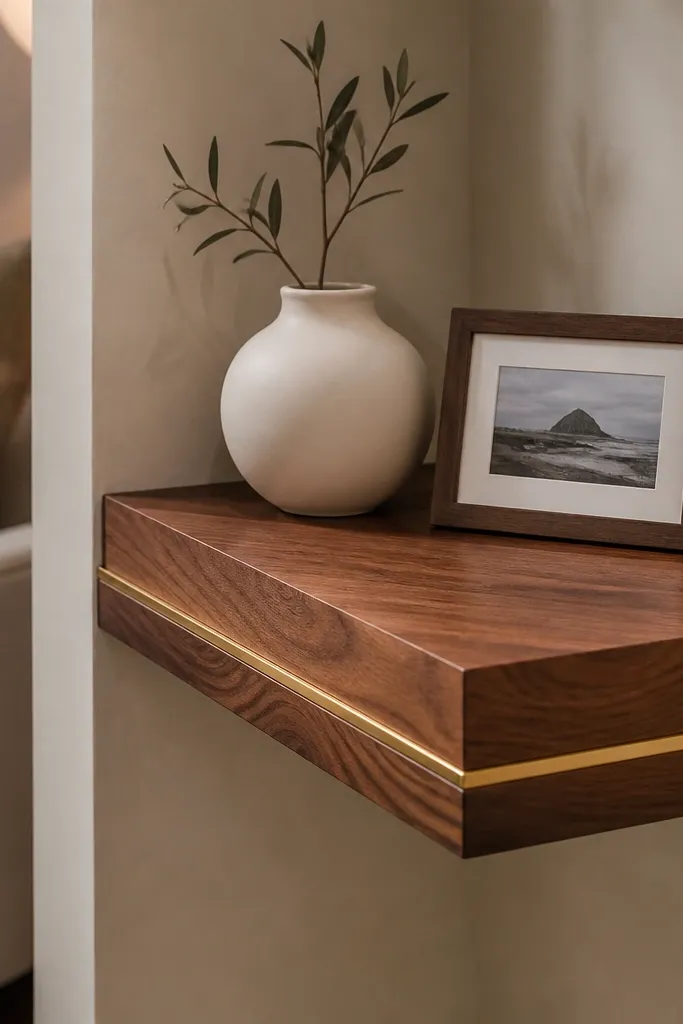
This is the “it looks custom” corner shelf because the front edge continues through the corner instead of stopping and restarting. A walnut stain with a satin topcoat keeps the wood warm under Living Room lighting, and the thin brass lip makes it read premium without going flashy. Style it with a tight set: two small frames and one slim object per shelf side, so the corner stays airy. Build it if your awkward nook has a visible outer corner and you want a crisp line that photographs well from across the room. It’s a mid-skill project because miter accuracy decides how good the corner seam looks.
Start by cutting a shelf board to the depth you want (about 8-10 inches looks balanced in a corner). Cut two ends with a 45-degree miter so they meet clean at the corner, then dry-fit them on the wall with painter’s tape to check the gap. Mount a hidden cleat or rail to studs at your chosen height — keep it dead level — then screw the shelf into the cleat from the underside. Finish by sanding to 180 grit, staining walnut evenly, and sealing with a satin polyurethane so the brass edge doesn’t scratch the finish.
Use a stop block when cutting the miters so both shelf sides match thickness and the seam stays tight.
Don’t rush the miter dry-fit — a tiny gap will look obvious once the wall lighting hits it.
2. Two-Tier L-Shape Floating Shelf in White Oak
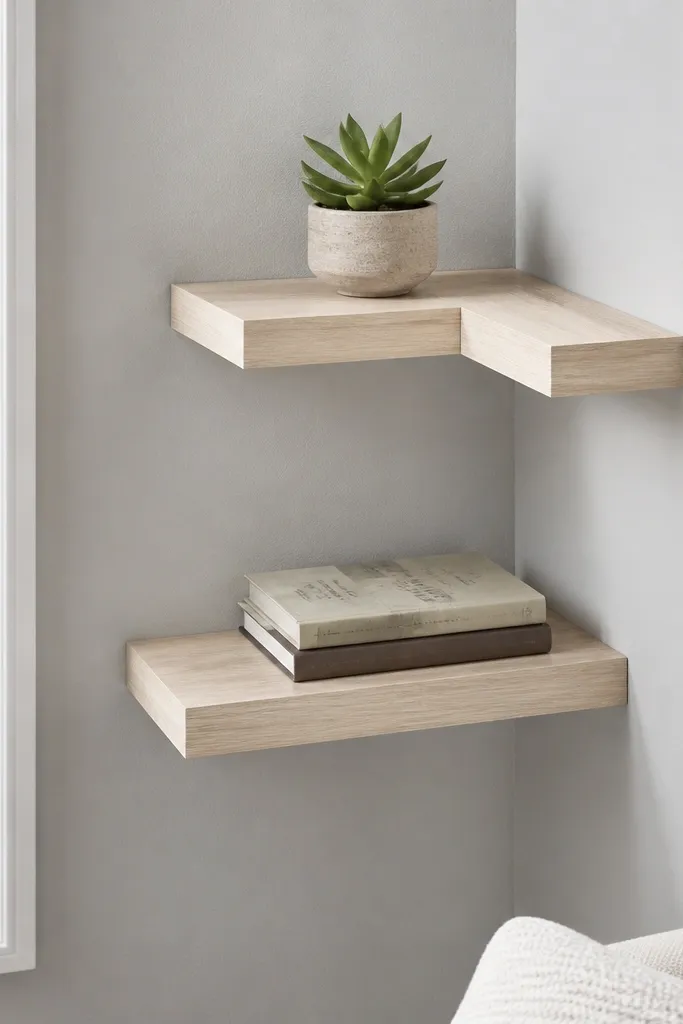
If your nook is shallow, two tiers in an L-shape use the corner like a display corner without making the wall feel crowded. White oak look — either real oak or oak veneer with a light stain — keeps the room bright and makes the shelves feel lighter than dark wood. The L shape also helps with sightlines: when you’re standing in the room, one side reads clearly instead of blending into the corner. Style the top tier with a single tray and one plant pot, then keep the lower tier for books or taller decor. This works best in Living Rooms where you want a clean, modern farmhouse vibe without heavy dark contrast.
Find studs on both walls that form the corner and mark a level mounting line for the lower shelf first. Install a hidden mounting rail along each wall using 2.5-inch screws into studs, then attach a second rail for the top shelf at the spacing you want (about 10-12 inches between shelf surfaces looks good). Cut shelves to match the wall lengths, then pre-drill and screw from underneath into the rails. Sand, stain in a light oak tone, and seal with matte or satin to avoid glare.
Editor's noteDry-fit the shelves before finishing so you can adjust rail position if the corner isn’t perfectly square.
Skip thisAvoid placing shelves at random heights — inconsistent spacing makes the corner look messy fast.
3. Black Stained Corner Shelf with Recessed Cable Slot
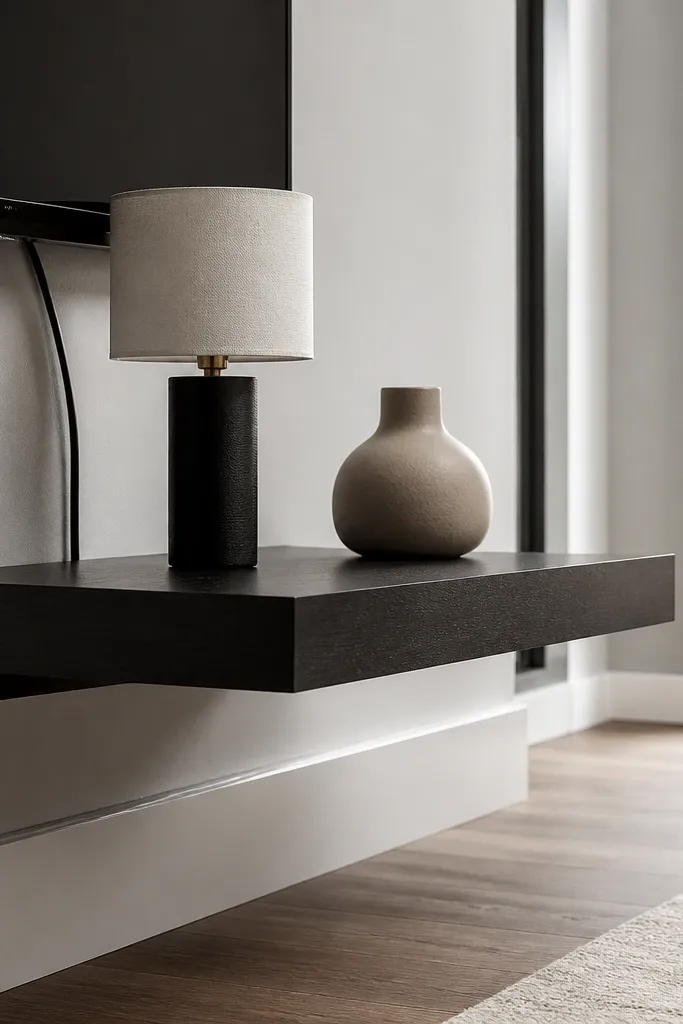
This is for Living Rooms where the awkward corner sits near a lamp or media cable. The shelf looks clean because the cable slot is hidden under the shelf edge — no ugly cords draped down the wall. A black stain with a low-sheen clear coat reads modern, and it makes light decor pop. Keep decor minimal: a small lamp base, a framed photo, and one candle holder. Build this if you want themed Floating Shelves Living Room styling that also solves a real annoyance. It’s a practical aesthetic project that looks intentional even when the corner has “stuff.”
Choose a shelf thickness around 3/4 inch so the slot can be recessed without weakening the board. Mark the cable exit location on the underside and use a Forstner bit or router to cut a shallow rectangular channel that leads toward the back wall. Install a concealed mounting rail to studs, then mount the shelf so the slot aligns with where the cord needs to travel. Stain the wood black and seal with a satin clear coat, then add a small cord tidy behind the wall opening so the line stays hidden.
Before you cut the slot, measure cord bends — leave at least 1 inch of clearance so the cable doesn’t kink.
Don’t mount the shelf and then try to “route around” cables — you’ll end up with a visible cord line.
4. Shiplap-Style Corner Shelf with White Bracket Shadows
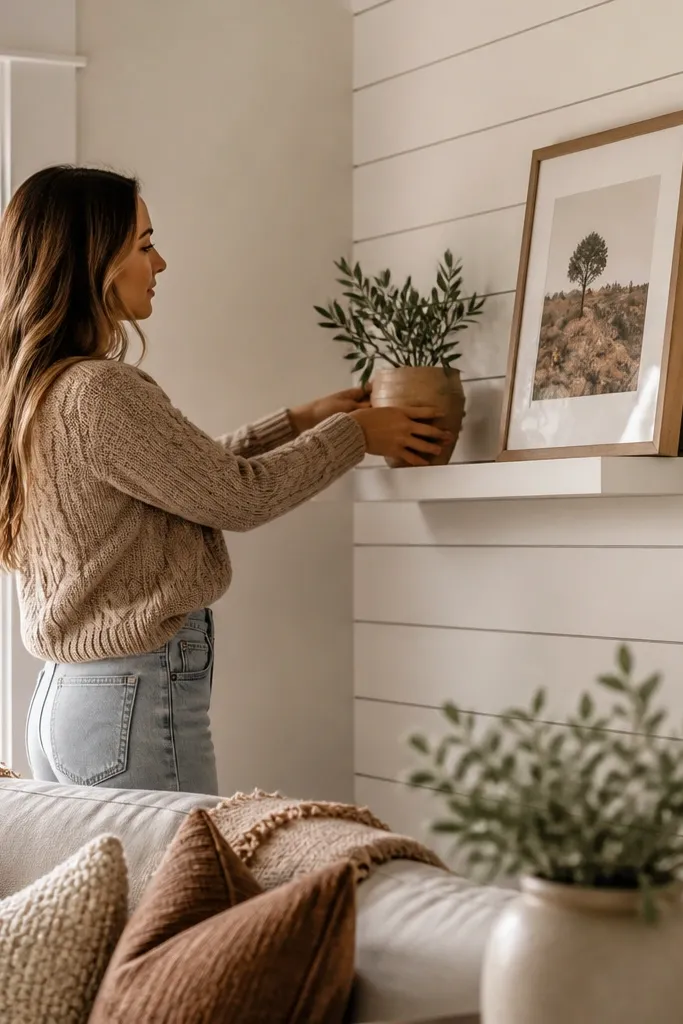
This gives you farmhouse texture without making the whole corner bulky. The trick is to texture the shelf face like shiplap using thin boards or a router groove pattern, then paint it a crisp white that matches trim. The “floating” look comes from hiding the mounting hardware behind a shadow gap at the back edge. Style it with a woven basket, a small stack of books, and a single tall vase so the textured face doesn’t feel busy. This works in Living Rooms that have white walls, light wood floors, and neutral upholstery where you want cozy texture but clean lines.
Build a shelf box or face panel using 1/4 inch thick shiplap strips, spacing them evenly or using a simple jig so grooves look consistent. Create a thin back spacer strip to form a 1/4 inch shadow gap, then mount a hidden cleat to studs. Screw the textured shelf face to the cleat from the underside, keeping the back edge aligned so the shadow gap stays even. Paint with a cabinet-grade semi-gloss or satin white, then lightly sand between coats for a smooth finish on texture.
Editor's noteUse painter’s tape along the back edge to keep the shadow gap line sharp when painting.
Skip thisSkip deep grooves if your room has bright direct light — heavy texture can cast distracting shadows.
5. Terracotta Accent Corner Shelf with Curved Front Edge
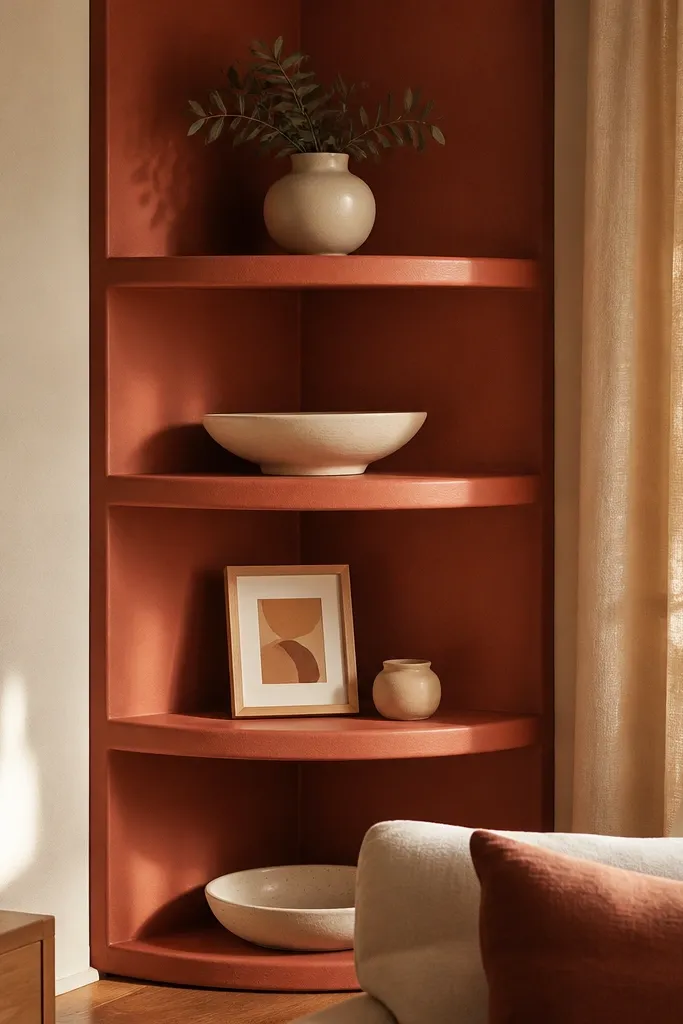
Rounded edges make a corner feel softer and more inviting, especially in Living Rooms with fabric textures and warm colors. Paint the shelf terracotta and pair it with creamy ceramics and a small framed print with earthy tones. This is a themed Floating Shelves Living Room look that doesn’t need heavy decor because the color and shape do the work. The curved front edge also makes the shelf feel less “boxy” in an awkward nook. It’s a beginner-friendly build if you use pre-made edge profile stock or a router roundover bit carefully.
Start with a shelf board thickness of about 3/4 inch, then cut it to size for each side of the corner. Rout a 1/4 inch roundover along the front edge so it feels friendly and catches light smoothly. Sand to 220 grit, prime, then paint with a durable interior paint (and a clear topcoat if your decor will be moved often). Install a hidden rail to studs, align the shelf so the curve sits evenly at the corner, then screw from underneath.
Roundover first, then stain or paint — sanding after paint makes the curve look uneven.
Don’t pick a matte paint if you’ll wipe fingerprints often; satin hides scuffs better.
6. Natural Pine Corner Shelf with Clear Finish and Linen Backing
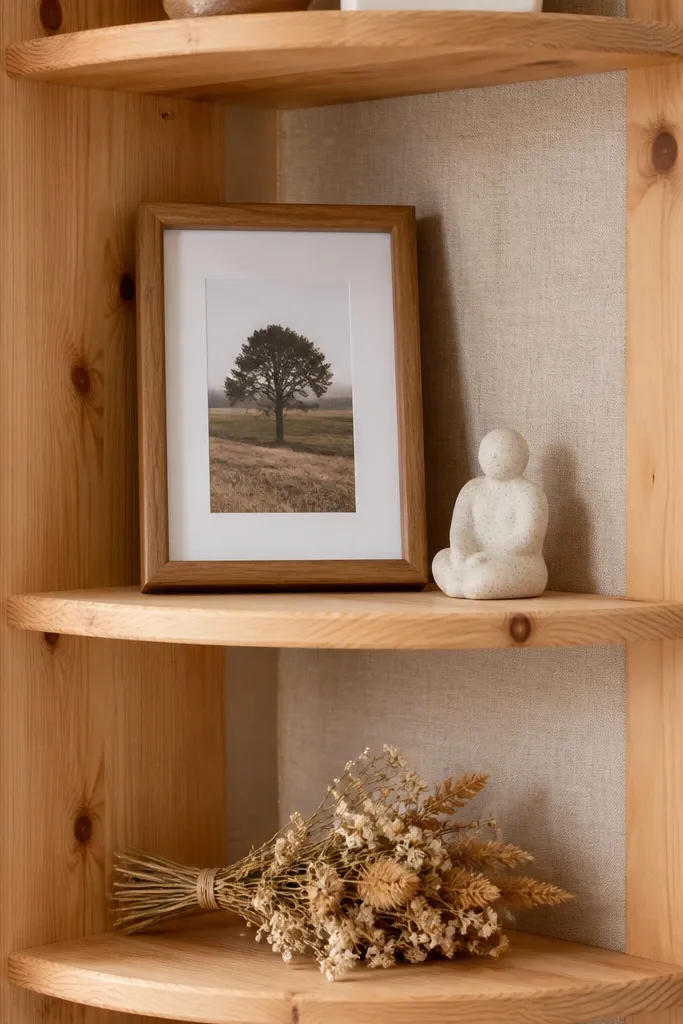
This idea makes the corner look airy because the pine stays light and the backing is soft fabric. The linen panel behind the shelf adds a warm texture that makes small decor — photos, mini sculptures, or dried flowers — look styled instead of random. Keep the shelf decor restrained: one medium frame and two small objects per side. The clear finish shows pine grain without going yellow-dark, especially if you use a water-based clear coat. Build this if your Living Room has neutral walls and you want a calm themed look that still reads “intentional.”
Cut pine boards to your corner side lengths and sand to 180 grit so the clear finish goes on smooth. Apply a pre-stain conditioner if you want more even color, then use a clear satin sealer. Before mounting, attach a thin linen panel to the wall using small finishing nails or a high-bond adhesive, keeping it behind where the shelf will cover. Mount a hidden rail to studs and screw the shelves from underneath so the linen stays mostly hidden behind the shelf line.
Editor's noteSpray or brush a test spot of clear coat on spare pine to confirm it doesn’t go too amber under your room light.
Skip thisDon’t use heavy fabric backing that droops — it will create a wavy look behind the shelf.
7. Cement-Gray Shelf with Floating Picture Ledge Lip
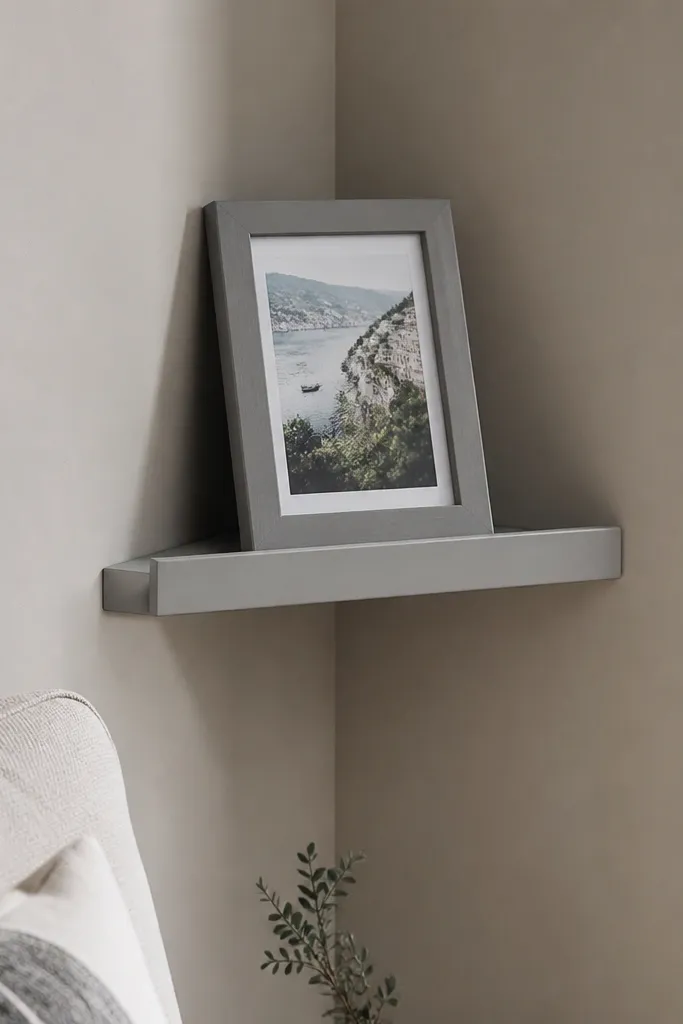
This shelf is about clean photo styling. The small lip at the front keeps frames from sliding and gives a subtle “picture ledge” feel, which makes the corner look designed instead of accidental. Cement-gray paint reads modern and hides minor scuffs, which matters in a Living Room where people bump shelves with jackets. Style it like a gallery: two frames on each side and one small plant centered. This is a great choice when your awkward nook is near a hallway glance — the shelf has to look neat from a distance.
Cut the shelf board depth to about 7-8 inches and add a front lip strip (about 1 inch tall) glued and screwed to the underside of the shelf. Paint the shelf cement gray with a primer first, then two coats of durable paint, then seal with a satin topcoat. Install a hidden mounting rail to studs at the exact height you want, then mount the shelf using screws through the underside into the rail. Use a level and a spacer block to keep both sides aligned at the corner seam.
Editor's noteUse a straightedge to mark the lip height before glue — a crooked lip makes frames look tilted.
Skip thisDon’t skip primer on gray paint; bare wood spots show through and look patchy.
8. Stair-Step Corner Shelves for Book Spines
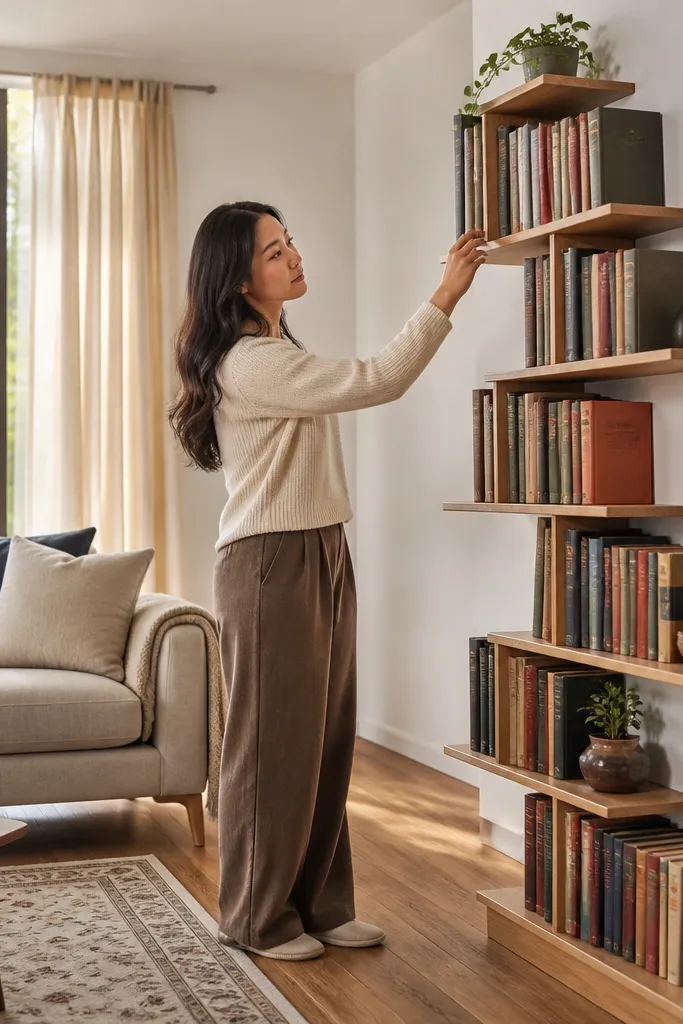
If the corner is awkward because the ceiling height or furniture blocks straight stacking, stair-step shelving solves it. This design uses multiple short shelves at staggered heights so each book spine catches light and stays readable. It’s visually strong because the angles create a rhythm instead of a flat line. Keep the theme consistent: same color palette books, or a mix of neutrals plus one accent color like olive or terracotta. This is ideal for a Living Room where the corner needs function and style but doesn’t have room for a deep shelf.
Cut several shelf pieces — typically 6-10 inches long each — and decide your step pattern before cutting. Mark stud locations on both walls and install two hidden mounting rails staggered to match the step heights. Screw each shelf to the rails from underneath, then sand and finish everything together so sheen matches across pieces. For the themed look, paint or stain the shelves in one consistent finish and add a small back stop strip to keep books from sliding.
Use a cardboard template for each shelf height so the steps line up perfectly at the corner.
Avoid using the same height for every shelf — the whole point is that staggered rhythm.
9. Floating Corner Shelf with Mirrored Back Panel for Brightness
A mirrored backing makes an awkward corner look bigger and brighter without adding more physical shelf depth. The shelf itself stays simple, but the mirror turns small decor into a “sparkle moment” when light hits it. If your Living Room is darker or has a corner that never gets direct light, this is the easiest visual upgrade. Keep decor tight: a pair of white candles, one small tray, and a frame — too much clutter looks messy fast against mirror. This is a moderate-skill project because mirror mounting needs careful alignment and safe hardware.
Choose a shelf depth of about 8 inches and build a hidden mounting rail to studs. Cut a mirror panel to fit behind the shelf area, leaving a small border so the mirror doesn’t touch the wood finish. Mount the mirror using mirror-safe adhesive or mechanical standoffs, then install the shelf so it covers the mirror edges. Seal the shelf with a durable clear coat and style after everything is fully dry to avoid smudging the mirror.
Editor's noteWipe the mirror with a microfiber and alcohol before final styling so fingerprints don’t show under warm light.
Skip thisDon’t use regular wood glue for mirrors; it can fail and stain over time.
10. Olive Green Corner Shelf with Brass Peg Hooks Under
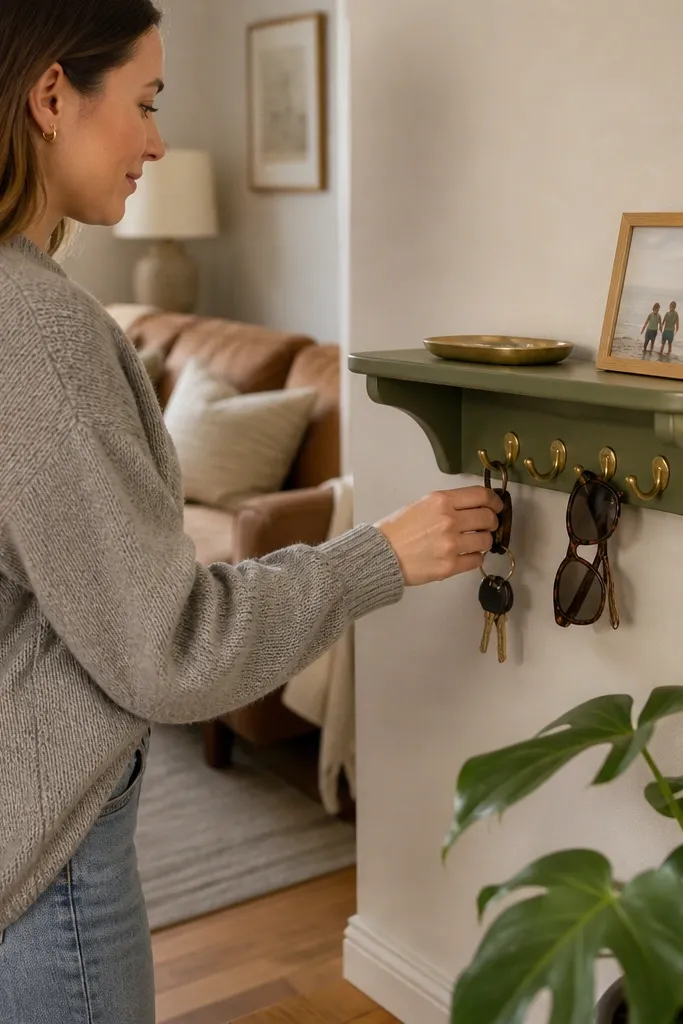
This is a themed shelf that also solves a daily mess. The shelf surface holds a small tray and framed photo, while brass pegs under the shelf hold keys, sunglasses, or small tools — so the corner stays organized and photogenic. Olive green looks great in Living Rooms with beige, white, and natural wood tones. The brass ties it together with lamps, frames, or metal accents already in the room. Build it if your awkward nook is near an entry or where people drop items. It looks intentional even though it’s functional.
Cut the shelf board to your corner side lengths and paint it olive green with a satin finish for easy wiping. Install a hidden mounting rail to studs at your chosen height, then mount the shelf. Mark peg locations under the shelf — keep pegs at least 2 inches apart so items hang without tangling. Screw peg hooks into a cleat or backing board attached to the underside so the pegs have real support, not just thin shelf wood.
Editor's noteUse the same brass finish across pegs and any decor hardware so the corner looks pulled together.
Skip thisAvoid mounting pegs directly into end grain; it cracks and loosens fast.
11. Scandi Corner Shelf with Light Oak and Black Steel Brackets Hidden
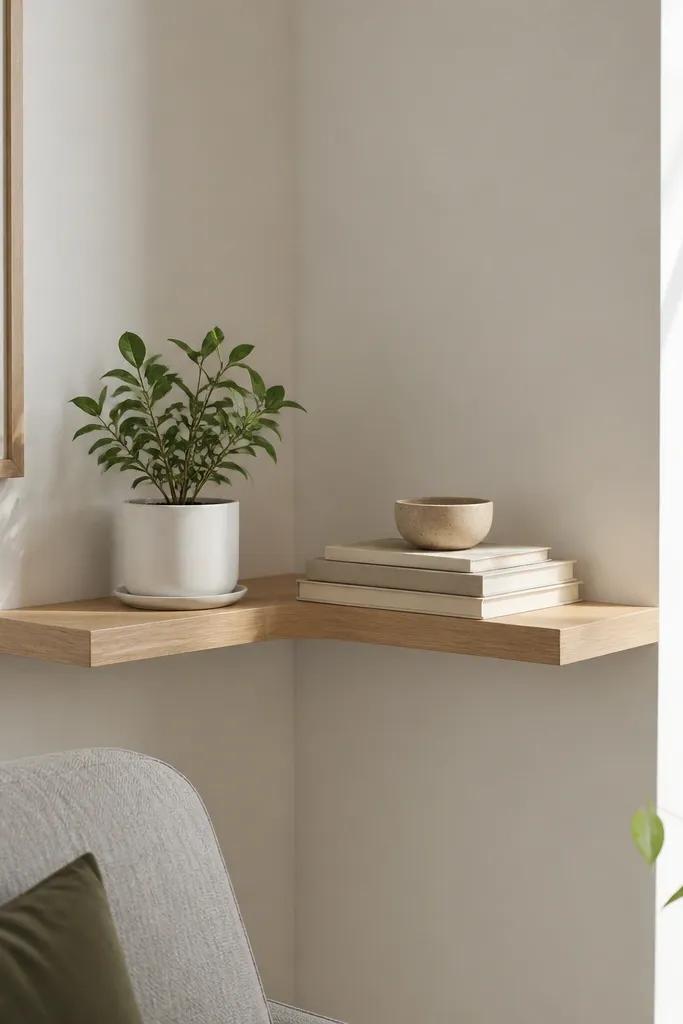
The Scandi look is clean because the wood is light and the hardware stays invisible. This version uses black steel supports tucked inside a channel so you keep that floating illusion without sacrificing strength. Pair it with minimalist decor: a small plant, a white ceramic, and one stack of neutral books. The black supports add subtle contrast that shows only when you look from an angle, which makes the shelf feel designed rather than generic. It’s a great choice if your Living Room is modern and you want the corner to look crisp.
Use a light oak stain or veneer and cut shelves to about 8-9 inches deep. Install hidden steel bracket plates or a steel rail inside a routed channel on the underside — route a shallow recess so the steel sits flush. Screw the steel into studs with proper anchors for the bracket type. Then attach the shelf top piece to the steel from below and seal the wood with matte or satin clear coat.
Editor's noteRoute the channel with a consistent bit depth and test on scrap so the steel sits flat before you mount anything.
12. Reclaimed Barnwood Corner Shelf with Whitewashed Face
Reclaimed barnwood gives instant character, but it can overwhelm a Living Room corner if it stays too dark. Whitewashing the face keeps the texture while making the shelf feel lighter and more modern. This is a strong themed Floating Shelves Living Room look because the weathered grain reads handmade even with simple decor. Style it with a wooden tray, a small plant in a neutral pot, and one framed print. Build it if your nook needs personality and you want the shelf to look great from close range too.
Source boards with varied grain but similar thickness, then plane or sand to a consistent 3/4 inch thickness. Cut two side lengths for the corner and miter or butt them depending on your preferred seam. Brush on a whitewash mixture (paint thinned with water) in multiple light coats, then seal with a satin clear so the wood texture stays visible. Mount using a hidden cleat to studs and screw the shelf from the underside so the fasteners disappear.
Editor's noteWhitewash in thin coats and wipe back quickly — thick white can turn the grain into muddy blobs.
Skip thisAvoid sealing before the whitewash fully cures; it can trap moisture and look patchy.
13. Terracotta Tile Inlay Corner Shelf Top
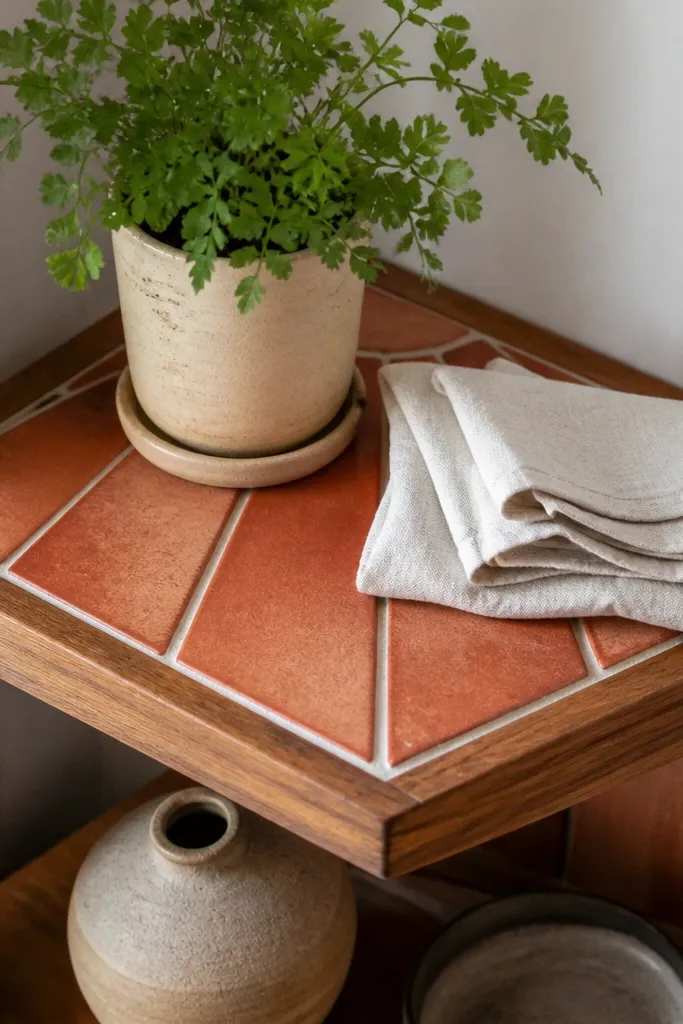
A tile inlay makes the shelf surface look finished and expensive, and it gives you a practical top for decor that might get moved often. Terracotta tiles add warmth that matches most Living Room palettes — cream, beige, olive, and natural wood. This works especially well in corners because the tile pattern anchors the eye when the space is tight. Style with simple objects that look good on tile: small glass bottles, a ceramic bowl, and framed photos. It’s a mid-skill build because you need clean cuts and a solid substrate so tile doesn’t crack.
Start with a plywood shelf base at least 3/4 inch thick and cut it to corner side lengths. Cut a recessed opening for the tile — about 1/4 inch deep — then dry-fit tile pieces with grout lines you like (1/8 inch looks clean). Set tile with thinset or tile adhesive, then grout and seal the tile surface. After the tile cures, mount the shelf to a hidden rail on studs and seal the wood edges so moisture stays out.
Editor's noteUse a straight tile guide and dry-fit twice; tile alignment is what makes the corner look intentional.
Skip thisDon’t mount the shelf until tile and grout are fully cured; movement can crack grout lines.
14. Charcoal Floating Corner Shelf with Rope Detail Side
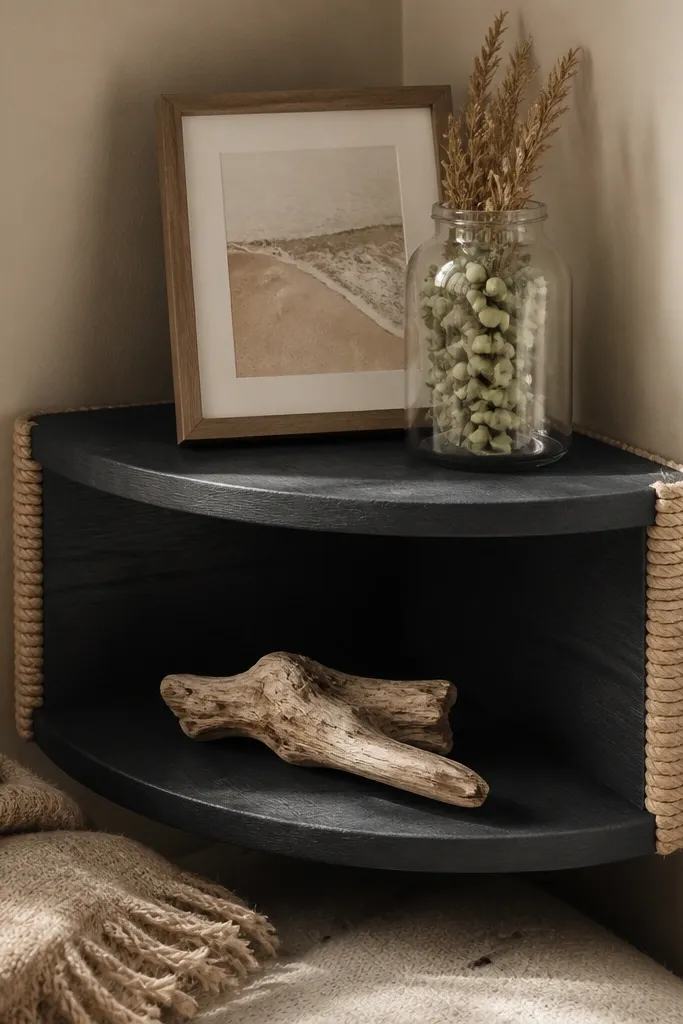
This gives you a coastal or nautical themed shelf without turning the whole Living Room into a beach shop. The charcoal finish keeps it grounded, while a rope-wrapped side detail adds texture and makes the shelf look handcrafted. Style it with a small driftwood piece, a framed print with neutral tones, and one glass jar. In awkward corners, the rope detail draws the eye to the shelf seam, so the corner reads as design, not a mistake. This is a beginner-friendly build because the rope detail hides small imperfections.
Paint or stain the shelf charcoal and seal it with satin clear. Cut the shelf to fit the corner and mount with a hidden rail to studs for strength. For the rope detail, wrap natural jute or cotton rope around a thin side panel attached to the shelf edge, then secure with hot glue or small brads. Finish by tying the rope end neatly and sealing the rope lightly with a matte clear so it won’t shed.
Keep rope tension consistent and start wrapping from the back edge so the seam hides in the corner.
Avoid glossy clear coats on rope; they make it look plastic.
15. Pastel Rainbow Corner Shelf with Vertical Color Blocks
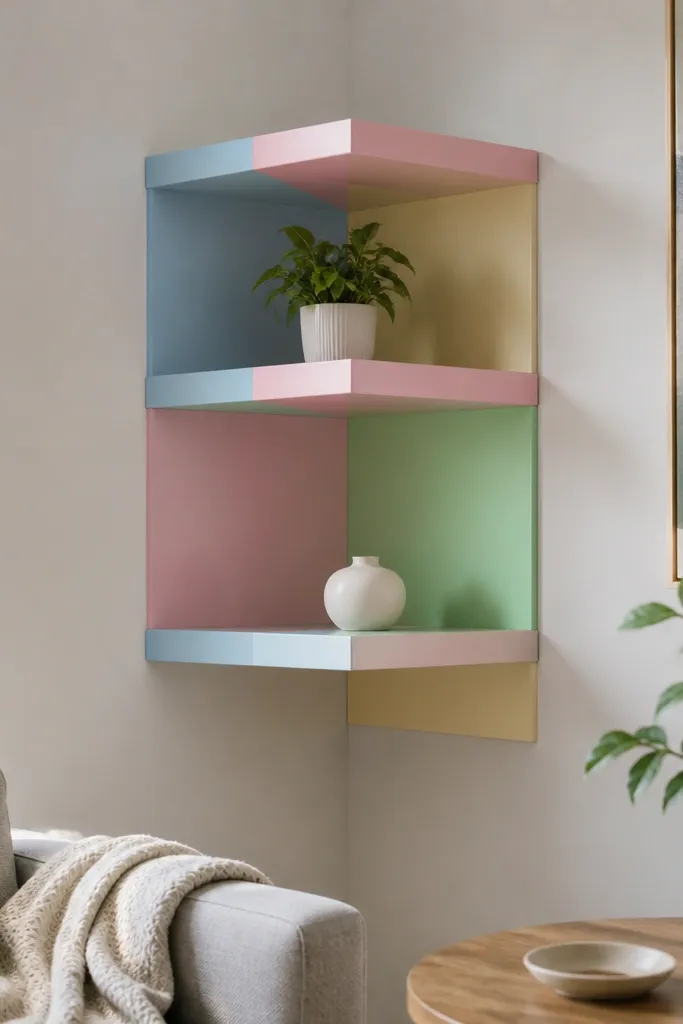
For a playful themed Floating Shelves Living Room look, color blocks in a corner feel more controlled than a full rainbow. Keep it pastel and use vertical color blocks on each shelf side so the corner looks like a design feature. This works best if your Living Room has neutral walls and you want color without adding patterns everywhere. Style with simple decor that doesn’t fight the colors: white frames, clear glass, and one plant. This is a great option for renters because the shelf hardware can stay hidden and you can remove later with minimal damage if you mount to studs.
Cut shelf pieces to corner lengths and sand smooth. Paint a base coat (off-white) and then mask vertical blocks with painter’s tape — use a level guide to keep widths consistent. Apply pastel colors in thin coats and seal with a satin topcoat so the colors stay crisp. Mount the shelf using a hidden rail to studs and screw from underneath so the bracket line stays invisible.
Editor's noteLabel your tape lines with pencil before painting so you don’t mix up block widths between the two sides.
Skip thisDon’t freehand the block edges — tape is what makes it look intentional.
16. Floating Corner Shelf with Built-In Wine Glass Stem Holder
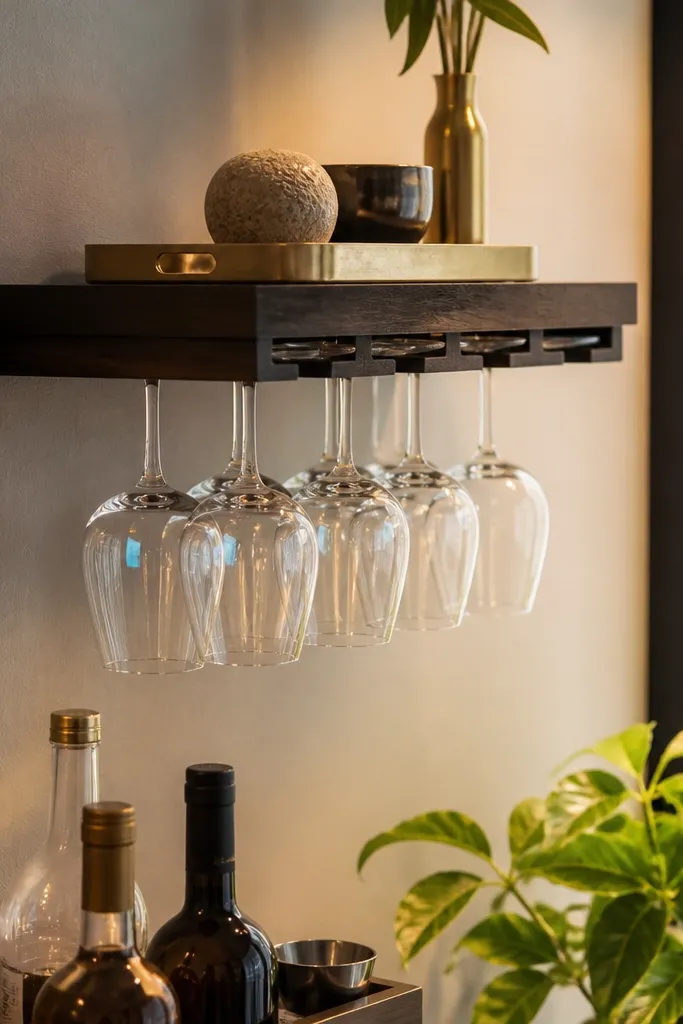
If your awkward nook is near a bar cart or dining area, a stem holder turns empty corner space into a functional display. The shelf surface can hold a small tray and decor, while the underside holds wine glasses by stems so you don’t need a separate rack. A dark finish keeps glassware looking clean, and the metal holder adds a sleek line. This looks great in photos because the glass silhouettes catch light. Build this if you want themed Floating Shelves Living Room styling that’s actually useful and doesn’t look cluttered.
Choose shelf depth around 10 inches so glasses hang without hitting the wall. Install a hidden mounting rail to studs at the right height for your glass size, then mount the shelf. Screw a stem holder bar or individual stem hooks under the shelf to a backing board or cleat attached to the underside — don’t screw into thin edge grain. Finish by sealing the wood and then test-fit one glass to confirm clearance and stability.
Measure your glass stems and add 1 inch of clearance below the shelf so the glasses don’t bump when you lift them.
Avoid holding glasses with only drywall anchors; the load adds up fast.
17. White Countertop-Look Corner Shelf with Rounded Front and Tile Coasters
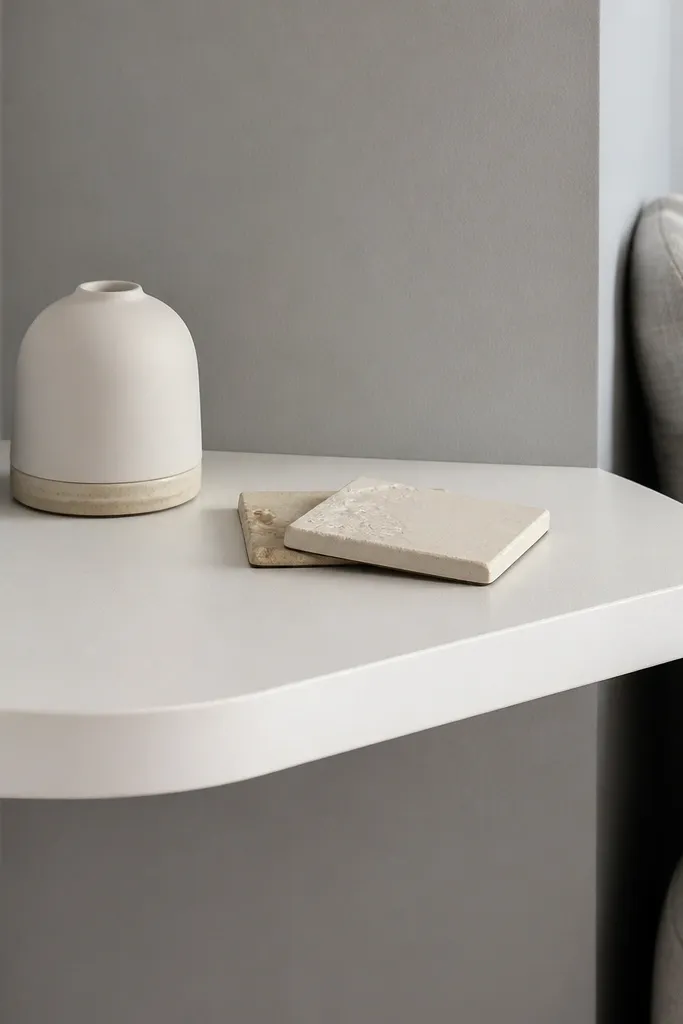
This one is for a clean, modern Living Room where you want the corner to look like built-in furniture. A countertop-look finish — smooth, light, and durable — makes the shelf easy to wipe and looks great with minimal decor. The rounded front edge makes it feel soft and less harsh than sharp cubbies. Style it with a couple tile coasters, a small tray, and one framed photo. This works especially well in corners next to light-colored sofas or built-in cabinets because it blends like architecture.
Start with a plywood shelf top and sand smooth, then apply a primer made for wood. Use a paint system that gives a harder finish — cabinet paint — and add a topcoat for durability. Rout a subtle roundover on the front edge so it looks like a built-in ledge. Mount to studs with a hidden rail and screw from underneath, then set tile coasters on top for a clean styling rhythm.
Use a foam roller for the final coat to reduce brush marks on light paint.
Don’t use cheap flat paint; it marks easily and makes the shelf look worn.
18. Floating Corner Shelf with Vertical Slat Back for Airy Texture
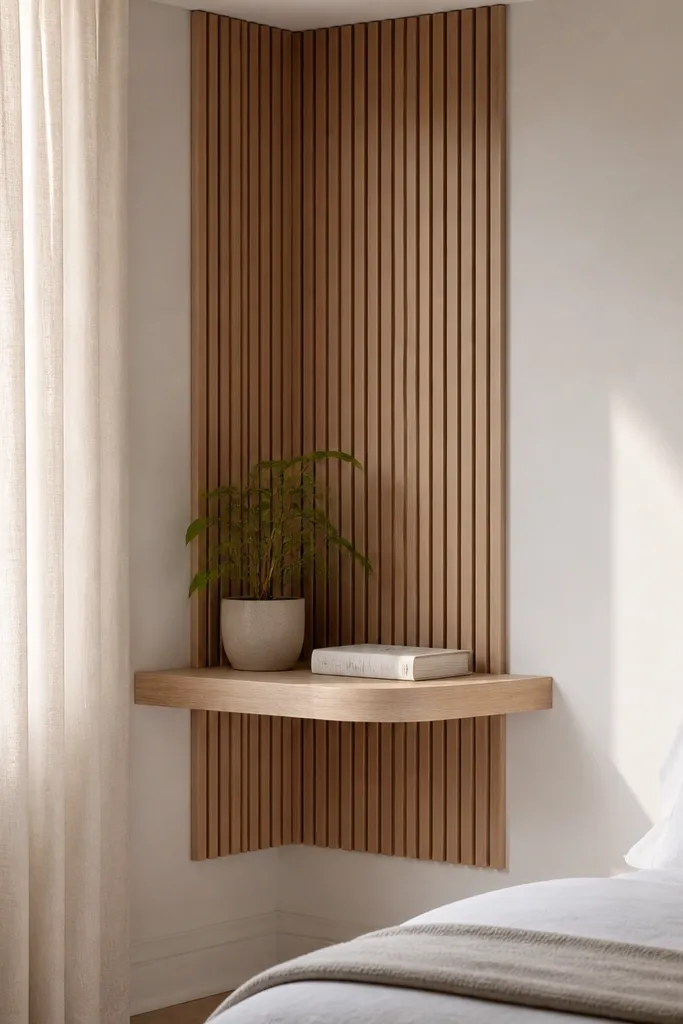
A slat back makes the corner feel designed without adding a full cabinet. The vertical lines add height and texture, so the shelf doesn’t look like a flat board stuck on a wall. Use a light stain or natural wood so the slats look warm, then keep decor minimal to let the texture do the work. This is one of the best options for a themed Floating Shelves Living Room look because you can match the slat finish to your coffee table or floor tone. Build it if your nook has blank wall space and you want that “architectural” feel.
Build a thin slat panel that fits behind the shelf — use 1x2 slats ripped to about 1 inch wide with small gaps. Attach the slat panel to the wall using a backing strip mounted to studs so it’s solid. Mount a hidden rail in front of or slightly below the slat panel so the shelf covers the slat edges. Screw the shelf into the rail from underneath, then stain or seal both shelf and slats together for a matching sheen.
Sand slats individually before assembly; once installed, you can’t fix rough edges without visible sanding marks.
Avoid wide slat spacing if your decor is small; bigger gaps make small objects look lost.
19. Rustic Corner Shelf with Ladder-Style Side Frame Hidden Behind
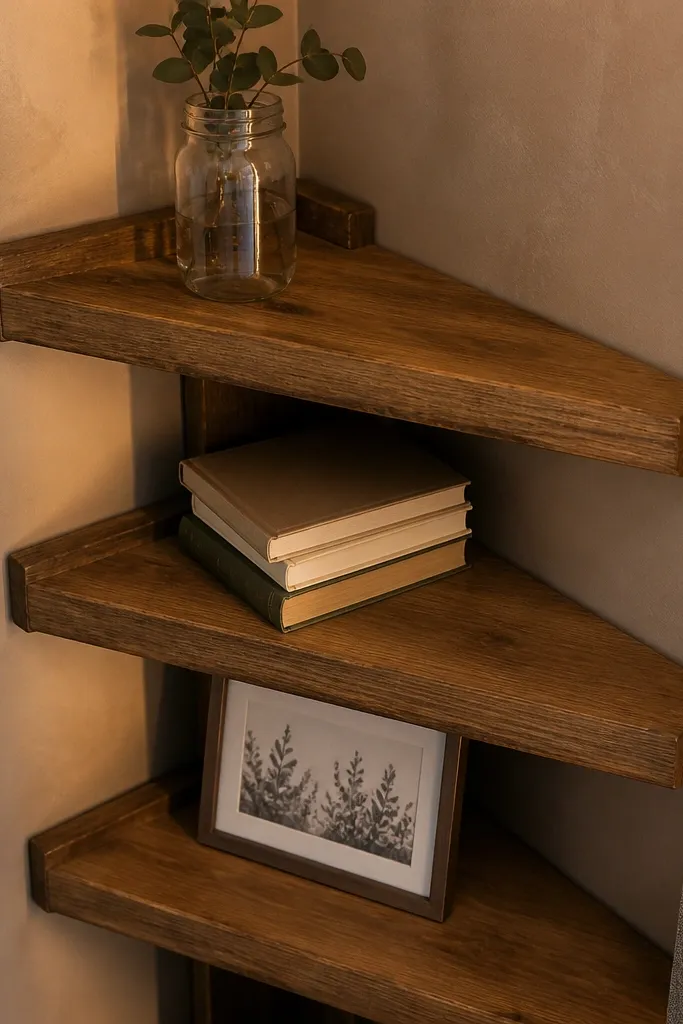
This gives you a ladder vibe without turning the corner into a big piece of furniture. The side frame is hidden behind the shelf face, so you get the strength and the look, while the front stays clean like a floating shelf. A warm stain and simple decor — a mason jar, a small stack of books, and a framed print — makes it feel farmhouse without looking cluttered. It’s a photogenic project because the frame geometry adds depth behind the shelf line. Build it if your awkward nook needs both visual weight and real strength.
Cut the shelf boards for the corner and choose a thickness of at least 3/4 inch. Build a hidden ladder-style side frame from scrap lumber, then attach it to studs in the corner — the frame becomes the support. Cover the front edge with a shelf face panel or trim so the hardware stays hidden. Sand, stain, and seal the shelf front, then mount the top boards onto the hidden frame with screws from underneath.
Editor's notePre-drill everything into the side frame so you don’t split the wood when screwing through the hidden structure.
Skip thisDon’t make the hidden frame too light; a flimsy frame makes the floating look wobble when bumped.
20. Monochrome Corner Shelf Set with Two Matching Floating Boards
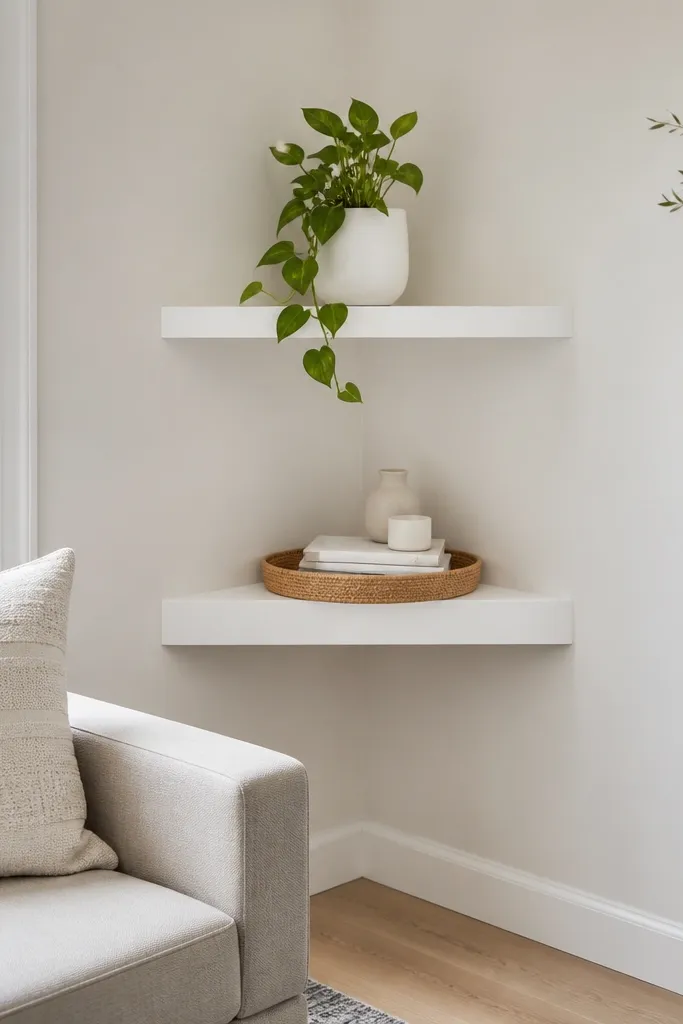
This is the safe, good-looking move when your corner is truly awkward and you want it to look cohesive fast. Two matching boards — one higher, one lower — make a clean stage for decor without fighting the corner angle. Keep the finish monochrome: either all white, all black, or all natural wood so the eye reads the set, not individual boards. Style with a consistent palette: neutrals plus one metal finish like black or brass. This works in almost any Living Room because it doesn’t depend on complicated building tricks.
Measure the corner wall lengths and cut two boards for each side, keeping depths identical so the set looks intentional. Locate studs and install a hidden mounting rail for each shelf height, using a level and spacer blocks for consistency. Mount the shelves with screws from underneath into the rail and check for any twist at the corner seam. Sand and finish both shelves with the same stain/paint and topcoat so sheen matches across the set.
Use painter’s tape to mark the shelf outline on the wall before mounting rails so you don’t shift the final look.
Avoid mixing finishes between the two boards; mismatched sheen makes the corner look unfinished.



