
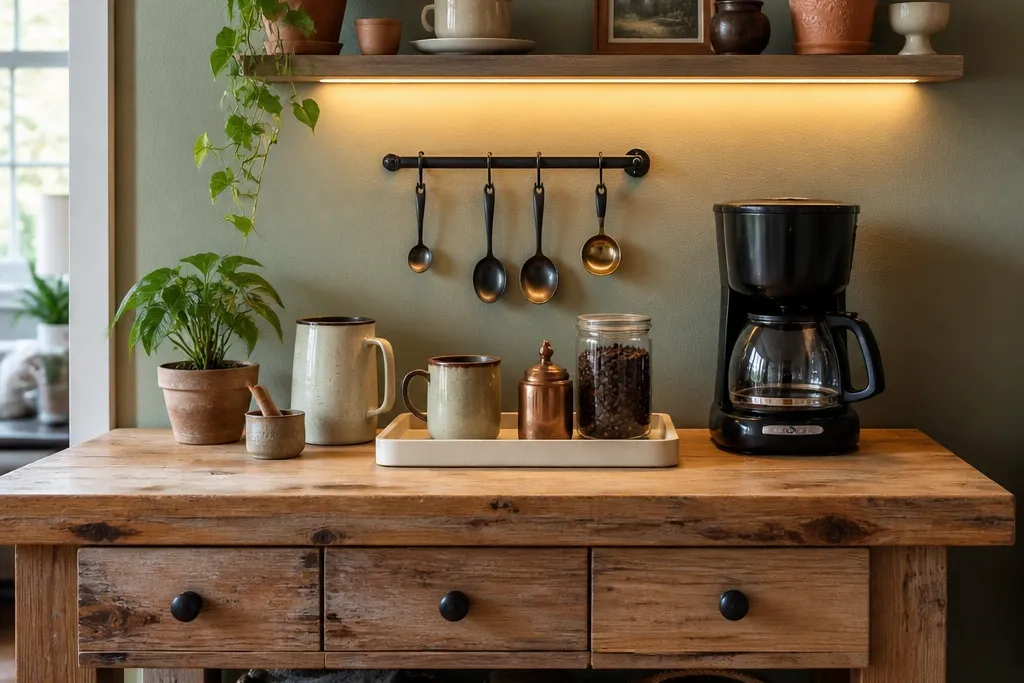
1. Sage + Black Floating Shelf Coffee Bar
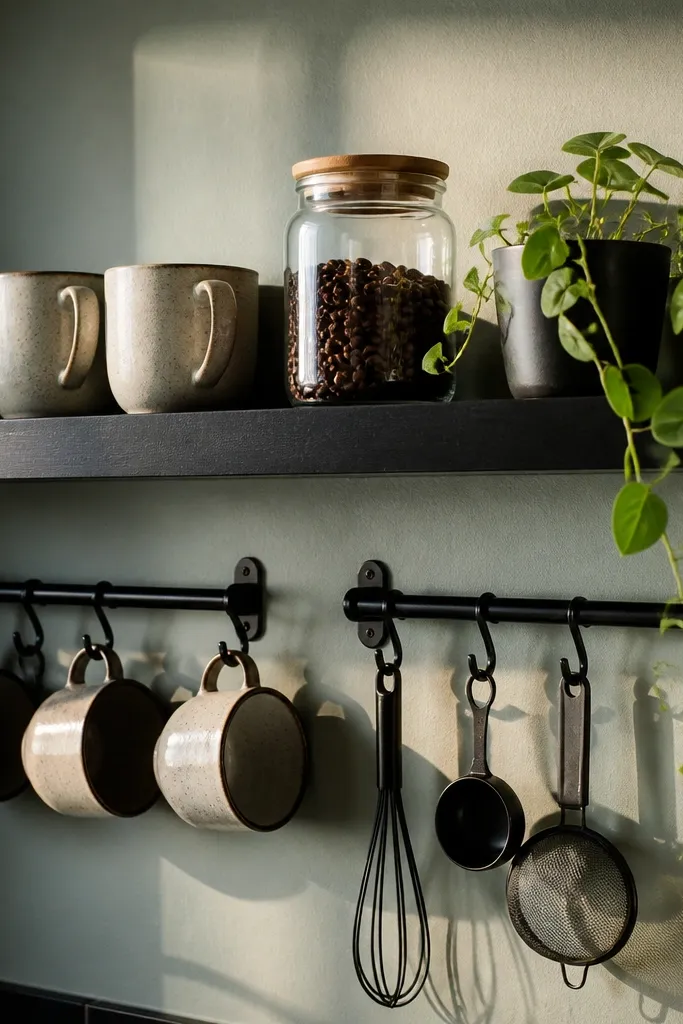
This setup looks high-end because the shelf creates a clean horizontal line and the plants add a soft shape behind the coffee tools. You also get a built-in “frame” for themed coffee station ideas: mugs and jars sit in the same visual plane instead of cluttering the counter. Use matte black hooks or small cup rails so the mugs hang neatly and don’t slump. It suits kitchens with limited counter space, especially if you want the station to photograph well from the doorway or dining area.
Editor's noteUse a shelf lip or a thin wooden edge on the tray so items don’t slide forward when you grab a mug.
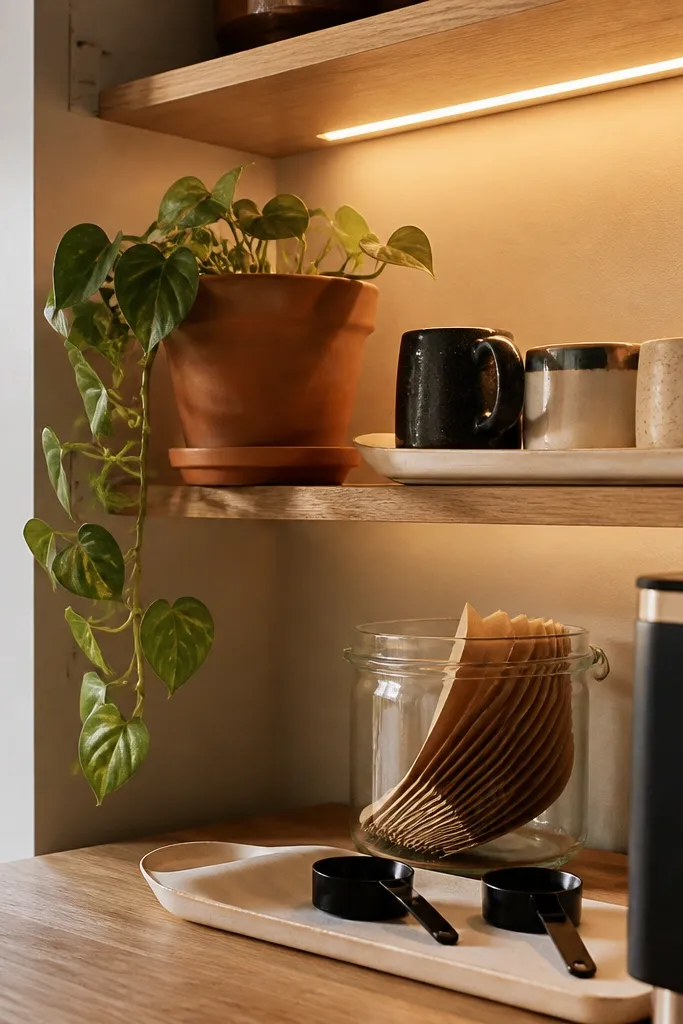
First, mount a floating shelf 30-36 inches above the counter so the jars don’t block your view of the plant. Add a warm white LED strip under the shelf (2700K) with an aluminum channel or diffuser so the light doesn’t show bright dots. Then set a tray on the counter under the shelf, place your coffee canister and filters on it, and hang mugs from black hooks spaced about 3-4 inches apart for a tidy row. Finish by adding one medium plant in a matte pot and one small jar with a matching lid color to tie the theme together.
Skip thisSkip glossy shelves and super-bright cool-white LEDs — they make jars look washed out and cheap.
2. Cream Tray + Terracotta Countertop Station with Tiered Storage
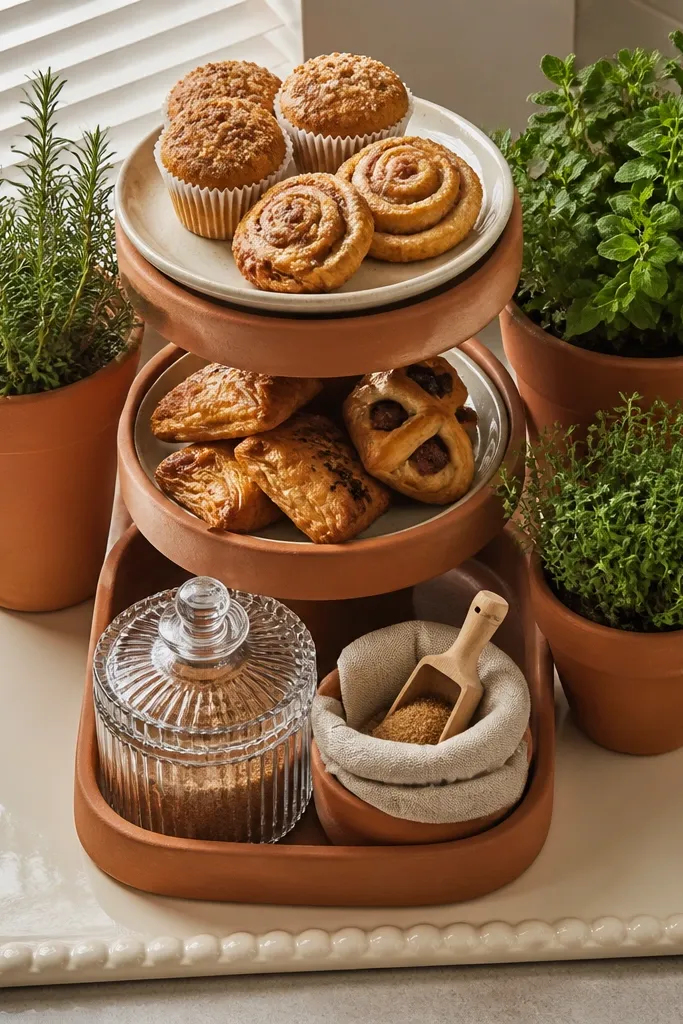
If you want cozy and photogenic without drilling, this is the look. A cream tray gives you a defined boundary, while terracotta planters add earthy color that reads well in natural light. Tiered storage keeps everything visible without turning into a pile, which matters for themed coffee station ideas because your eye needs a clear top-to-bottom path. This works best in kitchens where the coffee maker sits on one side and you want the station to look intentional next to it.
Start by buying or building a tray at least 18x24 inches so you can fit a canister, filters, and a small creamer without crowding. Add a tiered stand (one small shelf height is enough) and paint or wrap it to match your theme — terracotta-toned spray paint on wood works great. Place your coffee canister centered on the tray, filters and sweeteners on the lower tier, and a small plant in a terracotta pot at the back corner. Finally, add labeled jars with matching lid finishes so the station looks clean even when you’re mid-routine.
Choose labels that match jar shape — narrow tall labels look better on canisters, while short wide labels look better on tins.
Don’t use three different pot finishes; pick terracotta matte and keep the rest consistent.
3. Black Peg Rail + Wire Basket Coffee Tools
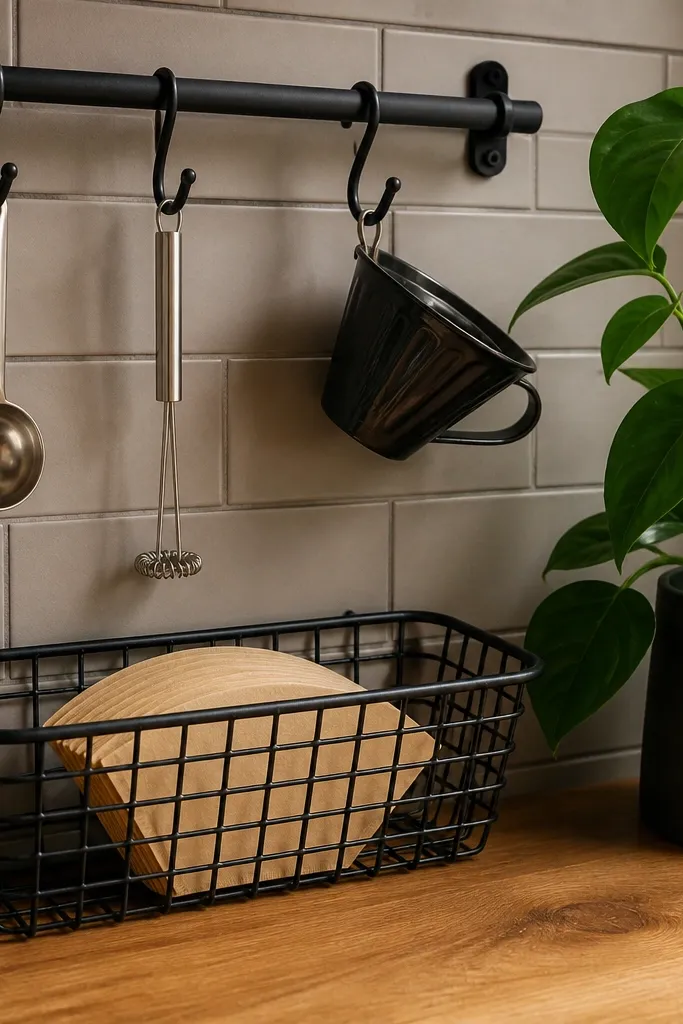
This is the “organized and styled” option for anyone who hates digging through drawers. A peg rail gives vertical structure, so mugs, scoops, and measuring spoons have a home and stay aligned for photos. Wire baskets add texture without visual heaviness, and the plant anchors the whole thing so it doesn’t look like a tool wall. It works in apartments and rentals because you can mount it with proper anchors and still keep the counter clear.
Editor's noteUse a small strip of painter’s tape on the wall to map hook spacing before drilling, so mugs line up perfectly.
First, install a black peg rail above your coffee landing zone, leaving about 10-12 inches of clearance over the tray. Add cup hooks for mugs and a couple of S-hooks for a scoop and a small brush. Then attach one or two wire baskets under the rail — keep them shallow so labels stay readable. Place a tray on the counter as your “front row,” set your coffee grounds canister in the center, and tuck a plant behind the baskets so it frames the vertical storage.
Skip thisSkip oversized wire baskets; they swallow the theme and look messy even when you’re organized.
4. Warm Wood Box Coffee Station with Hidden Storage
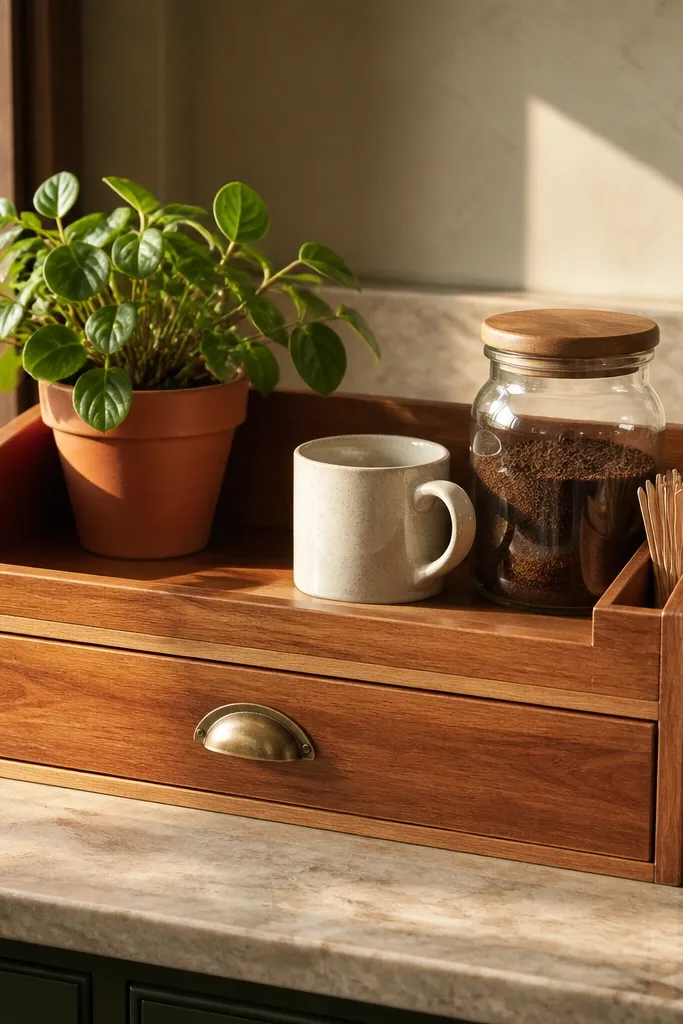
This project fixes the biggest coffee station problem: everything looks cluttered because supplies live out in the open. A warm wood box gives you a solid visual base and lets you hide filters, stir sticks, and extra pods. The top stays photogenic with a plant and your daily-use items, while the drawer keeps the station looking clean. This suits anyone with a crowded counter or a coffee maker that doesn’t look great on display.
Start with a small wooden crate or build a box frame from 1x12 boards, aiming for a footprint around 18-24 inches wide and 10-14 inches deep. Add a simple drawer front using a slide kit or a pull-out insert — even a basic wooden drawer works if it moves smoothly. Sand, then stain in a warm tone (walnut or espresso) and seal with matte polyurethane so it doesn’t glare in photos. Place the box on the counter, set your canister and a small plant on top, and keep filters and backup supplies in the drawer.
Add felt pads to the bottom corners so the box doesn’t scratch your countertop and doesn’t slide when you pull the drawer.
Don’t skip sealing — untreated wood will stain from coffee oils and water rings.
5. Glass Jar Wall Grid with LED Backlight
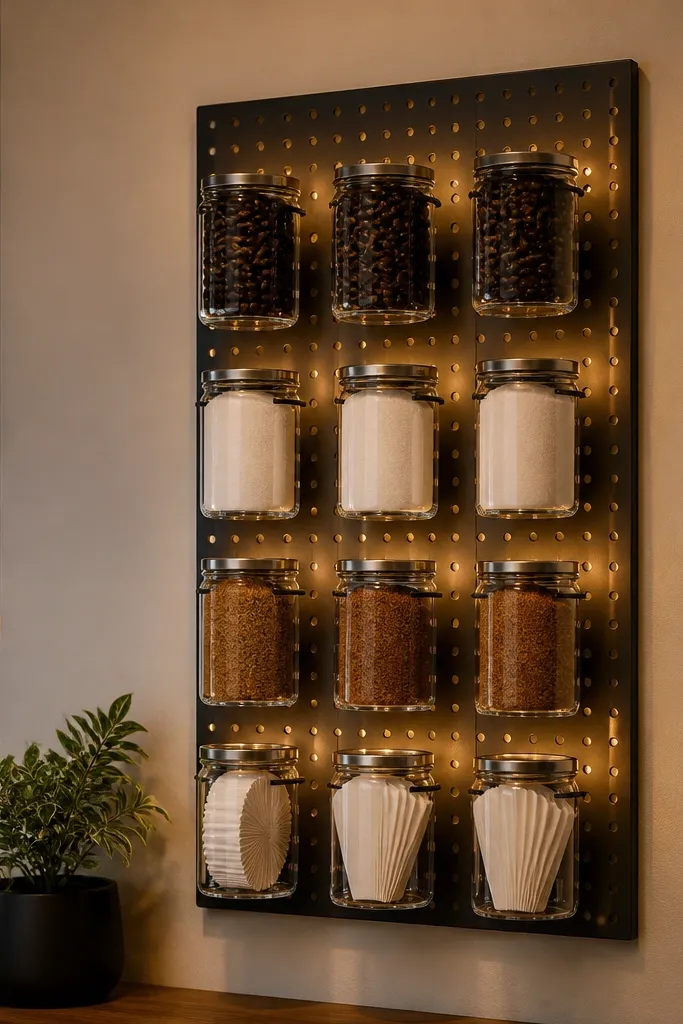
This looks like a mini café wall, but it can stay budget-friendly. A small grid or peg panel with clear glass jars creates a clean, repeat pattern that reads instantly in photos. Backlighting with a warm LED strip behind the jars makes colors pop without harsh glare on the glass. It’s ideal if you have a blank wall next to your coffee maker and want the station to look intentional from more than one angle.
First, mount a small grid panel or perforated board using wall anchors, keeping it roughly 24-30 inches wide so it doesn’t overpower the room. Hang identical hooks or jar holders so jar spacing is even — keep at least 2 inches between jars for clean lines. Attach a warm white LED strip behind the panel with a diffuser so light spreads evenly. Then place a small plant on the counter below or next to the panel and use matching jar lids (brass or matte black) to lock the theme together.
Use jars with the same height even if the contents differ; it makes the wall look designed instead of random.
Skip mixed lid finishes; glass without lid consistency looks unfinished.
6. Under-Shelf Lighted Drawer Organizer Coffee Zone
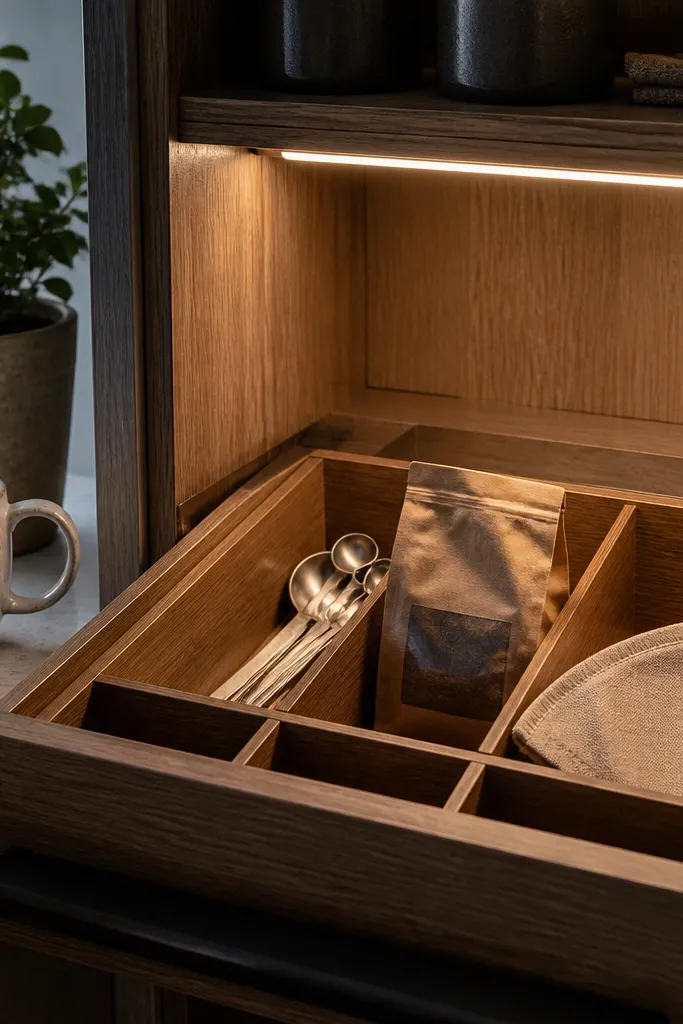
Cabinets give you free lighting and a natural frame, and this setup uses that advantage. The drawer organizer keeps everyday items in a neat grid, while the under-shelf light makes everything look crisp and warm. It’s perfect for small kitchens where your best coffee station spot is inside an existing cabinet nook. This approach is also forgiving: even if you’re not great at styling, the organizer structure keeps the look clean.
First, measure the space under a cabinet shelf and choose a drawer organizer tray set that fits with 1-2 inches of clearance on each side. Add warm white puck lights or an LED strip under the cabinet — mount the light so it aims down over the organizer, not into your eyes. Then line the organizer compartments with matching labels or color-coordinated inserts (matte black cardstock works). Place your canister, filters, and a small jar in the organizer, set a plant beside it, and keep the counter tray only for daily grab items.
Stick a thin rubber mat under the organizer so jars don’t slide when you open and close cabinet doors nearby.
Don’t mount lights without a diffuser — bright LED points make glass jars look spotty.
7. Moody Dark Counter + Brass Accents Coffee Station
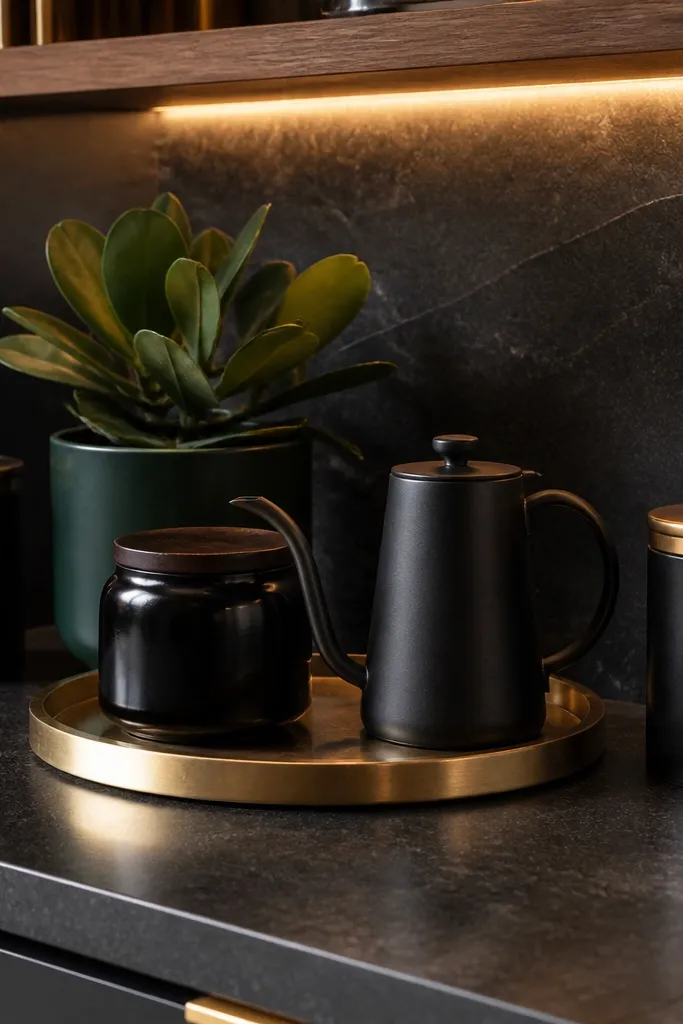
Dark countertops can look dramatic, but they also hide clutter. This concept leans into that by using a brass tray and black jars so the station looks intentional instead of swallowed by the counter. Brass accents catch warm light, which makes the station feel styled even with minimal decor. Add one plant with thick leaves so the silhouette reads clearly against the dark background. This is a strong pick for modern kitchens and anyone who wants a moody café vibe.
Start by placing a brass or brass-finished tray on the counter — about 20-30 inches wide works for most stations. Use black or dark brown canisters and matching lid colors so the items don’t float visually. Add warm white LED puck lights angled slightly downward from a nearby shelf or use a plug-in under-cabinet light if you can’t hardwire. Finish with a plant in a dark pot and one small decorative object that repeats the brass color, like a brass scoop or a metal spoon rest.
If your jars are clear, dust them with a quick wipe and dry fully; fingerprints show more on dark counters.
Skip white paper labels on black jars unless you use matte label stock — glossy tape looks cheap fast.
8. White Board + Chalk Labels Coffee Station with Plant Corner
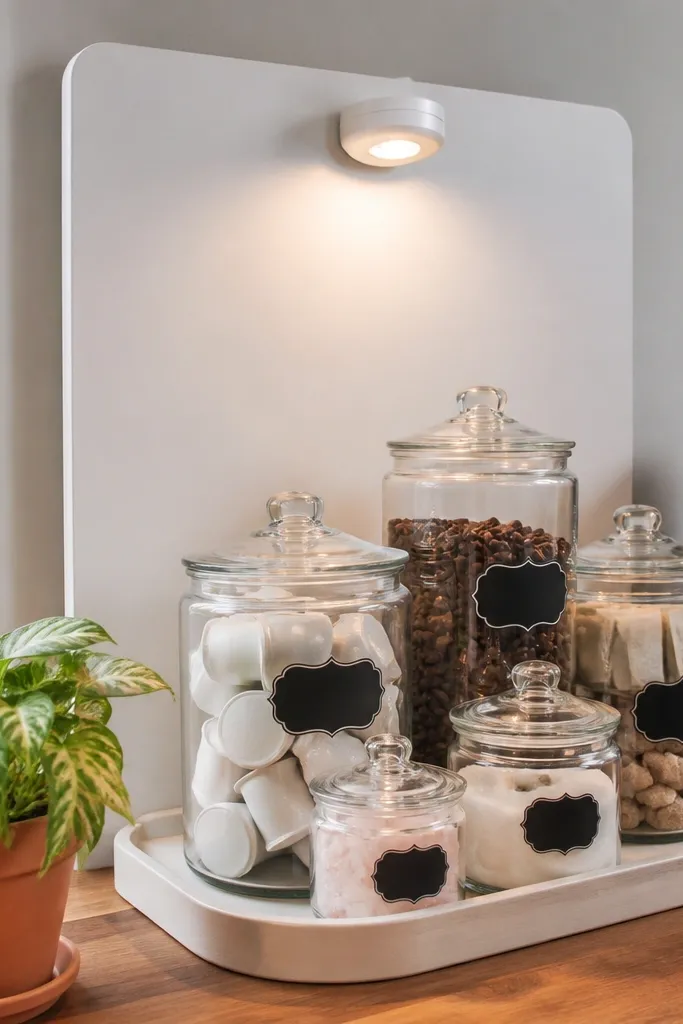
This one is cheap and still looks designed because the writing and layout give you a clear visual structure. A white board behind the station creates a clean backdrop for jars and lets you rotate seasonal themes without replacing everything. Chalk-style labels on jars keep the station cohesive and make the theme feel intentional. It fits kitchens where you want a station that can change — new flavors, different milk options, or seasonal syrups.
Editor's noteUse a single label color (like dark gray) across all jars so the board doesn’t look busy.
First, mount a small white board or attach a painted panel to the wall behind your landing tray, keeping it about 12-24 inches wide. Label jars with consistent font size and spacing — use a stencil if handwriting varies. Put your main canister centered on a tray, place a small plant in a pot at one end, and add a second jar group on the other end for balance. Add a small clip-on lamp or battery LED light with a warm filter so the labels stay readable in the evening.
Skip thisDon’t use random label sizes; uneven label formatting makes the whole station look messy.



