
1. Jute Tray + Spiky Succulents in a Matching Trio
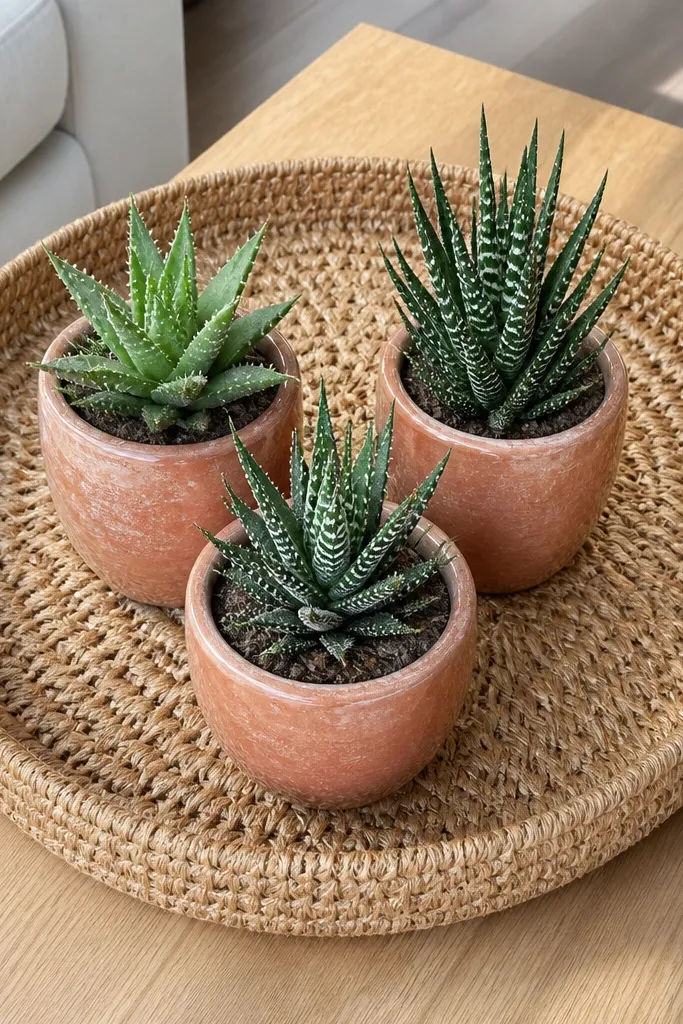
Start by placing your stone bowl in the center of the tray. Then set the three succulents so the tallest one is slightly back and the shortest one is closest to the front edge. Finally, tuck the pots so their leaves don’t overlap — you want clear silhouettes, not a tangled mess. Wipe the tray with a dry cloth first so the woven fibers don’t grab dust and make the look look aged.
This setup works because spiky plants create a natural rhythm without needing a lot of extra decor. A jute or woven tray adds texture that looks warm even in bright daylight, and the neutral base makes terracotta pots pop. Keep the pots close in tone — matte terracotta with a light glaze reads cohesive instead of “collected.” Add one low anchor like a small white stone bowl so the tray doesn’t feel empty at the base. Skill level is beginner-friendly and the styling time is about 15 minutes once you have the pieces.
Skip thisDon’t mix terracotta and cool-toned ceramic pots unless you repeat the same color in another element.
Editor's noteUse plant-safe felt pads under the pots so water rings don’t soak into the tray.
2. Ceramic Tray + Tall Candle + Pothos Cascade
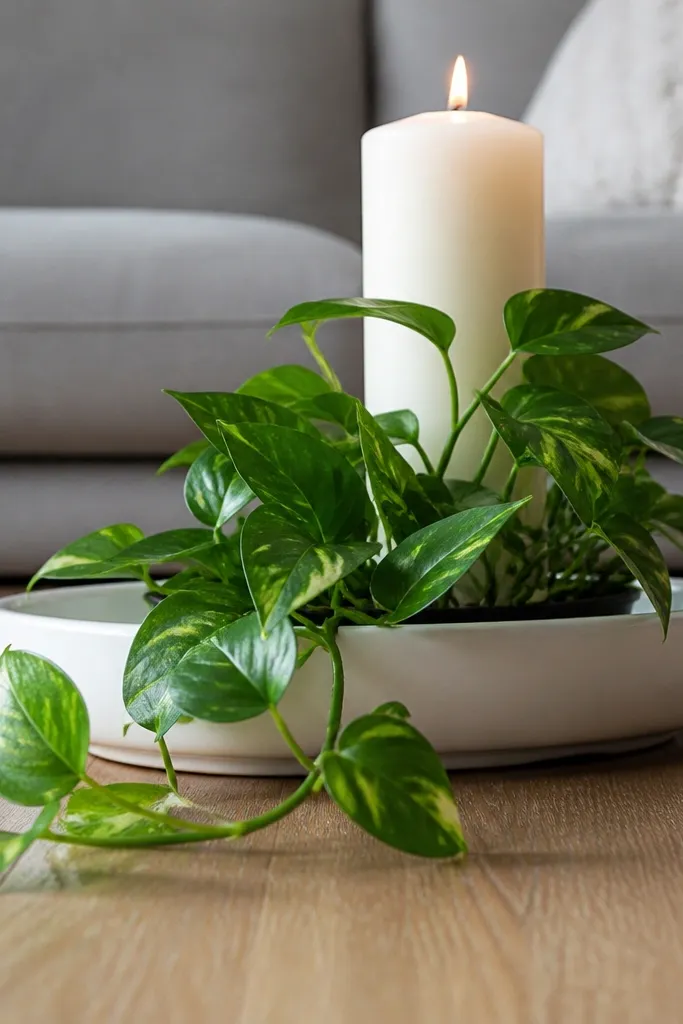
Place the candle holder slightly off-center on the tray so the plant can visually balance the weight. Set the pothos pot behind the candle, then gently guide a few vines to drape over the tray edge — not all of them, just enough to show movement. Add a small low accent like a slim ceramic dish or a few river stones near the front corner. Trim or tuck long vines so they drape in two directions max; too many directions turns it into chaos.
If you want the most “styled” look with the least effort, use a cascade plant. Pothos (real or faux) gives motion, and the hanging leaves create depth beyond what you get from upright succulents. A ceramic tray in white or soft gray makes the green look crisp, and a tall candle gives you the vertical anchor that makes the whole arrangement feel intentional. This theme fits modern farmhouse, minimal, and calm Scandinavian rooms because the palette stays clean. The result is photogenic because the plant spill creates a natural frame around the candle.
Skip thisDon’t put the candle dead center if your plant is doing the visual work — off-center looks more natural.
Editor's noteFor faux pothos, bend the stems before styling so the drape holds its shape without fighting you later.
3. Black Tray + Monochrome Planters + Faux Eucalyptus Sprigs
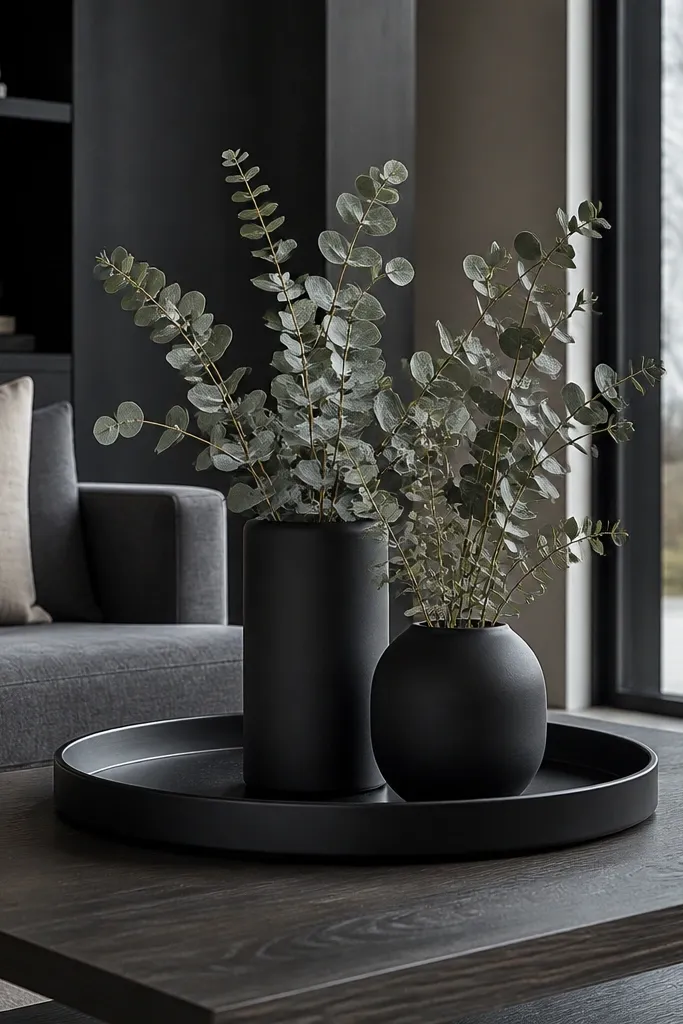
Set one planter in the back-left corner of the tray for the main silhouette. Put the second planter in the front-right area, then add eucalyptus sprigs between them so the stems overlap lightly. Finish with a small object that repeats the black tone, like a black ceramic dish or a short candle. Keep all heights within a tight range so the black tray doesn’t turn into a “platform” for tall random items.
Monochrome styling is forgiving and looks high-end because the eye isn’t jumping between colors. A matte black tray makes greens and silvery eucalyptus stems look sharper, and it hides small imperfections better than light trays. Use two planters in the same color family, like black and charcoal, so the plant theme looks like a set instead of random singles. Add eucalyptus sprigs as a texture layer — the thin leaves read delicate and keep the arrangement from feeling heavy. This look suits apartments, dark wood furniture, and rooms where you want contrast without clutter.
Skip thisDon’t add three different plant types when you’re using a black tray — it looks like a craft project.
Editor's noteIf your planters are glossy, swap to matte or add a thin layer of matching chalk paint to kill glare under overhead lights.
4. Wood Tray + Linen Runner + Herb Garden Vessels
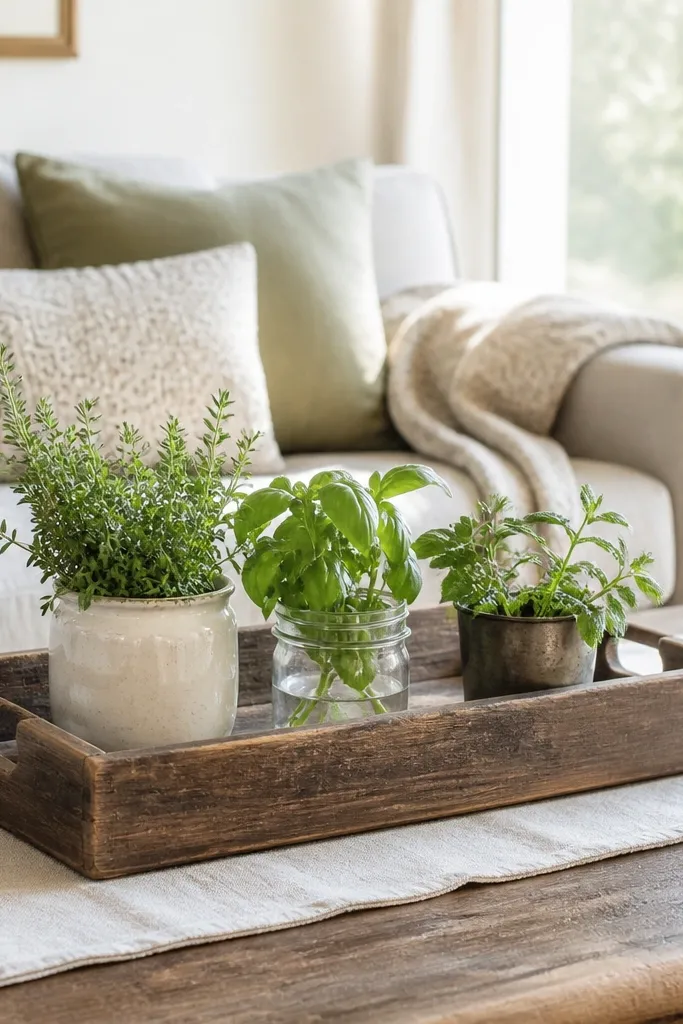
Lay the linen runner centered on the tray so it peeks out evenly on all sides. Place the herb vessels in a staggered pattern — two toward the back corners and one slightly forward in the center. Add the wooden bowl at the front edge, then adjust until the tallest plant is behind the bowl, not above it. Trim stems so leaves don’t cover the runner evenly; you want texture variation, not a full green blanket.
This is the coffee table version of an outdoor herb stand, and it looks fresh without being loud. A wood tray warms up the whole scene, and a linen runner underneath gives you a soft background that makes the plants look intentional. Use small herb-style plants (like thyme-looking textures or basil-like faux stems) in matching glass or ceramic vessels. Add one wooden bowl with a few neutral picks — dried citrus slices, small seed pods, or plain stones. It’s a great choice for kitchens that open into living rooms because the theme matches the nearby vibe.
Skip thisDon’t use a runner that’s too thick — bulky fabric makes the tray look crowded.
Editor's noteSteam or iron the linen runner before styling so it doesn’t bunch and look wrinkled in photos.
5. Travertine Look Tray + Stacked Books + One Statement Plant
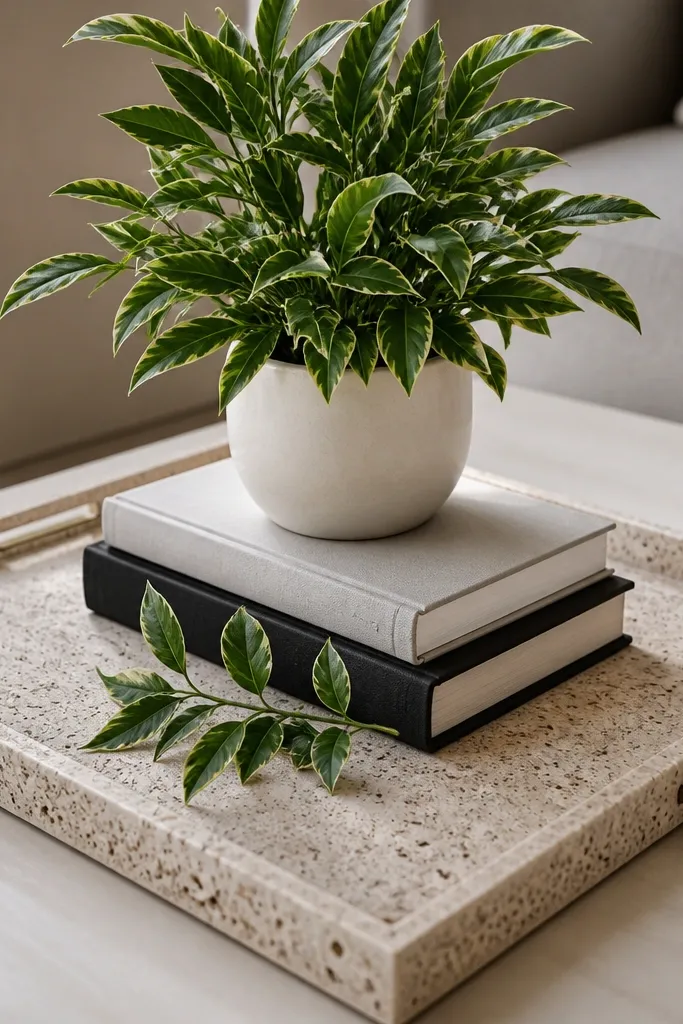
Start by stacking two books on the back third of the tray, then place a small riser board or a flat tray insert on top if you want the plant base to sit stable. Set the statement plant in the center of that riser so its leaves spread outward, not straight up. Add one low accent at the front edge, like a small brass tray or a minimal ceramic bowl. Keep the front open — the negative space is what makes this look pro.
If your coffee table decor always looks “almost there,” this fixes it by giving you a real height plan. Stacked books create a controlled riser so your statement plant sits higher without needing a tall stand. Choose one statement plant only — a leafy ficus-style stem or a broad-leaf plant reads bold and doesn’t fight smaller accents. A travertine-like tray keeps the palette light and makes the plant leaves look clean and defined. This look works best on large tables where you want a focal point instead of a busy cluster.
Skip thisDon’t add multiple plants just to fill the tray — one statement plant looks cleaner.
Editor's noteUse book covers in one color family (cream, tan, or muted green) so the books read as design, not clutter.
6. Rattan Tray + Mixed Vessels + Airy Fern Fronds
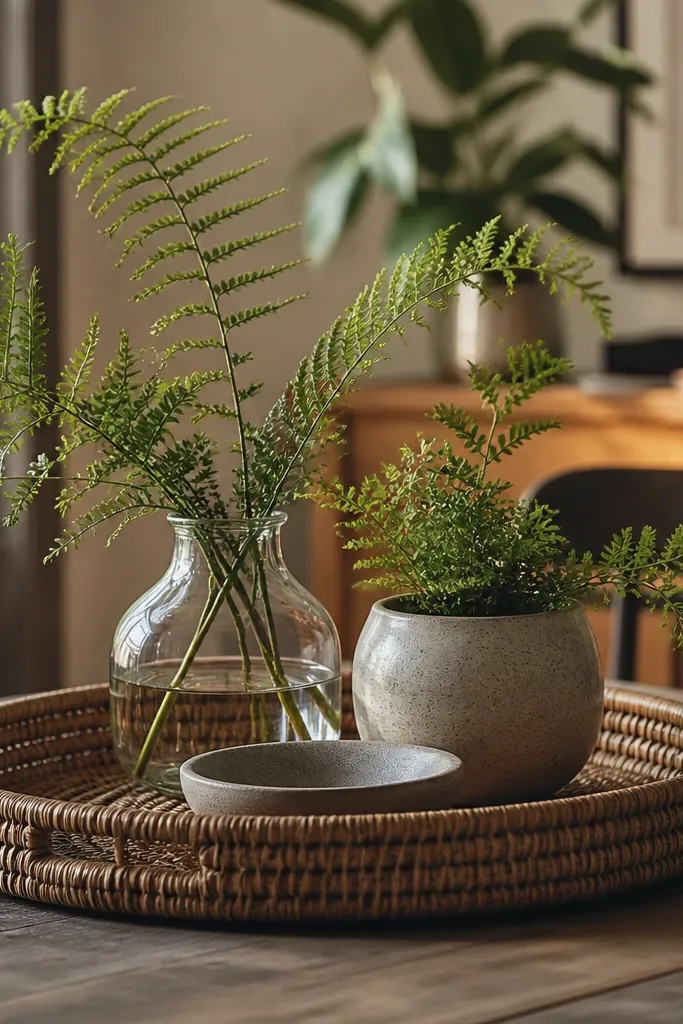
Rattan trays and fern textures are a match because both bring natural, airy movement. This look is about layering vessels — mix one clear glass container, one matte ceramic pot, and one small low dish so the plants feel styled, not planted. Airy fern fronds create volume without blocking the sightline across the table, which is important in living rooms with seating facing each other. The airy texture also looks good in both daylight and warm lamp lighting. It’s beginner-friendly and takes about 20 minutes, mainly because you’re adjusting placement for balance.
Place the low white bowl in the front center of the tray. Set the fern-filled pot slightly back and angle it so fronds lean toward the corners, creating a soft triangle shape. Add the glass vessel on one side and the matte pot on the other, keeping the rim heights within a small range. Finally, tuck the fern fronds so they drape over the vessels a little but don’t cover the bowl completely.
If your fern fronds look too flat, mist faux fronds with a tiny amount of water and gently separate the leaflets before they dry.
Don’t choose three different colors of vessels when the tray is already warm-toned rattan.
7. Metal Tray + Brass Pot + Black-and-White Stones
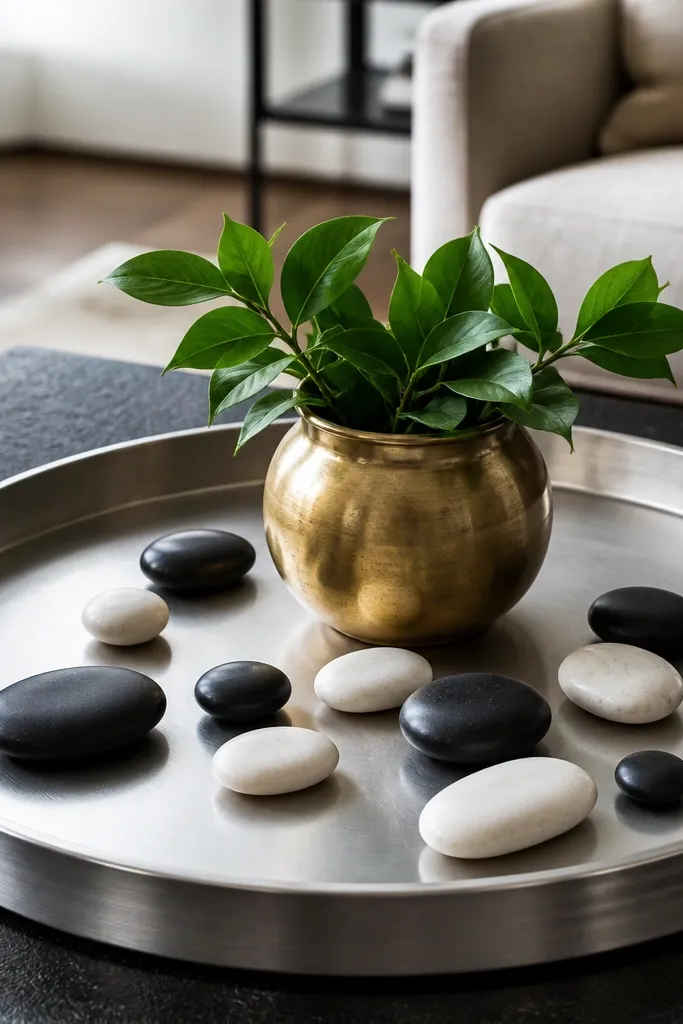
Pour a thin layer of stones into the tray where the pot will sit, so it fills the base area without looking like you dumped a pile. Place the brass planter slightly off-center, then nestle a few stones around it to create a border. Add a small candle behind the pot so it reads as a vertical element. Keep the stones to one color pair — black and white — so the theme stays tight.
Metal trays read crisp and modern, and they make plants look intentional because the background is clean. A brass pot adds warmth, and black-and-white stones add a graphic element that looks sharp in photos. This is the best option when you want a themed coffee table decor with plants but your room already has pattern elsewhere. The stones also solve a common problem: they give you a defined low layer so the tray doesn’t look bare around the pot. Works well with black frames, marble tops, and minimalist interiors.
Skip thisDon’t use tiny loose stones in a tray without a raised lip — they roll when you move the tray.
Editor's noteUse a small spoon to place stones around the pot edge; it makes the border look hand-arranged, not random.
8. White Shallow Tray + Terracotta Planters + Dried Pampas Accent
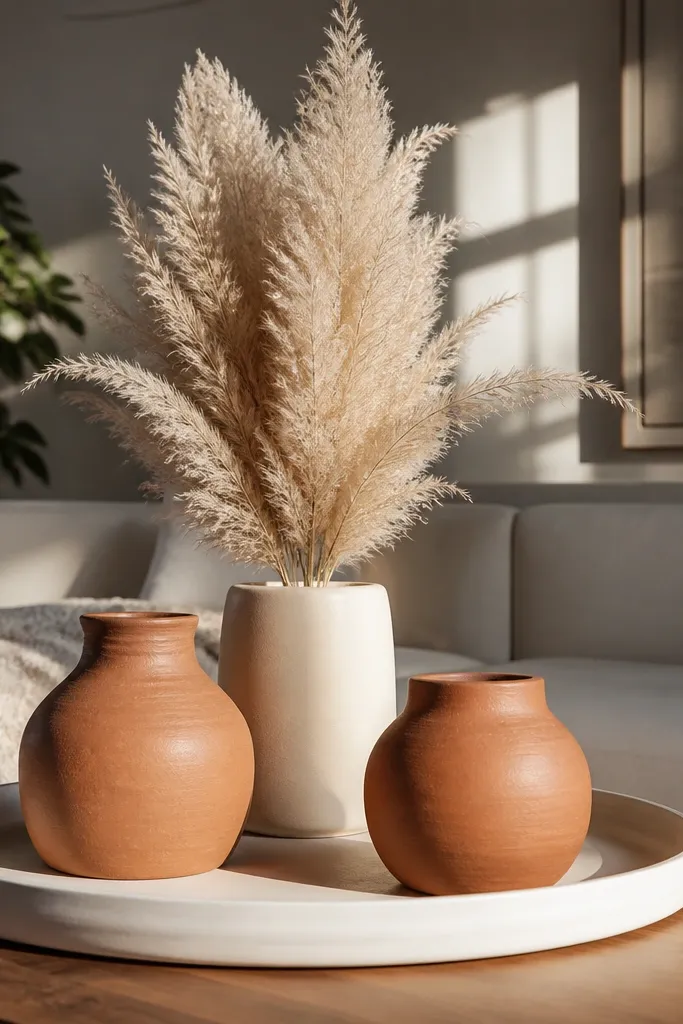
This theme hits the sweet spot between “plants” and “decor,” which is exactly what a coffee table needs. The white shallow tray keeps the base bright, terracotta pots add warmth, and a single dried pampas accent brings a soft, tall silhouette without needing a huge plant. The combination looks styled because the pampas provides height and texture, while the terracotta keeps it grounded. It works for seasonal styling too — swap pampas for different dried stems and keep the same tray layout. Skill level is easy, and you can get it right in 10-15 minutes.
Lay the terracotta pots first, then position the pampas behind them so the feather tips rise above the pots. Add a thin layer of dried moss or filler around the base of the pots so the tray looks finished at the bottom. Finish with one low accent like a small ceramic dish or a few smooth pebbles. Keep the pampas stems slightly fanned so the shape looks deliberate, not spiky.
Shake dried pampas outside before styling so you don’t get stray bits on your coffee table.
Don’t crowd the tray with multiple dried elements — one tall dried accent is enough.
9. Glass Terrarium Tray + Small Air Plants + Mini Mirror
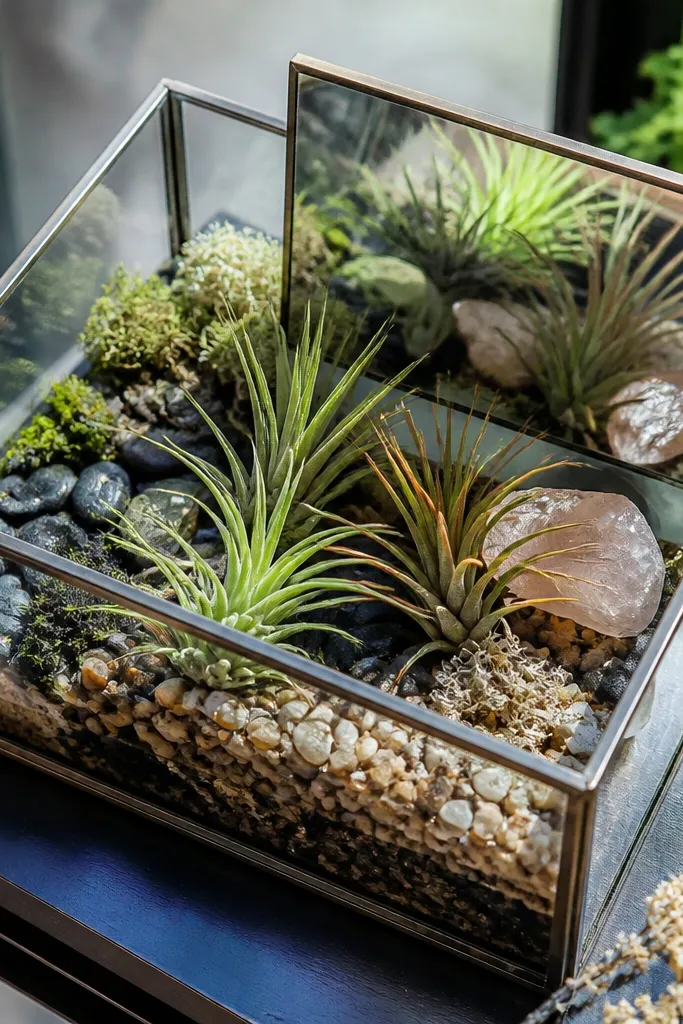
This look is for people who want a themed coffee table decor with plants that feels modern and a little magical. A glass tray does two things: it makes the stones and plants look layered, and it reflects light so the arrangement looks crisp even with minimal decor. Air plants don’t need soil, which means you can build a clean base with stones and a mini mirror for sparkle. The mirror also solves a spacing problem — it visually widens the tray so your layout doesn’t look cramped. It’s a bit more delicate than other options, but the styling is still simple and quick.
Add stones across the bottom of the glass tray so they cover the surface, then place a mini mirror on the back half to catch light. Arrange air plants with one centered cluster and two smaller pieces at the sides, angled toward the mirror. Use a thin layer of moss or decorative filler to anchor the bases so they don’t shift. Finally, wipe the glass with a dry microfiber cloth so fingerprints don’t show.
Mist air plants lightly and keep them away from direct HVAC vents so they don’t dry out fast.
Don’t place air plants too close together — they need airflow to look good.



