
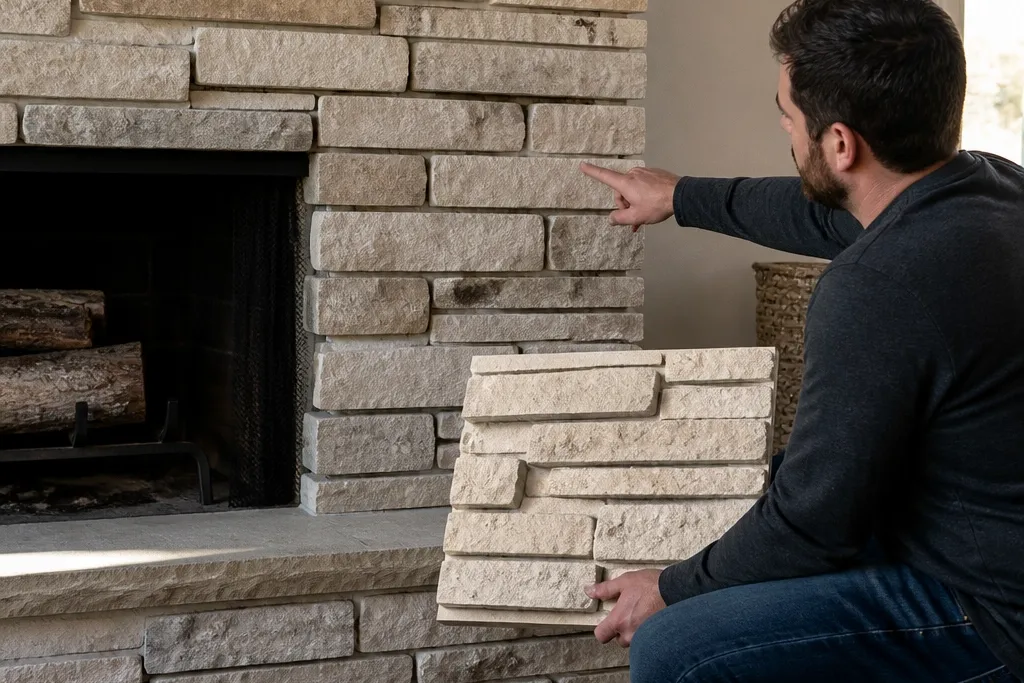
1. Building from the hearth instead of a true level line
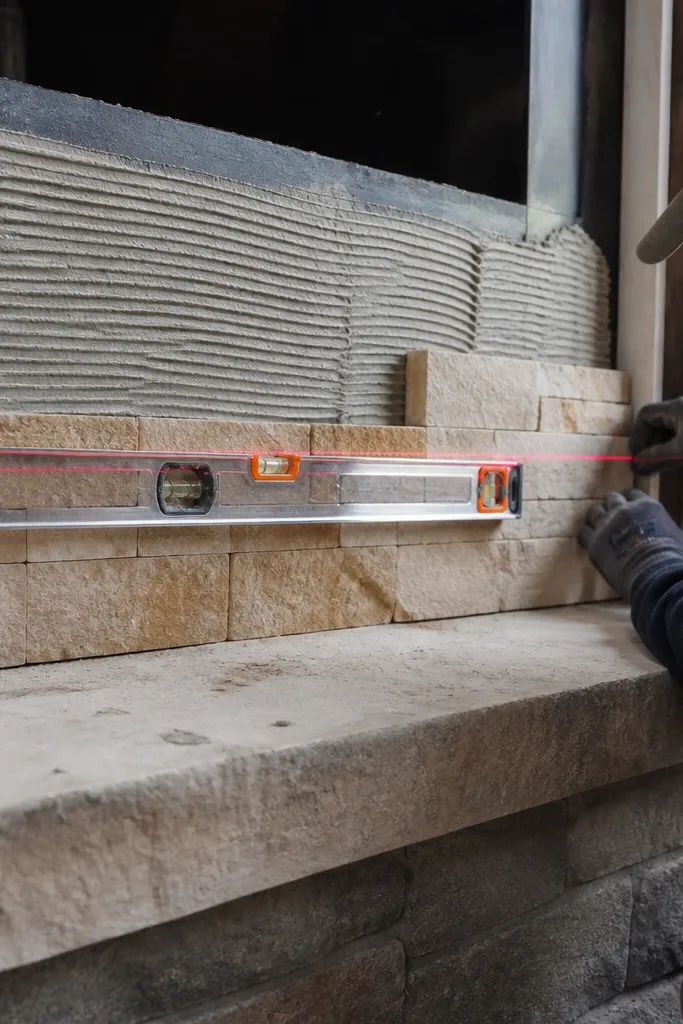
This is the mistake that makes everything look “almost right.” When you start your stonework from the hearth edge you assume is level, you create a slow drift across the surround. By the time you reach the corners, you’re forced into tiny cut pieces that look like an accident. The fix is to set a level baseline on the surround wall first, then build courses up from it so every row stays aligned.
Start by finding the highest point on the surround surface with a straightedge or level. Snap a horizontal line at your planned stone-course height using a laser or a long level, then mark vertical plumb lines at the sides of the opening. Dry-fit your first course on that baseline, including corner pieces, and only then mix mortar and begin setting. Keep checking level at least every two courses, not just at the start.
Editor's noteUse a scrap piece of stone and measure the average thickness at the back so your baseline accounts for real stone height, not packaging claims.
Skip thisDon’t start your first row from the hearth edge just because it looks straight.
2. Forgetting to plan for corner joints and ending up with ugly slivers
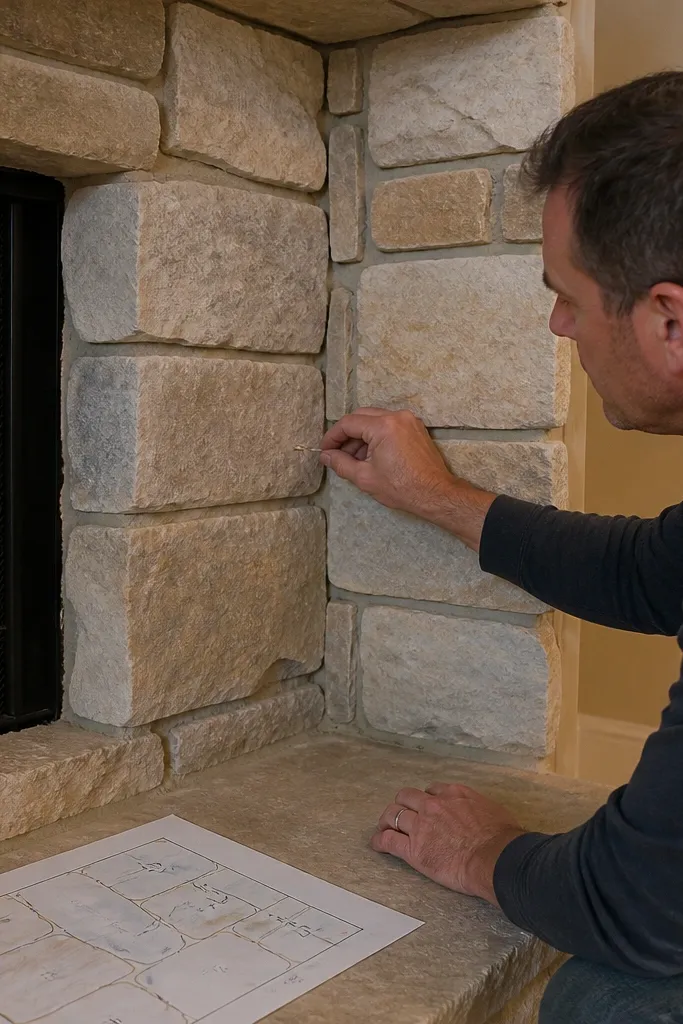
Corners are where stone mistakes become obvious. If you don’t plan your layout, corner areas force you into 1/2 in. Or thinner cuts that don’t blend with the rest of the face. Those slivers also chip more easily and tend to pop loose because there’s less bonding surface. A good plan distributes cuts so the smallest pieces happen in less noticeable spots and corners stay clean.
Dry-fit a full surround layout on the floor or directly on the wall without mortar. Decide your joint width target first (for many veneer installs, 1/2 in. Is a common visual sweet spot) and stick to it. At the corners, alternate long face pieces so the joint lands where you can maintain full bed contact, then mark your cut sizes before you ever start mixing. If you can’t avoid slivers, move the layout grid slightly so the sliver lands near the least visible edge.
Mark your “cut-friendly” spots with painter’s tape on the wall so you don’t end up cutting after you’ve already started setting stones.
Don’t wing the corner layout and hope the cuts disappear in grout.
3. Using the wrong mortar type for a stone veneer fireplace
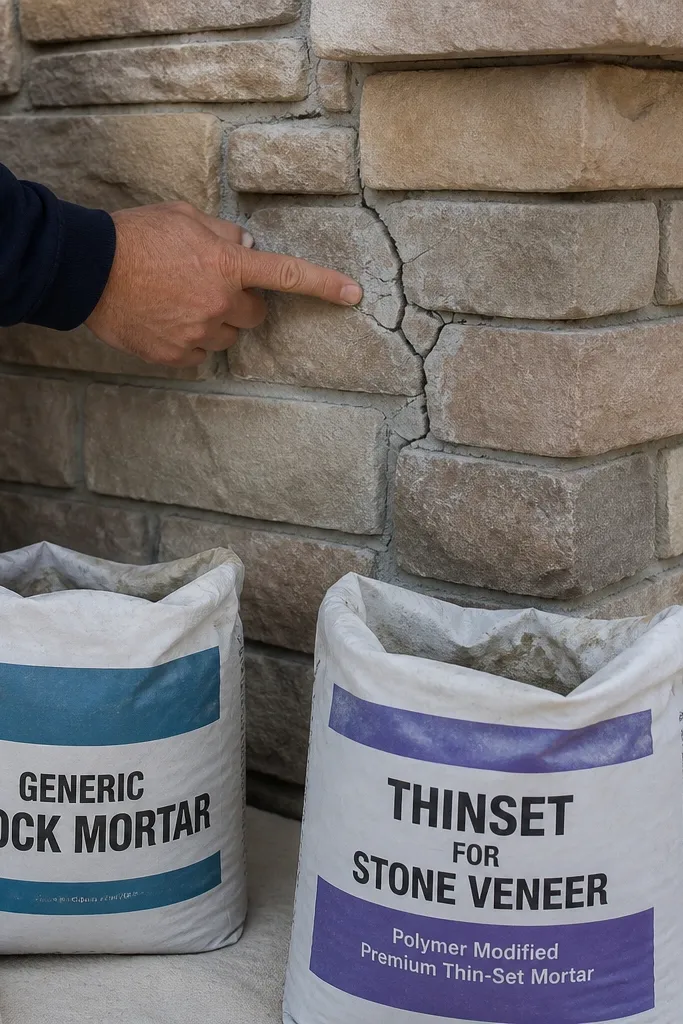
Mortar is not interchangeable. For many stone veneer projects, a polymer-modified thinset or a manufactured mortar made for veneer and stone gives you better bond and less shrinkage. If you use a generic mix meant for block masonry, it can be too stiff or too brittle for veneer and joint movement. The result is cracked joints, hollow spots, and stones that feel “sound hollow” when tapped.
Check your stone packaging and substrate. Choose a mortar system designed for stone veneer on your specific wall type (cement board, masonry, or properly prepared studs with lath and scratch coat). Mix to the right consistency: mortar should hold ridges from a notched trowel without slumping. Do a small test panel and let it cure, then gently try to pry a stone — if it breaks cleanly on the substrate, your bond is wrong.
Editor's noteUse the same water ratio every batch; don’t adjust by eye mid-job because color and strength drift fast.
Skip thisDon’t use whatever bag is closest in the garage.
4. Mortar too wet or too dry - you'll get slump or voids
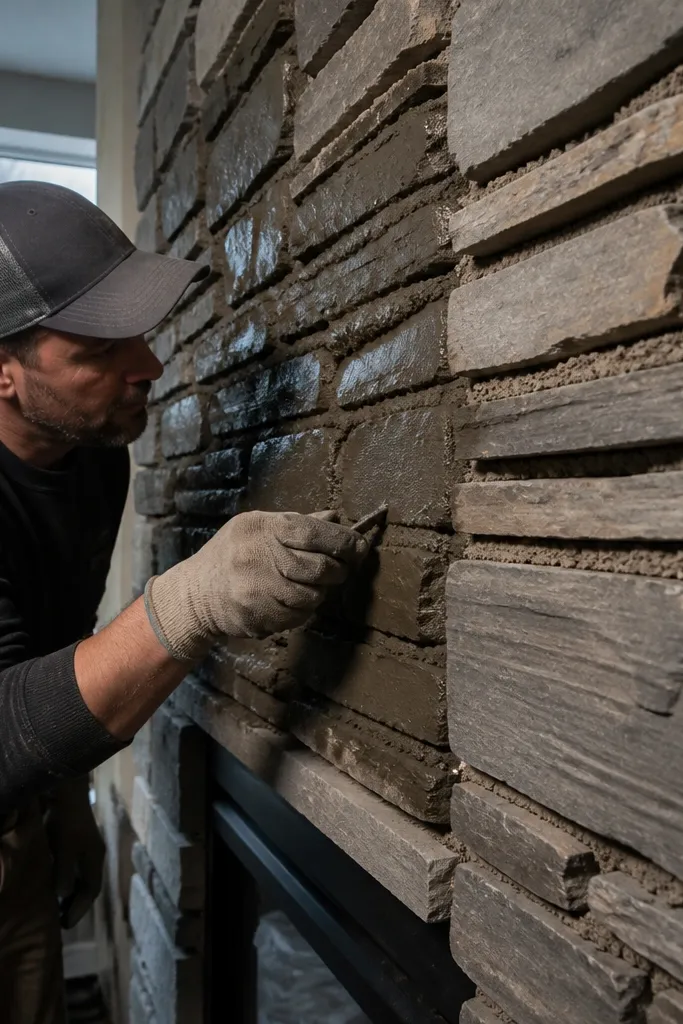
Mortar consistency decides whether you get tight bedding or hidden voids. Too wet and mortar squeezes out, widening joints and making the face look messy. Too dry and the stone doesn’t bed fully, leaving air gaps that show up as loose spots and uneven surfaces after the cure. You can’t fix sloppy bedding with extra grout later.
Mix mortar in small batches you can use within the stated open time. After mixing, wait the required slake time if the bag calls for it, then remix. When you spread mortar, do a back-butter layer on the stone and press it into the wall with firm pressure until it seats. Pull one stone after the first few to confirm full contact — you want mortar transfer across the back, not just a few stripes.
If mortar is smearing and sliding, stop and adjust water — don’t keep adding dry powder while it’s working.
Don’t grout over poor bedding hoping it will “lock” the stones in place.
5. Skipping back-buttering - hollow spots that crack joints later
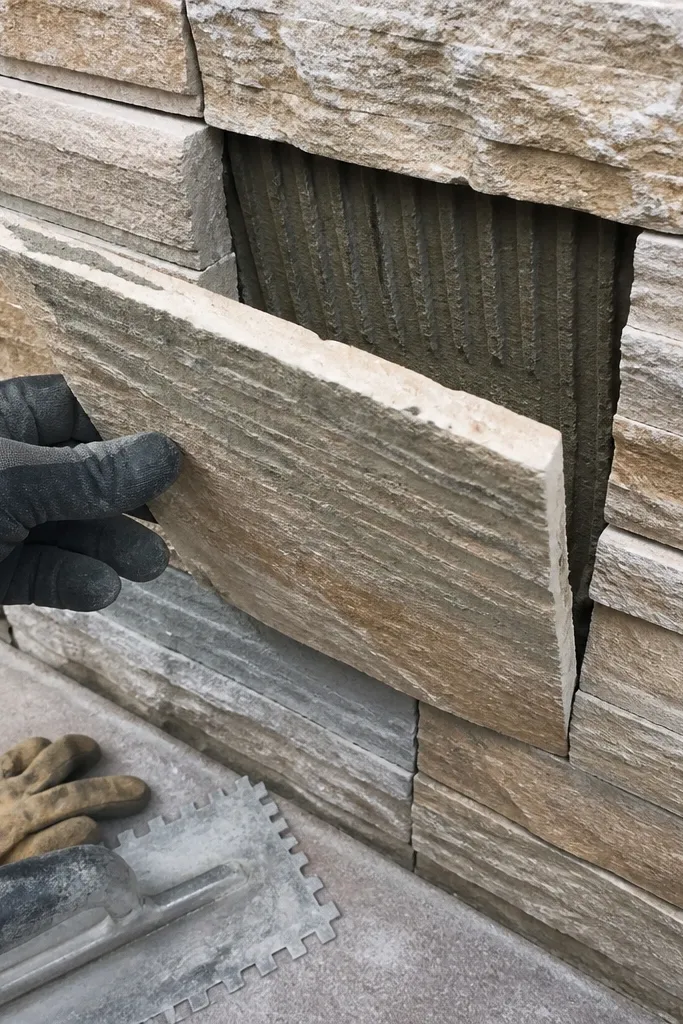
When you set stone without back-buttering, you’re gambling with contact. Thinset or mortar spread only on the wall can leave parts of the stone dry or lightly bonded. Those spots don’t fail immediately; they usually show up after cure as hairline cracks or stones that lift at corners. Back-buttering also helps you control lippage by letting you adjust seating height.
Start by troweling mortar onto the wall with the correct notch size for your mortar system. Then apply a thin, full coverage layer to the back of each stone piece — not just a smear. Press the stone in and twist slightly to collapse ridges and improve transfer. Check contact by lifting a stone mid-install; if you see dry patches on the back, stop and fix your technique before continuing.
Work in small sections so mortar doesn’t skin over before you set the next stone.
Don’t assume “thin veneer” means you can skip proper bedding.
6. Ignoring lippage - uneven faces make the whole surround look cheap
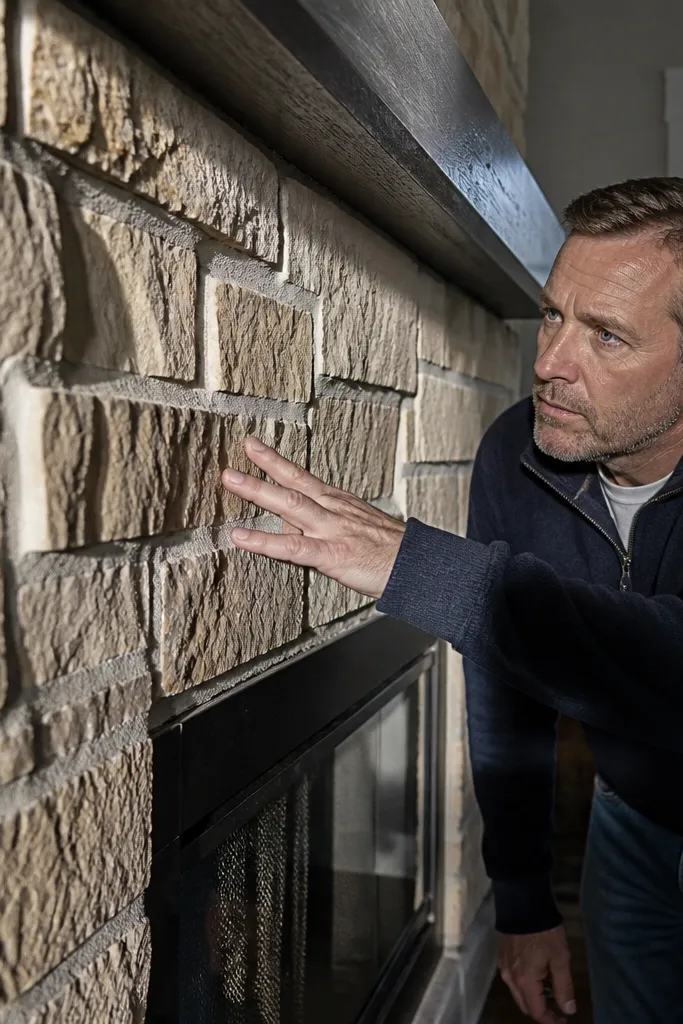
Lippage is the difference in height between adjacent stones. On a fireplace, it catches light and makes your wall look wavy even if your lines are straight. It’s also a finishing nightmare because you’ll try to fix it with thicker joints, which makes the mortar stand out too much. The fix is controlling thickness at install time, not patching after.
Dry-fit two or three rows together and check the face alignment across corners and transitions. Use a grinder or wet saw to trim the back of thicker pieces if your stone has variation — keep cuts consistent. When setting, press and adjust with firm pressure so mortar supports the low spots and you don’t force high stones to sit proud. After cure, scrape and grind small high ridges before sealing so the surface stays even.
Editor's noteKeep a small sanding block and a shop vacuum ready for quick face cleanup before you move to sealing.
Skip thisDon’t fix lippage by smearing extra mortar into the joint.
7. Choosing joint width after the stone is already on the wall
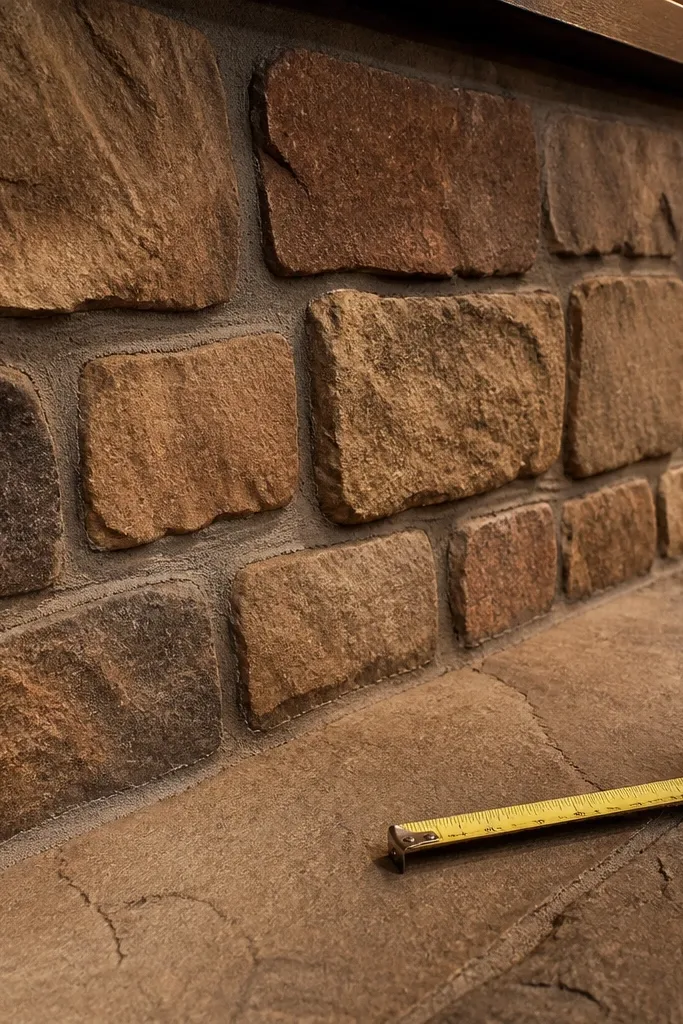
Joint width is a design decision, not a random outcome. If you start setting stones and only later try to “eyeball” spacing, you’ll create joints that vary from 1/4 in. To 3/4 in., which reads as sloppy. That variation also affects how mortar cures and how light reflects across the face. Pick a spacing plan before the first stone goes up.
Decide your target joint width based on the stone type and your look goal. For many ledger styles, 3/8 in. To 1/2 in. Reads clean without looking too heavy. Use spacers or consistent edge-to-edge technique and measure the gap after every few stones, not just at the start. If you need to adjust, pull stones before mortar skins over; once cured, resizing joints means grinding and redoing mortar.
Editor's noteIf the stone edges are irregular, switch to “gap control” with a consistent technique rather than fixed plastic spacers.
Skip thisDon’t rely on “some pieces will look fine” while you ignore the ones that don’t.
8. Using a mortar color that's too close to the stone or too far off
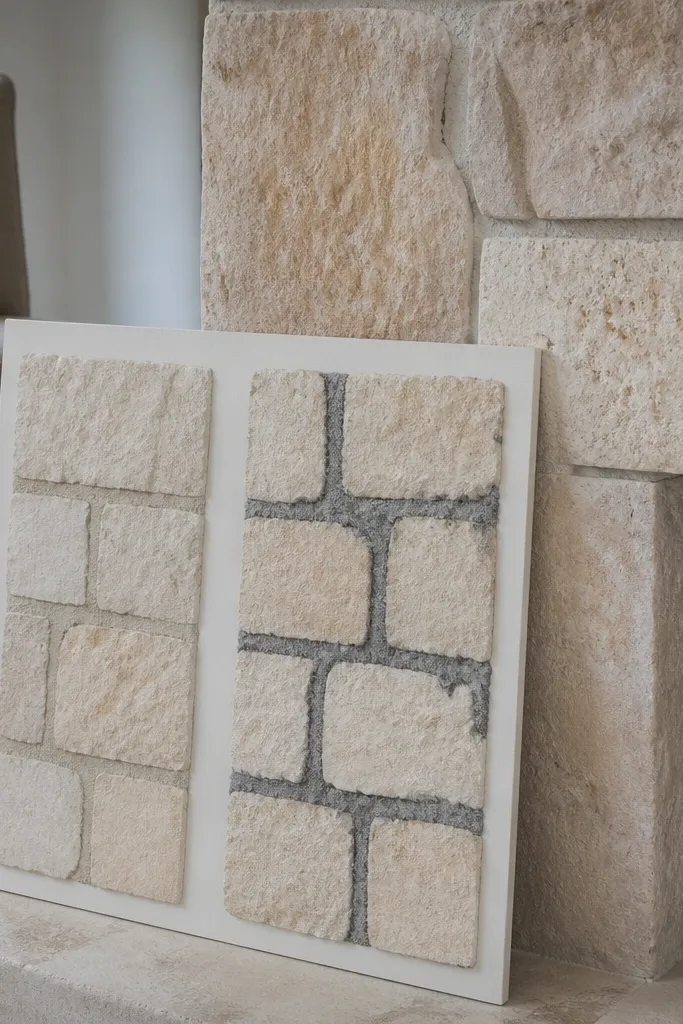
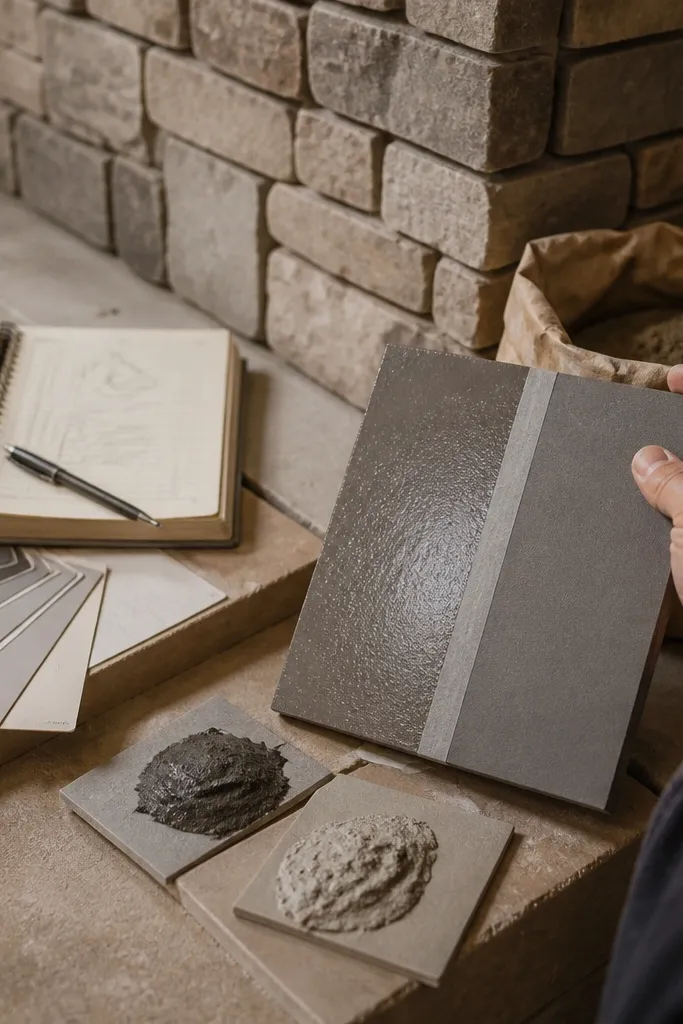
Mortar color is where DIY fireplaces get weird. A mortar that’s too close to the stone makes everything blend and hides the layout, especially on textured faces. A mortar that’s too contrasty can look like grout lines on tile — harsh and modern when you wanted stone. The fix is to test mortar color on a scrap panel and choose a tone that supports the stone’s undertone.
Make a small test batch using the exact water ratio and the same product you’ll use on the wall. Apply to a scrap board or leftover stone pieces and let it cure fully — color shifts after cure. Compare in the same lighting you’ll have in the room, including evening lamp light. Only then commit to the final mix color and add-ons like sand or pigment if your product allows it.
Write down the exact scoop counts or bag amounts for your test so your next batches match.
Don’t mix mortar on the fly by “eyeballing” shade.
9. Grouting too soon - the joints smear and stain
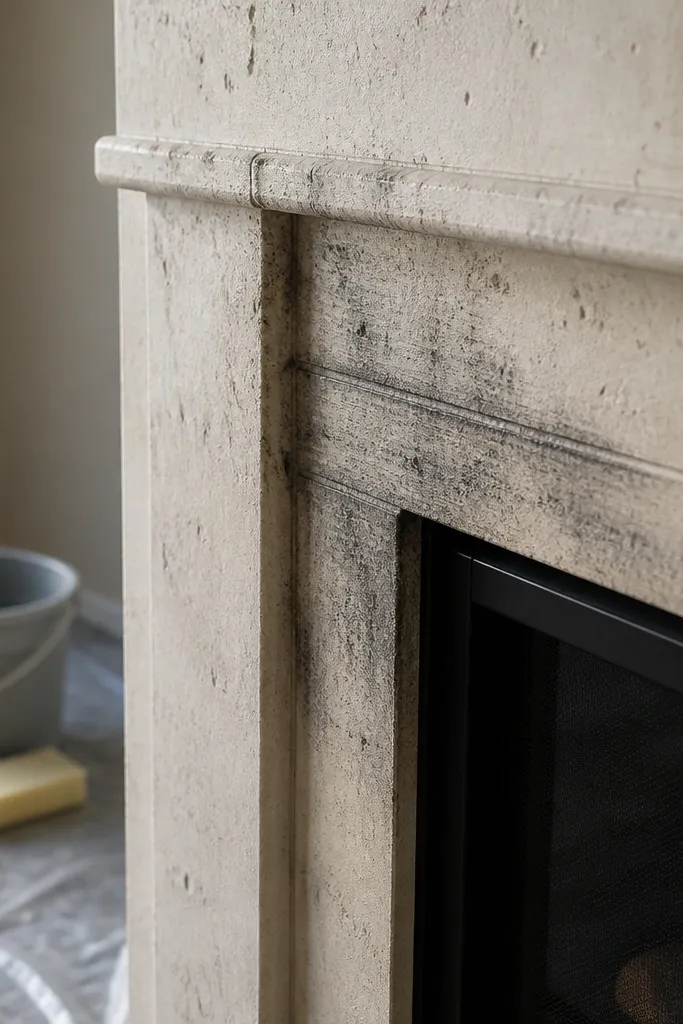
Stone faces stain easily when you grout before the setting mortar is ready. If the bed mortar is still curing, it releases moisture and the joint compound can smear into textures. You end up with dark streaks that never fully clean out. The fix is timing: wait for the right stage so joints accept grout without turning the face into a mess.
Follow the cure guidance for your mortar system, not a generic rule. Touch-check the surface: if it feels rubbery or damp when you lightly press, wait. When you grout, use a grout bag or pointing trowel and fill joints in passes, then tool them consistently. After tooling, wipe with a barely damp sponge and buff gently; don’t flood the stone texture.
Mask adjacent surfaces like the mantel shelf with painter’s tape so drips don’t get baked into finish.
Don’t grout the next morning because you’re excited to see it done.
10. Tooling joints inconsistently - some are concave, some are flat
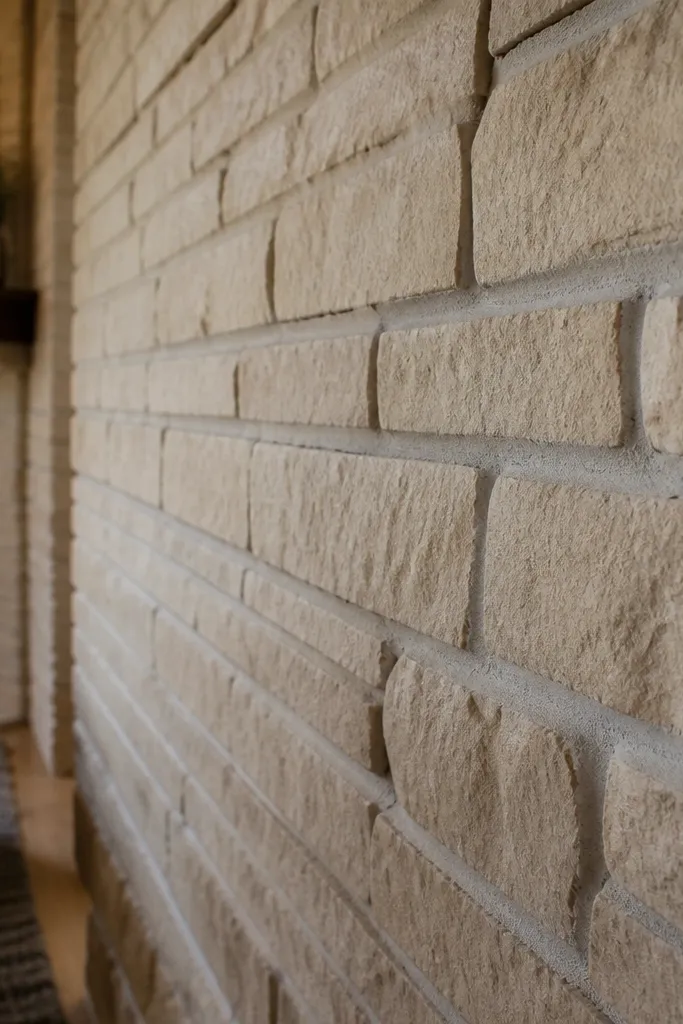
Joint tooling changes the whole look more than people think. If you tool some joints concave and others flat, the mortar catches light differently and the surround looks patchy. It also affects how water sheds on exterior-facing stonework. The fix is choosing one tooling profile and sticking to it across the entire fireplace.
Pick a tooling method before you start: concave joints with a jointer tool read clean on many fireplaces, while struck-flat hides less detail. Practice on a scrap board so you know how much pressure to use. Work in small sections and keep your tool shape consistent, cleaning the tool between batches so it doesn’t drag. If you mess up, remove mortar while it’s still workable, not after it hardens.
Keep a damp rag for tool cleaning, but don’t wipe mortar with soaking water.
Don’t let the last third of the job get sloppy because your hands are tired.
11. Rushing cleanup - haze and stuck mortar ruin the stone face
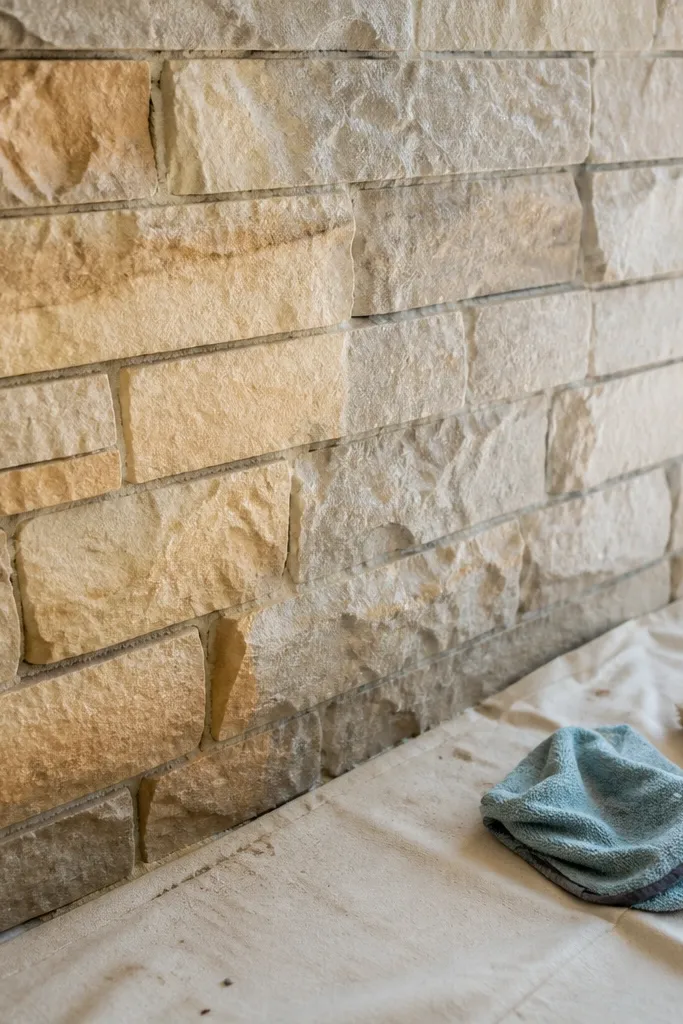
Mortar haze can make good stone look chalky and gray. If you let joint compound dry on textured faces, you’ll struggle to remove it without scuffing. Once you seal over haze, it’s harder to correct and your surface looks permanently dirty. The fix is consistent wipe timing and gentle cleaning suited to your stone type.
After tooling joints, do a controlled wipe with a damp sponge — not a wet rag. Wipe in one direction, then buff with a dry cloth as the stone surface begins to lighten. For stubborn haze, wait until fully cured and use a stone-safe mortar haze remover if your stone allows it. Test any cleaner on a hidden spot first, especially on limestone or softer stones.
Editor's noteUse two buckets: one for cleaning sponge rinse and one for fresh water, so you don’t reapply dirty slurry.
Skip thisDon’t pressure-wash or scrub hard while mortar is still fresh.
12. Installing over the wrong substrate without a proper base system
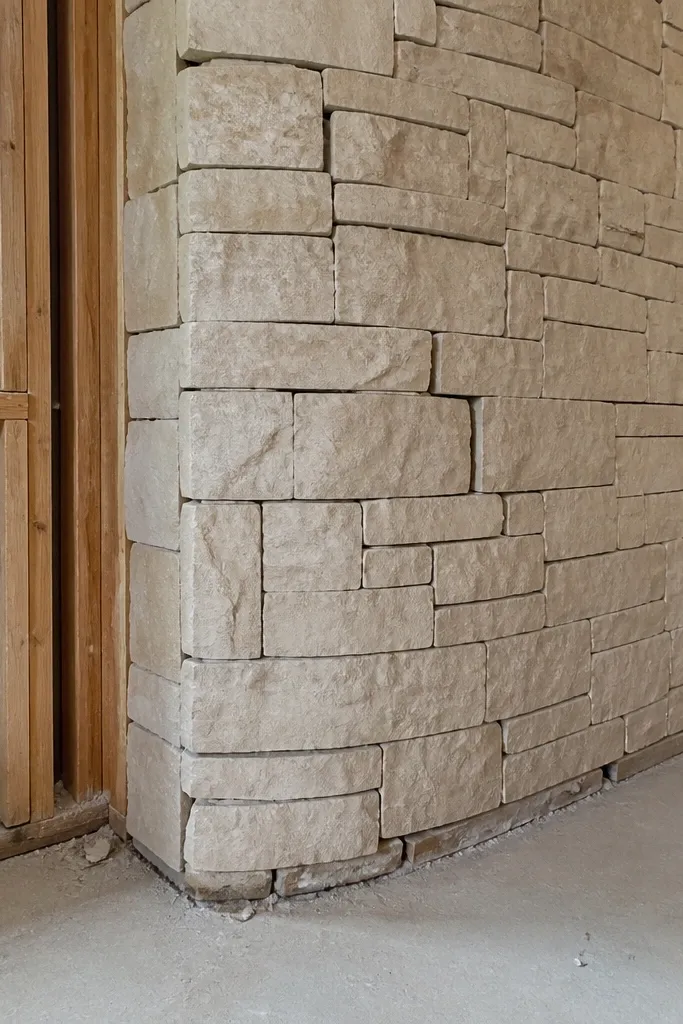
Stone needs a stable, compatible base. If you set veneer on drywall without proper backer, movement cracks the mortar and the stone joints open up. If you install over an uneven surface, you’ll get hollow spots and lippage. The fix is making sure you have the correct substrate system for your setup, including moisture and heat considerations near the firebox.
Identify your wall type: masonry, cement board, or wood studs. For stud walls, use a proper backer system designed for stone veneer and follow the installation fastener pattern. For masonry, clean thoroughly and remove loose material so the mortar bonds. Before stone goes up, check flatness with a 6 ft straightedge and shim or patch high and low spots so the first course beds evenly.
If you can rock the board with your hand, stop and fix that before stone.
Don’t stick stone to paint, loose drywall, or uneven patches.
13. Miscalculating clearance around the firebox and heat source
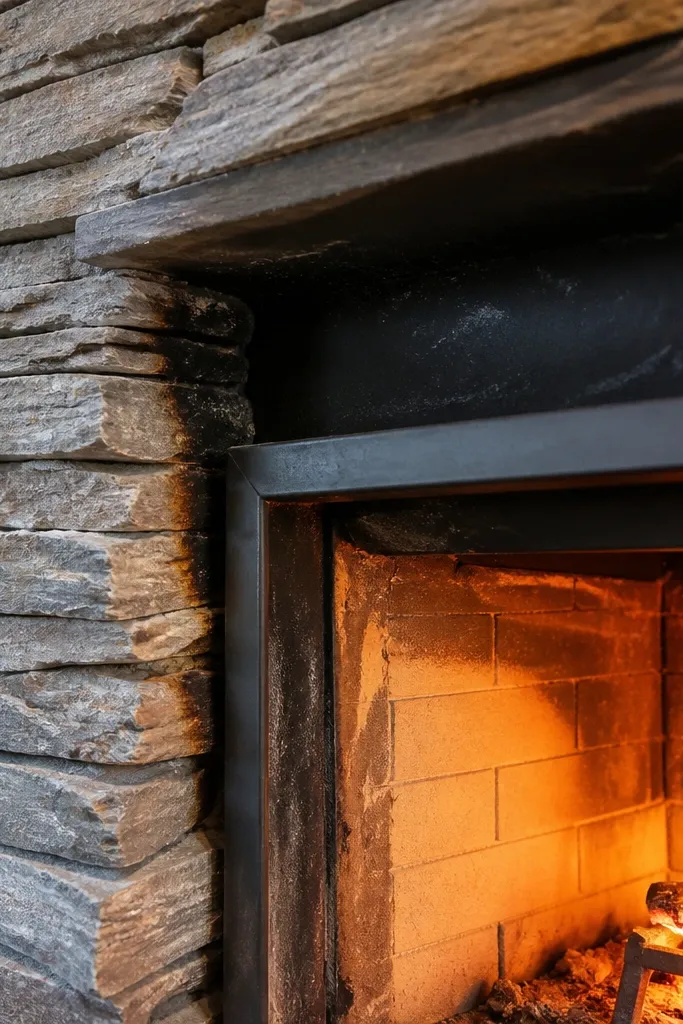
Heat clearance mistakes can cause cracking and ugly discoloration, even when the stone itself is fine. The area around the firebox needs the right noncombustible materials and spacing so heat doesn’t cook your substrate or mortar. DIY fireplaces often look okay at first and then develop hairline cracks or soot staining after a few burns. The fix is respecting the clearance requirements and using heat-rated components where needed.
Identify whether you’re installing veneer around a rated fireplace or a non-rated surround. Use the manufacturer’s clearance requirements for the firebox and flue area, not a random online number. Install any required heat shields or noncombustible backer materials before stone placement. Maintain planned expansion gaps where required and don’t bridge them with mortar.
If you’re unsure about a clearance area, measure twice and leave extra air — you can cover later with a proper trim piece.
Don’t pack mortar or stone into spaces meant to stay clear for heat.
14. Skipping expansion joints where the system needs movement
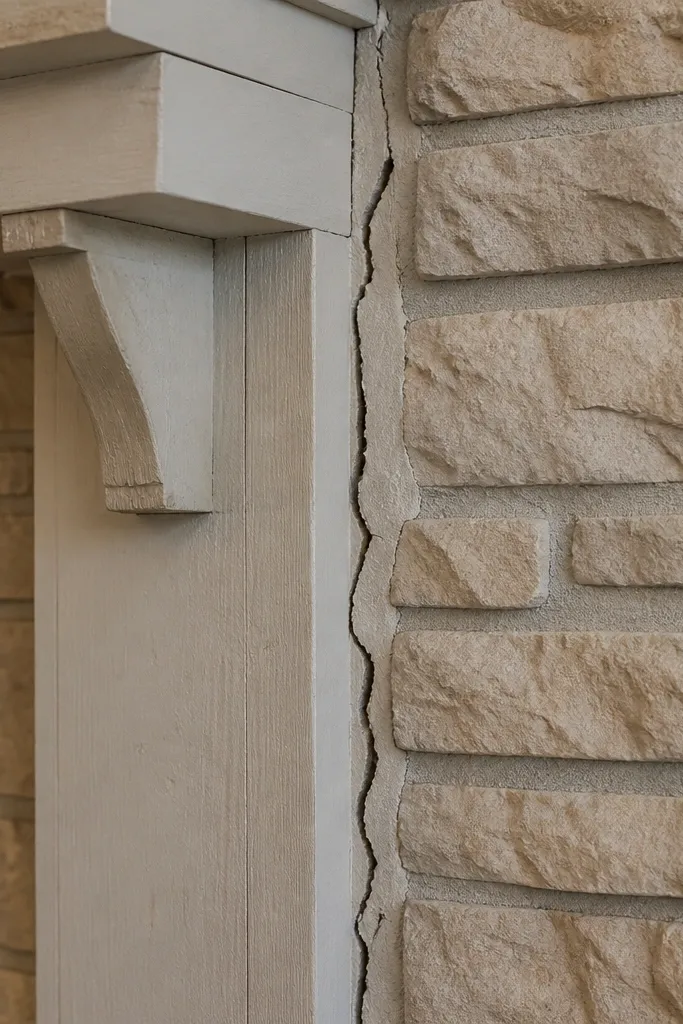
Stone and mortar move with temperature and humidity. Without the right expansion or control joints, stress concentrates and joints crack in long straight lines you can’t hide. On fireplaces, that cracking often follows where different materials meet — like mantel framing and the stone surround. The fix is adding the right movement allowance and using trim details that absorb change.
Plan transition points where different materials meet: mantel, framing, and any metal transitions. Use an appropriate joint system or movement gap where the instructions require it, then cover with trim or sealant designed for that location. Tool joints so they don’t bridge movement gaps. If you see a crack starting along a transition, stop and correct the cause before you continue setting more stone.
Use a sealant rated for temperature exposure only in the movement areas; don’t smear sealant into every joint.
Don’t fill every gap with rigid mortar and call it done.
15. Not accounting for stone thickness changes between batches
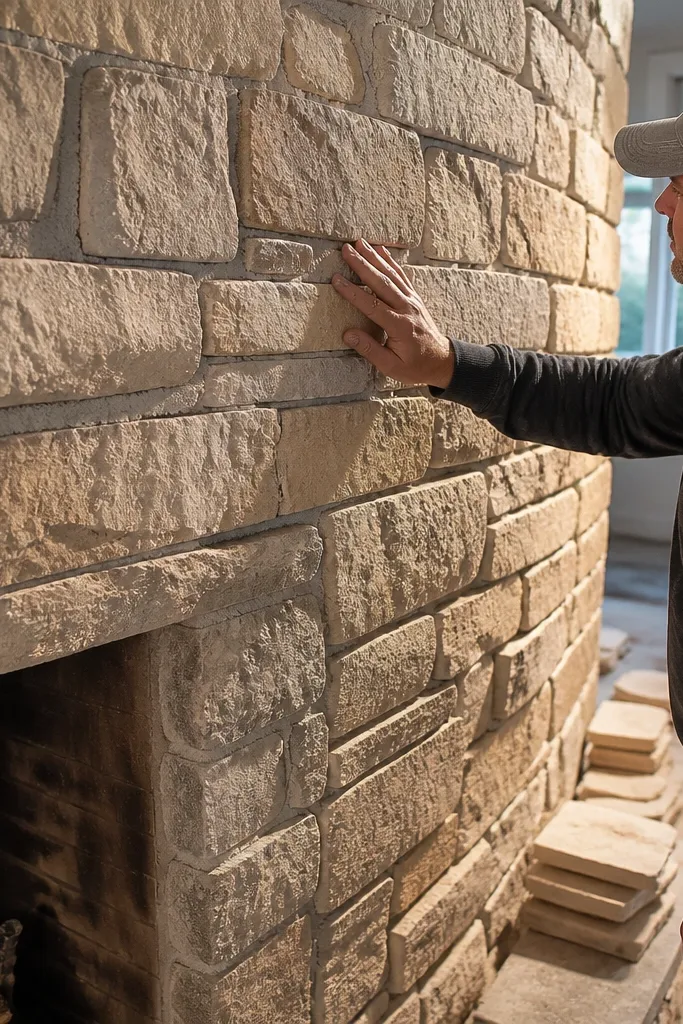
Stone varies, especially with natural faces. If you open one box and build your whole surround from it, you can end up with noticeable height jumps when you switch to another box. Those jumps create wavy courses and make your joints look inconsistent. The fix is blending pieces from multiple boxes and controlling thickness at install time.
Before you start, lay out stones and sort them by thickness into three piles: thin, medium, thick. When you set a course, alternate pieces from different piles so heights average out. If your stone has a range, mix pieces from at least two boxes per course. When you find a piece that’s dramatically thicker, trim the back or choose a different piece instead of forcing it to seat with thick mortar.
Keep a small “reject” pile for pieces that need too much trimming to match the rest.
Don’t build the whole surround from a single box.
16. Using a wet saw wrong - chipping faces and widening cut lines
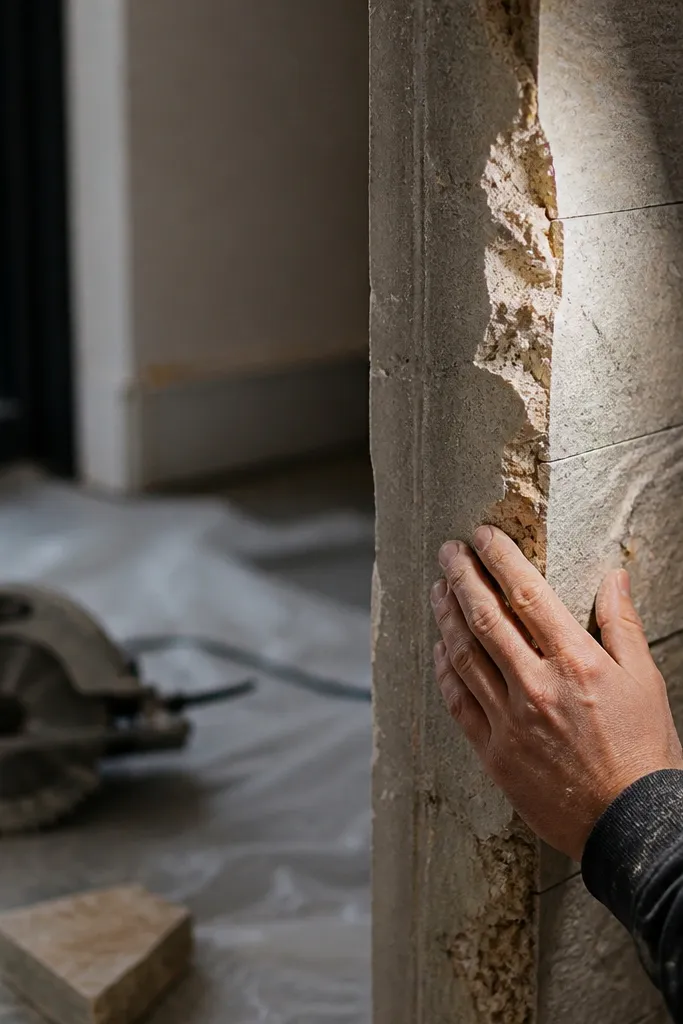
Cuts show on stone fireplaces because the opening is a big flat frame. If you cut too fast or without the right blade, you chip the face and end up with jagged edges that don’t fit your joint lines. The fix is using the right blade, controlling feed speed, and planning cuts so the cleanest faces show. You also want to dry-fit cut pieces so you don’t mortar in an ugly gap.
Use a wet saw with a blade meant for your stone type — don’t assume all blades work the same. Mark cut lines with a pencil and support the stone so it doesn’t rock during the cut. Let the blade reach full speed, then feed steadily without forcing. After cutting, test-fit the piece dry, then back-butter and set once the gap matches your planned joint width.
Keep a marker line on the back side so you can rotate pieces to hide minor edge chips where they’re less visible.
Don’t rush the cut — forcing the stone is how you destroy the face.
17. Sealing too early or using the wrong sealer
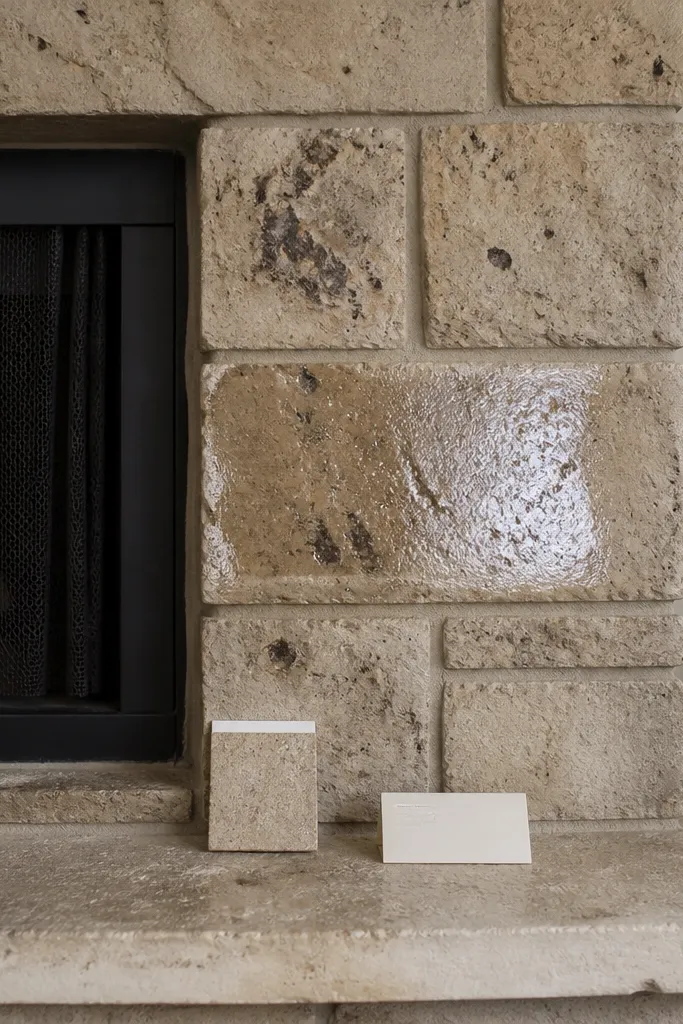
Sealers change how stone absorbs moisture and stains. If you seal before mortar fully cures, you trap moisture and get blotchy dark spots or uneven sheen. Some sealers also react badly with certain mortar colors, leaving streaks. The fix is waiting for full cure and using the sealer matched to your stone and mortar system.
Wait until mortar is fully cured per the product instructions, not just “dry to the touch.” Test the sealer on a hidden area first and confirm the color shift you expect. Apply with the right applicator for your stone texture and keep a wet edge so you don’t get lap marks. After application, wipe off excess if the product calls for it and let it cure without heat from the firebox.
Do a water drop test on a scrap piece of the same stone before sealing to confirm it actually beads the way you want.
Don’t seal on a fresh install because you want it to look done.
18. Forgetting to protect the firebox opening edges and throat area
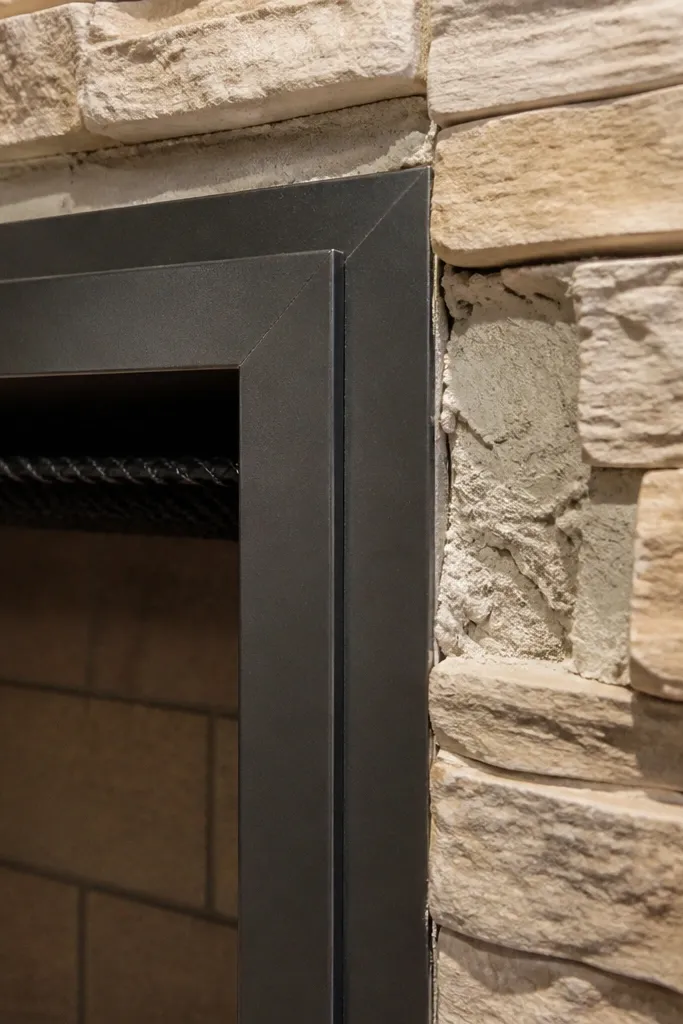
The area near the opening is where soot and heat exposure show up first. If you treat those edges like a normal stone wall, you can get staining, cracking, and mortar breakdown around gaps and transitions. The fix is using proper trim details and heat-safe materials at the firebox interface so your stonework stays clean after the first real burn cycles.
Identify the exact boundary where stonework stops and the firebox interface begins. Use noncombustible trim or a heat-rated barrier where the manufacturer requires it, then keep mortar away from spaces meant to stay clear. Finish the stone edges with proper returns or cut pieces that maintain your planned joint size. After installation, inspect for gaps where soot could travel and correct any poor sealing at transitions with the appropriate rated materials.
Take a flashlight and check every joint at the corners — soot finds the tiniest path.
Don’t mortar over every gap at the firebox interface.
19. Ignoring drainage and water management on exterior fireplaces
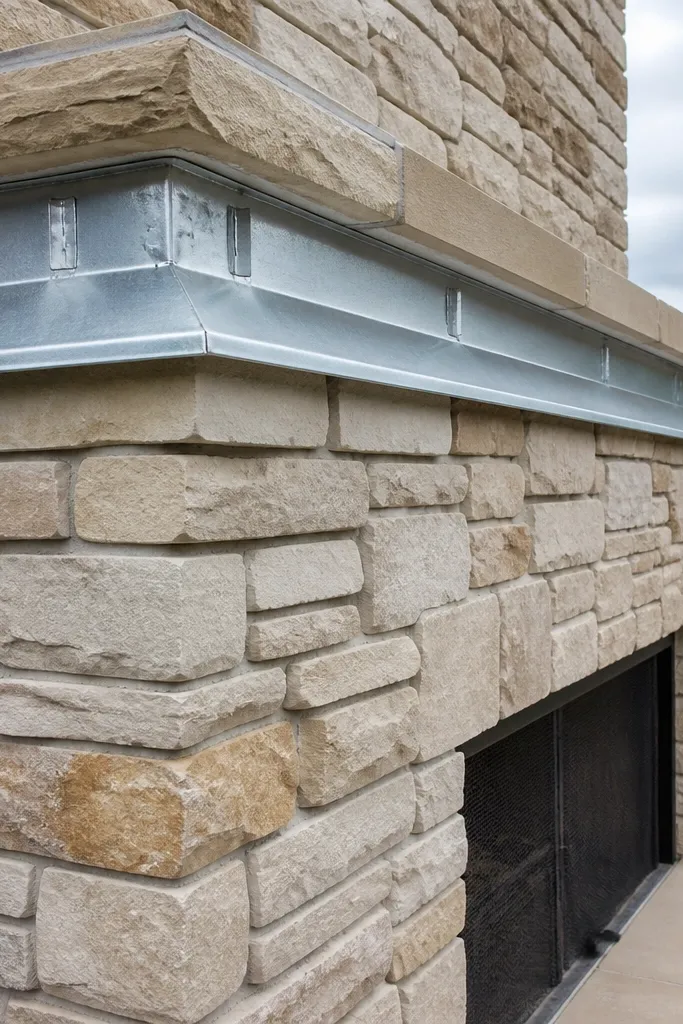
If your fireplace is outdoors or exposed to rain, water behavior decides longevity. Bad water management leads to dark staining, freeze-thaw damage, and joints that fail faster. Indoor fireplaces don’t get the same abuse, so this is a common outdoor-specific mistake. The fix is correct flashing, proper weep paths, and using breathable mortar where appropriate for your system.
Confirm whether your fireplace has an exterior wall system and flashing. Install or verify flashing behind the stone where water could enter, and keep the stonework from trapping water at the base. Avoid sealing everything airtight if your system needs breathability. If you’re in a freeze zone, prioritize proper materials and don’t let water sit in horizontal joints.
Editor's noteLook for direct paths where water can run behind stone; fix those before you seal the face.
Skip thisDon’t assume exterior stone will be fine without flashing and water planning.
20. Overbuilding the mantel surround and hiding expansion movement
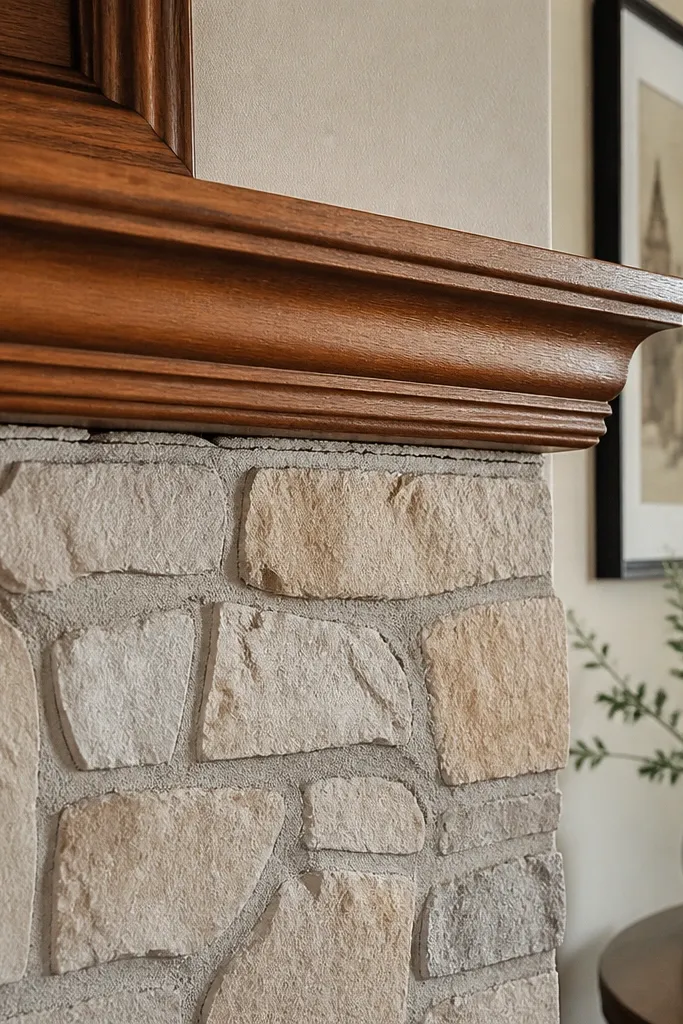
Mantels and frames move differently than stone veneer. If you rigidly tie stonework across a framing seam or lock it into a mantel support without allowing movement, the stone joints crack at that boundary. The result looks like a design flaw even when your stone is otherwise perfect. The fix is using trim and movement joints at transitions so the stone can stay intact while the frame does its job.
Identify where the mantel support meets the wall and where any framing changes direction. Plan a movement gap at that boundary and cover it with a trim piece that matches your design. Don’t bridge the gap with mortar — leave it free for the right sealant or cover detail. Check straightness before you set the last course so you don’t force a tight fit that later cracks.
Dry-fit the mantel trim pieces and mark where they hide gaps so you don’t have to overfill joints after the fact.
Don’t mortar stone directly to framing seams that need movement.
21. Skipping dust control - mortar dust and powder ruin bond and finish
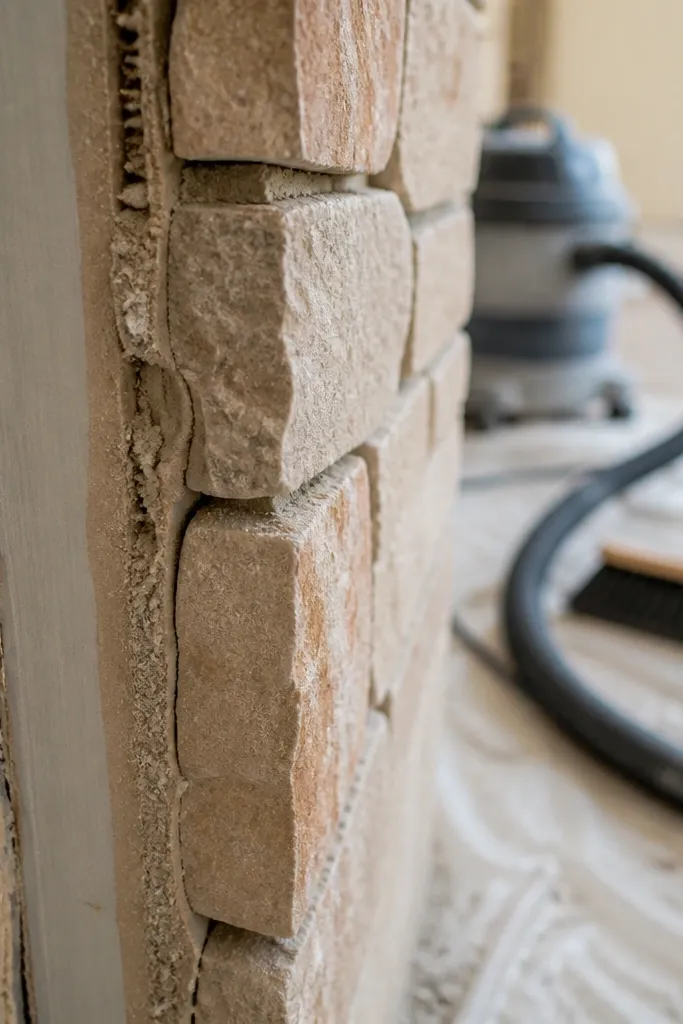
Stone and mortar bond needs clean surfaces. If you leave dust from drilling, sanding, or demolition on the wall, mortar adhesion drops and you get weak spots. The stone might feel set, but it can release later, especially at edges. The fix is cleaning before you start and during the job so mortar bonds to substrate, not to grime.
Before installation, scrub and vacuum the substrate, then let it dry. When you cut stone, brush off dust from the back and edges before back-buttering. Keep a shop vac running near your saw and wipe the wall area before setting. If your wall gets dusty mid-job, stop and clean — don’t keep stacking mortar over dirt.
Use a stiff nylon brush for dusty board surfaces; it’s faster than wiping and doesn’t smear grit around.
Don’t set stones on surfaces that feel dusty or chalky.
22. Not labeling courses and getting the "random" pattern wrong
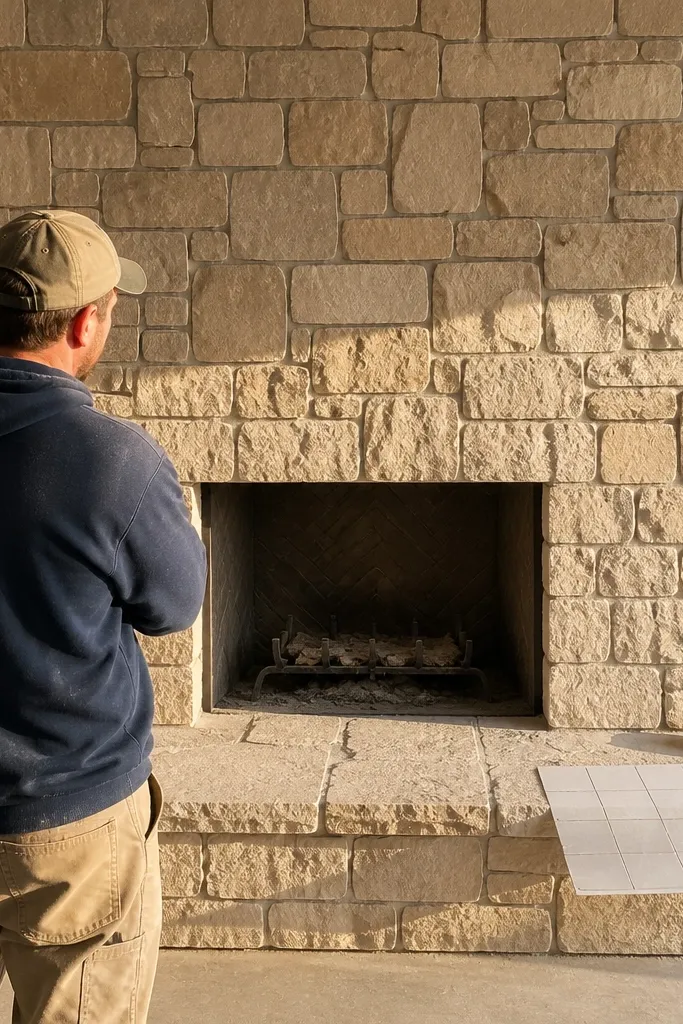
Even random stone can look planned if you control face direction and mix. When you don’t label or track what goes where, you end up with too many similar pieces in one area and awkward repeats. That makes the surround look rushed, even if every stone is technically installed right. The fix is controlling pattern placement and face direction with a dry-fit plan you can follow.
Dry-fit a few feet of surround and mark the wall with painter’s tape for course numbers. Sort stones by face direction and size so you can place them intentionally. As you set, pull from your sorted piles and keep face direction consistent within each section. If you need to pause, photograph the layout and leave tape marks so you don’t lose your course sequence.
If the stone has directional texture, keep the same “up” orientation on each side so the light reads consistent.
Don’t mix all stone pieces randomly and hope it balances out.



