
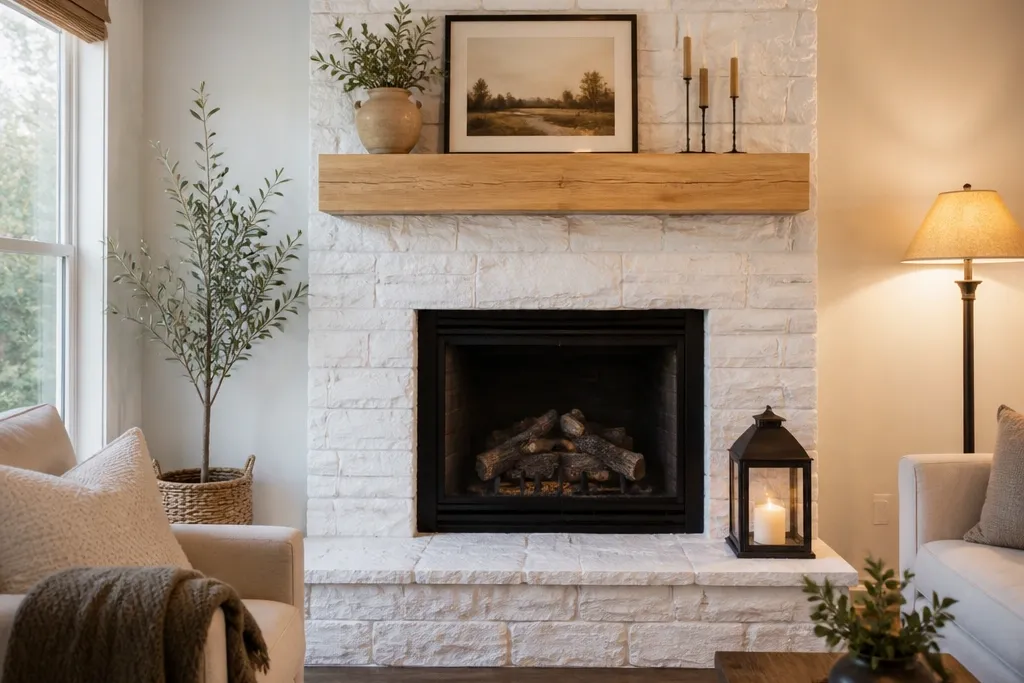

1. Limestone-look whitewash with a matte sealer
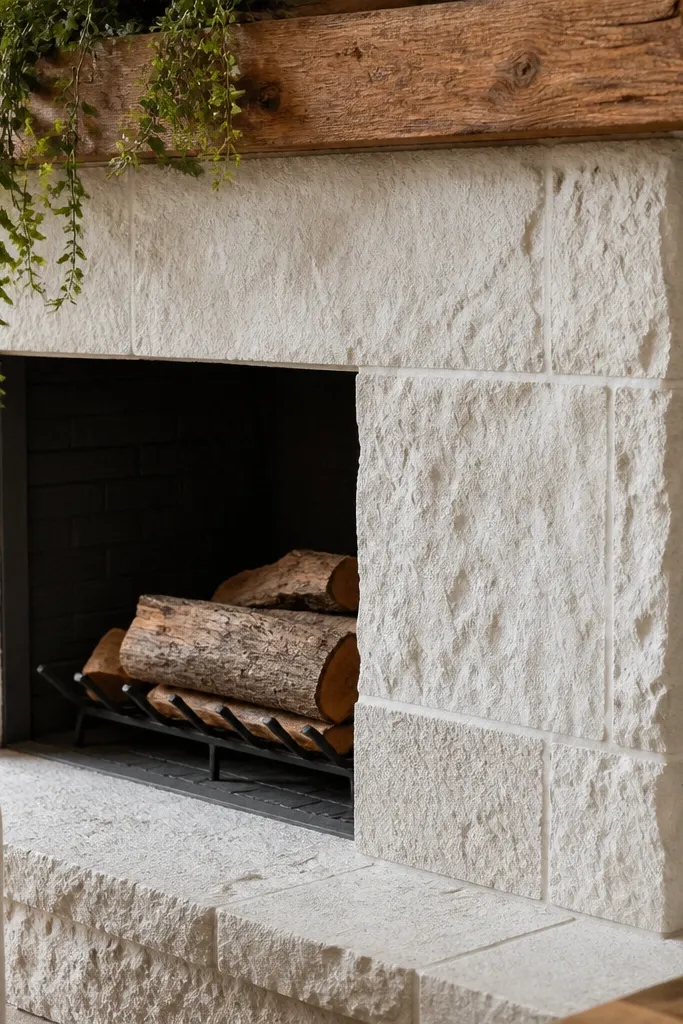
Start by cleaning the stone with a degreaser and a stiff nylon brush, then rinse and let it dry fully. Mix a whitewash using masonry paint thinned with water (a common starting point is 1 part paint to 2-3 parts water), then apply with a rag or wide brush in thin coats so the grooves still show. Once it’s dry, apply a penetrating matte sealer made for natural stone, working in thin coats and wiping off excess. Finally, do a careful touch-up around the hearth edge where runoff tends to collect.
If your fireplace stone reads too dark or too gray, a controlled whitewash is the fastest way to brighten it without looking like you painted over rock. The goal is to keep texture visible while softening the undertone, so the room feels lighter but not washed-out. This works best on porous stones like limestone, travertine, or older natural stone that drinks product in uneven spots. You’ll need a matte stone sealer on top, because a shiny topcoat turns the texture into glare. Skill level is basic, and a small reno usually takes a weekend including curing time.
Skip thisDon’t go heavy on the first coat — thick whitewash hides texture and makes the stone look chalky.
Editor's noteUse painter’s tape to protect the mantel and any painted trim so the whitewash doesn’t migrate into edges.
2. Warm greige limewash to kill the gray cast
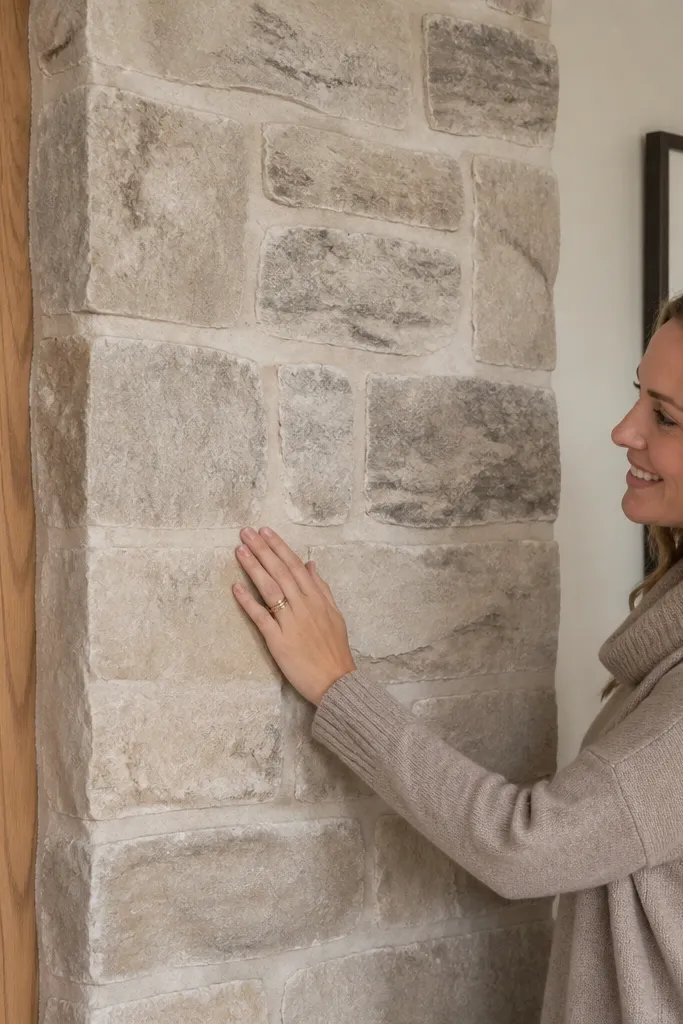
Gray stone can make a room feel cold, even with good lighting. A warm greige limewash keeps the stone airy while nudging the color temperature toward beige rather than blue-gray. This is a strong move when your fireplace has mixed tones or blotchy areas that you don’t want to fully cover. It also pairs well with oak, walnut, and black metal accents because it doesn’t fight other woods. This is a “small reno” friendly option because it changes the look dramatically without removing stone.
Clean and dry the stone thoroughly, then lightly dampen it if your limewash product calls for it. Apply limewash in thin, even passes — you’re tinting and softening, not coating. Let the first coat set, then add a second coat only where the stone still looks too dark. After curing, seal with a limewash-compatible stone sealer in a matte or low-sheen finish.
Test on a hidden corner and check it under both daytime and lamp light before you commit to the full surround.
Avoid using high-sheen clear sealer on limewashed stone — it makes the finish look wet and uneven.
3. Chalky grout refresh with color-matched mortar paint
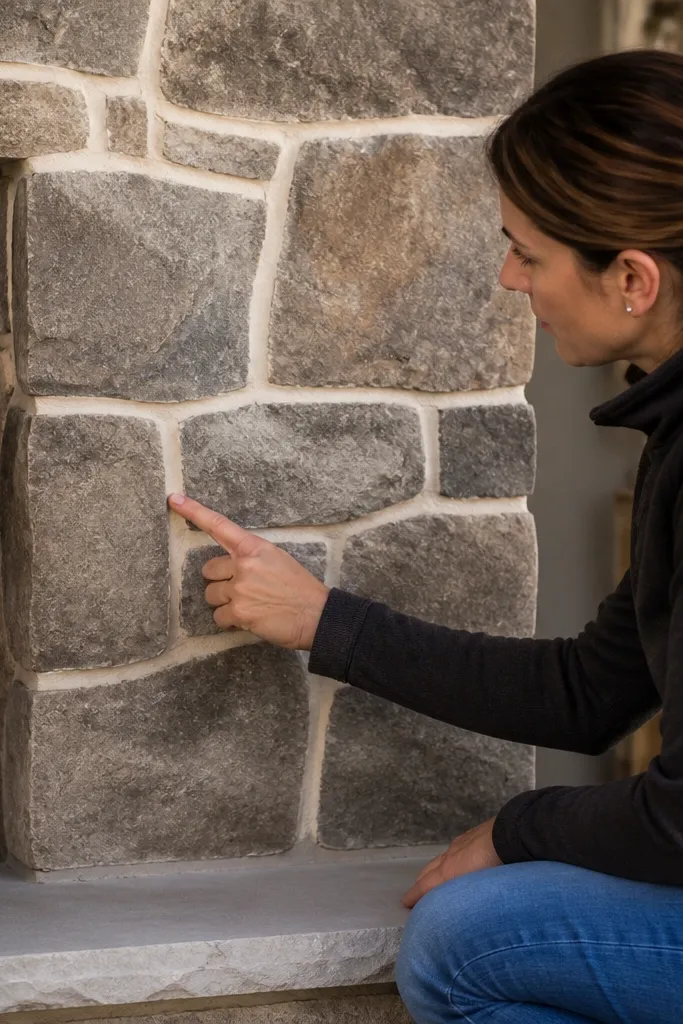
Clean the grout using a grout-specific cleaner and a small brush, then rinse and let dry completely. Use painter’s tape to mask stone edges so you don’t paint the rock face, or use a grout brush for tight control. Apply mortar paint in thin coats, letting it dry between coats until the color matches your target. Finish with a grout-safe sealer if the product recommends it, especially on hearths where soot and fingerprints show up fast.
A lot of “before” fireplaces look tired because the grout is the real problem. Even if the stone is fine, stained joints make everything look dirty and visually messy. Mortar paint or grout paint lets you unify the lines so the fireplace looks crisp and intentional. This is best when grout is intact but discolored — you’re changing color, not rebuilding structure. Expect a careful, detail-heavy job, but it’s still doable in a small reno because you’re not tearing out anything.
Skip thisDon’t skip tape or edge control; painting the stone face makes it look like a patch job.
Editor's noteUse a magnifying lamp or small headlamp — grout lines look wider than they are when you’re working by eye.
4. Recaulk the joints with paintable backer and new caulk lines
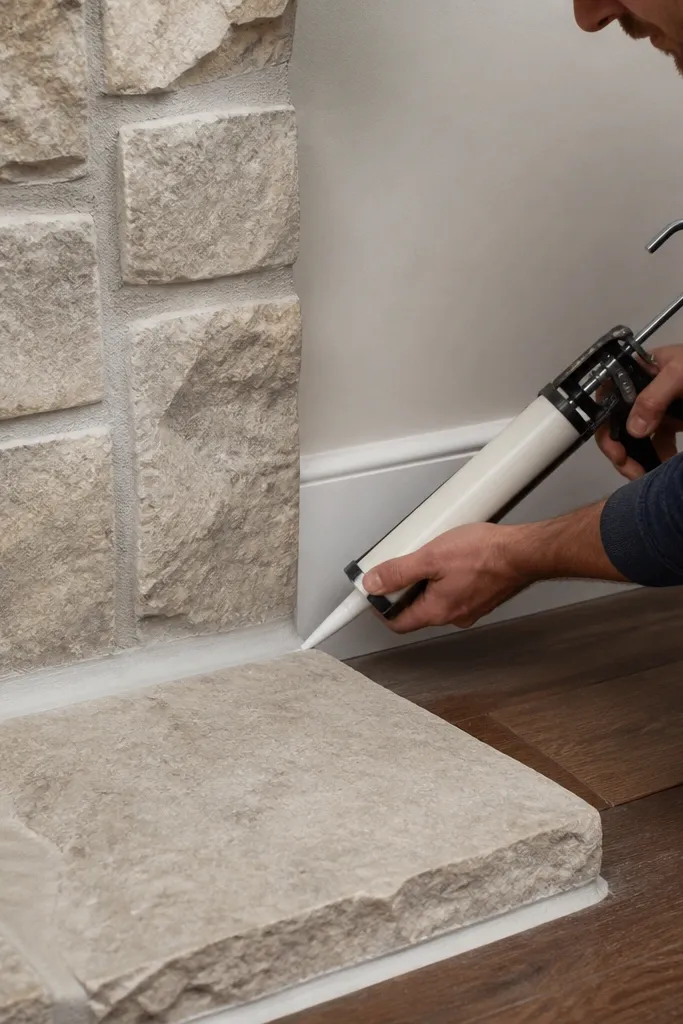
If your fireplace has hairline gaps around trim, between stone sections, or at the hearth edge, the whole thing reads sloppy. People think it’s a stone issue, but it’s usually old caulk that’s cracked or pulled away. Recaulking makes a huge visual difference because it cleans up the perimeter — the eye stops snagging on broken lines. This is ideal for small renos where the stone is staying and you’re upgrading the finish quality. It’s not glamorous, but it’s one of the most “before and after” looking improvements.
Cut out failing caulk with a utility knife and remove loose debris, then vacuum the joint. If the gap is deep, insert a paintable backer rod so caulk thickness stays controlled and doesn’t shrink. Apply a paintable high-heat caulk rated for fireplaces or near the firebox edges where applicable. Tool it smooth with a damp plastic spoon or caulk tool, then paint over once cured if the product is paintable.
Warm the room slightly before caulking; cold caulk drags and leaves ridges.
Don’t fill a deep gap with caulk only — it shrinks and cracks again.
5. New mantel from a single slab board with a shadow gap
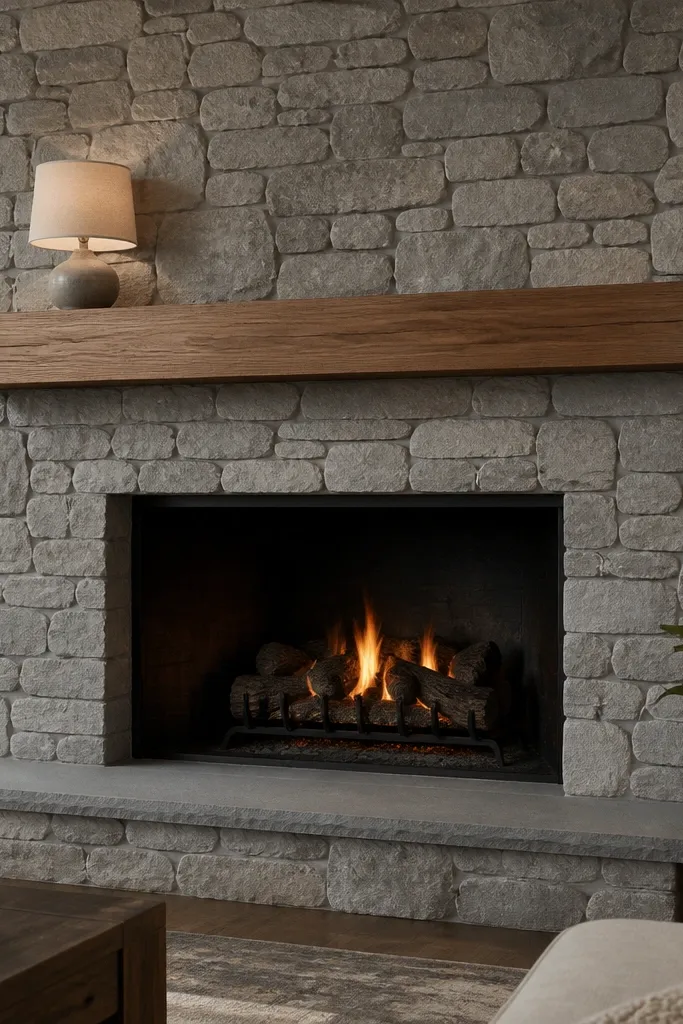
Measure the fireplace width and plan the mantel length so it overhangs evenly on both sides by about 1-2 inches. Build a simple ledger support and attach the mantel through solid points using screws into studs or secure anchors rated for stone. Add a spacer strip to create a consistent shadow gap (a thin shim or backer tape works), then caulk the gap lightly if you want it sealed. Sand, then finish with a durable topcoat like matte polyurethane for wood, and keep the stone below protected from drips.
A stone fireplace makeover small reno often needs one thing more than paint — a mantel that changes the vertical rhythm. A new mantel board gives you a clean line the eye can land on, and a thin shadow gap between mantel and stone makes it look built-in. This works when your existing mantel is too thin, stained unevenly, or visually “sags” because it’s the wrong height or depth. Choose a wood tone that matches your room — oak for warm modern, walnut for deeper contrast, or white-painted for bright minimal. It’s a moderate DIY skill level but very doable with basic carpentry.
Skip thisDon’t rely on adhesive alone for a mantel on stone — you want mechanical fastening.
Editor's notePre-finish the mantel on sawhorses before install; it’s faster and you’ll get fewer missed spots.
6. Hearth cap rebuild with a level plywood base and tile or stone veneer
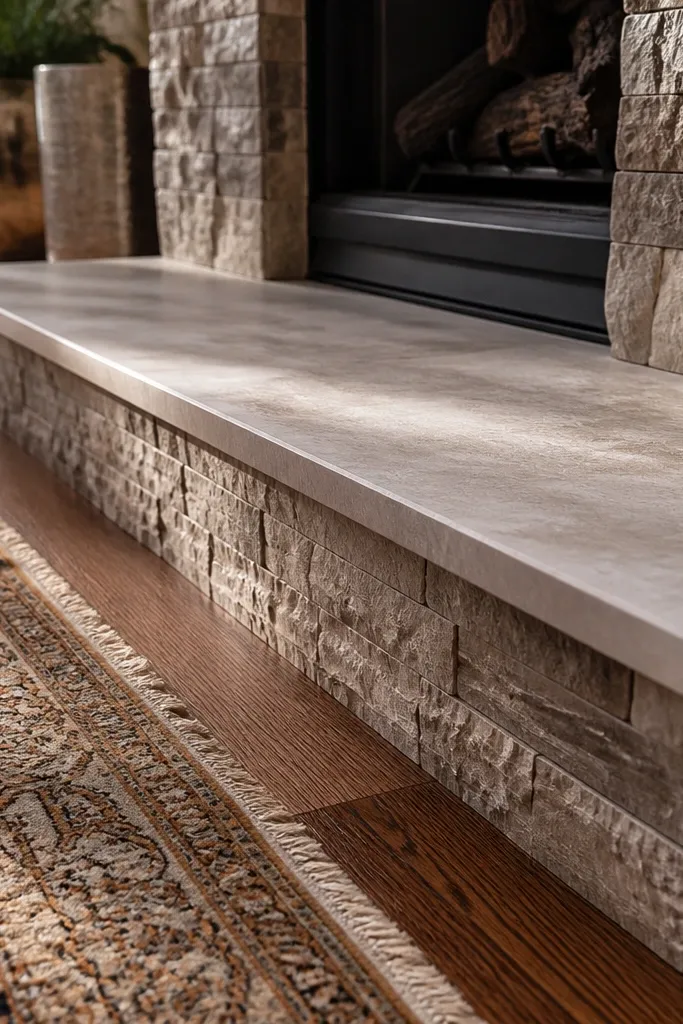
Remove the old hearth material if it’s loose, then check the sub-surface for level using a straightedge. Build a level base with exterior-rated plywood or cement board, screwed down and supported where needed so it doesn’t flex. Install your hearth cap material with the right thinset mortar for tile/stone, then grout and seal according to the product instructions. Finish by sealing cut edges and applying a high-heat safe caulk where the hearth meets the stone surround.
Many fireplaces look off because the hearth is worn or uneven, even if the surround looks fine. A hearth cap rebuild makes the whole unit feel grounded and updated without moving the firebox. This is especially helpful when the old hearth edge is chipped, stained, or has a mismatched finish that pulls attention down. You can go with stone-look tile, thin natural stone veneer, or a solid slab look depending on your budget. The result reads “finished” because the hearth edge becomes crisp and level.
Skip thisDon’t skip leveling — veneer over a wavy hearth makes the edges look crooked immediately.
Editor's noteDry-fit every piece from the center outward and mark layout lines; hearth cuts look messy when symmetry is off.
7. Stone veneer overlay on the surround edges for a cleaner frame
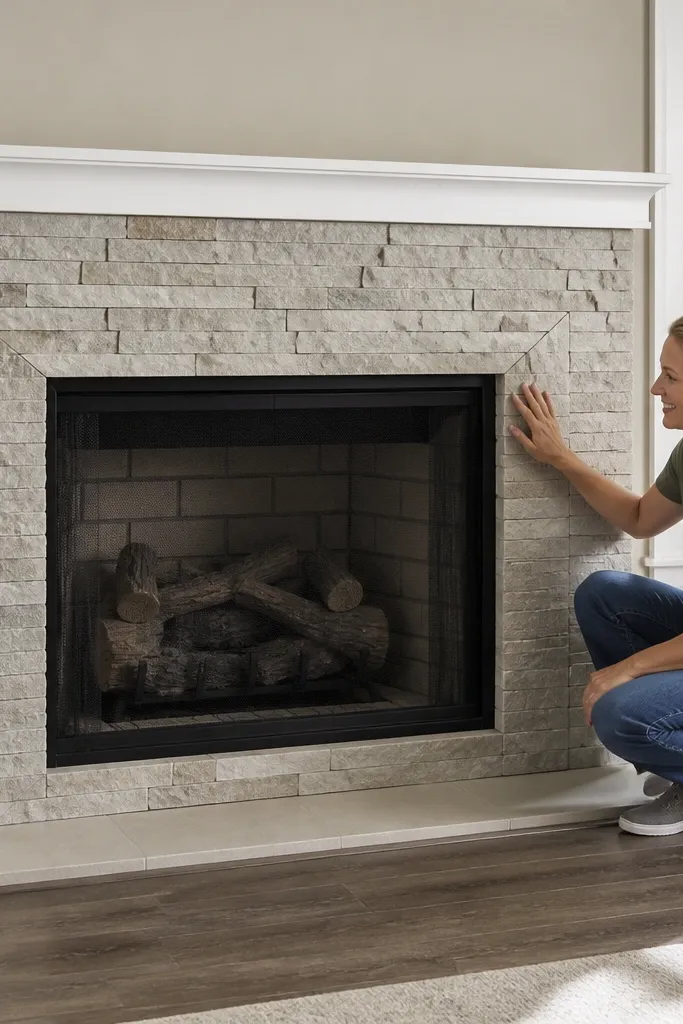
If your surround feels busy because the stone pieces don’t match or the perimeter trim is outdated, a stone veneer overlay can create a cleaner frame. This isn’t about adding more stone everywhere — it’s about rebuilding the border so the fireplace reads as one finished unit. Veneer works well in small renos because it’s lighter than full masonry and installs over prepared surfaces. The trick is to keep the overlay limited to what you want to change: edges, inner frame, or the top surround. You end up with a more modern “stone face” without demolishing everything.
Remove any loose trim or failing caulk, then install a proper backer system or lath rated for veneer over the existing surface. Plan your layout so seams land in visually calm spots, and dry-lay a few rows to see how the pattern flows. Mix thinset and apply it with the correct trowel notch, then set stones firmly and maintain consistent joint spacing. Let cure, then grout using a color that matches your target — and seal only if your veneer needs it.
Keep the top row level — veneer errors show up fast because the human eye tracks horizontals.
Don’t use random seam staggering; it makes the fireplace look like patchwork from across the room.
8. Painted stone makeover with bonding primer and a brush-only finish
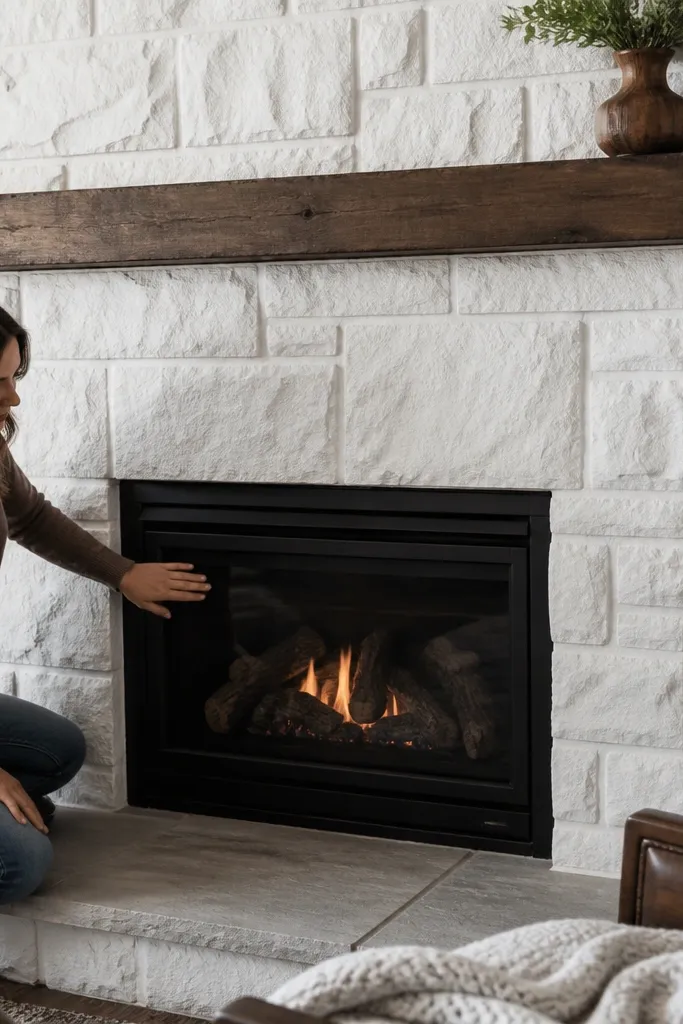
Clean with a degreaser, then scuff-sand lightly so primer can grip, and vacuum dust. Apply a bonding primer made for masonry and let it cure fully. Paint with a masonry paint in thin coats using angled brushes, pulling color into grooves rather than trying to cover everything at once. Seal only if your paint system recommends a topcoat; otherwise you risk changing sheen and durability.
When stone is dated but structurally sound, painting can give you a clean modern look fast. The mistake is using regular wall primer — stone needs bonding primer so it grips. A brush-only finish matters because foam rollers can leave stipple and uneven texture that looks worse than the original. This works best when you want a uniform color like crisp white, warm off-white, or soft greige. If your stone is very porous, plan on multiple thin coats so you don’t get patchy soaking.
Skip thisDon’t paint over soot residue or unwashed stone; it causes fisheyes and peeling.
Editor's noteUse two different brush sizes: one for edges and one for flats — it keeps lines straight and coverage even.
9. Burnt sienna stain glaze to warm gray rock
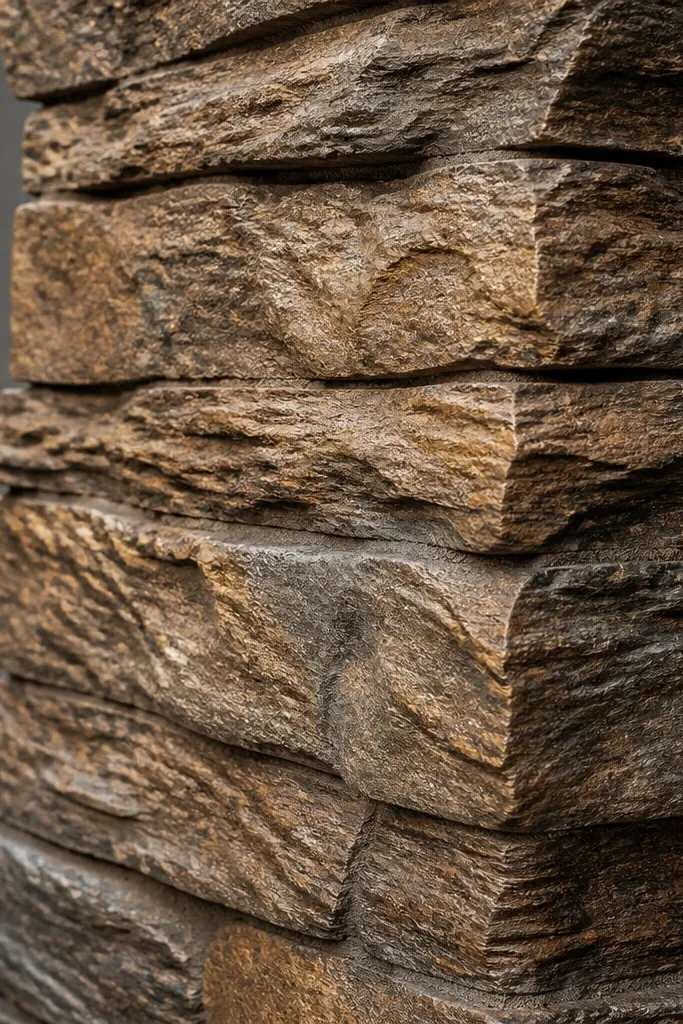
If your fireplace stone is gray but you want warmth without turning it orange, a burnt sienna stain glaze is a strong move. It tints the stone while letting texture show, so you get depth instead of a flat color block. This works well on limestone, sandstone, and some travertine that hold stain fairly evenly. The finish looks like aged stone rather than painted stone, which is why it’s popular for small renos where you want “better” not “new.” You’ll need patience and even application because stain is hard to fix after it sets.
Clean and dry the stone completely, then protect surrounding areas with plastic and tape. Apply the stain glaze with a foam brush or rag, working in sections and wiping back excess so the darkest areas don’t become blotches. Let it penetrate and dry, then evaluate under your room lighting. Add a second pass only if the tone is too light, then finish with a stone sealer matched to your stain system.
Keep a consistent wipe-back method across the whole surround so you don’t end up with different levels of intensity.
Don’t apply stain in direct sun — it flashes unevenly and gives you hard tide marks.
10. Metal firebox surround trim in matte black for contrast
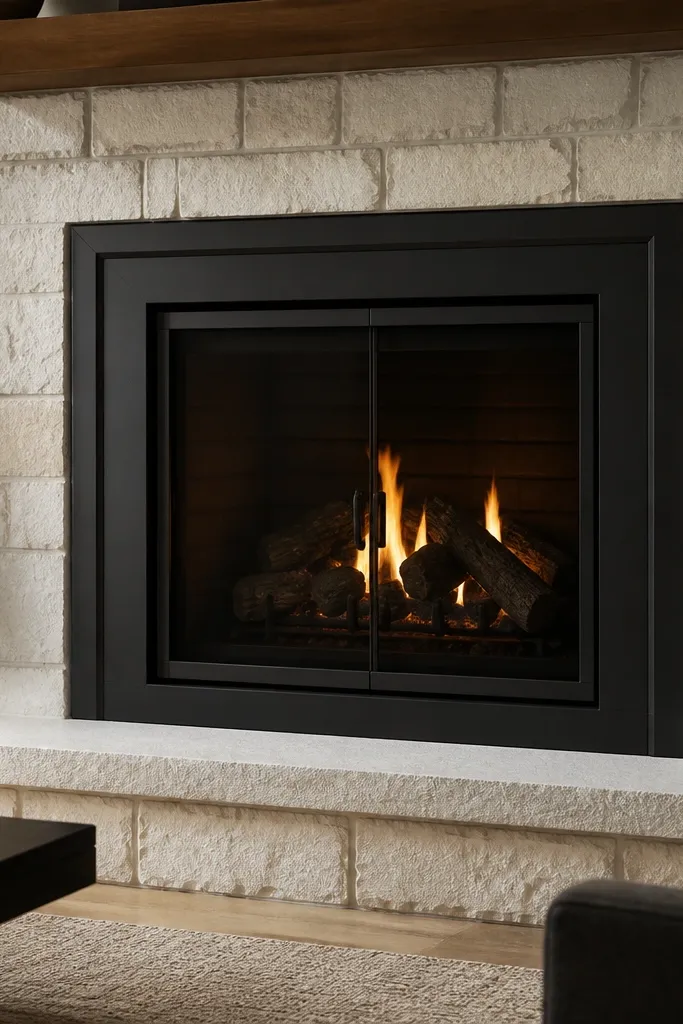
Sometimes the stone is fine, but the firebox opening looks unfinished because the trim is outdated, rusty, or too shiny. Adding matte black metal trim around the opening gives a modern frame and makes the stone look intentional. This is a great small reno move because it’s contained — you’re not repainting the whole surround. It also hides minor gaps around the opening where stone meets trim. Choose matte black, not satin, because satin can reflect bright room light and feel busy.
Measure the opening and buy or cut trim pieces that match the profile and thickness you need. Remove old trim carefully, then clean the mating surfaces so adhesive and/or screws hold. Install the new trim using the recommended fasteners or high-heat adhesive, and align it so the reveal is even all the way around. Caulk the perimeter with a paintable, heat-rated caulk where needed, then touch up any exposed fasteners.
Use a cardboard template for the inner edge; it helps you test fit before you commit to cutting.
Don’t choose glossy black — it reflects light and makes the opening look like a TV frame.
11. Brushed white tile ledge on top of stone
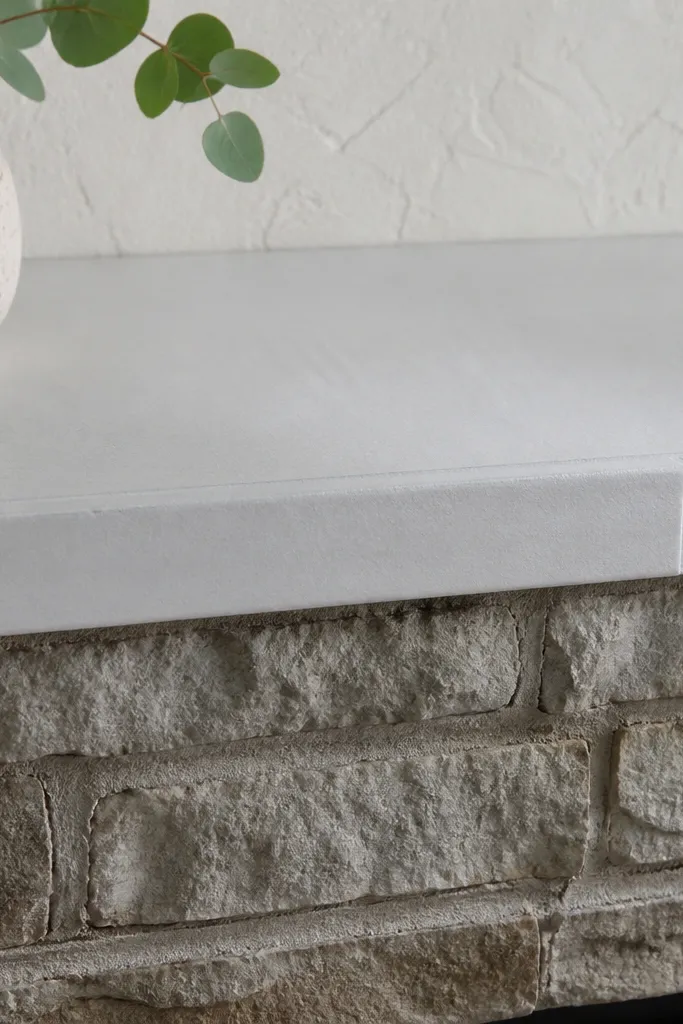
A common small reno problem is that the top edge of a stone surround looks awkward — uneven, chipped, or stained. Adding a tile ledge across the top creates a crisp horizontal line and a clean place for decor. Brushed white tile is forgiving because it hides minor scuffs better than glossy tile and doesn’t show every fingerprint like high-gloss. This makeover works when you want a lighter look but don’t want to paint the stone itself. It’s also a smart move when the stone top is too rough to make a neat mantel sit flush.
Protect the stone faces below with tape and plastic, then remove any loose top material so you have a stable base. Add a cement board or thin leveling layer on top, then set tile using thinset mortar appropriate for tile. Use spacers for consistent grout lines, and keep the ledge flat with a straightedge as you go. Grout after cure and seal grout if the tile system calls for it, then caulk the joint where ledge meets stone.
Dry-lay the tile and plan the center cut so both ends look intentional, not like you ran out of space.
Don’t skip a leveling layer — tile will telegraph bumps from the stone top.
12. Wood mantel + matching side shelves for a built-in look
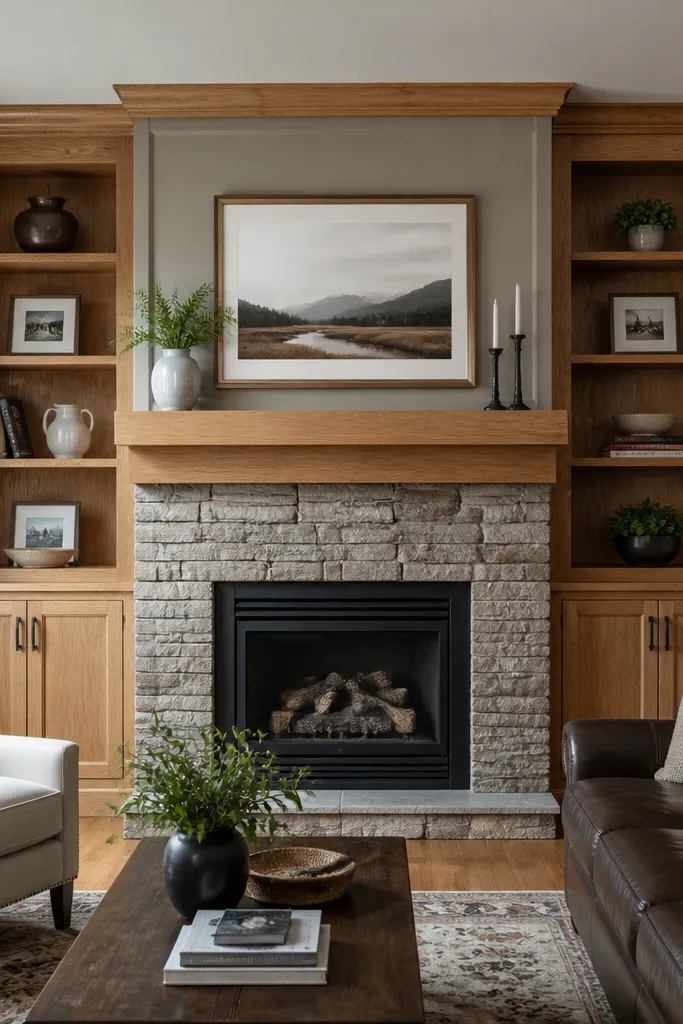
Pick shelf thickness first (for example, 3/4-inch wood) so your proportions match the mantel. Locate studs on both sides and plan shelf brackets or cleats that can take weight. Install a level ledger line for the mantel, then mount shelves using screw-and-bracket hardware for stability. Finish the wood to match the mantel, and add paintable caulk at edges where wood meets stone. Finally, sand and seal so shelf surfaces wipe clean.
If your fireplace feels too skinny or too plain, side shelves fix the proportions better than another coat of paint. Add a wood mantel plus two narrow side shelves and the whole unit reads built-in. This is ideal when you have space on either side for decor but the surround doesn’t have any functional surface. It also lets you hide ugly edges where stone meets drywall or trim. Keep the shelf depth shallow so it doesn’t crowd the room. This is a small reno that makes the fireplace look designed, not patched.
Skip thisAvoid installing shelves using only anchors in stone/drywall — weight shifts over time and shelves sag.
Editor's notePre-drill every screw hole and use countersink bits so you don’t split the wood near edges.
13. Concrete-look hearth panel with epoxy topcoat
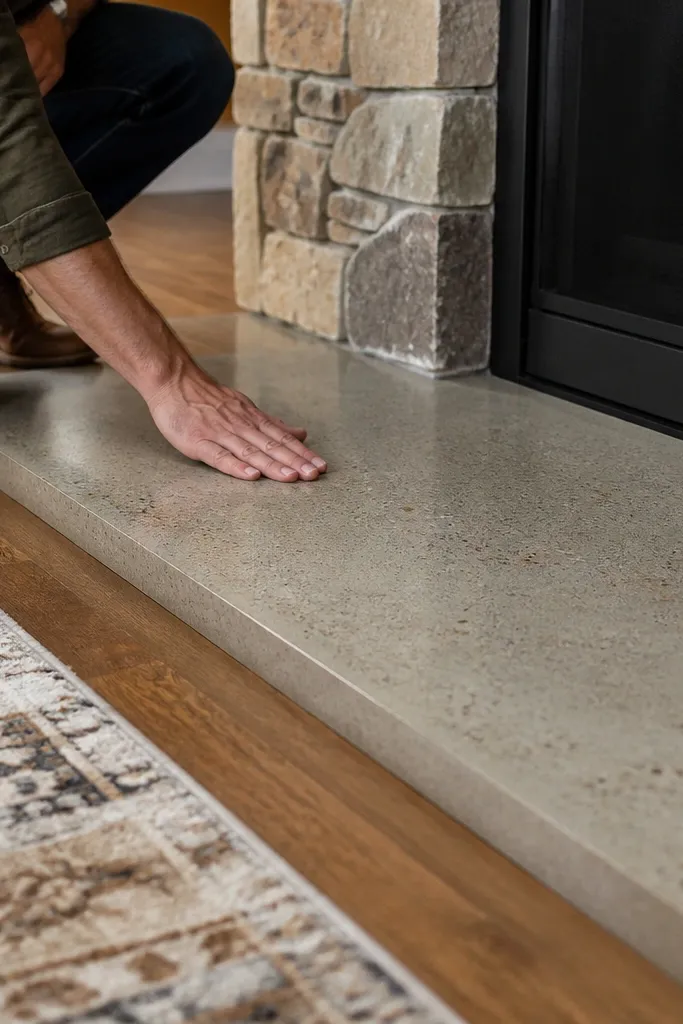
For a durable, modern hearth update, a concrete-look panel with an epoxy topcoat is hard to beat. It resists scuffs and makes the hearth feel cleaner without constantly scrubbing grout lines. This works in high-touch areas where people place shoes, bags, or decor and leave marks. The look is industrial but can still feel warm if you keep the stone surround light. Skill level is intermediate because epoxy prep matters, but the payoff is a hearth surface that stays looking new.
Remove loose material and clean the hearth thoroughly, then sand to a uniform profile so epoxy bonds. Apply a primer compatible with your epoxy system, and patch cracks with a cementitious repair product. Mix epoxy coating and roll it evenly in thin coats, then use a foam roller for a smooth finish. Add anti-slip additive if the hearth gets dusty or you want safer traction. Cure fully before using the fireplace hearth normally.
Tape off the perimeter edges cleanly and pull tape while epoxy is still slightly tacky for sharp lines.
Don’t apply epoxy on damp substrate — it will peel or turn cloudy.
14. Glass-block niche lights to replace a dark stone corner
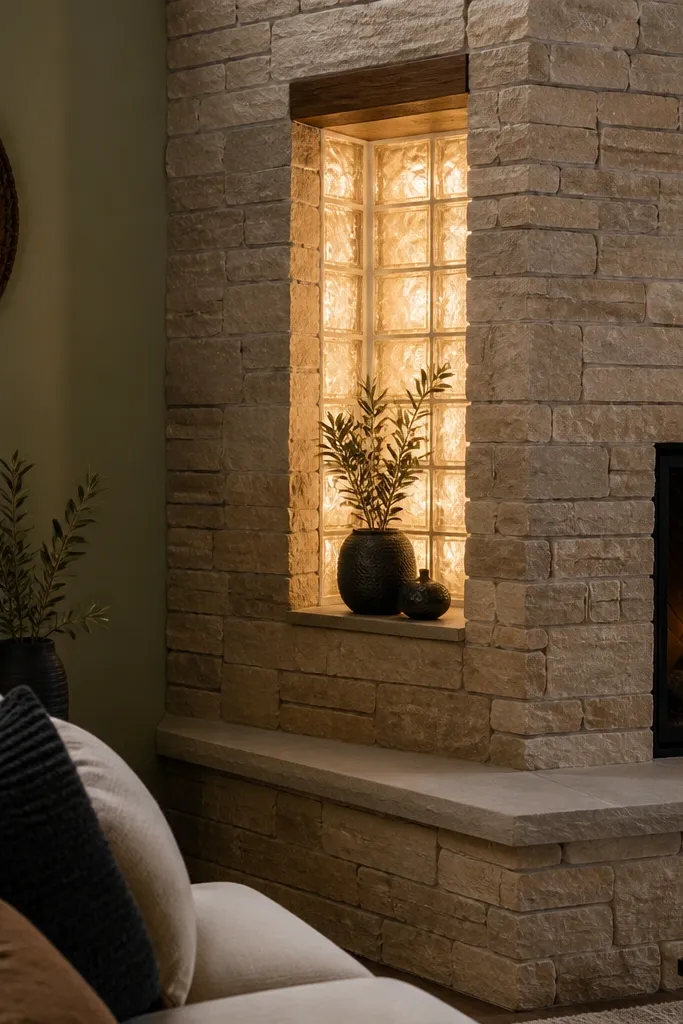
If your fireplace has a dark corner or a recessed area that makes the whole surround feel heavy, a small niche with soft lighting can change the perception instantly. Glass-block style inserts diffuse light so you don’t get harsh LED glare on stone. This is a smart small reno when you don’t want to repaint or stain everything, and you want the fireplace to feel brighter at night. The key is to keep the niche trim simple and match the finish to your mantel or hardware. Done right, it reads like a built-in feature rather than an afterthought.
Choose the niche area and confirm you have room for wiring access and a safe mounting depth. Install a backing panel or mounting frame, then add the glass-block style piece or diffuser insert using the manufacturer’s recommended adhesive. Mount a low-heat LED strip or puck lights with a diffuser and route wiring to a switch or existing low-voltage system. Finish trim with paintable caulk lines and seal any exposed edges that could trap dust.
Use warm white LEDs (around 2700K) so the stone undertone looks natural instead of bluish.
Avoid putting a bare LED directly facing the stone — it creates bright spots and highlights dust.



