
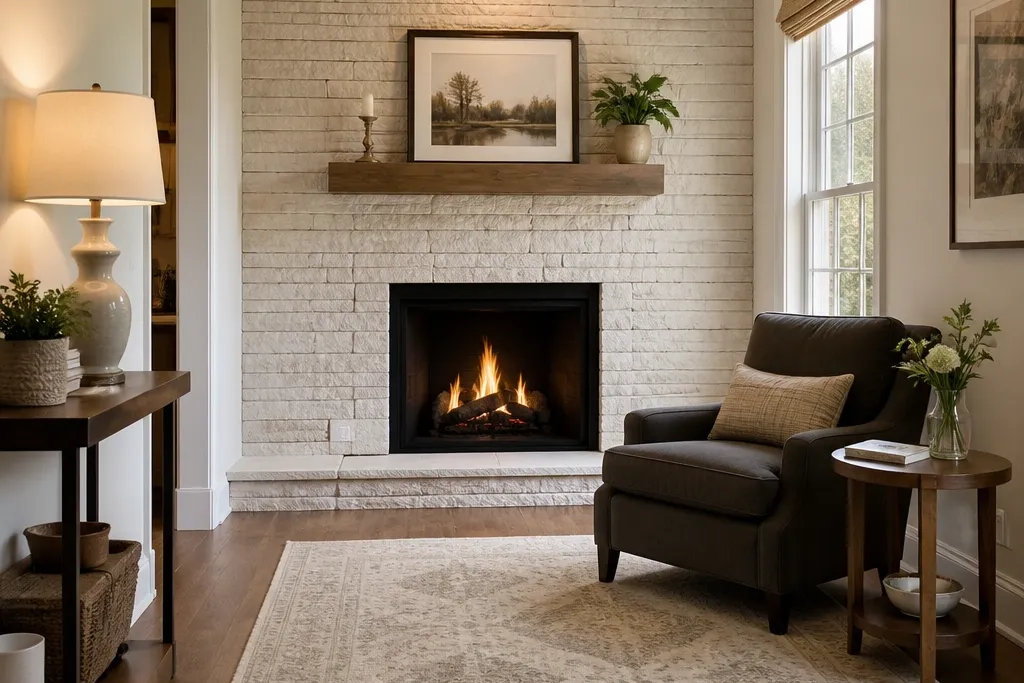
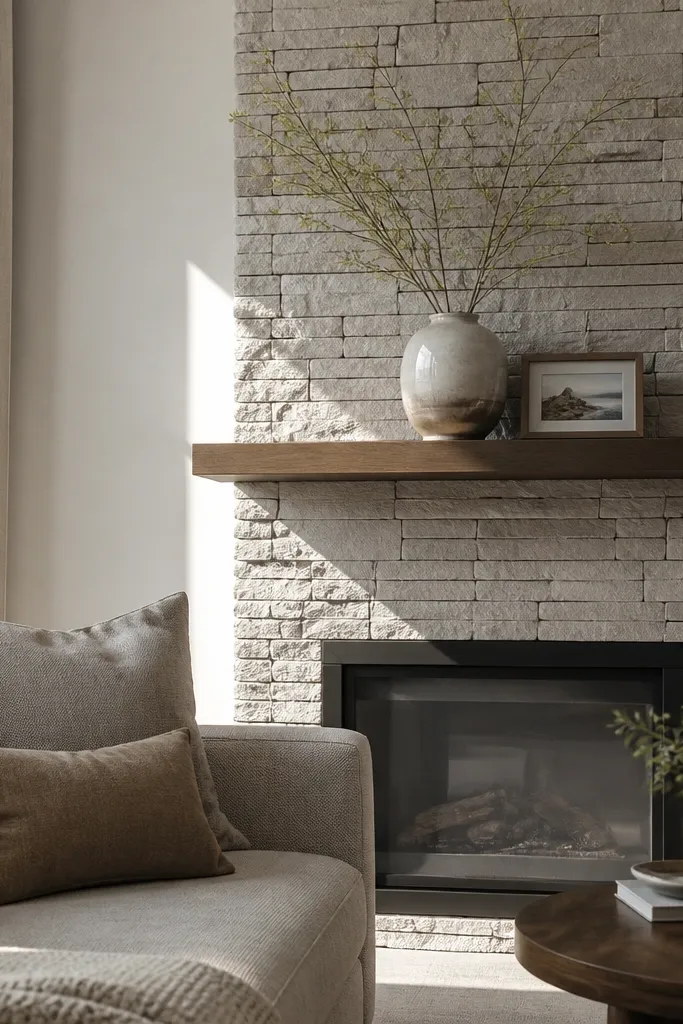
1. Floating slim mantel with stacked ledger stone
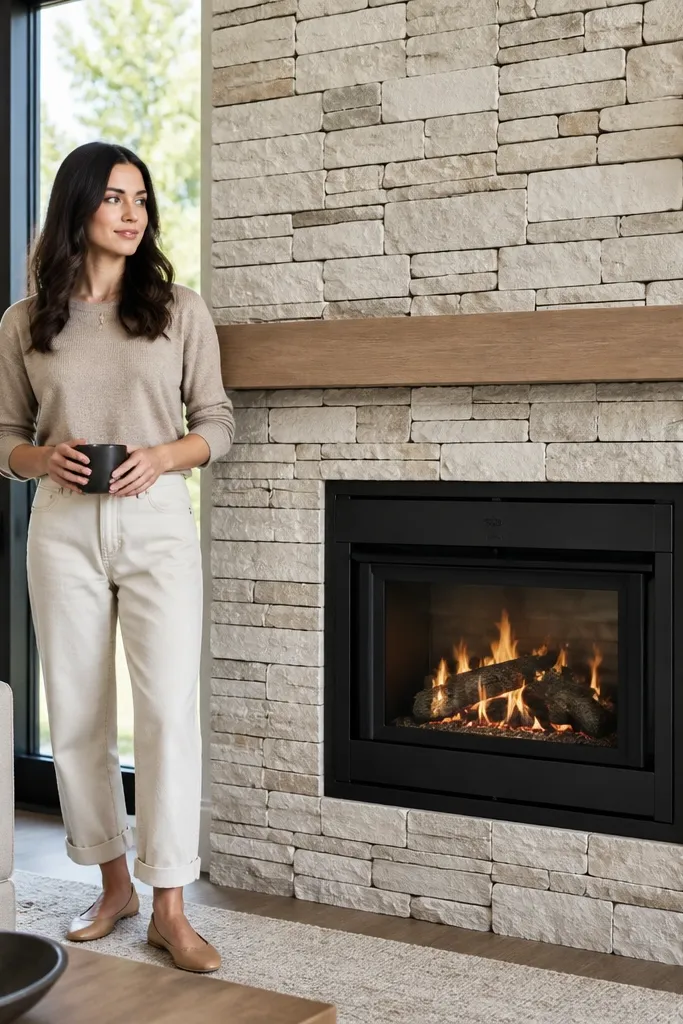
This is the small-space move: a narrow stone surround with a mantel that looks like it’s attached to the wall, not sitting on a chunky base. Stacked ledger stone in light gray or warm white keeps the texture modern, and the thin mantel line gives your room a cleaner vertical rhythm. The look works in apartments because it doesn’t widen the wall — it concentrates attention on the opening. Build it when you want “real stone” texture but you still need floor space and a tidy sightline to windows.
Start by marking the fireplace opening and the exact surround footprint on the wall, then install cement board where the stone will go. Choose ledger panels with a consistent thickness and dry-fit a few rows so you can lock in your grout line width (1/8 inch is a good target). Set the first course level, apply thinset to both the board and the back of the veneer, and press each piece in place for solid contact. Finish with a slim mantel shelf (wood or metal) mounted to studs or proper blocking, then seal the stone if your finish is porous.
Use a laser level for the mantel and the first stone course — one crooked row ruins the modern look fast.
Don’t use thick, uneven stone chunks next to a slim mantel; the mismatch makes the whole wall look bulky.
2. Full-height stone column corners with a bare center
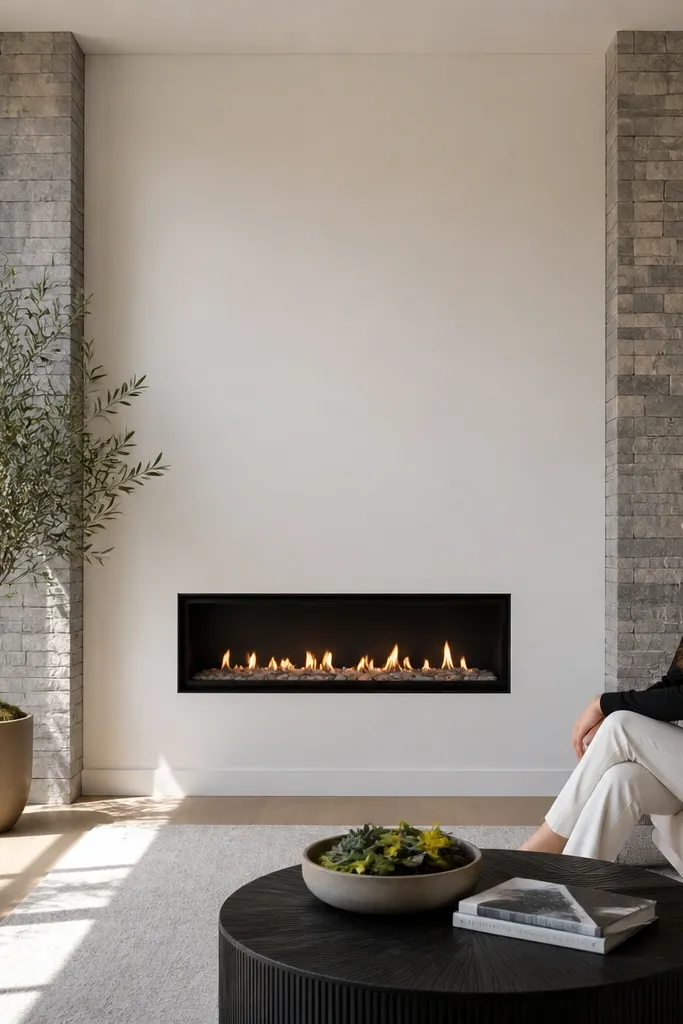
Instead of covering the whole wall, this design uses stone as framing — two tall corner “columns” that lead the eye to the firebox. A bare center wall stays smooth and bright, which matters in rooms where you can’t spare extra visual weight. This style looks intentional because the stone has clear boundaries and the center stays clean. It’s great for narrow living rooms and hall-facing fireplaces where the surround might otherwise collide with doors, trim, or furniture.
Map two vertical stone zones on each side of the fireplace, leaving a smooth center panel area for paint. Install cement board only in the stone zones, tapering the edges neatly so the transition looks sharp. Set stone in straight vertical alignment using a chalk line and consistent reveal, then keep cuts tight at the corners. Paint the center wall after stone cure time, and mount a simple mantel or wall shelf only after you confirm the stone edges are fully dry and sealed.
Leave 1/8 inch movement gaps at the stone-to-trim edges, then caulk with a matching paintable sealant.
Don’t cover the entire wall if your room is tight; full coverage is what makes small spaces feel smaller.
3. Dark grout modern stone surround with a light wall
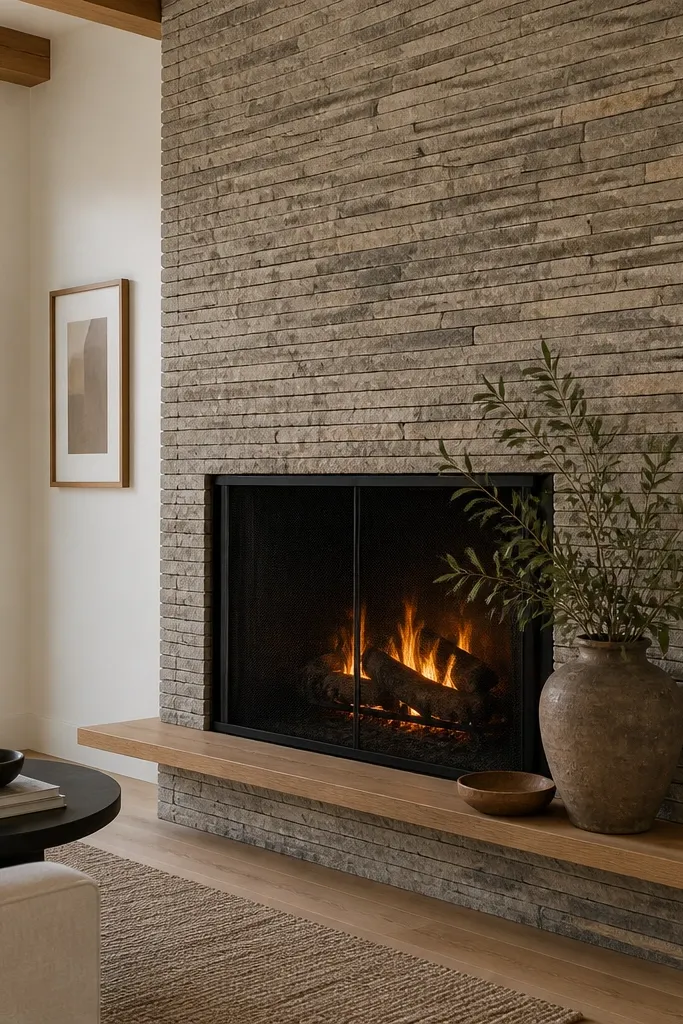
Modern stone looks sharper with contrast, and the easiest contrast trick is dark grout. This idea uses light stone veneer (cool gray, greige, or off-white) with dark mortar joints so the edges read crisp instead of blended. The surrounding wall stays light to keep the room bright, which is key when your fireplace wall is your main focal point. It’s a good pick if you like a graphic, architectural look and want the fireplace to feel “designed,” not “covered.”
Pick a light stone veneer with relatively flat faces so grout lines stay consistent. Install cement board, then dry-fit your first few rows to see how the stone textures will read with dark grout. Mix a dark mortar or grout intended for stone veneer (follow the manufacturer ratio exactly), and keep a consistent joint width (about 1/8 inch works well). When you wipe joints, do it in small sections so the dark color doesn’t stain the stone faces — then seal once cured.
Use two buckets: one for mixing, one for clean water for joint cleanup. It keeps the wipe consistent and reduces haze.
Don’t pick dark grout if your stone pieces vary wildly in shape; it highlights every uneven edge.
4. Thin stacked stone hearth with a centered TV wall shelf
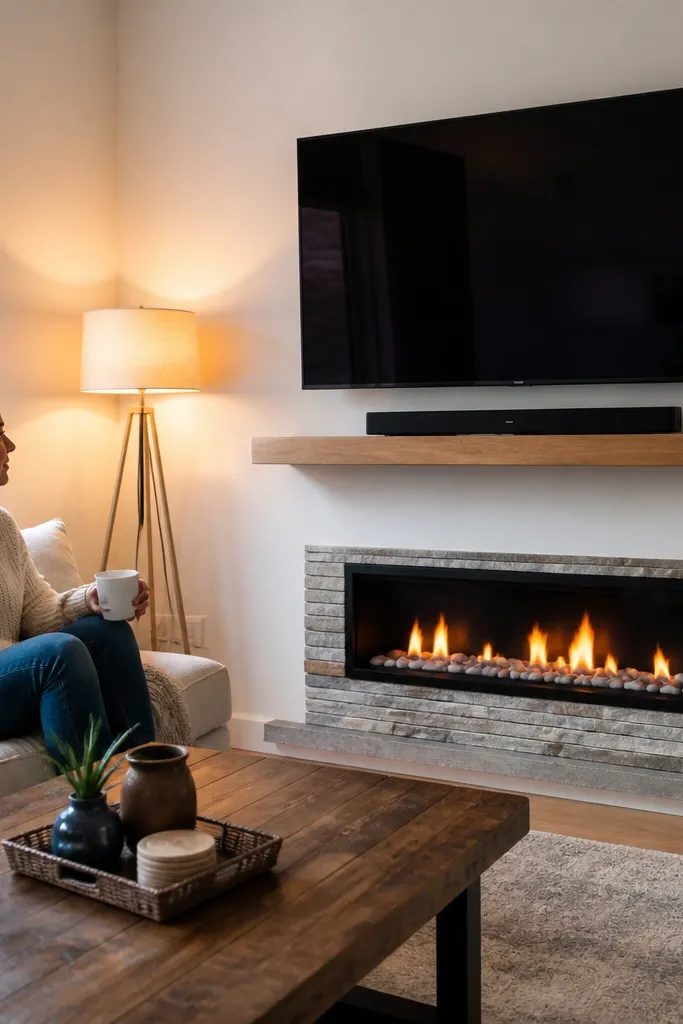
This setup is for small living rooms where you want both a fireplace and a TV without turning the wall into a heavy brick block. Keep stone limited to the firebox surround and a slim hearth band, then use a centered, floating shelf above for decor or TV support hardware. The stone band gives you that tactile warmth, while the smooth wall keeps the layout clean. It’s especially good for studios and small great rooms because you’re controlling width and keeping everything aligned to one central vertical line.
Editor's noteKeep the stone band height modest — aim for a hearth band about 6-10 inches tall so the wall stays airy.
Start by deciding the TV height and the TV mounting method so you don’t bury cables behind stone you can’t remove. Install cement board only on the surround and hearth band area, not the full wall, then set the stacked stone in controlled courses. Add a thin hearth trim strip or stone ledge so the bottom reads intentional. Mount the shelf to studs with proper anchors, route cables before final stone sealing, and finish with painter’s caulk at edges.
Skip thisDon’t hide the TV wiring in the stone zone; it’s a nightmare to access later.
5. Microcement-style stone look with real veneer panels
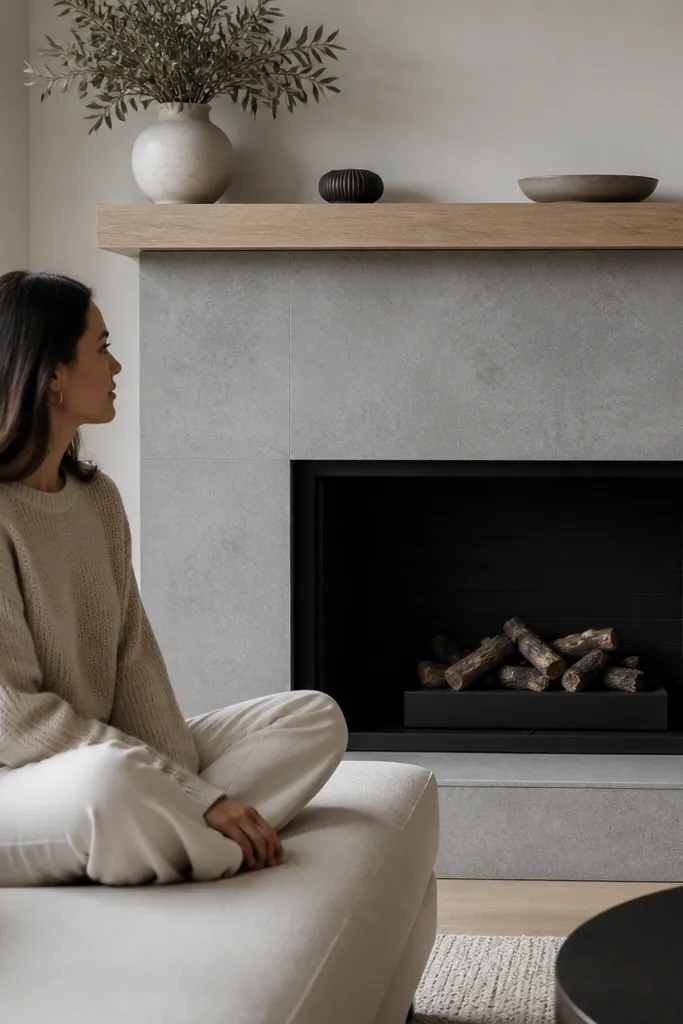
If you like the flat, cementy look but want the durability of real stone, this is the compromise: use stone veneer with a clean, low-texture face and finish it with a matte sealer that knocks down shine. The result reads modern and “architect” instead of rustic. Because the surface stays subdued, it works in small spaces where glossy stone can feel busy under wall lighting. This is a strong choice for contemporary homes with light floors and minimal decor.
Choose a low-profile stone veneer in light gray or warm white with minimal voids so it stays smooth-looking. Install cement board and set the veneer with thinset, keeping grout lines tight at 1/8 inch. After cure, apply a stone sealer with a matte finish so it doesn’t reflect overhead lights. Touch up any edges with matching caulk and repaint the surrounding wall only after the sealer fully dries.
Do a small test panel first — matte sealers can shift the tone slightly after full cure.
Don’t use a glossy sealer if you have cool-white lighting; it turns the whole surround into glare.
6. Tall narrow fireplace with vertical stone slats
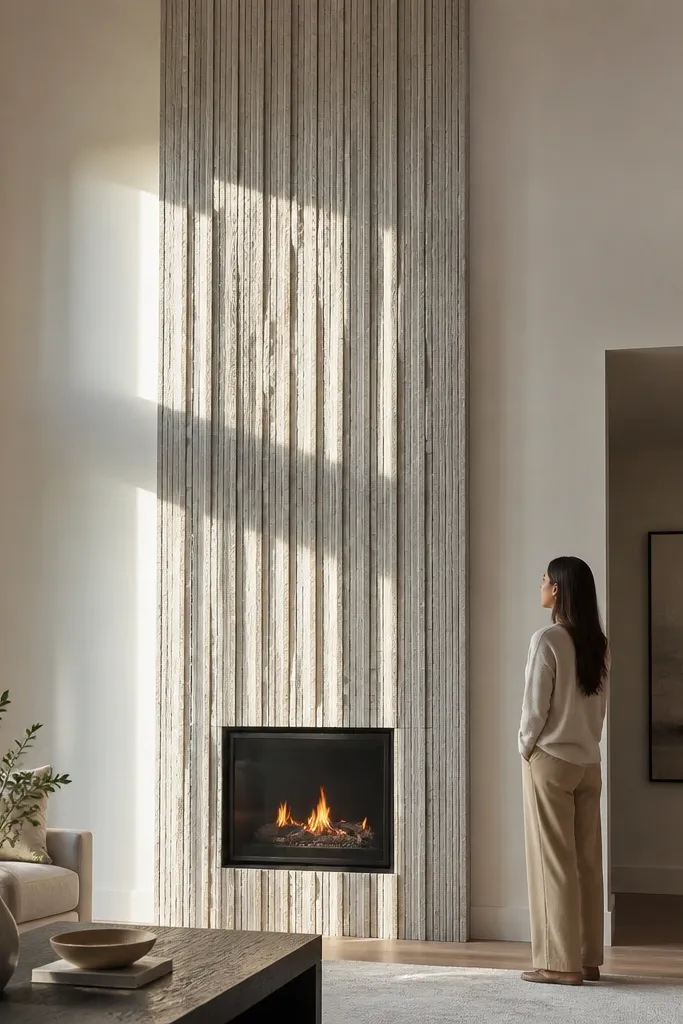
Vertical stone slats make a fireplace feel taller without widening it, which is exactly what small spaces need. This idea uses long, narrow veneer pieces arranged in vertical runs so the wall gains height rather than bulk. The firebox stays centered and slim, and the stone pattern does the work of stretching the room. It’s a great fit for rooms with low ceilings or tight wall width where horizontal expansion would squeeze furniture.
Editor's noteCheck straightness every 3-4 slats — small drift turns into obvious waves at eye level.
Select a veneer line that offers long vertical pieces or create the look with consistent cuts from a modular panel system. Install cement board to the full surround footprint, then snap vertical reference lines so each slat stays straight. Apply thinset and set pieces from the center outward to keep alignment clean. Finish with a thin mantel shelf or a simple floating ledge at 48-54 inches, then seal after grout cure.
Skip thisDon’t mix vertical slats with random, chunky pieces; it kills the tall, modern effect.
7. Stone surround with a metal hearth trim and clean base
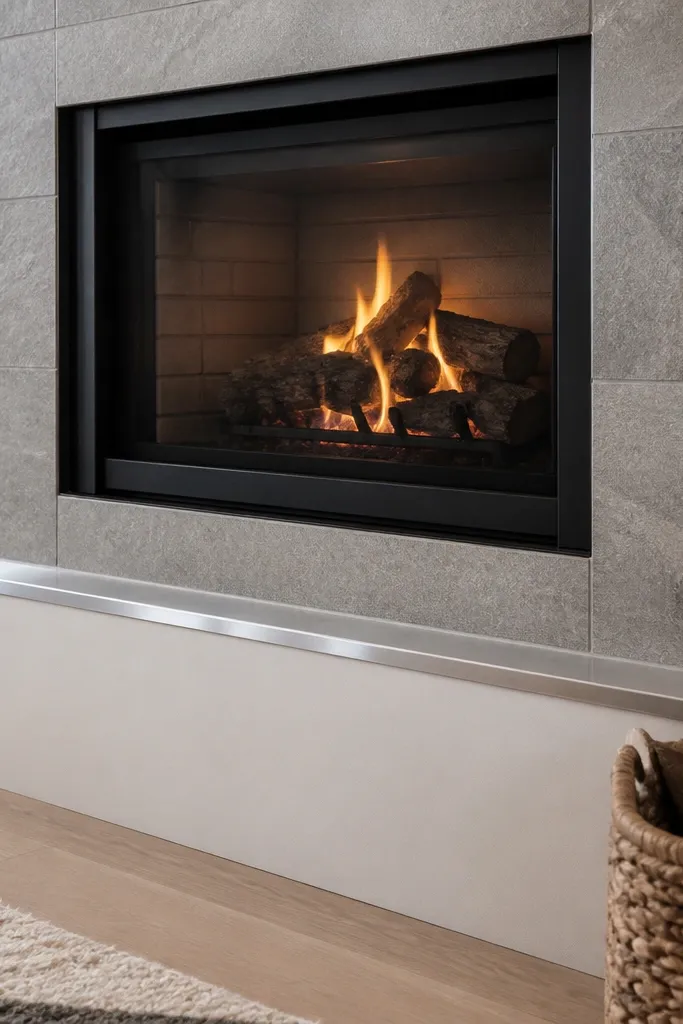
Metal trim is the cheat code for modern stone in small rooms. A slim brushed metal hearth edge visually “cuts” the stone and gives your fireplace a crisp, engineered look. Keep the stone light to mid gray and the wall a warm white so the metal doesn’t feel cold. This works well if your room already has metal elements like black window frames, lighting fixtures, or hardware and you want the fireplace to match that clean palette.
Install cement board for the stone surround and stop it cleanly at the base line where the metal trim will sit. Set the veneer, then attach a metal hearth trim piece (or fabricate a L-shaped trim) over the cured stone edge using construction adhesive rated for stone and metal. Seal the top edge of the stone where the trim meets to prevent water or soot staining. Finish with a straight, minimal hearth extension panel or a thin tile band behind the metal.
Use painter’s tape to mask the stone edge before installing metal trim so you get a sharp line and less cleanup.
Don’t seal the stone after metal installation; seal first so you don’t trap moisture at the seam.
8. Corner fireplace with stone on one side only
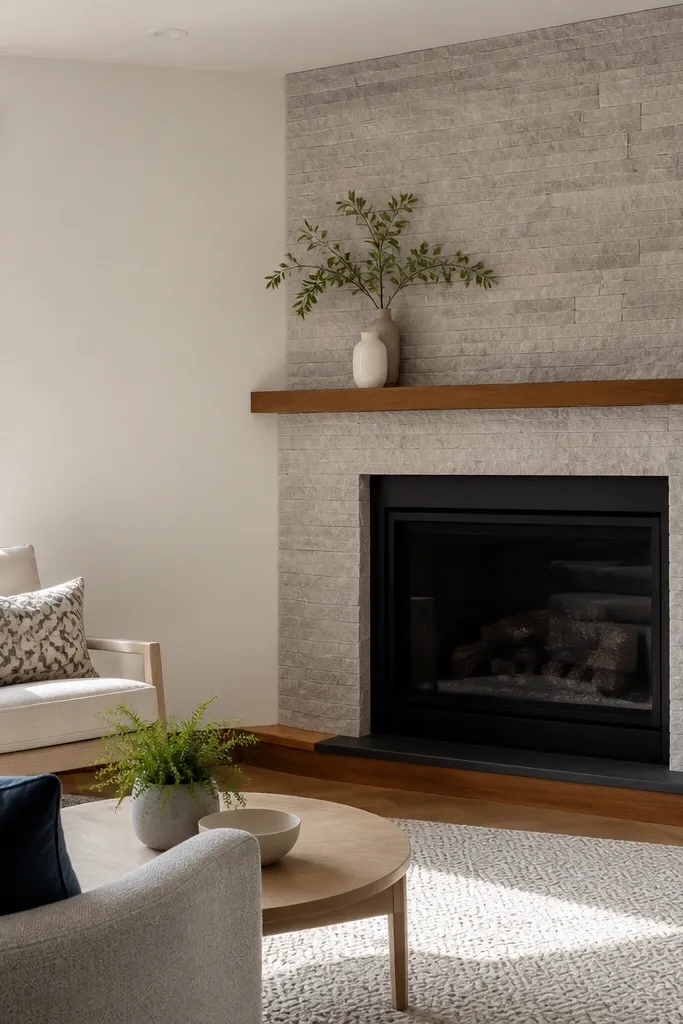
Corner fireplaces can look awkward when you try to wrap stone around both walls — it eats space and breaks the room’s geometry. The better move is to put the stone on the primary wall only and keep the side wall clean and painted. That keeps the fireplace reading as a focal point, not a bulky corner block. It’s ideal for small rooms where the corner is already used for seating, shelving, or a walkway.
Mark the primary wall surround outline and install cement board only there. Dry-fit veneer so the pieces land neatly at the corner — you’ll want tight miters or clean end cuts depending on the veneer type. Set stone on the primary wall, grout, and seal. On the side wall, stop the backing board short and paint so the corner transition stays sharp and uncluttered.
Use a corner trim profile to make the stone end look intentional and reduce the number of fiddly cuts.
Don’t cover both walls unless you’re going for a full built-in mantel wall; it’s the quick way to make the corner feel cramped.
9. Limestone-look veneer with a light oak mantel
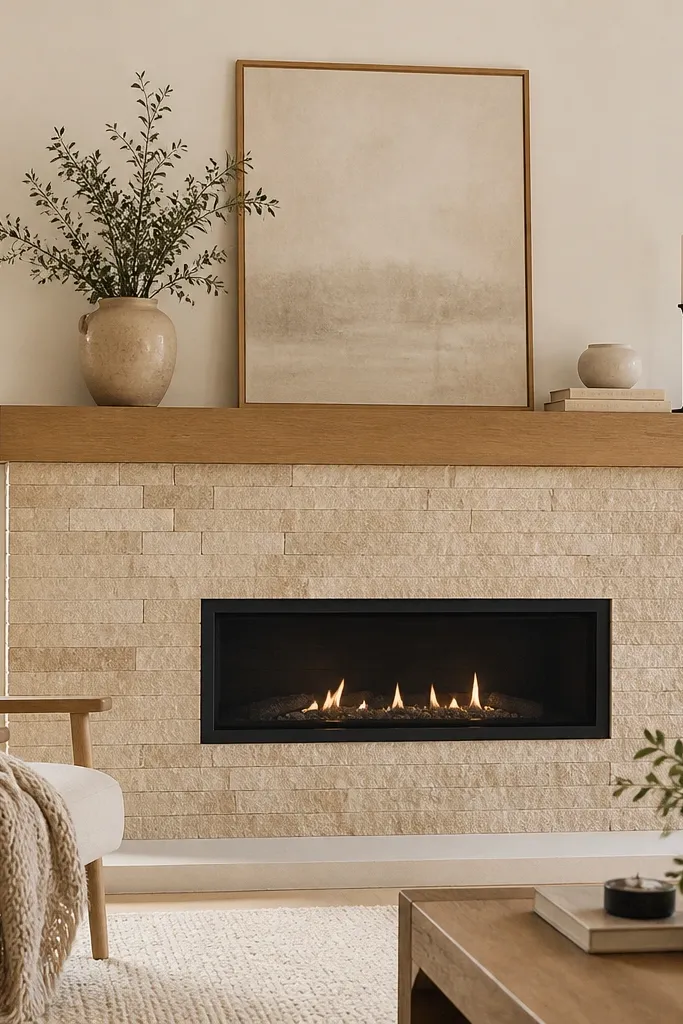
Warm modern stone is a small-space winner because it softens the room without adding bulk. Choose a limestone-look veneer in light tan or creamy beige with subtle variation, then pair it with a light oak mantel to keep the palette light. The oak adds warmth, while the stone gives the texture you want near the fire. This combination looks best in rooms with light floors, neutral walls, and natural wood furniture.
Editor's noteSeal both stone and oak — heat and soot are real, and untreated wood darkens unevenly near fireplaces.
Pick a limestone-look veneer that has consistent thickness and manageable cuts. Install cement board for the surround, then set veneer with a light, matching thinset color so mortar doesn’t show through. Use 1/8 inch grout lines and keep the pattern centered around the opening. Finish with an oiled or clear-coated oak mantel shelf, secured into studs with lag screws and washers.
Skip thisDon’t go too dark on the mantel in a small room; it visually lowers the ceiling line.
10. White stacked stone with a black fireplace frame

This is high-contrast modern: white stacked stone for texture, plus a black metal frame for a crisp edge. The frame makes the opening look intentional and “built,” even if your space is small and simple. It’s especially effective if you’re using a vented electric insert or gas insert with a clean trim kit — the black lines visually organize the wall. The result reads modern and tidy, not rustic.
Install cement board and set the white stacked stone first, keeping the outer edges straight. Choose a black fireplace trim kit or fabricate a simple black metal frame that matches the insert dimensions, then mount the frame after stone cure. Seal stone, then install the insert trim over the frame to hide any uneven stone edges. Finish with a thin black mantel shelf or a minimal ledge in the same black tone.
Paint or prime the metal frame before mounting so you avoid scuffs around the stone edges later.
Don’t let the stone run behind the insert trim; you want a clean, hidden seam, not a messy overlap.
11. Herringbone stone surround with a narrow vertical niche
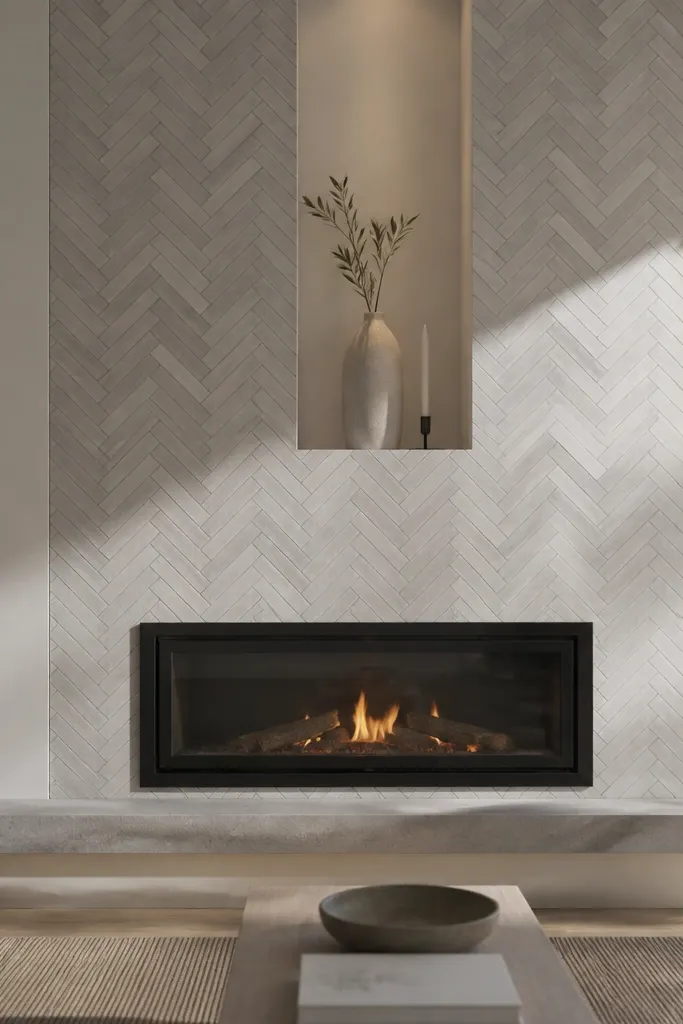
Herringbone reads modern when it’s controlled — and it’s a great way to make a small fireplace look custom. This idea uses a herringbone pattern only on the surround field, then adds a narrow vertical niche above for decor, candles, or a slim mirror. The niche keeps the vertical focus and makes the whole wall feel designed. It works best when your fireplace width is limited because the pattern adds interest without widening the opening.
Editor's noteMark an angle guide on the board with pencil and a straightedge before you set the first row.
Choose a veneer system that supports herringbone layouts or pieces that are cut to a consistent size. Install cement board for the surround area, then dry-fit a small section to lock in the angle and grout line width. Set pieces using thinset and keep the pattern centered around the opening so the lines don’t drift. Build the narrow vertical niche with a simple framed opening, then finish it in the same stone or a complementary tile and seal everything after cure.
Skip thisDon’t rush the dry-fit — herringbone errors show immediately, especially on small walls.
12. Stone fireplace with built-in bench storage below
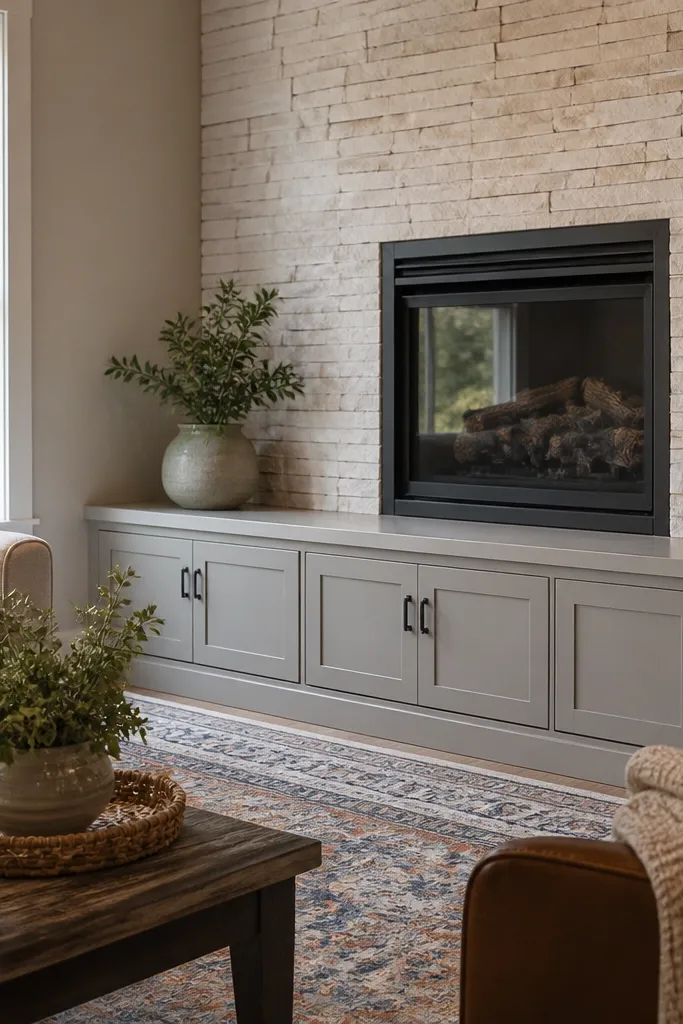
This is for small spaces where you need storage and you still want the fireplace look. The trick is to keep the stone only on the upper surround and wrap the lower area as a clean built-in bench with simple doors or drawers. The stone gives you the focal point; the built-in base gives you function without adding extra furniture. It looks modern when the bench face is flat and painted, not paneled and ornate.
Editor's noteUse soft-close hinges and drawers — the fireplace wall becomes the room’s “work zone,” and hardware that sticks looks messy fast.
Frame a bench base with plywood and stud supports, then install a smooth backer panel where stone will mount on the upper section. Apply cement board only to the stone area, not the bench face, and keep the seam straight at the top of the bench. Set the stone surround and grout, then prime and paint the bench doors after stone cure. Add heat-safe clearances if you’re using a real insert, and seal the stone so it’s easy to clean.
Skip thisDon’t put the storage directly against the firebox without correct heat clearance and ventilation.
13. Concrete-gray stone surround with recessed lighting slots
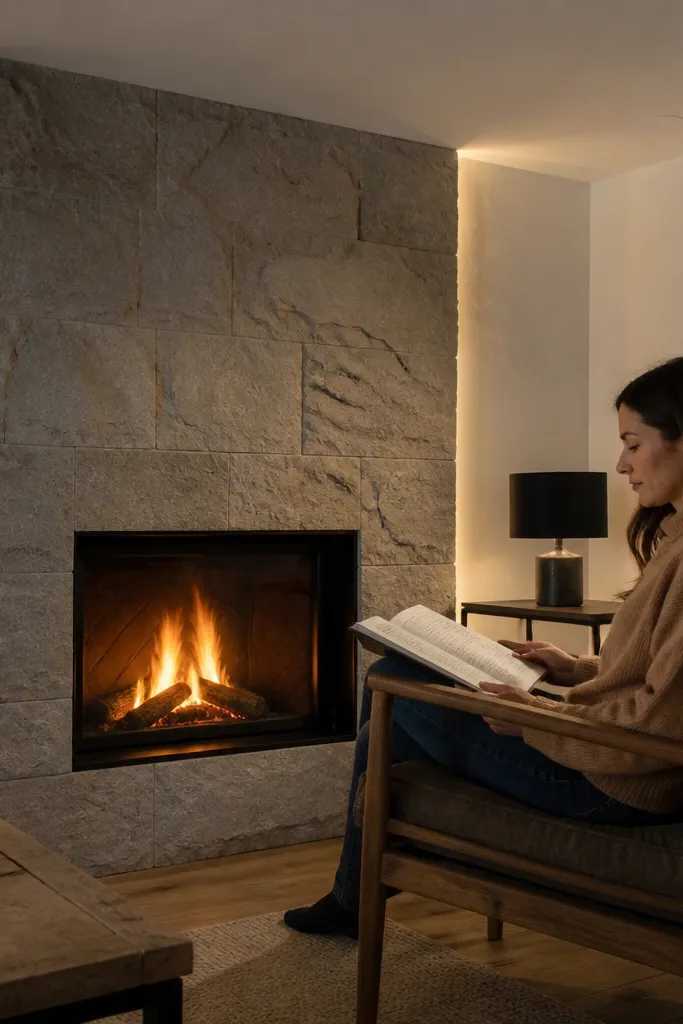
If you want the fireplace to look modern even at night, lighting placement matters more than people think. This design uses concrete-gray stone veneer and adds thin recessed lighting slots or linear LED channels along the sides of the opening so the stone texture glows instead of becoming shadowy. Small rooms benefit because the light makes the wall feel deeper without widening it. It’s a great choice for living rooms where you want mood lighting and the fireplace is the main evening feature.
Editor's noteUse a diffuser strip so you get an even glow on the stone, not bright dots.
Plan the electrical first: run low-voltage LED wiring and make sure you have access to the driver. Install cement board for the surround, then carve or frame slim channels where the LED channels will sit. Set the stone so it covers the LED channel edge cleanly, leaving the light line crisp. After cure and sealing, install the LED channel, diffuser, and test before you close up the wiring access panel.
Skip thisDon’t rely on recessed lights that aim straight at the floor; you want side illumination for texture.
14. Single-stone slab mantel-look with thin veneer surround
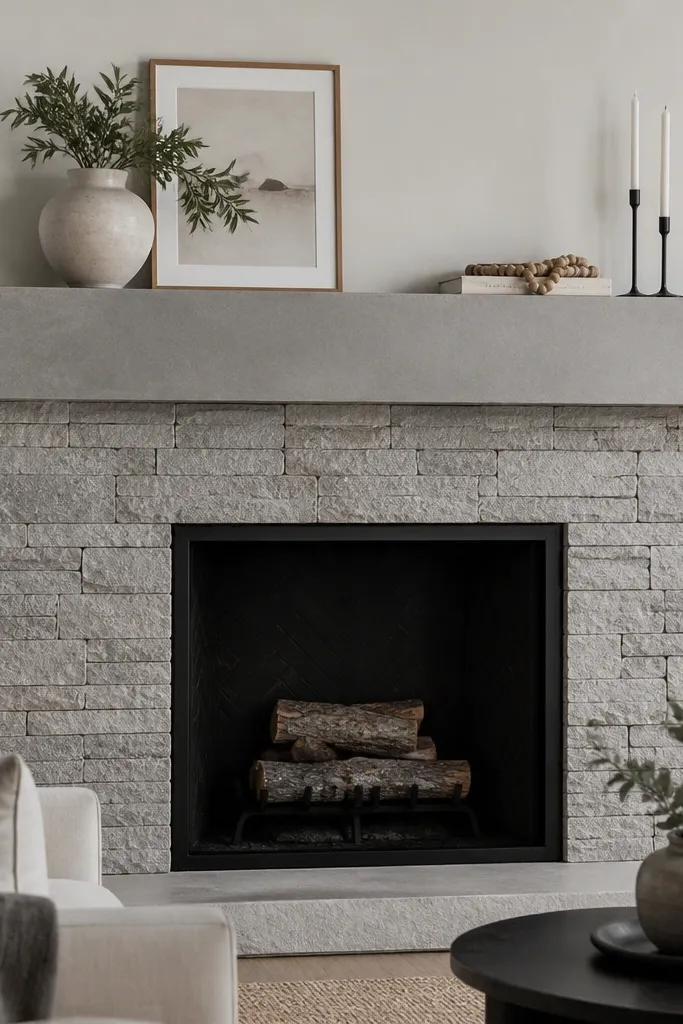
This gives you the “big mantel” look without actually building a bulky fireplace wall. The surround stays slim with thin veneer, while the mantel is a wide shelf that reads like a slab. Choose a mantel finish like matte concrete-look board, quartz-look panel, or a thick wood slab with a smooth finish. The contrast makes the opening feel more architectural — especially in small rooms where you want one strong horizontal line that doesn’t spill across multiple walls.
Editor's notePre-finish the mantel top before mounting. It’s harder to paint or seal once it’s fixed over the stone.
Install cement board for the narrow surround and set thin veneer in straight courses with consistent 1/8 inch joints. Build a mantel shelf that projects 2-3 inches from the wall and is supported by metal brackets or a hidden ledger into studs. Seal stone after grout cure, then finish the mantel surface and edges so it’s wipeable near the fire. Mount the mantel only after you’ve confirmed the stone line is level and fully cured.
Skip thisDon’t oversize the mantel projection in a narrow room; too much overhang makes the wall feel heavy.
15. Peel-and-stick stone look panels over cement board base
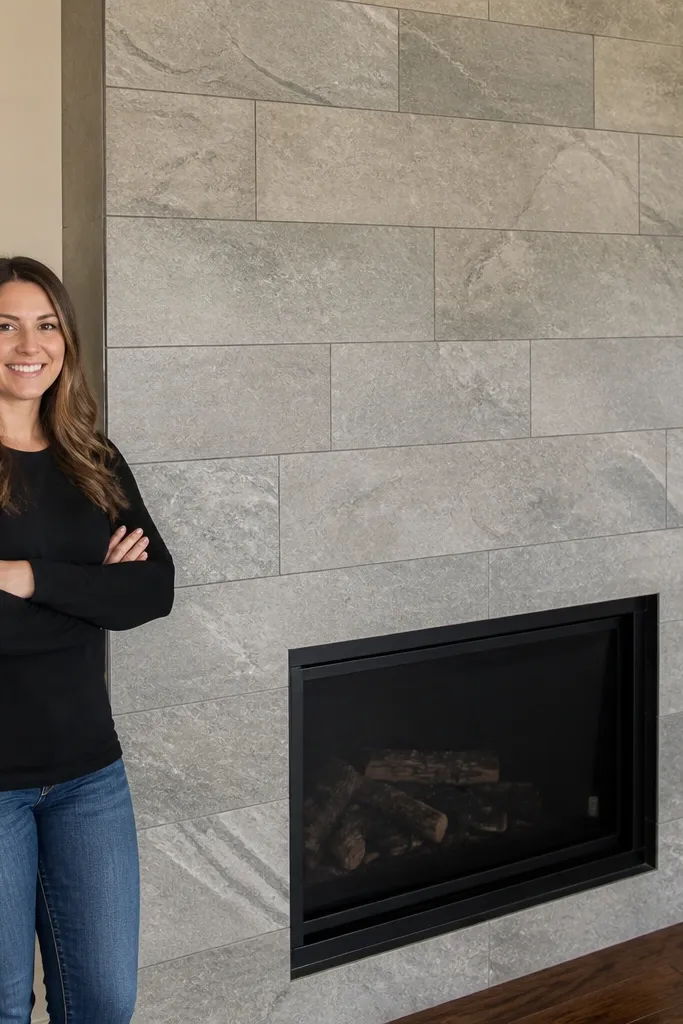
This is the faster path when you want the modern stone look but don’t want to mix thinset for every piece. Use real stone-look panels designed for veneer-style application over a cement board base, then finish with matching grout caulk for a clean joint line. The result looks crisp and photogenic because the pattern is consistent and the edges are controlled. It’s best for small spaces where speed matters and you want the wall to look finished quickly.
Editor's noteCut around the opening with a grinder or utility blade method recommended by the panel maker so edges don’t look ragged.
Start by installing cement board and priming it with the correct primer for the panel system. Plan your layout so panel seams land where you want them — dry-fit a few rows before peeling anything. Apply panels in straight, level courses, pressing firmly and using a roller if the instructions allow it. Finish joints with grout caulk in the same width as your intended lines, then seal if the panel system calls for it.
Skip thisDon’t install over drywall without a cement board — the panels will telegraph seams and edges.



