
1. Matte black angle shelves with trailing pothos
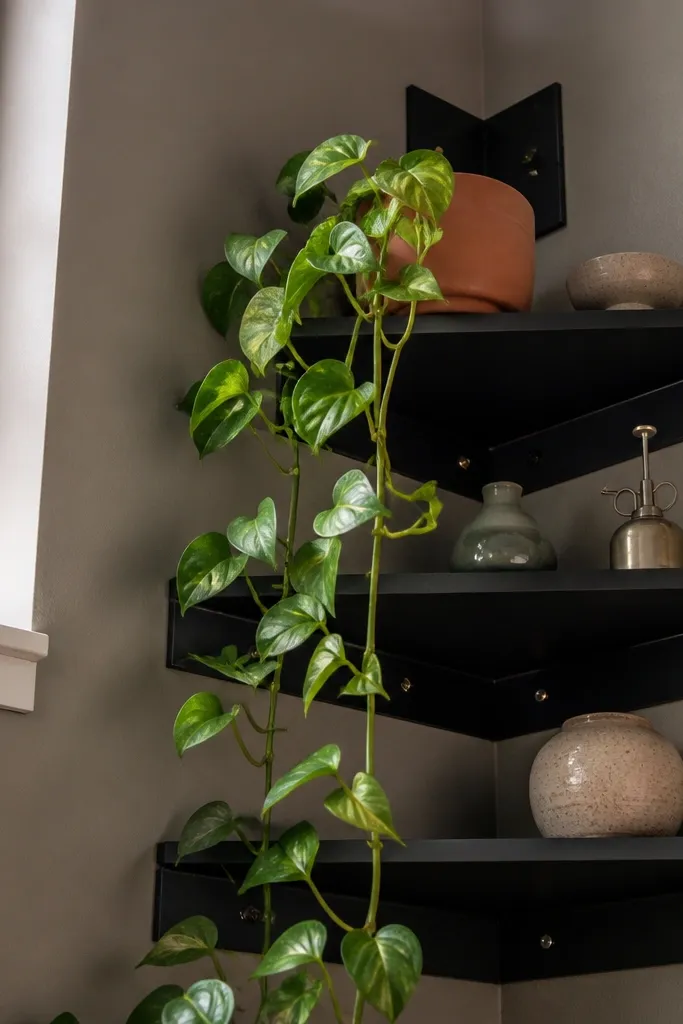
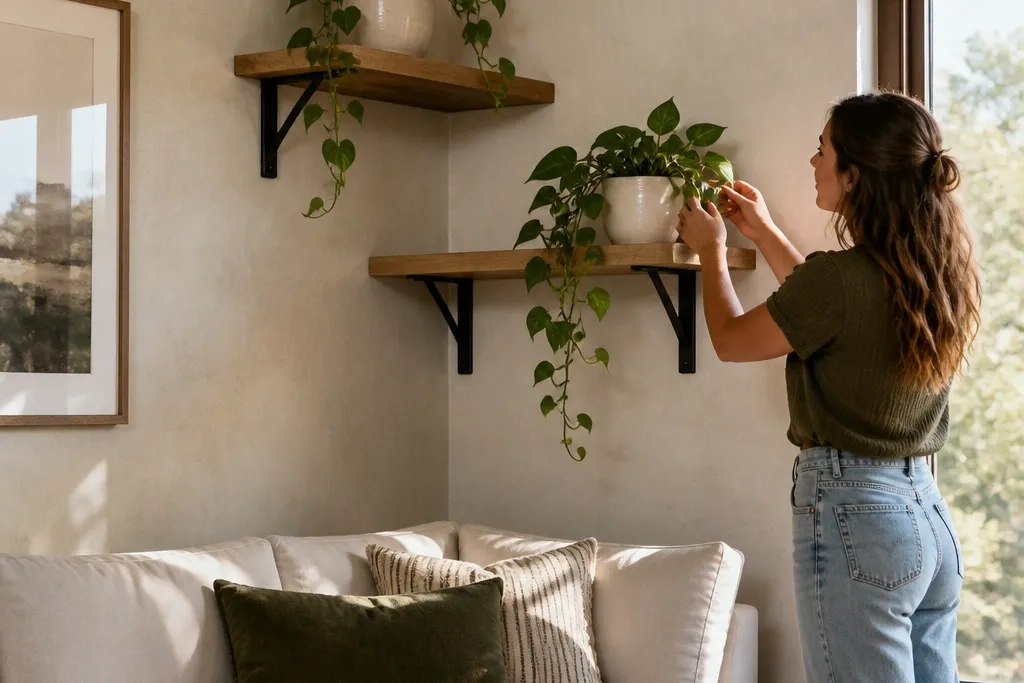
Matte black corner shelves look sharp because they make the corner feel designed, not improvised. Pair them with plants that spill downward — trailing pothos reads “intentional” because the green flow repeats the shelf’s diagonal shape. Keep the shelves narrow enough that the plant silhouettes stay clean, and use a consistent pot color so the corner doesn’t look busy. This setup works in entryways and hall corners where you need something that catches the eye at a glance without taking floor space. Skill level is beginner-friendly if you mount into studs or use proper anchors and don’t rush the level marks.
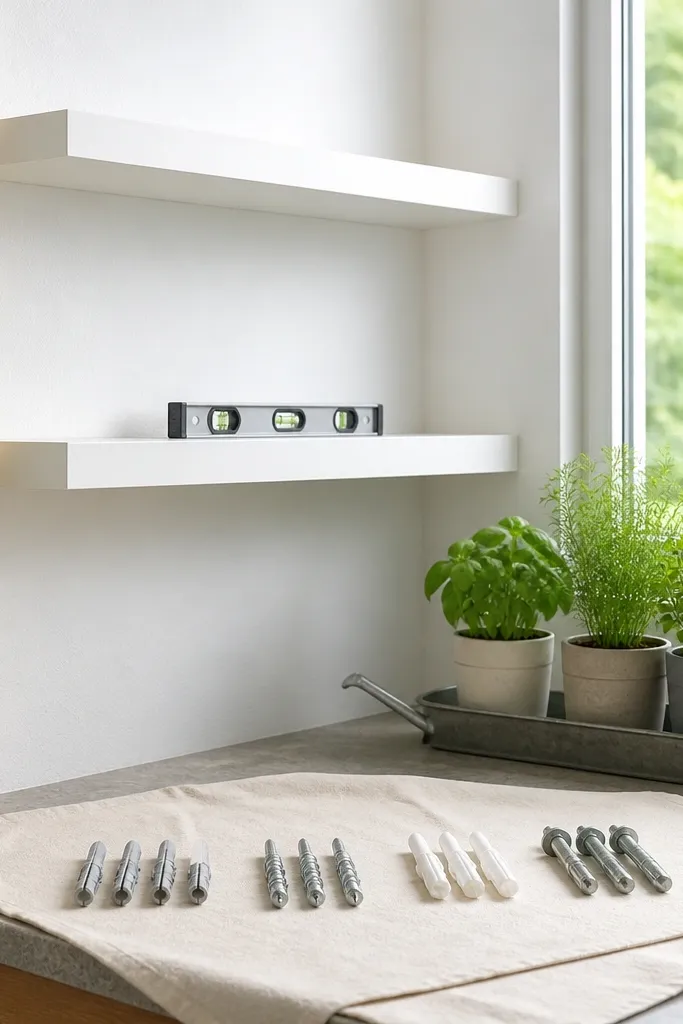
Start by placing painter’s tape on the wall to outline where the shelf edges will land, then mark bracket holes through the shelf template. Dry-fit one shelf first: hold it in place, set a 24-inch level across the top edge, and adjust until both the top and the side edge sit true. Pre-drill pilot holes at your marks, then screw brackets to studs if available (use 2-1/2 inch wood screws with a washer if the bracket holes are wide). Mount the shelf, then add the second shelf using the same height reference so the plant line looks continuous. Finish by wiping the shelf with a damp cloth and placing saucers or liners under pots to protect the matte coating.
If your shelf brackets have slotted holes, tighten bolts only after confirming the shelf is level; don’t fully lock them before you check.
Don’t mount by measuring from the floor alone — corners can be uneven, and that creates a visible wobble.
2. Warm oak L-corner shelves with small succulents in matching ceramics
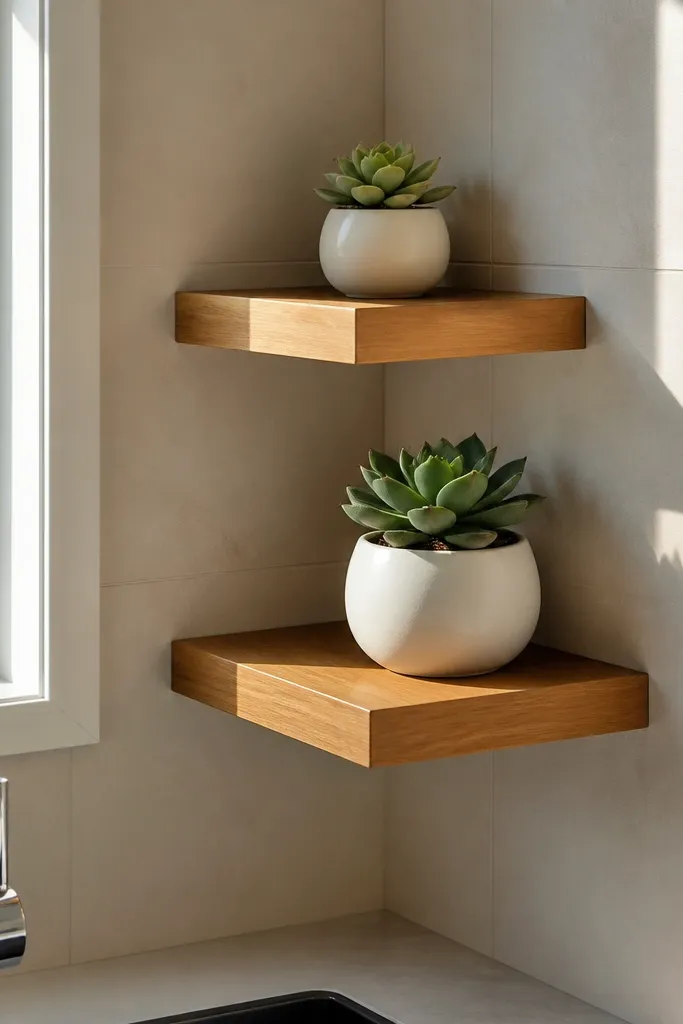
Warm oak shelves make the corner feel cozy and clean, especially with succulents because their shape stays tidy. Use matching ceramic pots in two sizes so the corner reads styled even when the plants are small. This look is great for kitchens, bathrooms with good light, and reading corners where you want something calm instead of dramatic. The “pro” part is spacing: leave a little breathing room between pots so shadows don’t merge into one dark blob. It’s a moderate skill build because you want the finish to look even and the mounting points to disappear behind the shelf.
Editor's noteUse a small 1-1/2 inch pot spacing rule: keep at least 1-1/2 inches of shelf surface between pot edges so you can adjust plant growth later.
Choose shelf hardware that lets you mount from the inside edge so the face stays uncluttered. Mark your bracket positions using a pencil and a square so your corner line stays crisp. Drill pilot holes into studs (or use masonry anchors if you’re on brick/stone), then attach brackets with screws that bite firmly without punching through thin shelf material. Mount the first shelf, then measure up to the second shelf using a tape measure plus a level — don’t eyeball the height. Once mounted, wipe the oak with a dry cloth, then place a thin felt pad under each pot to prevent scratches and reduce moisture transfer.
Skip thisSkip mixed pot finishes like glossy + matte + wood — the corner starts looking messy fast.
3. White floating corner shelves with herb pots and a small watering tray
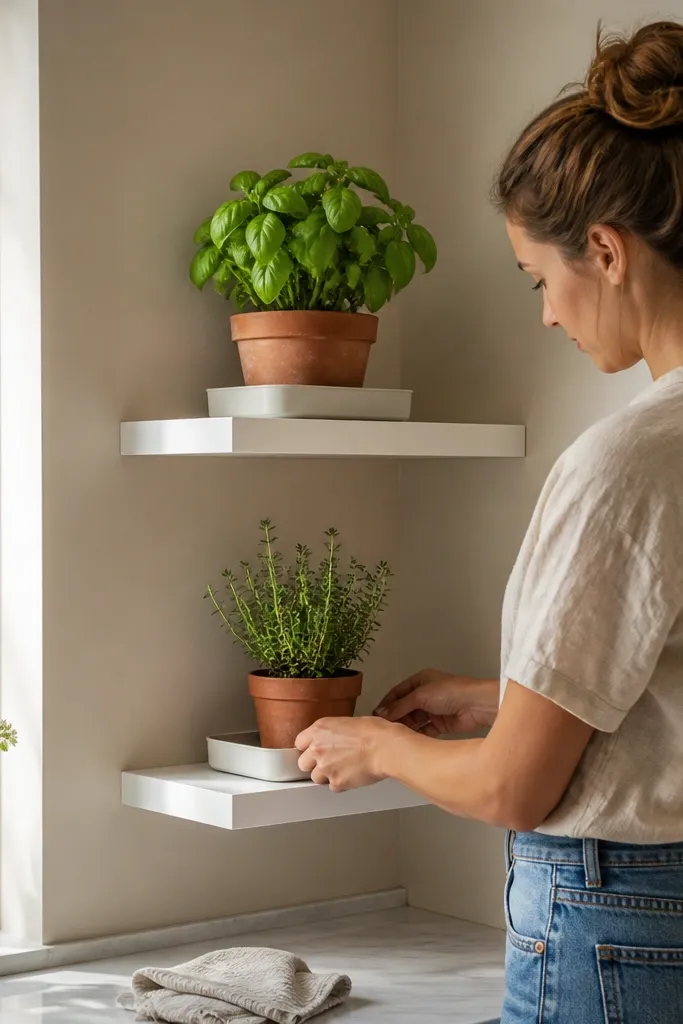
White floating corner shelves look bright and modern, and herbs make the theme feel practical instead of decorative. The trick is using small pots and a slim tray so water stays controlled when you mist or rinse. This setup works beautifully near a window, in kitchens, and on patios that get indirect sun. It’s also forgiving for beginners because white shelves hide minor hardware marks better than dark finishes. The look depends on straight mounting and consistent pot heights so the herb line reads like a planned arrangement.
Editor's noteUse a tray that’s wider than your pot bases by at least 1 inch so splashes don’t creep to the edges.
Start by selecting a shelf thickness that matches your bracket system, then use the bracket template to mark holes on the wall. Check the corner with a long level and adjust your layout so the top shelf edge is perfectly level. Pre-drill pilot holes and install anchors or screws based on wall type; for drywall, use toggle anchors sized for your bracket load. Mount the top shelf first, then set the second shelf by measuring from the top shelf down to your planned gap. Place a slim watering tray under pots, then line each pot with a saucer so no water sits directly on the shelf surface.
Skip thisDon’t mount floating shelves with random “picture hanging” hardware — herbs get bumped and water adds weight.
4. Dark walnut shelves with layered plant heights and a macramé accent
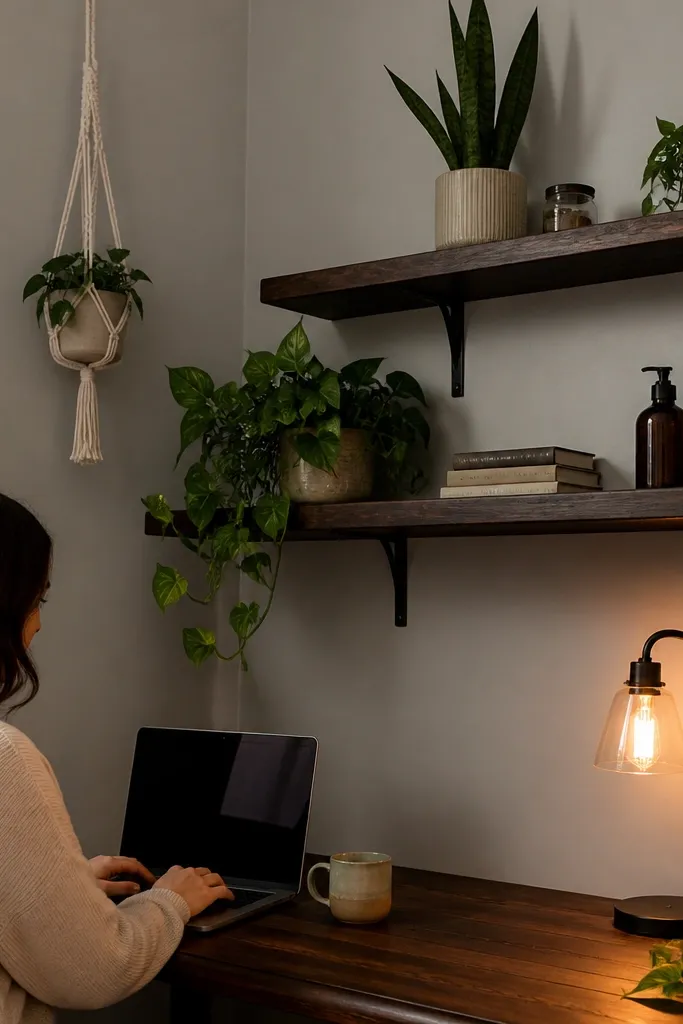
Dark walnut corner shelves add drama, and layered plant heights make the corner look like a styled vignette. Add one trailing plant and one taller upright plant so you get a clean triangle silhouette in the corner. If you want extra texture, hang a small macramé plant holder near the corner line, but keep it out of the shelf’s direct shadow. This look suits living rooms and bedrooms where you want the corner to feel like a focal point. It’s not hard, but it needs careful spacing so the tall plant doesn’t block the lower shelf or make the corner look cluttered.
Editor's noteIf your trailing plant drapes, position it so the leaves fall to the same side each time — that repeat makes the corner look intentional.
Plan your plant heights before you drill: measure the height of your tallest pot and the tallest plant, then place the top shelf so the plant clears without hitting the ceiling line. Mark bracket points, then confirm level across the shelf face before drilling. Install brackets into studs when possible; use 3-inch screws for deeper shelves so you get strong bite. Mount both shelves, then add a thin strip of non-slip shelf liner so pots don’t slide as plants grow. Finish by wiping the walnut surface and placing plants with at least 2 inches between pot edges to keep shadows separated.
Skip thisSkip three plants of the same height — it flattens the corner and kills the silhouette.
5. Terracotta-toned shelves with air plants on a cork backer
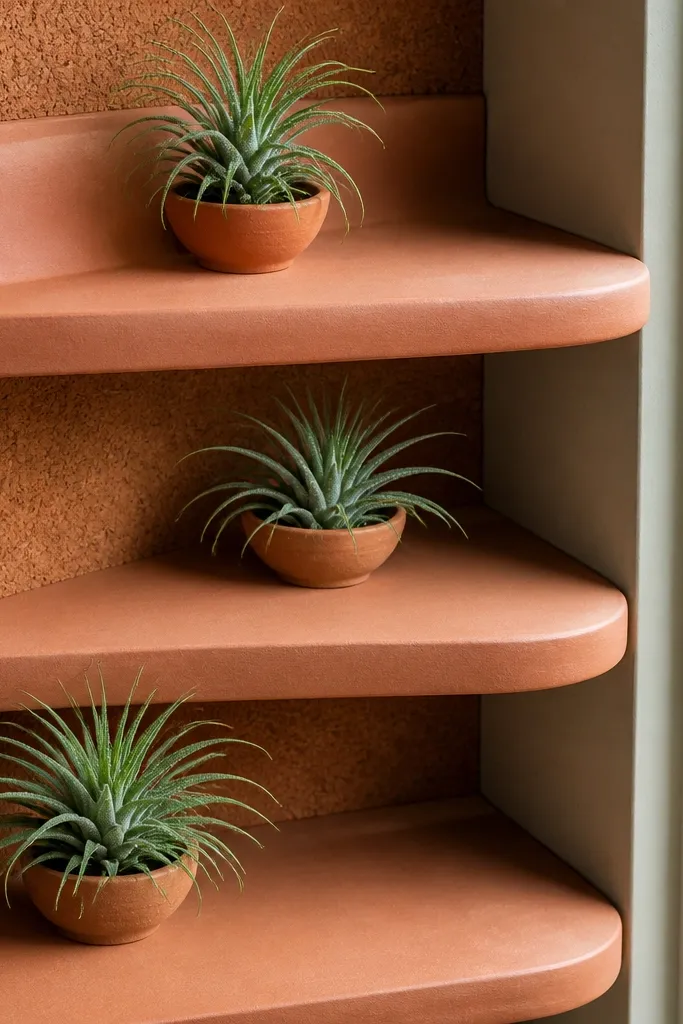
Terracotta-toned shelves look warm and handmade, and air plants bring a low-water theme that still looks full. Cork backers help air plants sit securely and keep the shelf surface protected, especially if you mist them. This theme photographs well because the textures — terracotta, cork, and plant fronds — read clearly from across the room. It’s a great option for renters because air plants don’t require heavy watering inside the shelf footprint. Skill level is easy, but you need to mount the cork cleanly and keep everything level so the air plants don’t drift.
Attach cork backer pieces to the shelf using a thin layer of clear construction adhesive or double-sided mounting tape made for porous materials. Before you mount the shelves, mark bracket locations and pre-drill pilot holes so cork doesn’t tear from vibration. Install the shelf brackets, then mount the shelves and verify level with a 24-inch level. Once mounted, secure each air plant to cork with florist wire or a few small drops of hot glue on the base (avoid getting glue on the fronds). Mist lightly, then let the corner dry before adding a decorative cover so no moisture sits on the shelf finish.
Use florist wire for air plants — it’s removable, so you can rearrange as plants mature.
Don’t glue fronds — it looks bad and can damage the plant.
6. Light birch shelves with a matching plant stand and small wall stencil
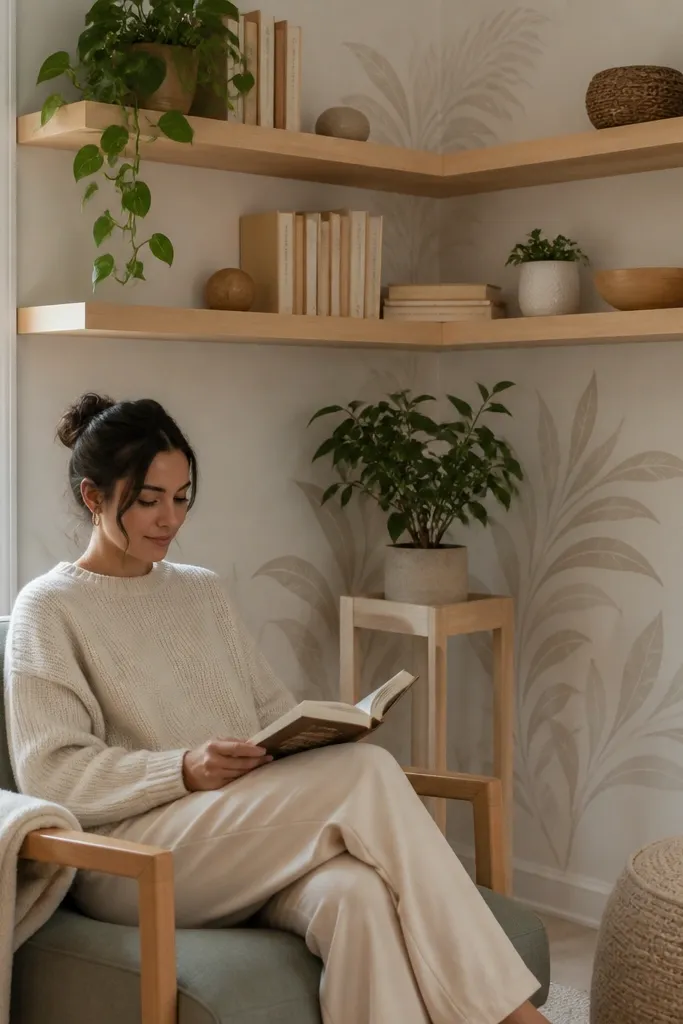
Light birch shelves feel airy, and adding a subtle wall stencil behind the corner makes the theme read even if plants are small. The plant stand idea works because it gives you one “anchor” height that balances the two shelf lines. Keep the stencil tone close to your shelf color family, so it doesn’t fight the plants. This setup is photogenic because the background pattern creates contrast without overwhelming the leaves. It’s a beginner project if you stencil first and mount second, so you don’t have to mask around brackets.
Editor's noteUse a small foam roller for stencil edges so the pattern stays crisp and doesn’t bleed into the wood tone.
Stencil the wall first: tape off a rectangle where the corner shelves will go, then apply a thin stencil paint layer and let it dry fully. Mark bracket points on the wall using the shelf’s template, then pre-drill pilot holes in studs or install the right anchors for drywall/masonry. Mount the bottom shelf first so you can align the plant stand height, then mount the top shelf using a level across the top edge. Place the plant stand and two small pots on the shelves, using painter’s tape to block off any spots where you want a clean silhouette. Finish by sealing the shelf with a clear topcoat if the wood is unfinished, then wipe away any stencil residue from nearby surfaces.
Skip thisDon’t stencil after mounting — it’s harder to mask and you’ll get paint on the shelf.
7. Brass bracket shelves with jungle plants in black planters
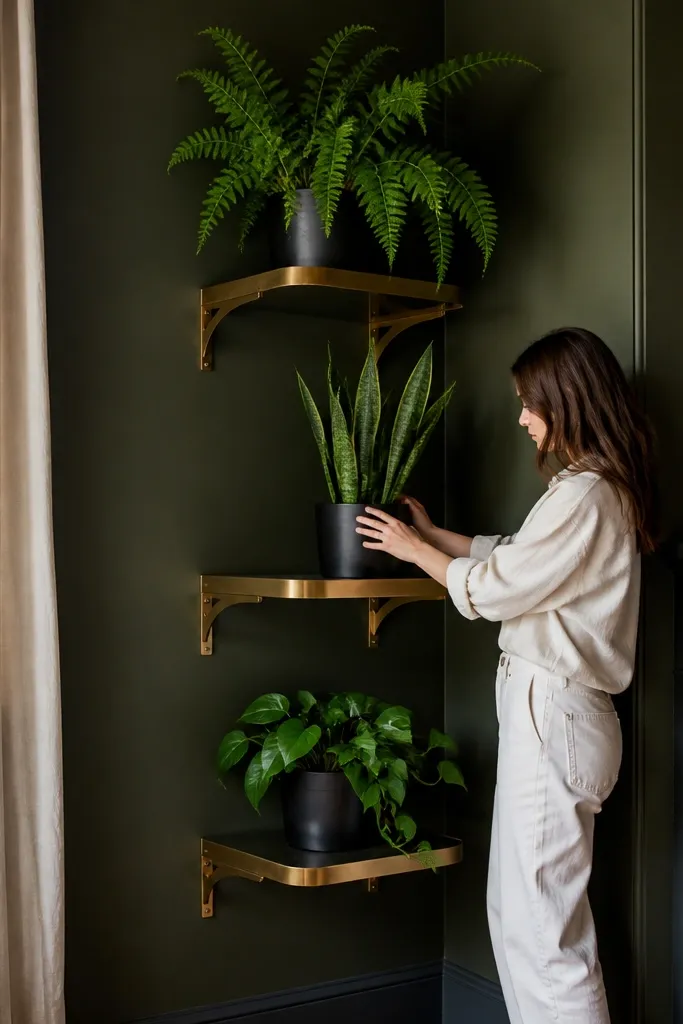
Brass brackets add warmth and make the corner feel styled even with simple shelves. Black planters keep the focus on leaf shape, which matters for jungle plants like snake plant or fern mixes. This look is bold but still clean if you keep the shelf spacing consistent and don’t cram too many pots on one level. It suits living rooms and offices where you want the corner to feel lush without taking over the room. The build is straightforward, but you need solid anchoring because jungle plants are heavier than they look once soil is wet.
Editor's notePre-wet soil and let pots drain before placement so you don’t surprise yourself with extra weight after watering.
Pick a shelf width that gives you stable support for larger pots, then locate studs with a stud finder and mark them lightly. Use the bracket base plate as your template and mark holes, then pre-drill pilot holes into studs. Mount brackets first, then attach shelves and confirm level across the top edge. Place black planters on the shelves with saucers, then load plants after everything is secure. If your wall is not stud-friendly, use properly rated anchors and spread bracket spacing so load is shared across points.
Skip thisSkip thin, decorative brackets rated for light loads — jungle planters create real leverage.
8. Stone-gray shelves with a terrarium jar and moss accents
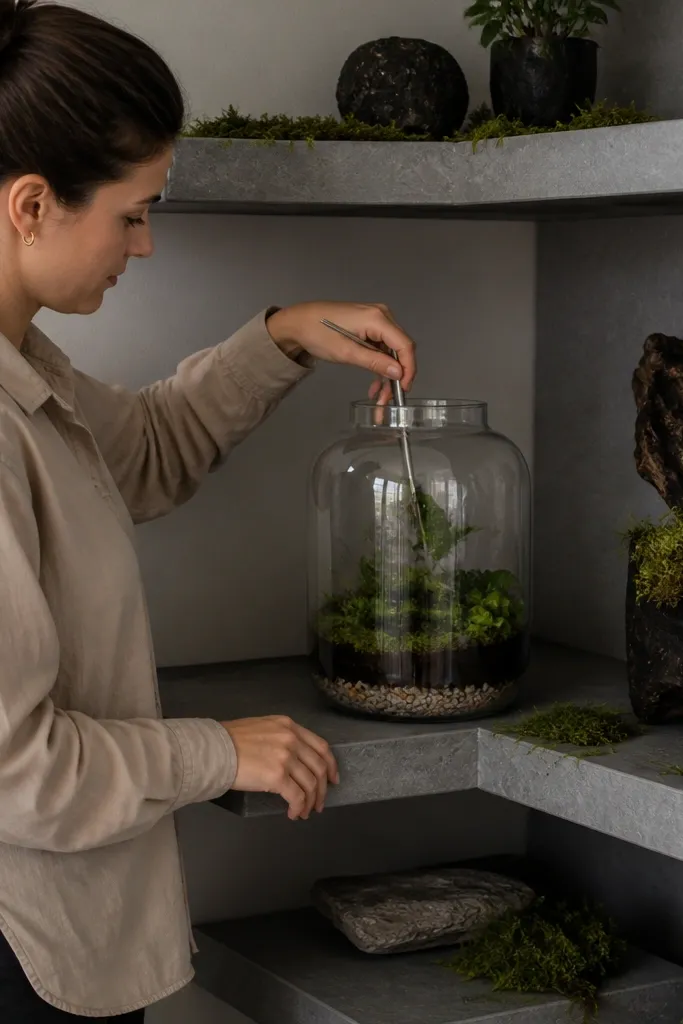
Stone-gray shelves feel calm and architectural, and a terrarium jar gives you a clear focal point in the corner. Moss accents add texture without clutter, and the jar keeps moisture and soil contained. This theme photographs well because the jar’s glass reflects light in a controlled way, and the gray shelf reduces glare. It works for desks, bedrooms, and hall corners where you want something that looks curated even when plants grow slowly. The project is easy, but you need to seal surfaces and keep the jar stable so it doesn’t slide.
Seal your shelf if it’s raw or porous by applying a clear matte water-based sealer and letting it cure fully. Mount brackets and shelves using a level across both the top edge and the side edge, then tighten screws firmly without over-torquing into wood. Place a small non-slip mat on the shelf surface, then set the terrarium jar and check it sits square to the corner. Add moss accents around the jar using lightweight foam or moss-safe adhesive, keeping everything away from jar openings. Finish by wiping fingerprints off the shelf so the matte gray stays even.
Use a non-slip mat under the jar — glass-heavy items move easily on smooth finishes.
Don’t skip sealing on porous shelves — terrarium moisture can leave dark spots.



