
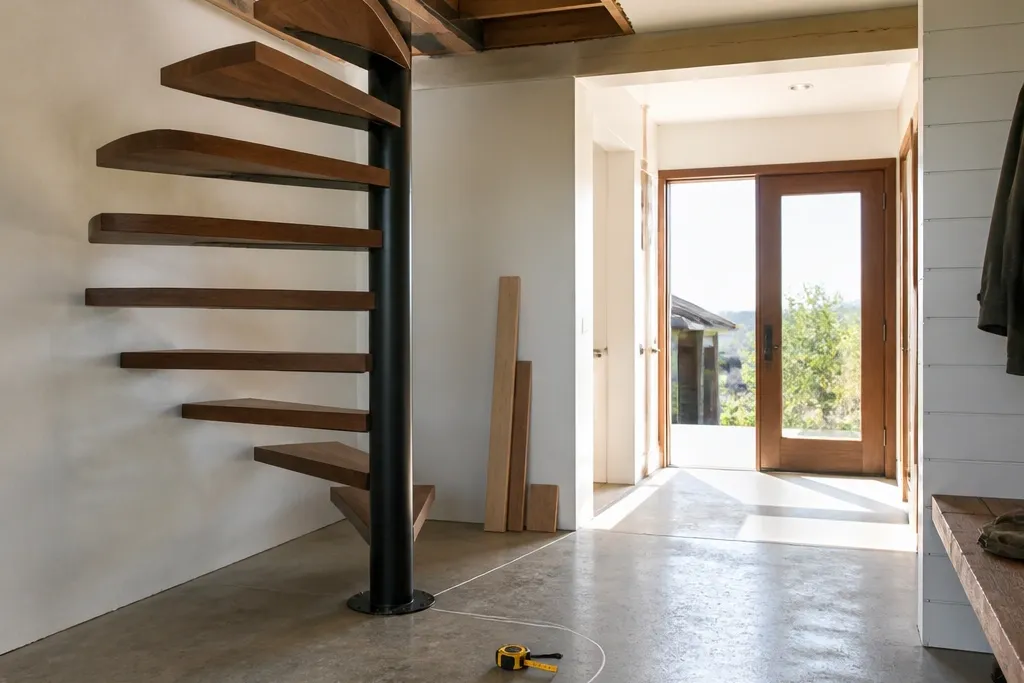
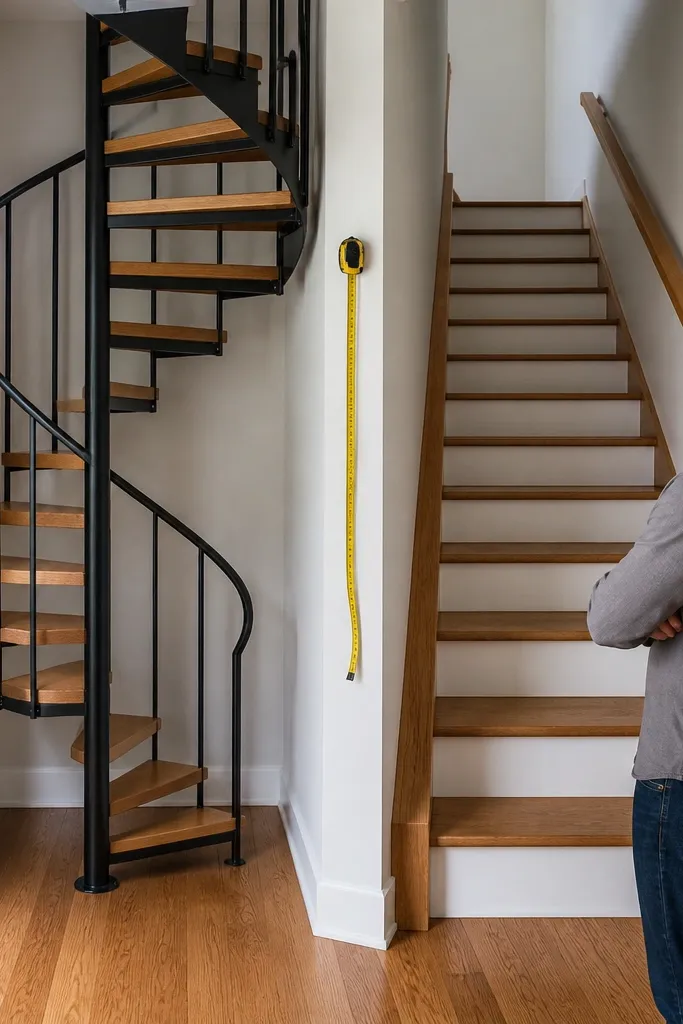
1. Outer-edge tread width check with a paper template
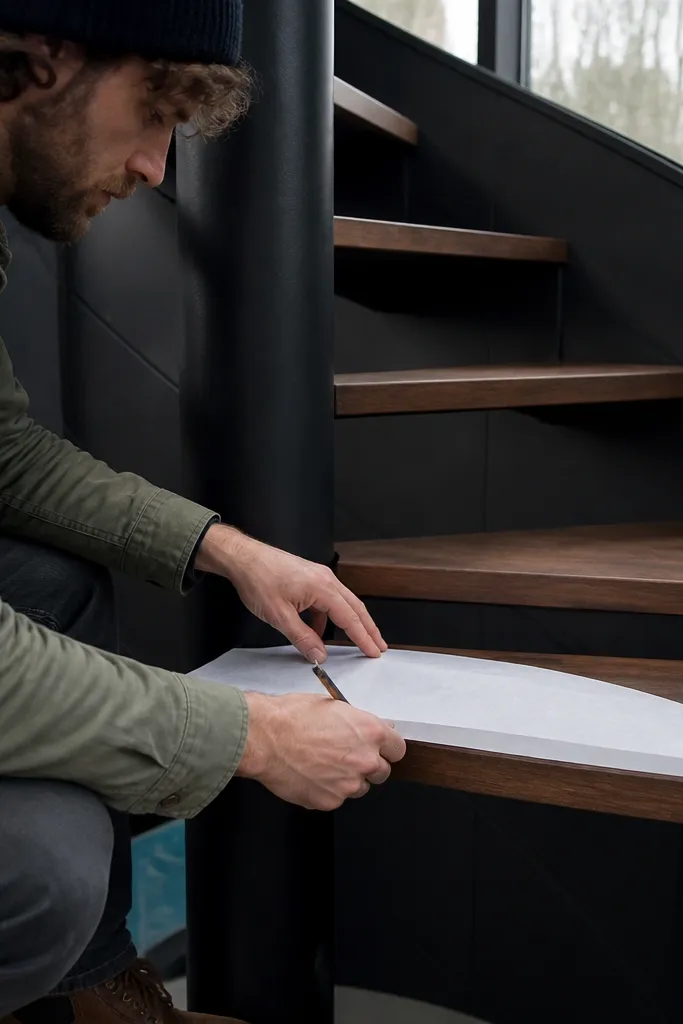
This is the mistake that turns “space-saving” into “painful.” On a spiral, your foot naturally lands near the outer radius, so you need to measure tread width where you’ll actually step. If the outer edge is too narrow, you end up toeing in, and that makes the whole stair feel shaky even if the structure is strong. A paper template lets you test the walking edge before you cut any metal or wood, and it saves you from redoing treads later.
Start by drawing the spiral’s footprint and marking the center column location. Then cut a paper strip equal to your planned tread width, and slide it around the outer arc where your foot will land. Walk the template with your shoe size in mind, lining up one “step” at a time until you see where you’d actually place your foot. If the outer edge feels tight, adjust the radius or choose a larger diameter instead of trying to “make the tread bigger later.” Finally, transfer your confirmed dimensions to the first tread layout so the rest stays consistent.
Editor's noteUse painter’s tape on the floor to mark the outer stepping path; it’s faster than redrawing and tells you if your plan matches reality.
Skip thisDon’t size treads by the narrowest point near the column — that’s where your foot should avoid landing.
2. Handrail height and grip clearance that matches real use

A spiral staircase can feel sketchy even when it’s solid if the handrail is the wrong height or too close to the wall or rail. The handrail needs to be reachable without stretching your shoulder or crowding your knuckles into the next turn. This matters because people naturally use the rail to steady themselves on the curve, especially when carrying items. Getting the rail geometry right makes the stair feel controlled and reduces the “grab and hope” feeling.
Start by measuring from the finished tread surface to where you want the top of the handrail. Use a consistent reference point across the entire spiral so the rail doesn’t dip at the turns. Then check grip clearance by ensuring the rail isn’t tucked so tightly that your palm hits the post or wall when you lean in. After that, mock the rail height with scrap wood or a temporary 2x4 so you can test reach while standing on the lower steps. Finally, fix the handrail attachment locations to the structure, not just to trim pieces.
If your rail is round, choose a diameter that your hand wraps comfortably around; thin rails feel slippery, and fat rails feel hard to grip.
Don’t mount the handrail to cosmetic trim or a thin fascia; the rail must connect to the load path.
3. Headroom planning for the lowest point
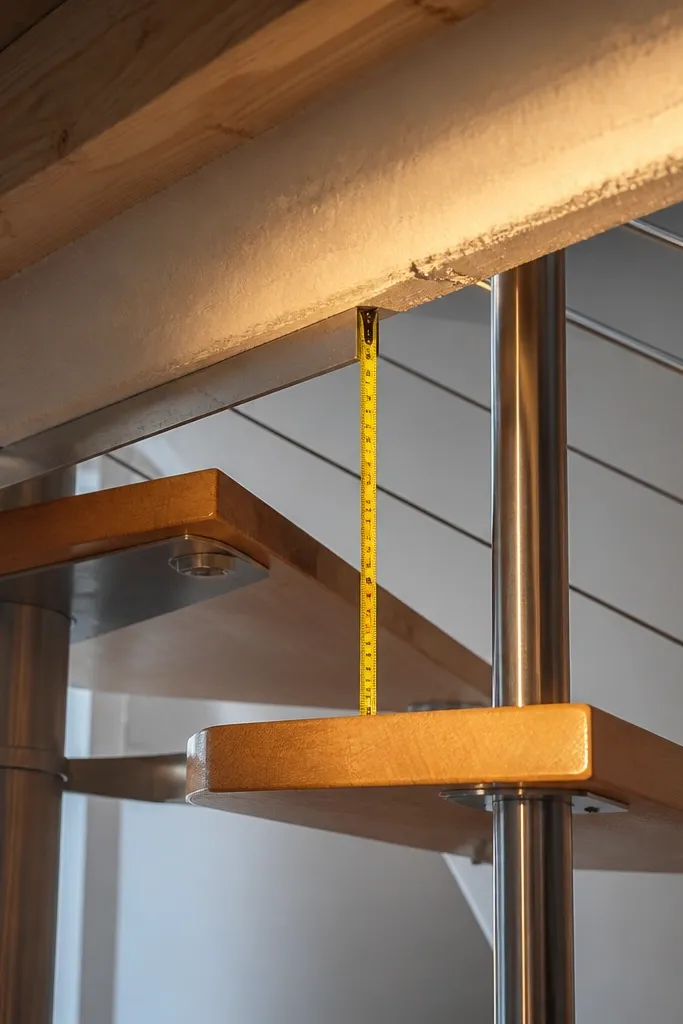
Headroom is where spiral stairs turn annoying into dangerous. People focus on the highest point above the outer edge and forget the lowest arc where you’ll pass your forehead. If you build with tight headroom, you’ll either duck every time or you’ll clip the frame when you carry something. Fixing this in the layout stage is cheap; fixing it after framing means rebuilding the stringer, not just trimming.
Start by measuring the clear height at multiple angles around the spiral, not just one spot. Mark the lowest point on your layout and subtract your final floor thickness plus any stair tread thickness and finish. Then plan your ceiling cutout or beam clearance based on that lowest measurement. If you’re working with an existing ceiling, adjust the stair diameter or starting floor height so the lowest arc stays safe. Finally, dry-fit the first section and stand on it with your normal stride to confirm you don’t have to duck.
Do a quick “carry test” with a light box at chest height; it reveals headroom problems that walking alone won’t.
Don’t assume the ceiling clearance you measured at the centerline applies to the whole spiral.
4. Level treads: preventing twist at the center column
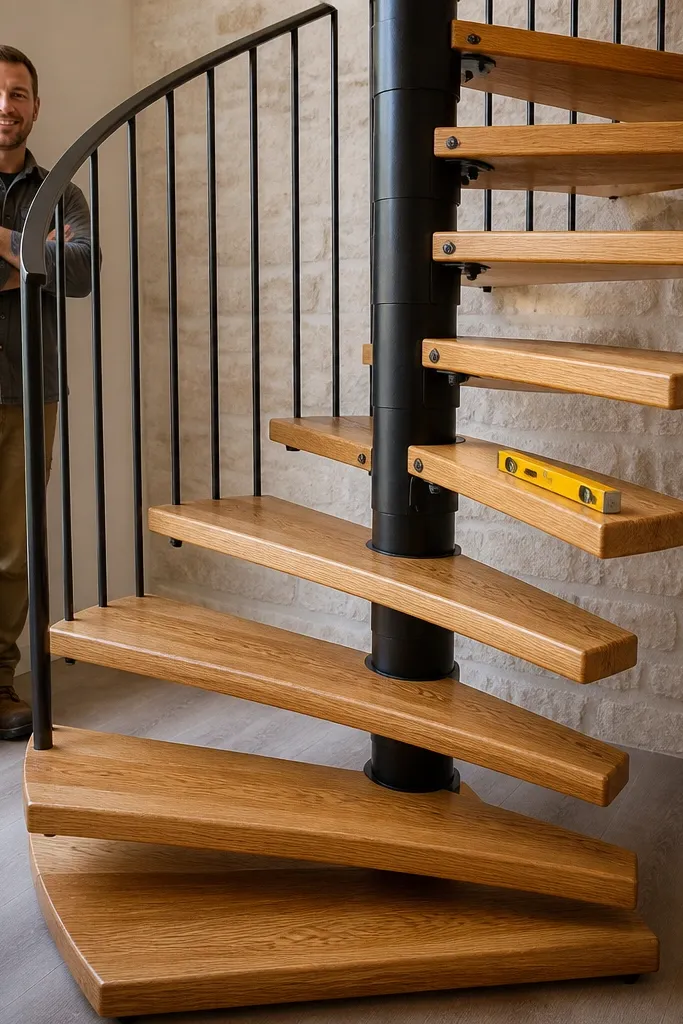
Twist is the hidden enemy of spiral stair comfort. Even if the structure is strong, if each tread is rotated slightly differently relative to the center column, the staircase feels like it’s “winding” under your feet. That causes missteps, squeaks, and fastener loosening because every step loads the frame at an angle. The fix is to control alignment during assembly, not after the stair is finished.
Start by installing the center column plumb and locked before any treads go on. Then dry-fit one tread and set it with a level across its top surface, not just visually against the previous piece. Use temporary braces or angle blocks to keep the tread from rotating while you fasten. Next, tighten fasteners gradually in a cross pattern so you don’t pull the tread out of level. Finally, measure each tread’s height and top-plane alignment before you move to the next section.
Editor's noteUse a long straightedge across two adjacent treads; it shows twist faster than a small level.
Skip thisDon’t fully tighten fasteners on the first tread and then hope the rest lines up; you lock in twist early.
5. Landing framing that doesn't bounce
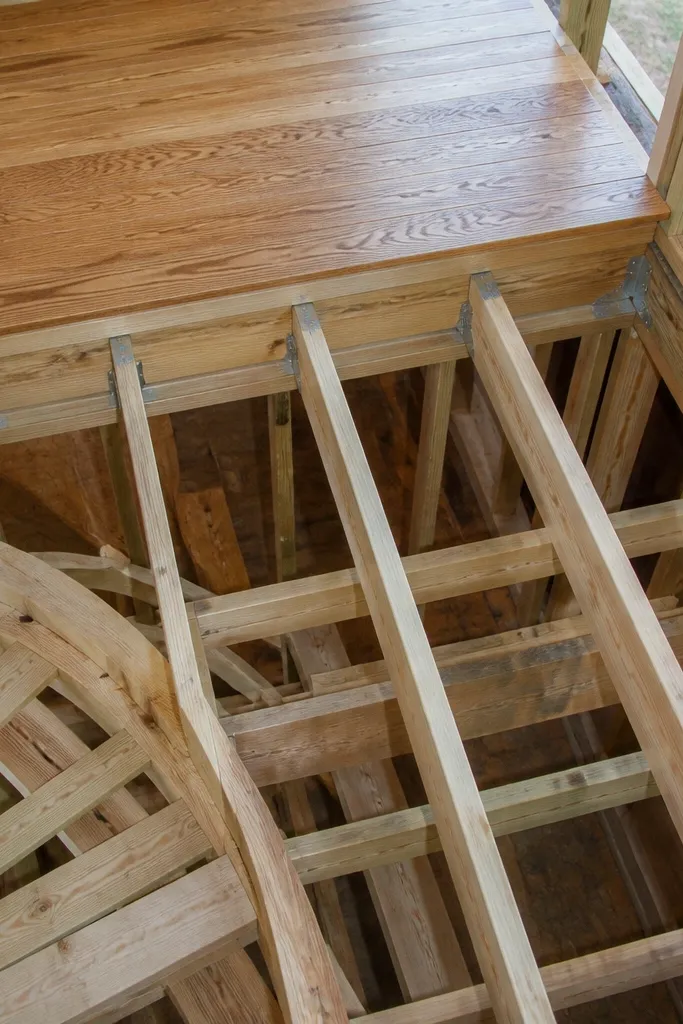
A spiral staircase often includes a landing at the top or bottom, and that’s where DIY builds get sloppy. If the landing is under-framed, the edge feels springy and the transition from stair to floor becomes awkward. That bounce also makes squeaks and loose hardware more likely because each footstep flexes the structure. Build the landing like a deck: solid support, proper joist spacing, and blocking where the stair connects.
Start by planning landing size so you have a stable walking zone where you can plant your feet before turning. Then frame the landing joists with the same level of attention you give the stair stringer, including correctly sized blocking between joists. Set the landing frame level and fasten it into the adjacent structure so it can’t rack. Next, connect the stair to the landing with brackets or structural fasteners rated for shear and bending, not just wood screws into end grain. Finally, add a subfloor layer that ties the landing together before the final tread or flooring goes on.
If you hear any flex when you press the landing edge, fix framing before finishing — flooring hides nothing.
Don’t attach the landing surface directly to the stair carcass; the landing needs its own full support.
6. Spacing between treads and the "toe trap"
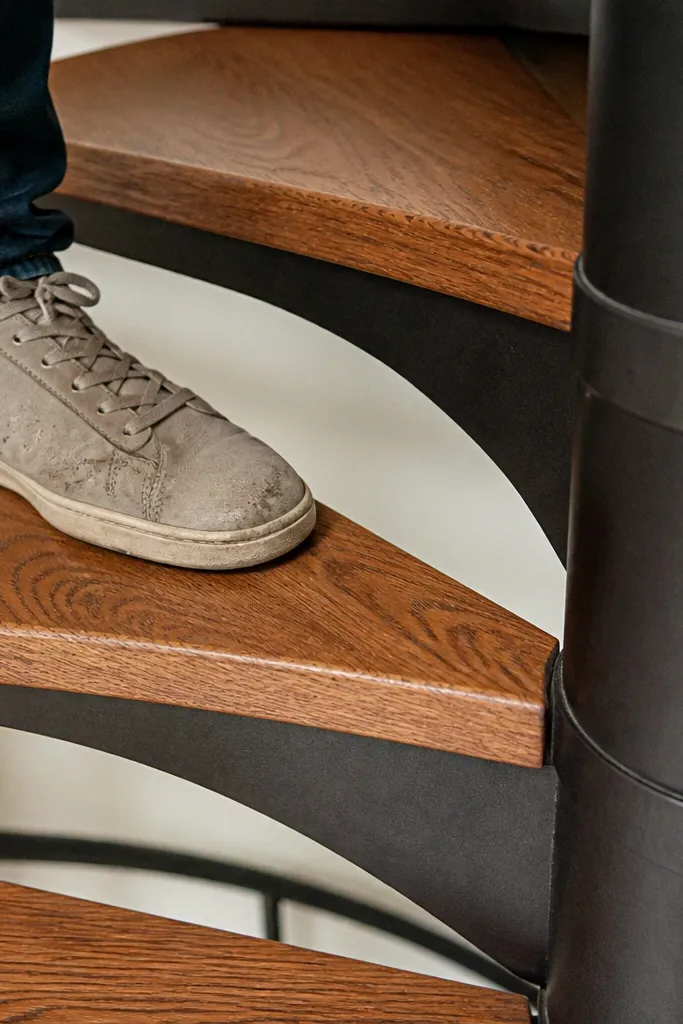
Toe traps happen when tread spacing and gap widths are wrong. On a spiral, your foot can land slightly off-center, and if the gap is too wide or the step edge is sharp, you end up catching your toe. This is especially common when people use off-the-shelf metal treads and don’t account for how their shoes sit. Fixing it is about the detail: tread overhang, gap control, and edge shape.
Start by laying out the tread spacing so the gap between adjacent treads stays consistent around the spiral. Then check the tread nosing depth — you want a predictable overhang so your foot doesn’t slide into the gap. If you’re using fabricated treads, test-fit a few and measure the actual gap after installation, since powder coat and tolerances change the final fit. Next, break sharp edges with a sanding block or a chamfer on the nosing so your toe glides rather than catches. Finally, confirm with a shoe test: place your foot at the outer edge and shift slightly inward to mimic a real step.
Editor's noteUse a piece of cardboard to simulate the gap while you test-fit; it’s a quick way to spot toe traps before finishing.
Skip thisDon’t leave sharp metal edges exposed; a snag point is a safety problem, not a design quirk.
7. Traction finish on treads, not just paint
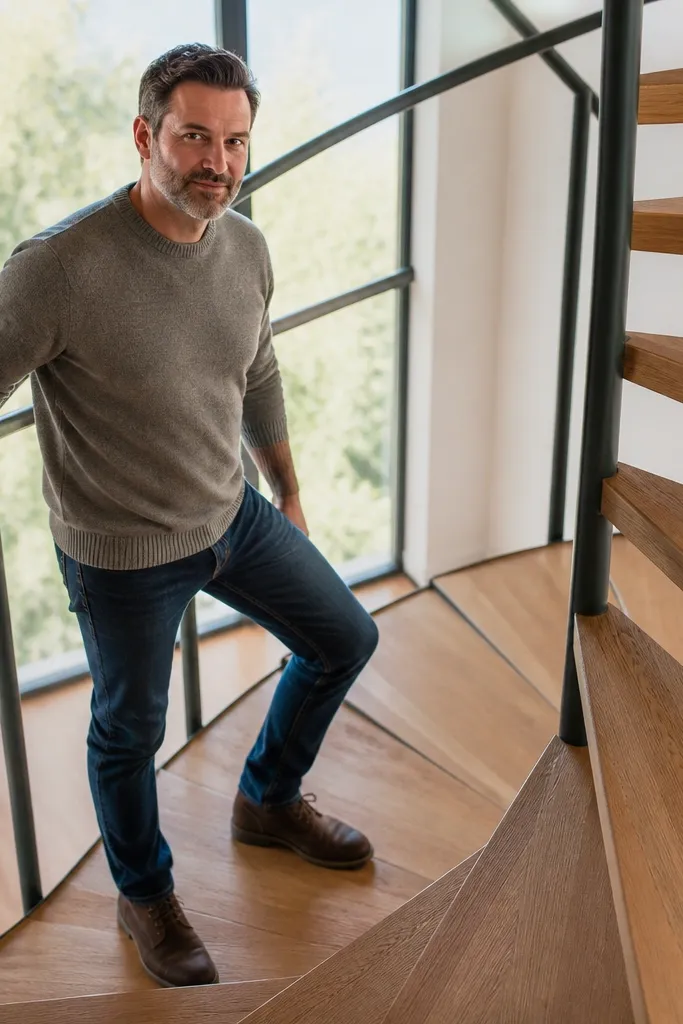
A spiral staircase gets used in socks, in wet shoes, and when someone is carrying groceries. Smooth finishes look great until your foot skates on every step. The fix isn’t complicated: pick a finish that keeps grip and add traction where your shoe contacts. If you’re using wood, choose a finish system that doesn’t turn into polished glare. If you’re using metal, treat it like a floor — it needs texture.
Start by deciding your tread material and finish system. For wood, sand to a consistent grit and apply a matte-rated clear finish rather than a high-gloss coat that turns into a slip surface when it catches light. For metal treads, roughen the surface lightly before applying any top coat and then add traction strips designed for stairs. Install traction strips so they align with the outer walking edge, where your foot lands most. Finally, let everything cure fully before testing — fresh coatings feel tacky and then turn slick as they harden.
Editor's noteDo a simple water test: splash a few drops on the tread and walk across in dry and damp shoes. If it feels slippery, change the finish now.
Skip thisDon’t rely on “rough wood” or “paint thickness” for grip; finishes and wear make traction unpredictable.
8. Wrong tread depth because you measured the wrong line
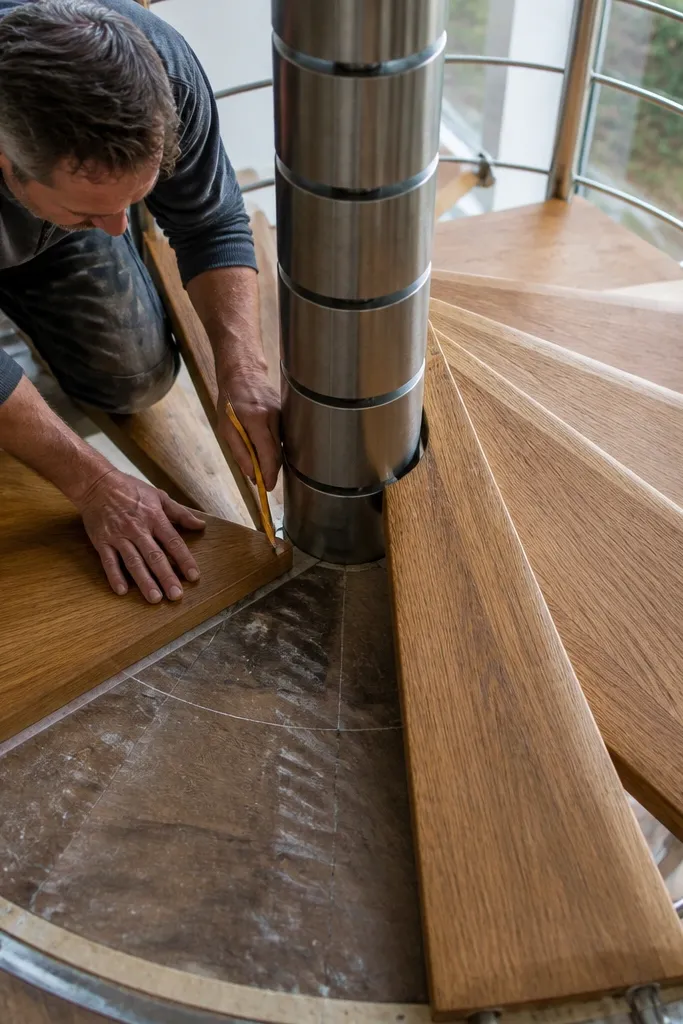
This mistake is subtle and it ruins the stair’s feel. People measure tread depth along the wrong surface or assume the support depth equals walking depth. Then the stair ends up with steps that feel shorter than expected, so your stride doesn’t match the geometry. On a spiral, where steps already rotate, that mismatch feels worse because your body has to re-adjust constantly. Fixing it means measuring from finished tread nosing to the next tread surface, using the actual top you’ll step on.
Start by marking the finished tread top plane on your layout, including any nosing or overhang. Then measure tread depth from that finished walking surface to the next tread’s underside or top surface reference line you’re designing for. If you’re using prefabricated treads, measure one installed tread with a straightedge and caliper so you confirm the real walking dimension. Next, double-check that your riser height matches your tread depth so the stair doesn’t “climb too fast” on each step. Finally, adjust the first few treads if you find a mismatch — correcting the geometry early is cheaper than replacing the whole run.
Editor's noteWrite your measured tread depth and riser height on tape and stick it to the framing; it prevents “close enough” mistakes later.
Skip thisDon’t measure from the underside of the tread or from raw lumber thickness and assume it equals the walking depth.
9. Underbuilt center column and weak connections
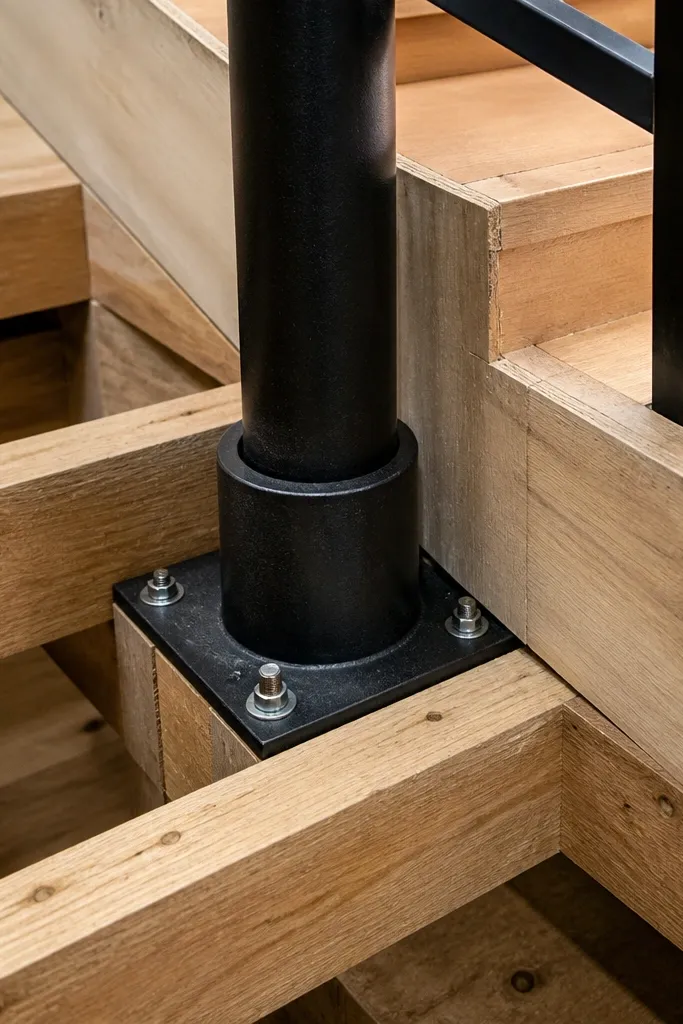
The center column is where spiral stairs quietly fail when the design is underbuilt or connections are sloppy. If the column is too small or the fasteners aren’t rated for the loads, the stair feels fine at first and then loosens over time. The fix is boring but real: use the correct column size and build connections that can handle both vertical load and the twisting forces from each step. This is where DIY shortcuts show up as wobble.
Start by using a center column sized for your stair diameter and expected load, and don’t downsize because it’s hard to source. Then plan your connections: if you’re using bolts, use proper washers and tighten to spec. If you’re welding, keep weld length and placement consistent across treads so the load path is even. Dry-fit everything and check plumb before final assembly so you don’t force parts into alignment and weaken the joint. Finally, add any required gussets or reinforcement plates at the tread connection points.
Mark each fastener position and torque sequence on the frame with a marker so you don’t miss one during a long build day.
Don’t use drywall screws or random lag bolts for structural connections — they loosen under repeated step loads.
10. Fasteners in the wrong direction
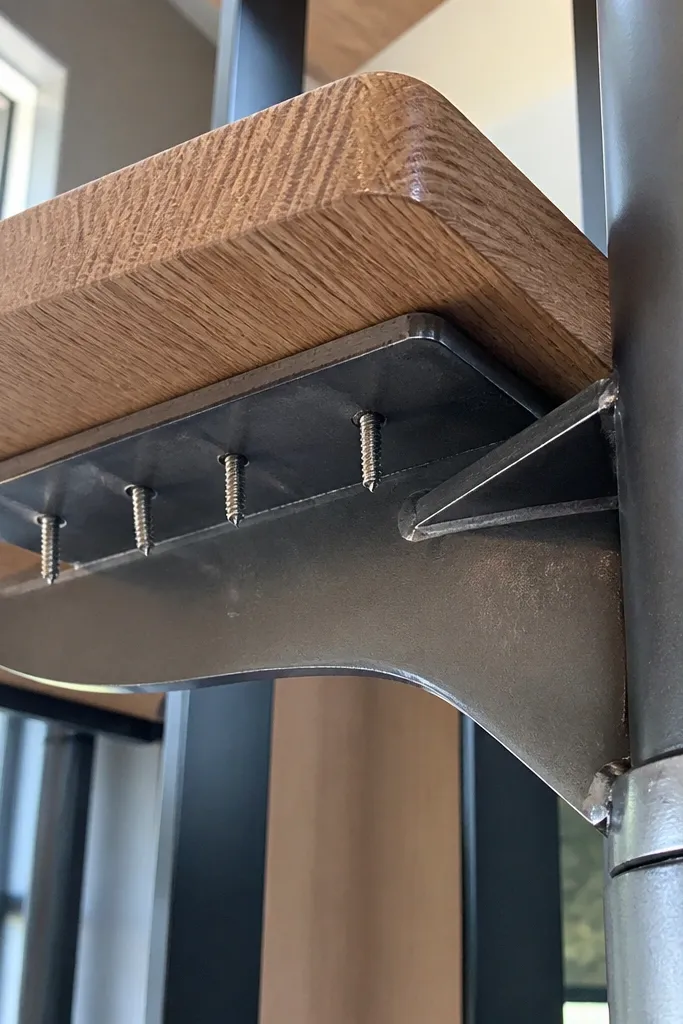
Screws and bolts work differently depending on the direction they pull. A lot of DIY mistakes come from driving fasteners in a way that puts them in tension when they should be in shear. On spiral stairs, each tread gets repeated load and a twisting component, so the fastener orientation matters. If you build with the wrong direction, the stair creaks and the treads shift slightly over time. Fix it by aligning connections so the load goes where the hardware is strongest.
Start by identifying each connection type: tread-to-stringer, tread-to-column, and rail-to-structure. Then orient fasteners so they clamp the joint and resist sideways shear, not just pull pieces together. Use the right length so you get full embedment into structural members, and avoid “just barely biting” the far side. Next, pre-drill where needed to reduce splitting, especially near edges and end grain. Finally, after assembly, check for movement at each joint by pressing along the tread and rail — creaks mean a connection needs correction.
Use structural-rated screws or bolts and keep a small set of washers for any irregular gaps so the joint clamps tight.
Don’t rely on one fastener type everywhere; a rail connection needs different strength than a tread decorative connection.
11. No expansion gaps where wood meets metal
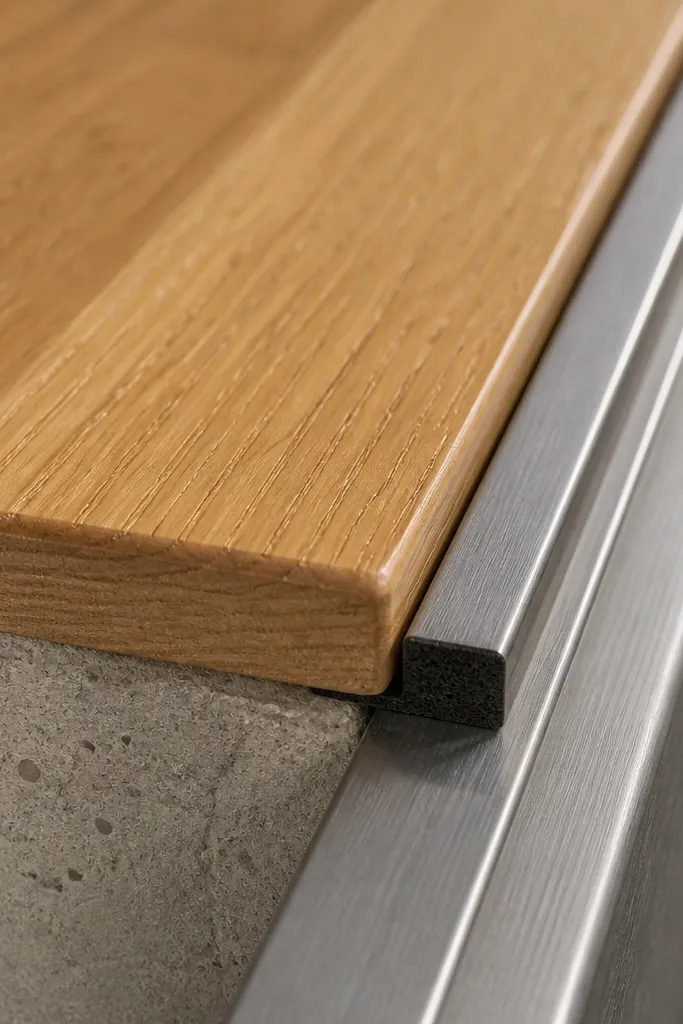
Wood expands and contracts with humidity. Metal doesn’t move the same way, so if you clamp wood tightly against metal without any clearance, you get squeaks, binding, or warped treads. Spiral stairs amplify small movement because the geometry concentrates stress at the rail and tread edges. The fix is to build in controlled gaps and use connection hardware that allows micro-movement without loosening. This keeps the stair quiet and stable.
Start by planning which parts are wood and which are metal, especially at the tread-to-bracket interface. Then leave a small clearance where the materials meet, guided by your hardware design, so wood can expand without pushing against the metal. Use slotted holes or adjustability in brackets if your system allows it. Install fasteners snug but not over-tightened, and avoid forcing parts into contact just to “make it line up.” Finally, after the stair is assembled, check for rubbing by sliding a thin strip between surfaces at a few points around the spiral.
Editor's noteIf you’re unsure, do a one-day dry fit and observe if any parts bind when you clamp them; loosen and add clearance before final assembly.
Skip thisDon’t glue wood directly to metal joints that should move; glue turns micro-movement into splits.
12. Ignoring stair stiffness at the rail posts
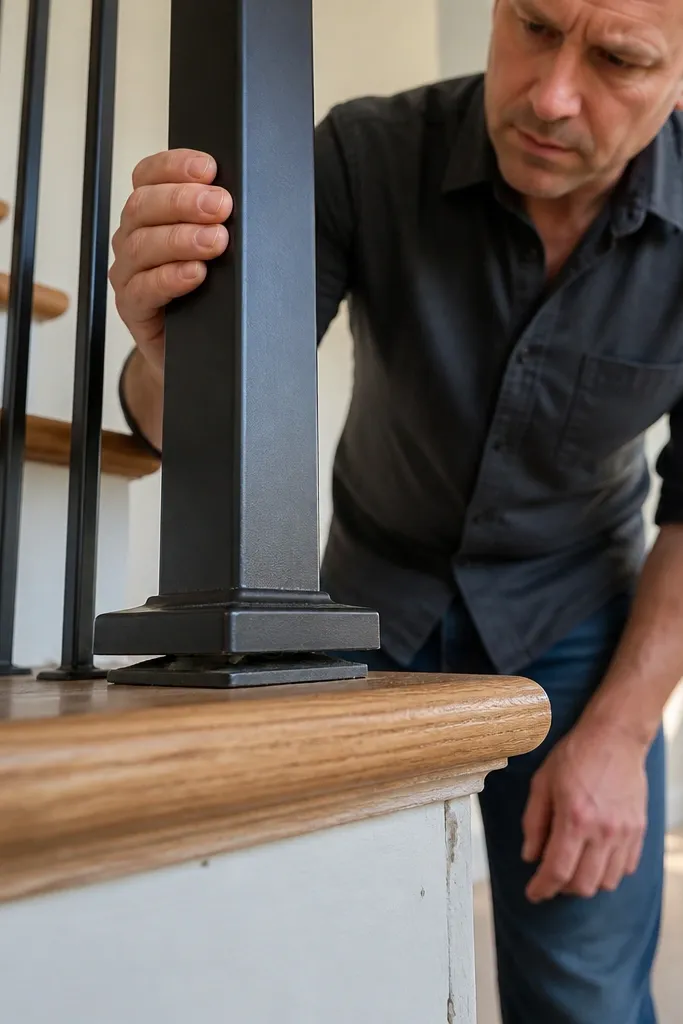
People grab the rail, and that changes the load path. If rail posts are attached to weak spots, the whole stair feels like it shifts under hand pressure even if the treads are solid. Spiral stairs are already “compact,” so there’s less room for structural redundancy. When the rail is loose, the user compensates by stepping differently, which can cause missteps. Fix the rail attachment points by adding blocking and ensuring the posts tie into framing members that can take shear.
Start by planning rail post locations so they land near structural members, not in the middle of thin panels. Then add blocking or gussets behind the mounting points so the post has something solid to grab. Use through-bolts where possible and tighten them evenly. Next, after installation, push and pull on each post with steady force; any movement means the attachment needs reinforcement. Finally, confirm the rail alignment so it doesn’t force posts into a bent position as you tighten.
If the rail feels “springy,” don’t just add more screws — add structural backing where the post mounts.
Don’t mount rail posts to trim or subfloor-only surfaces; the rail needs structural anchoring.
13. Skipping stringer bracing during assembly
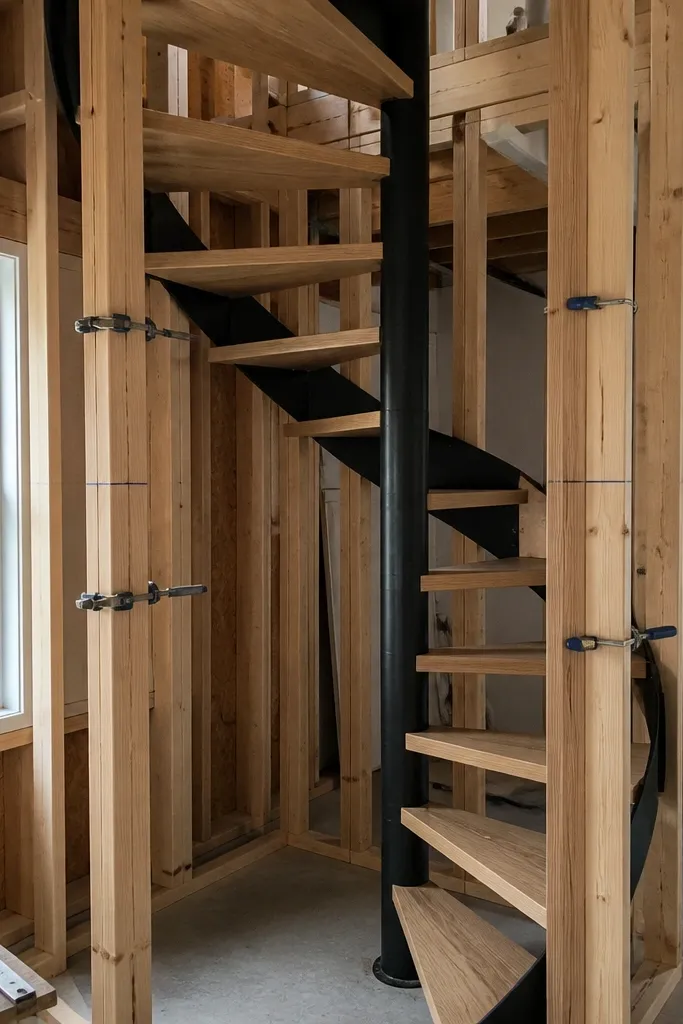
A spiral staircase can look square during framing and then twist when you remove temporary supports. That twist isn’t cosmetic; it changes tread alignment and makes the stair feel uneven. The fix is to brace during build, not after. Temporary bracing keeps components in plane while you fasten, and it prevents cumulative errors around the spiral. Most DIY mistakes here come from rushing the assembly order and letting the structure “float.”
Start by bracing the center column plumb before anything else. Then install one or two treads and add temporary diagonal braces between structural points to keep the frame from rotating. Work around the spiral in small sections, tightening connections as you go, and keep checking level on each new tread. If you remove braces too early, the geometry shifts; leave them until the full run is secured and the rail posts are mounted. Finally, after everything is fixed, remove temporary bracing and re-check level and spacing.
Editor's noteUse scrap angle iron or 2x4 braces with numbered labels so you put them back in the same orientation each time.
Skip thisDon’t assemble the full spiral “loose” and then straighten it later — you’ll fight misalignment the whole time.
14. Comparing spiral vs straight wrong: ignoring how people carry stuff
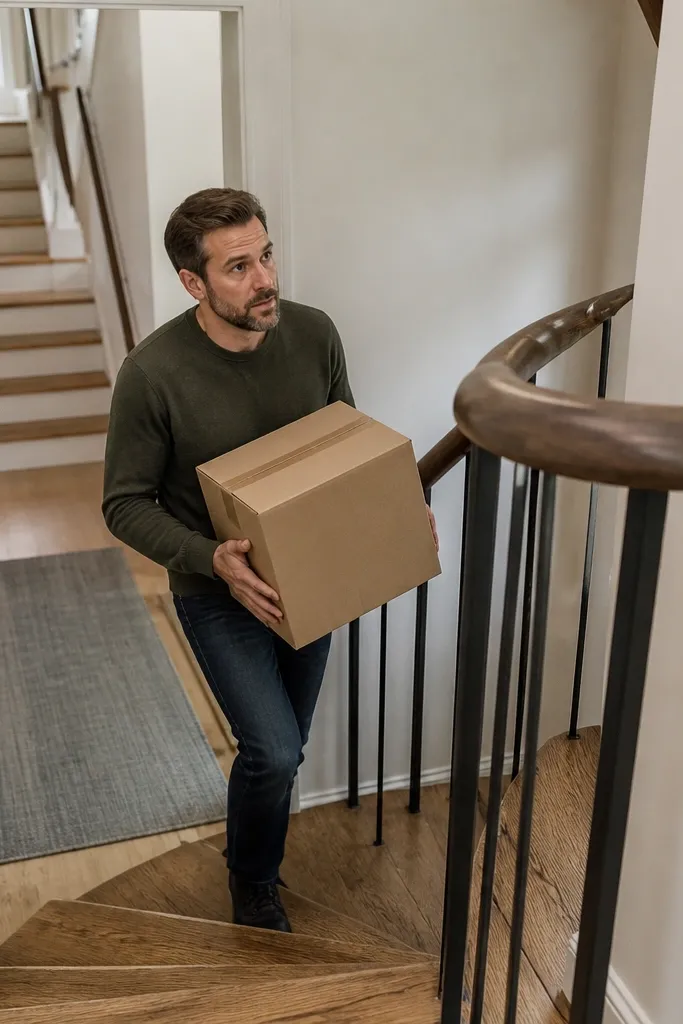
This is the decision mistake that shows up months later. Spiral stairs are tight, and carrying loads makes the foot placement more critical. If you plan to move boxes, groceries, or laundry often, spiral can feel like a chore because you’re stepping on a curved path with less room to reposition. Straight stairs feel easier because they let you take a larger, more consistent stride. If you’re building for daily use, factor in what you’ll carry, not just the square footage.
Start by listing your realistic “carry items” — laundry baskets, storage bins, tools, or furniture legs. Then decide if you want one hand on the rail every trip; if yes, spiral is fine, but your rail height and tread traction need to be right. If you expect two-handed carrying or frequent bulky items, consider straight stairs or a spiral with a wider diameter and larger opening. Next, test your stride by marking step spacing on the floor and walking it with your shoes, then repeat on the proposed stair path if possible with a temporary mock. Finally, if you go spiral, prioritize the widest tread option and traction finish so carrying doesn’t turn into toe-stubbing.
If the stair is for the main route, choose smoother transitions and traction over “pretty” finishes that look good but feel slick.
Don’t pick a spiral only because it fits the corner if you know you’ll need to carry bulky items daily.
15. Underestimating noise: squeaks from tread micro-gaps
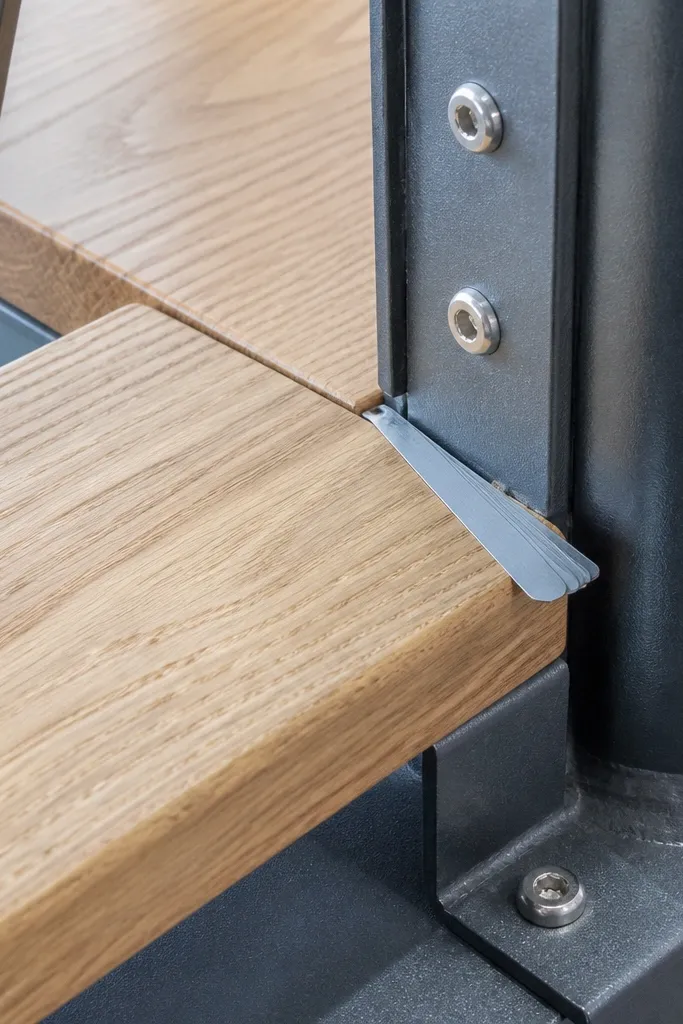
Squeaks are the spiral staircase equivalent of a loose tooth. They come from tiny gaps that rub as you step, especially where wood meets metal or where fasteners clamp unevenly. Spiral stairs concentrate movement because each tread rotates the user’s stance. The fix is to eliminate micro-gaps with proper shimming, tight clamping where appropriate, and the right isolation material. Quiet stairs are also smoother stairs, because vibration makes the steps feel less stable.
Start by dry-fitting one tread and checking for visible gaps at the connection points. Then use thin shims or isolation pads rated for structural use where wood touches metal, so the joint doesn’t rub. Tighten fasteners evenly so the tread clamps flat and doesn’t rock. Next, after assembly, press down on each tread and listen for creaks; mark the location of any noise. Finally, correct the joint by loosening, adjusting shims, and re-tightening rather than adding random extra screws that can split wood.
Editor's noteFelt isolation works only if it’s rated and placed where it won’t creep; test-fit first so you don’t create a rocking joint.
Skip thisDon’t ignore squeaks during build; fixing them later usually means removing the finished treads.
16. Using mismatched materials across tread thickness
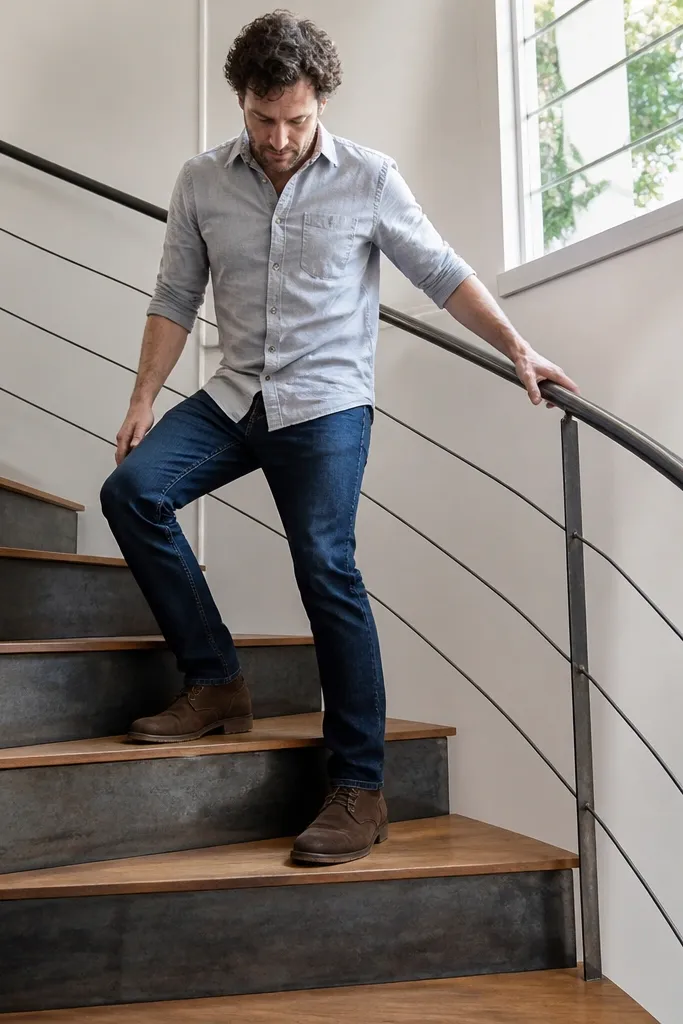
If your treads aren’t the same thickness and finish build-up, your risers won’t match. Spiral stairs magnify riser inconsistency because you’re stepping while turning, so one “short” or “tall” step throws off your rhythm. The result is people catching their toe or taking an extra half-step to compensate. The fix is consistent tread thickness, consistent finish build-up, and careful ordering so every tread matches the plan before installation.
Start by sorting treads by thickness before you install anything. Then dry-fit two adjacent treads and measure riser height from finished surface to the next tread reference line. If you’re adding stair nosing, measure the final height build-up and account for it in the riser plan. Next, keep the same finish system across all treads so you don’t add extra thickness on some steps. Finally, install in order and re-check riser height every few treads so you catch drift early.
Label treads before finishing and install them in the same orientation every time; rotation can change effective nosing height.
Don’t mix old and new treads or different finish coats on different steps.
17. Railing gaps that snag sleeves and jackets
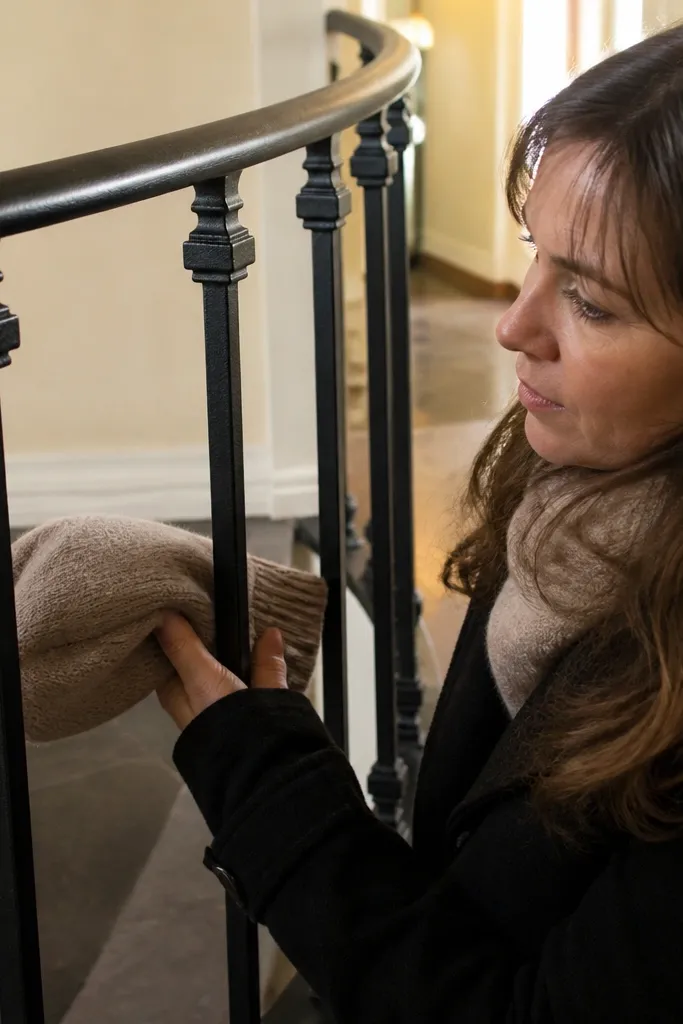
Spiral stair railings need to block accidental contact, not just look “open.” If gaps are too large, kids can slip through, and adults can snag sleeves while moving around the curve. This is a safety and usability problem, especially on curved rail lines where clothing catches. The fix is to size baluster spacing and choose a rail design that keeps the hand path smooth. Don’t leave the railing “for later” — railing details are part of the stair’s daily safety.
Start by deciding your railing type — balusters, glass panels, or solid sections — and confirm the spacing rules you’re building to. Then measure the opening widths between posts at multiple points, since spiral curvature changes geometry. Fit balusters with consistent spacing and secure them into structural members, not just into the rail surface. If you’re using glass or panels, use the right gaskets so the panel sits stable without rattling. Finally, run a quick snag test: pass a hoodie sleeve and a jacket cuff along the railing line and around the posts.
Editor's noteUse a continuous handrail without sharp edges at the post transitions; those little corners snag gloves fast.
Skip thisDon’t install a railing with “temporary” spacing and plan to fix it later; the stair gets used immediately.
18. Stair start and end points that don't align with doors
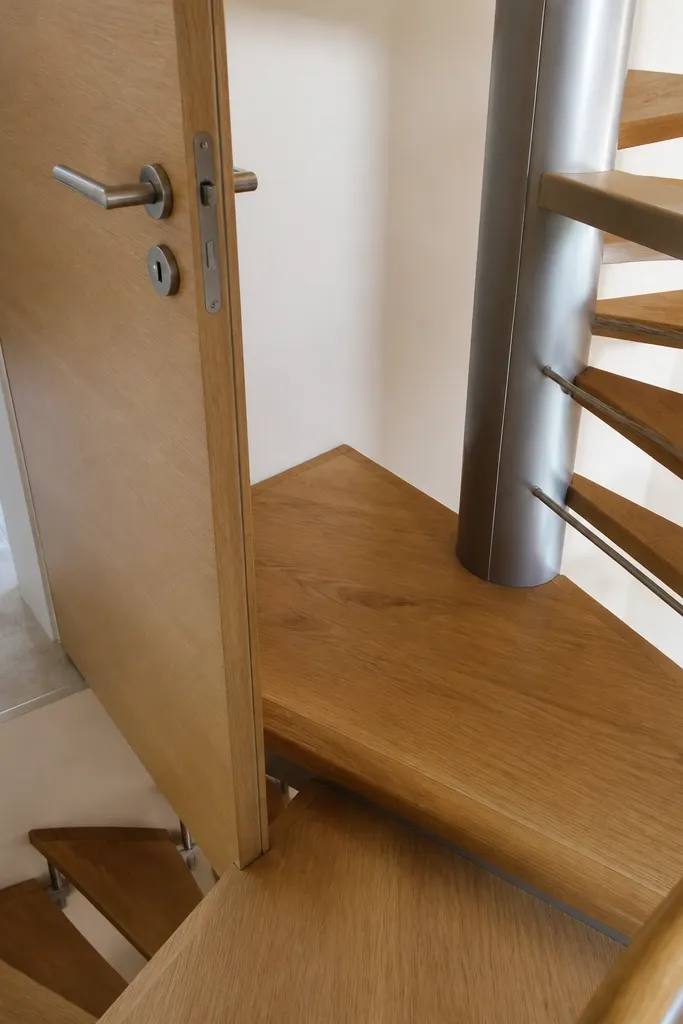
A spiral staircase can be technically correct and still be annoying if the start and end points don’t match the door or hallway flow. Doors swing into the landing zone and force awkward stepping. That turns a safe stair into a near-miss machine because people step around the door instead of onto the tread. Fix it by aligning the stair exit path and clearing the landing so you can step onto the floor without twisting your body. This is layout work, not carpentry heroics.
Start by marking the door swing arc on the floor plan and on the landing area. Then position the stair so the landing gives you a clear approach zone where you can step off without turning your torso into the door. If the stair ends too close to the door, adjust the stair diameter or the landing orientation rather than trimming doors after the fact. Next, check the transition height between the last tread and the landing floor so there’s no unexpected lip. Finally, test with normal movement: open the door, stand on the last tread, and step onto the landing with your body facing the doorway.
Add 12 inches of clear landing depth beyond the last tread if you can; it prevents the “half step” habit people develop.
Don’t place the landing so the door blocks your natural step-off direction.
19. Starting with the wrong diameter: spiral feels cramped
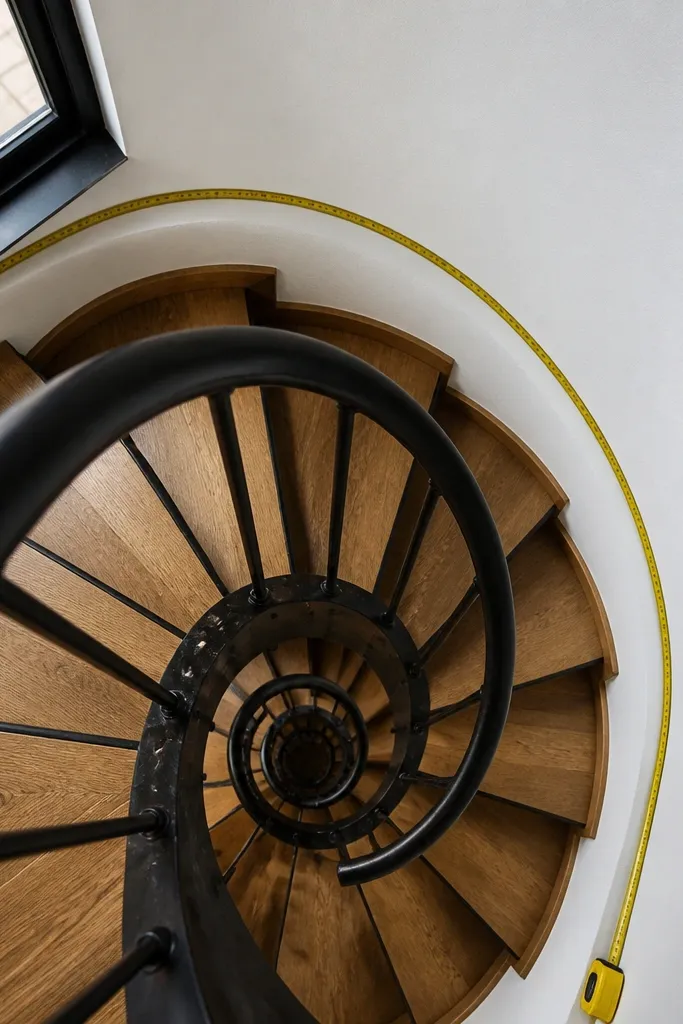
Diameter is the difference between a spiral that feels like a staircase and one that feels like a ladder. If the diameter is too small, tread width at the outer edge shrinks and the handrail curve feels too tight. People compensate by stepping more inward, which makes the toe trap problem worse. The fix is simple but not cheap: pick a diameter that gives you workable tread width. If you’re choosing between spiral and straight stairs, this is where the “space saver” math needs to be honest.
Start by calculating the usable walking path, not the outer footprint you can measure from the room. Then compare two diameter options by laying out the circle and measuring outer-edge tread width using the template method. Next, check the riser height you get from your chosen geometry so you don’t end up with steps that climb too quickly. If either tread width or riser height lands in an uncomfortable range, increase diameter before building. Finally, validate the rail curve and post placement so your hand doesn’t have to reach around a tight corner.
When in doubt, increase diameter by the smallest increment you can get away with; it improves both tread width and comfort at once.
Don’t pick the smallest spiral that fits on paper; it usually fails the real walking test.
20. Building without a proper nosing shape
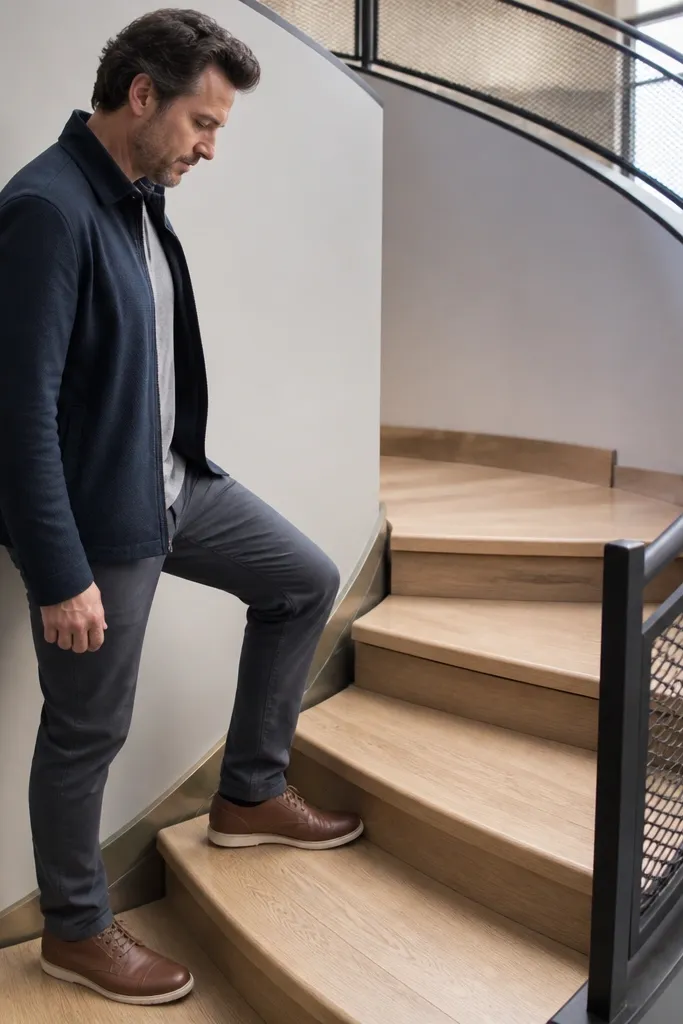
Nosing shape controls how your foot contacts the step. A flat front edge can feel hard and can also encourage your foot to slide forward into the gap. A properly shaped nosing gives you a predictable “land here” spot, especially on spiral steps where your stance rotates. The fix is to shape the nosing consistently across all treads and avoid sharp edges. This is one of those details that makes the stair feel engineered instead of improvised.
Start by choosing a nosing profile that matches your tread material and finish system. Then test the profile on one scrap tread or offcut so you can feel the contact edge. Rout or sand the nosing consistently and keep the overhang the same for each tread. Next, check how the nosing aligns with the next tread surface so you don’t create a new toe trap. Finally, after finishing, run your hand and shoe along the nosing edge to confirm it doesn’t catch or feel sharp.
Use a sanding block with a guide edge for consistent nosing — freehand creates uneven contact points fast.
Don’t leave a raw sharp edge; spiral stairs punish sharp corners with repeated foot contact.



