
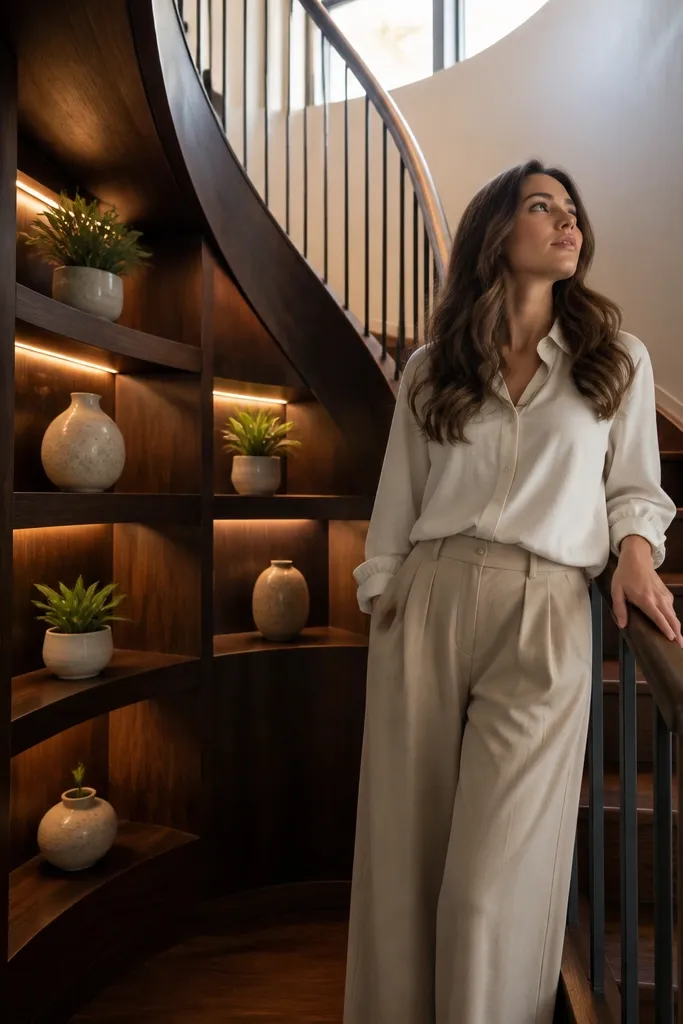
1. Warm Walnut Niche Line Lights (under-shelf glow)
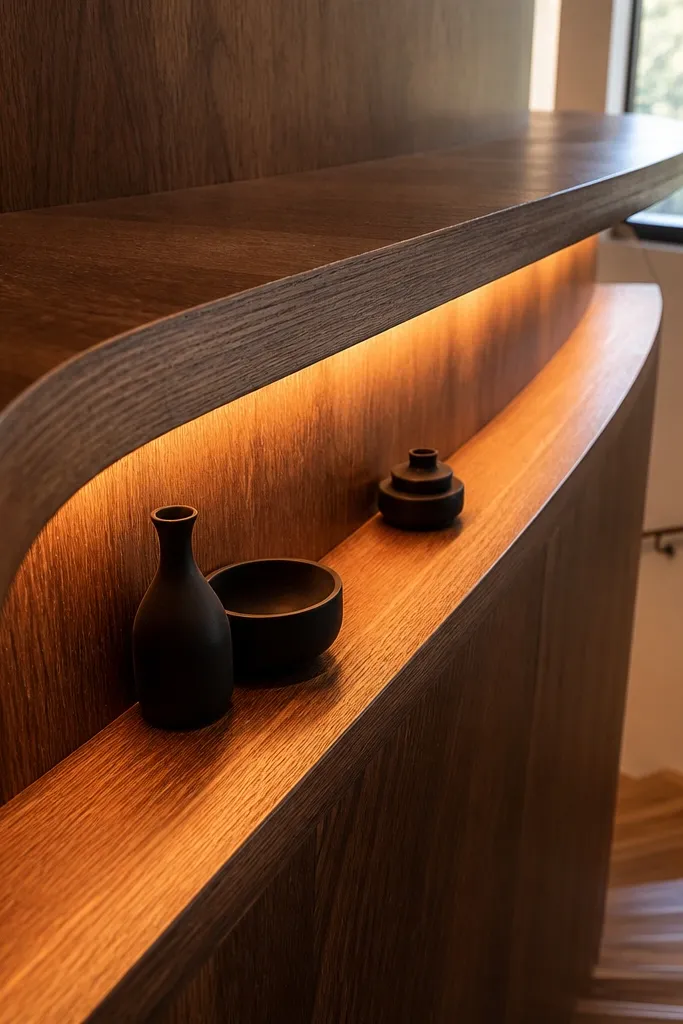
This is the cleanest “themed storage lights” look because the glow is trapped under the shelf lip, so you see brightness without seeing LED dots. The effect is flattering on walnut or walnut-stain plywood because warm light makes the grain look deeper, and it makes the spiral feel like a designed display rather than a staircase with shelves. Build it with shallow niches so the light reaches the front face — you get an even wash that photographs well from the landing. It’s a straightforward DIY plan if you can cut consistent shelf pieces and install a channel neatly along a curved run. Expect a weekend for layout and framing, then another day for wiring and finishing.
Start by measuring one repeating niche unit along the outer wall — aim for 4 in (10 cm) wide by 3 in (8 cm) deep, then match spacing to your step tread edges. Cut the shelf lip and install it so you leave a 1/2 in (12 mm) channel gap underneath for an LED aluminum diffuser channel. Run 12V LED tape inside the channel, using 2700K-3000K tape, and solder or use connectors rated for low voltage to connect sections. Route all wiring to one driver mounted near the base, then test before you close any panel. Finish the wood with a hardwax oil or satin polyurethane so the warm glow doesn’t look dusty or plastic.
Use a frosted diffuser cover on the aluminum channel; it hides LED dots and gives that “line of light” look.
Don’t mount LEDs directly under bare plywood — you’ll see bright hot spots and uneven glow.
2. Black Steel + Frosted Glass Tread Step Markers
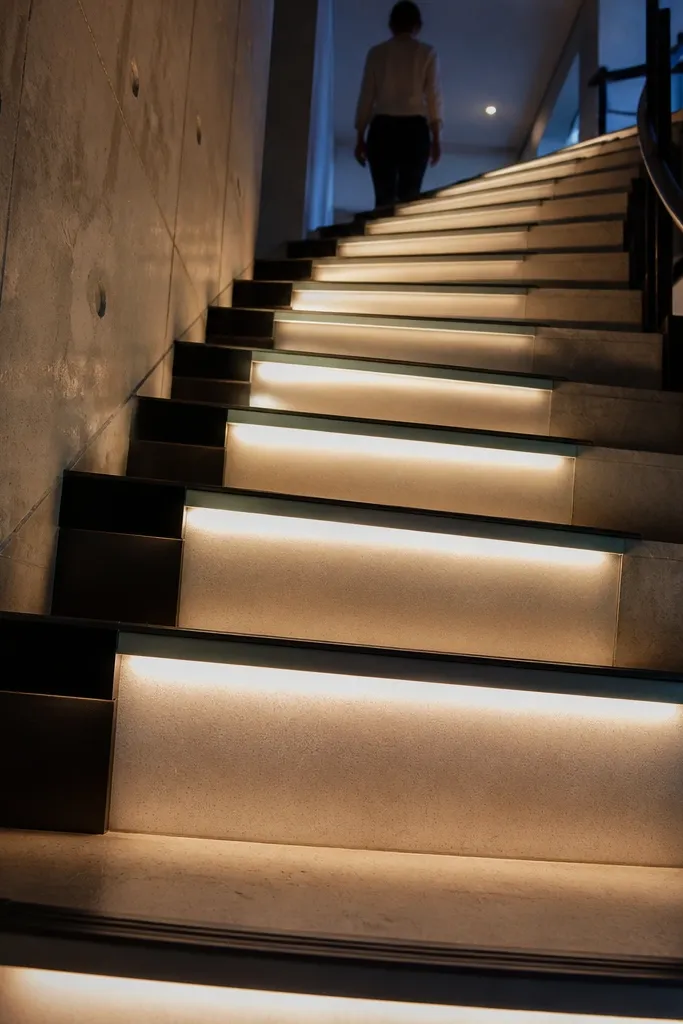
If your spiral staircase is metal or you want a modern theme, tread-edge markers look sharp and intentional. Frosted light at the front edge of each tread makes the stairs easier to read at night, but it still looks decorative because the glow repeats step-by-step. This design is photogenic from below because each marker catches light and creates a rhythm you can photograph without a lot of styling. It’s also practical for safety because the brightest area is where your foot lands. This is a medium DIY effort — you’ll need accurate measuring and clean mounting so the markers line up with the spiral curve.
Mark a consistent “front edge” line on every tread using a flexible tape measure around the spiral. Choose frosted puck lights or small LED modules with a diffuser, then dry-fit them so the light sits 1/4 in (6 mm) inside the tread edge and doesn’t glare. Drill pilot holes into the metal frame or mount backing plates into the stringer, then mount the marker housings with screws and thread-locking compound if needed. Connect low-voltage wiring back to a single driver, and use strain relief where wires pass through metal. Finish by checking glare from eye level — adjust placement inward if it’s too bright in direct sight.
Editor's notePaint or powder-coat the mounting hardware matte black so reflections don’t steal attention from the glow.
Skip thisSkip clear lenses — they create glare streaks that look messy on camera.
3. Nautical Rope Storage Cubbies with Rope-Edge LED Strip Channels
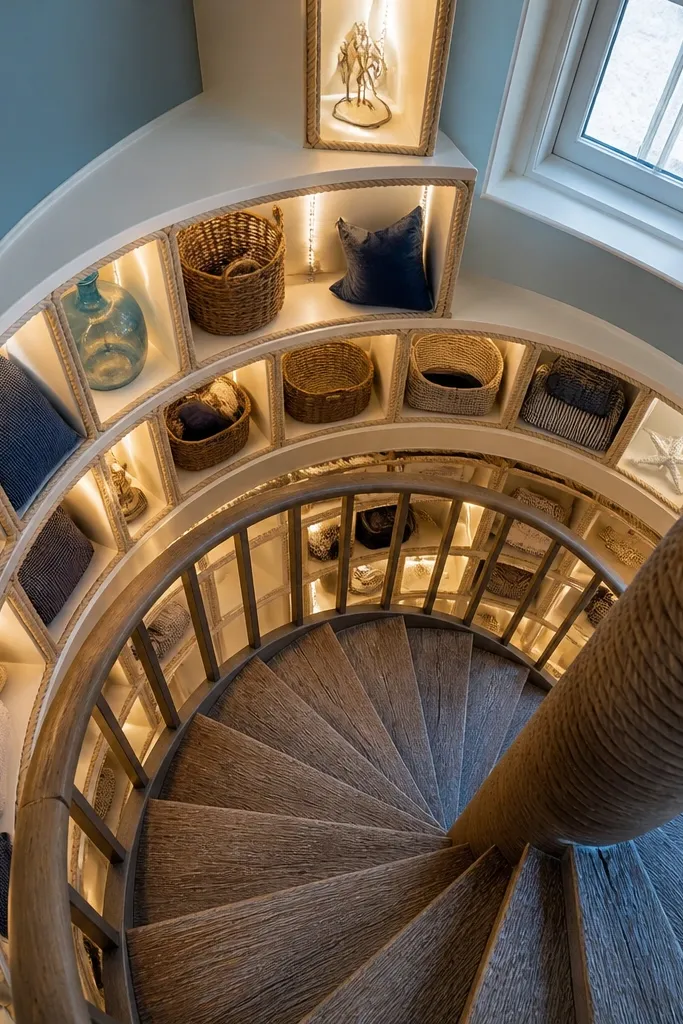
This is for a coastal or nautical theme: rope-trimmed storage looks handmade, but LEDs make it feel fresh and intentional. The trick is placing the light along the rope edge so it highlights texture instead of lighting flat surfaces. Use rope trim on the cubby borders, then run LED tape in a concealed aluminum channel behind the trim line so the rope looks like it’s “lit from within.” For photographs, the glow creates depth — shadows in the rope fibers look great even in mixed lighting. Skill level is beginner-friendly if you can handle straight cuts and careful stapling/adhesive work for trim; wiring is standard low-voltage.
Build cubbies with 3-4 in (8-10 cm) depth so the LED glow reaches the front without turning the back into a dark cave. Install a narrow aluminum LED channel along the cubby border where the rope will sit, leaving enough space for the diffuser to face inward. Wrap the rope trim around the cubby edges using wood glue plus small brads or staples, keeping the channel edge uncovered where the light should escape. Route LED tape wires to a driver near the base, then hide the run behind a removable trim panel. Test with the rope installed — rope can block light, so you may need to reposition the channel 1/4 in (6 mm) outward.
Use cotton or jute rope with a matte finish; shiny rope reflects the LED and looks harsh.
Don’t skip a diffuser — bare tape behind rope looks like a row of dots.
4. Gallery-Style Picture Frame Shelves with Backlit LED Reveal
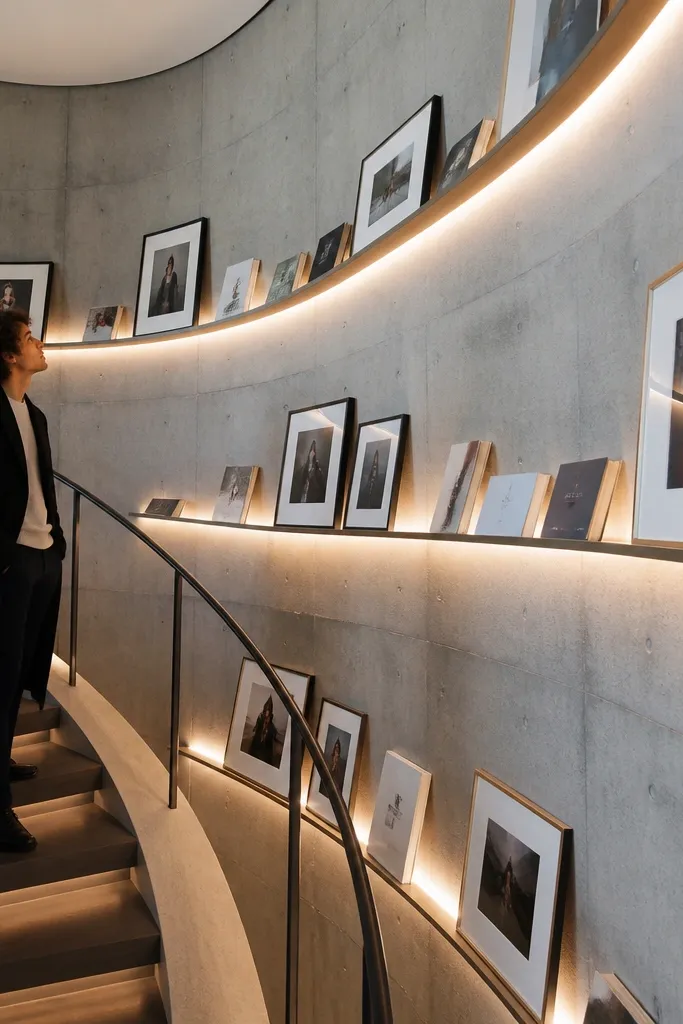
This look makes storage feel like art display, not utility shelves. The “reveal” glow sits behind a frame lip, so you get a thin halo around whatever you put on the shelf — books, small planters, or framed photos. It’s the best option if your spiral staircase has a modern wall finish and you want a theme that reads clean. Backlighting also hides imperfections in shelf interiors because the glow softens edges and reduces shadow harshness. DIY difficulty is moderate: you need consistent frame spacing and a clean caulk line so the reveal looks crisp.
Cut frame rails for each shelf opening so the inner opening is about 1-2 in (2.5-5 cm) smaller than the shelf footprint; that creates a controlled reveal. Install LED tape in a channel on the back surface of the frame, aiming the light toward the inner opening with the diffuser facing inward. Use 12V LED tape at 2700K-3000K and keep the spacing consistent so the reveal thickness looks the same on every shelf. Mount the shelf frame, then run wires to a single driver and add a dimmer if you want mood control. Finish by painting the frame matte (not glossy), then use clear caulk to seal the reveal gap so dust doesn’t collect.
Editor's noteSet your dimmer to a low ceiling — around 30-40% — so photos don’t blow out the glow line.
Skip thisDon’t paint the inside reveal glossy — it reflects LEDs and turns the glow into a bright hotspot.
5. Terracotta + Linen Theme with LED Tape in Plaster Cast Channels
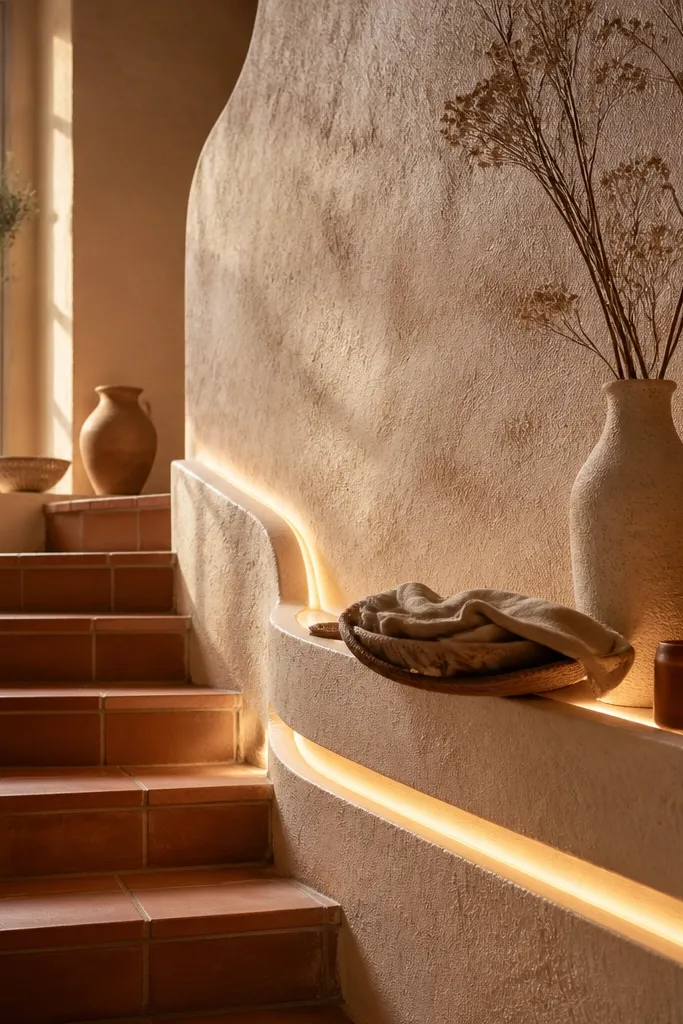
If your spiral staircase theme is earthy — terracotta, plaster, linen, warm creams — this plan looks made for it. You get a soft, diffused glow that feels like lantern light because the channel is built into a textured surface, not a smooth plastic diffuser. The glow reads cozy in real life and photographs with a warm, creamy tone. This is a better choice when you want the storage to look sculptural and you don’t mind a little mess. Skill level is DIY-capable but not “weekend only” because you’re casting or forming plaster channels and finishing them carefully.
Plan niches with shallow depth around 3 in (8 cm) and build a backing surface that can take plaster — cement board is a good base. Form or cast channels for LED tape with a consistent width so the diffuser sits flush and the light escapes evenly across the reveal line. Install 12V LED tape in the channel, then test output on the wall before you finish — terracotta finishes can make light look dimmer. After testing, prime the plaster, then paint or glaze it in terracotta tones, keeping the diffuser opening clean. Route wiring to a driver near the base and add a removable access panel so repairs don’t require breaking plaster.
Dry-brush a slightly lighter terracotta over the channel edges; it makes the glow look intentional instead of flat.
Don’t seal the diffuser opening with paint — masked diffuser edges create uneven light bands.
6. Monochrome Minimal Storage with Recessed LED Dot-Free Strips
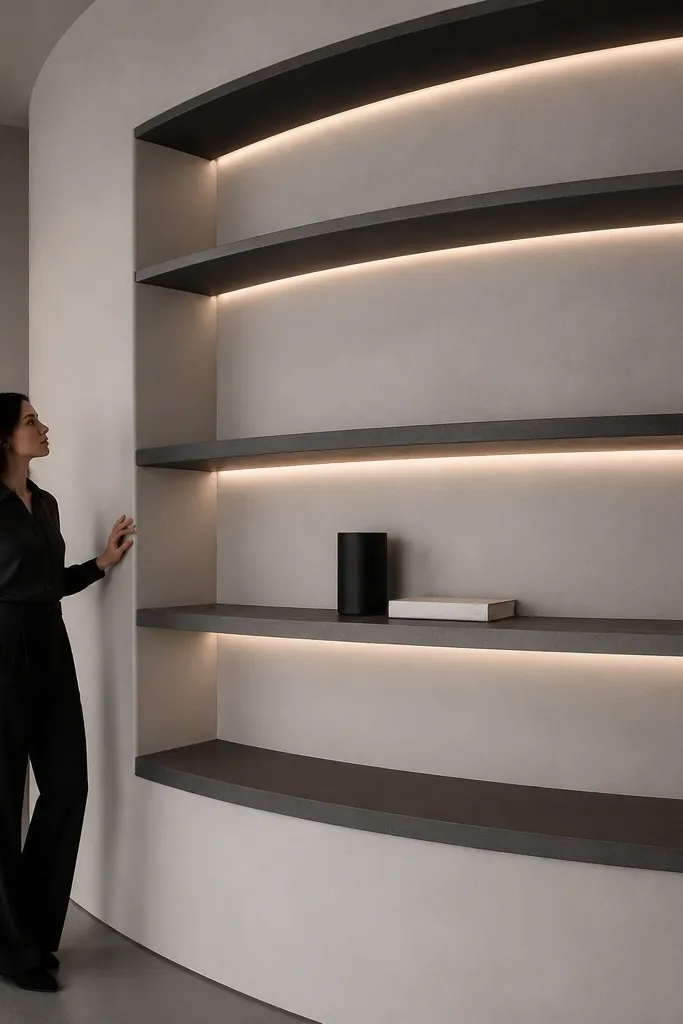
Minimal looks great on spiral staircases because the curve already creates movement. This version keeps the theme crisp: monochrome storage (charcoal, off-white, or black) with a smooth recessed strip that doesn’t show individual LEDs. The photogenic part is the uninterrupted glow line — it looks like architecture, not decoration. It also works when you have lots of framed items, because the light doesn’t compete with them. DIY difficulty is moderate since you’ll need straight, consistent recess cuts and careful caulking for a clean edge.
Choose a shelf or niche system with flat faces so you can recess a channel without fighting curves too much. Mark a recess line that matches your LED channel width and router out a shallow pocket, typically 1/2 in (12 mm) deep for an aluminum channel with diffuser. Install the channel, then place frosted diffuser cover flush so the LED points stay hidden. Run the wiring to a single driver and use a dimmer if you want the glow to match daylight and nighttime. Paint or finish the recess surrounds after installation, then wipe dust off the diffuser opening before the finish dries.
Use painter’s tape to mask the diffuser opening during paint — it prevents overspray and keeps the glow even.
Don’t rely on LED tape alone without a channel; it bends, shows dots, and looks uneven on camera.
7. Candle-Style Glow Lantern Niches with Puck Lights Behind Grilles
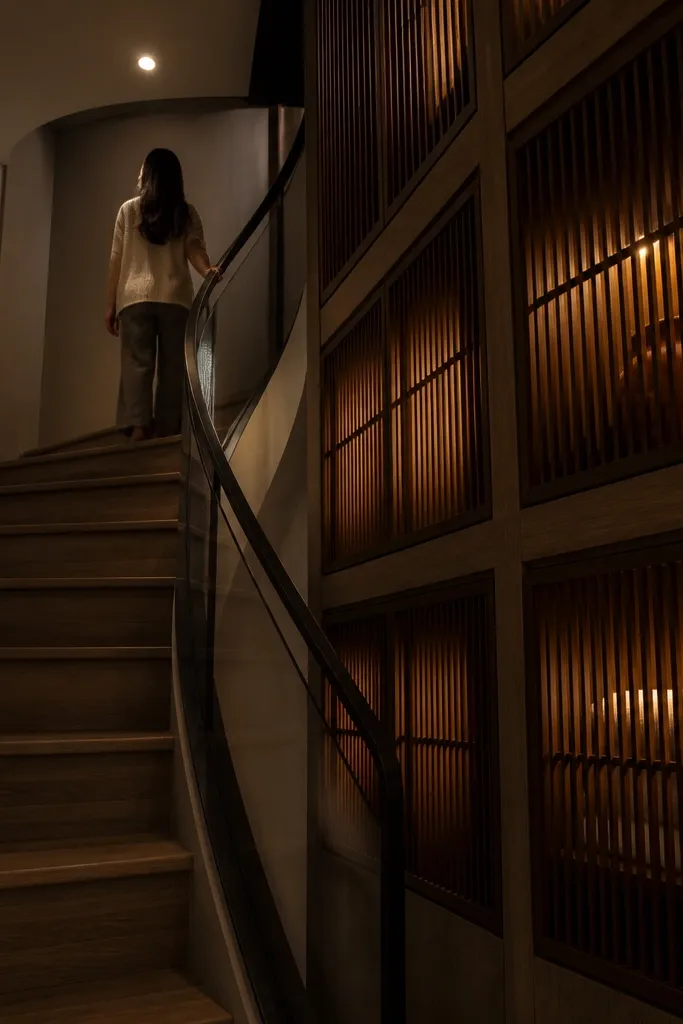
Lantern-style storage turns themed lights into a feature, not a hidden utility. You build small niche “lantern boxes” with a grille or slatted front, then place warm puck lights behind it so the light filters through texture. The glow looks candle-like because it spreads and softens through the grille gaps. This is a strong choice if your spiral staircase is in a entryway or living space where people linger and notice details. It’s also easier to service than long LED tape runs since puck modules are replaceable — just keep access panels planned.
Build lantern niches with a front grille opening and keep the interior space 2-3 in (5-8 cm) deep so puck lights don’t blast directly outward. Install a puck light or small module inside each niche, then add a diffuser sheet behind the grille if the light feels too harsh. Wire each niche group back to a driver — group 3-6 lantern niches per circuit depending on your LED wattage and driver rating. Mount the grille so it’s removable or at least hinged, then finish the metal or wood slats matte so they don’t glare. Test with the lights on from different angles; if you see direct LED points through the grille, add a stronger diffuser or shift the puck inward.
Editor's noteUse 2200K-2700K for the candle vibe; 3000K can look too “task light” for lantern themes.
Skip thisDon’t use a tight grille with no diffuser — it creates sharp pinhole dots instead of a warm lantern glow.
8. Wood Slat Storage with Side-Firing LEDs for a Shadow-Theater Effect
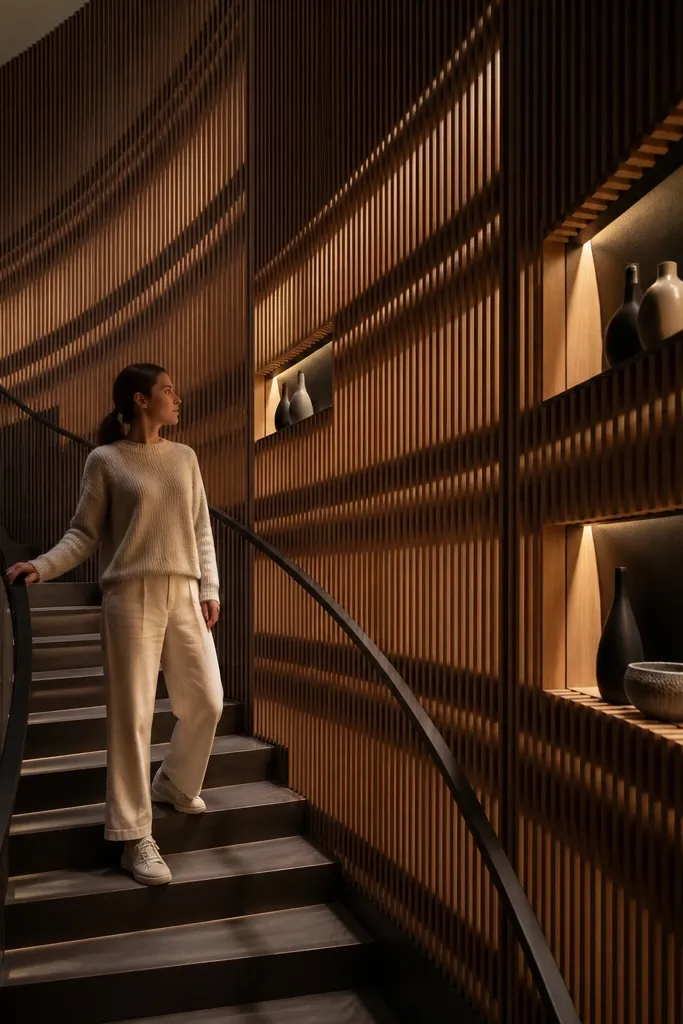
This one looks dramatic: side-firing light makes the shadows between wood slats do the work. You still get themed storage, but the visual payoff is the moving-feel shadow pattern as you walk up the spiral. It’s photogenic because the light creates a striped gradient across the curve instead of a flat glow. Choose this if you like modern, Scandinavian, or spa-style themes — the slats read clean and the light reads soft. DIY difficulty is higher than simple under-shelf lines because you must aim the LEDs consistently and keep slat spacing uniform.
Install vertical or angled wood slats over storage openings, spacing them at 1-1.5 in (2.5-4 cm) so the shadows are distinct but not too busy. Mount LED tape sideways in a channel behind the slats, aiming the light horizontally across the gap rather than straight out. Use a frosted diffuser channel cover so the light spreads and doesn’t show LED dots through the slats. Route wiring to the base driver, then test before you finish — slat thickness and spacing change the shadow pattern. Finish with a matte clear coat so the slats don’t reflect the LEDs directly.
Editor's noteDo a cardboard mock-up of one slat section and hold it where the LEDs will sit — it tells you if the shadow pattern reads “soft” or “spotty.”
Skip thisDon’t use glossy paint on slats; reflections kill the shadow effect.
9. Retro Color-Block Storage with RGBW Accents on Curved Inset Rails

If you want the theme to feel playful, retro color-block storage plus RGBW accents is the move. The secret is subtlety: place colored light in a thin inset rail, not as a flood across the whole niche. That way the storage still looks tidy and the colors become an accent that photographs cleanly. RGBW also lets you switch between warm white for everyday and a saturated accent color for parties or holidays. This is a mid-level DIY plan because you need a controller and you must plan cable runs carefully along the spiral. Done right, it reads like a designed feature wall.
Design color-block niches with a consistent inset rail width around 3/4-1 in (2-2.5 cm) so the accent line stays uniform. Mount RGBW LED tape inside an aluminum channel with a diffuser so you don’t see LED pixels. Place the controller and driver near the base in an accessible location, and run separate low-voltage wires to each rail section using labeled connectors. Use the app or remote to set preset modes, but lock down a warm-white default for normal use. Finish the niches with matte paint in two to three colors, then test brightness so the colors don’t wash out the paint.
Set your RGB saturation lower than you think — around 20-40% — for a retro accent that still looks refined.
Don’t light the entire niche with RGB; it looks chaotic and makes the spiral feel cluttered.



