
1. Matte black center-column spiral with stained plywood treads
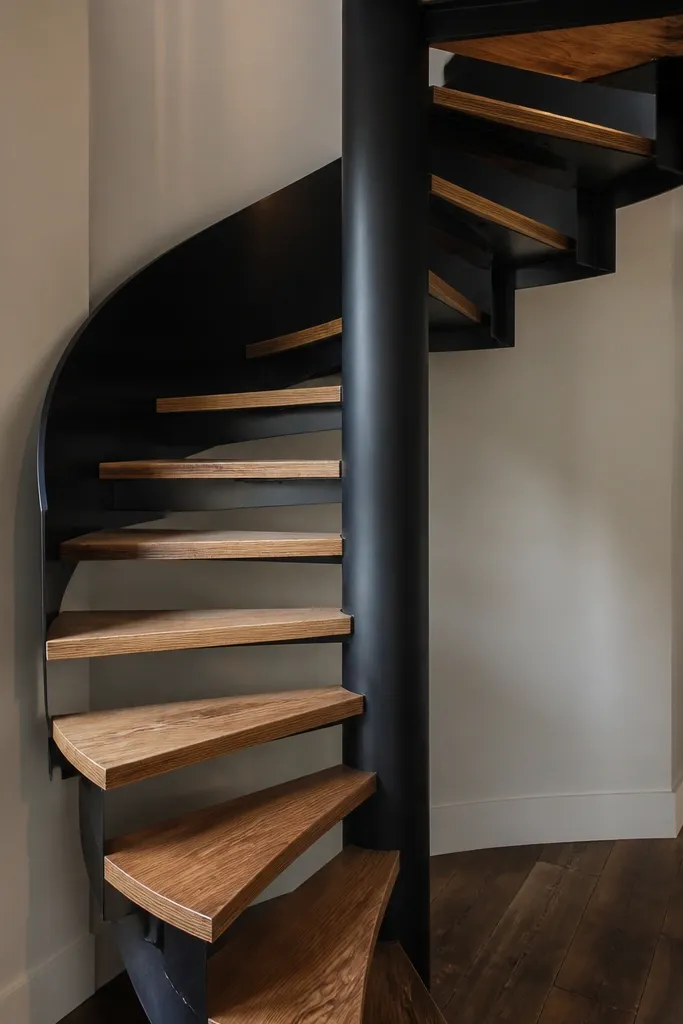
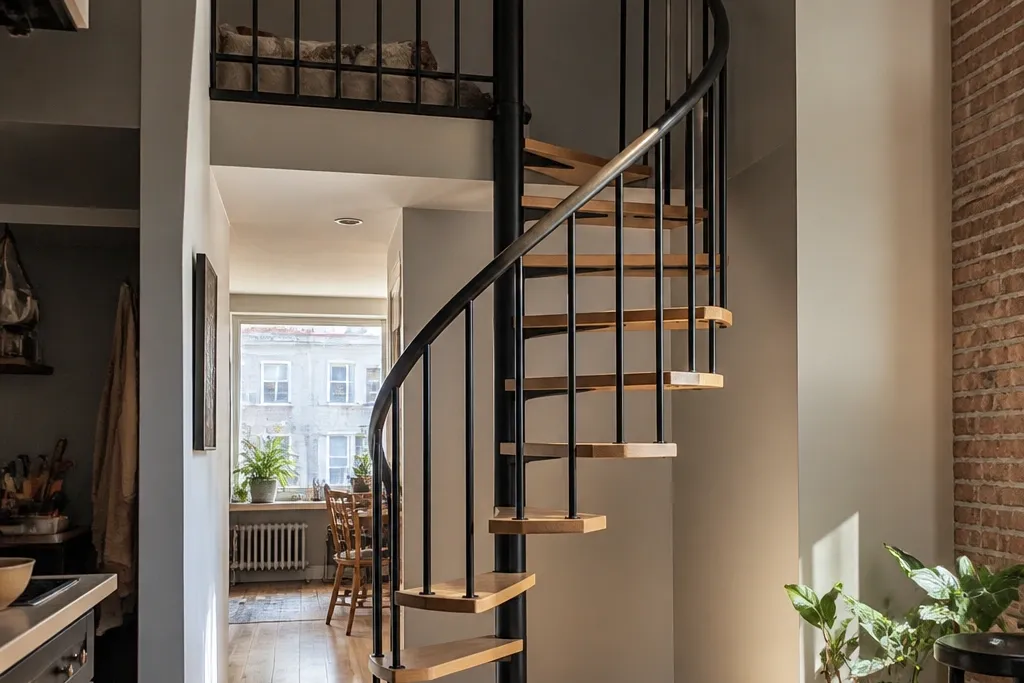
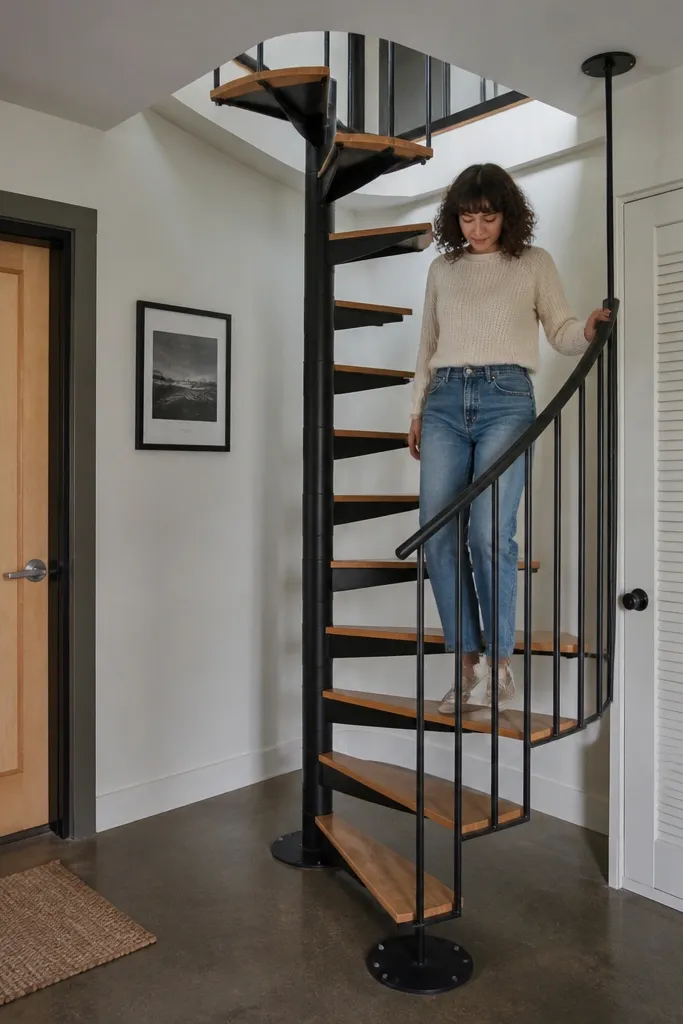
This is the renter-friendly “expensive” look because the visual focus stays on the center column and the tread edges. A matte black steel column with stained plywood treads gives you strong contrast without needing fancy paneling or custom walls. The staircase reads clean in photos because there are no bulky wall brackets in the frame. For materials, you can use a prefabricated metal center column kit or assemble a straight steel tube with a bolt-on base plate, then add pre-cut plywood treads finished with clear topcoat. Skill level is moderate: you’re cutting and finishing treads, then aligning steps so the spiral spacing stays even. It fits apartments, small lofts, and stair nooks where you can anchor at the floor and keep wall contact minimal.
Start by measuring your floor-to-ceiling height and choose a diameter that keeps your step width comfortable (don’t guess). Then mount the center column using a floor base plate and bolts into the floor framing you can locate, not just drywall. Cut plywood treads to matching radii, drill the center hole for the column, and install steps in order while keeping a consistent gap between treads. Finish with a stain you like (walnut or medium oak) plus 2-3 coats of clear polyurethane, then install a simple handrail that bolts to the column or uses a clamp system.
Dry-fit 2-3 treads before staining so you can correct spacing while the wood is still raw.
Don’t seal treads only on top; seal the underside too or the wood will warp and your step spacing will drift.
2. Clamp-on freestanding spiral with white-painted treads and ash tone edges
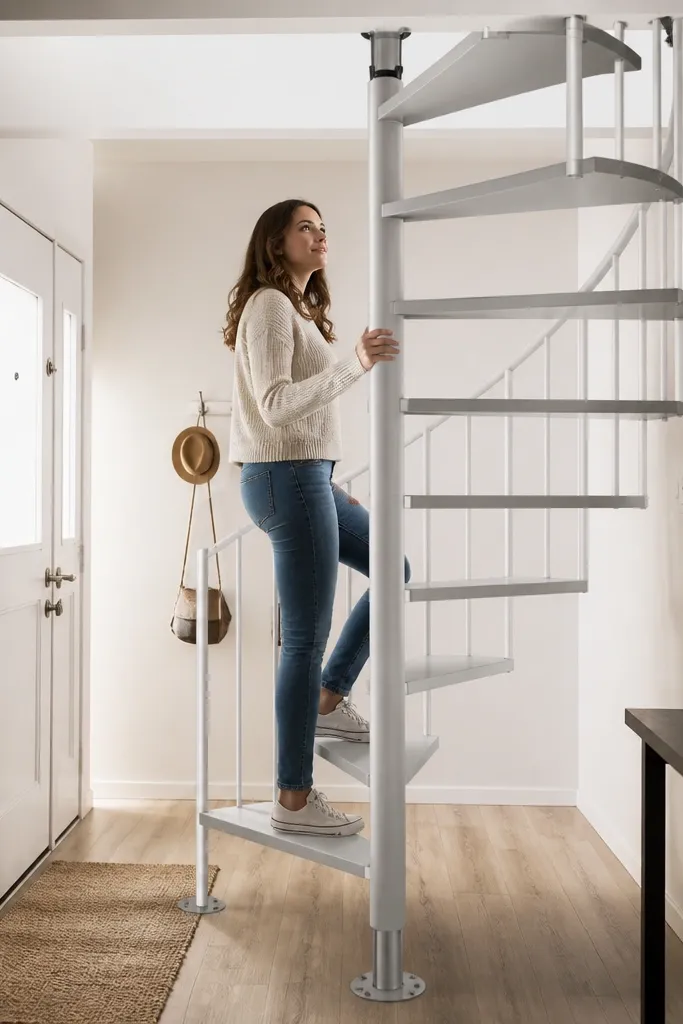
If you want a bright, modern look that photographs well in small rooms, go white treads with a light gray center tube. A clamp-on freestanding setup keeps wall damage low because the structure relies on base plates and tension at the top. Paint gives you that crisp aesthetic, and painting the tread edges in an ash tone adds a subtle “designer” detail that shows up in close shots. Use this in tight hallways, studio loft corners, and any space where a dark staircase would swallow the room. Skill level is beginner-to-intermediate because painting and assembly are straightforward, but alignment matters for the spiral to feel intentional. The result is a staircase that looks airy and clean even from the landing.
Choose a freestanding diameter so the staircase sits centered in the opening, then buy clamp-on base plates and a matching top support if you can’t drill walls. Paint treads with a bonding primer, then two coats of satin white, and finish with a clear scuff-resistant topcoat on the walking surface. Assemble by installing the center column first, then bolt each tread, checking the spiral angle after every 2 steps. Finish by adding an ash-tone edge band by brush-painting or using thin edge veneer strips on the tread front lip.
Use satin paint on treads, not gloss — gloss shows every scratch and glare in photos.
Don’t clamp directly over paint on the floor; protect with a thin rubber pad so you don’t chip finishes.
3. Reclaimed wood tread spiral with oiled steel column and black cable handrail
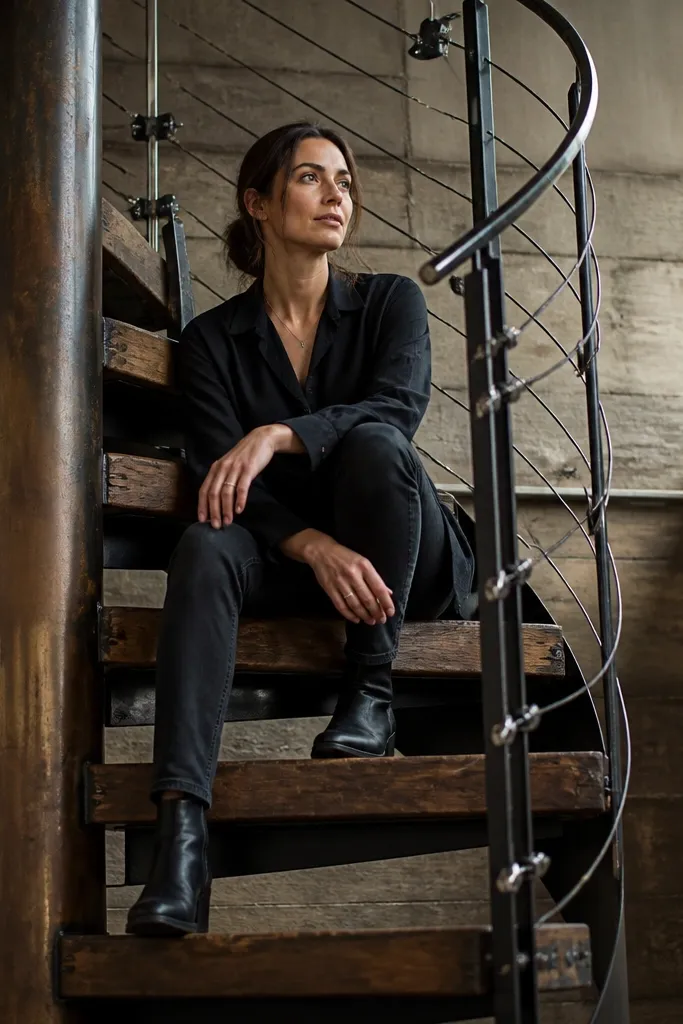
This one looks like a custom loft build because reclaimed treads add texture that reads instantly in photos. Pair an oiled steel column (not shiny chrome) with a black cable handrail for a sleek, modern contrast. Renter-friendly part: you can keep the mounting hardware minimal by using a floor base plate plus a top clamp or ceiling plate that doesn’t require wall anchors. The reclaimed wood look is photogenic from both directions because you see grain variation and dark knots on every step edge. It’s best for industrial-style interiors, modern farmhouses, and spaces with warm lighting. Skill level is intermediate because you need consistent tread thickness and secure finishing so the wood doesn’t feel rough underfoot.
Start by selecting reclaimed boards and milling them to a consistent thickness (even 1/16 inch differences will show in the spiral). Cut treads to your spiral radius and drill the center column hole, then sand edges smooth and round over the tread lip slightly. Finish with an oil like tung or a hardwax oil, then add a clear protective topcoat on the walking surface. Install the center column with a bolt-on floor flange, then mount treads one at a time, aligning each step so the grain direction looks intentional. Finally, mount the black cable handrail using tension fittings attached to the column with clamp collars.
Label your reclaimed boards by thickness before cutting so you don’t end up with one short stack of treads.
Skip heavy sanding that removes character; you want smooth feet, not erased grain.
4. Farmhouse spindle spiral with painted wood balusters and removable stair kit
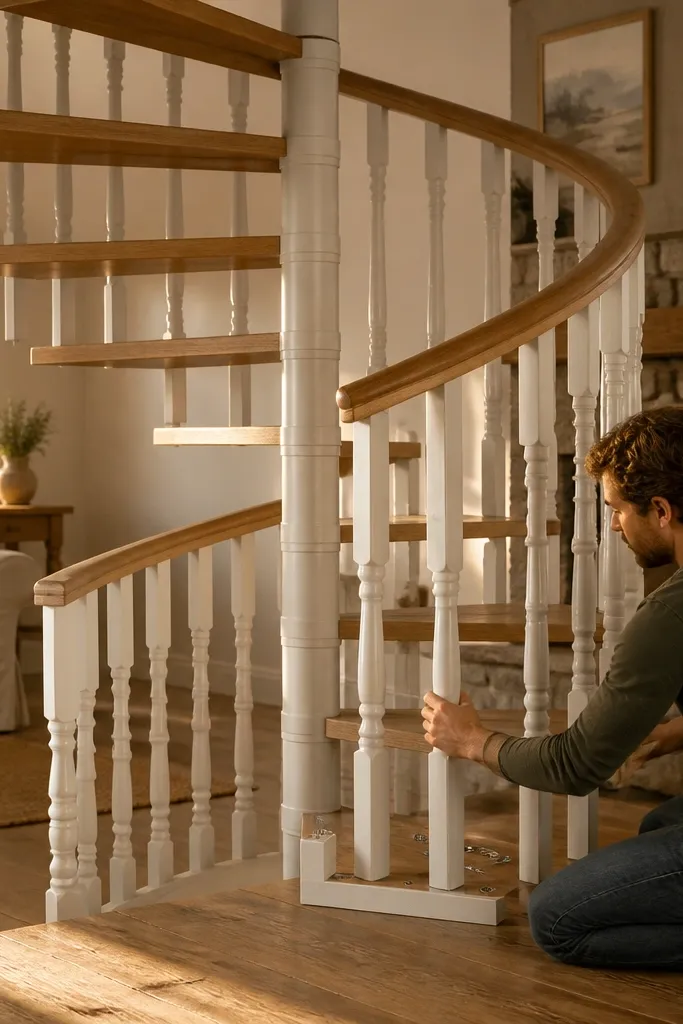
For a farmhouse look that still feels airy, use painted wood balusters around the spiral. The trick is keeping the balusters removable: use bolt-on brackets or threaded inserts so you can take the railing assembly off when you move. The staircase becomes more photogenic when the railing pattern repeats cleanly; it frames the spiral rhythm in photos. Keep the center column matte black or painted white to match your interior. This style fits kitchens with open lofts, older rentals with lighter walls, and homes that already use spindle details. Skill level is intermediate because you’re building a consistent baluster spacing and making sure the railing feels solid, not wobbly.
Buy or build a removable stair kit with tread mounts that bolt to the center column. Paint the treads and balusters with primer plus satin enamel, then assemble the center column first. Install treads, then attach baluster brackets around the spiral at fixed intervals, using threaded inserts for easy removal. Add a top handrail that bolts to the baluster brackets, not directly into the wall. Before you finish, test the railing shake with two hands on the top rail; tighten any bracket that moves.
Use threaded inserts in the balusters so you can remove and reinstall without stripping screw holes.
Don’t rely on wood screws into end grain for the railing; it loosens fast and looks bad in photos.
5. Clear acrylic stair skirt illusion with black metal steps
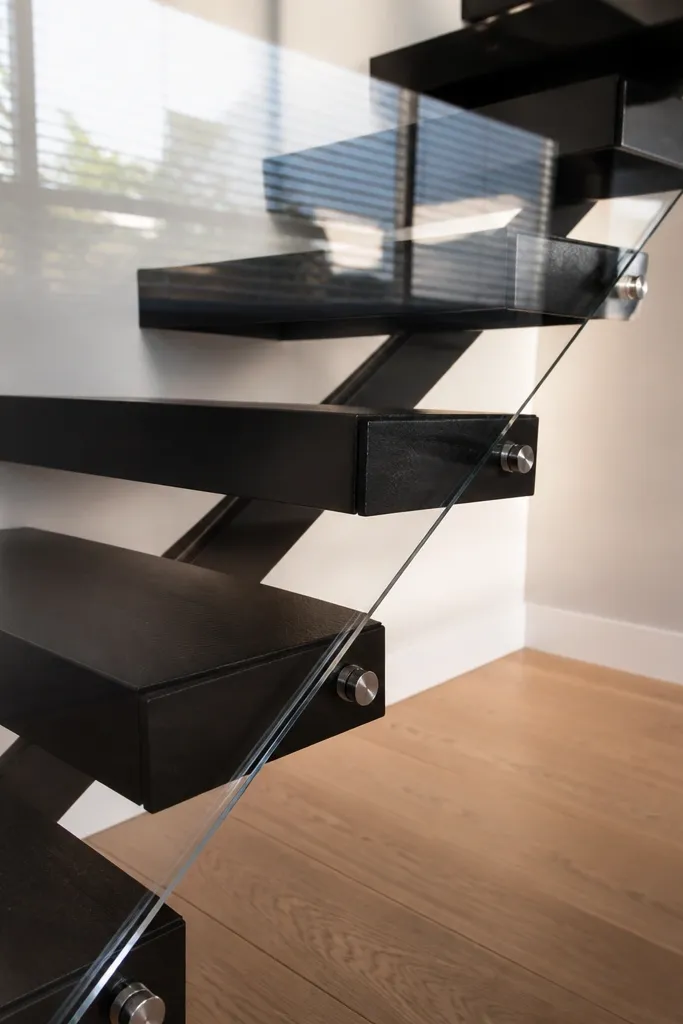
This is a clever visual trick for renters: a clear acrylic skirt makes the staircase look lighter because it reduces visual bulk. Pair black metal steps or black-painted tread plates with a transparent outer panel, and you get a crisp, modern look without enclosing the space. It photographs well because light passes through the clear panel and the spiral reads as a clean line. The installation stays renter-friendly if the skirt mounts to the treads and center column with bolt-on brackets instead of wall screws. Skill level is intermediate because you must cut acrylic cleanly and seal edges so it doesn’t crack. It works best in modern apartments with minimalist decor and good lighting.
Editor's noteUse stainless hardware and add rubber washers; it prevents squeaks and keeps the acrylic from stress-cracking.
Start by building the spiral structure with a center column and secure treads, then measure the outer curve for the acrylic skirt panels. Cut acrylic using a fine-tooth blade or scoring method, then sand edges lightly and polish for a smooth look. Drill mounting holes slightly larger than fasteners to allow expansion, and mount panels using standoff spacers so they don’t rub the metal. Install the skirt after the treads are aligned so the curve stays true. Finish by adding a small black trim strip at the panel edges for a clean seam.
Skip thisDon’t overtighten acrylic screws — cracking shows up immediately and spreads later.
6. Terracotta-and-cream tiled tread spiral with matte iron column
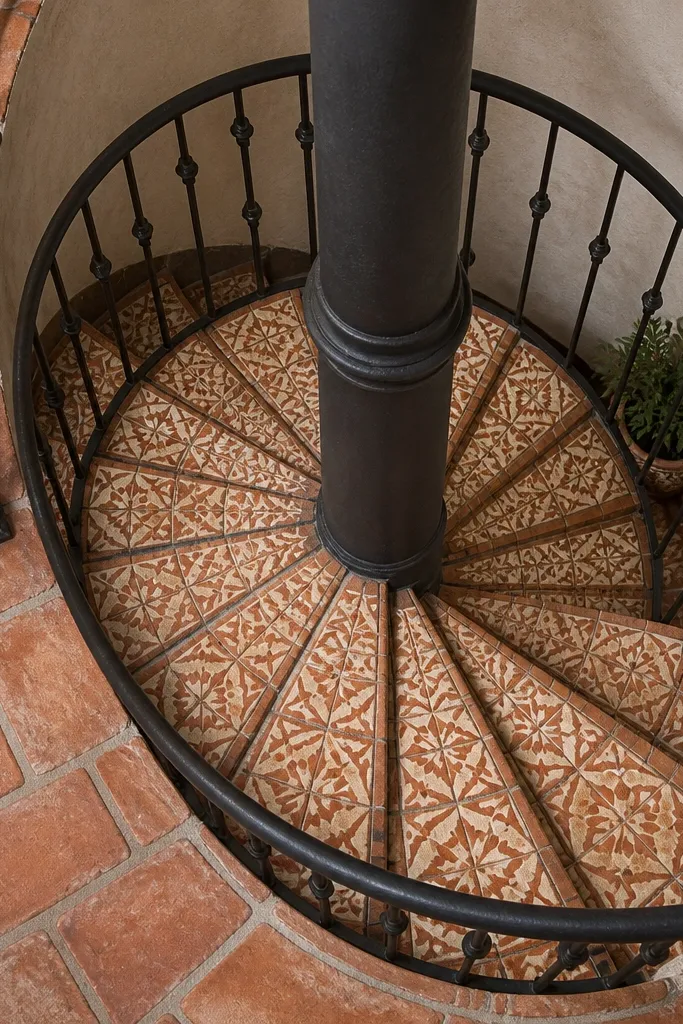
Tile treads are one of the most photogenic “budget” upgrades because they look custom when the pattern is tight. Use a terracotta-and-cream tile layout on each tread with a matte iron center column, and you get a warm, Mediterranean feel that reads instantly in photos. Renter-friendly installs happen when you mount the spiral via floor base plates and keep the tile surface removable or replaceable through a bolt-on tread cap. This style fits sunlit rooms, entry lofts, and spaces with warm walls. Skill level is intermediate because tile work requires careful cutting and waterproofing, but the look is worth it. It also improves grip compared to plain wood if you choose the right tile finish.
Build the spiral frame with a center column and tread rings, then create bolt-on tread caps so you can swap tiles later. Apply a cement board or tile backer to the tread cap, then set your terracotta-and-cream tiles in a consistent pattern with thinset. Grout after the thinset cures, then seal grout with a penetrating sealer. Install the tiled caps onto the tread mounts, checking each cap sits level for safe footing. Finish by sealing any exposed metal with matte clear coat to prevent rust spots.
Choose a tile finish with slight texture; smooth glossy tile looks slick and can look washed out in photos.
Don’t skip grout sealing; stained grout makes the whole staircase look cheap fast.
7. Walnut-stained box-tread spiral with hidden toe-kick front lip
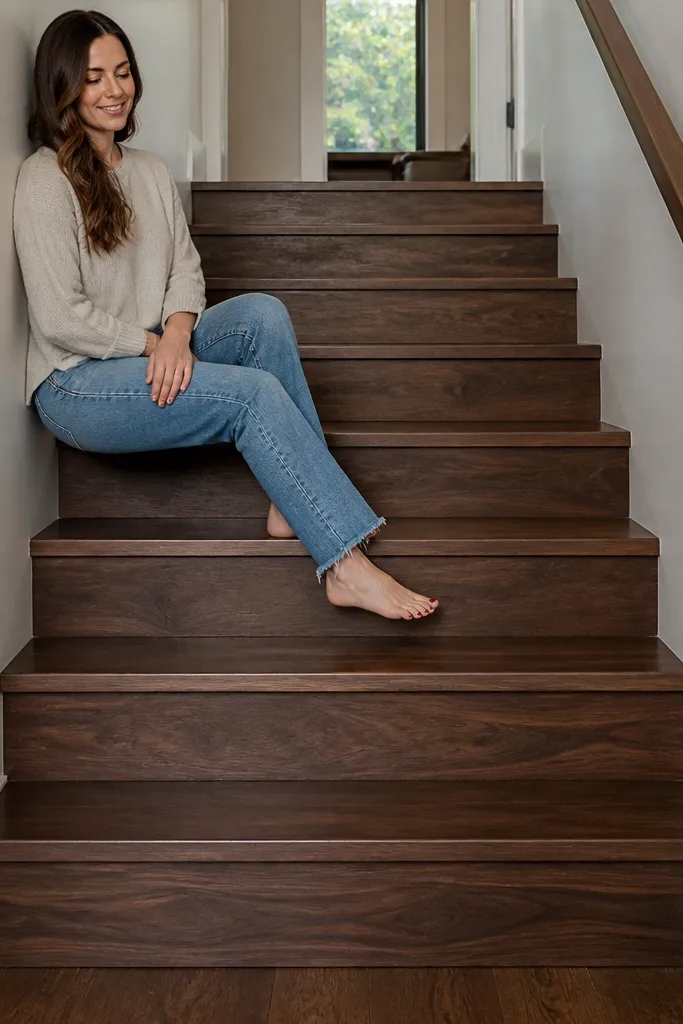
Boxy treads with a front lip make a spiral staircase look built-in, even when it’s a renter kit. Walnut stain plus a subtle toe-kick lip makes the steps feel safer and more substantial in photos. The hidden lip also hides the tread mount hardware so your camera angle stays clean. Renter-friendly part: you can make the tread boxes bolt onto a center column so removal is just unbolting the boxes, not cutting anything. This style fits dark wood rooms, minimal modern interiors, and spaces that already use walnut tones. Skill level is intermediate because you’re building tread boxes and keeping the edges consistent around the spiral.
Editor's noteUse a router roundover on the lip edge; it looks softer and feels safer underfoot.
Start by cutting plywood or MDF for tread boxes and assemble them with wood glue and screws, keeping the top surface flat. Stain after sanding, then apply clear coat on all sides, including the underside where moisture can warp the shape. Add a toe-kick lip by installing a thin front strip so it overhangs slightly and covers the hardware line. Bolt boxes to the center column using threaded inserts or pre-installed mounting plates. Install a simple handrail that aligns with the toe-kick height so the silhouette looks intentional.
Skip thisDon’t make the toe-kick too tall; it blocks your foot and ruins the walking rhythm.
8. Outdoor-style galvanized spiral staircase with faux-riveted paint
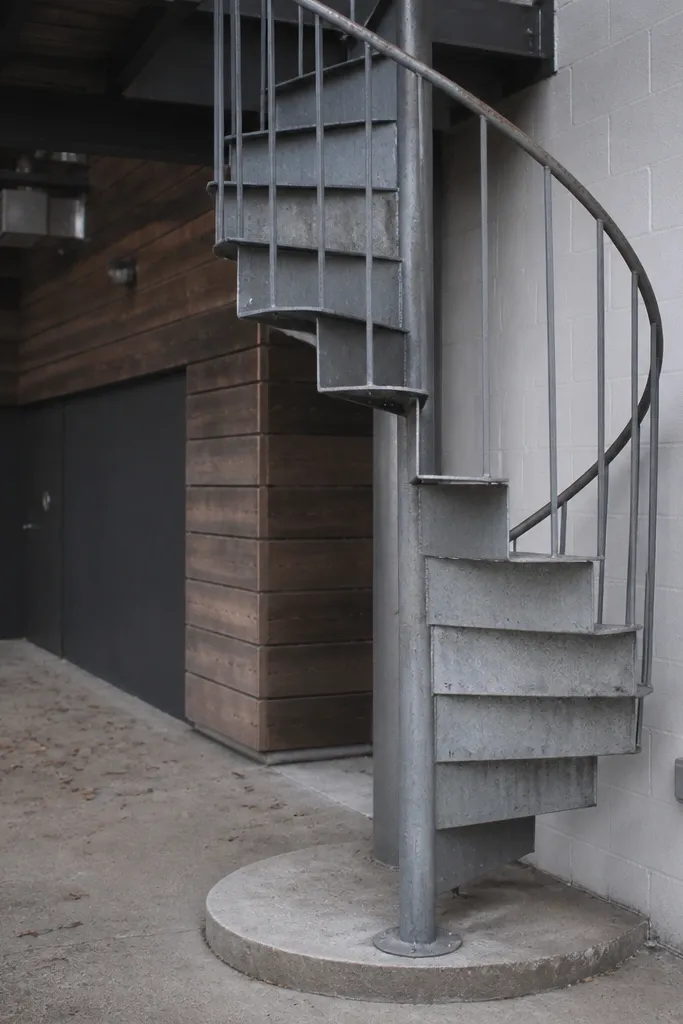
Galvanized gray metal looks tough and modern, and it photographs great because it catches light in a controlled way. You can get a high-end “industrial” look on a budget by painting step surfaces with a faux rivet pattern using small dot stamps or a stencil. Renter-friendly installs work if you choose a freestanding spiral with bolt-on base plates and a top support that clamps to the ceiling or sits on a protective platform. This style fits patios turned into sunrooms, lofts with exposed beams, and rentals with concrete or gray walls. Skill level is beginner-to-intermediate: the build is straightforward, the aesthetic work is painting and stenciling.
Editor's noteDo one tread as a test tile first; once you like the rivet scale, repeat the stencil pattern exactly.
Assemble the spiral frame with a center column and treads, then prime everything with metal bonding primer. Paint the steps in galvanized gray and let it cure fully, then apply a faux rivet pattern using a stencil and a darker gray paint. Seal with a scuff-resistant clear coat. Mount the spiral using floor base plates with bolts into safe framing and use rubber isolation pads under the plates. Add a simple handrail that matches the steel finish.
Skip thisDon’t seal before the paint cures; trapped solvents make the clear coat cloudy later.
9. Renter-safe spiral with removable stair treads on a central rail
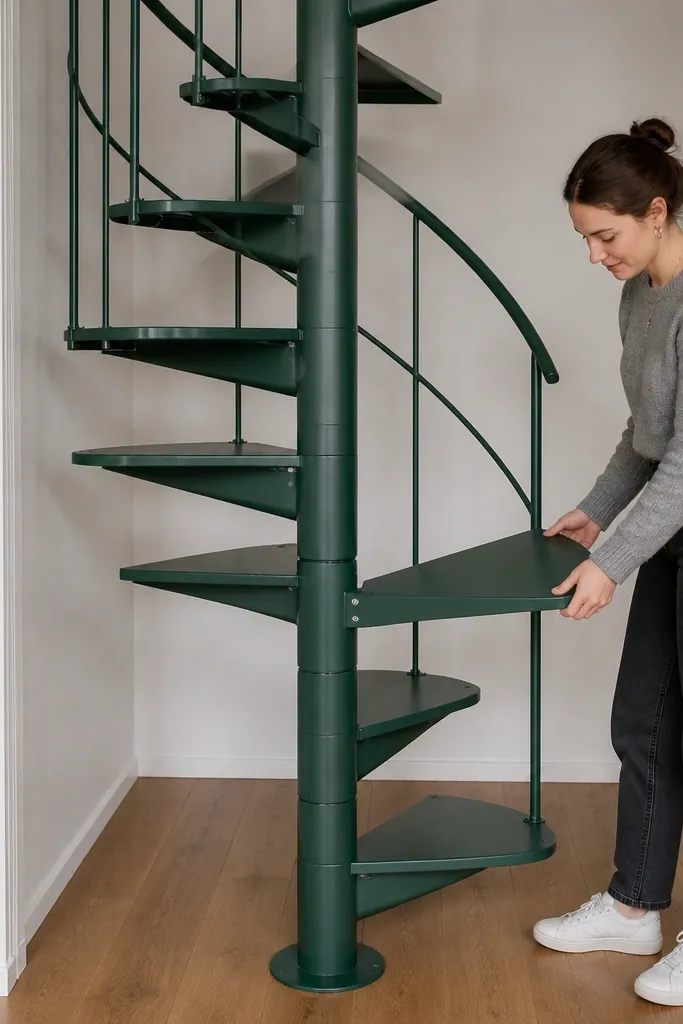
This one is built around the idea that renters should be able to remove the most visible parts quickly. Use a central rail and tread plates that bolt on individually, so you can disassemble without touching the main column anchoring. Visually, it looks like a floating spiral when the tread plates are finished to match the rail and the bolt heads sit in shallow countersinks. It’s photogenic because each step reads as a distinct surface with a consistent edge line. Skill level is intermediate since you’re designing bolt-on tread plates with consistent spacing and finish. It suits small lofts and spaces where you need a clean look but also want an easy move-out plan.
Start by anchoring the center column with a base plate and a top support that’s allowed by your lease, then keep wall contact minimal. Cut tread plates to the spiral radius, drill center holes, and countersink bolt holes so fasteners sit flush. Finish the plates with a durable coating like spray-on epoxy paint for metal or clear coat for wood. Install treads by bolting them to the central rail one at a time, checking the angle every few steps. When you move, unbolt treads first so you can leave the column structure in place if needed.
Label bolts by length and keep them in a zip bag per step so reassembly is fast and the spiral stays consistent.
Don’t use random bolt lengths; uneven fasteners change tread height and ruin the spiral line.
10. Rope-and-wood spiral with a braided handline look
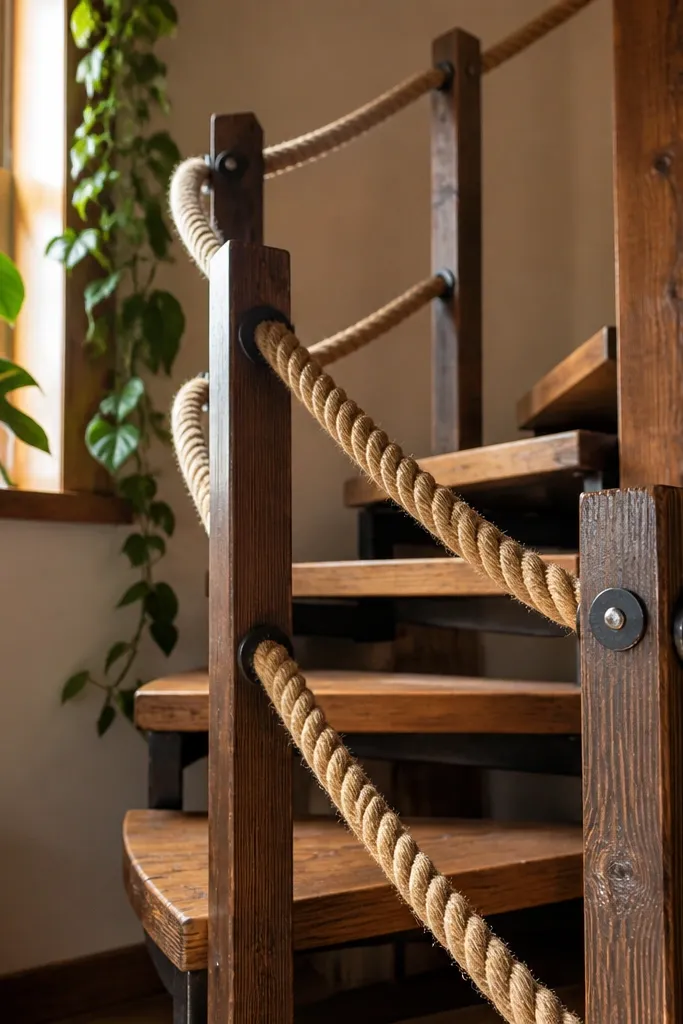
You can soften the look of a spiral staircase by using wood treads and a rope-style handline instead of heavy metal railings. The rope look is photogenic because it adds texture and a warm, casual vibe that matches many rentals. Renter-friendly installs work when the rope handline attaches to small bolt-on posts that come off easily, leaving minimal wall or ceiling marks. This style is great for bedrooms, cozy loft corners, and spaces that feel more homey than industrial. Skill level is beginner because the rope is easy, but you must secure knots properly and keep the posts sturdy. It looks best with warm wood tones and a simple matte center column.
Editor's noteUse closed-cell foam under the rope where it contacts the post to prevent fraying and squeaks.
Build or buy a spiral frame with a center column and wood treads, then finish treads with a clear topcoat for grip. Install small handline posts at consistent intervals using bolt-on clamps around the center column or tread mounts. Wrap braided rope around the posts and tension it so it stays straight, then secure ends with hidden lashings or clamps inside the post caps. Check handline stiffness by pushing on it from different directions. Add non-slip tape strips to tread tops if your wood finish is slick.
Skip thisDon’t rely on surface knots alone; use a clamp or hidden fastener so the rope doesn’t loosen over time.
11. Two-tone spiral with teal steps and matte black railing
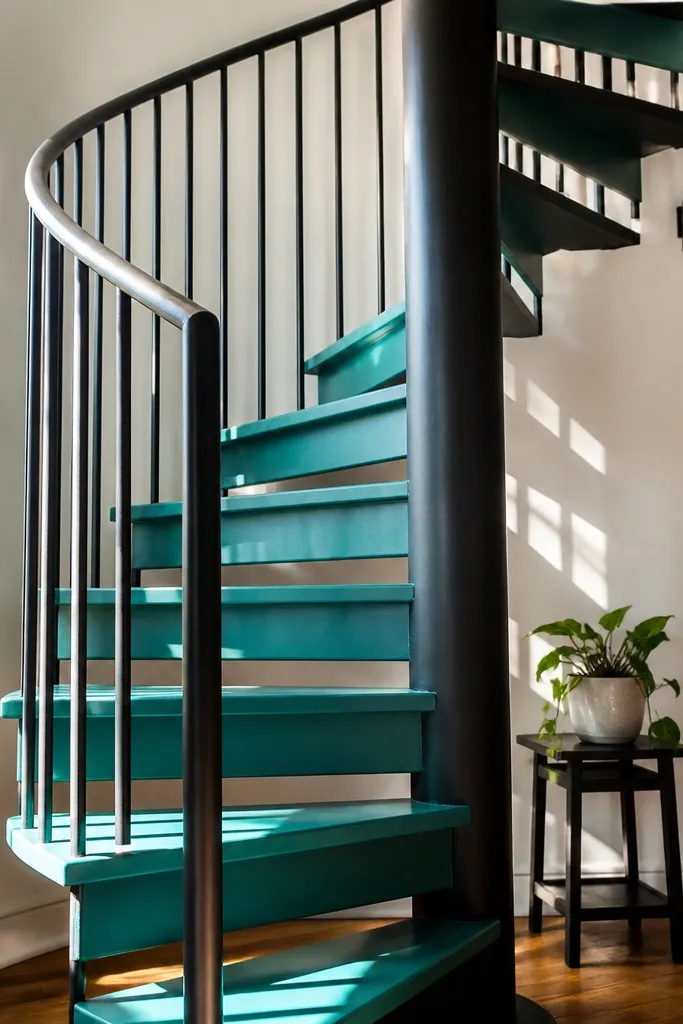
If you want maximum “photo pop” without complicated materials, paint the treads a bold teal and keep the center column and rail matte black. The contrast makes the spiral read clearly in wide shots, and it also looks sharp in close-ups where you see the step edges. Renter-friendly installs stay clean when you use bolt-on treads and a freestanding base plate setup. This style works in modern apartments with neutral walls and bright decor, especially near windows where daylight hits the painted surfaces. Skill level is beginner-to-intermediate: the paint job is the main work, and it’s very controllable. The end result looks like a design store build.
Editor's noteTest the teal on scrap plywood and check it under your room lighting; teal can go green or blue depending on the primer.
Start with a spiral frame you can anchor at the floor with a base plate and keep wall contact minimal. Sand and prime treads, then paint teal in two thin coats and topcoat with a scuff-resistant clear. Mask around the tread edges so the teal line stays crisp. Install the treads and then mount a matte black handrail using clamp collars or bolt-on brackets. Finish by adding a thin black anti-slip strip to each tread front edge so the teal stays clean while feet stay secure.
Skip thisDon’t use high-gloss paint on treads; glare kills the look and makes scratches obvious.
12. Monochrome gray spiral with concrete-look vinyl tread caps
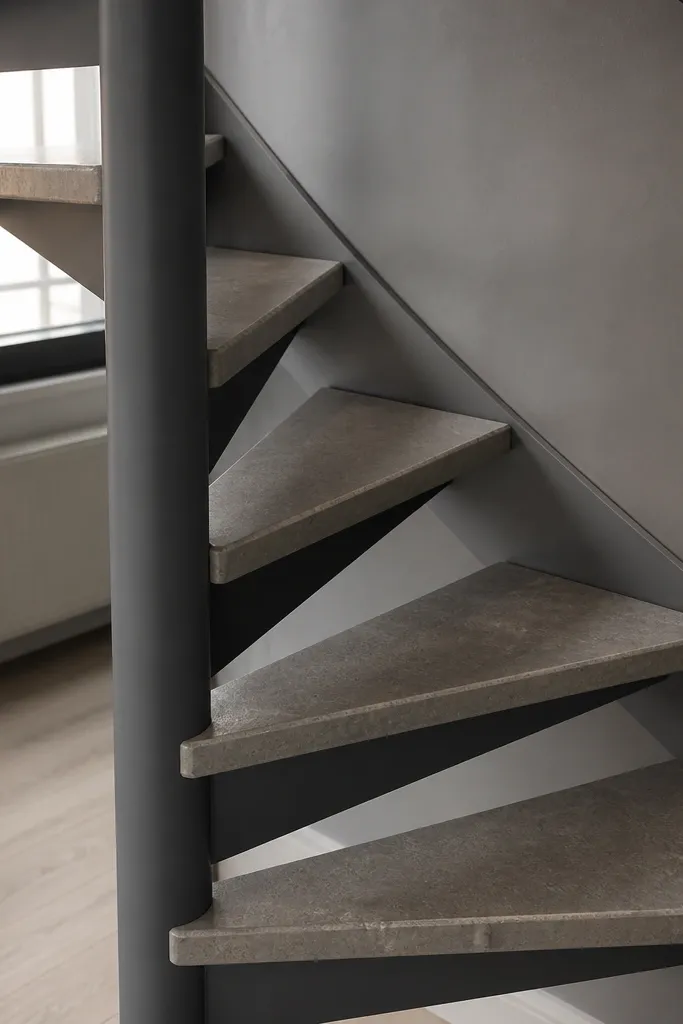
Concrete-look vinyl on treads is a renter-friendly way to get a modern, industrial look without tile work. It photographs well because the pattern is consistent and the gray palette matches almost any interior. You also get better grip than smooth paint, and vinyl caps are replaceable if they get scuffed. The spiral stays photogenic because you see a clean step surface line around the whole staircase. Skill level is beginner: measure, cut, and wrap the tread tops and edges. This style is perfect for rentals where you want low mess and easy maintenance.
Build the spiral frame with a center column and treads, then measure each tread top and front lip shape. Cut concrete-look vinyl with a sharp utility knife and allow a small overhang for trimming. Apply adhesive made for vinyl flooring, press firmly, and trim the edges clean. Add a thin layer of grip strips on the top surface if the vinyl is too smooth. Install the vinyl-capped treads onto the spiral and seal any exposed wood edges with clear coat so they don’t absorb dirt.
Use a metal straightedge and cut on a fresh blade; vinyl edges look factory when the cut is crisp.
Don’t stretch vinyl tight over sharp corners; it will pull back and curl at the spiral edges.
13. Budget spiral with pre-made metal steps and faux-wood wrap finish
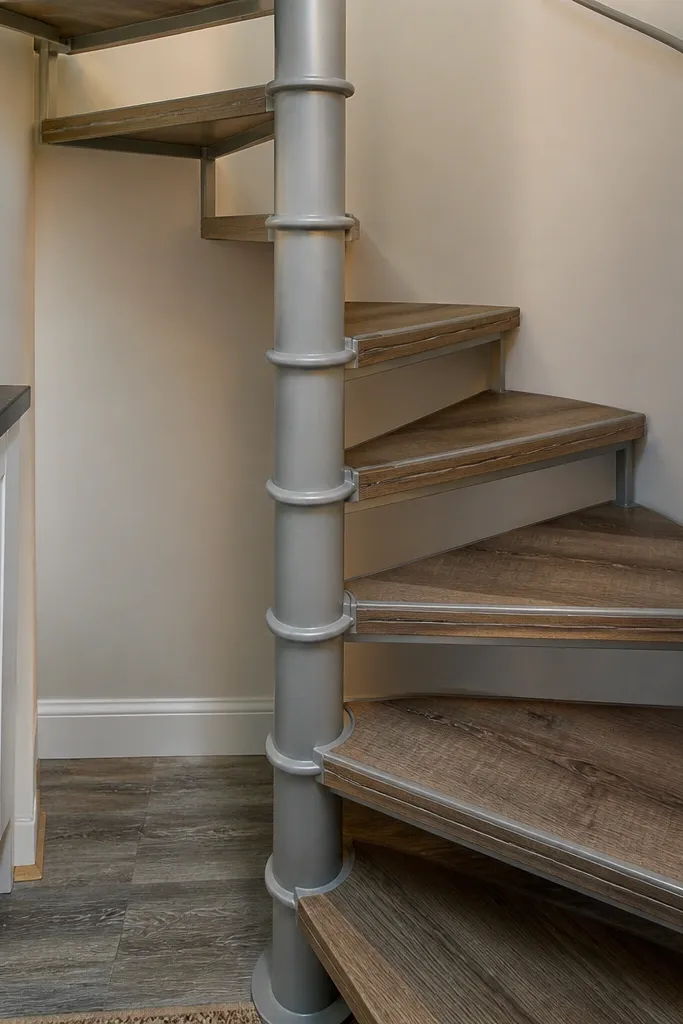
If you want the look of wood but don’t want to build treads from scratch, use pre-made metal steps and wrap them in a wood-grain film. The visual result is surprisingly good at normal viewing distance, and the spiral reads as warm instead of cold. Renter-friendly installs are straightforward because metal steps attach cleanly to a center column with bolts, and you can remove the film later if you move. This style fits tight budgets and messy spaces where you need quick assembly. Skill level is beginner since the hardest part is choosing the wrap grain. It’s also easy to refresh later by swapping the film.
Editor's noteChoose wood-grain wrap with a matte finish; glossy film looks fake under indoor lights.
Assemble the spiral frame and mount the metal steps to the center column first. Clean and degrease the metal steps so the adhesive film bonds, then cut wood-grain wrap to each tread top and front edge. Apply the film in sections, smoothing from center outward with a plastic squeegee to prevent bubbles. Trim edges with a sharp blade and seal the front lip with a clear flexible edge coat. Install the wrapped steps and add non-slip grip strips on top.
Skip thisDon’t wrap over rust or oily residue; adhesion failure shows as peeling corners.
14. Glass-like step look using clear polycarbonate tread covers
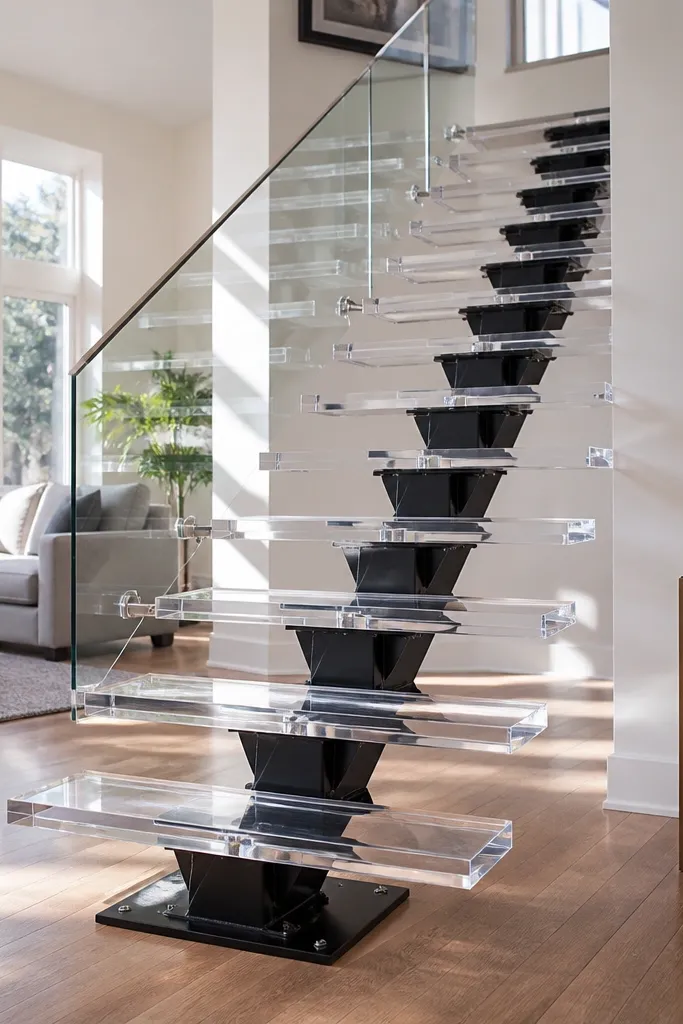
Clear polycarbonate tread covers give you a “glass step” look without the weight and fragility of real glass. Pair it with a dark center column and you get a floating, modern effect that looks great in bright rooms. Renter-friendly installs are possible when the covers are bolt-on to an underlying tread frame, so you can remove the staircase without destroying the cover material. This style is photogenic because you see light through the steps and the spiral line looks extra crisp. Skill level is intermediate because you must cut polycarbonate accurately and ensure edges are protected. It works best with warm lighting so the clear parts don’t look icy.
Build a basic spiral frame with sturdy treads underneath, then cut polycarbonate covers slightly larger than the tread surface. Drill mounting holes and use standoffs so the polycarbonate doesn’t pinch and crack. Sand and round the cover edges lightly, then apply clear edge protection or a thin trim strip. Bolt covers on after the spiral is aligned, and add grip strips or textured tape on the walking surface area. Finish with a matte black rail so the clear covers don’t blend into the room.
Cut polycarbonate with a fine blade and keep the sheet supported; chatter marks show in photos.
Don’t use solvent-based cleaners on polycarbonate; they can haze the surface.
15. Turned-wood tread spiral with brass accents and black column
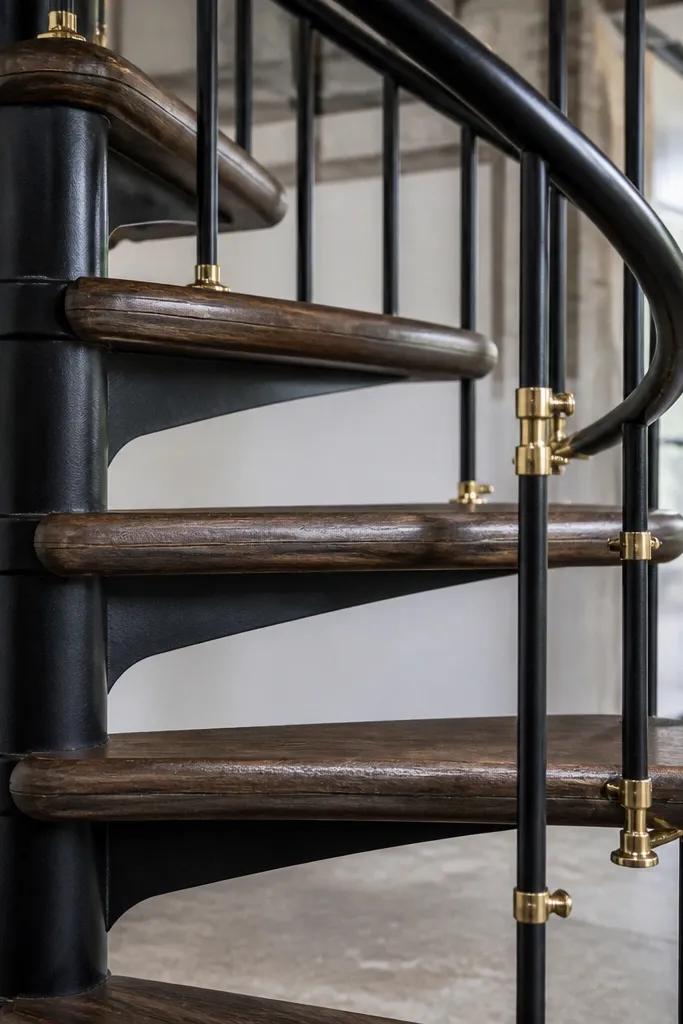
Turned-wood tread edges add a subtle, old-world detail that looks expensive even when the structure is basic. A black column keeps it modern, and small brass accents on the handrail mounts add warmth and shine in photos. Renter-friendly installs work when the brass accents are clamp-on or bolt-on and don’t require wall anchoring. This style suits rentals with classic trim, entry foyers, and spaces where you want a staircase that looks like it belongs there. Skill level is intermediate because turning or sourcing turned tread edges takes time and you need consistent thickness for a smooth spiral. The final look is polished and decorative without being fussy.
Editor's noteKeep the brass accents small; one or two shine points per tread cycle looks intentional, not busy.
Start by selecting or preparing tread blanks to a consistent thickness, then shape the tread front lip into a turned profile or use pre-turned trim strips. Stain the wood in a medium walnut tone and seal with a satin clear coat for grip. Assemble the spiral frame with a black center column and bolt-on tread mounts. Attach brass accent collars to the handrail posts using clamp rings or bolt-on plates that are hidden under the handrail. Install the handrail and check that the brass mounts sit level around the spiral.
Skip thisDon’t over-shine the clear coat; high gloss on wood treads makes the grain look plastic.
16. Renter-friendly spiral with removable decorative wall panels behind it
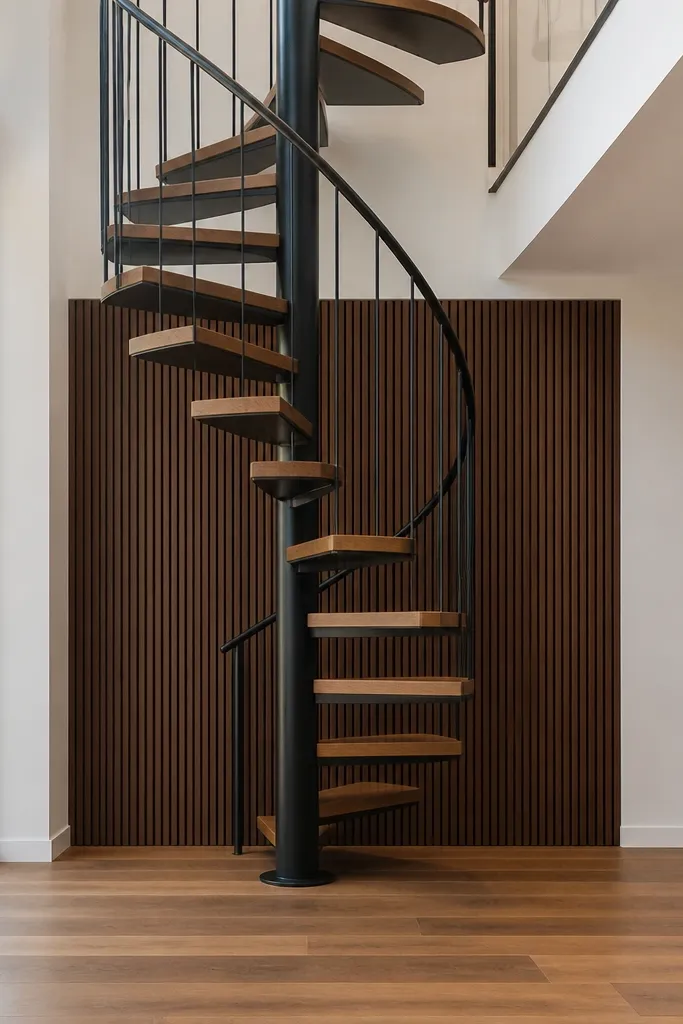
The easiest way to make a spiral staircase look “designed” in photos is to give it a clean backdrop — and renters can do that with removable wall panels. Install the spiral with minimal anchoring, then place removable decorative slat panels or peel-and-stick wood paneling behind and around the lower portion. This makes the staircase look intentional and frames the spiral without drilling into the walls for trim. The look is modern, warm, and photogenic because the slats create a repeating pattern behind the steps. Skill level is intermediate because panel alignment matters, but the spiral install stays renter-safe. It’s perfect for living rooms and loft entries where the staircase is the hero.
Editor's noteUse a removable panel frame with 2-3 anchor points, not dozens of small screws; it makes move-out patching sane.
Mount the spiral using floor base plates and allowed structural anchors, then keep wall contact limited to the minimum required. Measure the space behind the lower half of the staircase and build or buy removable slat panels on a lightweight frame that uses screws into studs only where permitted. Leave a 1-2 inch gap around the spiral so there’s room for movement and cleaning. Paint or finish the slat panels in a color that matches your treads (walnut stain or warm white). Install the panels after the spiral is stable, then remove them later by unbolting the frame from the studs.
Skip thisDon’t tape decorative panels directly over trim gaps; the edges lift and look messy in close photos.
17. Floating-look spiral using hidden under-step brackets and matching paint
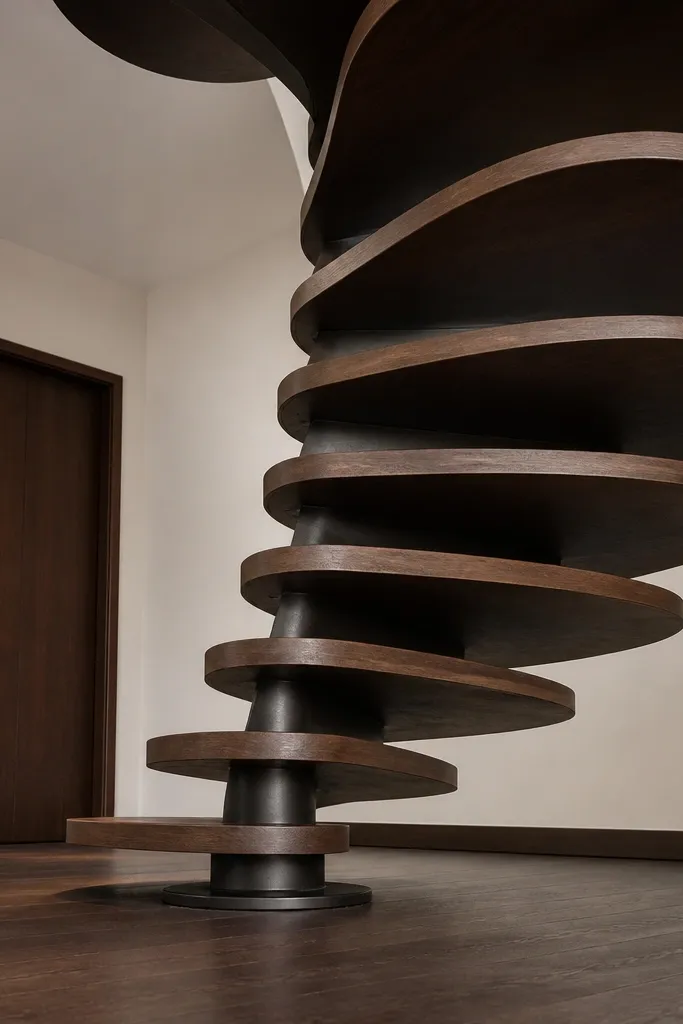
A floating-look spiral looks high-end because your eye can’t see the support. The trick is matching bracket hardware to the tread color and hiding it under the step surface, so the staircase reads like a clean stack of discs. For renter-friendly installs, you still use a freestanding or floor-based anchoring plan, but the visual clutter stays low. This style is photogenic from the side and from below because the steps appear to hover in a tight spiral. Skill level is intermediate because you have to align brackets precisely and keep the underside finish clean. It works in modern interiors where you want a sleek, minimal staircase.
Editor's notePaint brackets before assembly; underside touch-ups never look perfect in photos.
Build the spiral frame with a center column and secure mounting plates at the floor. Cut treads and attach hidden brackets to the underside using pre-drilled holes and bolts into tread inserts. Paint or powder-coat the brackets the same color as the underside of the treads so they disappear. Install treads one by one, checking level and spacing after every 2 steps. Finish the top walking surface with a durable clear coat and add grip strips.
Skip thisDon’t skip bracket alignment checks; a slightly rotated tread makes the whole spiral look off.
18. Budget cork tread spiral with dark steel column and rope handrail
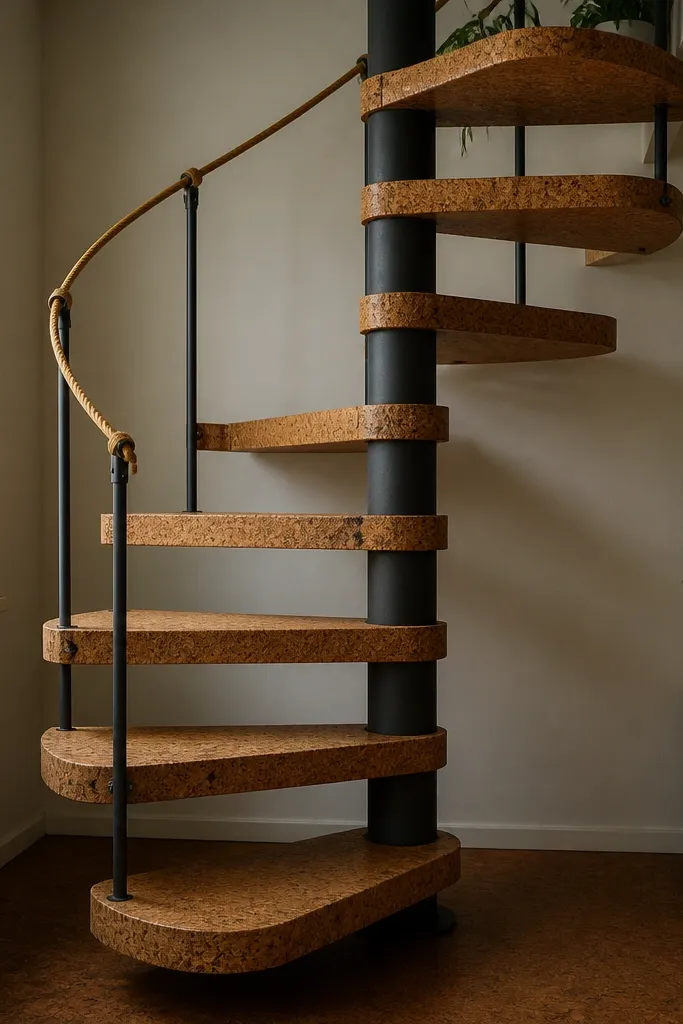
Cork treads look warm and feel good underfoot, and they photograph like a premium surface when the lighting is right. Pair cork with a dark steel center column and a simple rope handrail for a cozy, renter-friendly vibe that doesn’t require wall modifications beyond the allowed anchors. Cork also hides minor scuffs better than glossy paint, which matters in rentals where wear shows up fast. The look is photogenic in bedrooms, reading nooks, and loft corners with soft lamps. Skill level is beginner-to-intermediate because cork cutting is easy, but you need a solid base tread and good sealing so it stays stable. This is one of the most comfortable-looking options for a spiral staircase.
Editor's noteUse a sharp knife and a straightedge; cork edges look cleanest when you cut in one pass.
Assemble the spiral frame with secure center column anchoring using a floor base plate and permitted ceiling support. Cut cork sheets to tread top size and add a thin non-slip backing layer if needed for stability. Seal cork with a clear, flexible polyurethane designed for floors so it resists dirt and moisture. Mount treads to the column using bolt-on tread mounts, then attach a rope handrail to small posts or clamp collars. Test each tread for movement by pressing near the front edge.
Skip thisDon’t leave cork unsealed; it stains quickly and looks dull in daylight.
19. Matte white spiral with black metal step edges and simple black railing
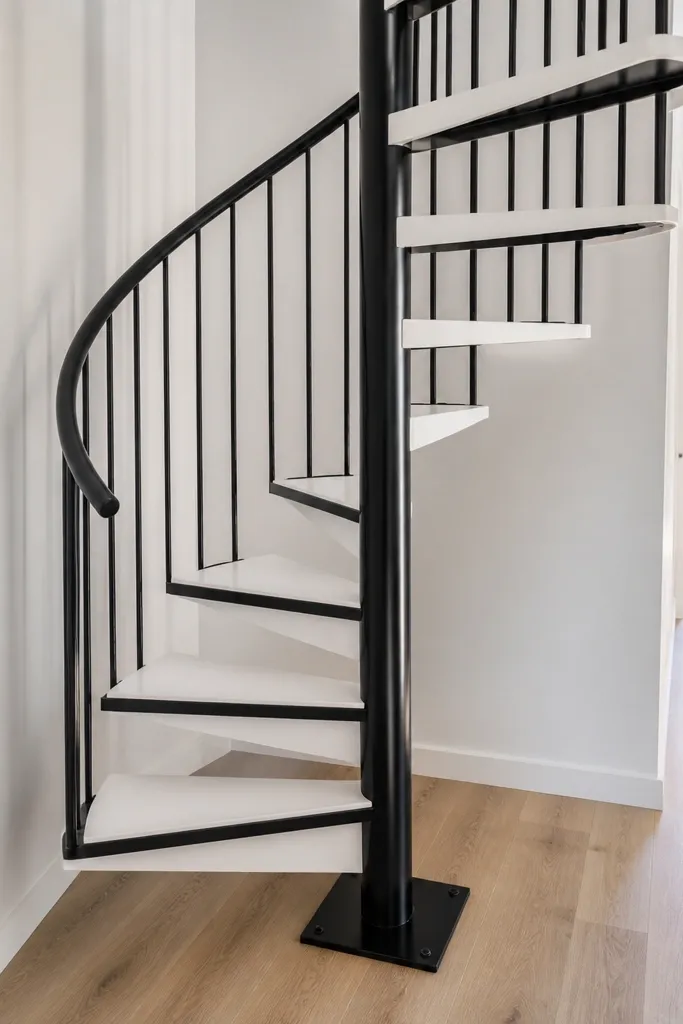
Matte white treads plus black metal edge trim is a clean, high-contrast look that reads “design” in photos even when the materials are budget. The black edge trim gives you a crisp line that makes each step look intentional. Renter-friendly installs stay simple by using a freestanding center column and floor base plates, keeping wall drilling minimal. This style works in small apartments, modern studios, and rooms with light walls where a dark staircase would look heavy. Skill level is beginner-to-intermediate because painting is straightforward and the trim adds the wow. The finished staircase looks bright, tidy, and modern from every angle.
Build the spiral frame and install the center column with a floor base plate and top support if required. Paint treads matte white with bonding primer and two coats of durable enamel, then clear coat the walking surface lightly. Add black step edges using thin metal trim strips screwed or bolted to the tread front lip. Install treads in sequence and align them so the black edges form a consistent spiral line. Mount a minimal black handrail using clamp collars to avoid drilling into walls.
Mask the tread edges carefully so the white-to-black line stays sharp; this is what makes photos look professional.
Don’t rush cure time between coats; soft paint scuffs while you assemble.
20. Single-wall-anchored spiral with protection sleeves and removable trim cover
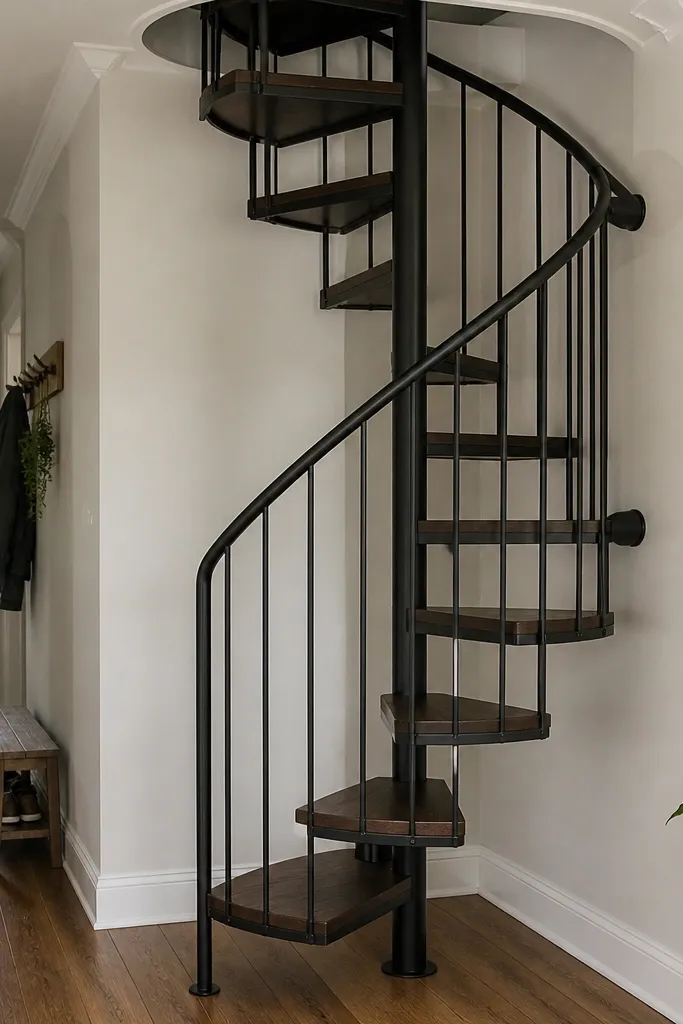
If your landlord approves wall anchoring but you still want renter-friendly cleanup, use protection sleeves and a removable trim cover. The staircase can still look sleek because you hide the ugly mounting hardware behind a decorative cover that unbolts later. This is a good option when you need extra stability and your space can’t handle a fully freestanding spiral. Visually, the cover makes the staircase look like it’s built into the wall rather than attached with brackets. Skill level is intermediate because you’re planning the sleeve placement and keeping the cover aligned as the spiral rises. It suits rentals with solid studs behind drywall and rooms where the wall can visually frame the staircase.
Editor's notePre-drill and use a torque-limited driver so you don’t over-tighten and strip anchors during alignment.
Locate wall studs and mark anchor points, then install protective sleeves or edge guards around any hardware that touches the wall surface. Mount the spiral to the wall using rated fasteners into studs, but keep the visible bracket faces behind a decorative trim cover. Build the cover from wood or metal panels with a simple unbolt system so it removes in one piece at move-out. Install the center column and treads, then attach the handrail. Finish the trim cover to match your treads so the mounting area disappears in photos.
Skip thisDon’t mount through drywall alone; if you don’t hit studs, the staircase will feel loose and the look will suffer.



