
1. Compact spiral kit with a fixed-radius pole
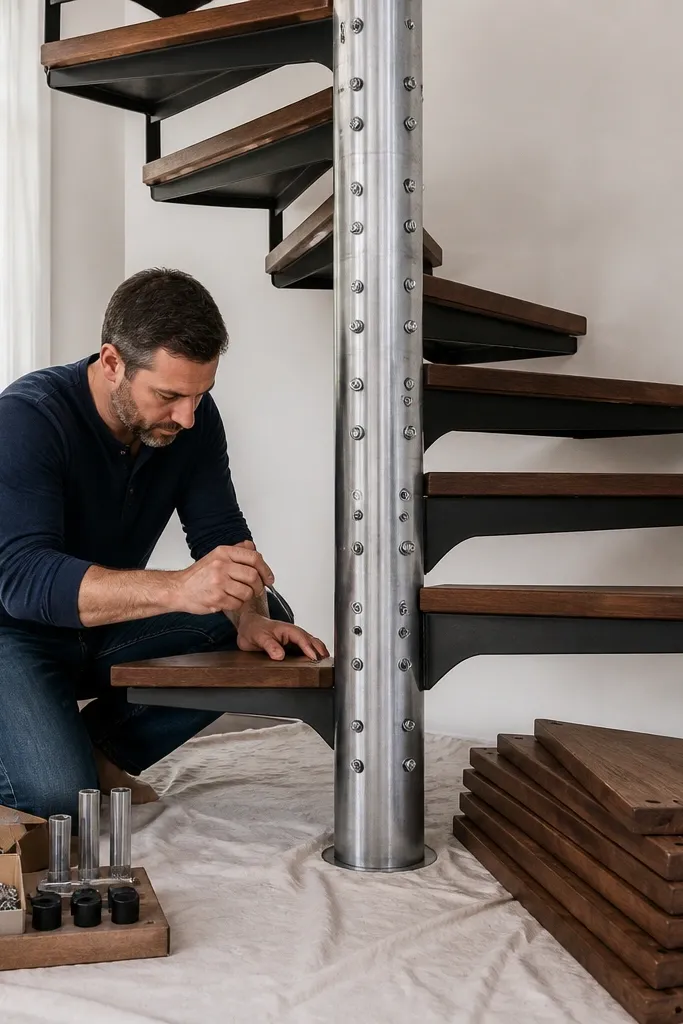
This is the cleanest route to “Spiral Staircase quick and easy steps” because the kit controls the geometry. A fixed-radius pole means the tread wedge angles and bolt patterns are already standardized, so your job is mostly alignment and fastening. The look stays consistent because the treads match the kit’s spiral pitch and finish. It’s a smart pick for tight foyers, basements, and loft access where you’re okay with a narrower feel near the inner edge.
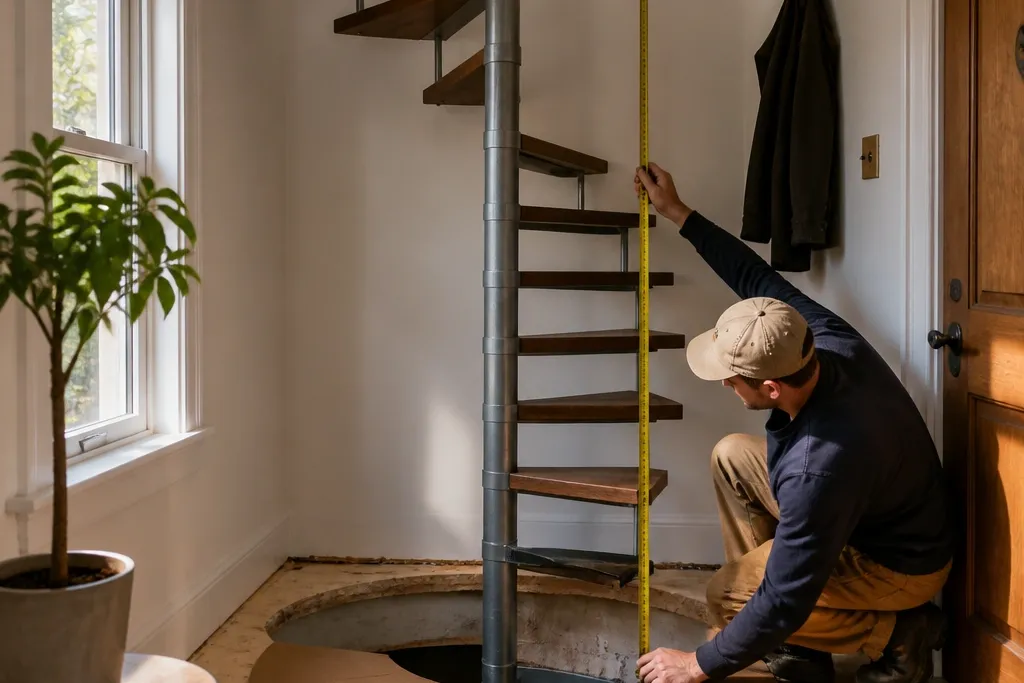
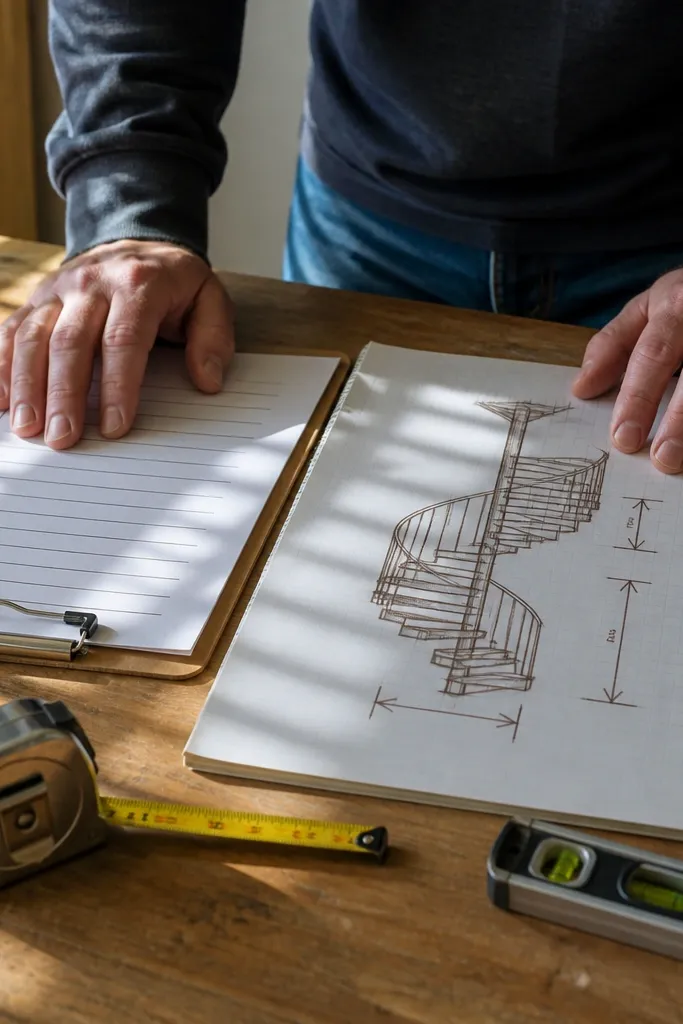
Start by measuring your rough opening for the floor cut and confirming you have clearance for the top landing swing. Then dry-fit the pole sections and confirm plumb with a level across two directions. Next, assemble the treads and intermediate supports in the kit’s order, using the supplied clamps or spacers to keep tread-to-tread spacing consistent. Finally, anchor the top and bottom with the kit’s base plates, then add handrail sections after you’ve verified you can walk the full circle without a tread rocking.
Mark each tread’s orientation with painter’s tape before you unbox hardware so you never rotate a wedge the wrong way.
Don’t start cutting your floor opening until you’ve checked the kit’s required rough opening size against your joist layout.
2. Wood-on-steel spiral with thicker treads for comfort
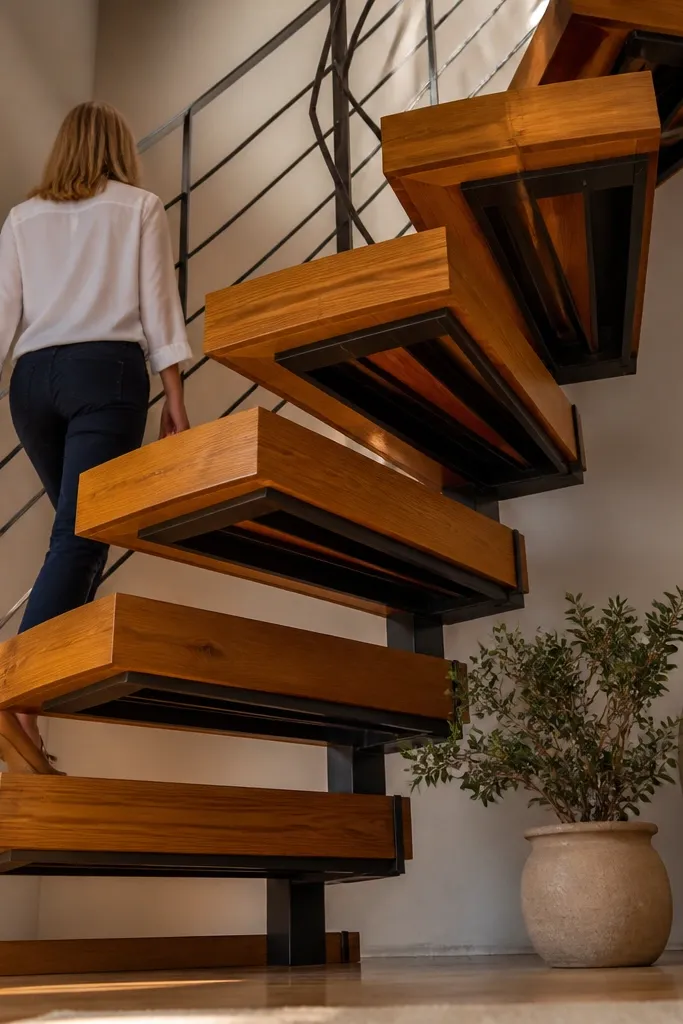
If you want a spiral that feels less sketchy, thicker treads help because your foot has more purchase on the walking surface. A wood-on-steel build also keeps the structure straight and rigid, so the stair doesn’t develop squeaks as easily as all-wood builds. The finish can be warm and modern — stained treads with a matte handrail — while the steel keeps the geometry stable. This option is best when you’re trading a bit of cost for a safer, more solid step feel.
Pick a steel spiral frame that uses bolt-on tread brackets, then choose treads sized to match the bracket spacing. Measure the stair’s centerline and verify the tread width at the walking line, not at the inner edge where it feels narrowest. Install the frame first, making sure each support ring stays level as you climb. Then attach the treads with the correct screw length so you don’t puncture through the tread top, and add a handrail after all steps are locked down.
Editor's noteUse a thin coat of wax-free wood finish only after assembly so hardware holes stay clean and grip doesn’t get contaminated.
Skip thisAvoid using tread screws that are too short — they strip and loosen faster in a spiral where every step loads at an angle.
3. Straight staircase with pre-cut stringers and matching treads
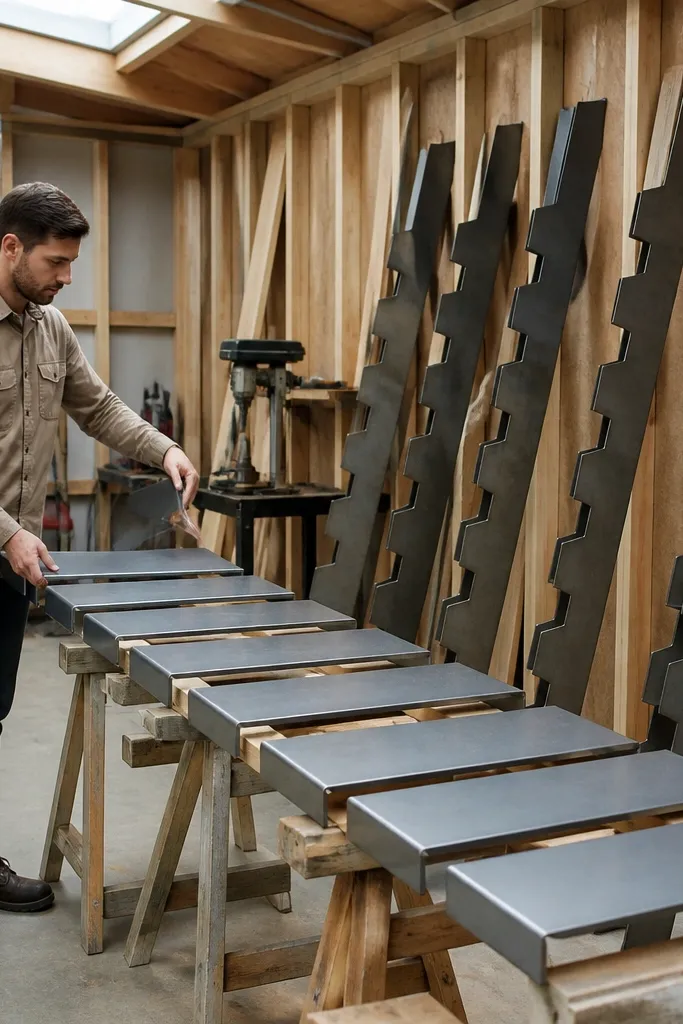
Straight stairs are the easiest way to get predictable comfort and fast planning because the run and rise stay consistent. Pre-cut stringers remove the bulk of the math and speed up installation, so you can focus on anchoring and squaring. The look is clean and practical — uniform treads, consistent gaps, and a handrail that feels stable. This is the best pick for anyone who wants “quick and easy” without wrestling with spiral tread wedges.
Start by calculating total rise from the finished floor to finished floor, then use the stringer’s recommended rise/run to pick your step count. Lay out stringer placement on the subfloor and check for landing clearance at the top. Install the stringers level and square, then attach the treads to the stringer notches in order from bottom to top. Finish by installing risers if you want a closed look, then add the handrail brackets after confirming your grip height.
Pre-drill every tread screw location and use a countersink so you don’t split the tread ends.
Don’t assume the subfloor level matches finished floor height — check the actual finish thickness before you lock the stringers.
4. Straight staircase custom stringers with a rise/run template
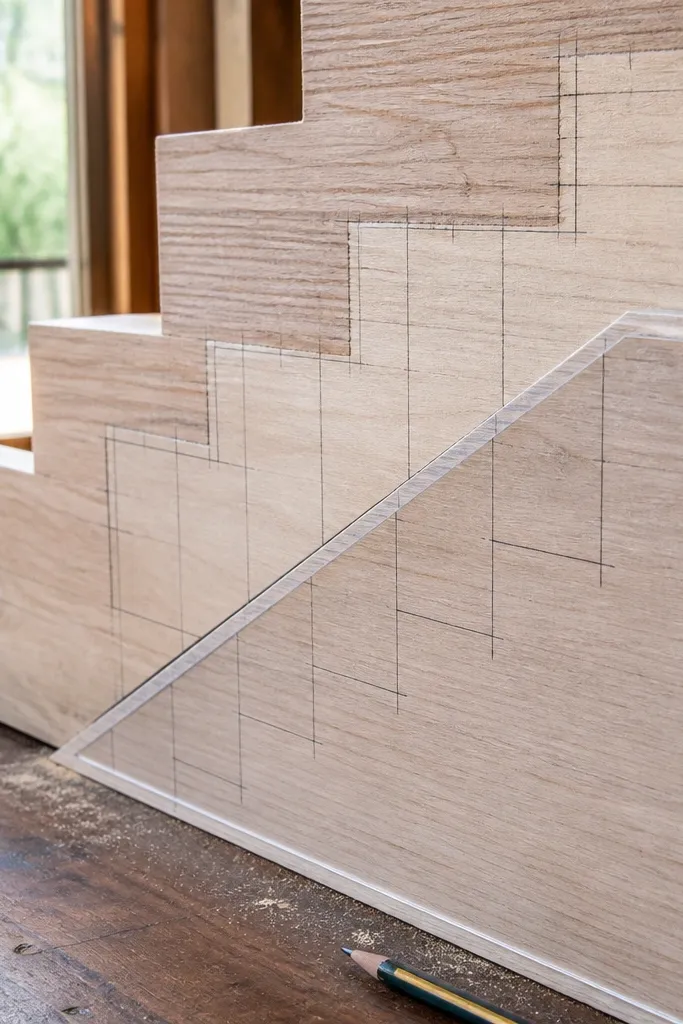
If you want control and still keep it manageable, custom stringers with a template make straight stairs straightforward. You get to choose the rise and tread depth that feels right for your household, and you can match the finish to your trim. This method is great for DIYers who can measure carefully and cut cleanly, and it avoids the spiral’s wedge tread complexity. The finished result looks classic because every step repeats the same geometry.
First build a rise/run gauge from scrap plywood: set one edge to the rise height you want and the other to the tread depth, then mark the cut line positions. Transfer those marks to each stringer using a square and a consistent reference edge. Cut the notches, test-fit one tread, then install all treads in sequence starting at the bottom. Once everything is locked, add risers to hide gaps and reduce dust buildup, then install handrail posts with solid blocking behind the drywall.
Editor's noteMake one “sacrificial” stringer test cut to confirm your blade kerf didn’t shift the notch width before cutting the real ones.
Skip thisSkip the rushed stringer spacing — uneven step spacing makes the whole staircase look wrong even if every tread is solid.
5. L-shaped straight staircase with a quarter-turn landing
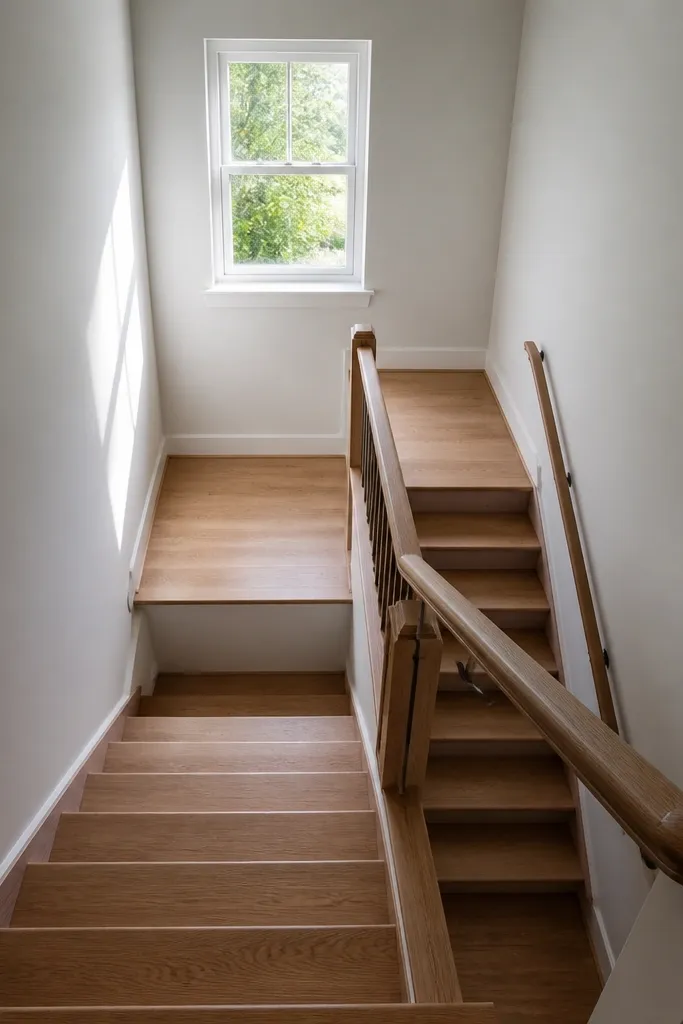
A quarter-turn L-shaped stair gives you the space-efficient feel people want from a spiral, without spiral tread wedges. You get more consistent foot placement because the treads on each run are uniform, and the landing helps reset your stride. This layout is often easier to plan than a spiral because you can treat it like two straight runs plus a landing frame. It fits well in hallways, garages with lofts, and rooms where you can spare a corner.
Measure total rise and plan each run’s step count based on the same rise height for both legs. Build the landing opening so it supports the landing frame and aligns with the top floor cut. Install stringers for the first run, then set the landing framing, then install the second run stringers to match the landing height. Finish by installing uniform treads on each leg, and use a consistent nosing detail so the corner doesn’t look like a patchwork.
Editor's noteUse a landing board that matches your tread thickness so the top of the landing aligns with tread tops at both legs.
Skip thisDon’t reduce tread depth on the inside of the turn — that’s where people feel unstable.
6. Steeper straight staircase for tight footprint planning
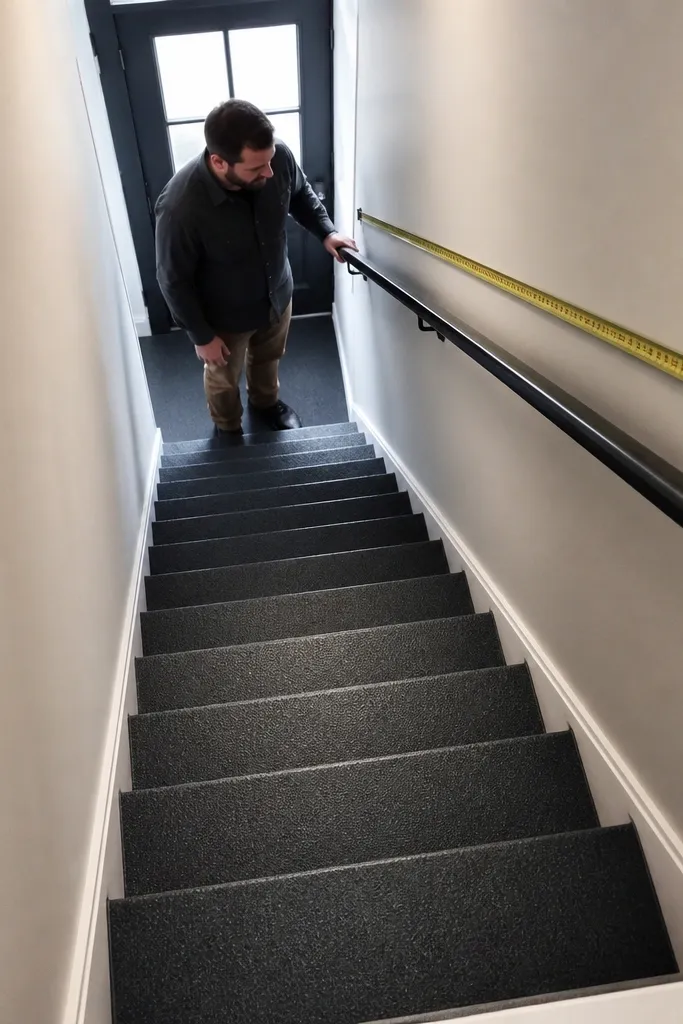
When space is the limiting factor, a steeper straight stair can be a practical compromise. It keeps the geometry simple — no wedge treads, no spiral layout — while shrinking the run length so the staircase fits. You’re trading comfort for footprint, so you want solid handrail support and a non-slip tread finish. This option is best for guest access, storage lofts, and basements where you don’t need daily use.
Decide your maximum run length first, then calculate step count from total rise and your chosen rise height. Lay out stringers using the same rise/run template method so every tread repeats accurately. Use a tread material with grip — like a textured finish on hardwood or a durable composite — and keep the nosing consistent across all steps. Install risers if you want to reduce debris and improve stability for bare feet.
Editor's notePrioritize a continuous handrail — a steep stair without a solid rail feels unsafe fast.
Skip thisAvoid leaving the stair open to a half-finished landing — poor handrail anchoring makes the steepness feel worse.
7. Spiral with closed risers for fewer drafts and cleaner look
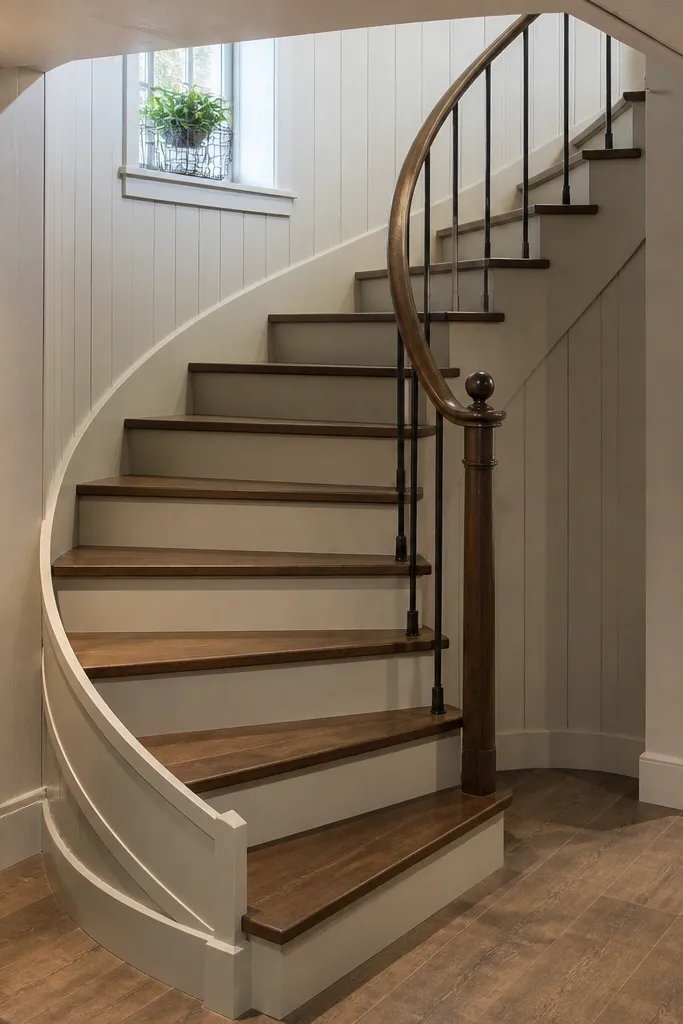
Closed risers turn a spiral from “see-through clutter” into a more finished, privacy-friendly stair. It also reduces dust fall from one floor to the other, which matters in basements and laundry areas. The trade-off is extra fabrication and more careful cut accuracy, because each riser must match the tread angle and spacing. If you’re building for everyday use, this option looks more intentional and feels sturdier visually.
Choose a spiral frame system that supports riser panels, then measure each tread-to-tread gap so risers land square. Make a riser template from thin plywood by tracing one riser’s outline and adjusting until it fits the first step perfectly. Cut risers in batches, label them by step number, and install them after treads are aligned. Finish by sealing edges and adding a handrail that covers the transition areas where people slow down.
Sand riser edges after installation, not before, so the finish line stays even around the curved path.
Don’t assume one riser fits all steps — spirals vary subtly across the rotation if the frame isn’t perfectly aligned.
8. Straight staircase with open risers and a clean tread finish
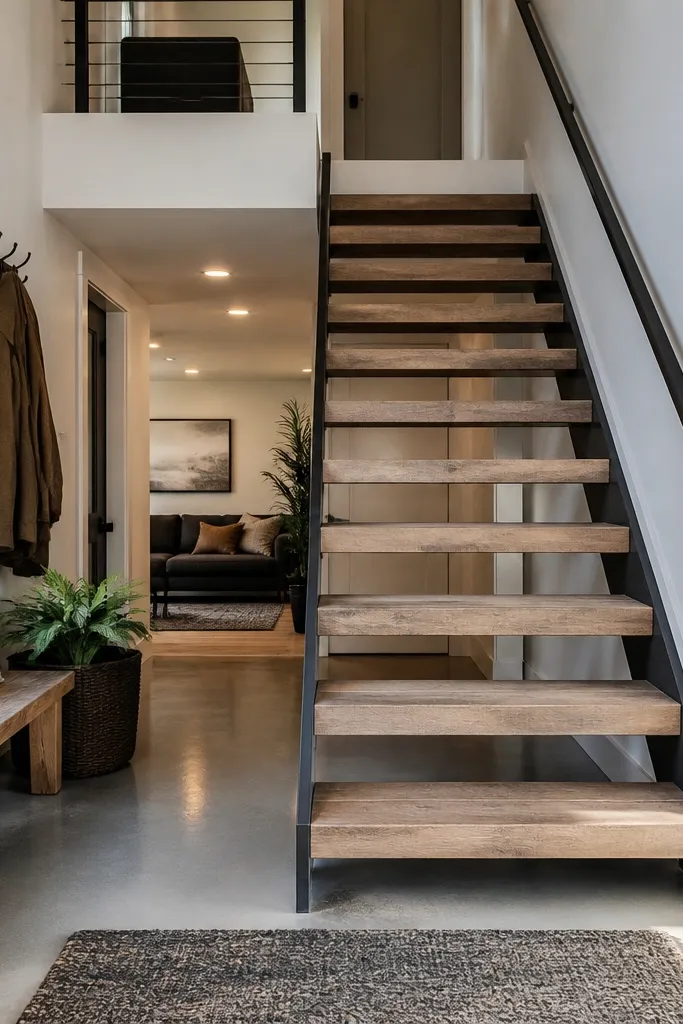
Open risers make the staircase feel lighter and can help it blend into tighter interiors without looking bulky. The build stays simpler than closed panels because you’re mostly working with stringers and treads. The look is modern when paired with a matte tread finish and a minimal handrail. This option fits well in living spaces where you want the stair to feel airy but still keep the same predictable step geometry as any straight stair.
Install stringers first and check tread level across the run with a long level. Attach treads securely with consistent spacing, and use a spacer block so every tread gap stays uniform. Choose a tread finish that resists scuffs because open risers show every mark. Add a handrail and balusters after treads are fixed, and verify that the handrail stays continuous through the top transition.
Editor's noteUse a tread edge profile that hides minor cut imperfections so the open view doesn’t reveal unevenness.
Skip thisAvoid skipping a consistent spacer — open risers make spacing errors obvious.
9. Spiral staircase with removable tread panels for service access
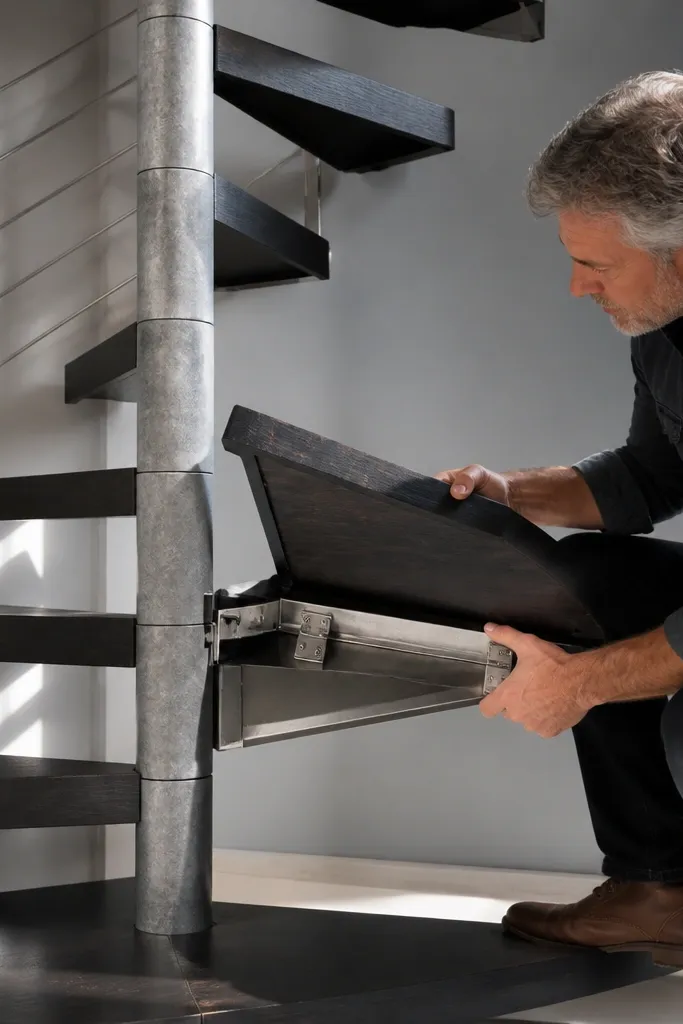
If you’re planning a staircase that might need future repairs, removable tread panels are a practical design choice. This approach keeps the spiral built around replaceable parts rather than one-off custom pieces that are hard to redo. The look stays tidy because fasteners can be hidden under tread edges. It’s a good fit for mechanical access areas, older homes with uncertain subfloor condition, and DIYers who want a stair that’s maintainable.
Select a spiral frame system that allows access to tread fasteners from above or via concealed clips. Plan your tread thickness so the panel sits flush and still provides enough surface for grip. Install the frame and permanent supports first, then attach treads with removable hardware — no permanent glue joints. Label each tread and confirm you can remove and reinstall at least one without disturbing the rest, then finish with a handrail so the stair remains safe during any future maintenance.
Editor's noteUse thread-locking compound on removable hardware so it doesn’t loosen with vibration.
Skip thisDon’t make the treads too thin — removable systems need stiffness to avoid flex and squeaks.
10. Spiral staircase with a wider-than-minimum tread landing line
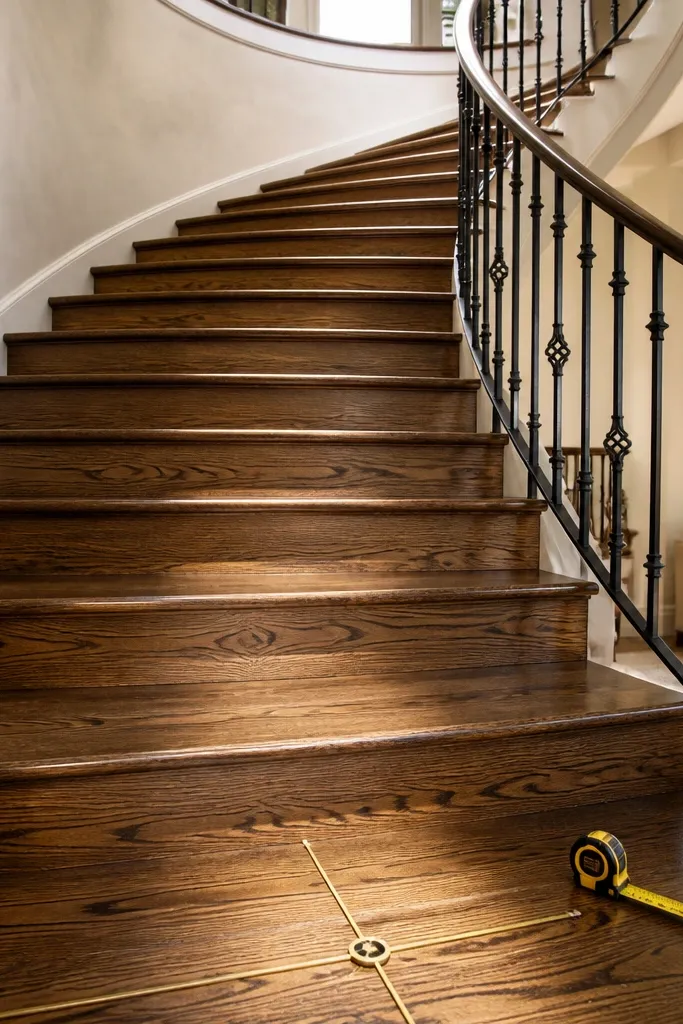
Most spiral stairs feel tight because planning uses the minimum tread width instead of the width your foot actually travels on. Choosing a wider tread landing line makes the stair feel more usable without changing the overall compact footprint. This is a planning-first choice: you pick the radius and centerline so the walking zone stays comfortable through the turn. It’s a great option when you’re building a spiral for more than occasional access.
Choose your spiral radius and then calculate the tread width at the walking line — the spot where your foot lands as you climb, not the narrow inner edge. Match tread thickness and nosing so the walking surface stays consistent across adjacent steps. When assembling, keep the tread rotation angles aligned to the template so the walking line doesn’t drift. Finish with grip-friendly tread surfaces and a handrail height that lets you use it naturally on every step.
Editor's noteMark your walking line on a mock tread and compare it to your shoe size before ordering materials.
Skip thisAvoid designing around the inner edge width — it looks measurable on paper but feels bad in use.



