
1. The center post that flexes under your weight
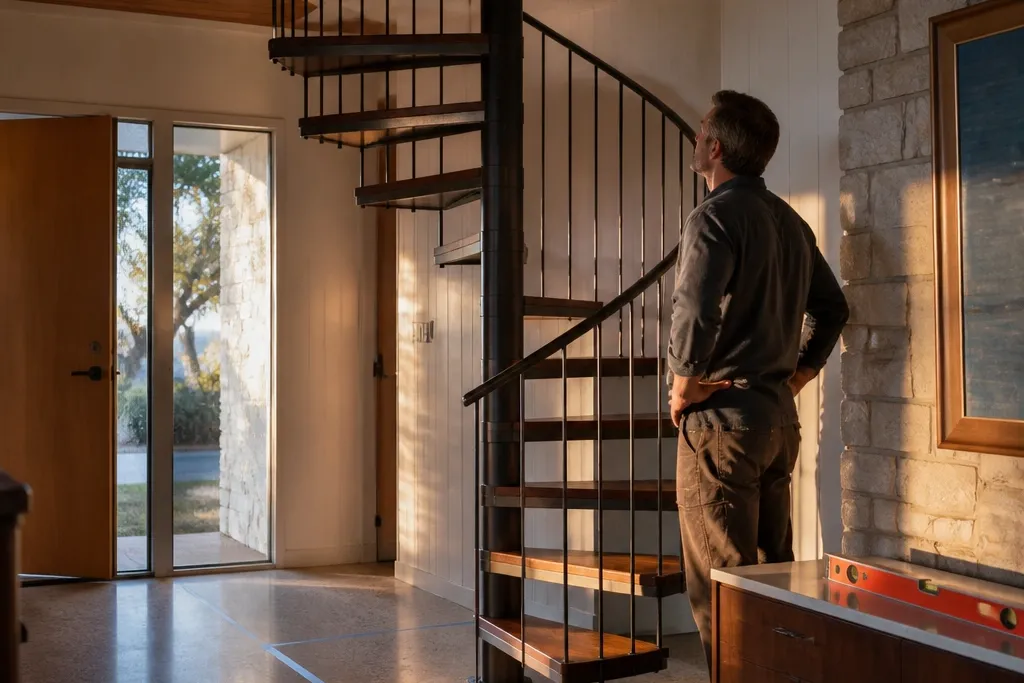
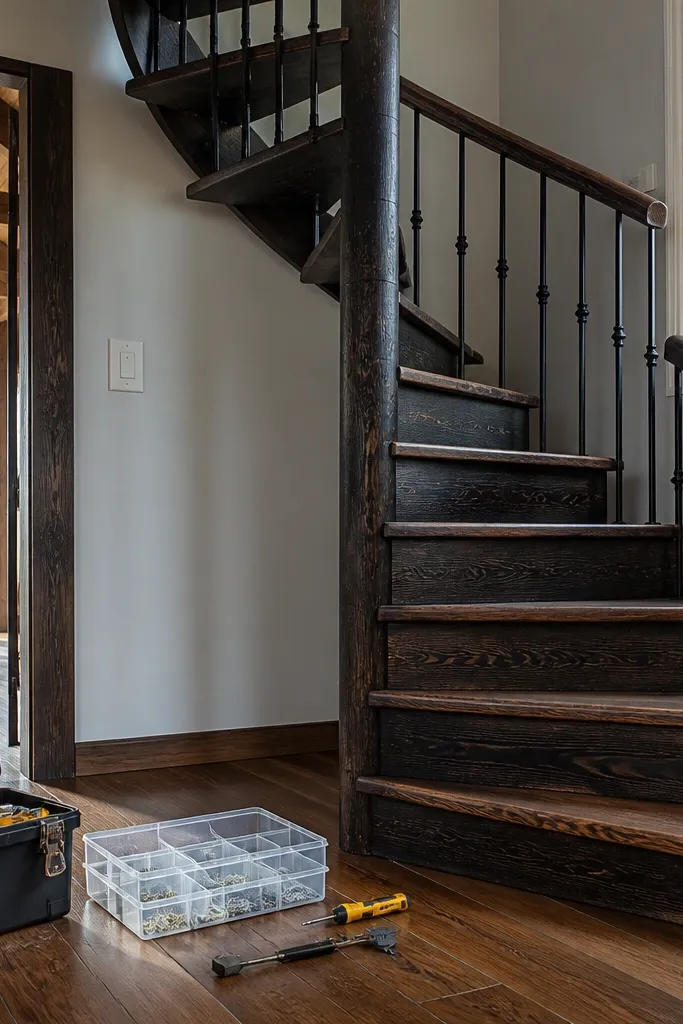
A spiral staircase feels “wrong” when the center post flexes. You’ll see it as tiny gaps at the tread-to-post joints, and you’ll feel it as a side-to-side sway at the top step. The fix is not adding more screws randomly; it’s building a rigid post-to-structure connection that doesn’t rely on wood screws alone. Use the right fasteners and add a base plate or structural connection to spread the load into the floor and any framing below. This is the difference between a staircase that creaks and one that stays still when you step hard.
Editor's noteUse washers under every nut and bolt head; they stop fasteners from chewing into soft wood or thin metal.
First, anchor the center post to the structure with a plate or a welded base that matches your post size and bolt pattern. Then locate the floor joists or beams under the landing points and through-bolt the post using carriage bolts with washers, so the load lands in framing. Next, tighten everything after the first full dry-fit of treads, because spiral parts shift slightly when you seat them. Finally, check post plumb with a level across two directions before you install any handrail — a small tilt gets worse as you go up.
Skip thisDon’t rely on short wood screws into end grain for the center post — it flexes and starts squeaking.
2. Treads cut with the wrong "walking edge" depth
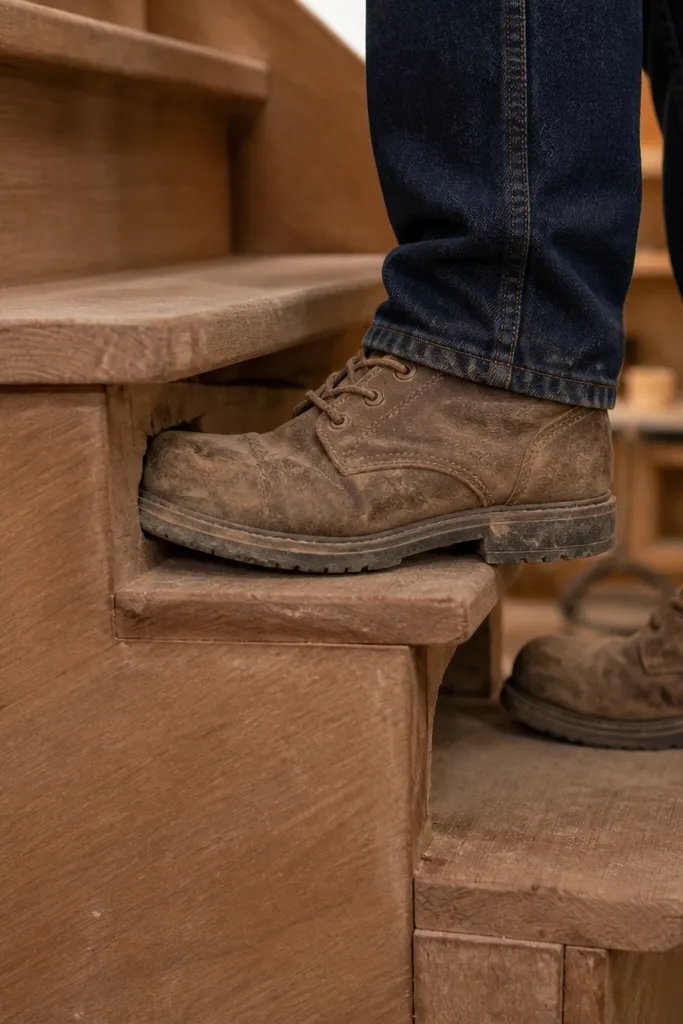
The most common DIY disappointment is stairs that look like they have enough tread but feel cramped. On a spiral, the “walking edge” is the outer edge where your foot lands most of the time. If that edge is too shallow, your toes hit the next tread and your steps get short and tense. If it’s too deep, the rise feels higher and you’ll catch your heel. This mistake is usually a measurement error from the centerline, not a “style choice,” and it’s fixable only if you catch it before finishing and rail installation.
Editor's noteDo a quick “toe test” during dry-fit: if your toes can’t sit flat near the outer edge without curling, the tread depth is off.
Start by marking the tread geometry from your chosen centerline — measure tread depth at the outer walking edge, not at the center. Then set your jig or template so each tread gets the same arc and the same nosing profile if you’re adding one. Next, mock up two or three treads with temporary fasteners and step on them while holding a stable support. Finally, adjust tread depth or rise by changing tread spacing before you commit to cutting the rest.
Skip thisDon’t calculate tread dimensions from the diameter only; spiral geometry needs centerline-based measurements.
3. Rise and tread spacing that create a stutter-step
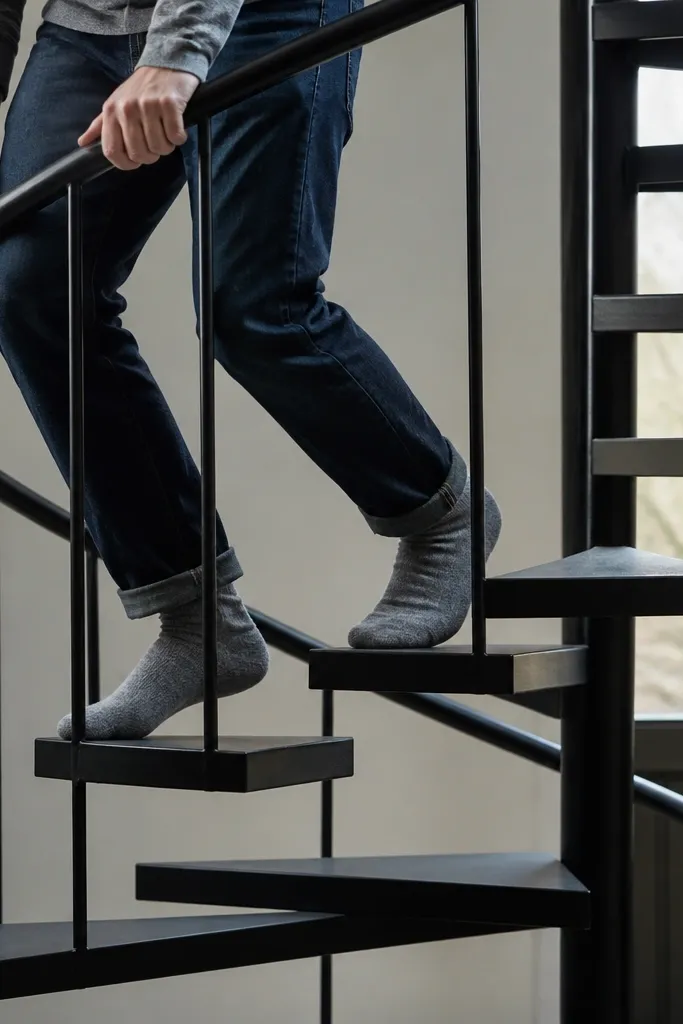
A spiral staircase should feel like a steady rhythm. When rise and tread spacing are off by even a small amount, your foot hits the next tread too soon and you stutter. The result is tiring and, for kids or guests, genuinely unsafe. This is one of those mistakes you won’t fully notice until you walk it repeatedly. The fix is to lock your spacing method early and verify with a physical mock-up, not just a drawing.
Editor's noteMeasure rise from tread surface to tread surface, not from raw wood height — finish thickness changes the feel.
First, pick your intended rise and calculate the total number of treads for your floor-to-floor height, including the landing height. Then create a spacing template with the exact rise between tread surfaces, and mark every post connection point from that template. Next, assemble a three-tread test section and measure the actual rise with a straightedge or a stair gauge. Finally, once your spacing feels right, use the same template for the full run and avoid “tweaking” individual treads to make them fit.
Skip thisDon’t adjust spacing by eye after you’ve cut most treads — the stairs start compounding error.
4. Skewed tread alignment that makes the stairs feel twisted
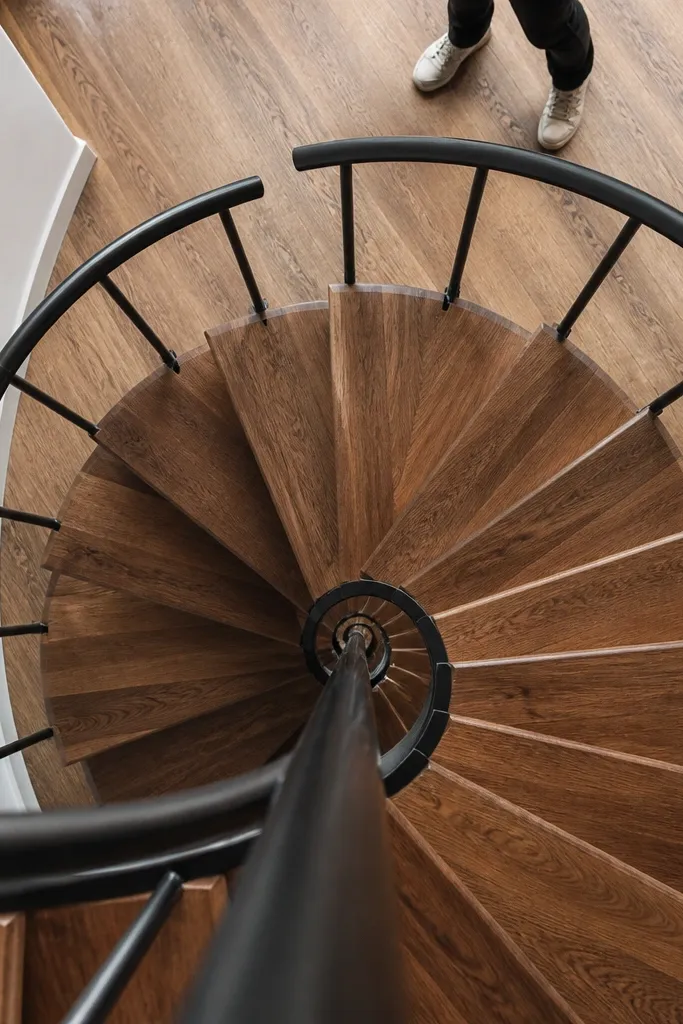
When treads aren’t aligned to the same rotational plane, the staircase feels like it twists under you. You’ll notice it as a handrail that doesn’t track smoothly, and you might see uneven gaps between treads. This mistake often happens when the builder drills or mounts each tread without a consistent rotational reference. It’s not just cosmetic; the misalignment changes the way your foot contacts the tread and can cause uneven wear. Fix it by rebuilding the alignment reference, not by forcing the handrail to match the bad geometry.
First, establish a rotational reference line on the center post — mark a starting angle and use it every time you mount a tread. Then use a jig or a spacer that holds the tread at the correct angle while you fasten it. Next, verify alignment by laying a straight board across two opposite tread edges to see if the plane is consistent. Finally, if any tread is off, remove it before installing the next one — correcting later is harder because the handrail mounts become the limiting factor.
Use a transfer punch for bolt holes so you don’t “walk” the drill bit and shift angles.
Don’t drill tread holes freehand on each step — your rotation reference will drift.
5. Underbuilt stringer or frame ring that flexes
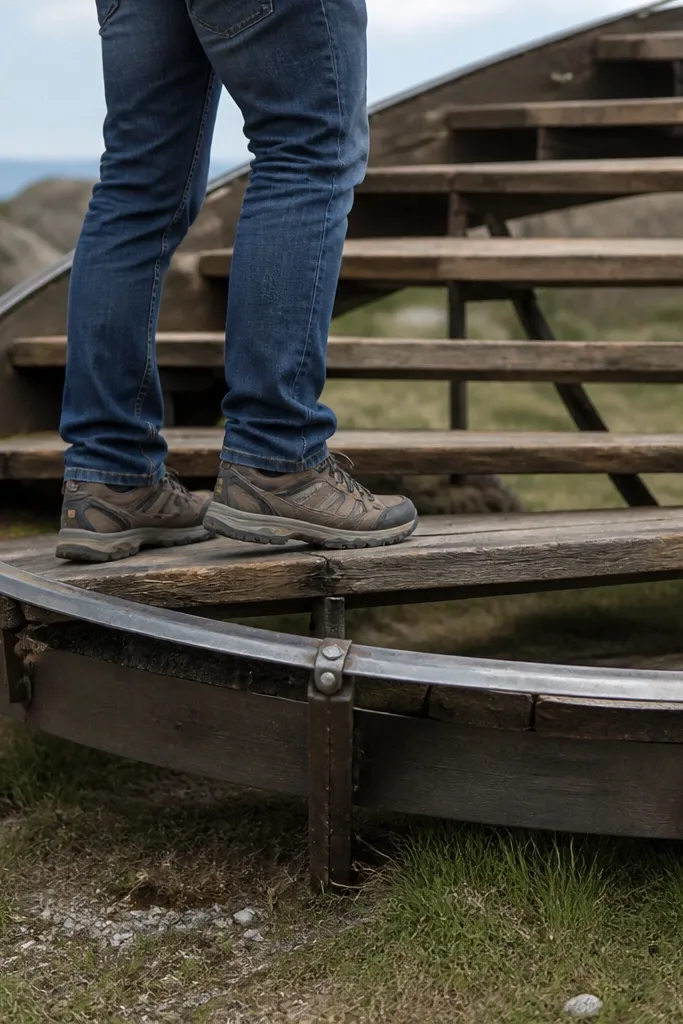
Many spiral staircases have an outer support ring or rim that carries load near the outer edge. If that ring is too thin or too lightly fastened, the outer edges bounce when you step. The result is a creaky, springy feel that makes the staircase feel less safe even if it holds. This is one of the sneaky mistakes because the center post can look solid while the outer ring still flexes. The fix is to beef up the frame with the right thickness and anchor it to framing members, not only to trim boards.
Editor's noteIf the outer ring is wood, pre-drill and use structural screws with washers to reduce splitting.
First, identify the structural members that the outer ring should attach to, like rim joists or beams near the opening. Then choose a ring material size that matches your stair diameter and tread span; if you’re using wood, keep it thick enough to resist bending. Next, fasten the ring with structural screws or bolts into framing, and add blocking where needed so the ring doesn’t sit on unsupported edges. Finally, test the frame stiffness by pushing on the outer ring before you install all treads.
Skip thisDon’t attach the outer ring to drywall or thin subfloor sections — it flexes and the stairs squeak.
6. Creaks from metal-on-metal contact at the treads
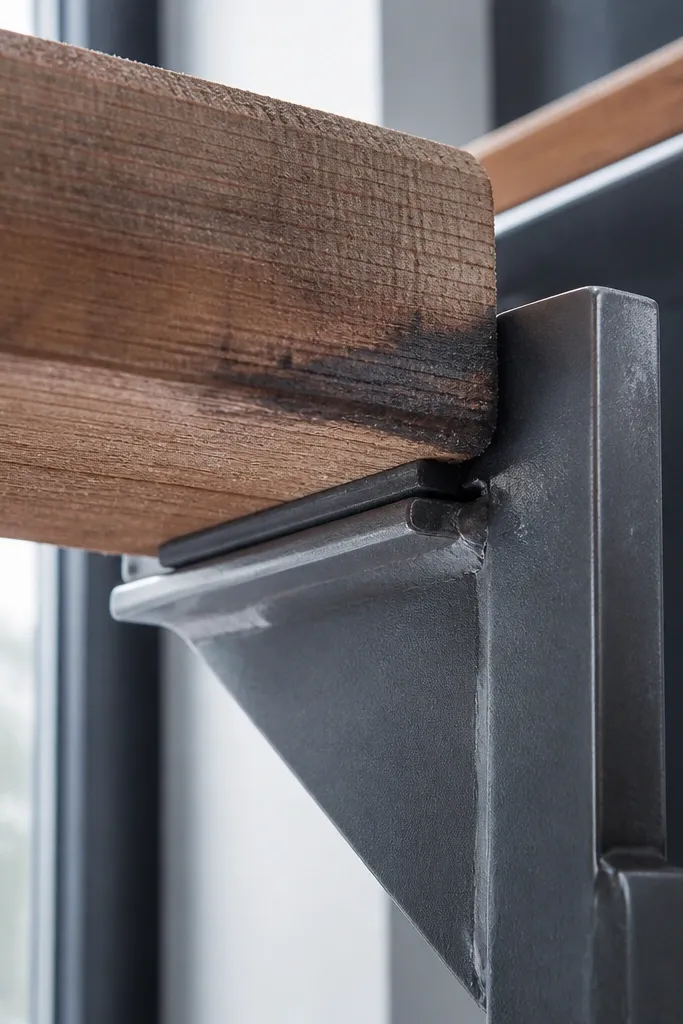
Creaks usually come from small movements at contact points. On spiral staircases, brackets can rub against the tread or the post hardware, especially as wood expands and contracts with humidity. When you hear squeaks after a few weeks, it’s rarely the “big” structure; it’s the interface. The fix is to add proper isolation — a spacer or bearing material that stops metal-to-wood or metal-to-metal grinding. You also want correct torque so parts don’t loosen, which creates new squeak points.
First, disassemble one bracket area and inspect where shiny wear marks show rubbing. Then add a thin bearing layer where metal contacts wood — use a durable shim material designed for structural interfaces, not foam. Next, reassemble with the correct fastener size and snug torque, and re-check after the first day because wood compresses slightly. Finally, lubricate or isolate any metal-to-metal contact using a compatible anti-rattle method if your design allows it.
Use thread-lock only on hardware designed for it; don’t guess on screws that need removal later.
Don’t skip isolation washers or shims just because the parts look tight during build — they loosen under foot traffic.
7. Handrail height that forces an awkward grip
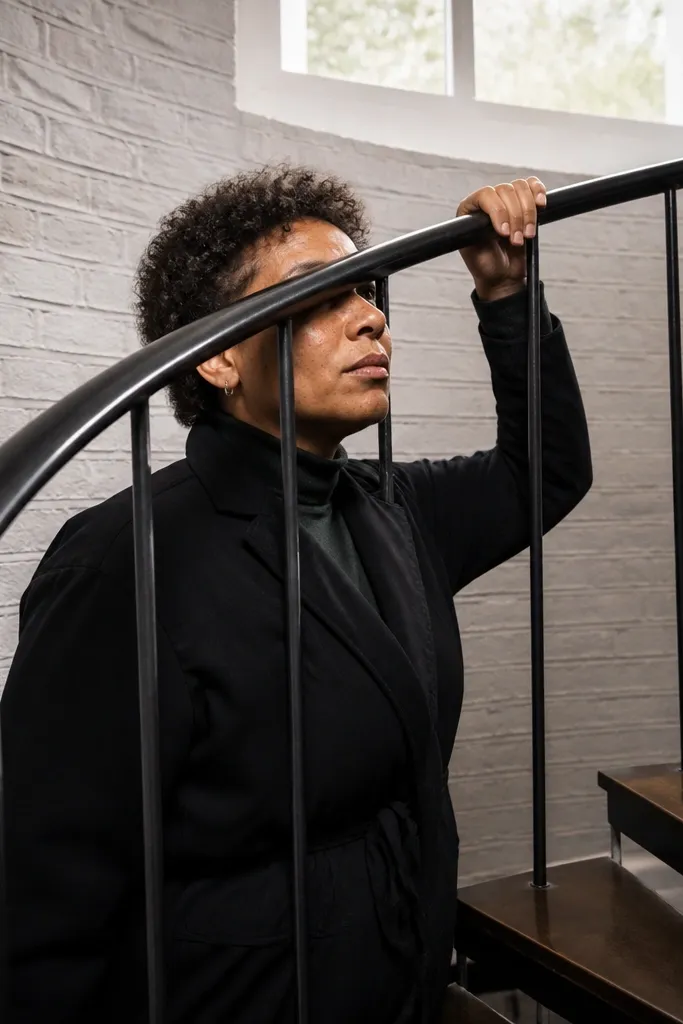
Handrail height is where comfort turns into safety. Too low and you grip with bent shoulders, which makes people hesitate on stairs. Too high and you end up reaching, which makes your hand slip when your foot lands on the next tread. Spiral staircases make this worse because the handrail curves — a small height error across the run feels big. Fix it by setting the handrail line from the walking path and confirming with a mock-up before you install the full rail.
Editor's noteSet the first and last rail points perfectly; the middle sections usually fall into place if the endpoints are right.
First, choose a handrail height reference from the tread surface — measure at the point where you expect most people to grip. Then lay out the rail posts or brackets along that same height using a level and a measuring tape, not by “matching” one bracket. Next, dry-fit rail sections and check grip comfort by walking up slowly while holding the rail at the intended height. Finally, only after it feels right, install the full rail and lock down bracket screws with the correct length so they don’t split the wood.
Skip thisDon’t install handrails from the centerline or from the post height alone — spirals need a walking-height reference.
8. Gaps in the handrail curve that snag clothing
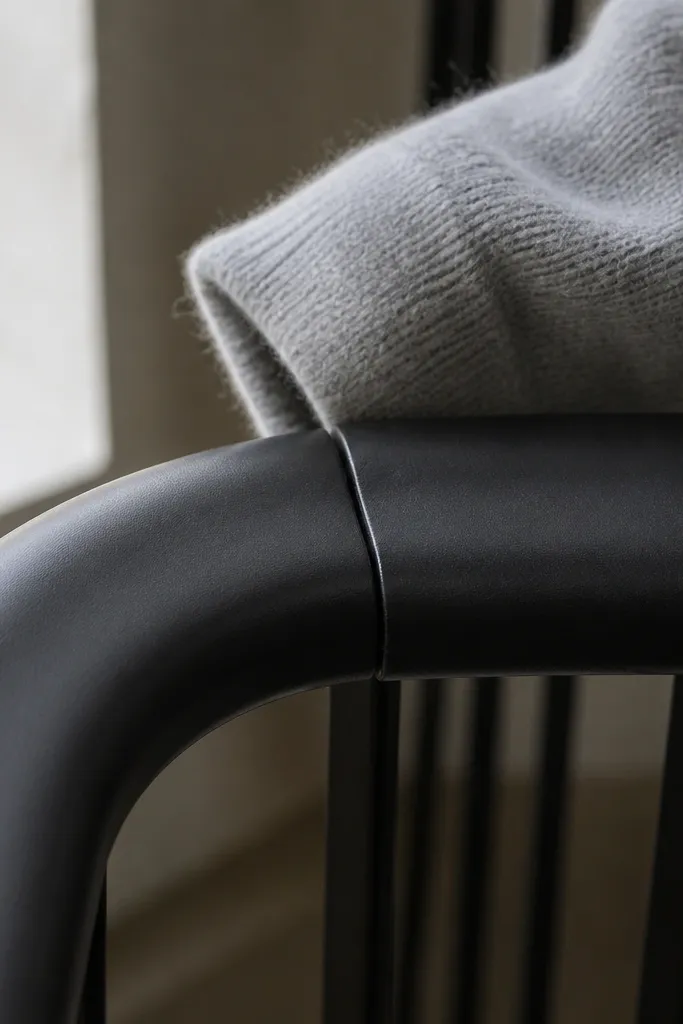
A spiral handrail should feel continuous. When rail segments don’t align, you get tiny gaps or steps in the curve that catch sleeves, bags, and even bare hands when someone is moving quickly. It also makes the rail feel unstable because your grip changes direction abruptly. This mistake happens when you cut rail segments without a consistent template for the spiral’s angle change. The fix is to plan rail joints and build a repeatable bending or joining method that keeps the curve smooth.
First, decide where joints go along the spiral so you can align them to a consistent angle change. Then make a template for the rail bracket positions and use it for every joint location. Next, dry-fit each segment and run your palm along the joint line to feel for any step or gap. Finally, after alignment is correct, secure brackets and joints, then sand any high spots and seal the rail so it doesn’t snag or splinter.
Use a straightedge held against the rail curve during dry-fit; it reveals bumps you won’t see by eye.
Don’t join rail segments by “eyeballing” the gap — the snag comes from the hump you can’t feel until it’s mounted.
9. Too-slick finishes on treads and rail
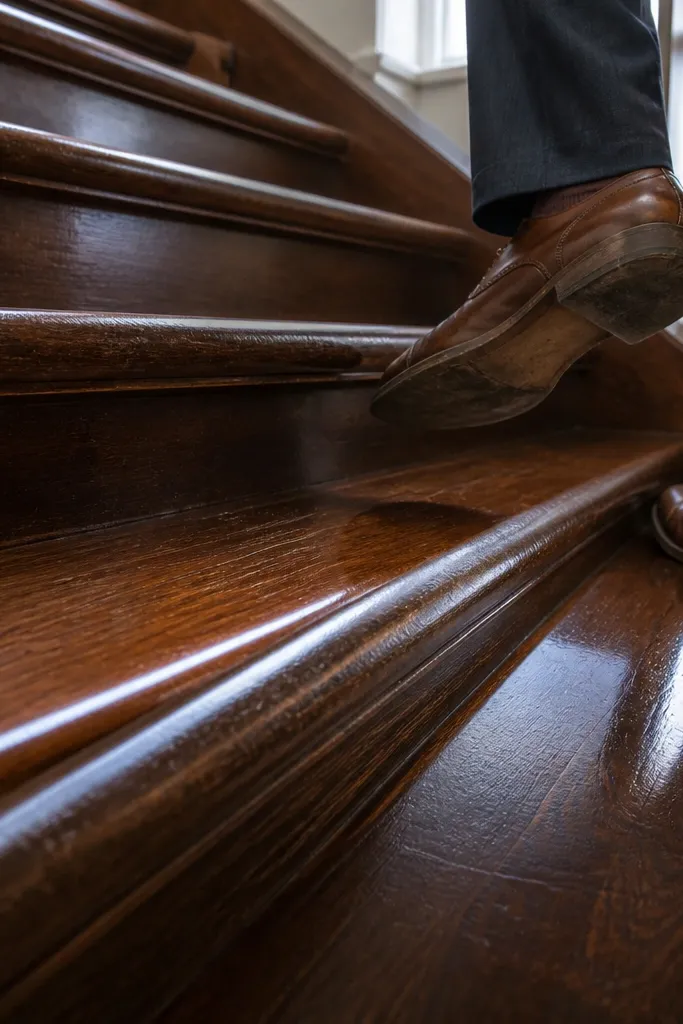
The most dangerous spiral staircase mistake is a finish that looks pretty but turns into a slip hazard. Glossy polyurethane and shiny paint make the tread surface slick, especially on shoes with dust or rain tracked in. Spiral stairs get used more than you think because they connect levels daily, and people grab the rail while stepping. The fix is choosing a finish that maintains grip and sealing it the right way for wood fibers. You also want to avoid thick topcoats that fill grain and create a glassy surface.
Editor's noteAfter the final coat cures, wipe with a damp cloth and let it dry — if it looks mirror-smooth, it’s too slick.
First, sand treads to a consistent grit and open the grain lightly so the finish bonds well without creating a slick film. Then apply a low-gloss finish designed for floors or treads, and keep coats thin — multiple thin coats beat one thick coat. Next, test traction on a spare scrap under similar lighting and with dry and slightly dusty shoes. Finally, on the handrail, use the same finish approach but avoid heavy gloss that makes bare hands slide.
Skip thisDon’t use high-gloss paint or a thick clear coat on stair treads just because it looks clean.
10. Stair opening and landing surfaces that feel cramped
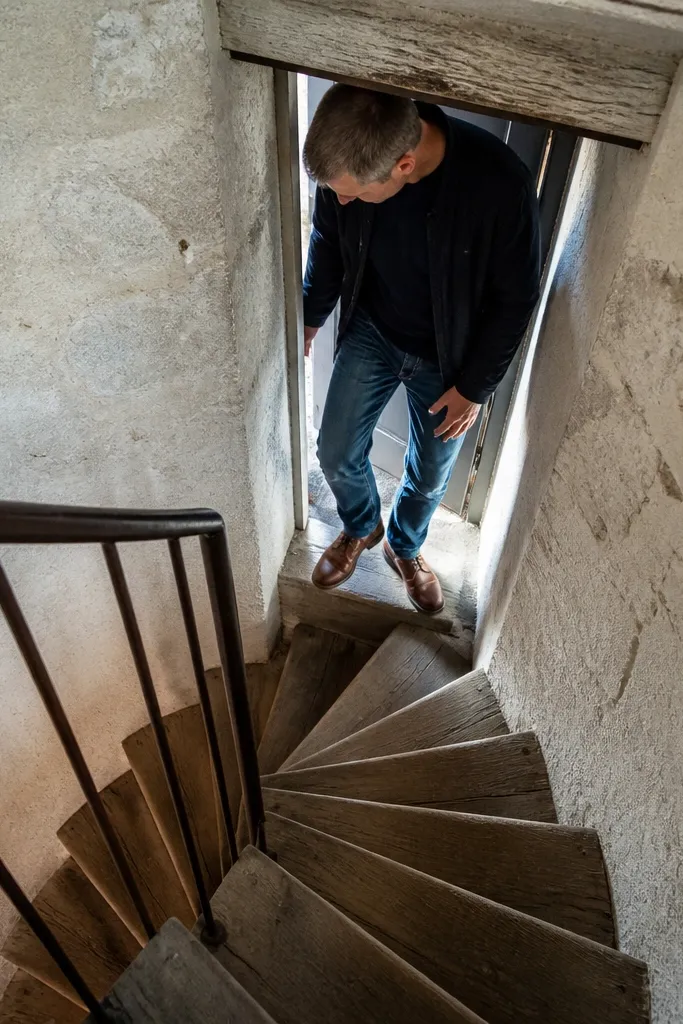
Sometimes the stairs themselves are fine, and the problem is the landing and opening. If the opening is too tight, people step into the wall or can’t turn their body smoothly onto the landing. That creates hesitation and awkward foot placement, which is where trips happen. This mistake gets made because DIY builders measure the stair diameter but ignore the walking path at the top and bottom landings. Fix it by planning hand reach, doorway clearance, and the swing space where feet need room to land without twisting.
Editor's noteDry-fit the bottom tread and top tread first, then stand where someone would stand to step up — you’ll see clearance issues instantly.
First, measure the clear opening dimensions and compare them to the walking path, including the space needed to step onto the top landing without turning sideways. Then adjust the stair position within the opening if you still have framing flexibility — shift the centerline a few inches if possible. Next, confirm that the landing surface is level and strong, because a dip at the landing changes how the first step feels. Finally, check door swings and any trim that can interfere with a person moving up with a hand on the rail.
Skip thisDon’t finalize the stair location based only on centerline diameter — landing clearance is where people get hurt.
11. Weak stair wall attachment that loosens over time
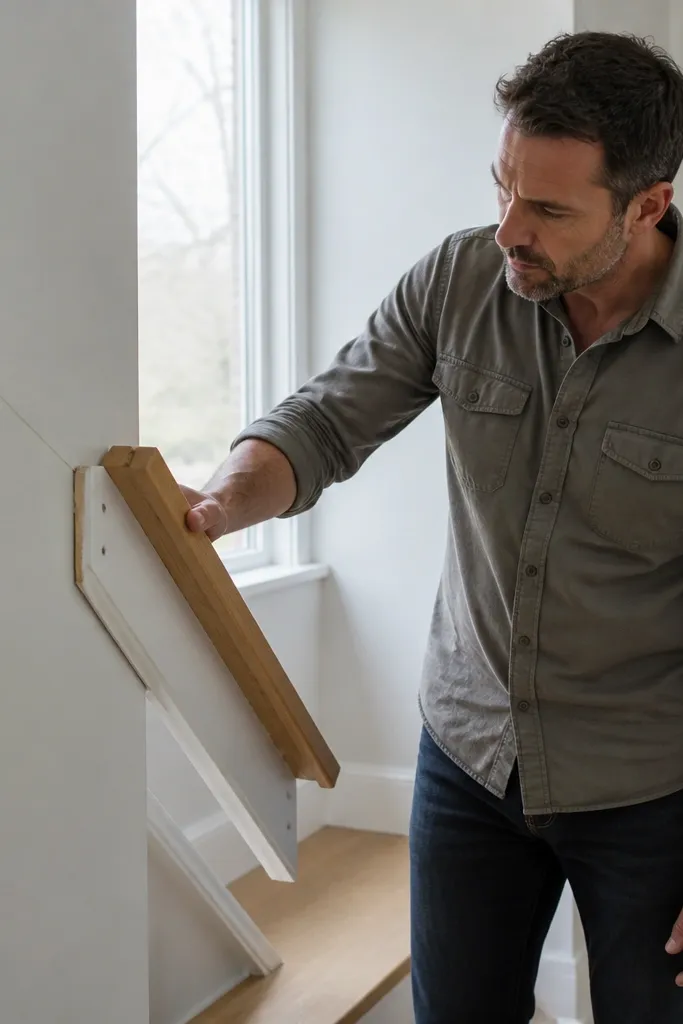
If your spiral staircase has a wall connection besides the center post, that attachment must be structural. Small screws into drywall or trim boards loosen as soon as the staircase sees lateral load from normal use. You’ll notice it as a new wobble after a few months, and the handrail will feel less steady. The fix is to anchor to framing and use proper hardware with washers, plus add blocking behind the connection points. This is one of the “before” setups that looks correct during install but fails because the backing is wrong.
Editor's noteMark bracket hole positions on framing before you touch drywall — it speeds alignment and prevents re-drilling.
First, find studs or beams behind the wall where the staircase brackets land. Then remove drywall or trim where needed so you can through-bolt or screw into framing, using washers to spread load. Next, add a backing board or blocking where the bracket needs more surface area. Finally, after installation, tighten all bracket hardware and re-check for any movement by pushing at tread height.
Skip thisDon’t attach spiral staircase brackets to drywall anchors or thin trim — it loosens and makes the stairs feel unsafe.
12. Treads installed without a consistent nosing/edge profile
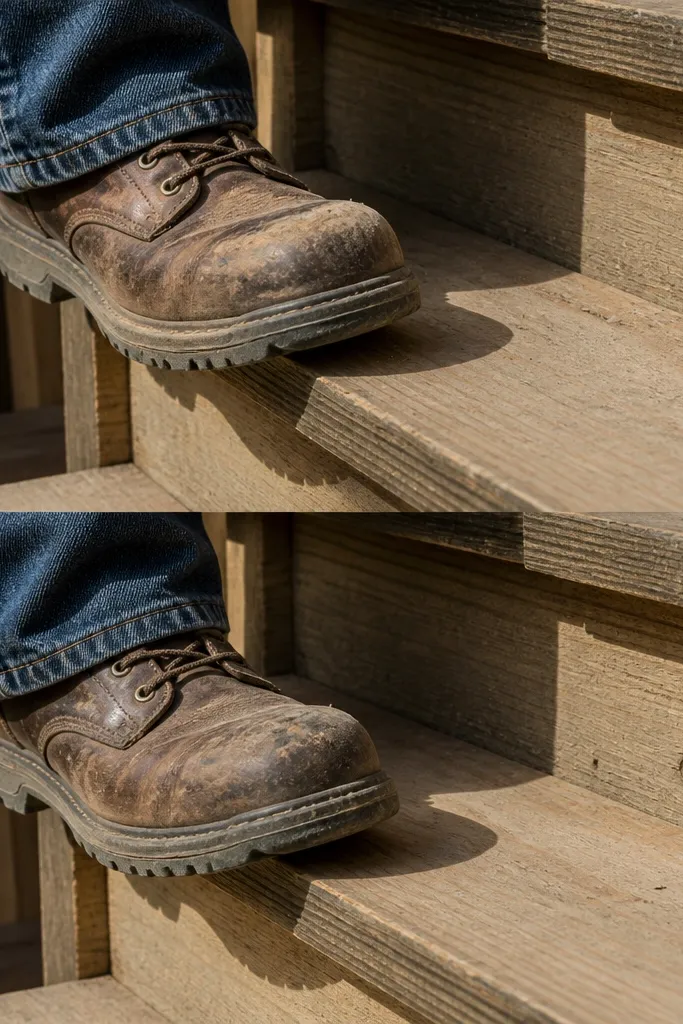
Inconsistent tread edges make a spiral staircase feel unpredictable. If the nosing or front edge protrudes unevenly, your foot lands differently each step, and you might catch a toe on a high edge. This mistake can also affect grip if the finish thickness varies at the outer edge. The fix is to standardize your tread edge machining and keep it consistent across all pieces. You’re aiming for the same feel on every step, not “close enough” because the treads look similar from above.
First, decide on an edge profile for the tread front — a small rounded nosing is more forgiving than a sharp edge. Then cut a single perfect template tread and use it to align your router fence or saw guide for the rest. Next, label treads as you work so you don’t mix orientations and accidentally flip a profile direction. Finally, sand and finish all treads with the same grit and coat thickness, especially at the outer edge.
Use a marking gauge to set your edge depth so the profile stays consistent even when the tread arc changes.
Don’t leave random sharp edges — they catch shoes and feel worse than you expect.
13. Handrail posts that loosen because bracket screws hit the wrong depth
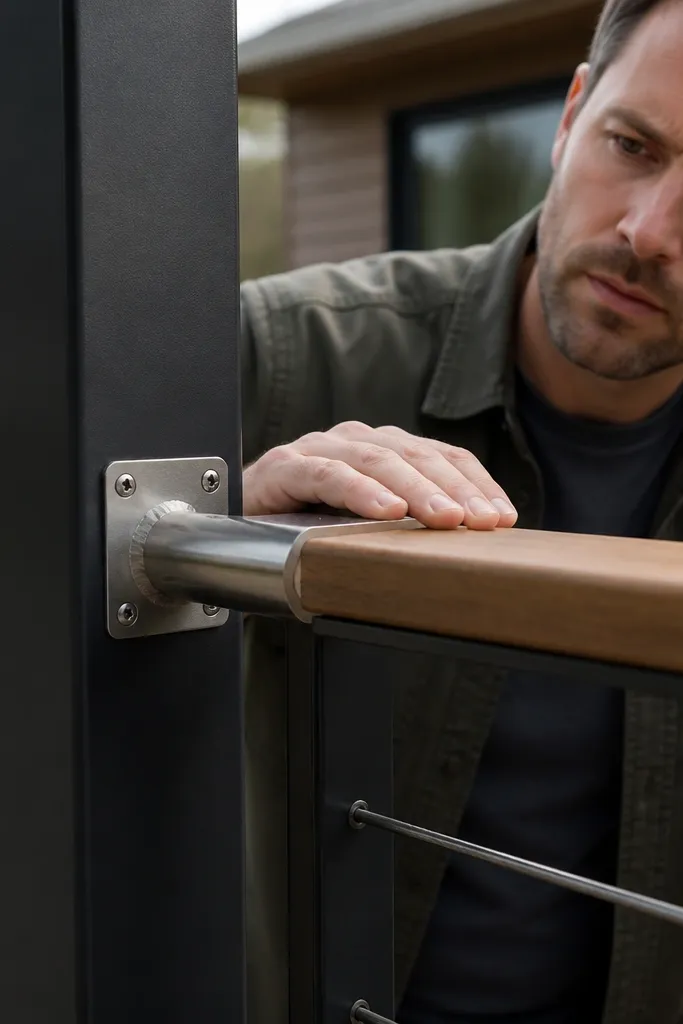
Handrail posts often fail in the boring way: screws pull out or brackets loosen because the screw length doesn’t match the material thickness. In a spiral, you also get small movement because the rail curves, so fasteners need to be right the first time. Loose rail posts create a rattle you can hear and feel. The fix is to pick correct screw lengths, pre-drill for the wood species, and use washers so the bracket clamps tightly. You also want to check that your screw reaches structural material, not just a decorative layer.
First, measure the exact bracket-to-structure thickness at each post location and choose screw length that gives full thread engagement without piercing through. Then pre-drill using the right bit size for your screw diameter to prevent splitting. Next, clamp the bracket position and tighten screws evenly, alternating sides so the bracket sits flat. Finally, after rail installation, shake the rail gently at each post and tighten any fastener that moves under light pressure.
If you’re using wood screws, stop at snug — over-torquing strips holes and makes future tightening impossible.
Don’t reuse screws that are too short; they feel fine at first and loosen fast.
14. Overcrowded balusters or guard gaps that don't meet safety spacing
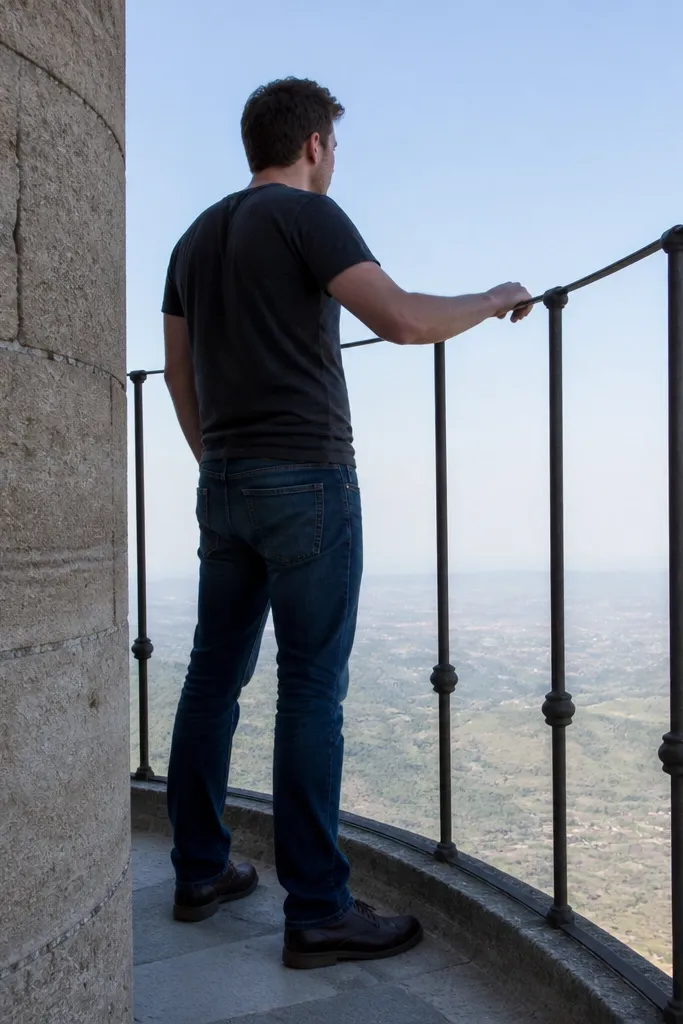
A spiral staircase guard is where DIY mistakes become real safety issues. If spacing is too wide, a child can slip through, and if the guard is too low, people climb it for leverage. This mistake is common when someone builds a guard that looks right from one angle but doesn’t follow spacing rules. The fix is planning guard height and measuring spacing with a simple gauge — don’t eyeball. Also, remember that spiral geometry changes distances across the curve, so you need a layout method that accounts for that.
First, set guard height from the walking surface and confirm the height at the lowest point of the curve. Then lay out baluster spacing using a measuring jig or spacer that matches the required max opening — place the first and last elements perfectly and work inward. Next, cut balusters to match the curve if you’re using angled posts, or use flexible attachment methods that keep the elements plumb. Finally, after installing, measure spacing at several points along the curve because spiral geometry changes the effective distance.
Build one spacer gauge and use it for every baluster so your spacing stays consistent across the spiral.
Don’t assume curved guard lines fix spacing — measure the openings where a body would pass.
15. Underestimating sound transmission from thin subfloor
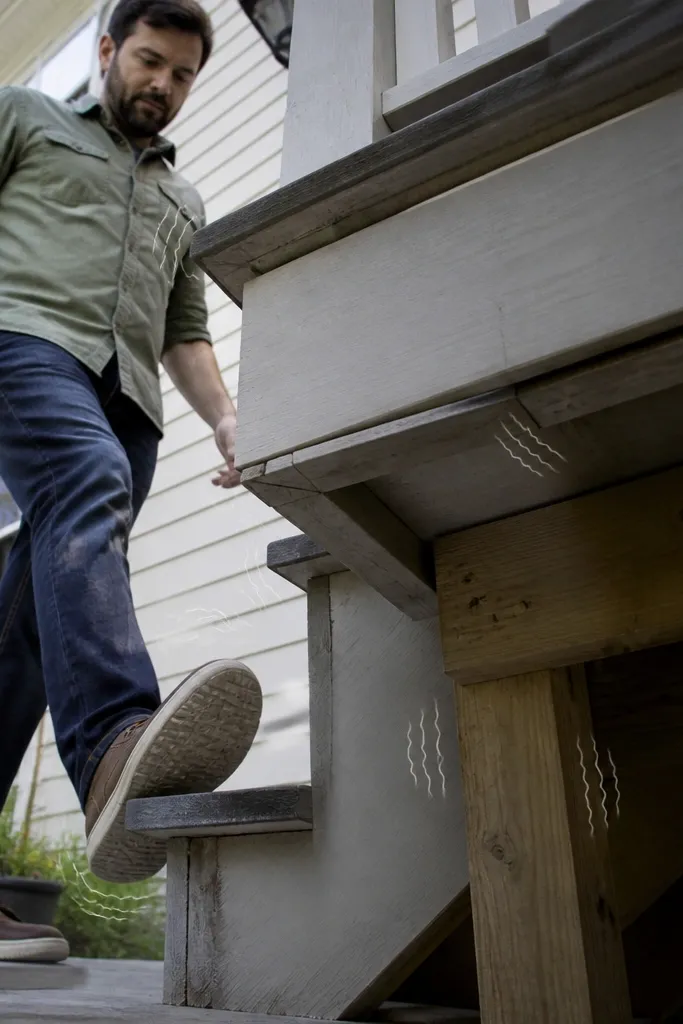
Spiral staircases transmit sound like crazy because each step lands on a structure that vibrates. If the subfloor or landing framing is thin, you get banging and rattling, even with a solid staircase frame. The before version is loud and annoying, the kind that makes you regret finishing the project. The fix is adding stiffness and damping at the landing area and any connection points — not just adding more insulation in the walls. Treat the landing and attachment zones as their own build step.
First, locate where the stair loads land on the floor system, then check the thickness and stiffness of those joists or panels. Next, add blocking and stiffeners around the stair opening so the landing doesn’t flex when someone steps. Then use proper fastener schedules to connect the stair base plates and any rim members to the stiffened framing. Finally, test for vibration by stepping at the top and listening — if you hear a hollow bang, stiffen the landing zone before you finish the area.
If you’re using joist hangers or brackets, tighten and verify contact surfaces are fully seated — a tiny gap becomes noise.
Don’t finish the surrounding floor and walls before you test sound on a few steps.



