
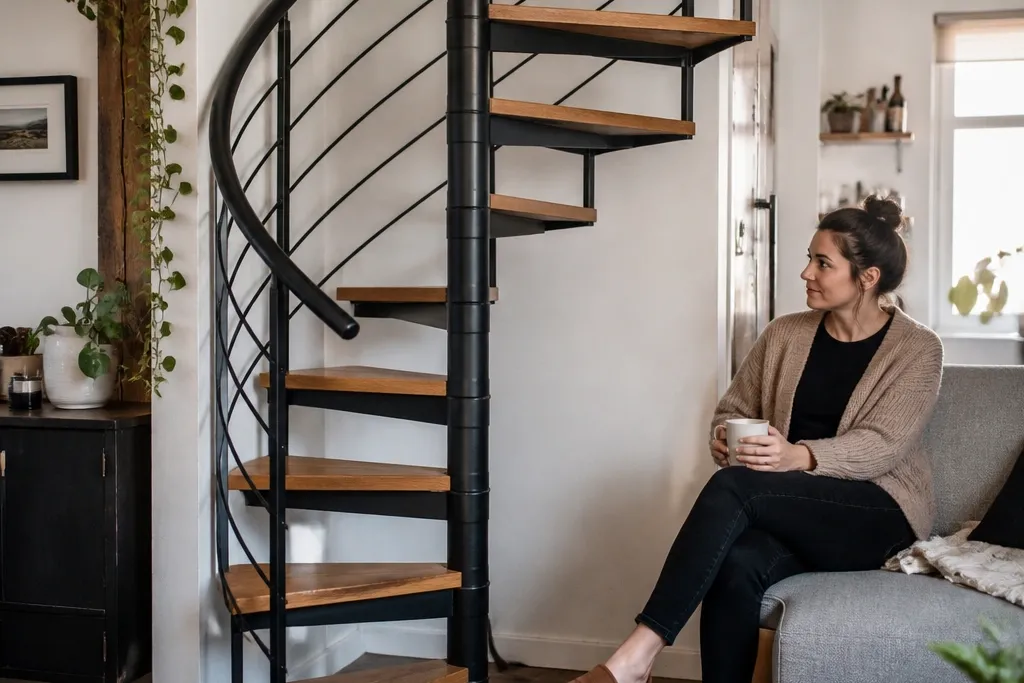
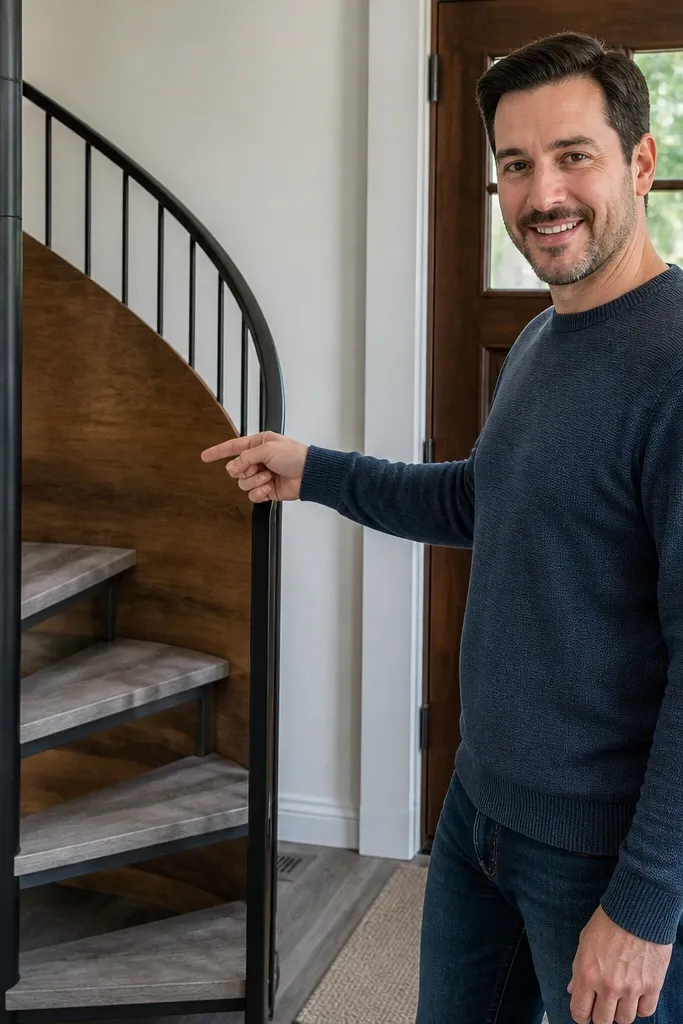
1. Charcoal rail with warm oak treads
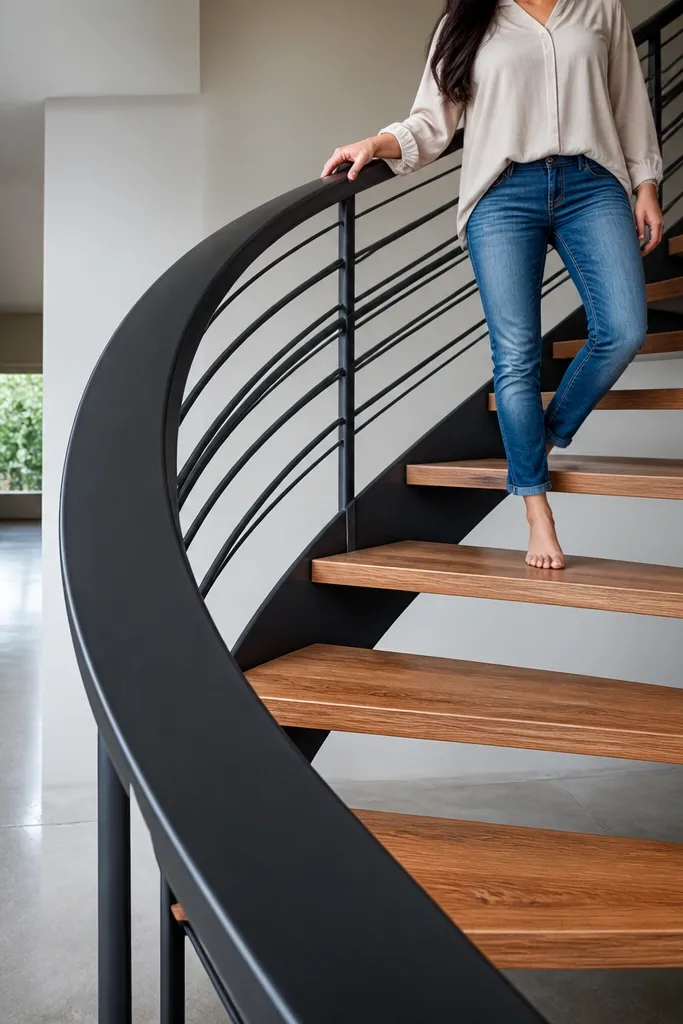
This design reads modern because the rail is a single flat color and the treads show a smooth oak tone instead of bare plywood. Charcoal powder-coat or a durable spray finish makes the metal disappear into the rail lines, which makes the staircase look tighter and more intentional. Oak treads add warmth and hide minor edge imperfections because the grain breaks up light reflections. The look is great for living rooms, loft corners, and entryways where you want the staircase to feel like part of the architecture, not a DIY object.
Start by choosing treads from oak veneer plywood or solid oak boards cut into consistent wedge shapes. Install a central support (steel tube or post) and mount tread brackets so each tread sits at the same angle and height increment. Spray the rail in charcoal using a primer made for metal, then topcoat with a satin finish for a clean, modern sheen. Finally, sand tread edges lightly, seal with a clear wood sealer, and apply a wipe-on polyurethane so the wood looks even from step to step.
Use a satin topcoat on the treads; glossy finishes make DIY tread edges look uneven fast.
Skipping metal primer is the fastest way to get chips and dull spots on the rail.
2. White-painted rail with ash-toned steps
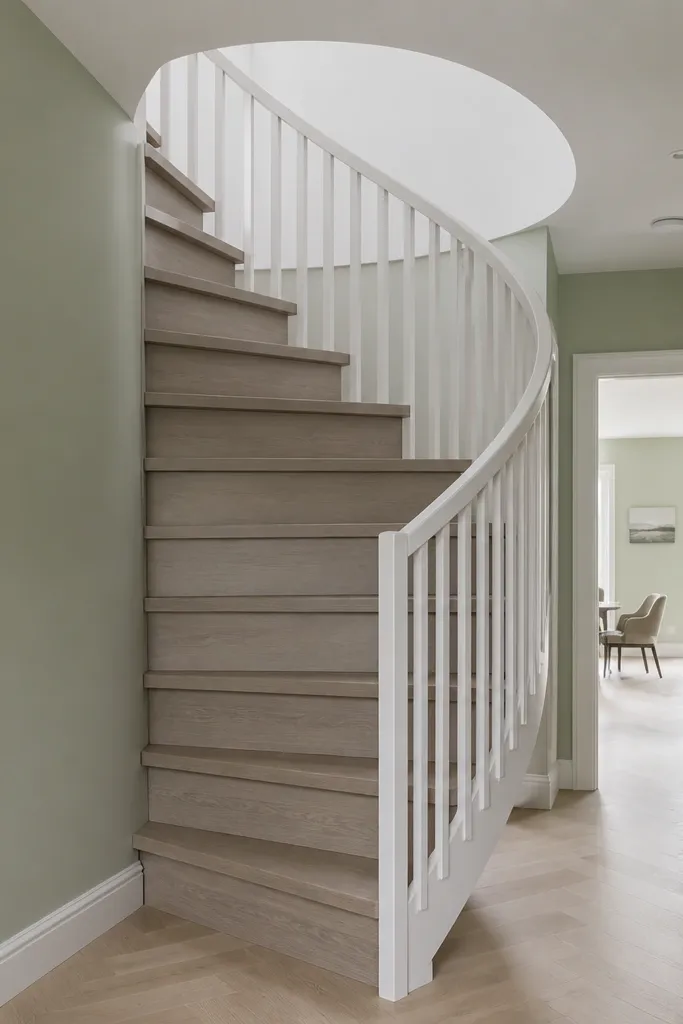
A white rail with light ash-colored treads looks crisp and modern because it creates high contrast without heavy darkness. This combo is especially good in small spaces because the staircase reads visually lighter. The key is getting the “white” to look clean, not chalky. Ash-toned steps also photograph well because they don’t glare like glossy pine do, and they hide the tiny gaps you can get when cutting angled treads.
Editor's noteMask the rail where it meets brackets so you get a sharp edge line instead of paint smears.
Begin with ash-toned treads using pre-finished veneer boards or stain + clear coat on raw boards. Paint the rail with an enamel made for metal in two thin coats, then lightly scuff between coats for adhesion. Mount treads with brackets that let you fine-tune level; set one tread, verify height, then work around the spiral. Seal the treads with a clear matte or satin coat so the finish stays consistent under indoor lighting.
Skip thisUsing pure flat paint on the rail — it scuffs and looks dusty in photos.
3. Black iron look using matte spray + clear coat
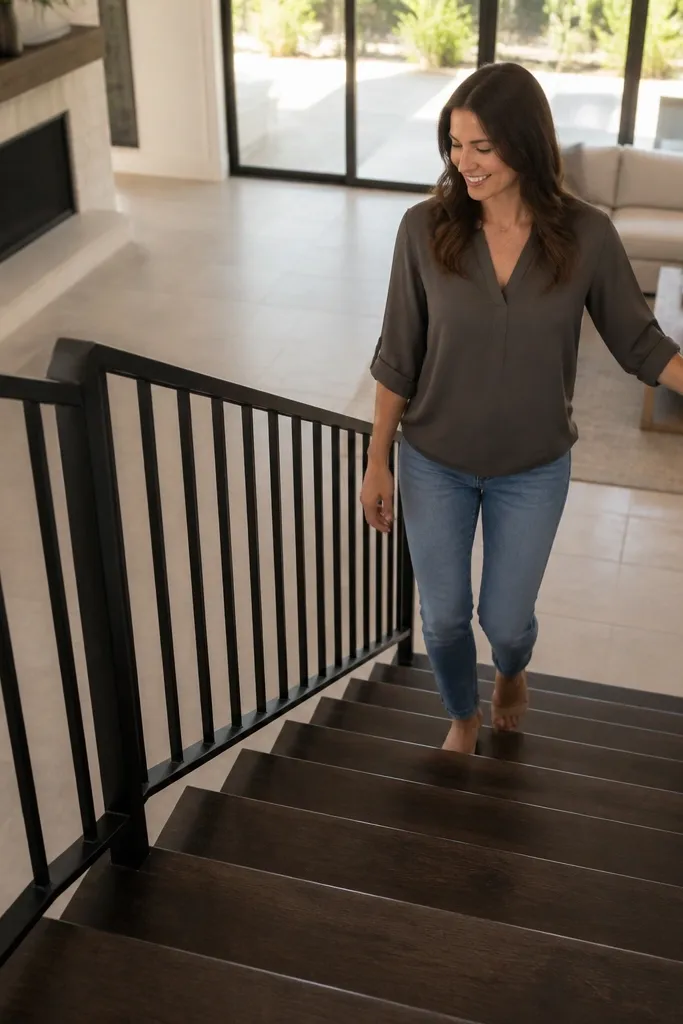
If you want that iron staircase vibe without buying real wrought iron, this is the budget path: matte black rail with dark stained treads. The matte finish reduces glare and makes the spiral lines look smoother in photos. Dark treads also make the staircase feel grounded, which is helpful if your room has lots of light walls and you want the stairs to anchor the space. This design is also forgiving because matte surfaces hide minor texture differences better than glossy finishes.
Editor's noteUse a test panel of scrap metal and scrap tread to dial in spray distance and coat thickness.
Stain your treads a deep walnut or espresso tone, then let them dry fully before any clear topcoat. Spray the rail in matte black metal paint, then add a clear matte topcoat if the paint is prone to scratching. Install the center post and mount brackets with a level so each tread face sits evenly. After assembly, touch up bracket edges with a small foam brush so you don’t see raw metal lines.
Skip thisOver-spraying in thick coats — it makes drips and rough texture that reads “cheap” on camera.
4. Floating tread spiral with hidden brackets
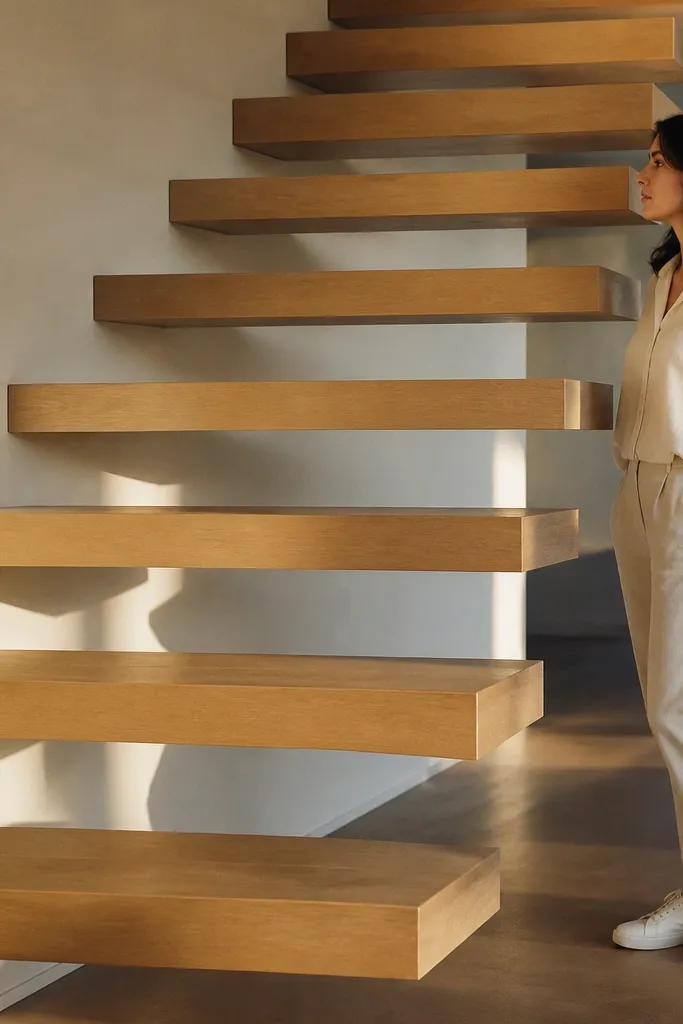
Floating treads look modern because they remove clutter — you see clean tread faces and minimal hardware. The trick is hiding brackets on the underside and keeping the tread edges consistent. This design makes a spiral feel lighter and more architectural, especially when the wall or center support is painted a matching color. It works best when you have good access underneath to mount hardware and when you can measure carefully so the “float” gap stays uniform.
Pick a tread thickness that’s sturdy on its own, like 1.25-1.5 inches (solid wood or laminated boards). Use concealed stair brackets or a bracket system that mounts to the center support and tucks under the tread. Set the first tread, measure the tread-to-tread height, then repeat the spacing around the spiral. Finish by sanding the tread edges smooth, then seal and topcoat so the underside transition doesn’t look rough.
Mark bracket positions on a template board so every tread underside lines up with the same hidden hardware placement.
Leaving uneven underside gaps — it ruins the floating illusion immediately.
5. Stained plywood treads with clear gloss edges
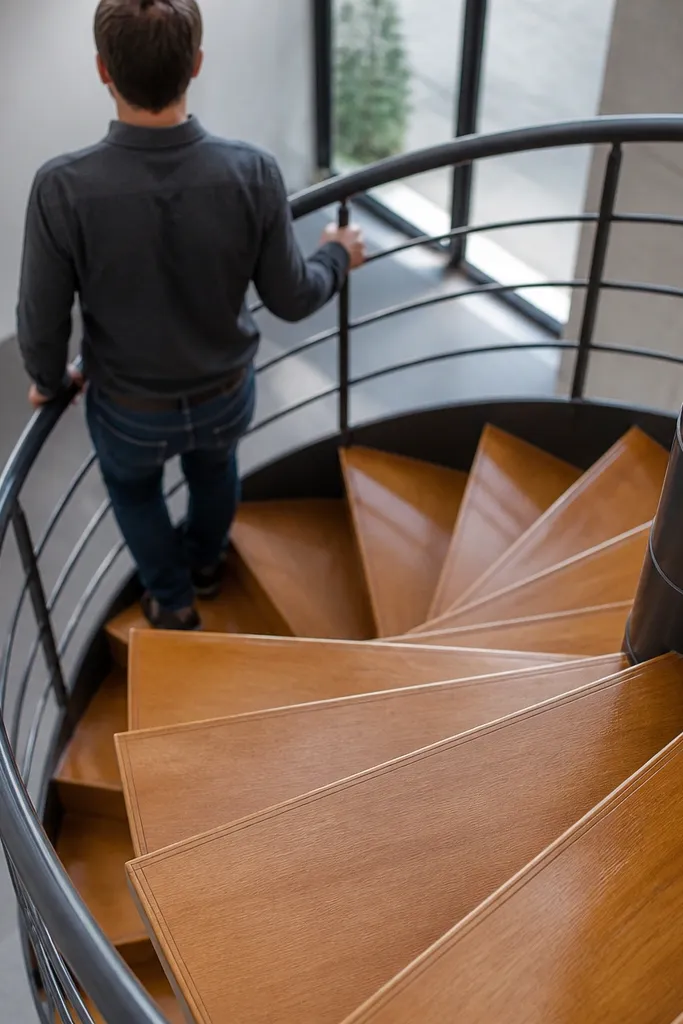
This one is a money-saver that still looks intentional: stain the plywood to a uniform warm tone, then protect the top surfaces with a clear finish that makes the edges read crisp. The modern look comes from the clean edge line and the consistent color block of each tread. If you’re using plywood, you need the finish to make the veneer layers look like one solid sheet. This design is great for basements, garages, and utility-to-living conversions where you want a stylish staircase without premium hardwood pricing.
Start by cutting treads from quality cabinet-grade plywood and sand both faces to at least 180 grit. Apply a stain in one direction, wipe off excess, and let it cure fully. Coat the tops with a clear gloss or satin polyurethane, but don’t flood the underside edges. Mount each tread using a bracket system that clamps the tread securely so you don’t get movement that shows as finish cracks.
Stain in thin coats and keep a wet edge so you don’t get blotchy patches on plywood.
Using cheap spray varnish — it can orange-peel around edges and look uneven fast.
6. Walnut stain + brass rail accents
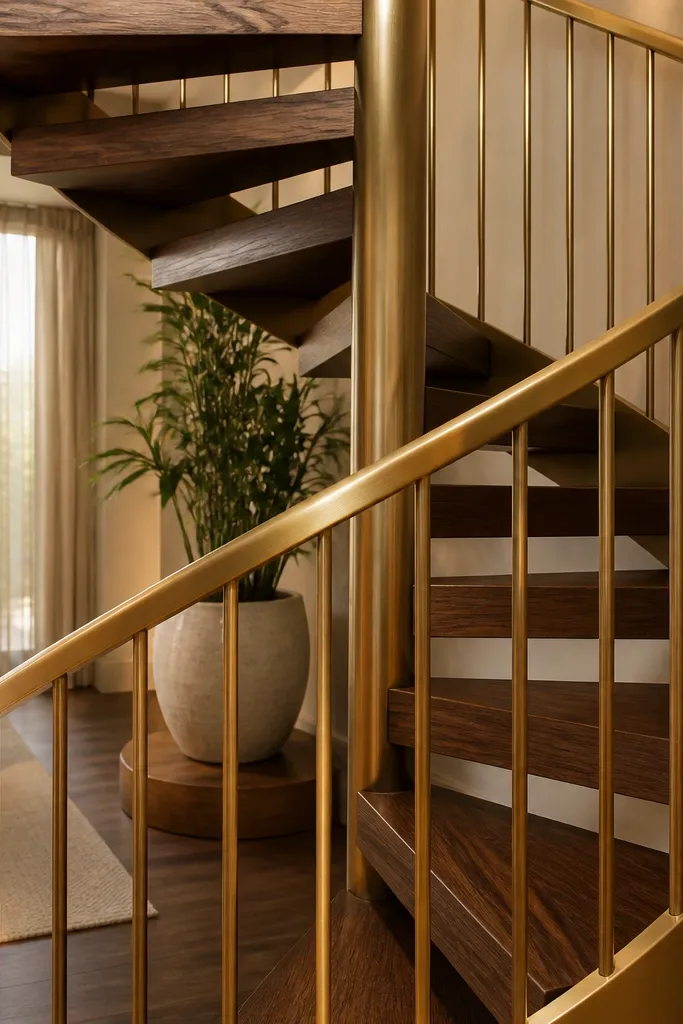
Walnut treads plus brass-colored rail accents make the staircase feel modern and slightly upscale without needing expensive materials for every part. You get warmth from walnut and a clean highlight from brass, which shows up well in daylight and interior lighting. The key is limiting brass to accents so the staircase doesn’t look like mixed leftovers. This design works especially well with warm paint colors, natural stone, and wood trim.
Stain treads with a walnut finish, then seal with a satin clear coat to keep it modern rather than shiny. Paint or finish the main rail in matte black or dark bronze, then add brass accents using brass sleeves, spindles, or decorative caps at consistent intervals. Install the rail with evenly spaced attachment points so the brass repeats like a design element. Finish the treads last so you can avoid scuffing them while working on the rail assembly.
Use the same brass tone everywhere — yellow brass and antique brass together looks messy in photos.
Mixing multiple metal colors (silver, bronze, brass) on the same rail.
7. Linen white treads with dark handrail
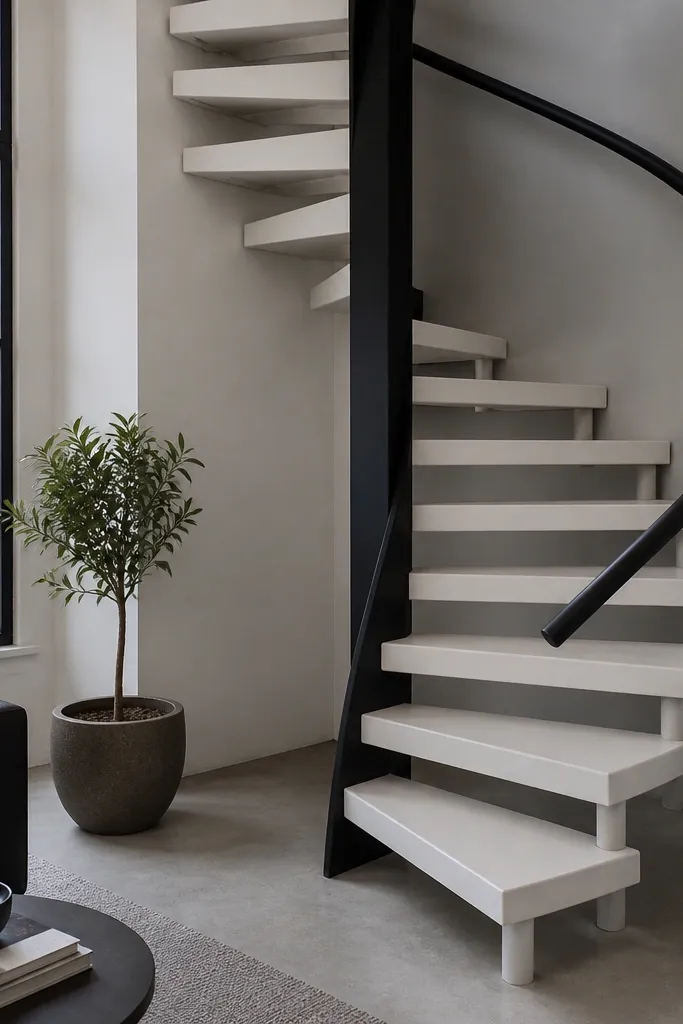
Light treads painted linen white make the staircase look modern and graphic, especially when paired with a dark handrail. This is the design to copy if you want the spiral to feel like a sculptural element. The downside is scuffs show up quickly, so the finish has to be durable and smooth. Done right, it looks clean and high-end because each tread reads like a uniform step block.
Editor's noteUse a small foam roller for painted treads; it gives a flatter finish than a brush.
Prime treads with a bonding primer, then paint with an enamel formulated for floors or trim so it resists scuffs. Add a clear topcoat that’s compatible with the paint system; satin is the safest look for DIY. Install the dark handrail first so you can gauge spacing and grip height, then mount treads to match. Keep sanding between coats minimal but thorough so the paint stays smooth and doesn’t show brush marks.
Skip thisSkipping a floor-rated topcoat — painted treads get scratched in normal use.
8. Oak slat treads with open risers
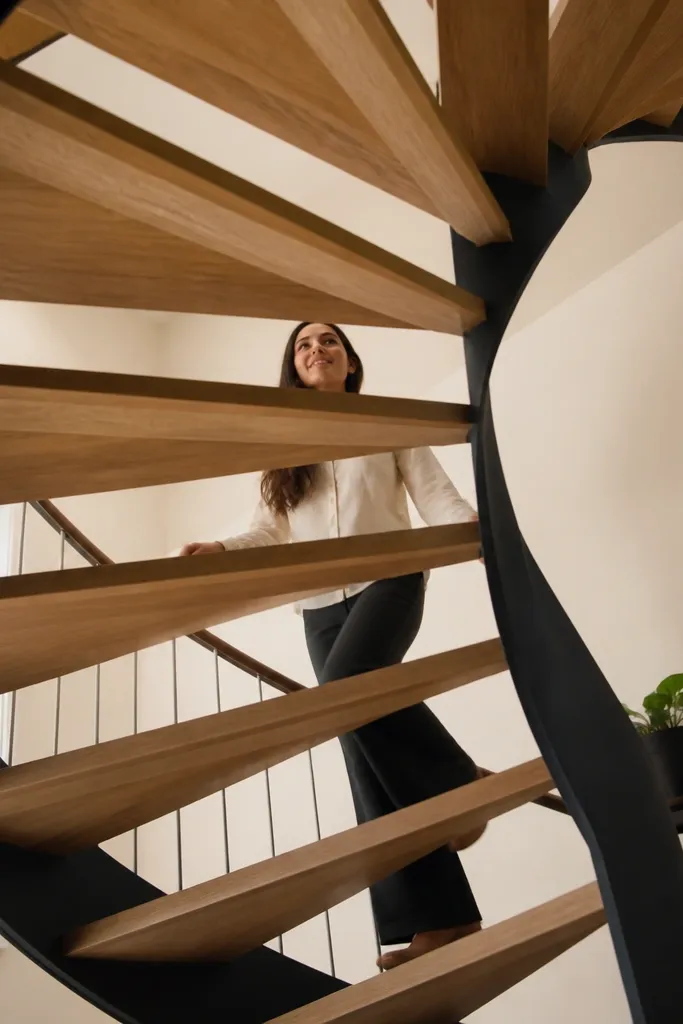
This design looks modern because it breaks the solid block look of most spiral stairs. Open risers create lightness and show the spiral frame, which photographs like a design feature instead of a construction compromise. Oak slat treads also let you use lighter material while still looking substantial. It suits spaces where you have good ceiling height and where you want the staircase to feel airy rather than bulky.
Editor's notePre-oil slats lightly before final topcoat; it evens out sheen differences across the grain.
Build treads using two or three oak slats per step, spaced evenly with cross supports underneath. Use a template to keep slat spacing consistent; that repeat pattern is what makes it look intentional. Install brackets to support the tread frame and keep each slat level. Sand and finish slats with a clear satin coat, then seal the underside where moisture can collect.
Skip thisWide slat gaps — if the opening is too big, it looks unfinished and feels unsafe.
9. Smoked glass panel side + black rail
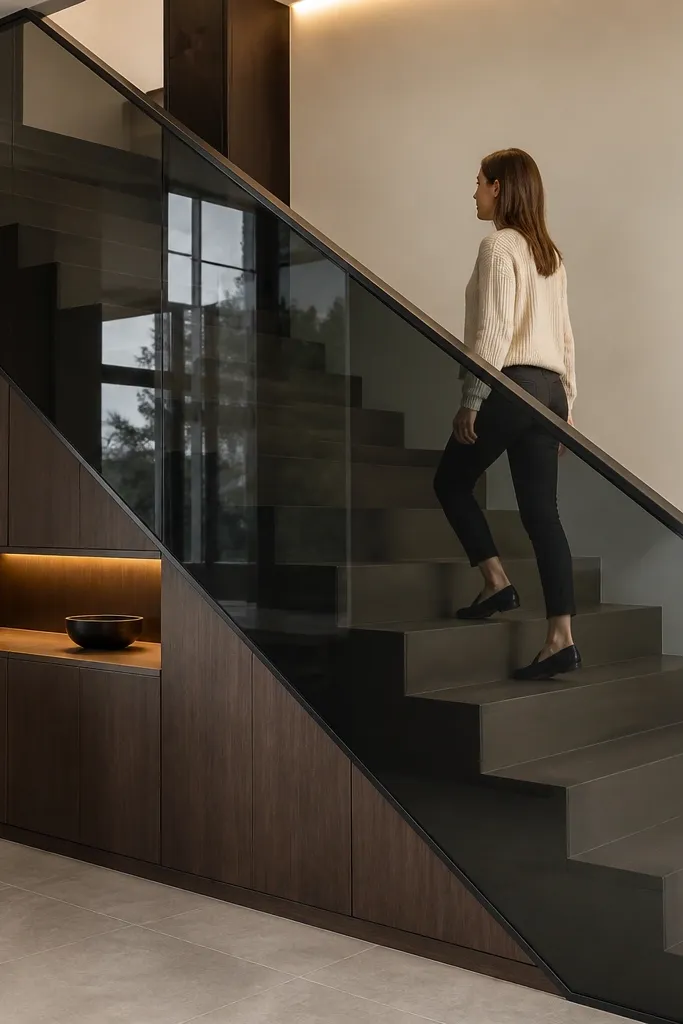
Adding a smoked glass panel makes a spiral staircase instantly look modern even if the structure is basic. The glass reflects light and creates a smooth, clean visual boundary that hides messy edges and hardware. You get a sleek look without needing expensive stone cladding. This design works best when the glass is mounted securely with proper hardware and when you have a wall or frame to anchor it.
Editor's noteUse gaskets and spacers — direct contact between metal and glass can cause squeaks and chips.
Choose a smoked safety glass panel sized to cover the side of the spiral where you want the clean look. Build or mount a simple black metal frame around the glass so the panel edges are captured and protected. Install the spiral rail and treads first, then fit the glass panel using manufacturer-approved clamps and gaskets. Seal wood components and finish the treads because glass installation leaves dust that can ruin a fresh coat.
Skip thisTrying to mount glass with random screws through the panel edge.
10. Concrete-look treads with sealed wood core
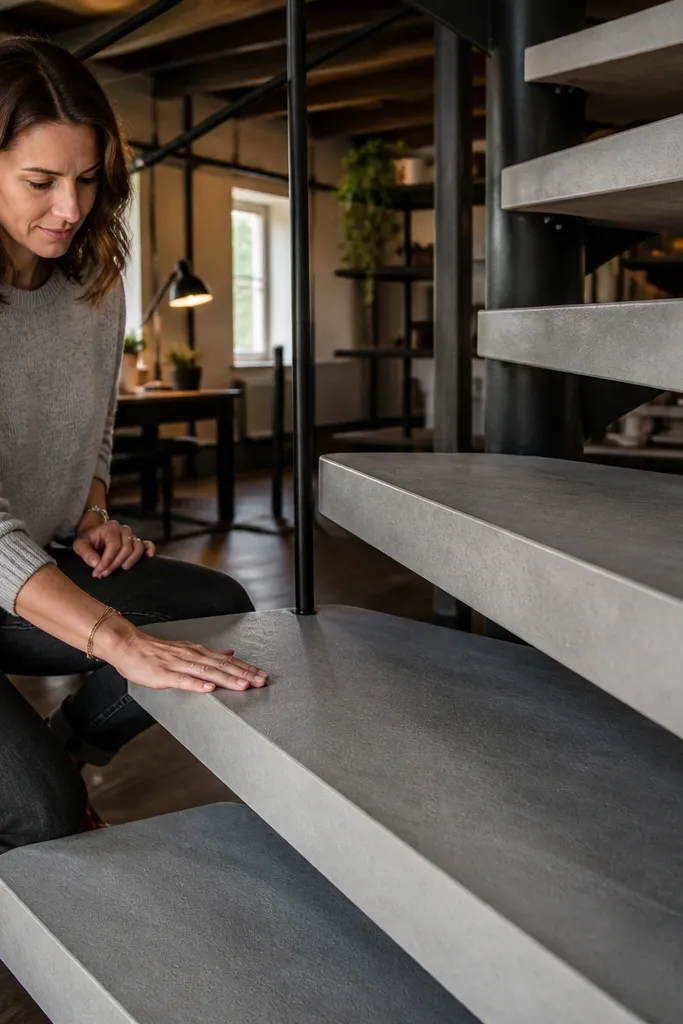
Concrete-look treads give you a modern industrial feel while keeping the build manageable. You don’t need real concrete if you use a sealed wood core and a cementitious coating system designed for thin applications. The visual payoff is strong: a uniform gray top that looks architectural and hides small surface imperfections. Pair it with a dark rail for contrast and the spiral reads sharp even in dim rooms.
Start with a wood core tread board cut to your spiral geometry, then seal it with a bonding sealer compatible with cementitious coatings. Apply a thin cementitious layer and texture it lightly with a sponge trowel so it looks like micro-sand concrete. Seal again with a concrete sealer so it doesn’t stain. Mount treads using brackets that clamp the core securely, then finish the rail in matte black or dark bronze.
Lightly sand the cured coating edges so the tread top doesn’t feel gritty underfoot.
Skipping sealing — cementitious coatings stain and chalk if left unsealed.
11. Two-tone treads: light top, dark underside
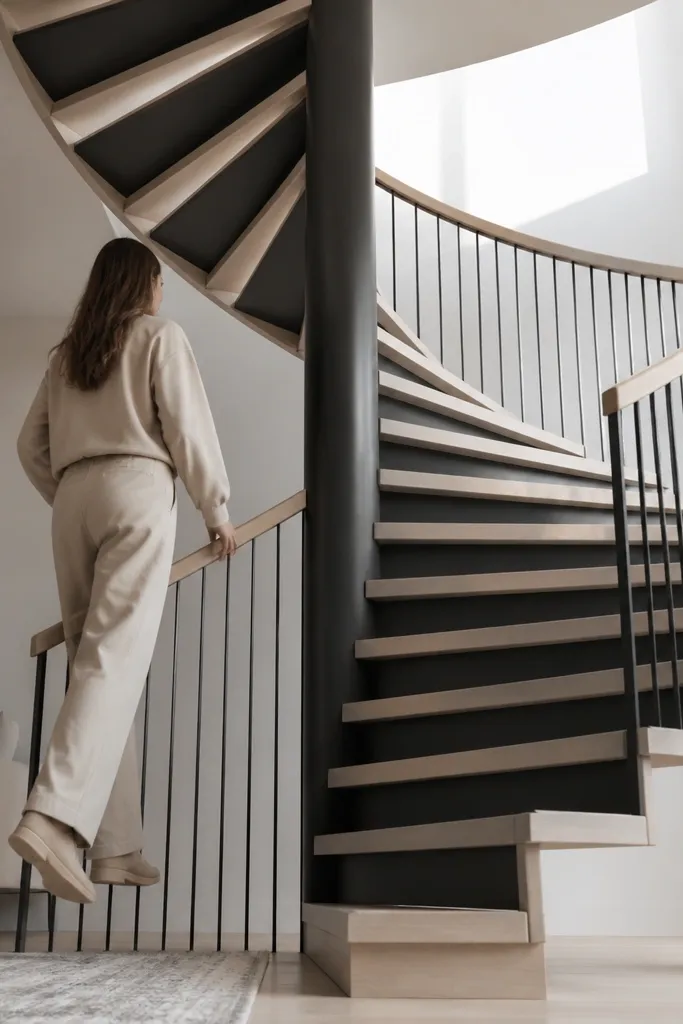
Two-tone treads look modern because they add depth inside the spiral void. When someone walks up, the underside color shows between steps and makes the staircase feel designed instead of assembled. This is also a smart trick if you want to hide underside imperfections and keep the top surface clean. The best combos are light top (white or pale oak) with dark underside (charcoal or black).
Editor's noteUse painter’s tape to mask tread edges so the light-to-dark line stays razor straight.
Cut and sand treads, then stain or paint the top surface your light color. Paint or coat the underside dark after the top finish cures so you don’t smudge. Install treads with consistent overhang so the underside color is visible the same amount on every step. Seal the top with a durable clear coat and keep the underside matte so it doesn’t glare.
Skip thisPainting the underside first — you’ll scuff the top while handling treads.
12. Stainless-look rail with walnut steps

Stainless-look hardware makes the staircase feel clean and modern, especially with walnut treads that bring warmth. The contrast reads well in both bright and moody rooms because stainless finishes catch light without looking flashy. For budget builds, the key is choosing a stainless-look coating that stays smooth, not bubbly. This design suits kitchens, modern hallways, and spaces with gray walls or stone floors.
Editor's noteWipe the rail with a tack cloth right before topcoat so you don’t lock dust into the finish.
Finish walnut-colored treads by staining and sealing with a satin clear coat to keep glare down. For the rail, use a stainless-look paint or powder-coat style finish made for metal, then apply a clear protective topcoat if recommended by the product. Mount the rail with evenly spaced fasteners so the shine stays consistent along the spiral. Check rail alignment by sighting along the curve; small misalignment looks obvious on reflective finishes.
Skip thisUsing a reflective finish with rough welds — you’ll see the bumps every time the light hits.
13. Reclaimed barnwood treads with matte black rail
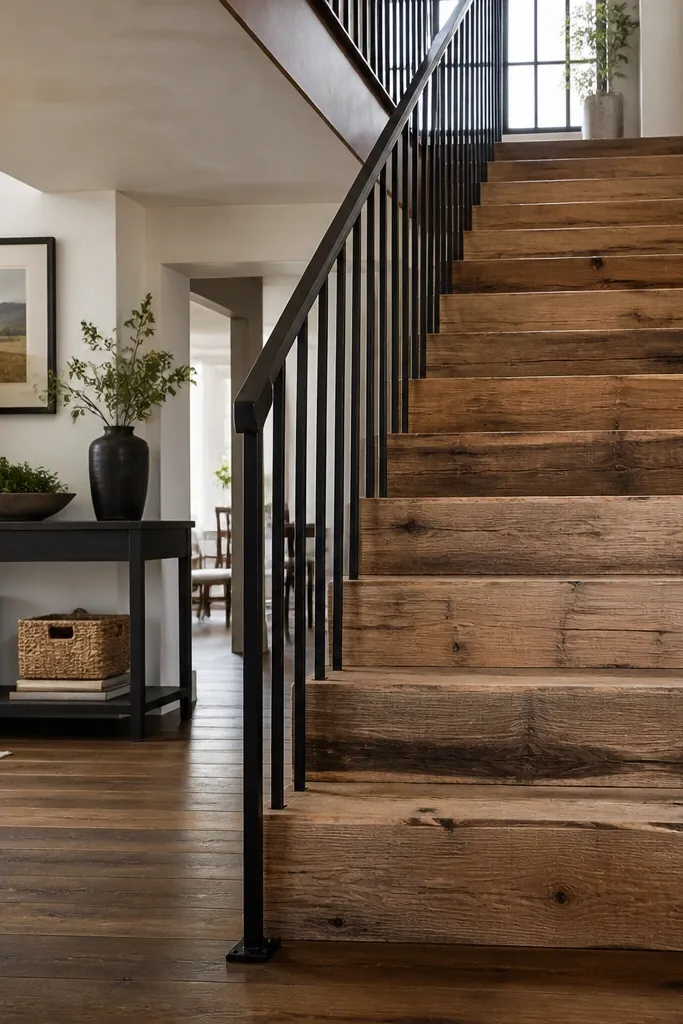
Reclaimed-style treads can look modern when you keep the rail matte black and the tread layout clean. The wood’s character gives visual texture, but the black rail keeps the whole staircase from looking rustic clutter. This design works best when you select boards with similar color and thickness so the steps read consistent rather than patchwork. It’s a good option if you want modern with a little soul, and you’re pairing it with simple wall finishes.
Editor's noteSort boards by tone before cutting so each tread doesn’t swing wildly in color.
Pick reclaimed-style boards and mill them down to consistent thickness, then cut wedge treads. Sand only enough to remove sharp ridges; too much sanding erases the texture that makes reclaimed wood look good. Seal the treads with a matte clear coat so the grain stays visible without turning shiny. Install and align the matte black rail, then mount the treads with brackets that keep the top faces level across the spiral.
Skip thisLeaving old nails or heavy metal staining — it bleeds through finishes and looks messy.
14. Minimal ladder-spindle rail around the outside
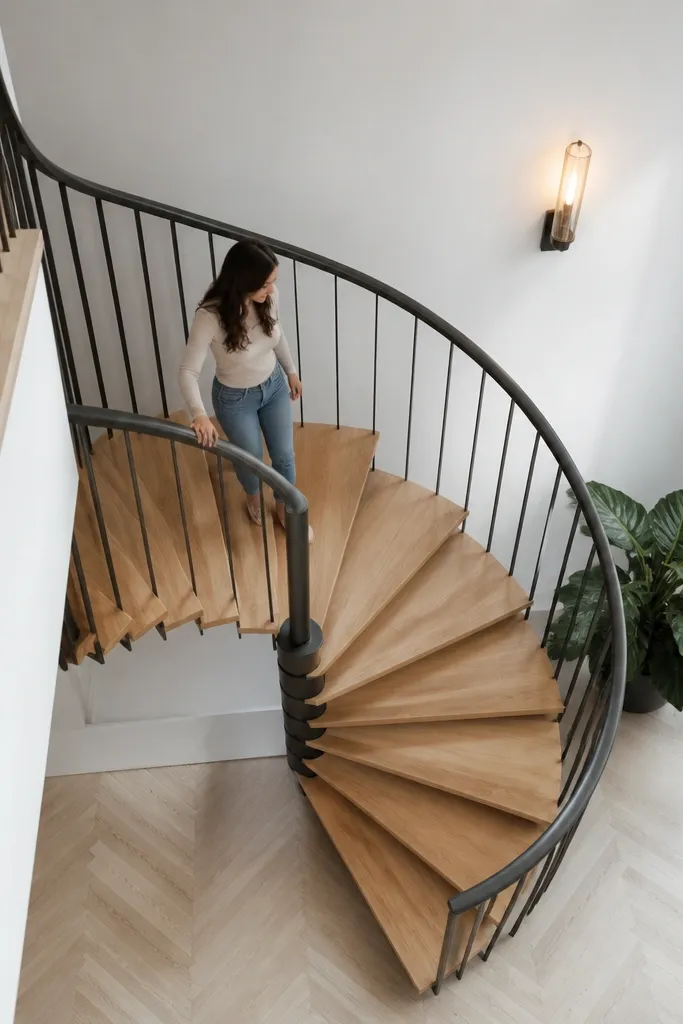
A thin-spindle outer rail makes a spiral look modern because it keeps the silhouette light. Instead of a bulky handrail system, you get straight vertical lines that echo the stair’s spiral rhythm. This design is photo-friendly because it shows the treads clearly with minimal visual obstruction. It’s also safer-looking than a single thick rail in some layouts because you get more handhold points and visual cues.
Choose thin metal spindles or DIY steel rods and build an outer ring or frame that anchors them at consistent intervals. Mount the handrail at a comfortable grip height, then attach spindles straight down using pre-drilled holes so spacing stays even. Install treads first, then attach the outer rail frame so you can align the spindles to each tread edge. Finish metal with a matte black or satin gray so it doesn’t glare.
Use a simple spacing jig made from scrap plywood so every spindle lands at the same distance.
Welding or drilling spindles without checking spacing — the spiral effect gets messy fast.
15. Cane-front style treads with curved slats
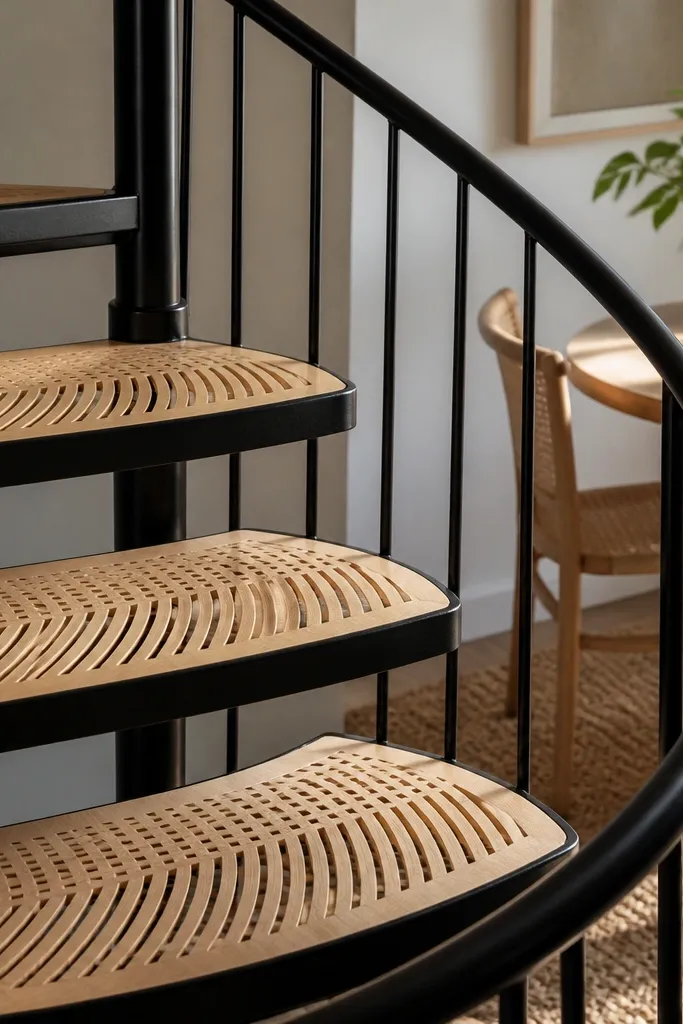
Curved slat treads look modern because they add a pattern layer, not just a solid surface. It’s a strong aesthetic when paired with a dark rail that keeps the pattern as the star. This design is also practical for budget builds because slats can be lighter than full boards while still feeling substantial. The look works best when the slat spacing is consistent and the rail lines are straight and clean.
Editor's noteUse a cardboard template for slat curvature and trace it onto every tread so the curve stays consistent.
Cut a tread frame from plywood or softwood, then attach curved slats across the frame with a template so the curves are uniform. Sand the slat edges smooth and seal them with a clear satin finish. Install the tread frames onto brackets so each frame sits level; use shims to correct any wobble. Paint or finish the rail dark, then verify that the slat pattern stays centered on the tread face from every step.
Skip thisUsing random slat lengths — uneven slat ends make the whole staircase look off.
16. Monochrome gray: rail, treads, and wall trim
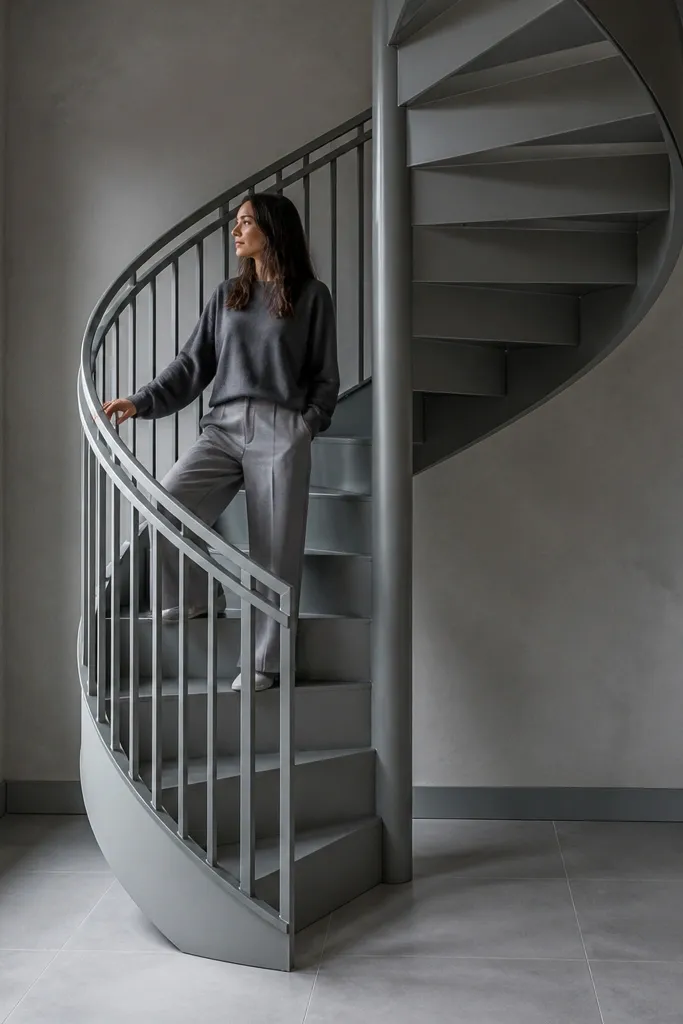
A monochrome gray spiral looks expensive because the eye has fewer interruptions. When the rail and treads share the same undertone, the staircase reads as one clean object. This design is perfect for modern interiors with gray floors, concrete looks, or matte plaster walls. The main rule is to match undertones — warm gray with warm gray, cool with cool — so it doesn’t look like mixed paint batches.
Editor's noteBuy all paint and stain under one batch number when possible; undertone drift is what breaks monochrome looks.
Choose a gray stain for the treads, then seal with a satin clear coat. Paint the rail in a matching gray metal paint and apply a protective clear if needed for durability. If you have wall trim near the staircase, paint that trim the same gray to reduce visual breaks. Install the rail and treads carefully so the gray surfaces line up visually along the spiral curve.
Skip thisMixing gray finishes from different sheens — matte treads and glossy rail look mismatched immediately.
17. Cork or rubber tread inserts for a soft modern look
Cork or rubber inserts on the tread surface make the staircase feel modern and quiet, and they also hide minor tread edge inconsistencies. Visually, you get a uniform top surface that looks intentional, especially when the insert color matches your room palette. This design is a smart budget choice because you can build the structure from basic wood and then upgrade the tread comfort with affordable inserts. It’s also easier to maintain since the top surface resists scuffs better than bare wood.
Build the tread base from plywood or boards cut to your spiral geometry, then seal the wood so moisture doesn’t swell it. Cut cork or rubber sheets slightly oversized, then trim to fit each tread top after installation. Add a strong adhesive designed for cork/rubber and keep pressure even while it cures. Finish the rail in matte black or dark bronze, then test step comfort and stability before using it daily.
Cut inserts with a fresh utility blade and a straight edge; clean edges make the tread look custom.
Gluing inserts directly to unsealed wood — the adhesive fails when the wood absorbs moisture.
18. Glass balusters inside a clear frame
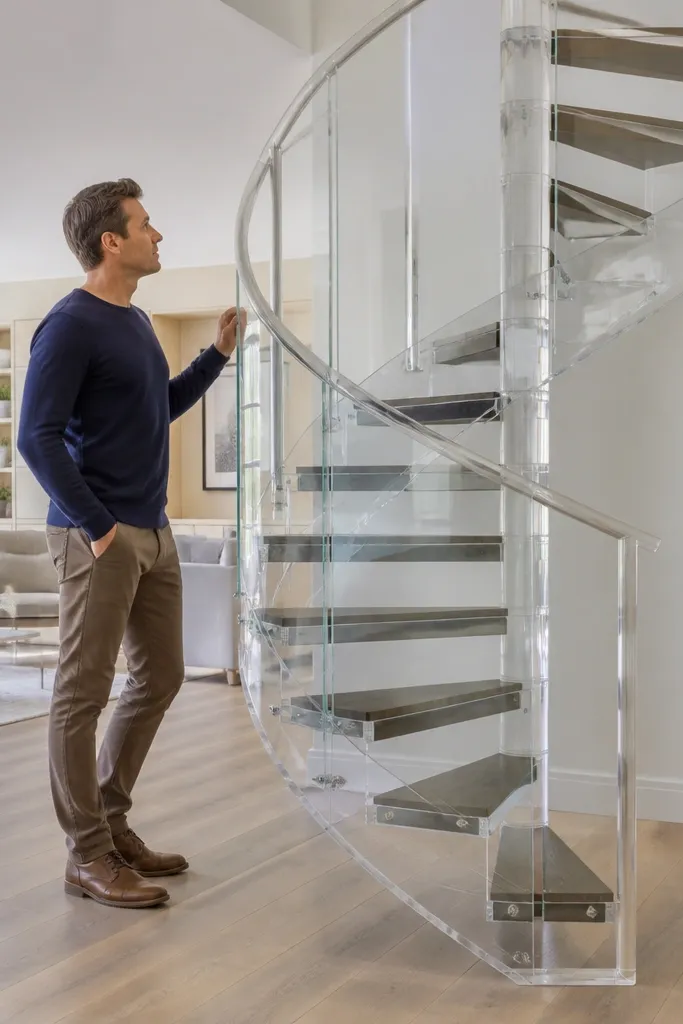
Clear glass balusters in a simple frame make a spiral staircase feel modern because they keep the visual lines open. You still get safety barriers, but the staircase doesn’t block sightlines, so rooms feel bigger. This design looks best when the frame is minimal and consistent in thickness, and when the glass is uniform. If you want the staircase to photograph well from multiple angles, this is the one.
Choose a frame material like aluminum or thin steel strip and cut it into the spiral ring sections you need. Install the rail and central support first, then mount glass balusters using proper clamps and gaskets so the glass doesn’t rattle. Cut each glass panel to size and label them during installation so you don’t mix orientations. Finish the treads with a clear satin coat so the glass reflections don’t fight with glossy wood.
Use spacers to keep consistent gaps between glass pieces; uneven gaps show up immediately in photos.
Skipping gaskets — rattling and micro-chips ruin the look and safety.
19. Patterned tread tops using alternating stain tones
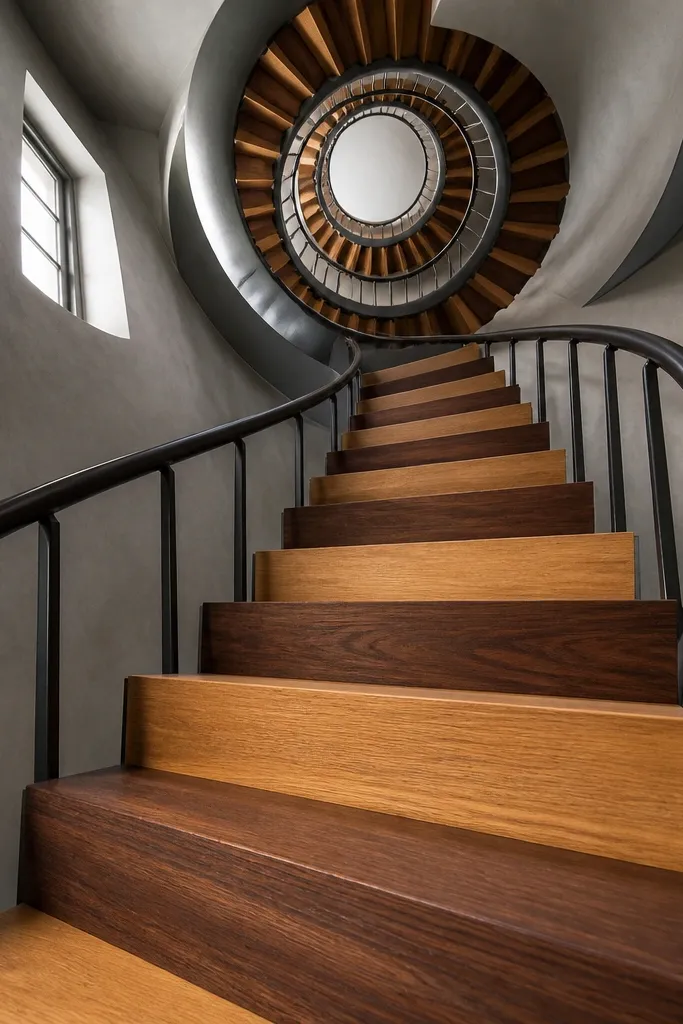
Alternating stain tones turn a simple spiral into a design object. The modern look comes from the rhythm across steps, and it reads clearly even when your staircase is small. Keep the contrast controlled — light and medium-dark — so it doesn’t look like a checkerboard toy. This design is great when you want budget materials to look intentional through color design, not through expensive metalwork.
Editor's noteApply stain to all treads using the same brush strokes direction to prevent random streaking.
Cut your treads and sand them consistently so stain takes evenly. Stain half the treads with a lighter tone (like natural oak or honey oak) and the other half with a medium-dark tone (like walnut or espresso). Seal both groups with the same clear topcoat so sheen matches. Mount treads in an alternating pattern and keep overhang consistent so the color rhythm stays clean.
Skip thisMixing two different clear coats on the light and dark treads.
20. Wrap-around handrail with continuous grip
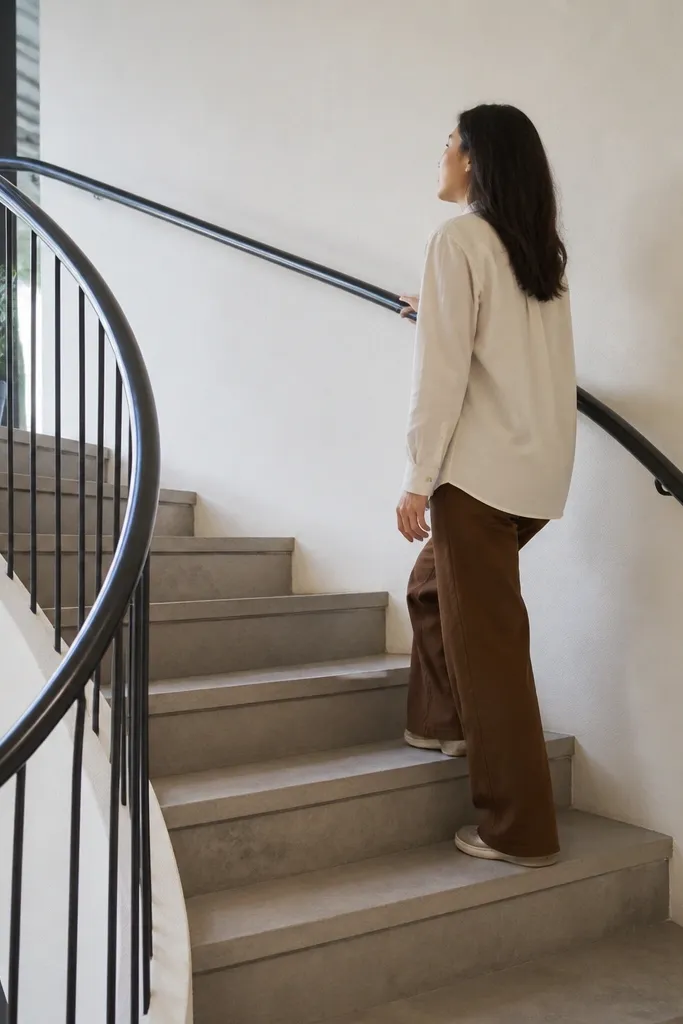
A continuous wrap-around handrail makes the staircase look modern because it creates one smooth line, not a set of disconnected segments. Even on a budget, this is mostly about planning and careful mounting positions. You also get a practical upgrade: a grip that feels stable and comfortable. This design works best when the rail is metal and your treads are consistent enough that the rail can follow the spiral without wobble.
Plan the handrail path before mounting anything — mark the start and end positions and decide where your handrail will connect. Use metal rail sections that you can align and fasten securely, then add a continuous grip cover if you want a warmer feel. Install the rail supports along the spiral at measured intervals so the rail stays straight. Finish treads first, then install the wrap rail last so you don’t scuff the tread faces.
Dry-fit the rail and sight along it under room lighting; reflections show wobble immediately.
Using loose connectors — a slightly wavy rail looks DIY even if the treads are perfect.



