
1. Matte Black Steel Ring Spiral with Warm Oak Treads
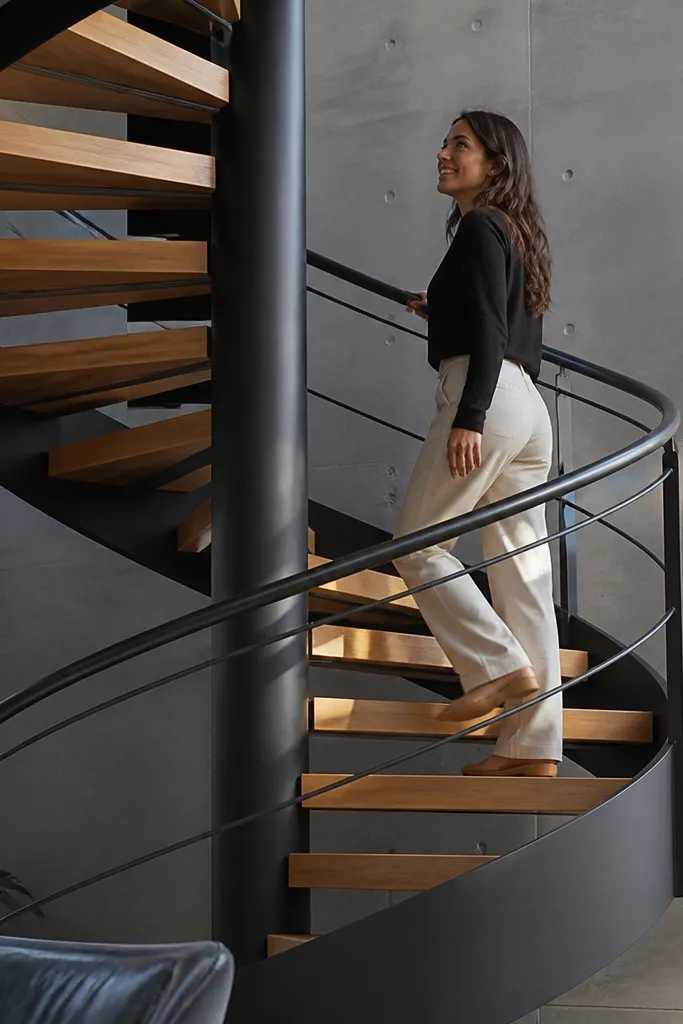
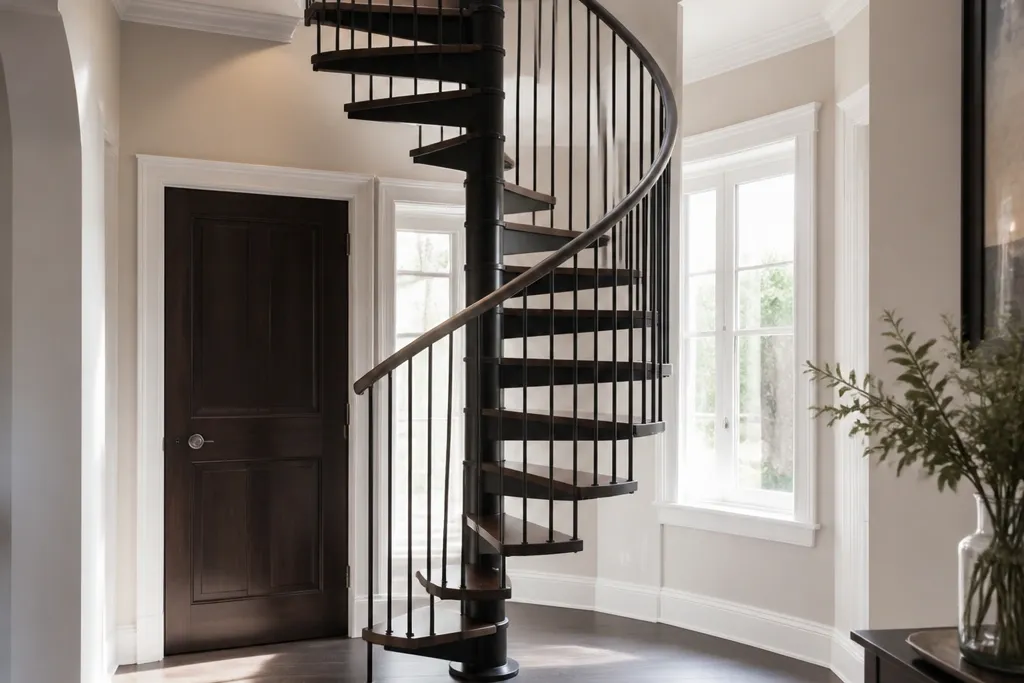
This look is clean and architectural: matte black steel rings create a crisp spiral line, while warm oak treads keep it from feeling cold. It’s beginner-friendly when the plan uses a central column plus pre-cut ring segments, because you’re assembling a repeating structure instead of inventing angles. The stair reads well in photos from the landing side — the black rails frame the opening and the oak color adds contrast. Expect a build that takes longer than basic carpentry, but the steps are straightforward if your materials come cut or if your plan provides a ring template.
Editor's noteDry-fit every tread with painter’s tape spacers before you drill anything — it’s the fastest way to prevent uneven steps.
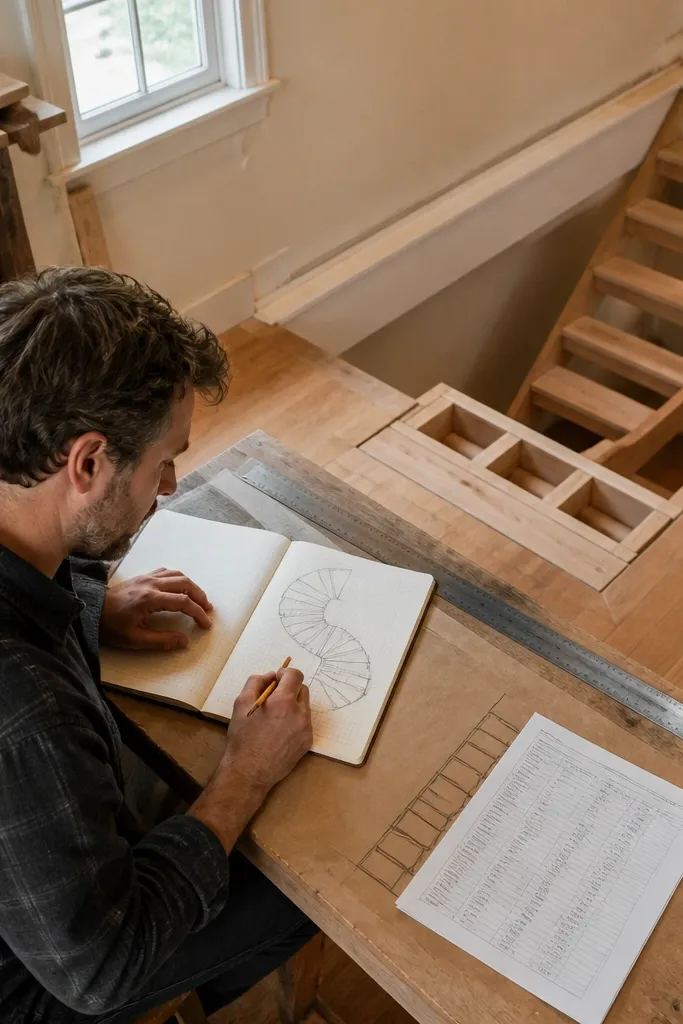
Start by setting the finished opening height and marking the centerline on the floor. Then build the central column and attach the first ring support at the correct rise so your tread line starts level. Finally, install treads one-by-one using the plan’s tread spacing marks, and finish with matte black paint on metal plus a matte clear coat on oak to resist scuffs.
Skip thisAvoid glossy metal paint; it highlights small alignment errors in every photo.
2. Whitewashed Wood Spiral with a Brass Accent Rail
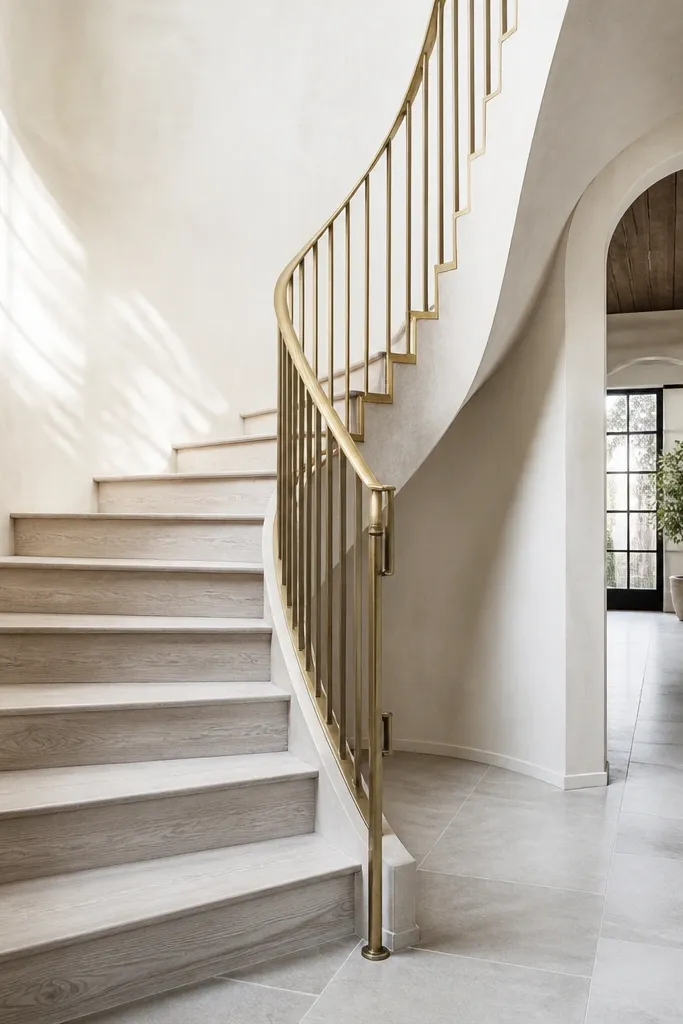
If you want the bright, airy look, whitewashed wood treads with a brass-accent handrail is the winning combo. The light finish makes the spiral feel larger, which helps in small foyers and tight loft openings. The brass rail catches highlights without looking flashy, and it frames the spiral curve nicely in overhead shots. This style is best for plans that let you build wood treads with repeatable wedge cuts and a simple handrail profile.
Start by cutting a single tread pattern with the exact rise and tread depth from your plan, then use it to trace the rest. Next, assemble wood supports around the central column, keeping the tread edges aligned to a marked circle. Finally, whitewash the treads in thin coats, then install the brass rail and clear-coat it so fingerprints wipe off.
Use a foam brush for the whitewash; it spreads evenly and avoids streaks at the tread edges.
Skip thick stain layers before whitewashing; it darkens unevenly and kills the airy look.
3. Charcoal Stained Treads with Blackened Iron Balusters
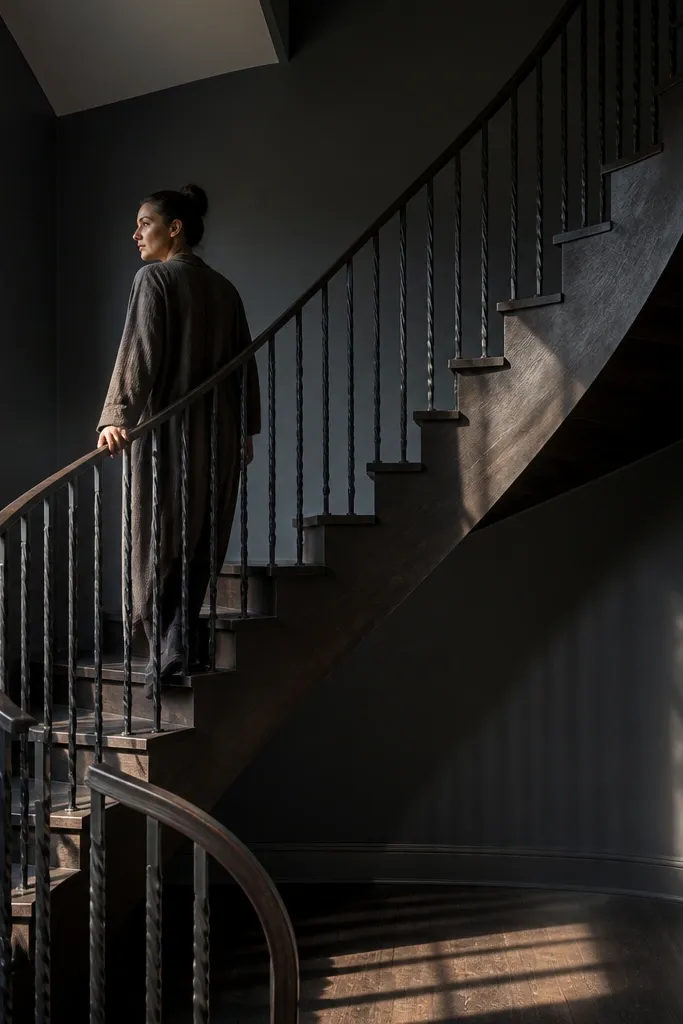
This is the moody, gallery-style spiral staircase: charcoal-stained treads paired with blackened iron balusters. The contrast makes the spiral line look intentional, and the balusters add a delicate rhythm that reads well in close photos. It’s beginner-friendly when the plan uses a modular baluster spacing guide, because you’re repeating a pattern rather than calculating each angle. The stair looks especially strong with a matte finish and minimal ornament.
Start by staining and sealing the treads first, then let them cure fully before installation to prevent scuffs. Then mount the central support and attach the tread caps at the plan’s spacing. Finally, install balusters using the guide spacing and secure the handrail with the specified brackets.
Pre-drill baluster holes with a stop collar on the bit so you don’t blow out the tread surface.
Don’t install balusters before the treads cure; soft wood moves and makes gaps widen.
4. Clear Finish Pine Treads with a Natural Rope-Style Handrail
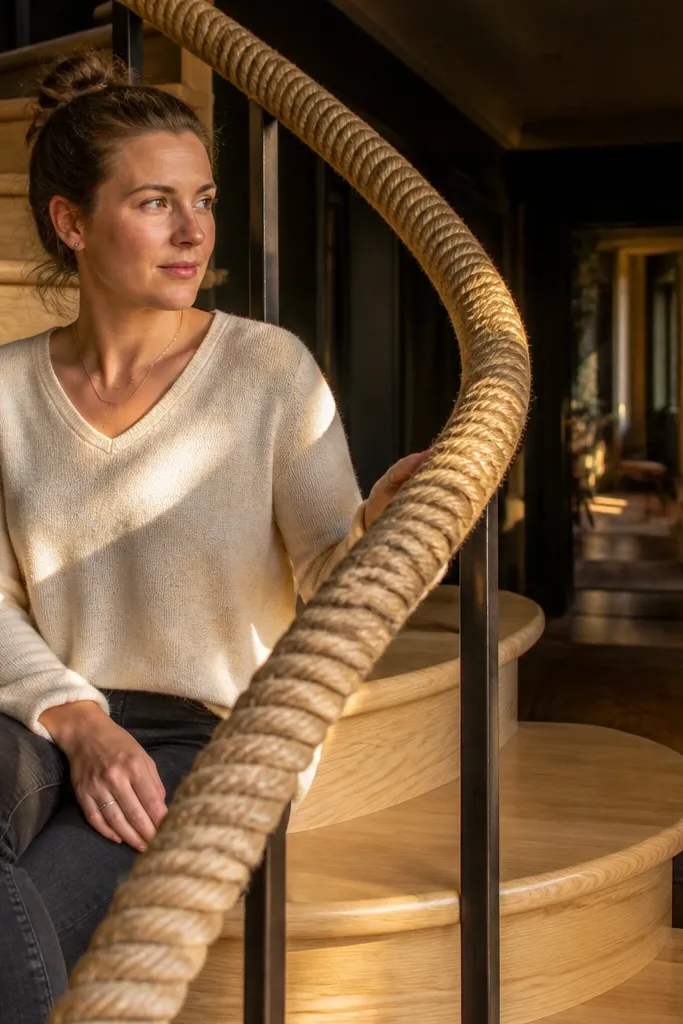
For a rustic-modern look, clear pine treads plus a rope-style handrail (or a rope-wrapped grip on a metal rail) makes the staircase feel warm and handcrafted. The lighter wood tones photograph beautifully against darker walls, and the rope texture adds visual interest without needing complex joinery. This is beginner-friendly if your plan uses a standard metal handrail profile and you only wrap the grip — that keeps the structural part simple. The result is a spiral that looks intentional from the street side and from inside the room.
Editor's noteWrap the rope grip under tension and test the grip thickness with your hand before you secure the ends.
Start by cutting pine treads to your tread depth and rise, then sand to 120 grit and apply a clear matte or satin seal. Next, install the central column and mount treads in order, using the plan’s spacing marks. Finally, mount the handrail brackets and wrap the grip tightly with rope or a rope-like cord, then secure ends with hidden fasteners.
Skip thisAvoid high-gloss clear coat; it shows every sanding mark on pine.
5. Ebonized Treads with a Glass Panel Side Shield
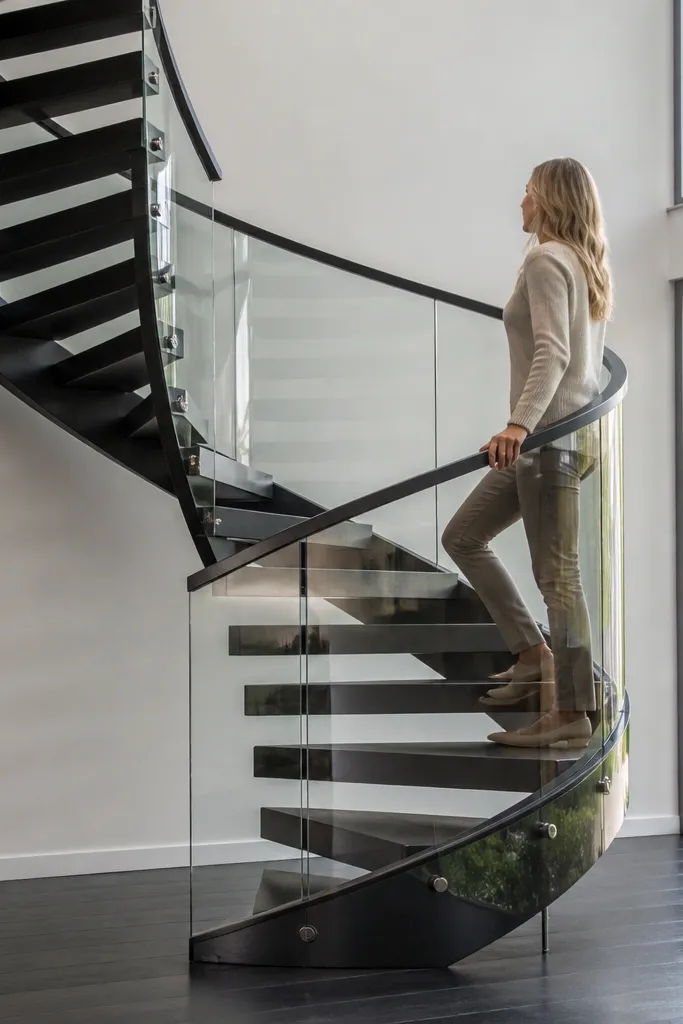
Dark ebonized treads plus a glass panel side shield makes the staircase look sleek and expensive. The glass adds transparency in photos, so the spiral line feels lighter even when the steps are substantial. This design is best for plans that include a clear method for mounting glass clamps to a metal frame, because glass installation is where beginners get stuck. If you follow the plan’s clamp spacing and keep the panel plumb, the look is clean and photogenic.
Editor's noteUse painters tape around clamp points during dry-fit to prevent chips when you remove the panel.
Start by ebonizing and sealing the treads, then pre-mark the tread positions on the central support. Then assemble the stair frame and install the ebonized treads one at a time, checking each tread for level at the walking edge. Finally, mount the glass panel using the plan’s brackets and clamps, tightening in a cross pattern so the panel doesn’t warp.
Skip thisDon’t rely on silicone alone for glass; use the mechanical clamps the plan calls for.
6. Two-Tone Spiral with Light Steps and a Dark Central Column
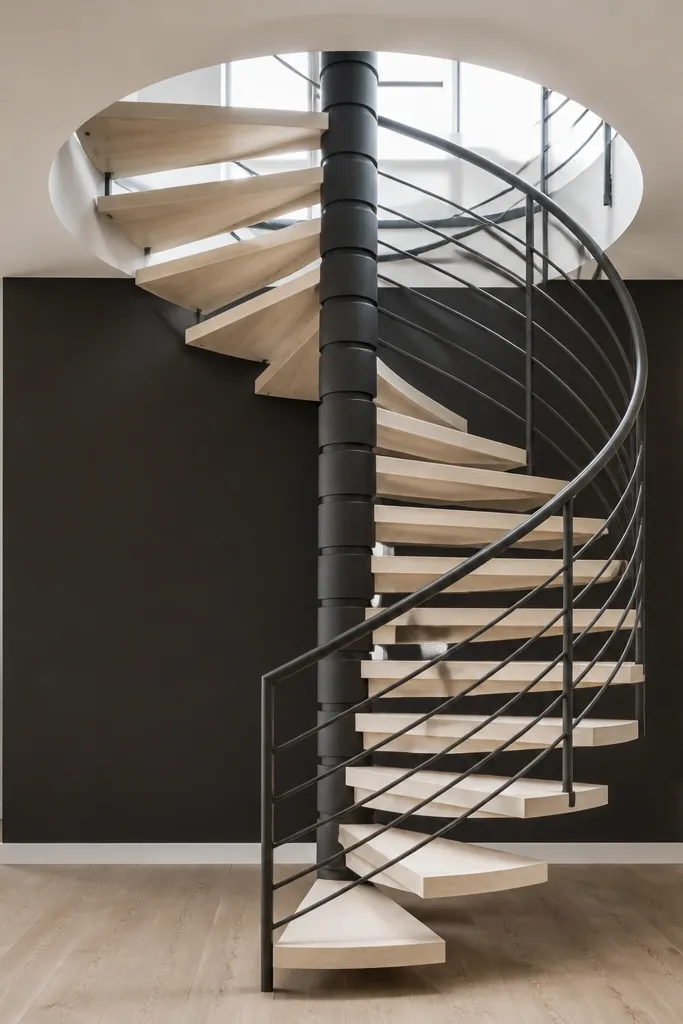
Two-tone stairs look modern fast: light steps against a dark central column and rail create strong contrast and clear spiral geometry. The light treads make the staircase feel less heavy, and the dark column anchors the look so it doesn’t float. This is beginner-friendly when the plan uses a standard central column diameter and gives you a tread template, because you’re just matching finishes rather than redesigning the structure. Photos from the landing look especially crisp because the spiral line is high-contrast.
Editor's noteSand the tread edges before sealing; it stops the finish from pooling at the corners.
Start by painting or powder-coating the central column and rail in a dark matte (black or deep charcoal). Then cut and install light wood treads — use the plan’s tread template to keep the spiral curve consistent. Finally, seal the light treads with a satin clear coat so the grain stays visible without turning yellow.
Skip thisAvoid mixing warm-toned paints with cool-toned wood stains; the color mismatch reads messy in photos.
7. Staircase-in-a-Niche Spiral with Built-In Lighting Strip
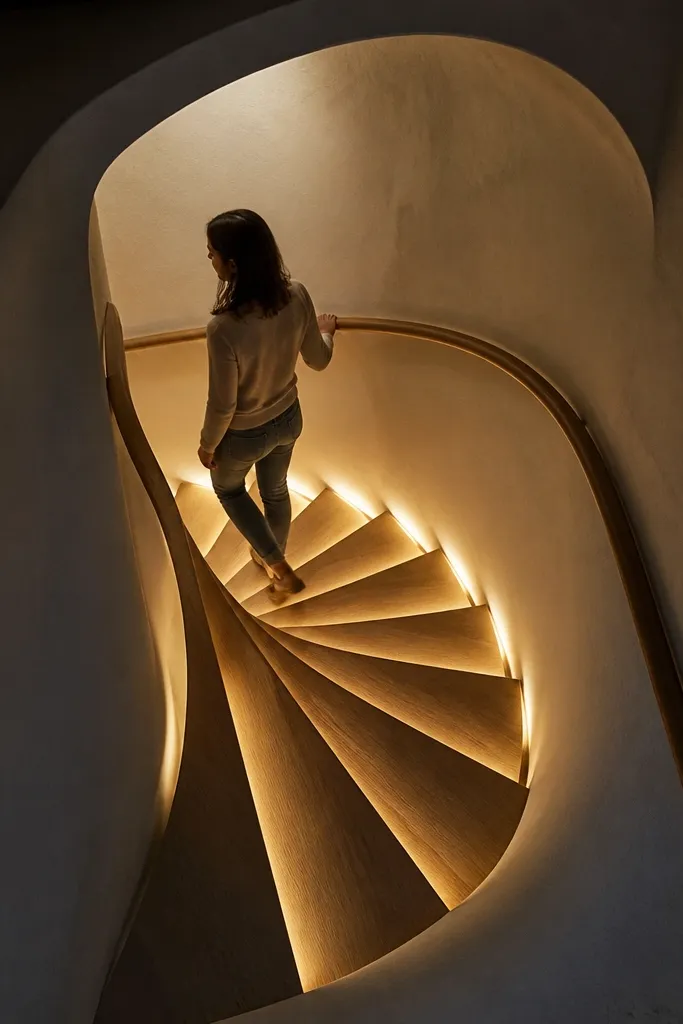
A spiral staircase inside a niche turns the whole thing into a design feature. The hidden lighting strip (LED under the handrail or behind a side cover) makes each tread edge glow, so the spiral looks dramatic even in low light. This is beginner-friendly if your plan includes a simple chase for LED wiring and a cover panel — you’re not building fancy lighting, just installing a controlled strip. The photos look great because the stair line becomes the brightest path in the frame.
Start by building the niche framing and leaving a wiring route to the power point. Then install the spiral structure and attach a side cover or handrail channel so the LED strip sits recessed. Finally, test the lighting before closing the last panels, then mount the covers and finish the exposed wood surfaces.
Use a diffuser strip cover; it prevents bright dots from showing under each tread.
Don’t place the LED too close to the tread face; it creates glare instead of a soft glow.
8. Reclaimed Barnwood Treads with a Smooth Steel Core
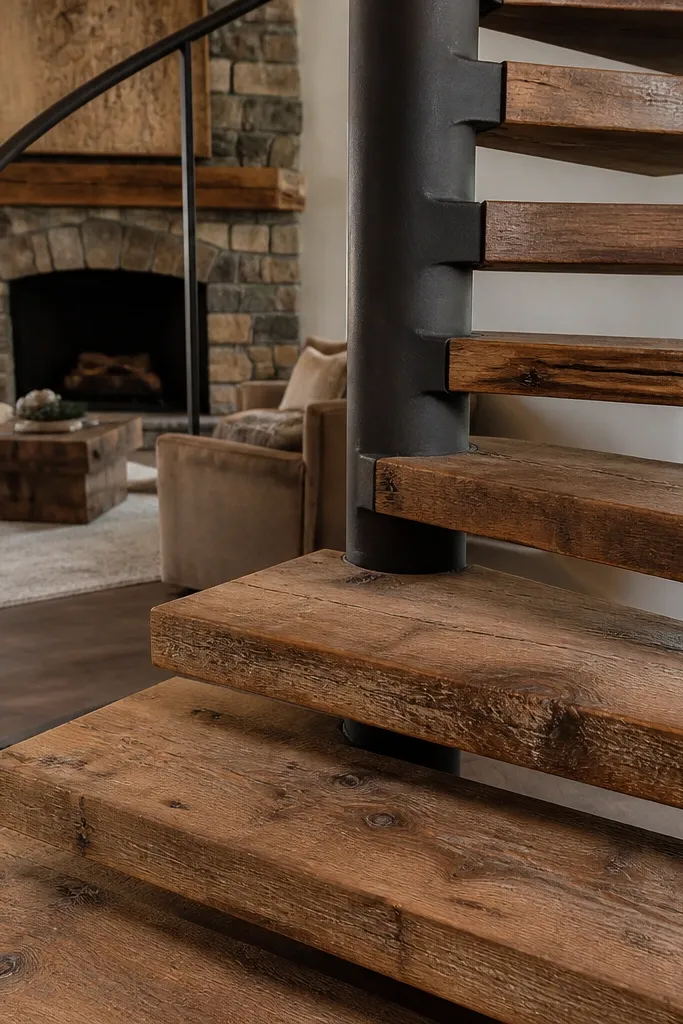
Reclaimed barnwood treads bring instant character, but the trick is keeping the structure clean: smooth steel core and simple rail, so the wood texture doesn’t turn chaotic. The spiral reads like a designer piece because the treads show real grain variation while the metal keeps everything aligned. Beginner-friendly plans help because you can cut each tread from the same template even if the wood boards vary. In photos, the uneven grain catches light differently from step to step, which makes the spiral look alive.
Editor's noteStagger board end grain direction so you don’t repeat the same knots in adjacent treads.
Start by selecting boards with similar thickness and cutting them into tread blanks using the plan’s template. Then seal the reclaimed wood with a clear hardwax or satin polyurethane after sanding to 120-150 grit. Finally, install the treads onto the steel core supports, keeping the walking edge aligned and the overhang consistent.
Skip thisAvoid soft, punky reclaimed boards; they dent at the tread edges quickly.
9. White Epoxy-Coated Metal Treads with Black Rail
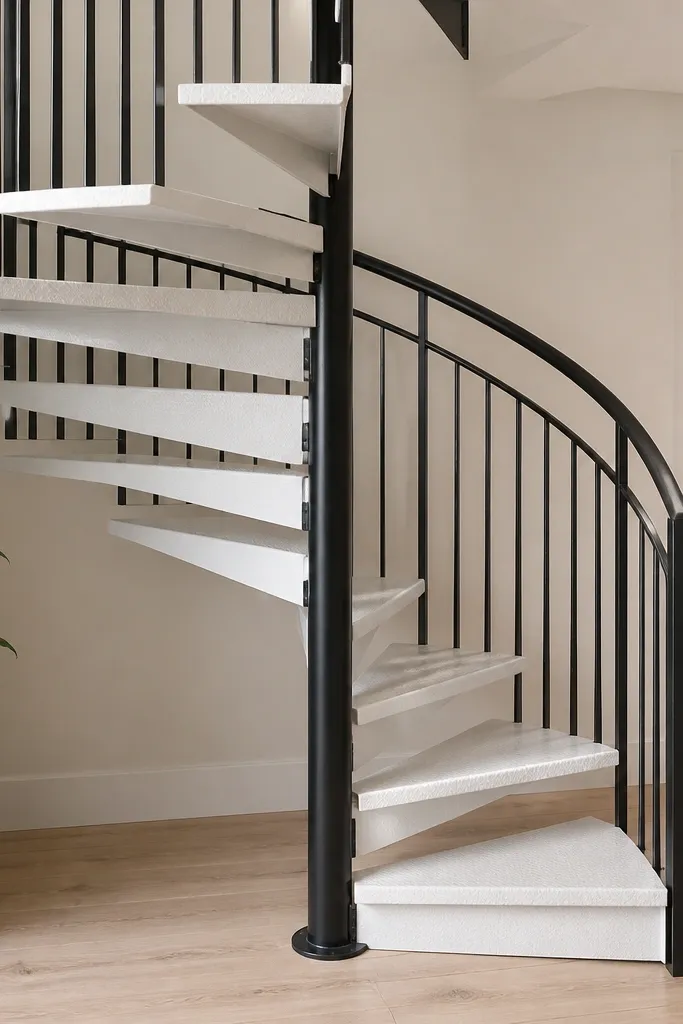
This is the modern industrial look: white epoxy-coated treads with a black rail. It photographs bright and clean because the tread surface is uniform, and it’s durable enough for busy households. Beginner-friendly plans work well here because the metal tread panels often come as simple plates cut to a template. You’ll get sharp contrast and a crisp spiral line, especially in rooms with dark floors or neutral walls.
Start by coating metal tread plates with a primer made for metal, then apply epoxy in thin, even coats. Then install the central column and attach each coated tread plate using the plan’s bolt pattern. Finally, paint or powder-coat the rail in black matte, then add non-slip strips or a clear traction coating to the walking edge.
Scuff the epoxy after cure for traction if your plan allows a traction topcoat.
Don’t skip metal primer; epoxy peels on bare steel if you rush prep.
10. Walnut Treads with a Curved Oak Handrail
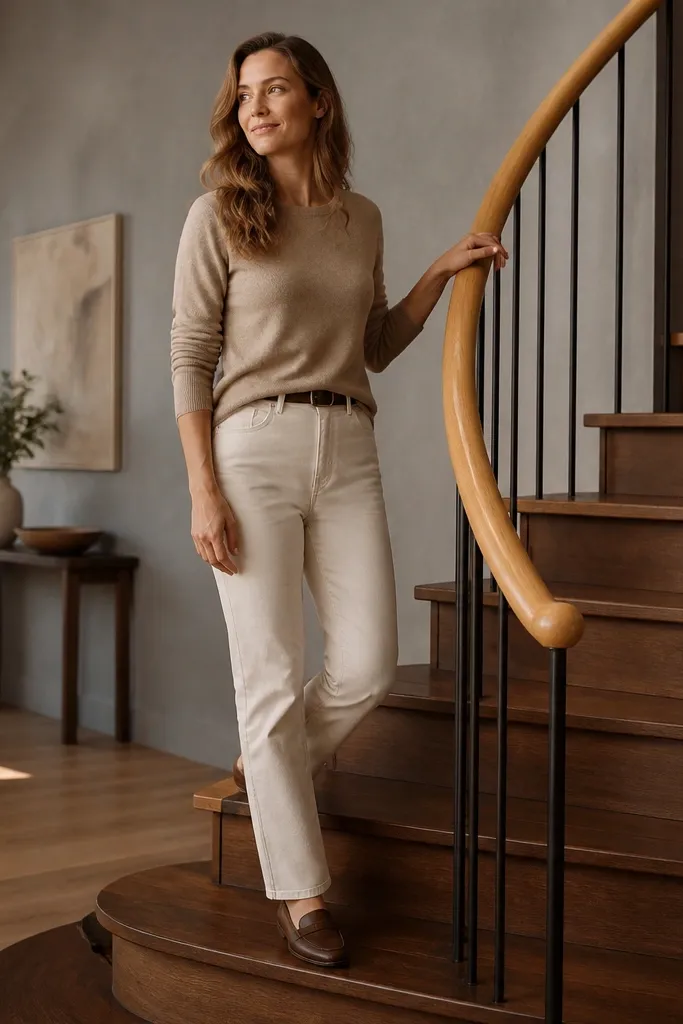
Walnut treads paired with an oak handrail is a warm, high-end look without needing metalwork complexity. The darker walnut gives depth, and the lighter oak rail adds a friendly contrast you can feel with your hand. Beginner-friendly plans are easiest here if the handrail is a standard curved wood piece with a consistent radius, rather than a fully custom-shaped rail segment for each tread. Photos are gorgeous because the rail line is continuous and smooth.
Start by cutting walnut treads to the plan template and sanding to 180 grit for a smooth finish. Then install the stair structure and mount treads, checking the walking edge depth for consistency. Finally, build the curved oak handrail using laminated strips or a pre-bent rail blank, then attach it with hidden brackets at the spacing in the plan.
Use a satin wipe-on finish on walnut; it hides minor sanding marks and doesn’t glare in photos.
Avoid fully varnished, glossy walnut; it shows every fingerprint on the rail.
11. Bronze Powder-Coated Spiral with Teak Treads
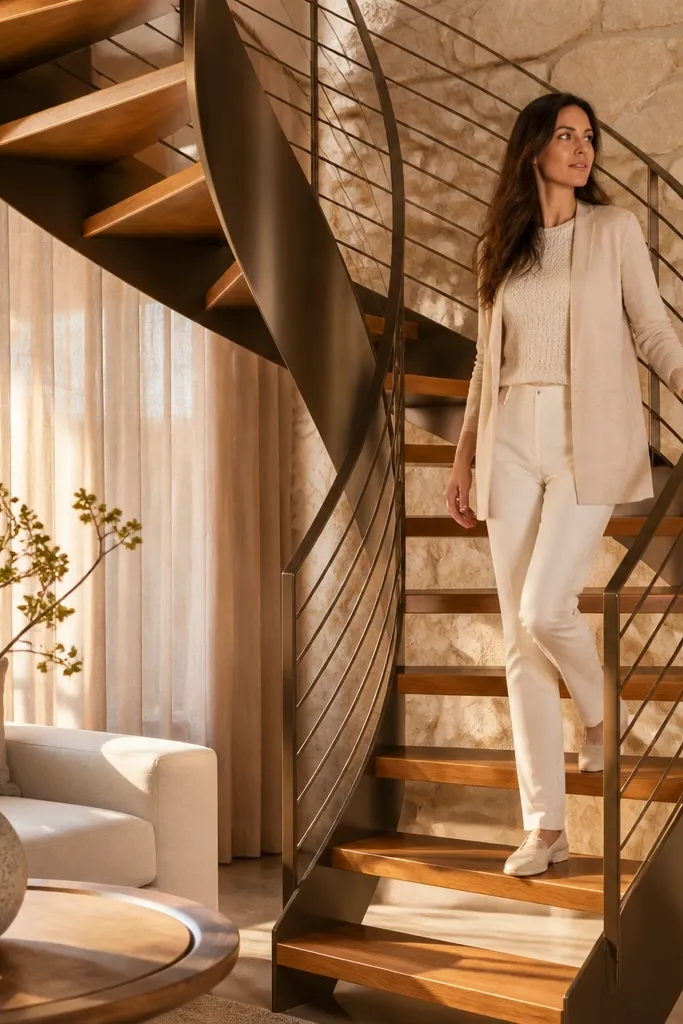
Bronze powder-coated metal with teak treads looks warm, coastal, and expensive in a single frame. Teak’s color stays rich, and the bronze finish adds depth without going black. This is beginner-friendly when your plan provides a clear bolt-on sequence for the bronze frame and uses pre-cut teak tread blanks. The look is especially photogenic outdoors or in sunlit interiors because bronze catches highlights and teak shows grain detail.
Editor's noteDry-fit the top rail section with shims so your handrail height ends perfectly aligned with the landing grip point.
Start by cutting teak treads to match the plan’s template and seal them with an outdoor-rated clear finish if the stair is exposed. Then install the bronze frame around the central column and bolt each tread in order, following the specified torque pattern if your plan includes it. Finally, mount the bronze handrail and check for smooth clearance at the top landing before finishing.
Skip thisDon’t use indoor-only clear coat on exterior stairs; it flakes and looks bad fast.
12. Rustic Galvanized Steel Spiral with Cedar Steps
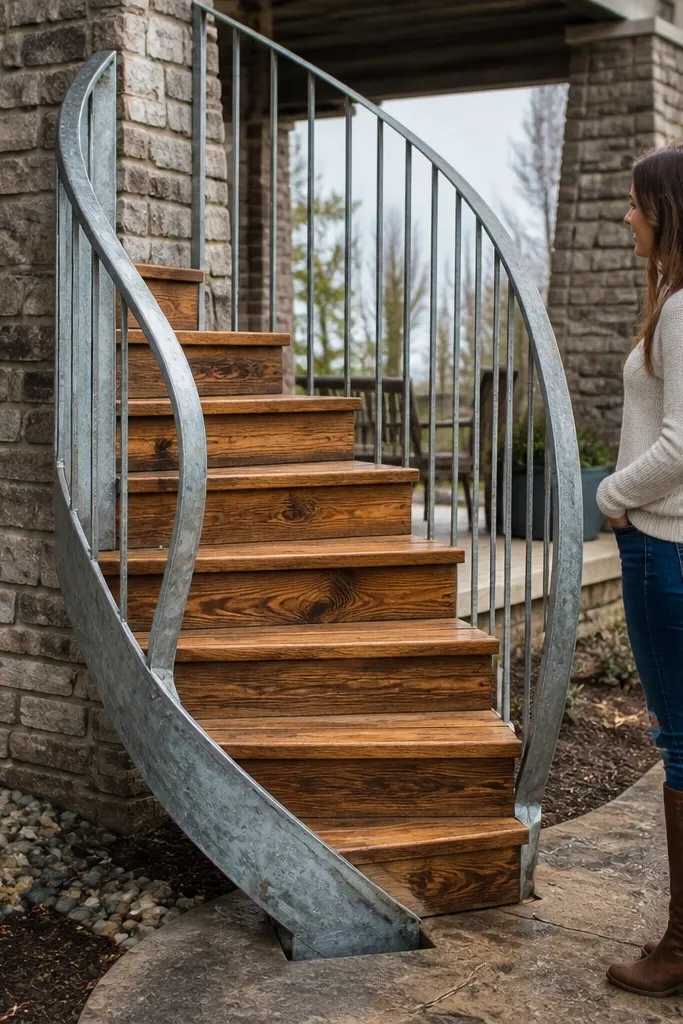
Galvanized steel plus cedar gives you a weathered, cabin-ready look that still feels clean. The metal’s light gray tone makes the cedar look warmer, and the whole stair reads well against stone or brick. Beginner-friendly plans help here because galvanized frames are often modular, and cedar treads are easy to cut accurately with a template. Photos show great texture — the steel patina and cedar grain combine into a natural look.
Editor's noteUse stainless fasteners throughout; galvanized hardware alone can stain cedar over time.
Start by cutting cedar treads to the plan template and sealing them with a clear exterior finish. Then assemble the galvanized frame and central support, keeping the spiral line true by using the plan’s alignment marks. Finally, attach treads and mount the handrail, then add a grip coating or textured finish to the walking edge if your plan calls for it.
Skip thisAvoid sealing cedar with a thick film coat; it can crack on the tread edges.
13. Blackened Steel Spiral with Oversized Round Tread Caps
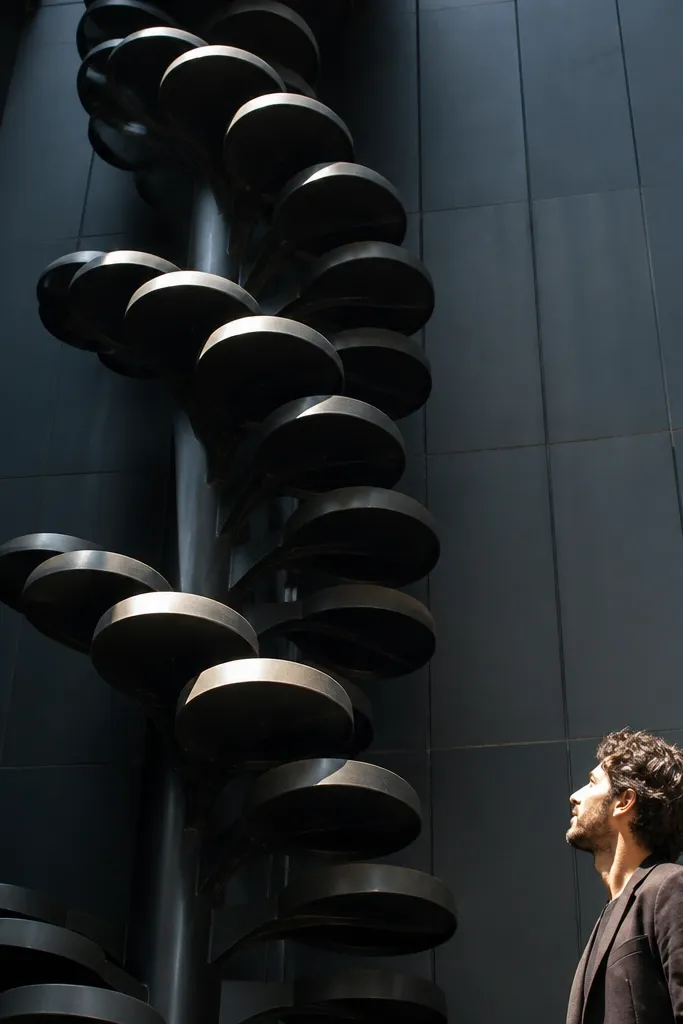
Oversized round tread caps are the trick for a dramatic look without complicated joinery. They make each step look substantial, and the round shape creates a strong, repeating ring pattern in photos. This style is beginner-friendly when the plan uses a consistent cap diameter and a bolt-on tread cap system. You get comfort from extra tread surface area and a visually bold spiral line that looks good from both sides.
Editor's noteMark tread orientation with a small notch so each cap lines up with the same grain direction or pattern.
Start by choosing a cap diameter from your plan and cutting a single template for the bolt holes. Then assemble the central column and mount the metal supports at the correct rise and spacing. Finally, bolt the round tread caps on one by one, then install the handrail brackets and rail.
Skip thisDon’t undersize the cap diameter; small caps look thin and cheap in every photo.
14. Herringbone Tread Inlay Spiral with Simple Frame
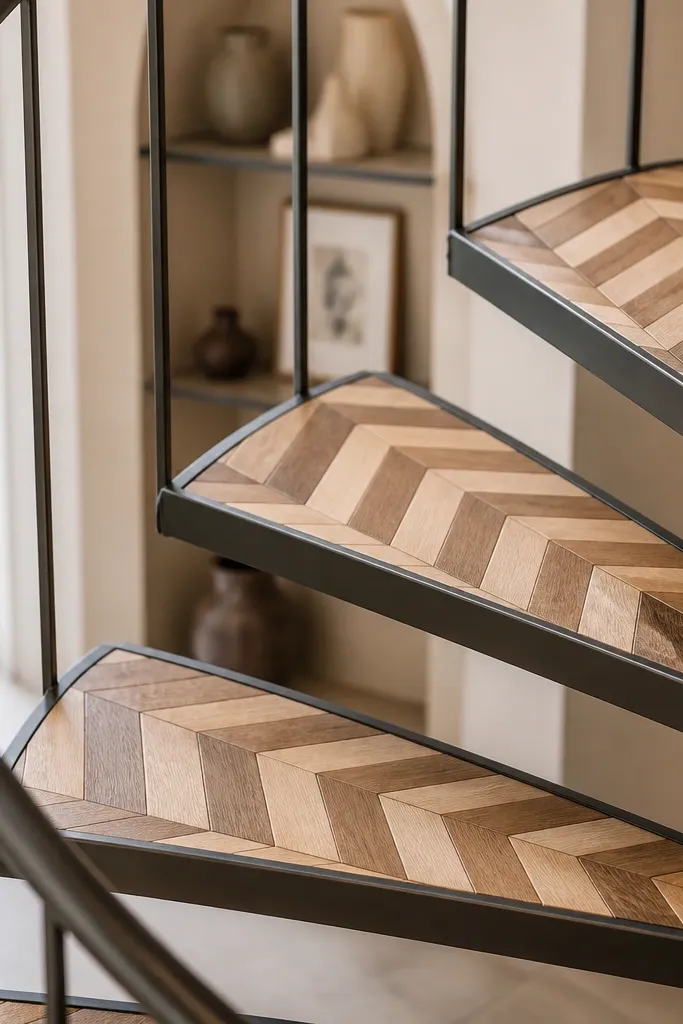
If you want the “wow” factor, herringbone inlay on each tread is a photogenic detail that still stays controlled. The spiral frame stays simple, while the tread surface becomes the design. Beginner-friendly plans work because you only need one accurate inlay template, then repeat it across treads. In photos, the herringbone pattern creates a moving texture as the spiral wraps upward — it’s the kind of detail people zoom in on.
Editor's noteUse masking tape around the inlay seams while the glue sets; it keeps lines crisp and flat.
Start by building or buying a simple tread base that matches your spiral geometry, then cut a top inlay panel sized to the tread. Next, create a herringbone strip layout using a jig or a simple guide fence so the angle stays consistent. Finally, glue the inlay with a thin, even layer, sand flush, then seal the tread surface with a satin finish.
Skip thisSkip thick glue squeeze-out; it creates uneven spots that show up under satin finishes.
15. Scalloped Edge Treads on a Neutral Steel Stair
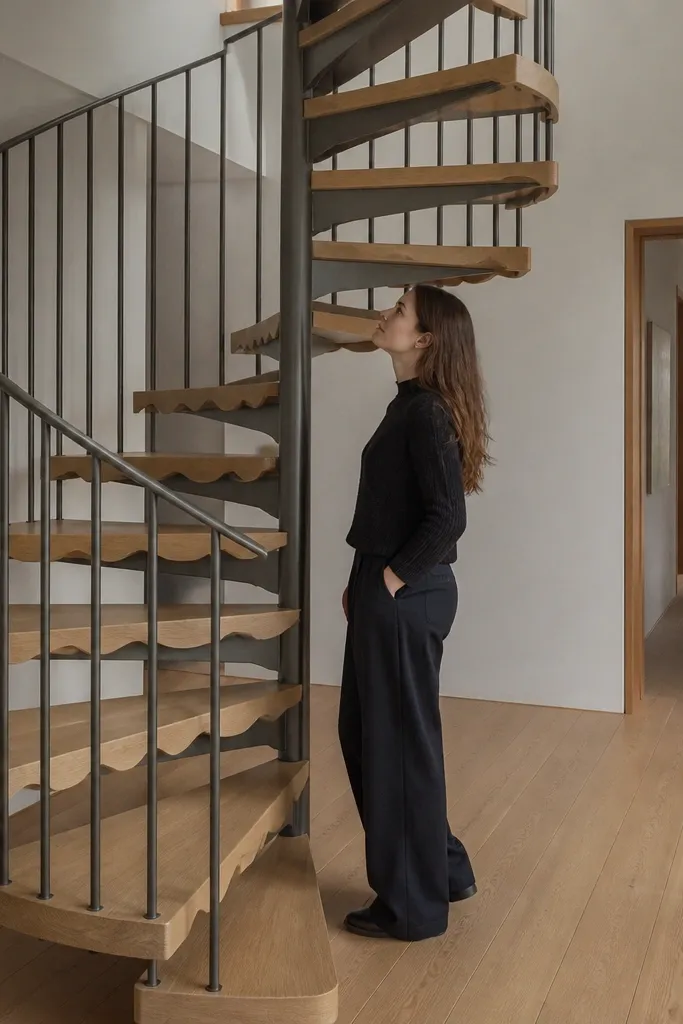
Scalloped edge treads add a decorative rhythm while the steel structure stays neutral. This is a great choice when you want the staircase to look like furniture, not just a functional ladder. Beginner-friendly plans can still work because scallops are cut from a template — you’re not changing the spiral geometry, only the tread outline. Photos look charming and elevated because the scallops catch light on the tread lip and create a soft shadow line.
Start by cutting standard treads to the plan template, then mark scallop spacing with a reusable paper or plywood template. Next, route the scalloped edge using a pattern bit and a guide template clamped to the tread. Finally, install the treads and apply a satin finish so the scallop shadows stay visible without turning glossy.
Keep scallop depth shallow (about 1/4 inch) so shoes don’t snag and the tread stays sturdy.
Avoid deep scallops; they look dramatic but reduce safe foot contact.
16. Terracotta-Red Treads with a Light Gray Metal Frame

Terracotta-red treads make a spiral staircase feel like a statement piece without adding complicated hardware. The color looks warm against light walls and makes the steps pop in photos, especially in daylight. This style is beginner-friendly if your plan uses flat tread platforms that you can paint or coat in a durable finish. The gray frame keeps it modern, so the stair doesn’t look like a painted prop.
Editor's noteUse a satin topcoat, not matte, so the terracotta color stays even and doesn’t chalk.
Start by building the stair frame with the plan’s central column and support rings. Then attach tread platforms and apply a metal-safe primer if the tread base is metal, or a wood primer if it’s wood. Paint terracotta in two thin coats, then top with a clear satin protective coat. Finally, install the handrail and add non-slip strips at the walking edge.
Skip thisDon’t use glossy clear coat; it reflects overhead light and washes out the terracotta tones.
17. Patterned Concrete Spiral with Wood Handrail Wrap
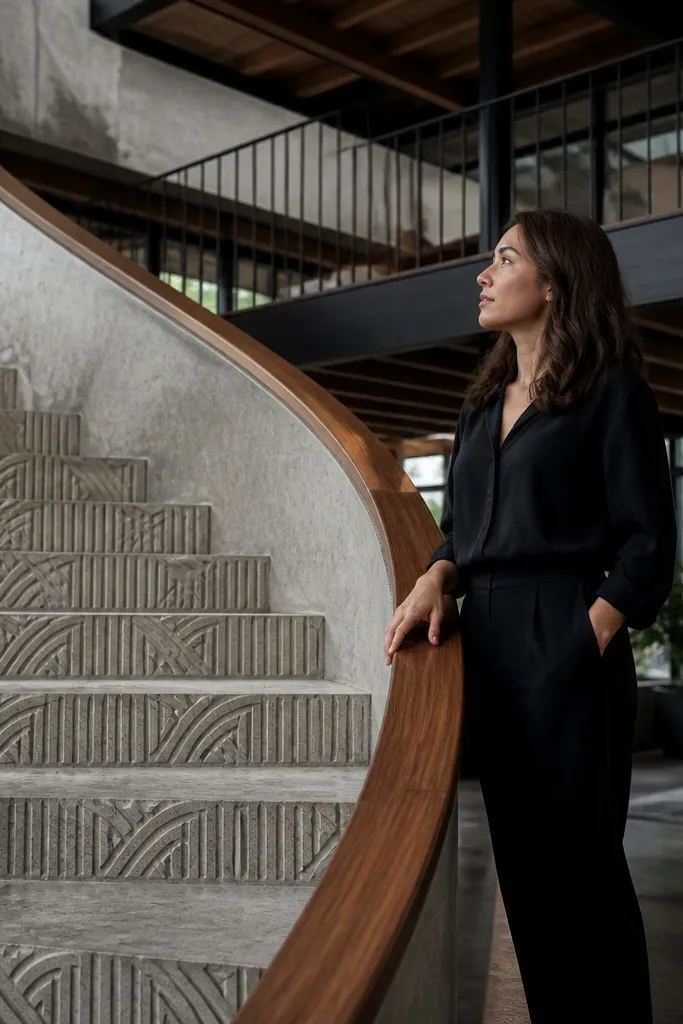
Concrete treads with a wood handrail wrap look industrial and sculptural, and the surface pattern makes the stair feel designed. The concrete gives you a solid, permanent feel, and the wood wrap keeps it comfortable to touch. Beginner-friendly plans work when the concrete treads are poured using a form system or when the plan uses pre-made concrete tread slabs. Photos look great because the tread texture shows up clearly at an angle.
Start by confirming your plan’s tread method — either poured forms or pre-made slabs — and match the tread thickness to the support spacing. Then assemble the central column and mount each concrete tread using the plan’s fasteners or embedded anchors. Finally, wrap the handrail with a wood grip, secure it with end caps, and seal the concrete with a penetrating sealer to reduce staining.
Seal concrete before installation if you can; it’s easier to get full coverage on a flat surface.
Avoid skipping sealer; unsealed concrete stains quickly and looks dull in photos.
18. Natural Stone Tread Caps with a Thin Black Rail
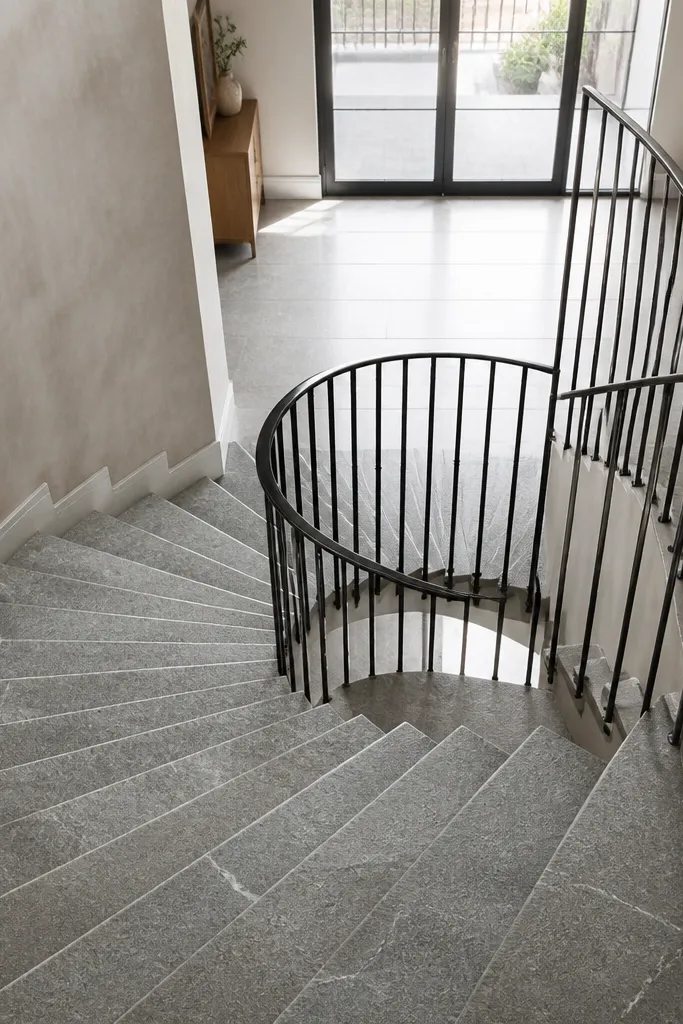
Stone tread caps make a spiral staircase look like architecture rather than carpentry. The cool surface and weighty look read instantly in photographs, especially in entryways with tile or hardwood floors. Beginner-friendly plans are workable if the stone caps are pre-cut to the plan’s tread shape and you’re using a metal subframe with bolted caps. The thin black rail keeps the look crisp and prevents the stair from feeling bulky.
Start by installing the metal frame and central column using the plan’s alignment marks. Then position stone tread caps on the supports, using the plan’s anchors or mortar pockets if included. Finally, set the handrail brackets and install the thin black rail, then seal stone with a stone sealer to keep it from absorbing spots.
Use painter’s tape around stone edges during placement to prevent chips from sliding impacts.
Don’t use unsealed stone; water and fingerprints ruin the look fast.
19. Light Oak Treads with a Woven Cane Handrail Grip
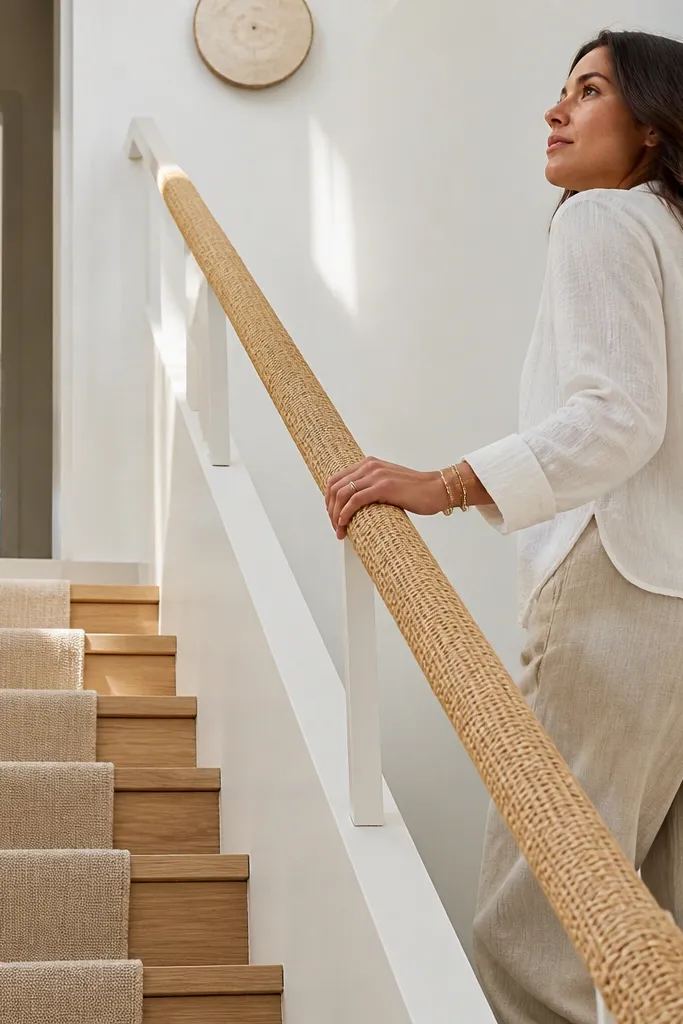
This one feels breezy and design-forward: light oak treads with a woven cane grip over a simple rail. It looks great in bright rooms because the woven texture creates soft shadows that move with light. It’s beginner-friendly because the structural staircase is standard, and the cane grip is a surface upgrade. Photos from the side show the spiral line plus a handcrafted touch.
Editor's noteWrap the cane grip tight and trim cleanly; sloppy edges look messy in close-up photos.
Start by building the spiral frame and installing oak treads, then seal the oak with a satin clear coat. Next, mount the handrail brackets and install a rail surface wide enough for the cane grip. Finally, weave or fit the cane grip panels, secure ends, and add a clear protective coat over the cane where hands touch.
Skip thisAvoid using cane directly without a protective coat; it darkens unevenly from skin oils.
20. Sand-Finished Wood Treads with a Pale Steel Spiral Frame
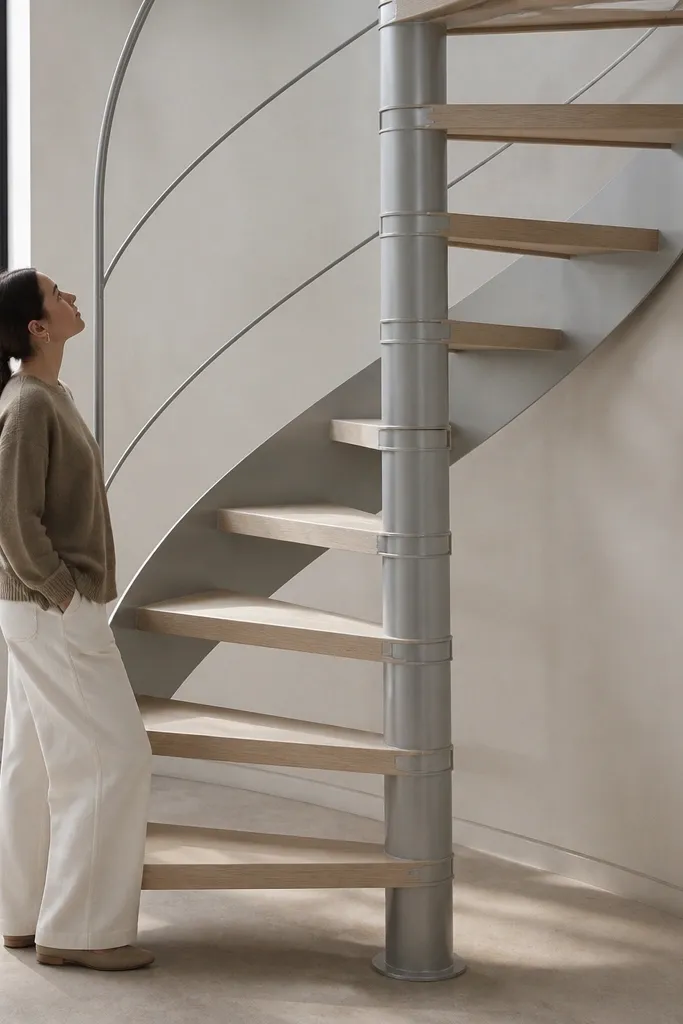
Sand-finished wood treads paired with a pale steel frame creates a calm, modern look that photographs softly. The pale metal keeps shadows light, and the sanded wood texture shows up in a way gloss never does. Beginner-friendly plans work well because sand finish is forgiving — small tool marks disappear under the right sanding grit sequence. This is a good choice for neutral rooms where you want the staircase to be the texture, not the color.
Start by installing the pale steel frame and central column per the plan. Then cut wood treads to template and sand progressively to 220 grit, finishing with a light hand-sanding pass. Apply a matte oil or matte clear coat in thin layers, letting each dry before the next. Finish by installing the handrail and checking that the top landing handhold feels comfortable.
Use a tack cloth right before finishing; it keeps the matte surface from looking dusty.
Don’t use thick stain; it fills the sand texture and makes it look flat.
21. Deep Teal Painted Treads with Antique Bronze Hardware

Deep teal treads plus antique bronze hardware is a color combo that looks like it belongs in a boutique hotel. The teal adds depth and drama, and the bronze warms it up so it doesn’t feel icy. This works best with a plan that keeps the metal frame simple and uses visible hardware — because the hardware is part of the look. Photos pop when the stair is against light walls or natural stone.
Editor's notePaint treads on a flat surface and flip them to dry evenly; drip marks show on teal.
Start by painting the treads deep teal with a durable enamel made for wood or metal (match the base material). Then assemble the stair frame and install treads in order, keeping spacing true to the plan. Finally, use antique bronze bolts, brackets, and rail fittings, then seal the painted treads with a satin clear coat to protect the color.
Skip thisAvoid matte-only paint on high-touch surfaces; it scuffs and turns patchy.
22. Outdoor Deck Spiral with Pressure-Treated Treads and Stainless Rail
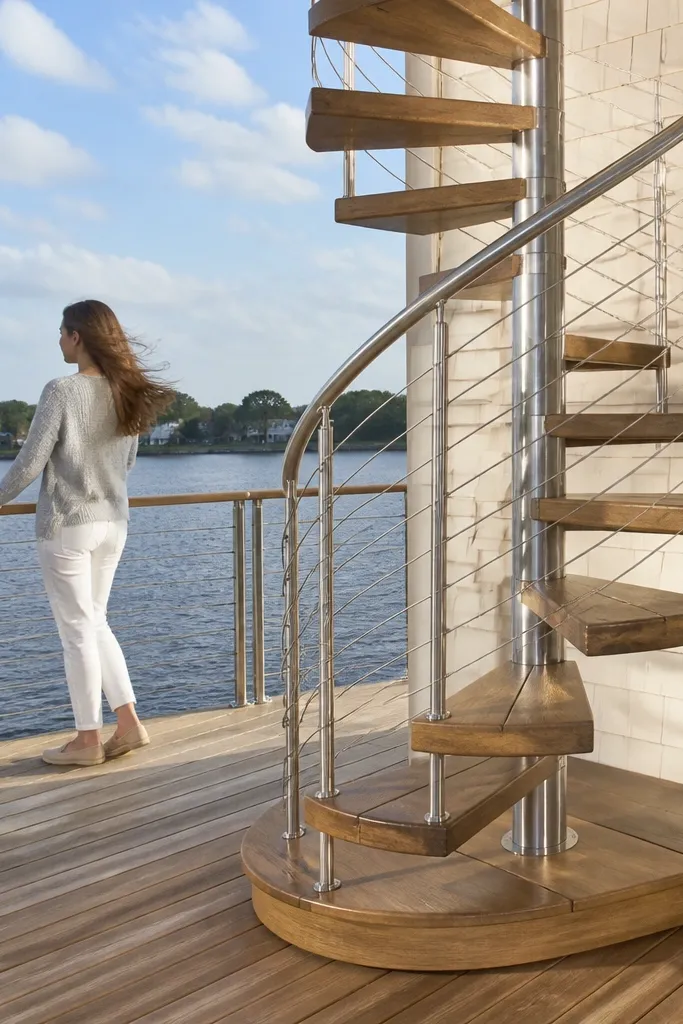
For outdoor patios and deck transitions, pressure-treated treads with a stainless rail look sharp and hold up to weather. The stainless keeps the rail looking clean in photos, while the treated wood brings warmth. Beginner-friendly plans are practical here when the design includes drainage details and uses stainless fasteners throughout. The look is straightforward but still photogenic because the materials stay crisp over time.
Editor's noteUse a breathable deck finish on treated wood so it doesn’t peel under sun and rain.
Start by selecting a plan rated for outdoor use and cutting pressure-treated treads to the template. Then assemble the central support and mount treads, using stainless hardware and leaving the plan’s recommended gaps for drainage. Finally, install the stainless rail and apply an outdoor finish to the wood if the plan specifies one, then check all anchors for tightness after the first week.
Skip thisDon’t use interior screws; they rust and stain the treads within one season.
23. Open-Lace Spiral with Cutout Tread Frames
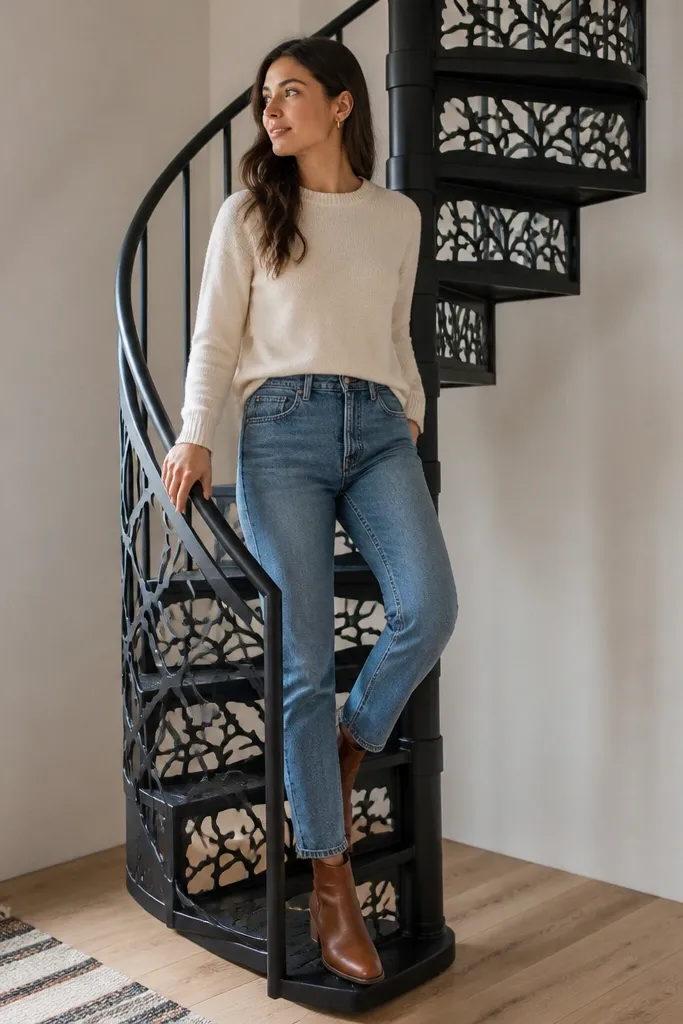
Open-lace treads give you a light, airy spiral with a lace-like silhouette. The cutouts make the staircase look more delicate in photos without making it fragile if the plan uses correct framing thickness. Beginner-friendly plans work best when the cutout pattern repeats and the treads are pre-framed, so you aren’t freehanding. This style is photogenic from above because the cutouts create a geometric spiral pattern.
Start by building or buying the tread frame material sized to the plan, then cut the cutout sections using the template pattern. Next, assemble the central column and attach tread frames at the rise spacing, making sure the top walking edge stays level. Finally, add a minimal handrail and apply a durable finish to the frames, then install slip-resistant strips if the walking surface needs it.
Sand cutout edges thoroughly before finishing; sharp edges catch light and look unfinished.
Avoid tiny cutouts; they weaken the tread and make the stair look flimsy.
24. Bronze + Driftwood Spiral with Textured Handrail
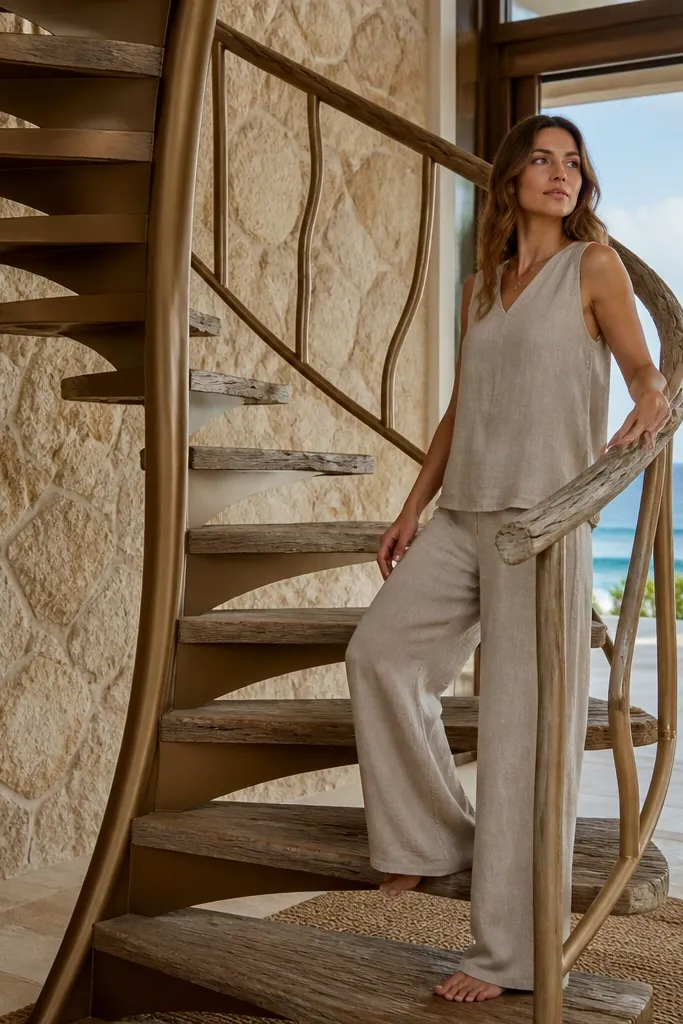
This is a coastal, organic look: bronze metal with driftwood-style treads and a textured handrail grip. The bronze provides structure and shine, while the driftwood texture adds irregular charm across the steps. Beginner-friendly plans are doable when the treads come from uniform blanks that you distress consistently, rather than trying to “randomize” every piece. Photos look great because the irregular textures catch light differently on each tread.
Editor's noteDistress in batches for consistency; random single-board distress looks patchy in close shots.
Start by cutting driftwood-style tread blanks to template size and sanding to 150 grit. Then distress consistently using a wire brush and light chisel scuffs, followed by a gray-brown stain and matte clear coat. Next, install the bronze frame and mount treads, then add a textured grip to the handrail using wrap material or a textured sleeve. Finish by checking handrail clearance and tightening all brackets.
Skip thisDon’t use heavy black stain over driftwood; it turns the texture flat.
25. Smoked Glass + Satin Steel Spiral with Walnut Stringer
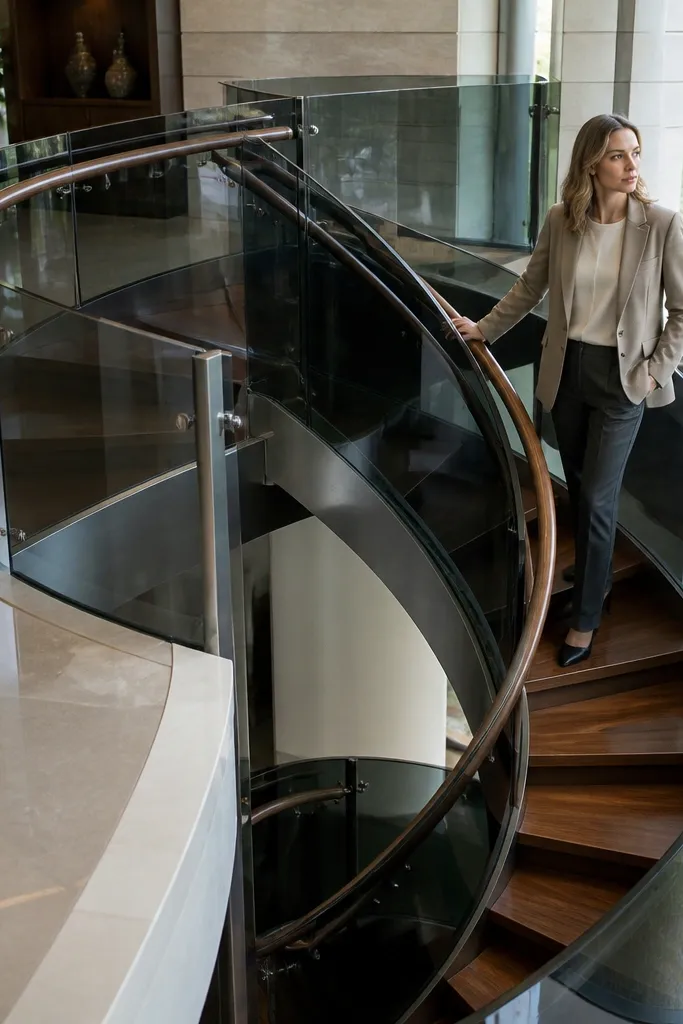
This spiral looks stunning because the smoked glass acts like a dark mirror — it hides the scary parts of a spiral (the void and the structure) while still showing light through the edges. A satin steel ring keeps the lines clean and modern, and the walnut stringer and handrail add warm grain right where your eye lands. The glass side panels also make the whole thing feel lighter than wood-only spirals, especially in hallways with white walls. It works best in a modern loft, a narrow entry stair, or any space where you want the stair to read as “design” instead of “construction.” Skill level is medium if you can handle metal hardware and careful measuring; the framing and panel alignment take patience more than strength. Plan on 2-3 full weekends for a DIY build if you have basic tools and can source pre-cut glass panels or have them cut to size.
Step 1: Build the structure first using a satin steel spiral kit or fabricate the center column and main ring. Use walnut for the stringer/handrail element: cut a walnut rail board to match the spiral curve, then laminate thin strips if you need extra stiffness; keep the handrail height at 34-38 in from the tread nosing to the top of the rail. Step 2: Install smoked glass side panels after the treads and handrail are set, so you can measure panel spacing directly on the finished stair. Use 1/4 in thick tempered smoked glass with aluminum glazing channels: mark the channel positions, drill pilot holes, then fasten channels with stainless screws and rubber glazing tape to prevent squeaks. Step 3: Seal and finish — sand walnut to 180 grit, then apply a hardwax oil or wipe-on polyurethane in 3 thin coats; finish metal with a satin clear coat if it’s not pre-finished. Do a final safety check: confirm the glass is fully captured in channels with no gap at the bottom edge and that the rail is solid with no flex.
Order tempered smoked glass with a 1/4 in thickness and polished edges, then keep at least a 1/8 in gap between glass and metal so it won’t bind from seasonal movement.
Don’t mount glass panels before the treads are installed — the spiral spacing changes by a few millimeters and glass that “should fit” will bind or leave ugly gaps.



