
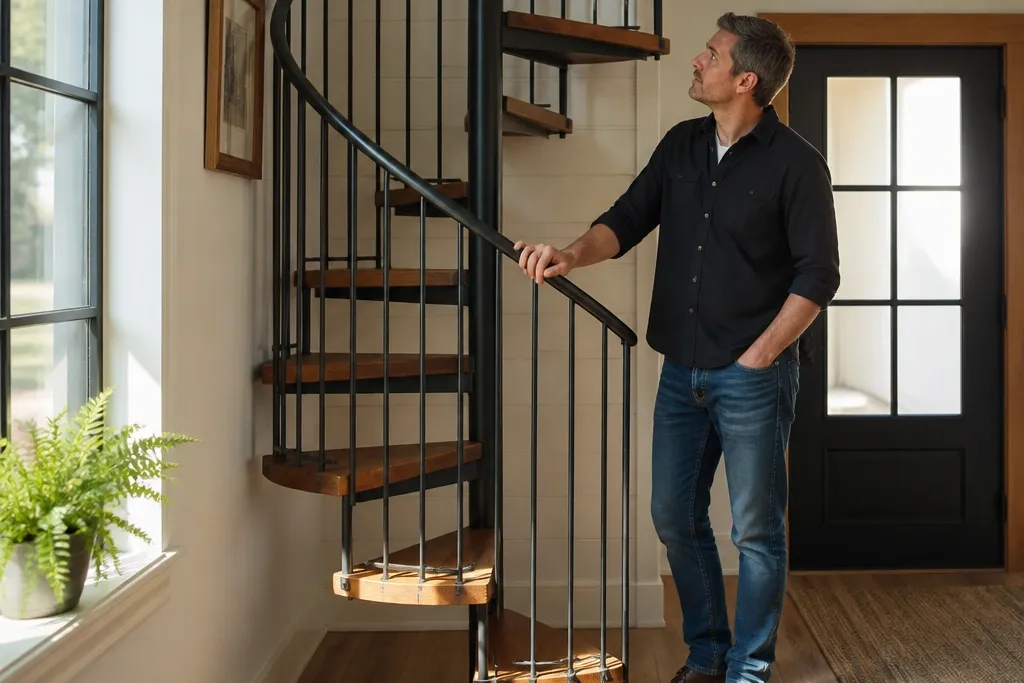

1. Matte Black Pipe + Walnut Treads Spiral
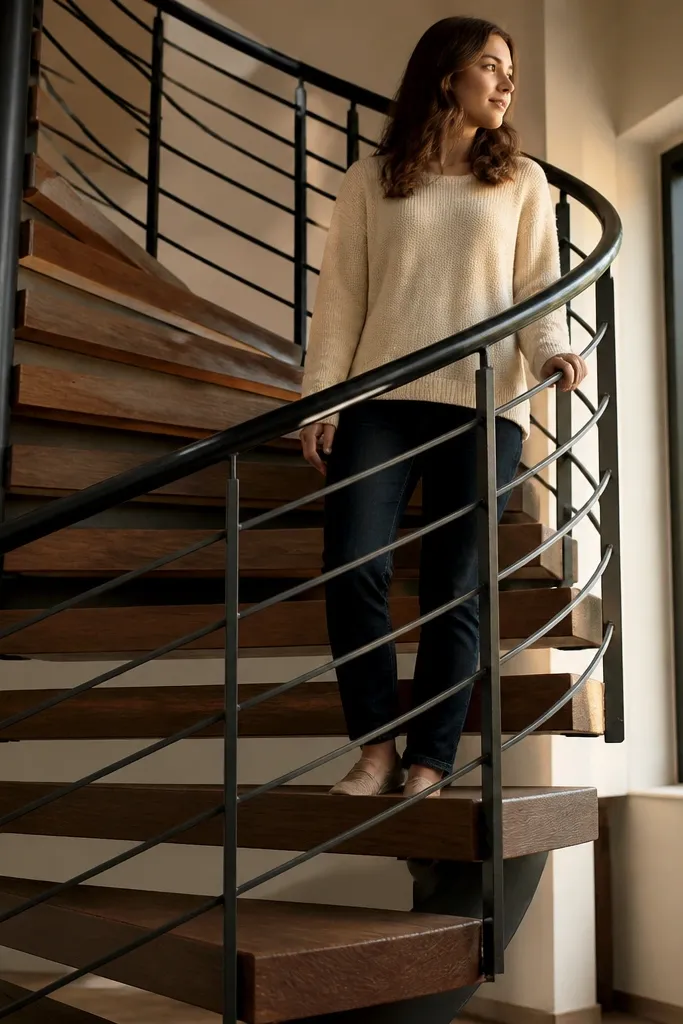
This is the “I planned it” spiral look: slim matte black pipe railings and warm walnut treads. The contrast is what makes it photogenic — the wood reads rich and the black metal disappears visually until light hits it. It’s beginner-friendly because the pipe sections are straightforward to cut and the treads can be built as individual trapezoids that all match one template. Expect a clean, modern silhouette that works in entryways, lofts, and studio corners where you want the stair to look like furniture.
Start by making one tread template from 3/4-inch plywood: draw your outer and inner tread widths and the tread depth you want, then cut the real treads from 3/4-inch hardwood. Build a central support using a vertical pipe and mount points for each tread, or use a wall rail if your space allows. Assemble the spiral by rotating each tread to your marked pitch and bolting through pre-drilled holes. Finish by installing a matte black handrail pipe and adding simple black pipe balusters if you want more coverage.
Spray the pipe with matte black rated for metal, then lightly scuff after drying so it doesn’t look slick in photos.
Don’t skip making a single tread template — cutting each step freehand creates a spiral that looks off.
2. Oak Slat Treads with Brushed Steel Handrail
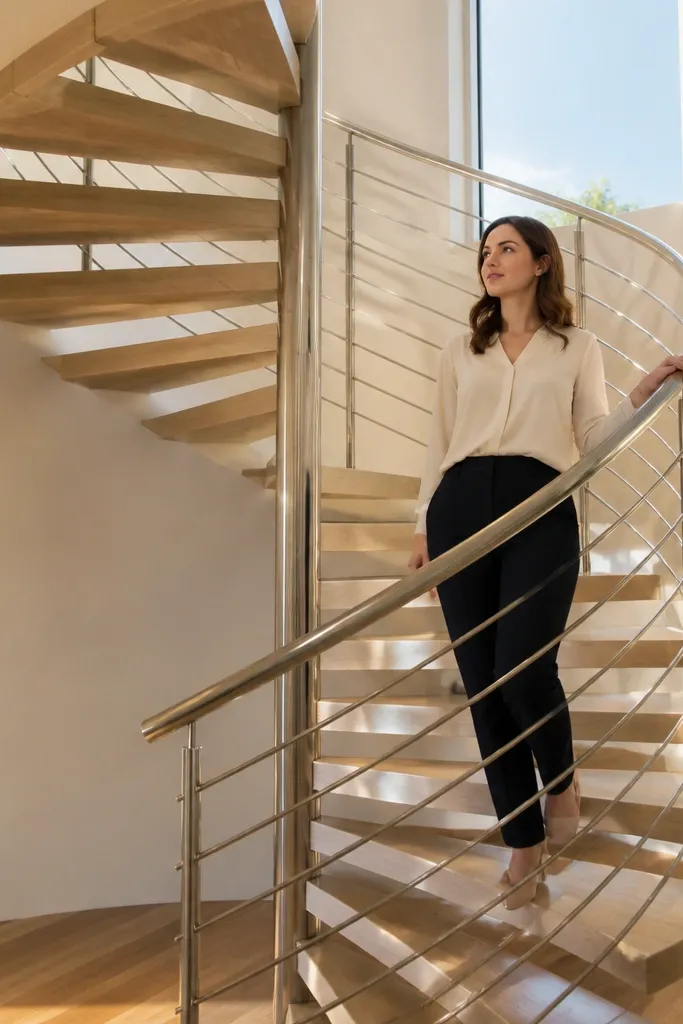
If you want bright, airy photos, go with pale oak slat-style treads and a brushed steel handrail. The handrail gives you that clean, contemporary line, while the oak keeps everything warm and not too dark. This build works well when you want the staircase to feel lighter visually — slats also reduce weight compared to solid treads. Beginners like it because slats let you hide small edge imperfections; minor gaps read intentional.
Cut multiple slats from 1x2 or 1x3 oak boards and build each tread as a frame from 1x2 oak, then screw the slats onto the frame. Make one accurate tread frame template so every step matches the same outer and inner widths. Mount the central support or wall rail, then bolt the tread frames into position at the same rotation increments. Install a brushed steel handrail using brackets spaced evenly so the rail line looks straight along the curve.
Editor's noteUse a clear matte topcoat on oak so the treads don’t glare under indoor lighting.
Skip thisAvoid glossy finishes on oak — reflections make uneven staining look worse.
3. Reclaimed Barnwood Steps with Oil-Rubbed Bronze Rail
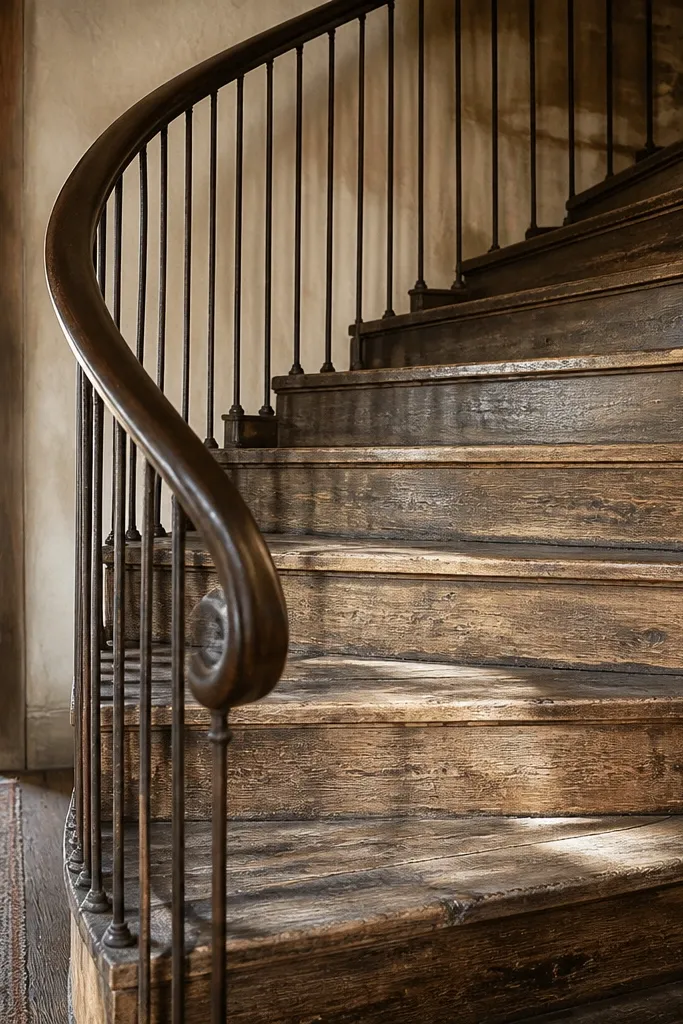
This style looks like a high-end renovation project because the treads show real character: knots, varied grain, and weathered color. Pair it with oil-rubbed bronze hardware and the stair starts to look like it belongs in an older home, even if you build it with modern bolts. It’s photogenic because the wood texture is the focal point and the bronze rail adds depth without harsh contrast. Beginners can still pull it off since reclaimed wood is forgiving — slight differences in tread boards blend into the look.
Select planks with enough thickness for your tread height, then rip them into tread-width blanks and mill them flat enough to sit tight. Build each tread from 2-3 boards joined edge-to-edge, using biscuits or pocket screws underneath so the top surface stays clean. Sand lightly only where needed, then stain to unify color before topcoat. Install oil-rubbed bronze rail posts and handrail, and bolt treads to your spiral support with countersunk screws.
Sort boards by color before cutting so the spiral doesn’t jump between wildly different browns.
Don’t skip sealing reclaimed wood — untreated edges drink stain and turn patchy.
4. White Painted Treads with Black Cable Railing
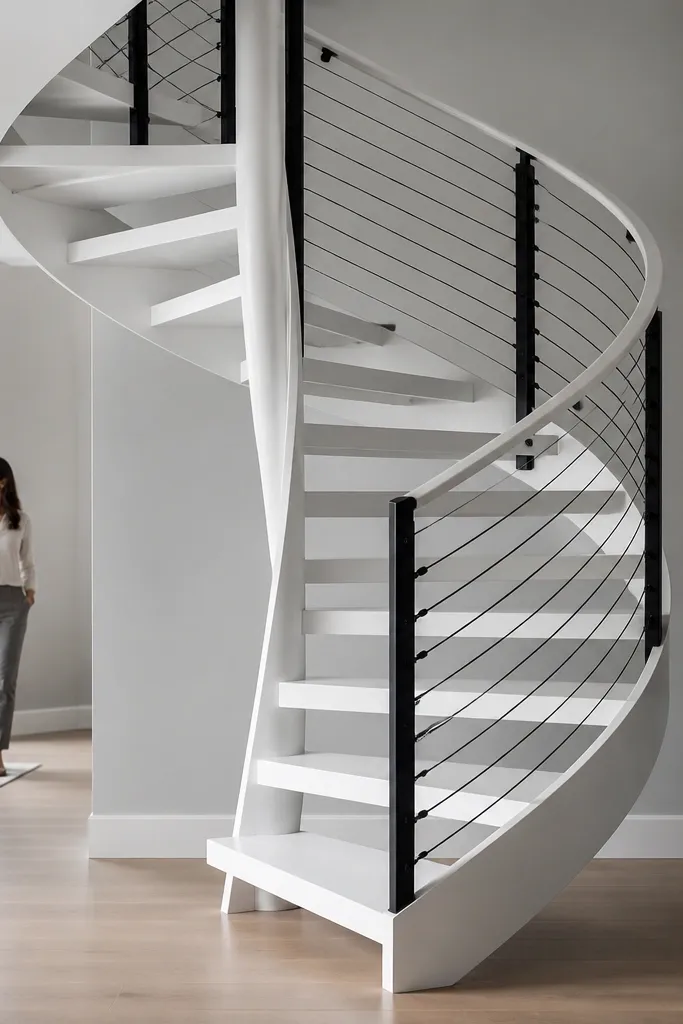
Painted treads plus black cables look clean and modern, like a minimalist gallery staircase. The white makes your stair pop in photos, and cables keep the railing from blocking light. It’s beginner-friendly because cable railing systems come with pre-sized hardware and straightforward tensioning. The key is crisp paint edges on each tread so the spiral line looks sharp rather than messy.
Use 3/4-inch plywood for the tread base, then add a hardwood edge band if you want a cleaner front profile. Prime with a bonding primer, paint in two coats, and sand lightly between coats for a smooth finish. Install your spiral support and bolt treads in position, then mount cable posts and tension hardware along the rail line. Feed cables through the tension fittings, set tension evenly, and trim ends with proper cable clamps.
Spray paint gives the cleanest finish for stair photos — brush marks show on white.
Avoid cable posts that don’t line up with tread edges — it makes the spiral look crooked.
5. Vertical Slat Balusters on Natural Wood Spiral
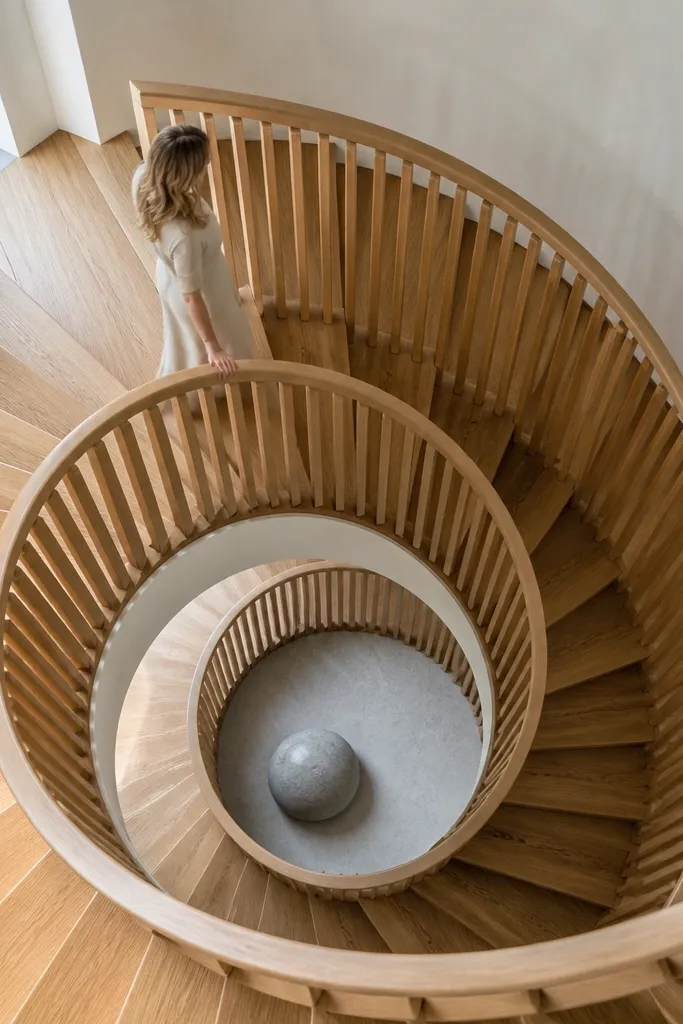
Vertical slats make a spiral staircase look intentional and architectural, especially when the slats match the tread wood tone. This design is great for beginners who want the “real staircase” look without complex cable tensioning. The slats also add texture that photographs well because each slat catches light differently. Keep the slat spacing consistent and the stair reads tidy even if your treads are slightly imperfect.
Build your treads first from a single template, then mount them to a central support. Cut balusters from straight 1x2 or 1x1 stock and sand edges so they don’t look rough. Mark baluster locations along the handrail curve using a flexible measuring tape and a pencil line, then pre-drill and screw balusters into rail brackets. Finish the wood with stain and a satin topcoat so slats and treads share the same sheen.
Use a jig to drill baluster holes at the same height on every bracket so spacing looks uniform.
Don’t leave baluster ends sharp — they snag sleeves and look sloppy in close photos.
6. Corner-Anchor Spiral with Glass Railing Panels
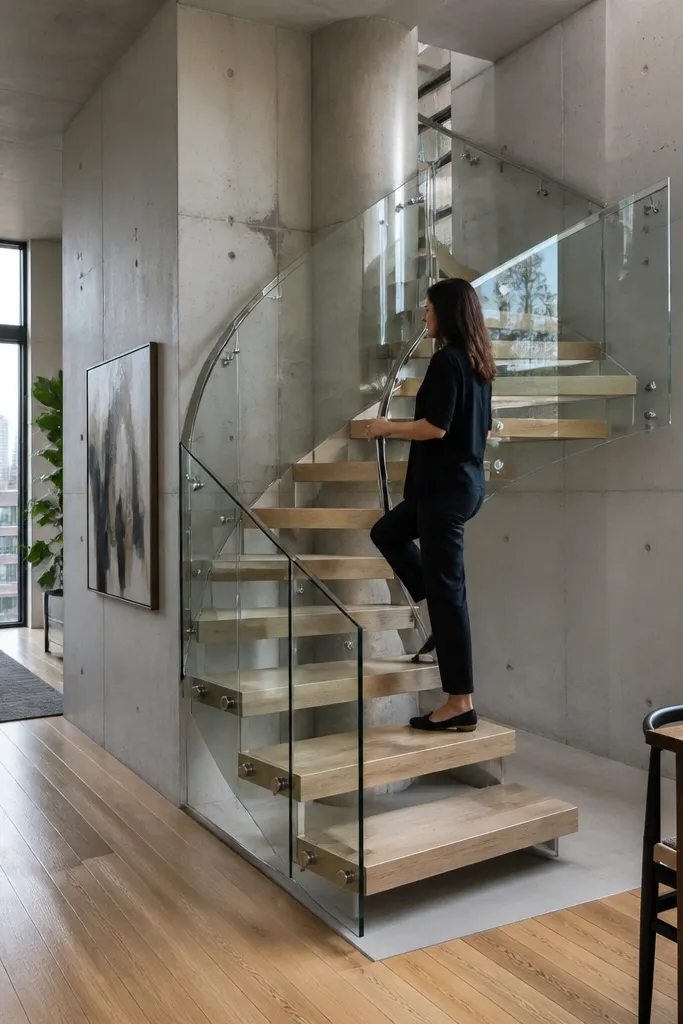
Glass panels turn a basic spiral into something that looks custom, because they remove visual clutter. This is ideal for tight rooms where you want the stair to feel open instead of bulky. The beginner-friendly part is the modular nature: you can mount glass with standard brackets and use a simpler handrail profile. The aesthetic payoff is big — the stair looks sleek and modern, and the glass makes the background show through.
Choose a handrail profile that matches your mounting hardware, then install the spiral support and treads first. Attach corner anchor posts at the top and bottom landing points so the glass has solid, straight reference lines. Mount glass panels using rubber gaskets and bracket clamps, then tighten evenly to avoid uneven gaps. Seal any exposed metal hardware with a protective finish so it doesn’t stain the glass over time.
Editor's noteUse frosted glass only on the lower section if you want privacy but still want an airy top view.
Skip thisDon’t mount glass without leveling reference posts — tiny angle errors show immediately.
7. Corten Steel Look Spiral with Reclaimed Wood Core Steps
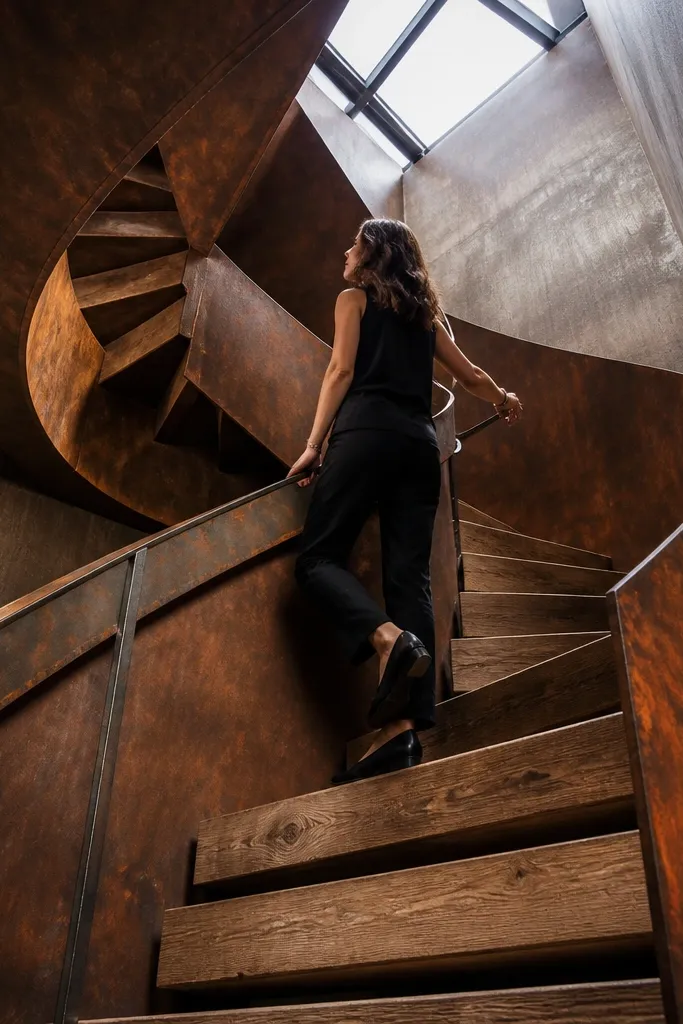
Corten-style metal gives a raw, industrial glow in photos, and it pairs beautifully with warm wood treads. This look is photogenic because the metal surface has color variation and texture, while the wood stays steady and readable. Beginners can build it with a faux-corten coating on metal parts and standard hardwood treads. The stair reads bold without being overly complicated, as long as you keep your metal lines straight and your tread template consistent.
Build or buy your spiral metal support and apply a rust-finish coating system designed for metal so it develops an oxidized look. Make your treads from reclaimed boards planed to a consistent thickness and sand the top face smooth. Assemble by bolting treads onto metal brackets, then add a matching corten-finish handrail. Seal the wood with a matte clear topcoat so it doesn’t compete with the metal’s color.
Editor's noteTest the rust-finish color on a scrap piece — lighting changes how orange vs brown it reads.
Skip thisAvoid mixing multiple metal finishes — corten + shiny hardware makes the stair look unfinished.
8. Blackened Steel Center Column + Walnut Half-Moon Treads
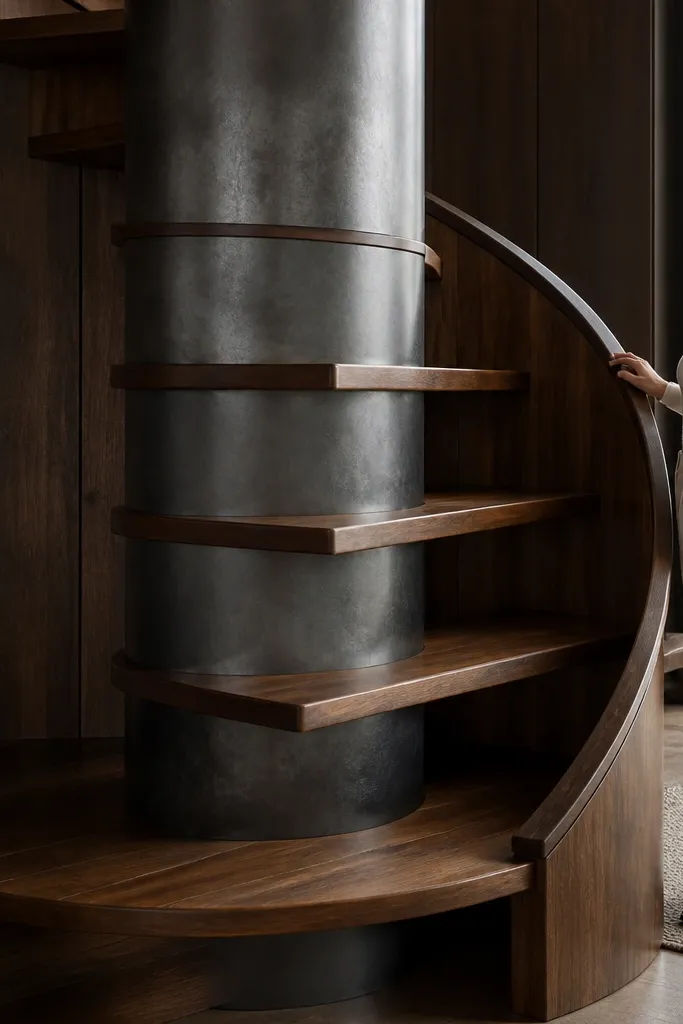
Half-moon style treads look sculptural and modern, especially when they wrap around a dark center column. The center column becomes the visual anchor, and the walnut adds warmth. This is a good beginner-friendly DIY because you can cut half-moon treads from templates and bolt them to a central bracket system. It feels like a design object, not a project you threw together.
Create a half-moon tread template with a consistent inner radius so each step wraps the center without gaps. Cut walnut blanks, route a small chamfer on the tread edges for a clean look, then sand smooth. Mount the blackened center column and attach tread brackets at your marked rotation increments. Bolt treads on top of the brackets and finish with oil or satin clear for a warm, photo-friendly sheen.
Add a thin rubber or felt strip under tread brackets if you want quiet steps and fewer squeaks.
Don’t use sharp 90-degree tread edges — they look harsh and wear faster.
9. Stained Maple Treads with White Spindle Rail
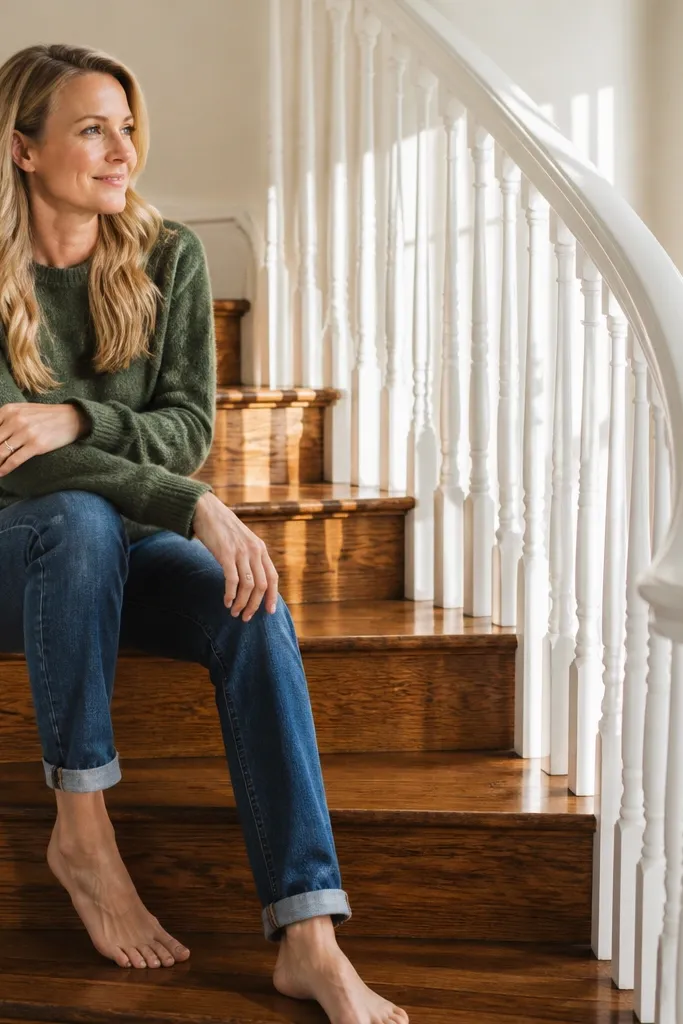
This style is clean and bright: stained maple treads with a white spindle rail. The white rail makes the spiral line crisp and helps the treads stand out without turning the whole staircase dark. It’s beginner-friendly because spindle rails are easy to assemble from repeated parts, and white paint hides small hardware scuffs. It’s a great choice for kitchens, hallways, and spaces with light walls where you want the stair to blend without disappearing.
Cut maple treads from a single template and stain them one consistent batch so every step matches. Build your central support and bolt treads in at fixed rotation points. Install a white rail system with evenly spaced spindles, pre-drilling holes before assembly to keep spindles straight. Finish the maple with a satin topcoat and touch up any exposed wood edges around bolts.
Use painter’s tape to mask rail joints before painting so the spindle lines stay sharp.
Avoid spacing spindles by eye — the spiral silhouette looks uneven fast.
10. Walnut + Clear Acrylic Guard Spiral
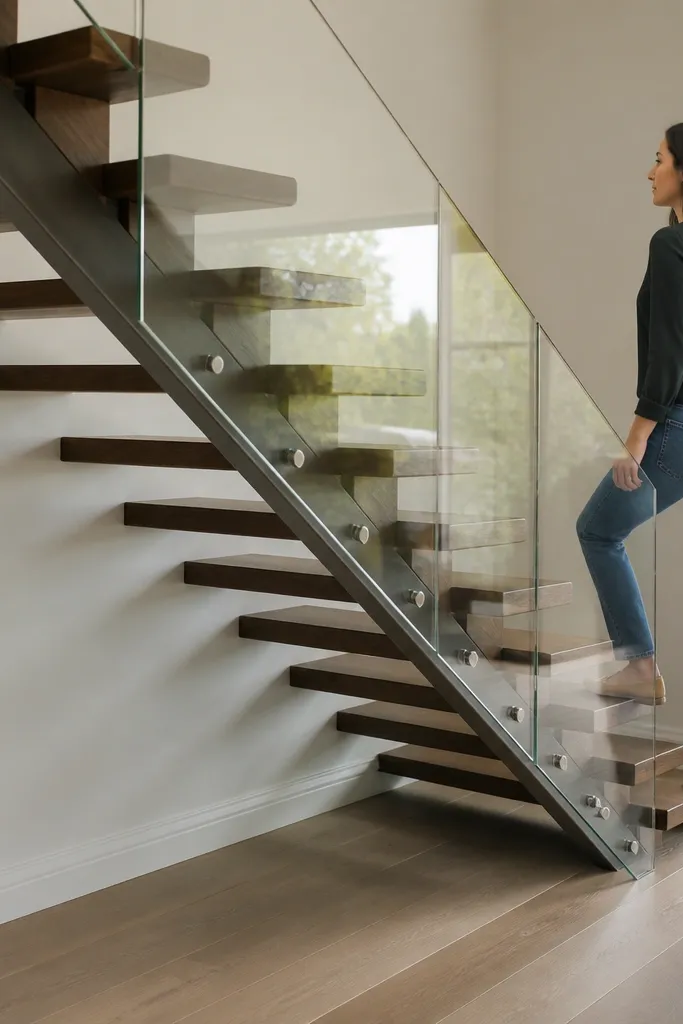
A clear acrylic guard panel turns a spiral staircase into a modern, safe-looking feature without blocking light. Walnut treads keep it warm so the clear panels don’t feel cold or sterile. Beginners can handle acrylic because it cuts to size with common tools and mounts with brackets. The photos look sleek because reflections stay controlled if you polish edges and use matte hardware.
Build your walnut treads and mount them to the spiral support using countersunk screws. Install a handrail and guard posts around the outer edge of the stair. Cut acrylic panels to size, sand and polish the cut edges, then mount with rubber gaskets and bracket clamps. Use a matte finish on metal parts to reduce distracting glare in photos.
Keep acrylic panels slightly off the metal with gaskets so you don’t get squeaks or stress cracks.
Don’t overtighten acrylic clamps — it can crack around the screw points.
11. Dark Denim Treads Look with Stained Wood + Blue Tint
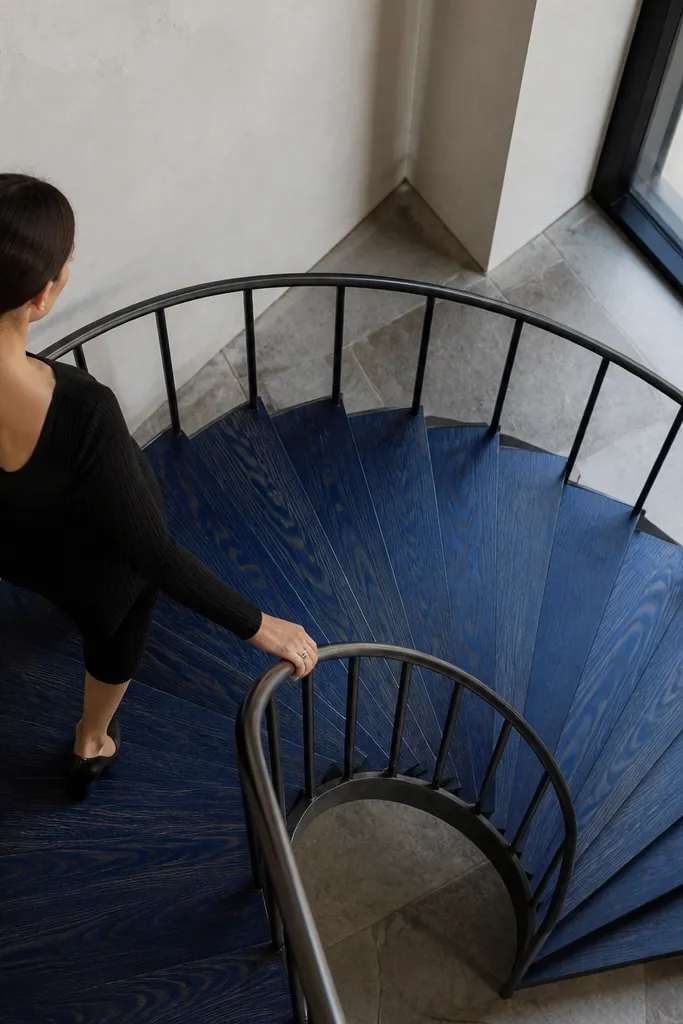
This is a color-first spiral staircase look: deep blue or denim-tinted treads paired with black rail hardware. It’s photogenic because the treads look like fabric from a distance, then wood grain shows up in close photos. It’s beginner-friendly because you can achieve the look with stain + a controlled tint glaze rather than trying to paint every pore. The result feels bold while still reading warm and natural.
Use light wood like maple or birch so the blue tint reads true. Stain lightly, then apply a blue dye or tint glaze in thin coats, wiping back consistently so you don’t get blotches. Seal with a satin clear topcoat to lock the color. Mount the treads to your spiral support, then install a matte black handrail and brackets to keep the color focused on the steps.
Editor's noteDo a test board and measure how many coats it takes to reach your denim tone under your exact room lighting.
Skip thisAvoid staining over dirty wood — dye grabs unevenly and the blue turns patchy.
12. Hex Bolt Pattern Industrial Spiral with Pine Treads
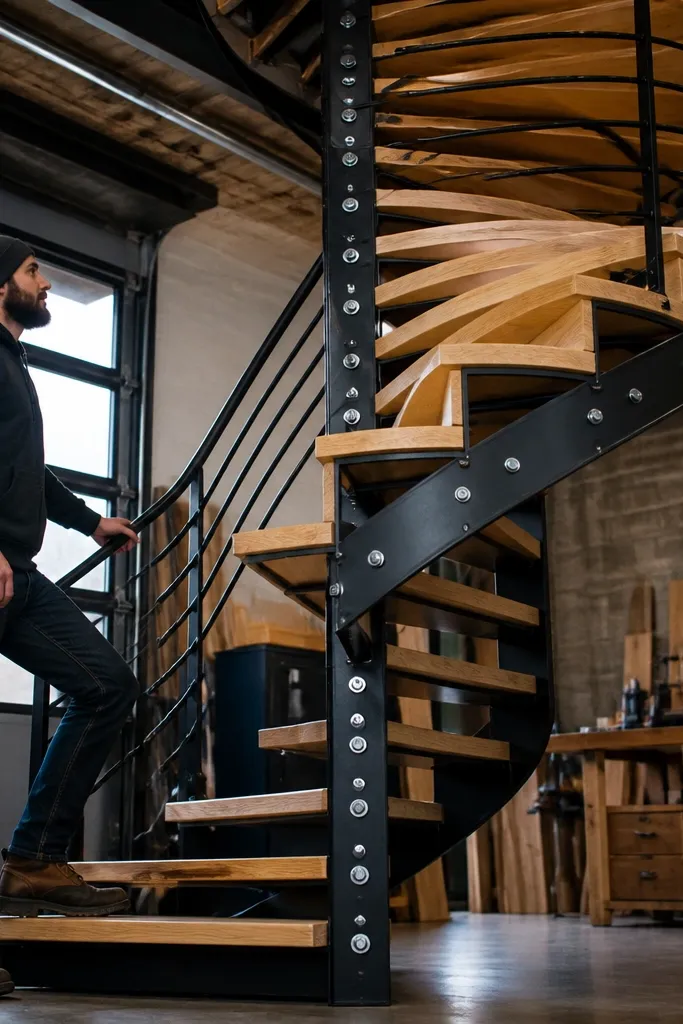
Visible hex bolts make the staircase look intentionally industrial. Pair that with pine treads and a clear satin topcoat and you get that workshop aesthetic that photographs well from multiple angles. Beginners like this because the bolts create a strong visual rhythm, and it’s easier to hide minor alignment issues when hardware is part of the design. The stair will look better in photos because the eye has something crisp to follow.
Cut pine treads from a template and pre-drill bolt holes in the treads before assembly. Paint or powder-coat the metal support in a flat black or gunmetal so the bolts stand out. Assemble the spiral by bolting each tread to the support with matching hex bolts and washers, keeping the bolt spacing consistent. Finish by installing a simple handrail and tightening all bolts after the stair is fully aligned to reduce racking.
Use a washer size that matches your bolt head proportions so the bolt pattern looks clean, not bulky.
Don’t mix bolt finishes — shiny and matte together look sloppy.
13. Floating Step Spiral with Hidden Brackets
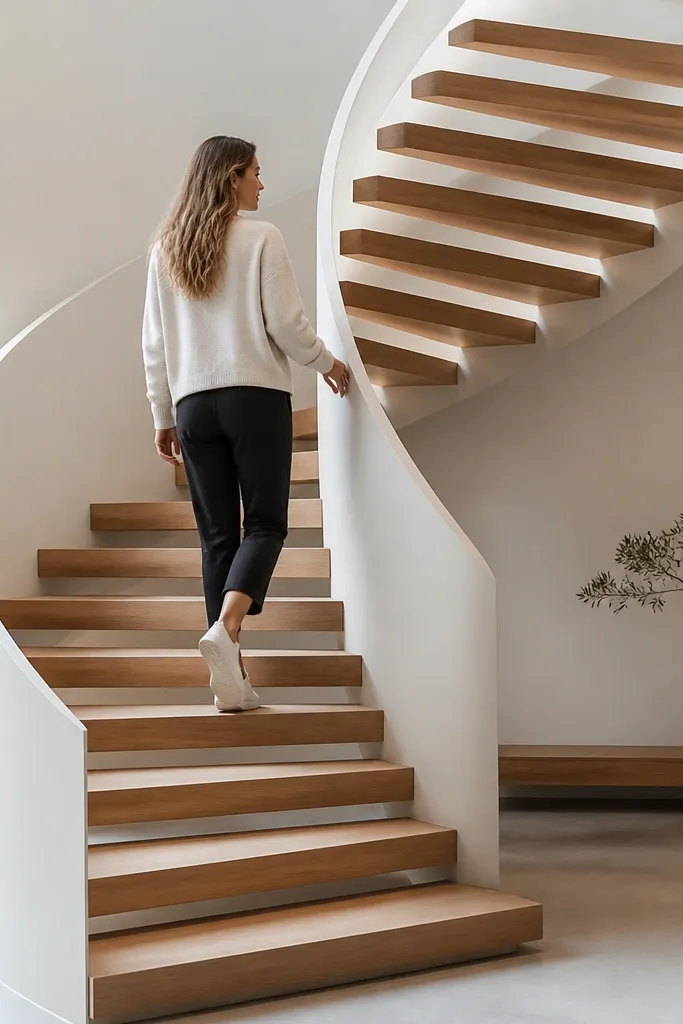
Floating treads look expensive because the underside stays clean and your eye only sees the wood surface. You get that “built by a carpenter” vibe even with a beginner-friendly build method using hidden brackets. This design works best when you keep the metal frame slim and paint it the same color as the background or cover it with trim. It’s photogenic because side angles show the spiral line without distracting hardware.
Build your tread blanks from 2 layers (for thickness) and route a shallow recess on the underside for bracket placement. Install the main spiral support, then attach hidden brackets into the recess locations using pre-measured marks so all treads sit at the same height. Bolt treads onto brackets and check the spiral alignment before tightening fully. Finish the top surface with stain and satin clear, and paint any exposed metal frame to match surroundings.
Editor's noteDry-fit every tread and mark bracket positions with tape before drilling so your recesses line up.
Skip thisDon’t rely on eyeballing tread height — floating designs show every height mismatch.
14. Staircase in a Half-Wall Niche with Matching Panel Trim
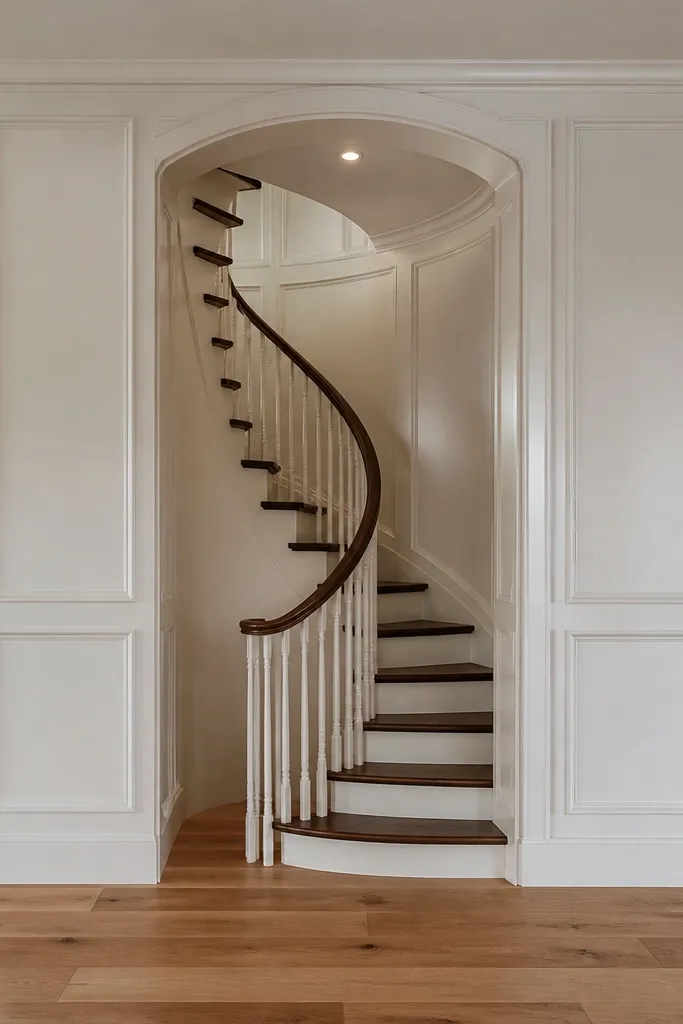
A spiral staircase looks custom when it sits inside a half-wall niche with matching trim panels. The trim frames the stair like a built-in cabinet, hiding gaps and making the whole thing look intentional. This is beginner-friendly because you can conceal structural seams behind paneling and focus on a clean tread and railing build. The photos look calm and high-end since the background becomes part of the design.
Frame the half-wall niche first so you know your finished opening width and can plan the stair diameter. Build treads from a template and mount them to your spiral support, keeping the outer edge aligned to the niche opening. Install a rail that matches the niche material, then add panel trim around the outer edge to hide bracket lines. Prime and paint the trim so it matches the room and reduces visual noise in photos.
Editor's noteUse panel trim with a consistent reveal width around the stair so the frame looks symmetrical.
Skip thisDon’t build the stair before the niche — you’ll chase measurements and end up with ugly gaps.
15. Terracotta Tread Stain with Wrought Iron Rail

Terracotta-stained treads plus wrought iron railings look warm, old-world, and photogenic. The color sits between red and brown and reads beautifully in natural light, making the stair feel like part of a courtyard vibe even indoors. This is beginner-friendly because you can use wood stain tinted toward terracotta and build a simple iron rail line with repeated elements. The key is a satin topcoat so the terracotta stays soft, not glossy.
Use a light wood base and apply a terracotta-tinted stain in thin coats, wiping back so it doesn’t pool at grain lines. Seal with a satin clear topcoat for even color and easier cleaning. Install your spiral support and bolt on treads, then add wrought iron rail posts and a handrail with consistent spacing. Finish by adding a simple foot-safe tread edge detail like a small roundover to reduce sharpness.
Editor's noteTest stain on the exact wood you’ll use — pine takes terracotta differently than maple.
Skip thisAvoid high-gloss clear coats — they make terracotta look uneven and plastic.
16. Two-Tone Treads with Maple Front Edges
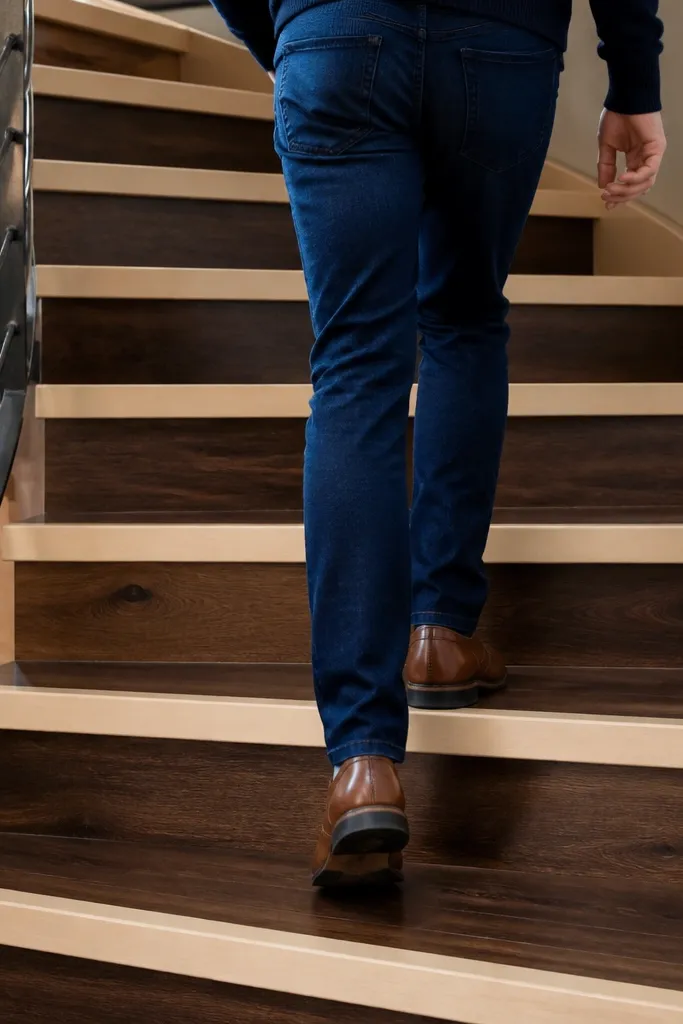
Two-tone treads look like custom millwork. The idea is simple: keep the main tread surface in one tone and add maple front edge strips so every step has a crisp visual border. This makes the spiral read clearly in photos because each tread has a defined leading edge. Beginners can do it without fancy joinery by using edge strips on the front of each tread and matching the bevel or chamfer.
Cut your main treads from one wood tone, then rip maple strips for the front edge profile. Pre-fit the strips and glue with tight clamping, then screw from underneath if needed to keep alignment. Once dry, sand flush and seal the whole tread with stain and satin clear so the two tones blend cleanly. Mount treads to the spiral support and install a matching rail finish, keeping hardware matte to keep the two-tone effect dominant.
Use a stop block to glue edge strips at the same projection on every tread so the border width looks consistent.
Don’t sand edge strips too aggressively — uneven thickness makes the border look wavy.
17. Rattan-Style Wrapped Handrail with Natural Wood Steps
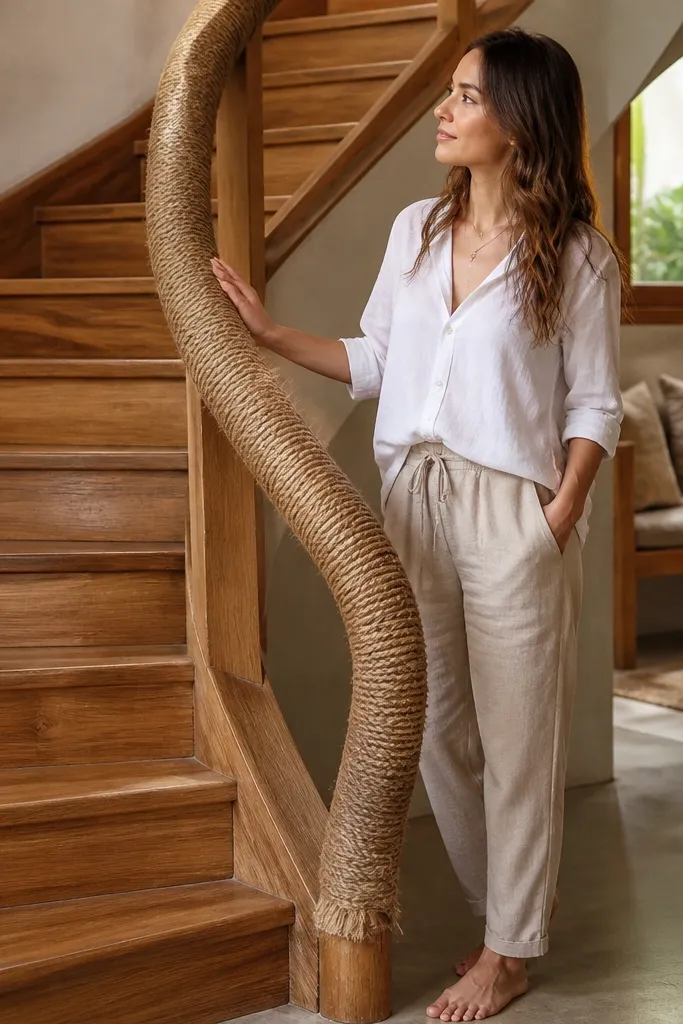
A wrapped handrail look adds warmth and texture that metal-only stairs lack. Pair natural wood steps with a handrail wrapped in rope or cane-style material and you get a cozy, photogenic vibe that still reads safe and functional. Beginners like this because the wrapping hides small imperfections in rail brackets. It’s also a quick visual upgrade compared to changing the structural parts.
Build or install your spiral staircase structure with a simple handrail base. Wrap the handrail using rope, jute, or a rattan-style cord, starting at the bottom and keeping tension consistent while you coil upward. Secure wraps with a hidden adhesive and small ties at bracket points so the wrap doesn’t shift. Finish the wood treads with stain and satin clear, then install a protective top finish on the wraps if your material supports it.
Editor's noteChoose a wrap color that matches your tread undertone — warm oak + warm tan wrap looks intentional.
Skip thisAvoid loose wrap tension — it looks messy in close photos and feels uneven.
18. Small-Space Spiral with 24-inch Diameter Treads and Satin Rail
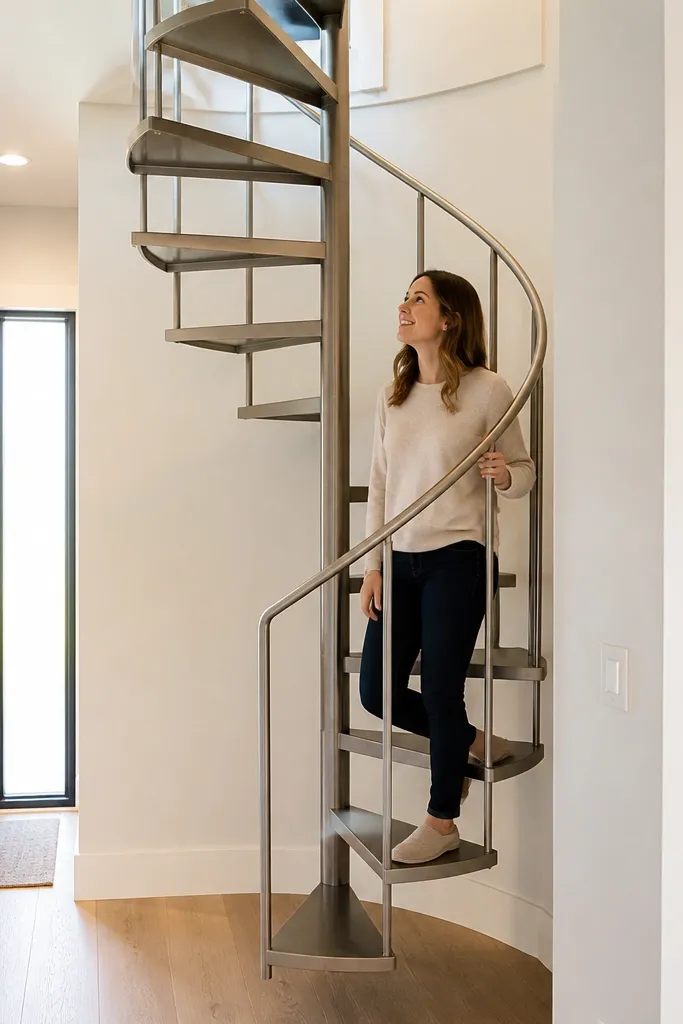
When you’re working with a tight footprint, the stair needs to look deliberate, not cramped. This compact 24-inch diameter concept uses narrow, consistent treads and a satin handrail that visually softens the metal. It’s beginner-friendly because the smaller scale keeps the geometry manageable and the build stays within common kit-style parts. The look is sleek and modern, and photos show the spiral pattern clearly without crowding the room.
Plan a compact diameter around 24 inches for the centerline, then design trapezoid treads that give you a consistent walking surface. Use one template and cut all treads from the same board stock so thickness stays uniform. Mount treads to your central support and install a satin-finished handrail with brackets that follow the curve. Add a minimal guard if needed using simple vertical pieces or a cable line.
Editor's noteKeep your handrail height consistent with your room and mark bracket locations using a string line along the curve.
Skip thisDon’t reduce tread overlap without checking your foot clearance — narrow spirals feel unsafe fast.
19. Concrete Stain Treads with Blackened Steel Support
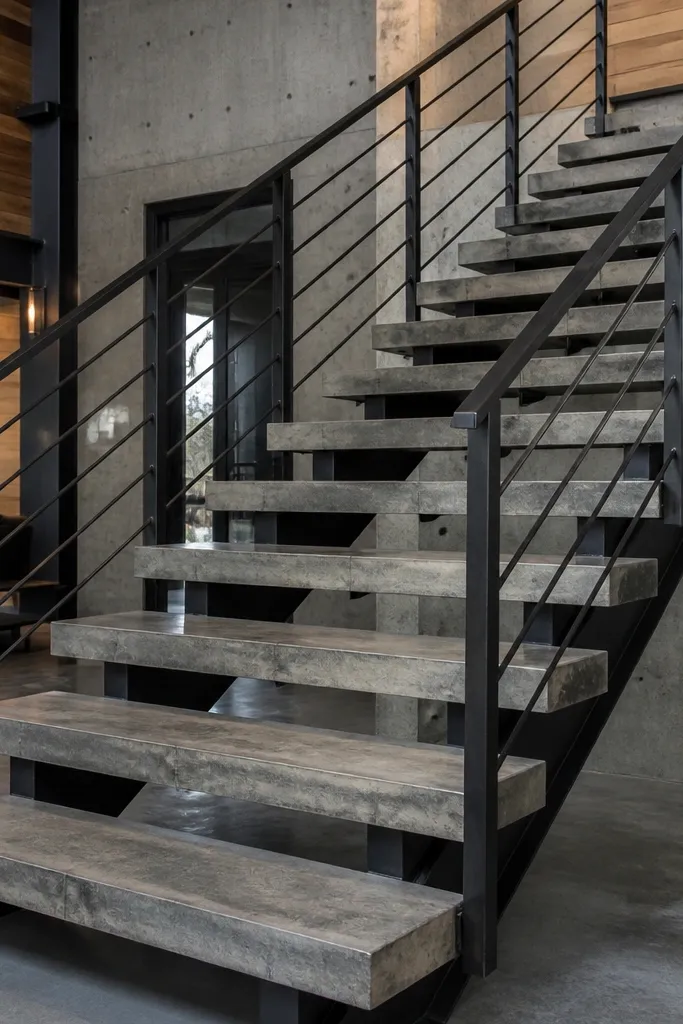
Concrete-stain style treads look industrial, modern, and seriously photogenic, especially when paired with blackened steel. The surface reads like a slab, but you’re building a wooden tread base underneath so it’s still manageable for DIY. This is beginner-friendly because stain systems are forgiving when you apply in thin coats and seal properly. The stair looks architectural and pairs well with gray floors, white walls, and modern lighting.
Start with a smooth plywood or MDF tread base, then apply a concrete-stain or dye system made for wood, following the exact dilution and dwell times. Seal with a clear topcoat that resists scuffs so the surface doesn’t look patchy after use. Mount your treads to blackened steel brackets and install a handrail in matching black finish. Add a thin edge trim so the stained surface doesn’t chip at the front.
Editor's noteUse a foam applicator for stain so you avoid harsh streaks and get an even, stone-like look.
Skip thisAvoid skipping the sealing coat — without it, the finish scuffs and turns blotchy.
20. Ladder-Style Spiral with Wide Tread Landings
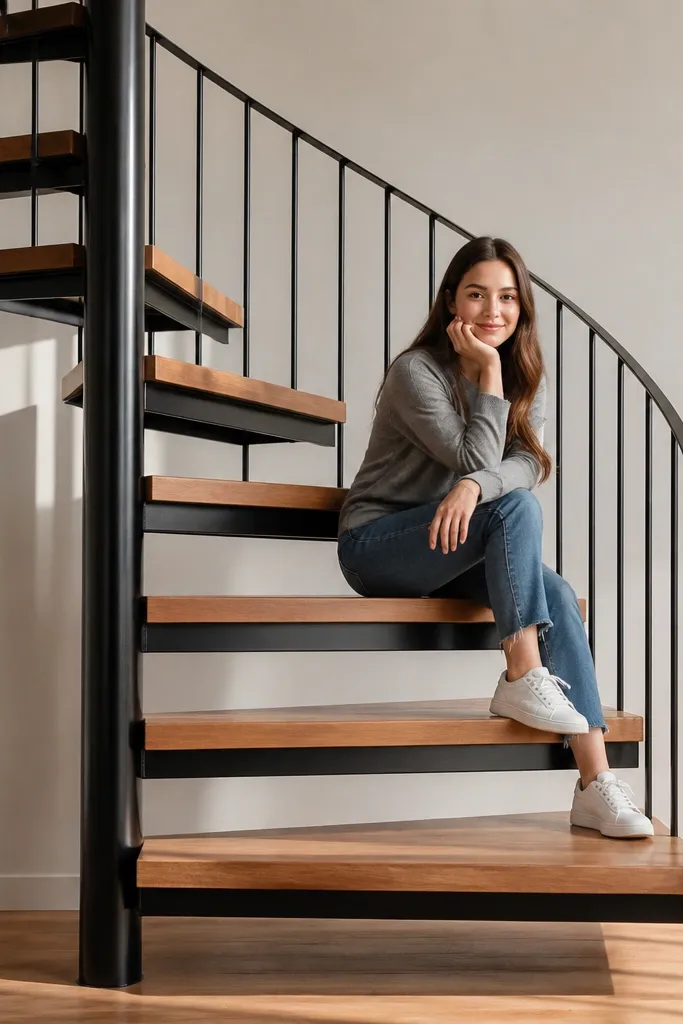
This is the spiral that looks friendly because the treads feel more like steps than slivers. Wide tread landings make the staircase look substantial in photos and help beginners avoid the “too narrow to step” feeling. The rail design stays simple, with a ladder-style frame that reads clean from the side. It’s beginner-friendly because wide treads forgive tiny layout errors; the stair still looks aligned.
Design each tread with a larger outer width and enough depth for your foot, then cut all treads from the same template. Mount treads to a central support with consistent bracket placement so the outer edges form a smooth spiral line. Build a ladder-style rail using horizontal members and vertical uprights that follow the curve, then attach a handrail on top. Finish treads with stain and satin clear, and keep rail hardware matte so it doesn’t reflect too harshly.
Add a small nosing profile on the tread front so edges catch light and look crisp.
Don’t oversimplify bracket placement — wide treads magnify any twist or height mismatch.
21. Staircase with Hidden Under-Tread Lighting Strip
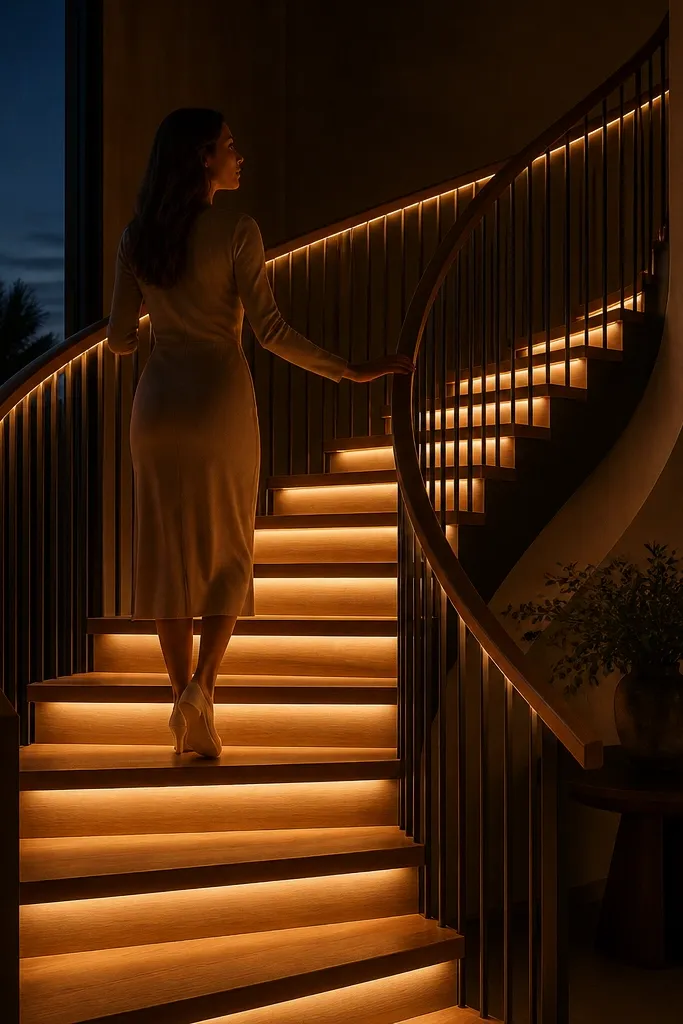
Lighting is the shortcut to “wow” photos, and under-tread strips make a spiral staircase look like it’s floating. Warm LED strips tucked under each tread create a soft glow that highlights the spiral geometry and makes the handrail look cleaner. Beginners can handle this build because LED strips are low-voltage, and wiring can be hidden along the central support. The staircase looks premium in both daytime and evening shots.
Install your spiral structure and treads first, then plan cable routing along the center column before you bolt everything tight. Drill a small channel or route a shallow groove so LED wires and strip leads sit flat. Mount LED strips under each tread with aluminum channels for even light, and wire them to a driver hidden at the base. Add a simple dimmer switch so you can dial brightness for photos and daily use.
Choose 2700K warm LEDs for wood stairs — they read cozy instead of blue.
Avoid exposing strip edges — visible tape lines look cheap in close-ups.
22. Walnut Treads with Brass Inlay Handrail Detail

Brass inlay details turn a basic spiral into a jewelry-like staircase. The trick is to keep brass limited to one area, usually the handrail edge or rail posts, so it looks intentional rather than cluttered. Walnut treads keep the overall look warm and grounded, and brass adds a highlight that photographs beautifully. Beginners can do this without complex metalwork by using brass trim strips or prefabricated inlay channels.
Cut and mount walnut treads using one template and consistent bracket spacing. Install your handrail with a simple metal base, then add brass trim strips along the outer edge using screws or adhesive rated for metal and wood. If you want a cleaner line, route a shallow channel into a wood handrail cap and press brass strip into it, then seal over. Finish with satin clear so brass doesn’t glare.
Use a matte brass finish if you want the stair to read upscale in indoor lighting without mirror shine.
Don’t run brass across multiple parts — it steals attention from the tread spiral.
23. Teak Oil Finish Spiral with Minimal Rail
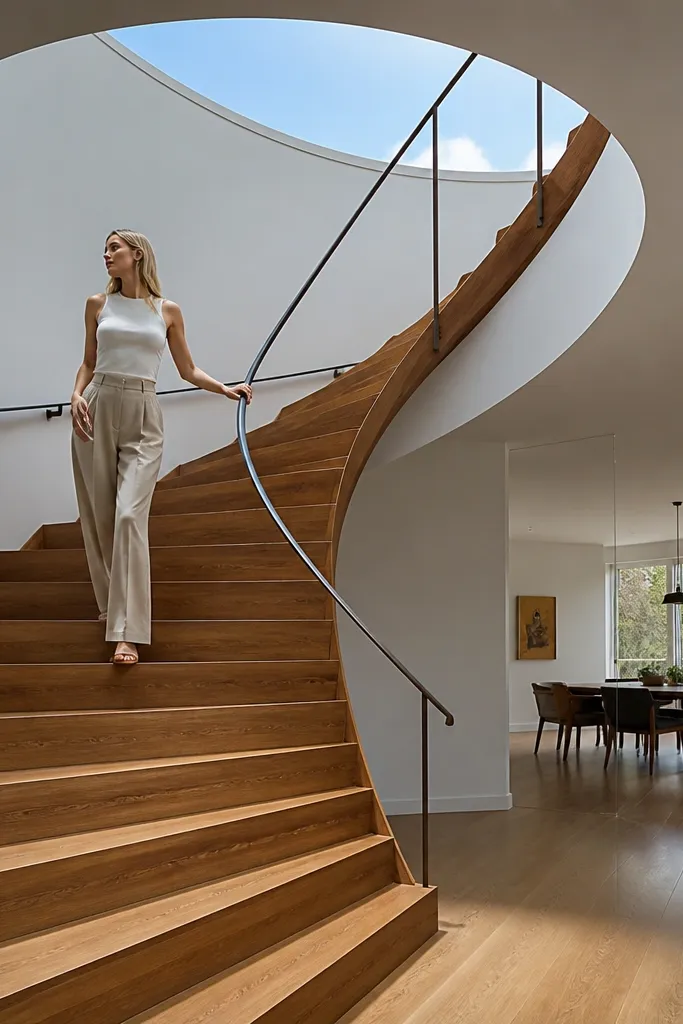
Minimal rails make the spiral look sleek, and a teak-oil finish makes the wood look alive in photos. The stair becomes the main visual object because the design doesn’t hide behind heavy balusters. This is beginner-friendly because minimal rail systems use fewer components and fewer mounting points. It works best when your space already has strong lines — white walls, clean floors, and simple lighting.
Build treads from an oil-friendly wood like teak, or use another durable hardwood and keep grain consistent. Sand to a smooth 180-220 grit and apply teak oil in thin coats, wiping off excess after each coat. Mount the spiral support and bolt on treads, then install a minimal handrail with fewer posts. For added safety, include a continuous guard where required by your local rules, but keep the visual profile slim.
Let oil cure fully between coats so the finish looks even, not streaky.
Avoid thick oil pooling at tread edges — it stays tacky and attracts dust.
24. Patterned Plywood Treads with Clear Coated Top
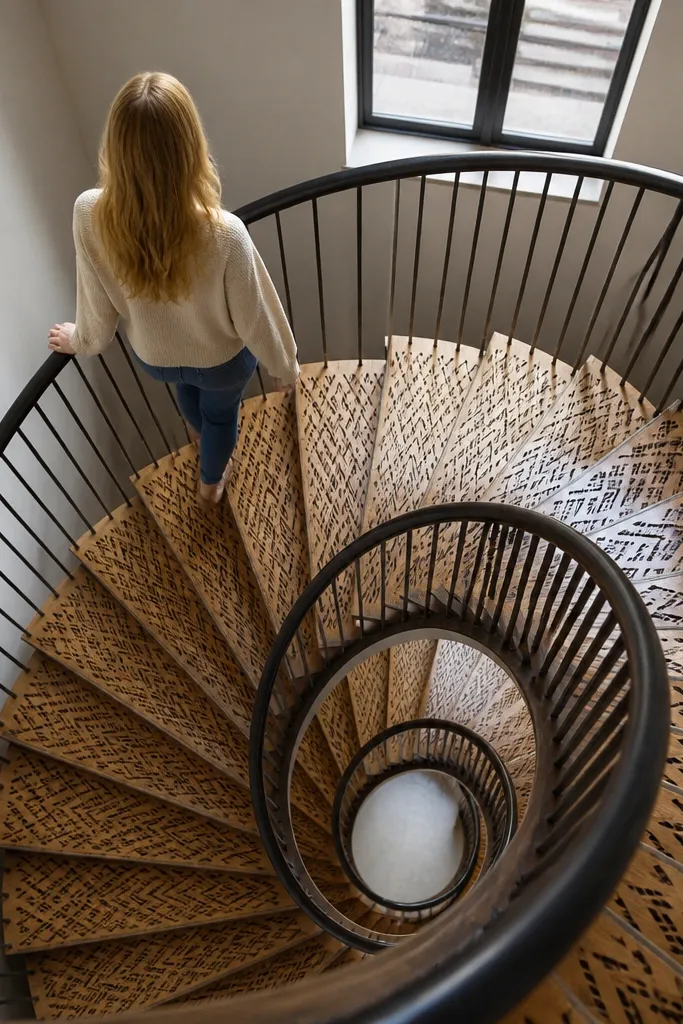
Patterned plywood treads look like layered design even when the build is simple. Cut a repeating geometric pattern into a plywood base, then seal it under a clear topcoat so the pattern stays crisp and protected. This design is photogenic because the spiral reads as a graphic, not just a staircase. It’s beginner-friendly because plywood is easy to template and you can keep the pattern consistent across all treads.
Cut tread bases from plywood using one template, then mark and cut your pattern with a jigsaw or CNC if you have access. Sand edges smooth and apply stain or dye only if you want color variation under the clear coat. Seal with a clear polyurethane designed for floors so it resists scuffs. Mount treads onto your spiral support and keep the handrail simple so the pattern remains the focal point.
Use a clear coat with UV protection so the plywood pattern doesn’t yellow over time.
Avoid leaving sharp pattern edges — they chip underfoot and look rough quickly.
25. Beveled Edge Treads with Satin Black Rail
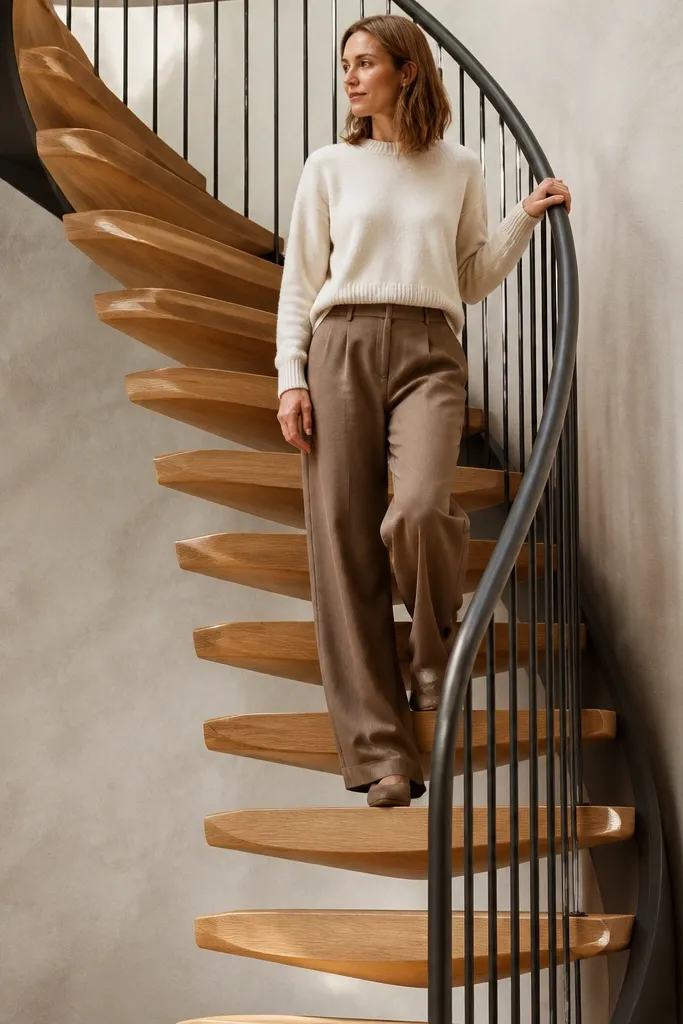
Beveled edges are a small detail that makes a huge difference in how a spiral staircase reads in photos. When every tread has a consistent front bevel and the rail is satin black, the staircase looks crisp and professionally finished. This is beginner-friendly because beveling is repeatable with a router jig or table saw setup. The result is clean, modern, and less forgiving of sloppy alignment, so it pushes you toward accurate spacing.
Cut all treads from one wood board stock using a single template. Bevel the front edge using a router with a consistent bit or a table saw chamfer setup, then sand lightly for uniform smoothness. Mount treads to your spiral support at equal rotation increments and check height before final tightening. Install a satin black handrail with evenly spaced brackets so the rail line stays smooth.
Editor's noteMake a sacrificial test piece to dial your bevel depth before routing the real treads.
Skip thisDon’t vary bevel depth between treads — the spiral looks uneven in side shots.



