
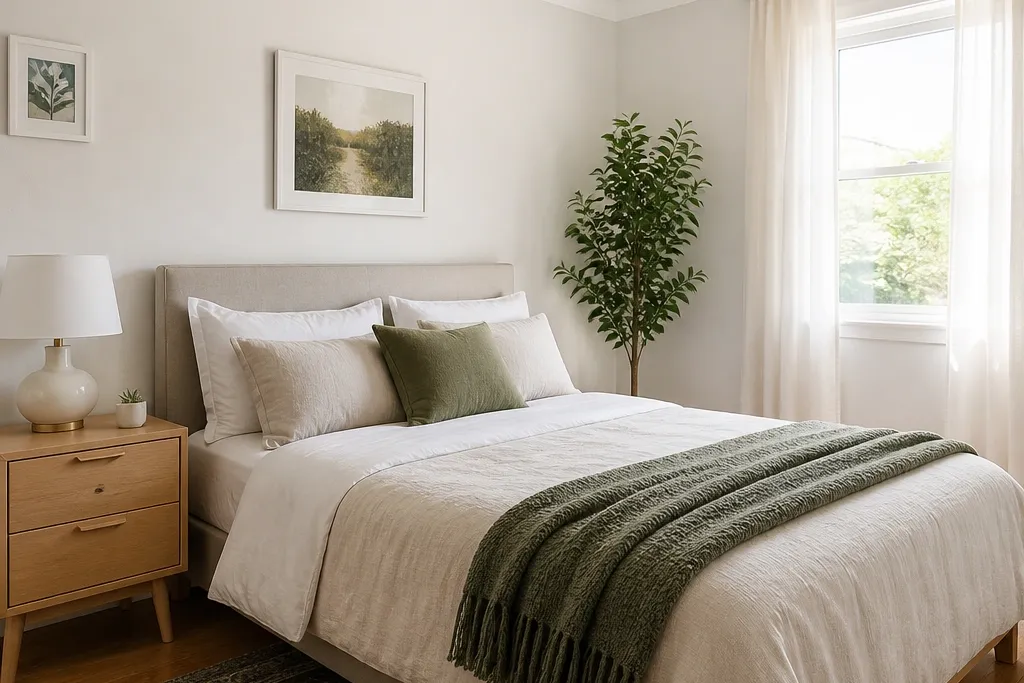
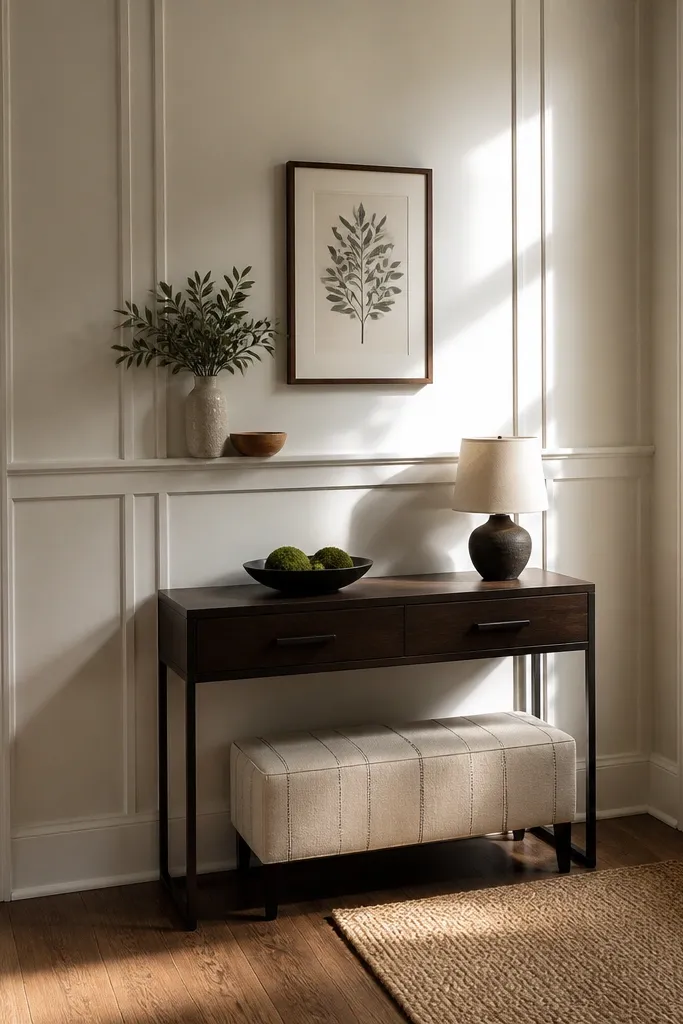
1. Single Horizontal Picture-Ledge Rail
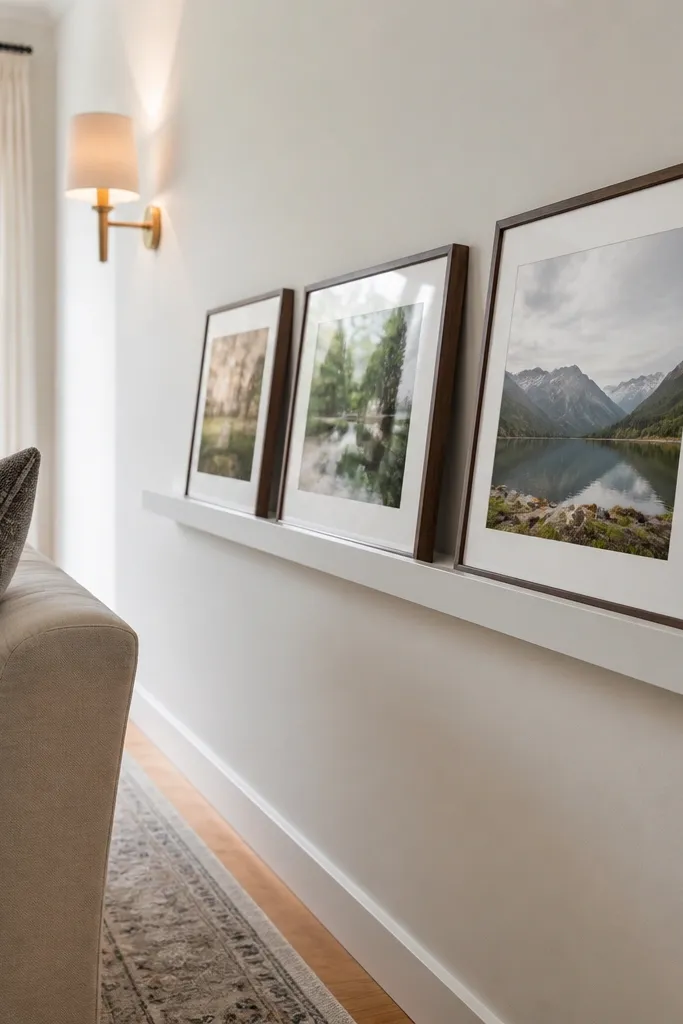
Start by measuring the wall and picking a rail height that makes sense with your furniture. A solid target is 56-60 inches from the floor to the top of the moulding for a standard sitting wall, or about 60-64 inches in a hallway where your eye travels upward. Mark level lines with a laser or 4-foot level, then dry-fit the pieces to confirm you’re not landing on an outlet. Cut miters for corners, or butt-join with a clean butt seam if your layout is simple, then glue and nail the strips into studs or blocking. Fill nail holes with wood filler, caulk the edges with paintable latex caulk, and sand smooth before priming and painting.
This is the quickest way to add structure to a small room because your eye gets one strong horizontal line instead of scattered details. Use a picture-ledge style rail that’s about 1.5 to 2 inches tall so it reads modern, not traditional. The rail also gives you a visual “stop” for wall art — hang pieces with the top edge aligning to the rail height. It looks especially good in hallways and bedrooms where you want calm, linear order without taking up floor space. Build it with pre-primed MDF strips or a ready-made rail profile, then paint it the same color as your trim for a built-in feel.
Skip thisDon’t place the rail so high that it competes with artwork or so low it visually chops the baseboard.
Editor's noteUse a 6-8 inch tester strip of paint at the rail height to confirm the sheen matches the wall and trim.
2. Two-Tier Floating Rail (Low + Midline)
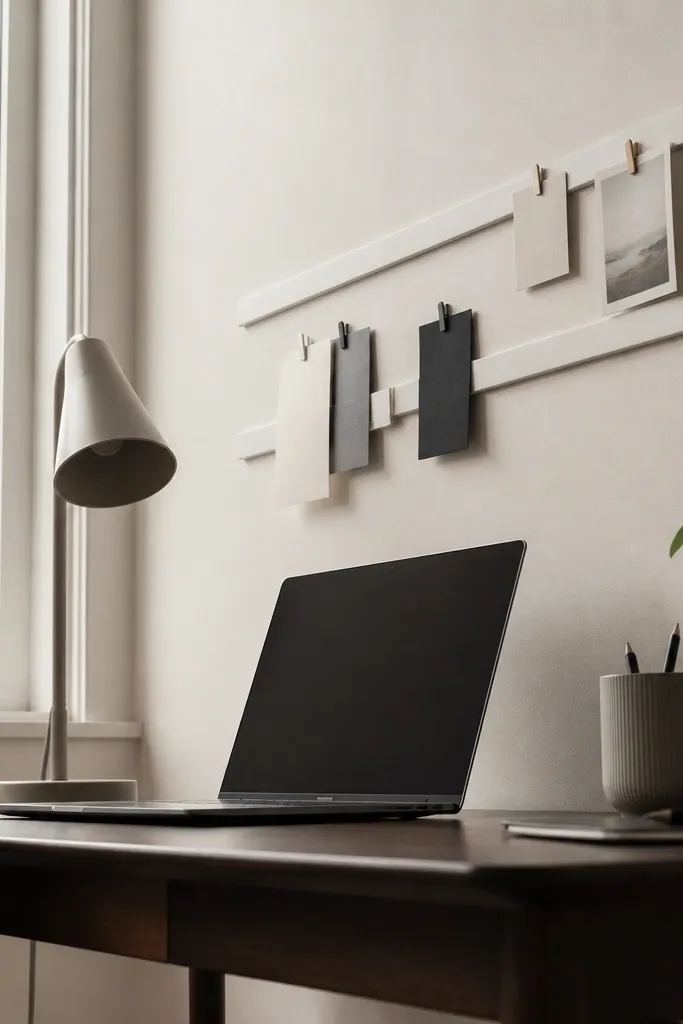
First, pick your spacing: a 10-14 inch vertical distance between the two rails looks clean in most small rooms. Mark the lower rail line at about 38-42 inches from the floor to the top edge, then mark the second line using your measured gap. Cut and install the rails level, using construction adhesive plus finish nails; secure into studs and add small blocking where needed. At corners, use 45-degree miters for a seamless look. Caulk the top and side edges, fill nail holes, sand, prime, then paint with a trim sheen that matches the rest of your moulding.
Two rails create a modern “frame” effect without building full panels. Keep both mouldings slender — each about 1 to 1.25 inches wide — and set them with a consistent gap so the wall looks designed, not accidental. This design works great for small living rooms where you want a little rhythm behind a sofa or desk. The top rail helps align wall art, while the lower rail gives a subtle anchoring line near the room’s visual baseline. Use the same paint color as your door trim or slightly brighter white than the wall for a crisp contrast.
Skip thisSkip thick, chunky mouldings here — they make the two-line design feel heavy in small rooms.
Editor's noteSet a temporary level line with painter’s tape before cutting so you don’t discover a height mismatch after the first rail is nailed.
3. Vertical Rhythm Columns (3 Narrow Bays)
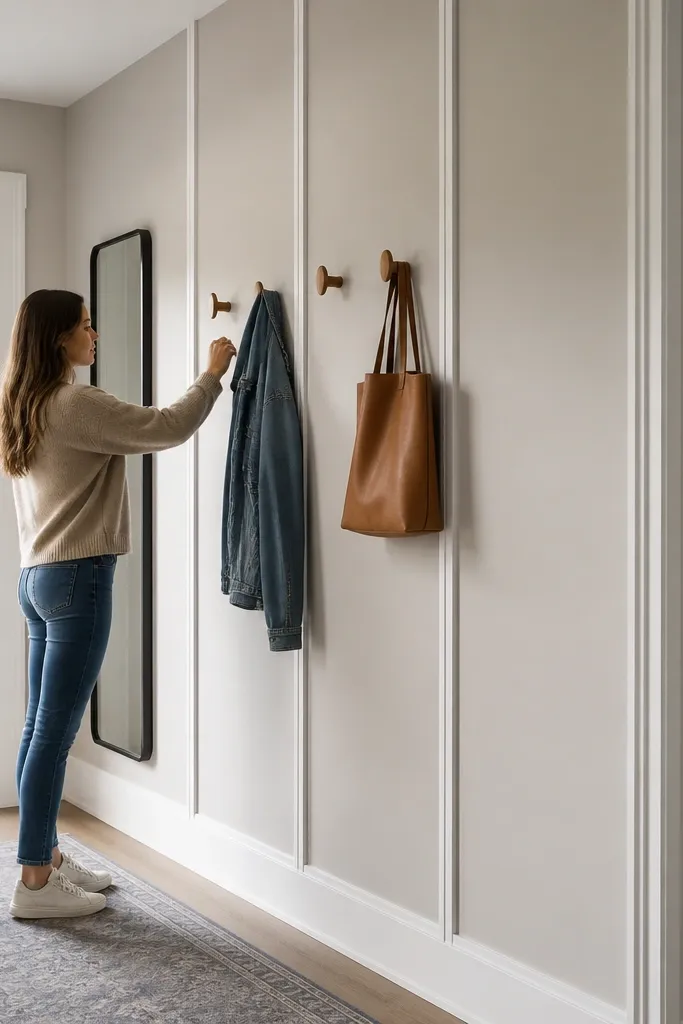
Start by measuring the wall width and dividing it into three equal sections with equal spacing between columns. Use 3/4 to 1 inch moulding thickness depending on your chosen profile, and aim for gaps around 4-6 inches between columns for a modern rhythm. Mark the column centerlines, then snap vertical chalk lines. Cut your moulding pieces to fit between the baseboard and the ceiling trim line, or stop at a consistent height if you’re avoiding the ceiling area. Install with adhesive and finish nails, then caulk the edges for a crisp, shadow-line look. Prime, then paint everything in the same trim color.
If your room feels short or narrow, vertical columns give you height without enlarging anything. This design uses three slim vertical moulding “bays” created with 1x2 or 1x3 strips, spaced evenly so the wall reads as one clean composition. It’s a smart pick for narrow hallways, condo entryways, and stair landings where you want movement but not a full panel grid. The columns also make it easier to hang art or a mirror because each bay feels like a defined zone. For a modern look, keep the columns tall and let the bottom and top edges align with existing trim lines.
Skip thisDon’t let the columns “drift” off-level — even a 1/4 inch difference shows up fast in vertical designs.
Editor's noteUse a scrap of the exact moulding plus a spacer strip to keep gaps consistent across all columns.
4. Modern Rectangle Grid Panels (2x3 Composition)
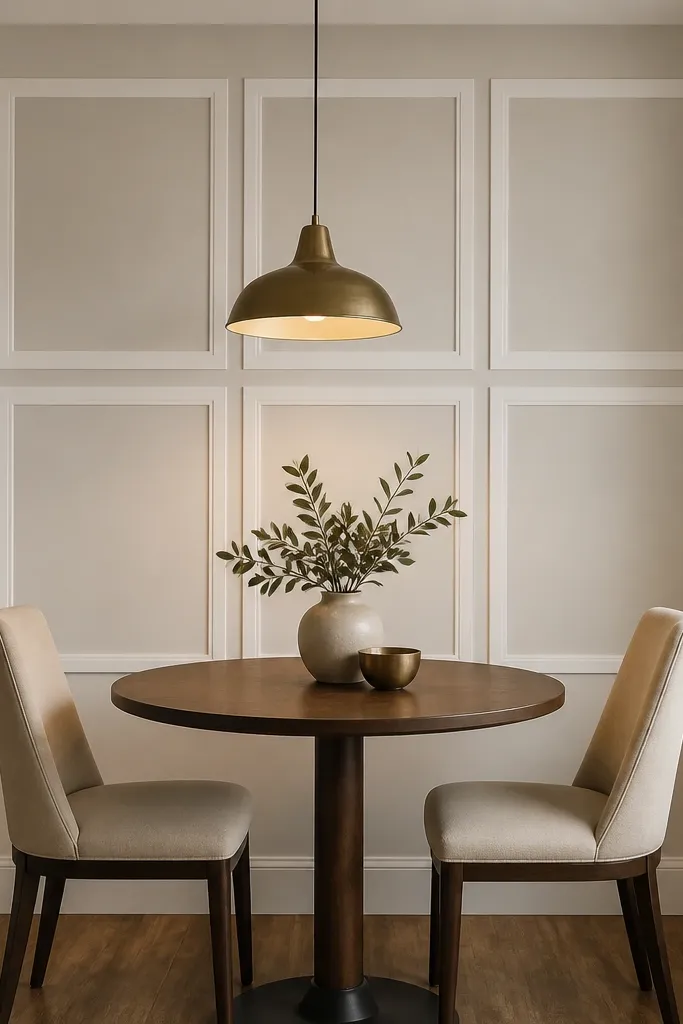
Rectangle grid panels look custom because they create depth lines, even when the pieces are only a couple inches wide. For small-space wall moulding ideas, a 2x3 composition is the sweet spot: it’s structured, but not busy. Use thin moulding for the borders (about 1-1.5 inches wide) and keep internal panel openings clean and symmetrical. This works beautifully behind a sofa, in a dining nook, or on the main wall you want to photograph. The modern part is the spacing — wider openings feel airy, while tight spacing can turn the wall into a cluttered maze.
Pick a starting rectangle size based on your wall dimensions. A common approach is to aim for panel openings around 12-18 inches wide and 12-18 inches tall, then adjust so the outer frame lands evenly. Mark a level top line and a level bottom line, then lay out the verticals so you have equal gaps. Cut borders with 45-degree miters at corners of the outer frame, and use butt joints for internal dividers if you want speed and less miters. Glue and nail the frame pieces, then fill nail holes and caulk all seams. Prime and paint in two coats for smooth coverage over MDF.
Dry-fit the entire grid on the floor, then re-measure before you commit to cuts — it catches shrinkage or wall irregularities early.
Avoid oversized panels that push one row too close to the ceiling or baseboard.
5. Full-Length Wainscot with Slim Top Rail
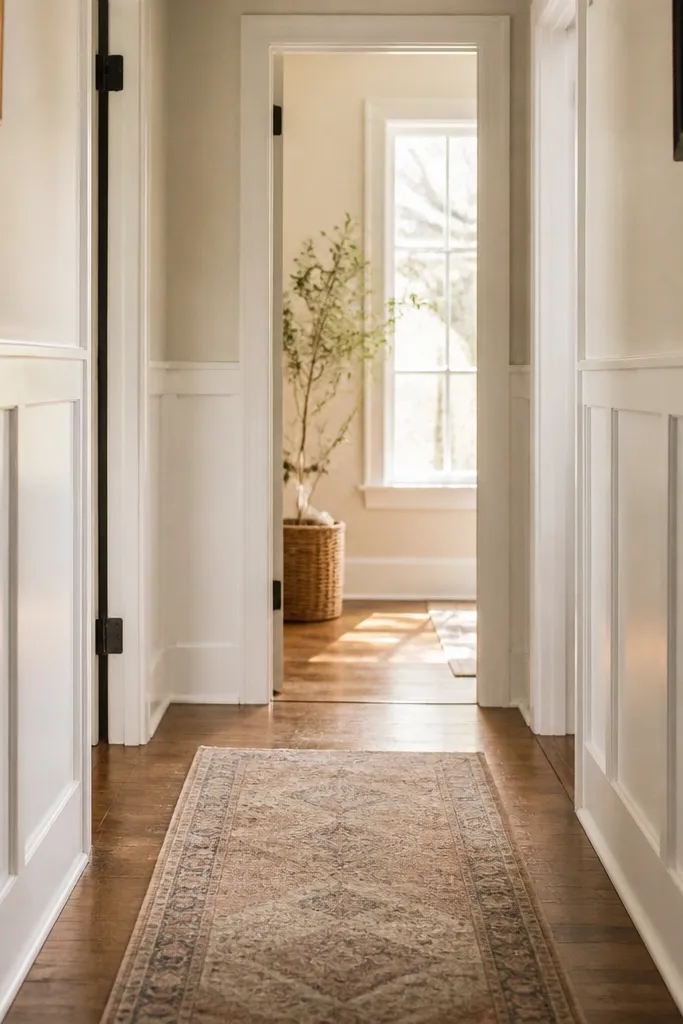
Measure from the floor to the top of the wainscot and plan for a height around 30-36 inches in most small rooms. Mark the wainscot line level all the way around, then frame the outer perimeter with moulding. Inside the field, lay out rectangles that repeat — for example, 12-16 inch openings — and install dividers. Attach pieces with construction adhesive and finish nails into studs; if your wall is plaster or drywall without studs nearby, add blocking behind the moulding. Caulk edges, fill holes, sand, prime, then paint with a semi-gloss or satin trim sheen for crisp shadows.
Wainscot reads classic, but you can make it modern by keeping the profiles slim and the panels simple. This design covers the lower half of the wall with a tidy panel field, then tops it with a single slim rail. In small spaces, it adds a sense of intention and hides scuffs, while the lower framing prevents the wall from looking blank. It also makes paint touch-ups easier because scuffs show less on the panel lines. Use 1x2 or 1x3 moulding for the rails and dividers, and keep the panel grid consistent.
Skip thisDon’t let the wainscot height land awkwardly under a window — align the top rail with a window sill or keep it clearly below.
Editor's noteUse a caulk tool with a slightly rounded tip to press caulk into corners without smearing it onto the face.
6. Floating L-Shaped Frame Around a Nook
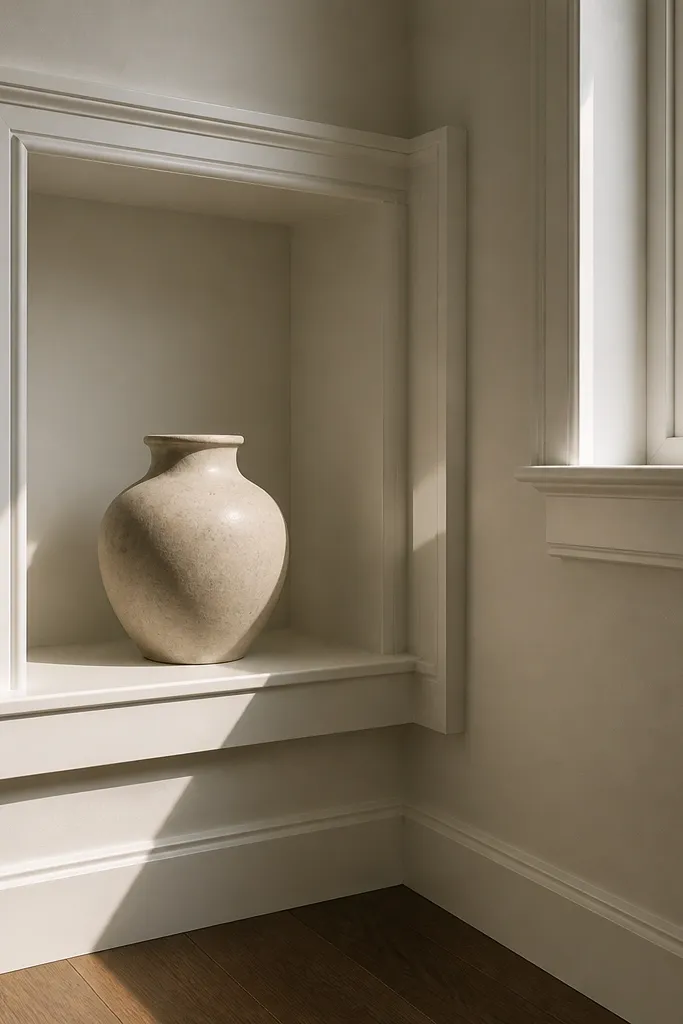
Start by choosing the area you want to frame — an 18-30 inch wide corner section usually looks best. Mark a level horizontal line for the top of the frame and a vertical line for the side return, keeping the moulding face parallel to the wall trim. Cut the horizontal and vertical pieces, then install using adhesive and finish nails. At the corner, use a tight miter if you’re meeting at 45 degrees, or use a clean butt joint with a small backing strip if alignment is tricky. Caulk the edges, fill nail holes, sand, then prime and paint. Add a second short return only if the geometry looks unbalanced from the doorway.
This one is all about framing a small feature area without covering the whole wall. Make an L-shaped moulding frame that hugs a corner or alcove, then add a matching vertical return on the adjacent wall. It looks modern because the lines are bold and simple, and it’s visually “clean” even when the room is busy. Use it around a built-in shelf, a reading corner, or the wall space beside a door where nothing else fits. Because the moulding is only on two sides, it doesn’t crowd the room or reduce light the way full panels can.
Skip thisDon’t frame too small; if the opening is under about 14 inches, the lines look like a mistake.
Editor's noteMeasure from the corner to your moulding face, not to the wall edge — walls are rarely perfectly square.
7. Assymetric Modern Panel with One Vertical Divider
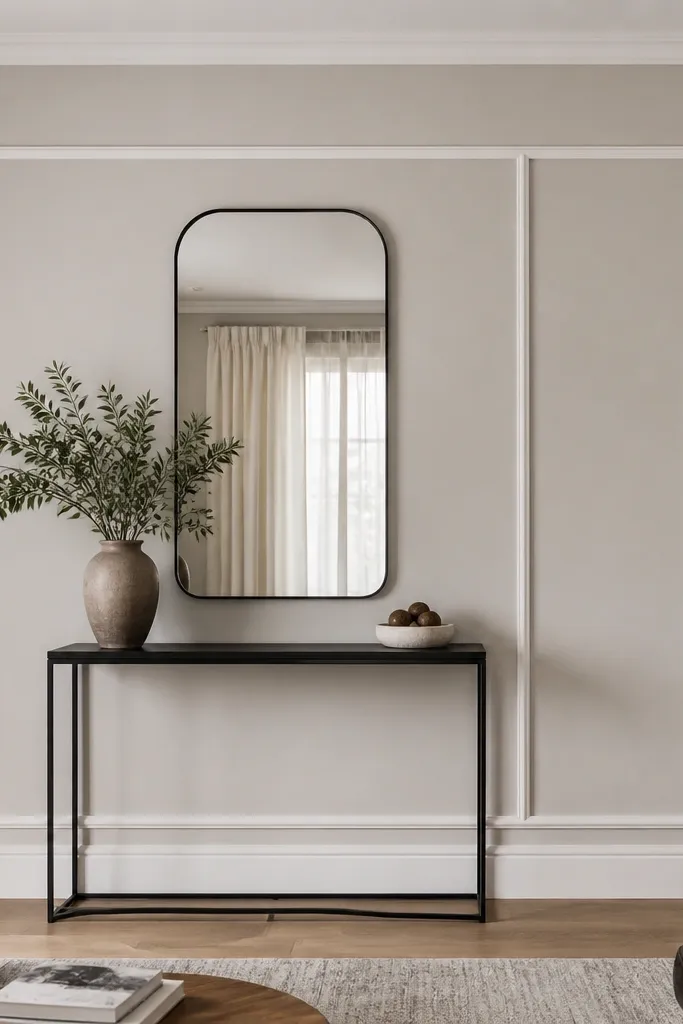
Asymmetry looks modern when it’s controlled. This design uses one large rectangle outline, then adds a single vertical divider offset slightly from center so the composition feels designed, not mirrored. In small-space wall moulding ideas, this is perfect for walls with a focal point like a mirror, narrow console, or a TV that interrupts symmetry. The moulding gives structure to the blank area while still leaving negative space so the wall doesn’t feel crowded. Keep the outline moulding slender and use clean caulk lines so the offset doesn’t look sloppy.
Pick your outer rectangle size based on the wall area around the focal point. Mark the top and bottom boundaries level, then build the outer perimeter with 45-degree miters at corners. Install a single vertical divider inside, offset by 2-4 inches from the center of the outer rectangle. Attach the vertical with adhesive and finish nails, then caulk all seams so the lines look continuous. Fill nail holes, sand, prime, and paint in two coats for a smooth, modern finish.
Use painter’s tape to mock the offset divider position on the wall before cutting anything.
Don’t use multiple offset elements — one deliberate asymmetry looks intentional, three looks chaotic.
8. Ceiling-to-Floor Frame Grid (One Big Rectangle)
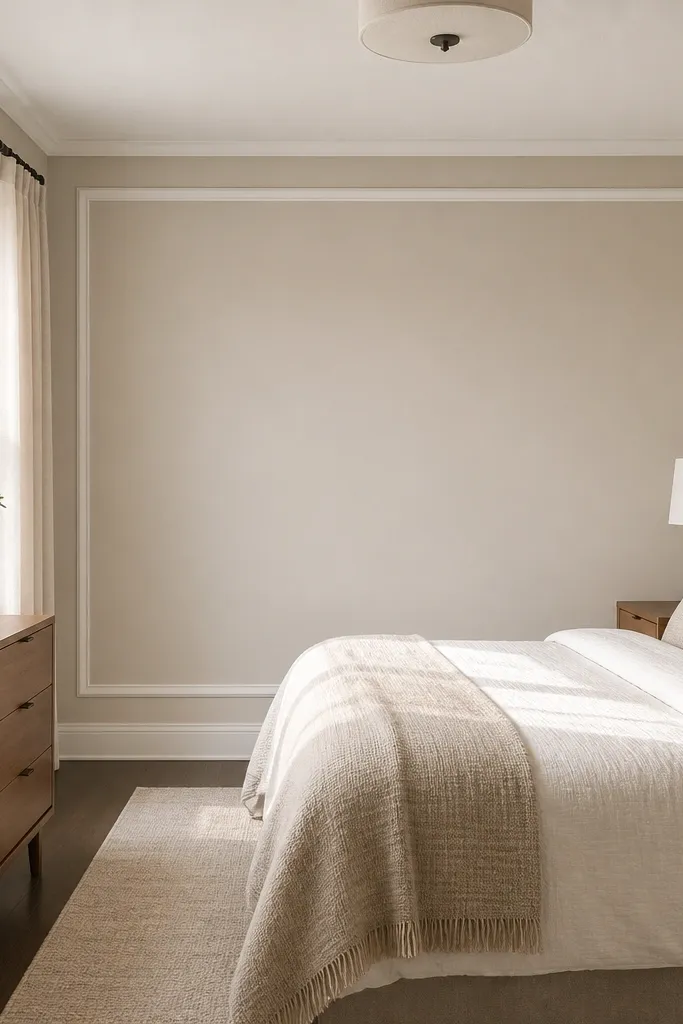
Measure the wall height and decide your border width — 1-1.5 inches wide looks modern and doesn’t feel heavy. Mark a level line for the top of the border where it will sit under the ceiling trim or leave a consistent gap if you’re avoiding crown. Then mark matching lines at the bottom above the baseboard top edge. Cut the four frame pieces with 45-degree miters, dry-fit, then glue and nail into studs. Caulk all perimeter seams, fill holes, sand smooth, prime, and paint. If the wall is wavy, use a thin shim behind the moulding to keep the frame face straight.
A single big rectangle frame is the most dramatic way to make a small room feel designed, without adding lots of lines. The trick is to run the frame close to the ceiling and base trim while keeping the border width slim. This design works best on walls that are already mostly blank and uninterrupted, like a bedroom wall behind a bed or a living room wall behind a console. The rectangle creates a focal “window” that makes the wall feel deeper, especially when you paint the frame slightly brighter than the wall. Choose MDF or PVC moulding for crisp edges.
Skip thisSkip thick moulding here — one frame needs to look light to keep small rooms airy.
Editor's noteCheck the wall for out-of-plumb with a 6-foot level before you cut miters — it saves headaches.
9. Picture Frame Moulding Around a Mirror Spot
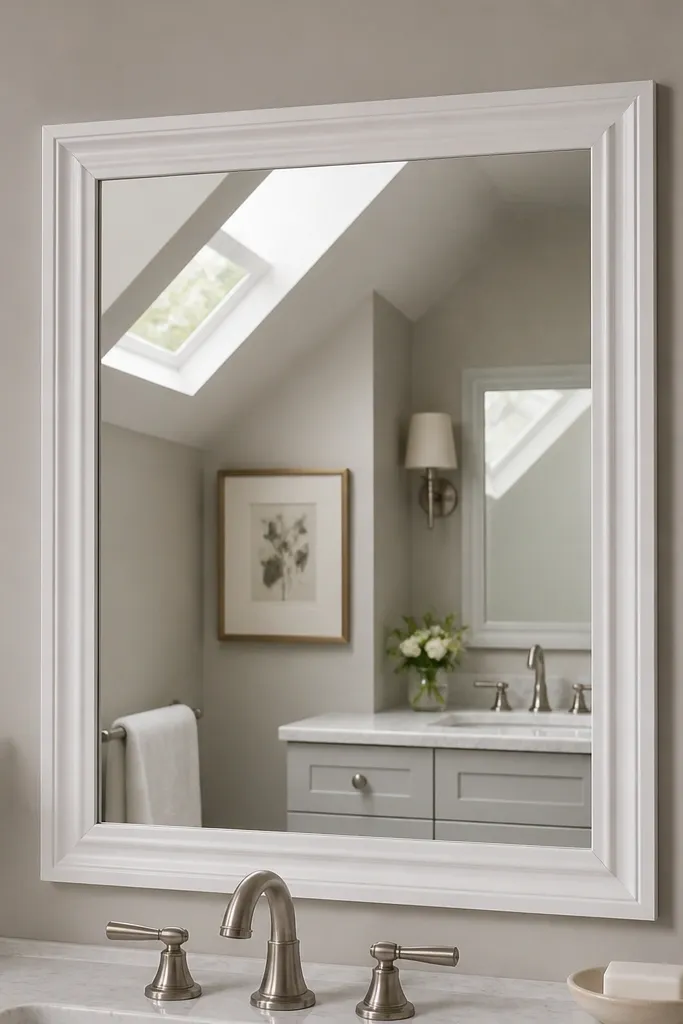
Measure the mirror you plan to hang, then add a frame opening margin of 1-2 inches on each side for a clean look. Mark the outer frame top and bottom level, then lay out the sides so the frame opening matches your mirror size. Cut 45-degree miters for the frame corners, or use butt joints if your mirror placement is forgiving. Install the frame with adhesive and finish nails into studs, then caulk the edges and fill nail holes. Prime and paint, then install the mirror after the paint cures so you don’t scuff the finish.
This is a practical, good-looking solution because it turns a mirror wall into a finished focal point. The moulding frame acts like a built-in picture frame, and it hides minor wall imperfections around the mirror area. For small spaces, keep the frame proportions balanced: a frame width around 1-1.25 inches and an opening that leaves at least 2-4 inches of space around the mirror edges. It looks modern when you avoid ornate profiles and keep the corners sharp. Use it in entryways, bathrooms (if you use moisture-friendly materials), and dining nooks.
Skip thisDon’t mount the mirror too close to the moulding; tight gaps look cramped in small rooms.
Editor's notePaint the moulding before install if possible — it’s faster to get full coverage on the corners.
10. Shadow-Line Modern Panels with 1/4 Inch Reveal
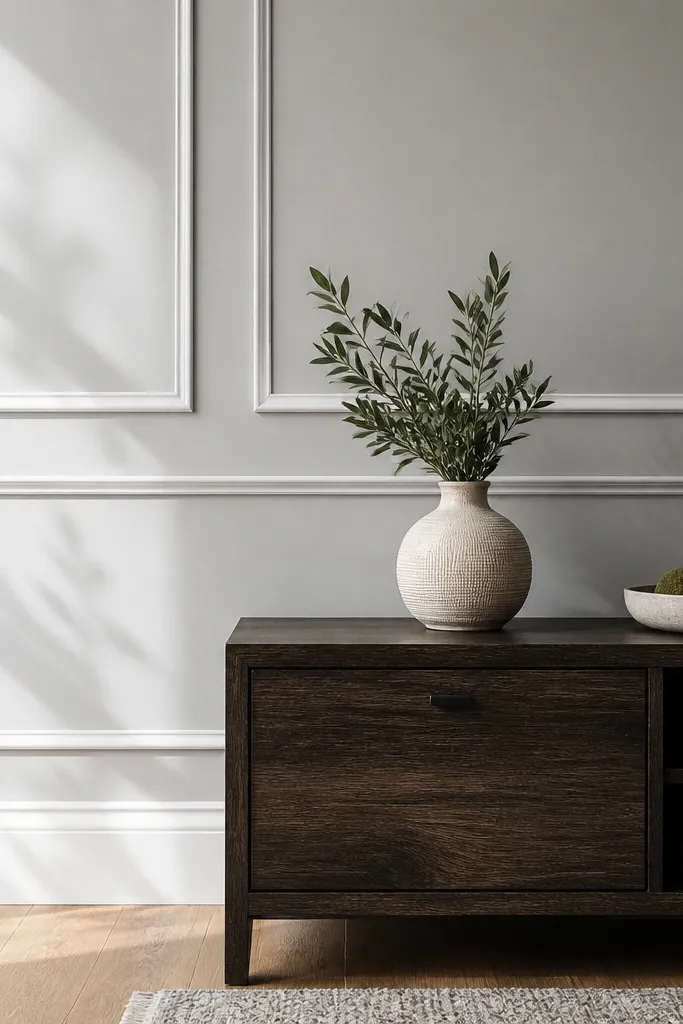
Start by planning your reveal: aim for a 1/4 inch gap between the panel face and the border edge. Mark panel layout lines on the wall, then attach thin backing strips along the borders so the moulding face sits consistently. Cut border pieces to fit, then install the moulding over the backing strips using adhesive and finish nails into studs. Dry-fit each segment to ensure the reveal stays even across corners. Caulk only the outer edges you want sealed, leave the reveal crisp, fill nail holes on the back side of the trim line, then prime and paint. Use a satin paint so the reveal line stays visible.
Shadow-line style panels look expensive because you see a crisp reveal line between the wall and the moulding. For small-space wall moulding ideas, that thin negative space makes everything feel lighter than thick trim. Build this with a moulding system that creates a 1/4 inch reveal or by adding a backing strip and setting the border away from the wall surface. The result is strong contrast even when you use the same color as the wall — the depth does the work. This style works well in modern living rooms, home offices, and bedrooms where you want a quiet, architectural look.
Skip thisDon’t smear caulk into the reveal gap — that kills the shadow-line effect.
Editor's noteUse a scrap spacer the exact thickness of your reveal to keep spacing consistent while you nail.
11. Octagon-Inspired Corner Panels (Modern Facets)
Start by choosing a corner panel size — 12-24 inches per side looks right in most small rooms. Sketch the facet layout so each angled segment meets cleanly; plan for 45-degree miters for most edges. Cut the base outline pieces first, install them into studs, and then add the angled inner facets using adhesive plus finish nails. Dry-fit every facet before nailing because tiny angle errors show up at the corner. Caulk the outer seams, fill nail holes, sand, prime, and paint. For a crisp look, use a satin trim paint and keep the wall eggshell or matte.
If you want “wow” without covering the whole wall, facet panels in the corner do the job. This design uses angled moulding segments to create a geometric pocket that reads modern, not old-fashioned. In small spaces, the corner is underused real estate, so adding a compact geometric panel draws the eye without crowding the room. It looks great near a reading chair, in a hallway corner, or on a small accent wall where you want one standout detail. Keep the moulding slim and the facet count low so it stays clean and photogenic.
Skip thisDon’t stack too many facets — beyond 6-8 segments total, it turns into decorative noise.
Editor's noteMake one “test corner” on scrap wood to confirm your miter saw settings before cutting the real pieces.
12. Panel + Vertical Rail Combo (Behind a Console)
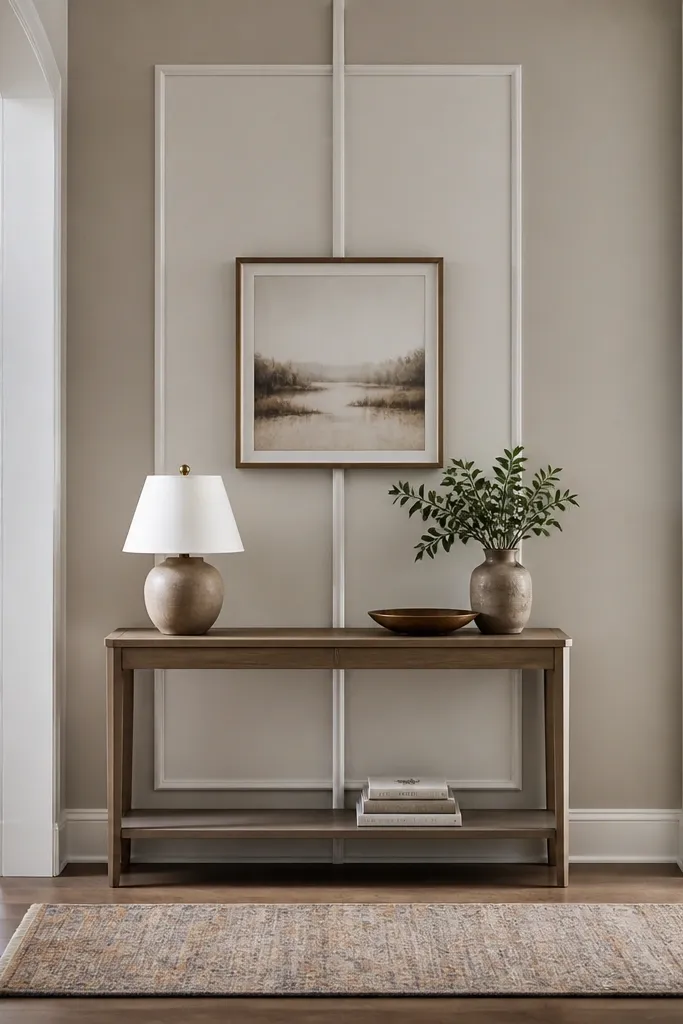
Measure your console width and decide your rectangle opening size with 2-4 inches of extra space on each side. Build the outer rectangle frame with 1-1.5 inch moulding, using miters at corners. Install one vertical divider rail inside, offset by about 2 inches from center, and keep its width slim (around 1 inch). Attach to studs, then caulk edges and fill holes. Prime and paint in a trim sheen that matches your baseboards. Dry the paint fully before placing decor so you don’t scuff the moulding face.
This combo gives you the best of both worlds: a rectangle panel for structure and a vertical rail for motion. It looks tailored behind a console, entry table, or media unit where you want one focal panel but also need a vertical line to balance the furniture. Keep the rectangle opening centered around the console, then place one vertical rail so it splits the panel opening slightly off-center. This keeps the look modern and prevents it from feeling too symmetrical. Use slim moulding and consistent reveals so the lines read crisp from a distance.
Skip thisAvoid thick borders around the inner divider; it makes the vertical rail look like an afterthought.
Editor's noteUse a level to align the rectangle’s top edge with the console shelf line, not with random wall landmarks.
13. Stair-Step Horizontal Panels (Staggered Lines)
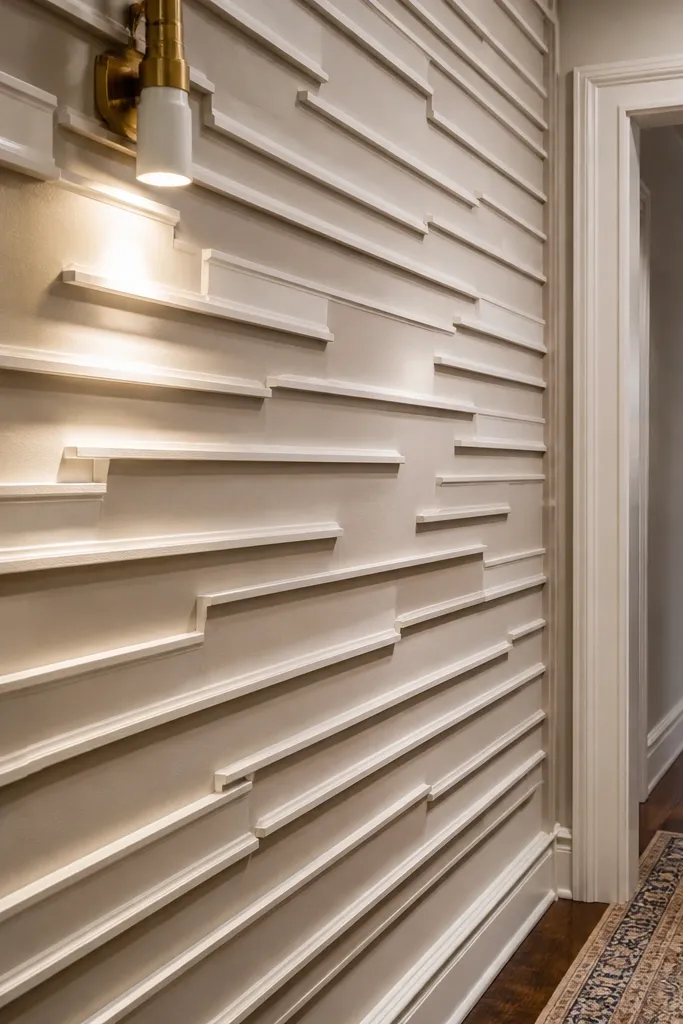
Stair-step panels add modern energy without requiring a full grid. The pattern is made from short horizontal moulding pieces that step up or down in a consistent rhythm, creating a geometric “stair” across the wall. In small spaces, this works best on a wall section that’s narrow or broken up by a doorway, because the design hides imperfections while adding motion. Keep the steps compact: each step should be about 6-10 inches long, and the overall height should stay under 36 inches so it doesn’t overwhelm. Paint the moulding in a slightly brighter white than the wall for strong contrast.
Start by marking a baseline horizontal line at the height you want the pattern to begin — 30-34 inches from the floor works well for entryways. Decide step height and spacing, then mark a repeating grid on the wall so each step lands consistently. Cut moulding segments for each step, then install from left to right using adhesive and finish nails into studs. Use a scrap spacer to keep the gap between each step consistent, aiming for 1/8 inch reveal lines. Caulk the seams, fill holes, sand smooth, prime, and paint. Check alignment with a level every few steps so the staircase doesn’t drift.
Use a laser level if your wall has any bow — staircase patterns punish even small leveling errors.
Don’t make the steps too tall; the pattern should feel airy, not like stacked shelves.
14. Ceiling-Wall Border Strip with Vertical Wing
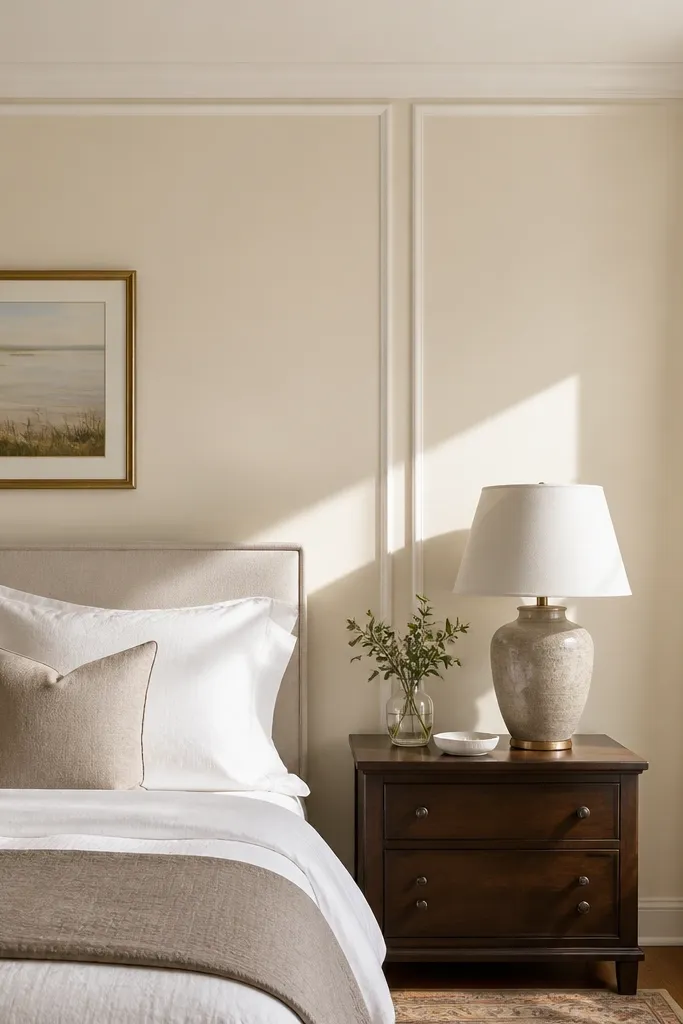
This design is subtle, modern, and great when you can’t commit to full panels. It uses a thin border strip running along the top of the wall, then drops one vertical “wing” down near a focal point like a bed, desk, or doorway. The vertical wing adds height and draws the eye upward, which makes small rooms feel more open. Keep the border strip slim (about 1 inch wide) and choose a profile with a clean edge so it looks architectural rather than decorative. This is a smart solution for renters because it’s less likely to interfere with baseboard or furniture placement.
Start by measuring the wall length and finding the best drop point for the vertical wing — usually centered above the bed or desk. Mark the top border line so it sits slightly below the ceiling trim or crown; keep it consistent around the room. Cut the horizontal strip into sections if needed, then install with adhesive and finish nails into studs. For the vertical wing, cut a piece that runs from the border down to a chosen stop height, typically 36-48 inches, then nail it into place. Caulk edges lightly, fill nail holes, sand, prime, and paint. Let paint cure fully before you hang anything near the trim line.
If your ceiling is uneven, don’t force the strip to follow it — keep it level and let the gap at the ceiling be hidden by paint sheen.
Don’t choose a thick, ornate profile for the top strip — it makes the ceiling feel lower.
15. Mini-Board Paneling with Horizontal Slats (Narrow Spacing)
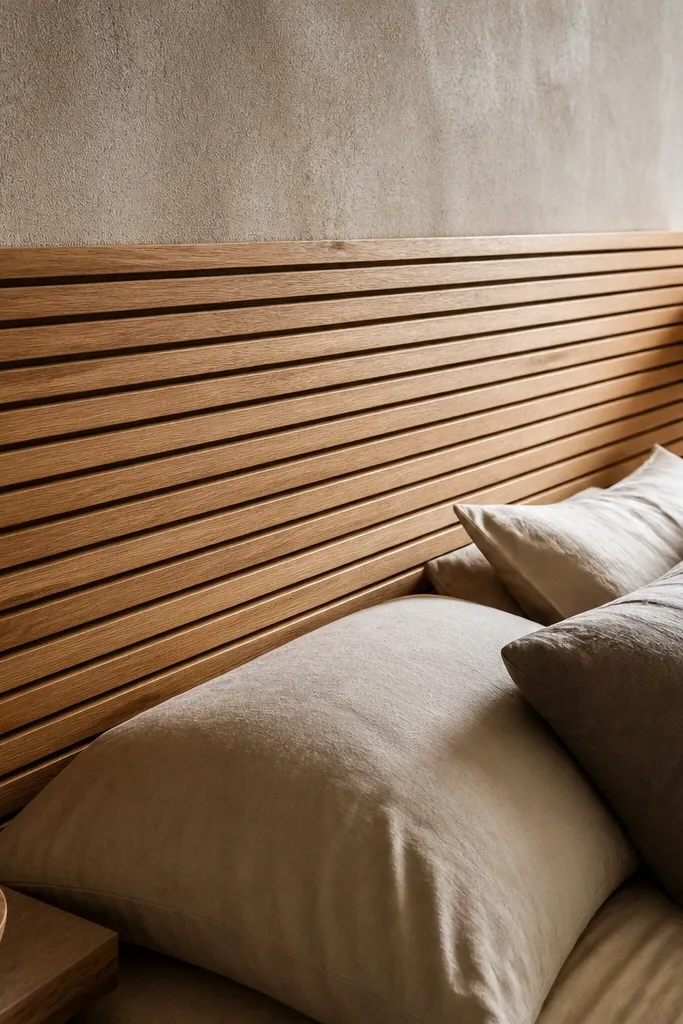
Start by measuring the wall width and calculating how many slats fit with your chosen spacing. A practical rule is to use slats that create a total pattern width that ends with a consistent side gap of 1-2 inches. Mark the first slat line level, then use a spacer block to mark each subsequent slat at your exact gap. Cut slats to height, install with construction adhesive plus finish nails into studs or blocking, and keep everything aligned using a long straightedge. Caulk the edges between slats if you want a smooth painted look, then prime and paint. Use two coats so the gaps don’t show raw substrate through.
Horizontal slat paneling looks modern and cozy, and it’s a strong pick for small rooms because it adds texture without bulky frames. Use narrow boards (like 1x2 or thin pre-primed slats) and keep spacing tight, about 1/2 to 3/4 inch between slats, so it reads as a single design surface. This is great behind a headboard, on a small accent wall, or in a home office where you want warmth and sound-softening texture. Paint all slats the same color as trim for a clean, tailored look. The rhythm is what makes it photogenic — it catches light as you move.
Skip thisDon’t skip alignment checks — slat paneling shows crookedness faster than framed panels.
Editor's noteUse a spacer block cut from scrap plywood to keep spacing identical across the whole wall.



