
1. Floating Shelf Rail with a Pencil-Lip Front
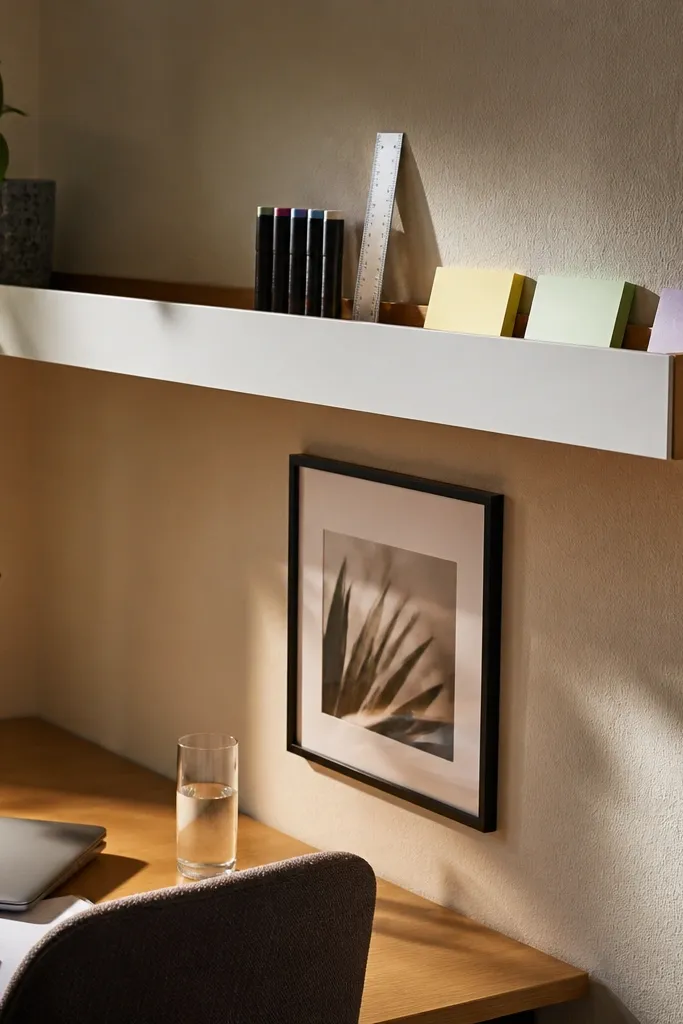
This idea adds instant order in a small corner because it puts items above eye level instead of spreading them across the tabletop. The pencil-lip front stops markers, rulers, and sticky notes from sliding off, so your shelf stays photo-neat. Use a warm wood tone or matte white so it doesn’t look like a random hardware install. It also gives you a clean place to display one “hero” item like a ceramic pen holder or a small plant.
1) Cut shelf boards to 60-75 cm long and 12-16 cm deep, then add a 1.2-1.5 cm strip glued along the front edge as the lip. 2) Mark two wall points level with a 6-8 cm gap from the desk top, then drill and fix the brackets so the shelf bottom sits about 8-12 cm above where you write. 3) Sand, wipe with a tack cloth, and apply two thin coats of matte clear varnish or matte paint. Finally, place a single row of supplies so the shelf reads intentional.
Pre-drill bracket holes and use a level app; shelf drift looks messy fast in tight spaces.
Don’t fill the shelf with everything you own — it defeats the purpose of keeping the desk surface clear.
2. Desk Border Tape Frame in Two Colors
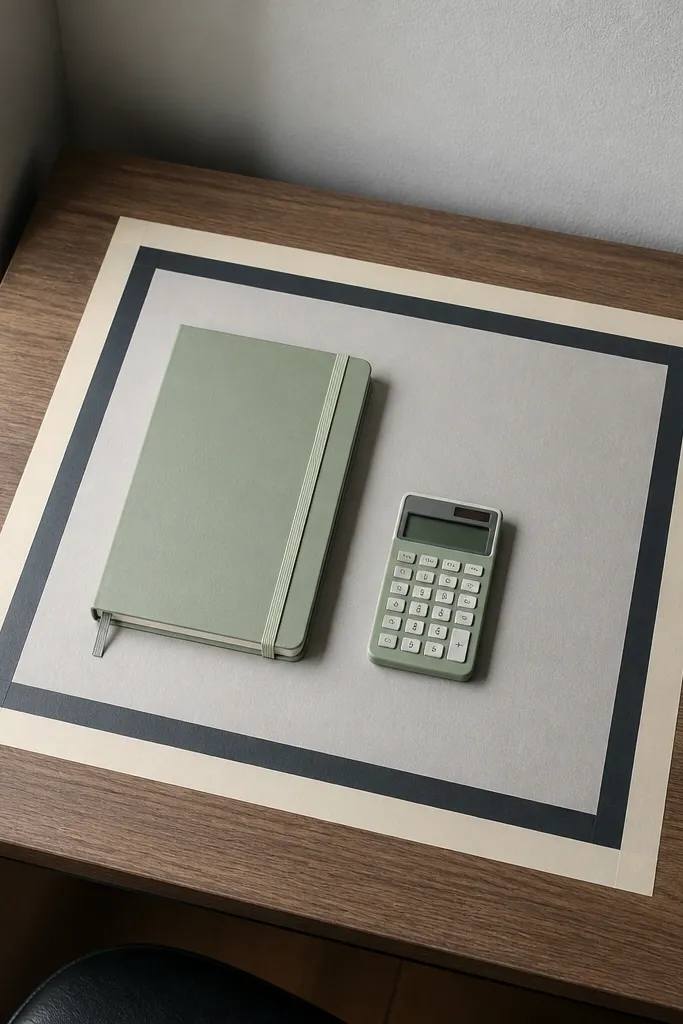
A border is the cheapest way to make small-space Study Table Ideas look designed. Tape creates a “frame” around your workspace, so the rest of the desk can be simple without looking unfinished. Choose two colors that repeat elsewhere in your room — like cream + charcoal, or sage + white. The frame also helps you keep papers from drifting, because your brain treats the border like a work boundary.
1) Clean the tabletop with isopropyl alcohol, then apply painter’s tape to outline a rectangle leaving a 3-4 cm gap from each edge. 2) Inside the tape, add a second tape line 2 cm in from the first and paint or spray a small strip of color on the innermost area. 3) When dry, peel the outer tape first, then the inner tape for crisp edges. Finish by placing a thin desk mat centered inside the border.
Use painter’s tape with a crisp edge and peel it back at a 45-degree angle while the paint is fully set.
Don’t use glossy paint — it reflects light and makes the workspace look harsher on camera.
3. Cable Tray Under-Desk Channel with Clip Path
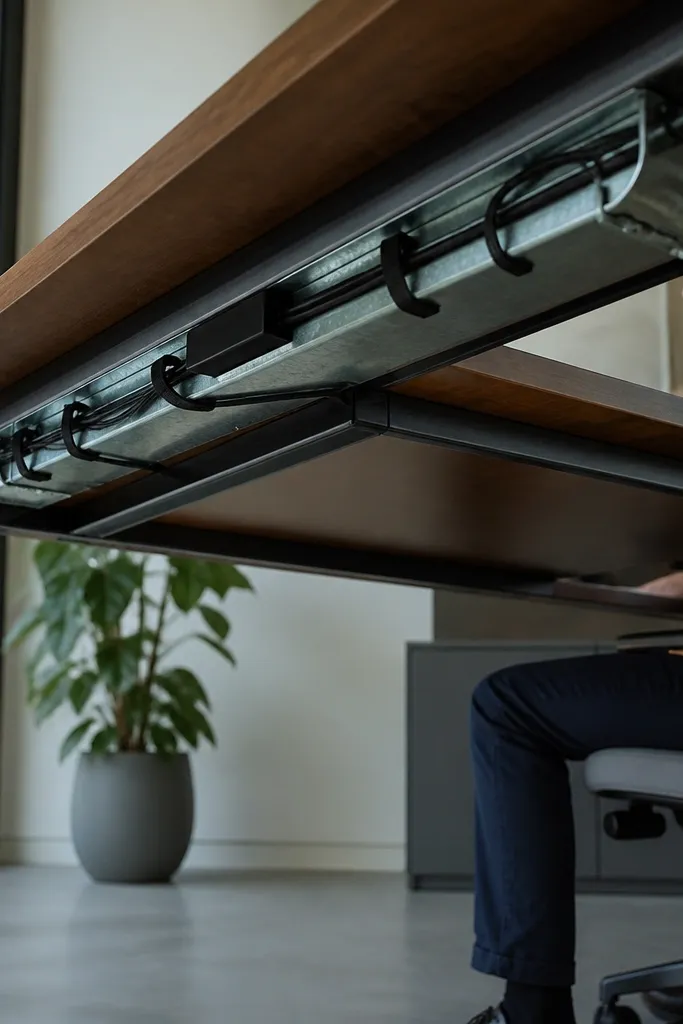
Cable mess is the fastest way to make a small desk look chaotic, even if your decor is cute. A simple under-desk tray gives you a hidden route for charger bricks, adapters, and power strips. The clip path keeps cords from sagging into your legs, which matters in tight corners. When the cables disappear, your tabletop decor looks like it belongs there.
1) Measure the underside length under the desk and buy a slim U-channel cable tray that fits within 3-4 cm of clearance. 2) Fix the tray using adhesive mounts or screws if your desk supports it, then attach cord clips every 15-20 cm along the route. 3) Place your power strip inside the tray and route each cord to your laptop area with a gentle curve. Finally, add a small Velcro tie bundle so the loose ends don’t drift.
Label each cord with a tiny strip of tape so you don’t spend 10 minutes untangling next time.
Don’t run cables across chair legs — it scuffs the cords and looks messy within weeks.
4. Window-Side Reading Light with DIY Diffuser Shade

Lighting is decoration in disguise. A diffuser shade makes the light soft and warm, which reduces glare on screens and makes the desk look cozy in photos. Put it near the window side so your shadows fall naturally, not across your paper. This is one of the few upgrades that improves both aesthetics and actual studying comfort.
1) Choose a compact clip-on or small desk lamp, then make a diffuser from translucent white acrylic sheet or a heat-safe fabric shade liner. 2) Cut the diffuser to wrap around the lamp head leaving 2-3 cm clearance, then secure with zip ties or small screws. 3) If you can, use a warm bulb around 2700K-3000K. Test the beam angle before final tightening so it doesn’t shine directly into your eyes.
Editor's noteAim for a beam that hits the desk surface, not your face. Tilt the lamp down first.
Skip thisDon’t use a bare bulb without diffusion — it creates harsh highlights on glossy paper.
5. Pegboard Wall Grid Behind the Desk
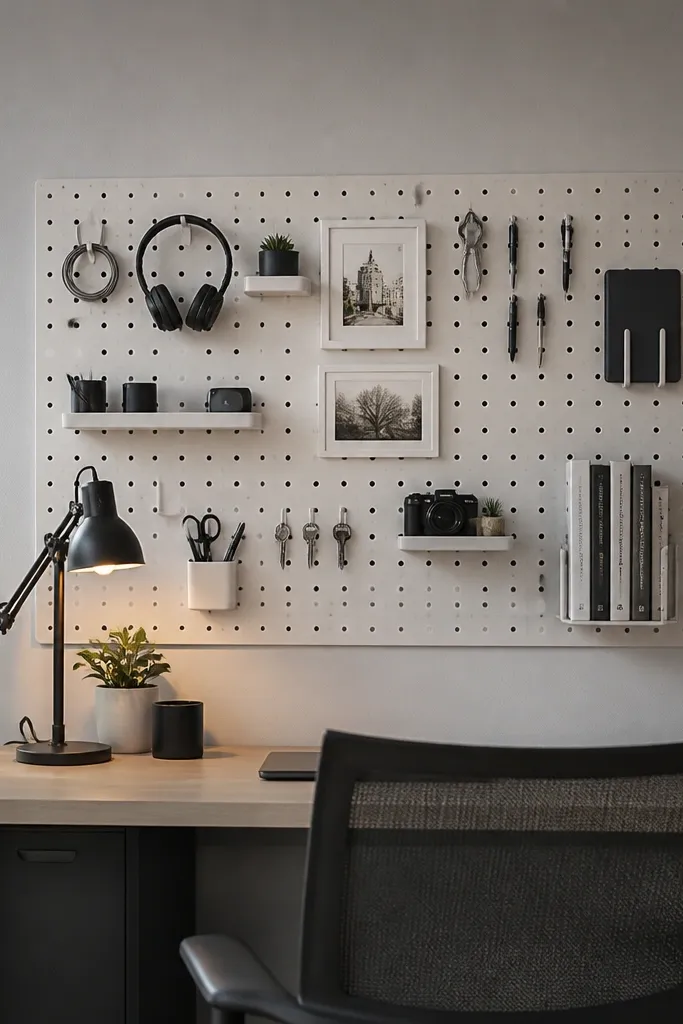
Pegboard turns wall space into organized decoration. In small corners, you need vertical storage that doesn’t invade your walking path, and a grid does that cleanly. It also lets you arrange items with consistent spacing, so it looks styled instead of random. Use it for small tools, book stacks, and a couple of framed prints.
1) Buy a pegboard sheet sized to your wall area, then paint it matte white if you want a clean look. 2) Mark a level grid, drill mounting points, and fix the board to studs or use heavy-duty wall anchors. 3) Add hooks and small shelves so your items sit within a rectangle above the desk line. Finally, place only three “zones”: reading tools, charging/cables, and a display hook for one framed print.
Editor's noteKeep hook spacing consistent: the uniform rhythm is what makes it look intentional.
Skip thisDon’t hang bulky items that sag — they ruin the grid look quickly.
6. Book-Led Shelf Ledge for Vertical Stacking
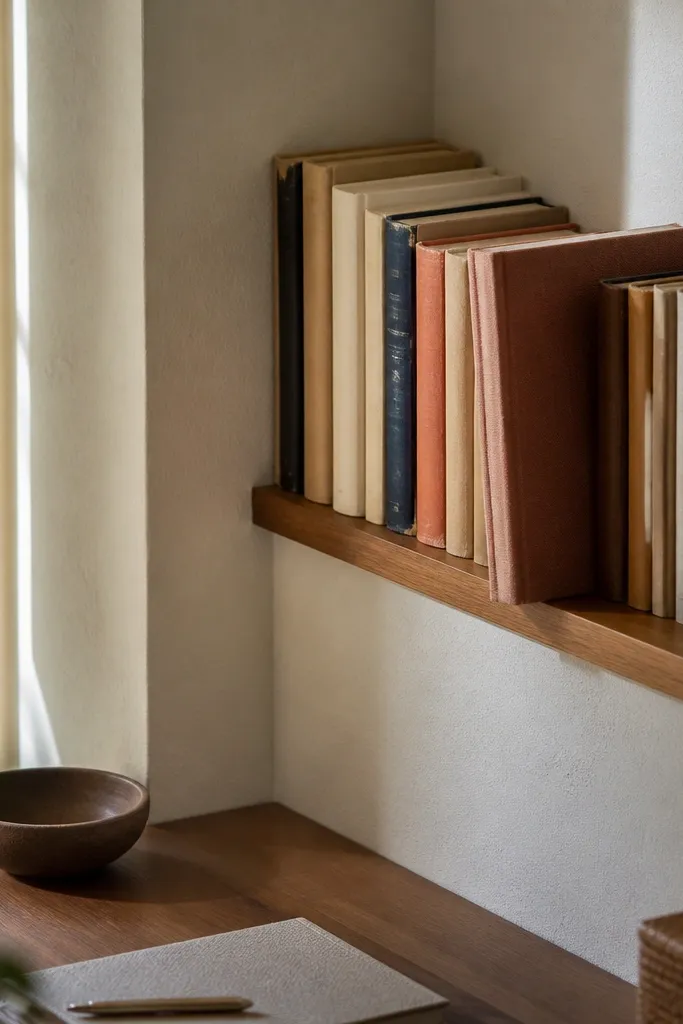
Instead of spreading books across the desk, this shelves them vertically with a ledge that keeps spines aligned. The visual effect is clean and tall, which suits small-space Study Table Ideas because vertical lines make the corner feel higher. It also makes it easier to grab a book without moving the entire stack. Keep the color palette tight so the shelf looks curated without buying expensive decor.
1) Cut a 70-80 cm long shelf strip about 10-12 cm deep and add a 2 cm tall back ledge using a thin wood strip. 2) Fix it to the wall with two brackets so the shelf top sits around the same height as your shoulders when seated. 3) Sand and seal with matte finish. 4) Start stacking books upright, then place two bookends at the ends so the spines line up.
Choose books with similar spine colors or rotate them so the darkest spines sit at the bottom.
Don’t stack books too high — they look crowded and block your working view.
7. Felt Desk Mat with a Chalkboard Label Strip
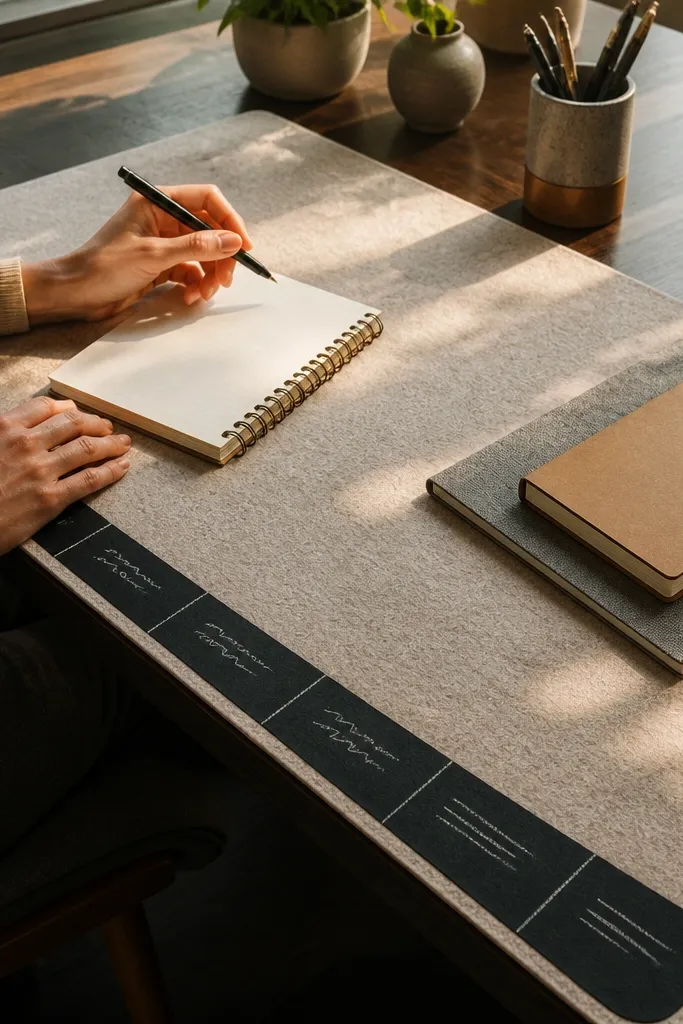
A felt mat changes the whole vibe because it absorbs reflections and makes the desk look softer. Add a small chalkboard label strip and you get decoration that also helps you stay organized. This is great for study routines: one strip for “Today’s tasks,” another for “Next reading.” The matte surface also hides scratches better than smooth vinyl.
1) Buy a felt sheet and cut it to match your desk size, leaving 2-3 cm margin from edges. 2) Cut a small chalkboard vinyl strip (about 20-30 cm wide) and stick it to the mat with contact adhesive or fabric-safe glue. 3) Seal the edges of felt with fabric glue so it doesn’t fray. 4) Use chalk markers or chalk and erase fully before re-writing to keep the look crisp.
Editor's noteUse a ruler to draw the label strip border so your handwriting sits inside a clean frame.
Skip thisDon’t place the label strip where it blocks your writing hand — it gets annoying fast.
8. Turntable-Style Organizer Tray for Daily Supplies
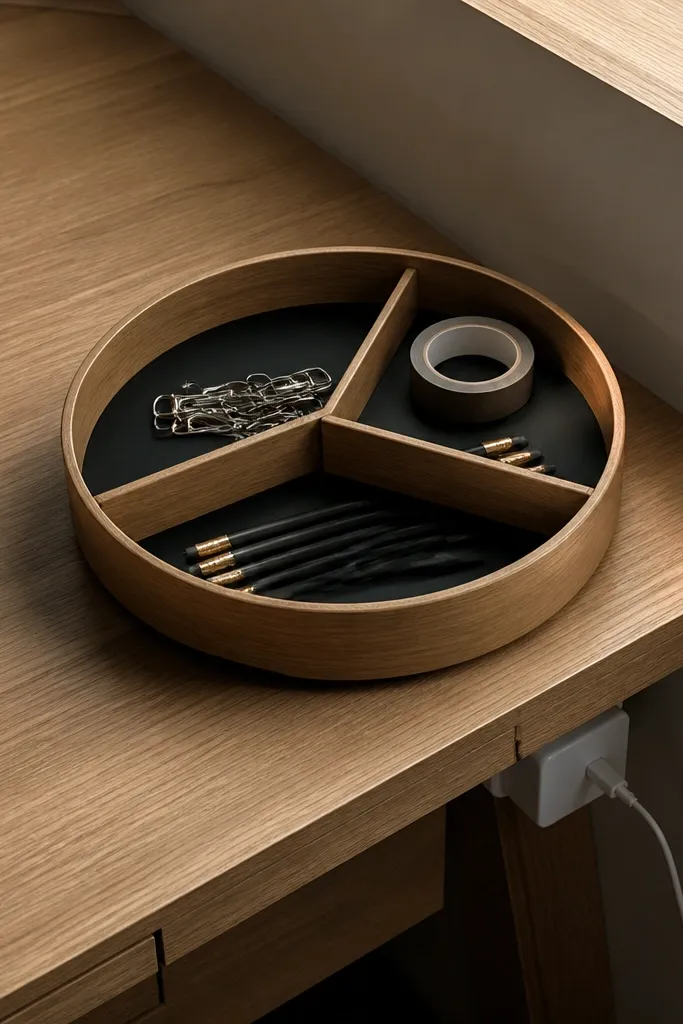
A rotating tray makes daily items look tidy because everything has a home and stays visible. In small-space Study Table Ideas, the goal is to reduce “stuff on the surface,” and this does it without hiding your essentials. Pick a tray in matte black, warm oak, or light wood so it matches almost any wall color. It’s also easy to photograph because the top stays organized even when you’re halfway through a task.
1) Get a small lazy susan base (6-8 inch) and a removable top tray, then sand and paint the top if needed. 2) Attach a non-slip mat to the top so the organizer doesn’t slide. 3) Arrange pens, sticky notes, clips, and a small ruler in separate sections using acrylic dividers or cardboard liners. 4) Place the tray near your dominant hand, not centered, so you don’t bump it while writing.
Editor's noteUse one color label on each section with tape to keep the tray looking consistent.
Skip thisDon’t add extra compartments — too many items makes it look like a junk station.
9. Wall Photo Strip with Clothespins and Color-Coordinated Prints
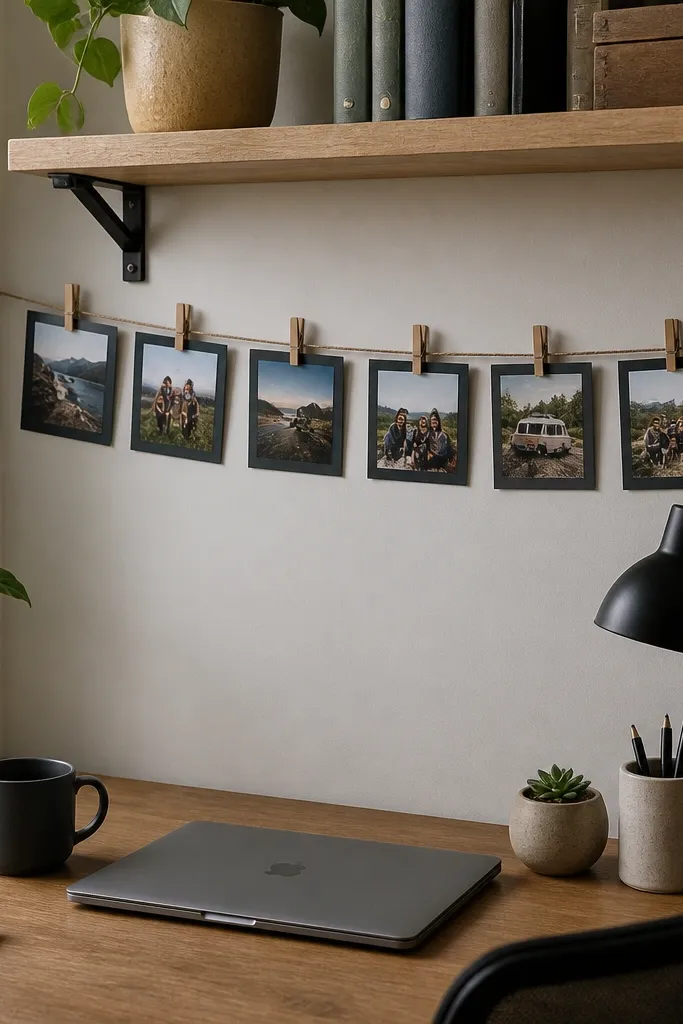
A photo strip adds personality without taking desk space. Clothespins make it easy to swap prints for different study moods, and the line creates a clean horizontal visual that balances a tall shelf. Keep prints small and consistent in border color so it reads as a single design element. This looks especially good in corners because it fills the “blank wall” area that usually makes a desk feel lonely.
1) Measure the wall width above the desk and stretch a thin wire or strong string between two hooks. 2) Add clothespins spaced evenly every 8-10 cm and hang 6-10 small prints with matching border thickness. 3) If you want a more polished look, mount the hooks into studs and keep the line level. 4) Finish by aligning the bottom of the strip with the top of your desk shelf or pegboard.
Use only one paper finish: either matte photo paper or matte art paper. Mixed finishes look messy.
Don’t use random sizes. Keep every print the same width so the strip looks intentional.
10. DIY Desk Partition Shelf from a Single Board and Two Brackets
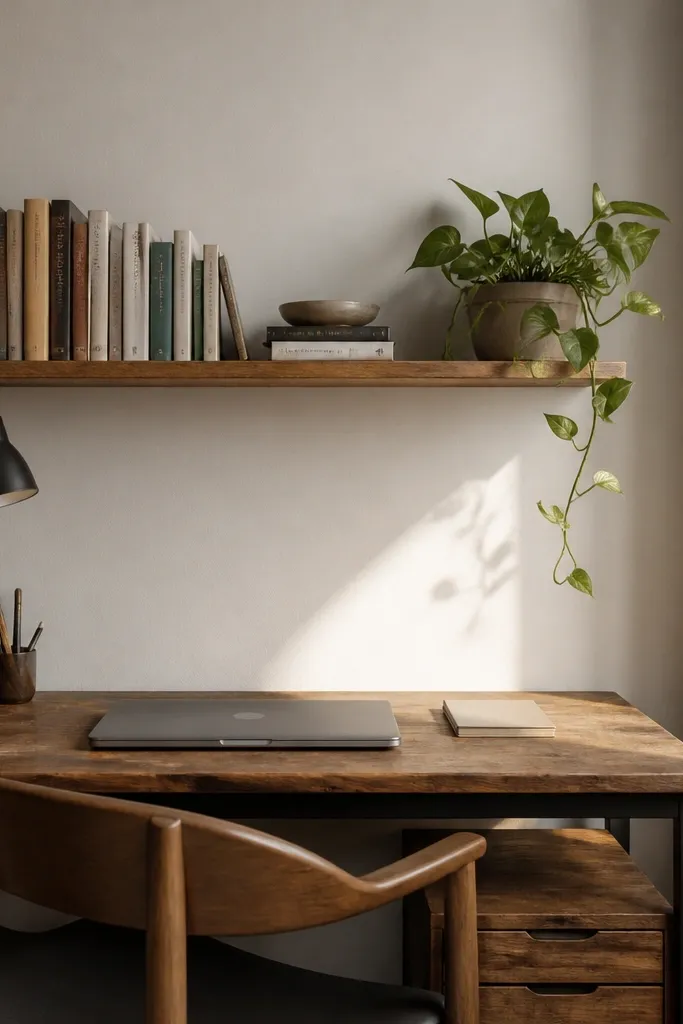
This is a tight-corner trick: a small shelf above the desk acts like a visual divider, so your study area looks separate from the rest of the room. It gives you a spot for a plant, a small clock, or a stack of current books while keeping the tabletop calmer. The look is clean because the shelf sits in one line and creates a “ceiling” for your decor. It also helps reduce clutter drift because you’re forced to store items higher.
1) Cut a board 60-90 cm wide and 10-14 cm deep, then sand edges smooth. 2) Use two wall brackets placed 40-60 cm apart, keeping the shelf bottom about 35-45 cm above the desk surface. 3) Paint matte white or stain to match your chair/room trim. 4) Add a small backstop strip (1 cm) so books don’t slide forward.
Put the shelf supports slightly inboard from the board ends so the underside looks neat.
Don’t place the shelf too low. If it blocks your line of sight, it feels cramped.
11. Slim Desktop Wall Organizer for Scissors and Notes
This decoration idea is functional and photogenic: pockets for notes and tools keep the desk edge clean. Instead of a bulky caddy, you mount a slim fabric or felt organizer to the wall beside the desk so it looks like part of the wall decor. It’s ideal for small-space Study Table Ideas because it uses the “side wall” area most people ignore. The result is a tidy perimeter framing your workspace.
1) Sew or buy a felt organizer with 3-5 pockets, then measure the pocket heights to fit your notepad and scissors. 2) Position it so the bottom pocket sits 5-8 cm above the desk surface. 3) Mount with two screws into studs or strong anchors. 4) Add a small label strip at the top using black marker on white tape for a clean, readable look.
Use bright contrast labels only — keep the organizer itself in one solid color.
Don’t hang it too high. If you can’t reach it without twisting, it becomes decoration that nobody uses.
12. Matte Laminate Backing Board Behind the Monitor
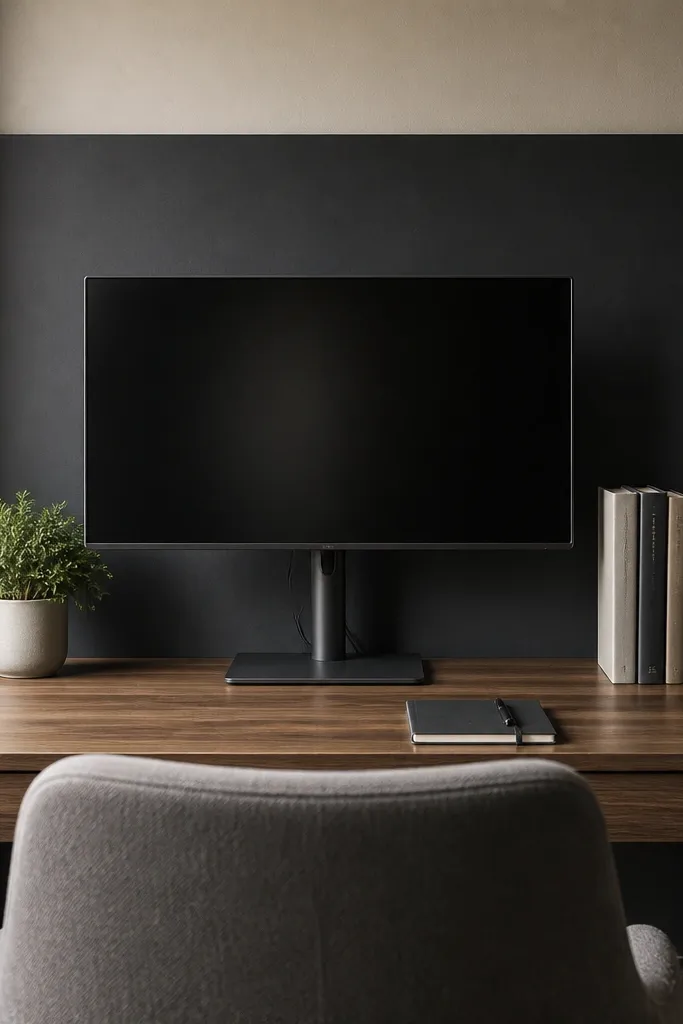
A backing board makes a small desk look finished because it creates a single background behind your screen and books. Matte laminate or matte paint reduces glare compared to glossy surfaces, so photos look cleaner. Choose a color that complements your desk and wall trim — charcoal, deep green, or warm cream all work. This is the fastest way to make a tiny study corner look intentional even if you keep the desk simple.
1) Cut a backing board to fit the wall area behind your monitor, leaving 2-3 cm clearance on each side. 2) Paint or apply matte contact paper, then let it cure fully if painted. 3) Mount it using picture-hanging brackets or command-style heavy mounts rated for the board weight. 4) Add one small shelf or hook under it for headphones or a small plant so it doesn’t look blank.
Editor's noteUse a dark backing only if your room has decent daylight. Too dark in low light makes it feel gloomy.
Skip thisDon’t use glossy finishes behind a screen. You’ll see reflections every time you work.
13. Desk Corner Garland with Micro Cloth Banners
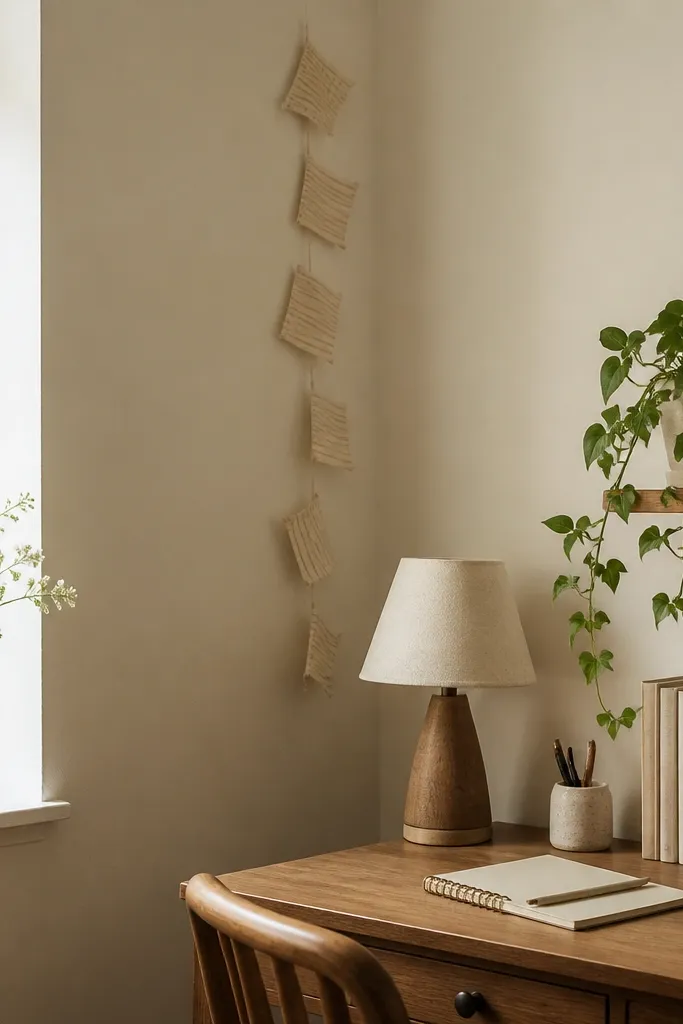
Garlands are usually for parties, but small-space Study Table Ideas can use them as a subtle “soft border.” Micro cloth banners add texture without bulk, and they look good in corners because they fill empty vertical space. Keep the colors limited: cream fabric with a thin sage stripe, or white with charcoal. This works best when your desk setup is otherwise minimal.
1) Cut small fabric triangles or rectangles (about 6-8 cm each) and stitch or iron-fold the edges. 2) Thread them onto cotton twine using a simple knot between each piece. 3) Hang the twine between two small wall hooks placed 10-15 cm above the desk surface. 4) Position the garland so it frames the side of your desk, not the center where it distracts.
Editor's notePress fabric with a hot iron before stringing so the folds stay crisp.
Skip thisDon’t go long. A garland that extends across the whole wall looks busy and steals attention.
14. One-Shelf Floating Spice-Style Organizer for Study Tabs
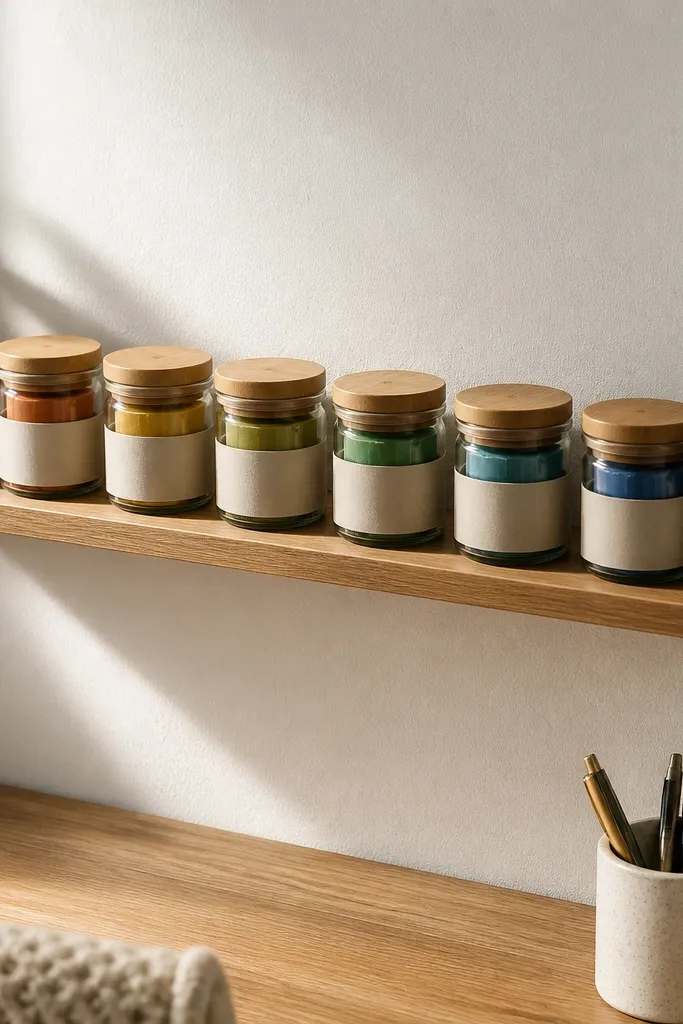
Small jars look clean because they repeat a shape. A single floating shelf with a few identical containers turns scattered study tabs into a neat display. It’s a strong visual because the containers create a consistent grid, and the labels add a “designed” feel without spending much. Use this when your desk is narrow and you need storage that doesn’t eat tabletop depth.
1) Get 3-6 small clear jars with identical lids and label them with thick black tape. 2) Mount a 50-70 cm floating shelf at a height where you can grab jars without leaning. 3) Fill jars with sticky tabs, paper clips, binder clips, and a few pens. 4) Finish by wiping jars clean and aligning them so lids form a straight line.
Choose jars with the same lid color. Mismatched lids make it look thrifted instead of styled.
Don’t put loose paper scraps in jars. Keep contents uniform so the jar silhouettes look tidy.
15. Bookend Stack with a Painted Wood Wedge
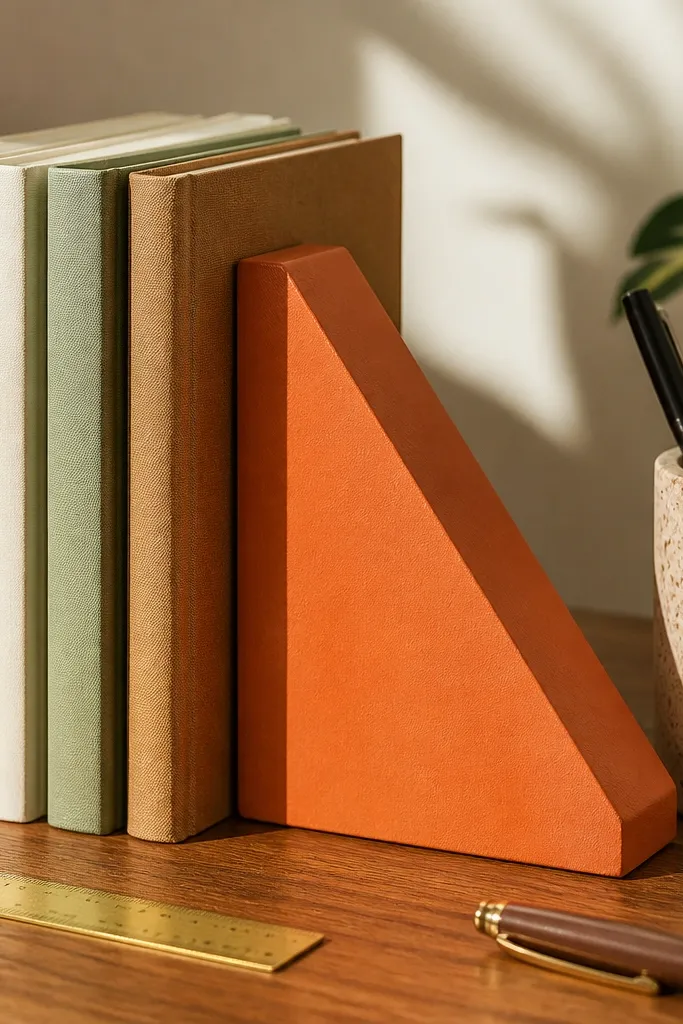
Instead of buying expensive bookends, a painted wood wedge gives you a clean stop for books and also acts like decor. The wedge silhouette adds a graphic shape that looks good in photos, especially next to a stack of notebooks. It also keeps books from leaning and sliding, which is a common small desk annoyance. If you want small-space Study Table Ideas that look intentional, this is a strong low-cost move.
1) Cut a triangular wedge from scrap plywood about 12-15 cm wide at the base and 8-10 cm tall. 2) Sand smooth and seal one coat, then paint matte in a color that matches your desk mat or wall backing. 3) Place it between two book stacks or at the end of a shelf to keep spines aligned. 4) Add a thin felt strip on the bottom so it grips and doesn’t scratch.
Editor's notePaint the wedge face first, then lightly sand between coats for a smoother finish.
Skip thisDon’t skip the felt bottom. Wood-on-wood sliding ruins alignment.
16. Ruler-Measure Desk Organizer with Brass Tone Clip Line
This setup turns measurement tools into decoration. A ruler-style organizer line holds notes with small clips, while also giving you a consistent visual element across the desk edge. It’s clean, graphic, and it helps you keep worksheets visible without stacking them into messy piles. Brass tone clips add warmth against matte wood and paper. In a small corner, this kind of straight-line organization reads polished.
1) Cut a narrow strip of wood or buy a thin acrylic ruler tray and mount it along the desk edge with adhesive pads or screws. 2) Add 6-10 small metal clips spaced 6-8 cm apart along the strip. 3) Use a mini clip line for sticky notes and a separate clip for your current worksheet. 4) Seal wood with matte clear coat so ink and fingerprints don’t show.
Use one paper size for your clipped notes. Mixed sizes look scattered fast.
Don’t clip bulky folders — the line gets overwhelmed and looks like storage, not decor.
17. DIY Marble-Effect Tray for Paperweight and Small Tools
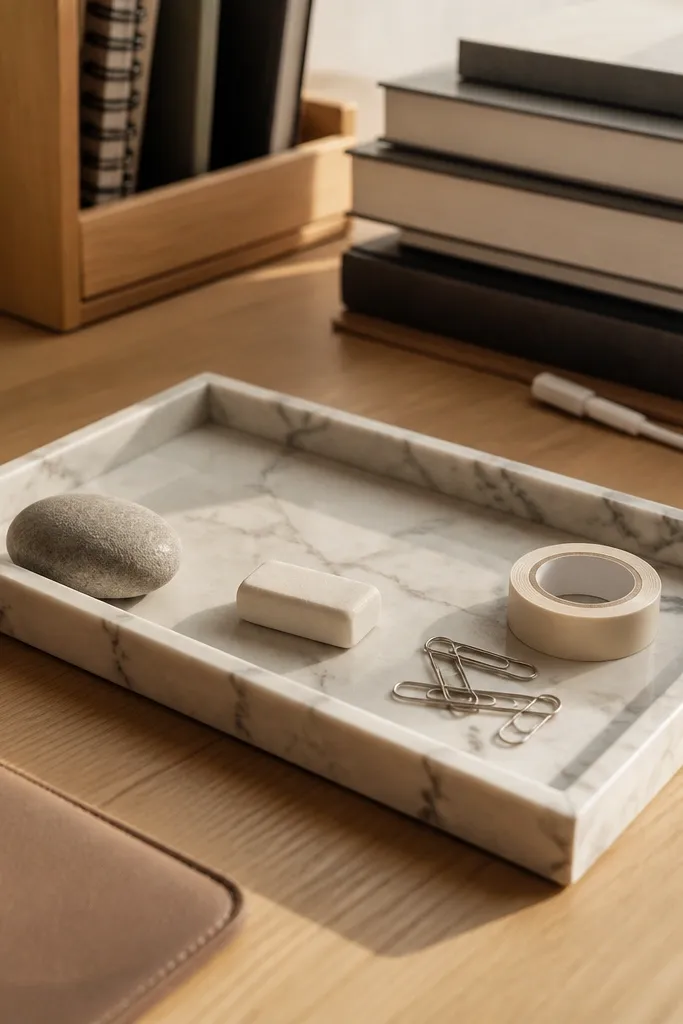
A tray makes small desk items look styled because it creates a boundary. Marble-effect paint gives you a luxurious look without buying anything expensive, and it photographs well because the pattern catches light softly. Use it for a paperweight, erasers, paper clips, and a small roll of tape. Keep the tray near the center clear zone so it becomes your “landing spot” instead of clutter.
1) Buy a simple wooden or plastic tray and sand lightly so paint sticks. 2) Base coat in off-white, then add thin gray and black streaks using a sponge or brush, blending with a slightly damp brush. 3) Seal with a matte protective top coat for a smooth, wipeable surface. 4) Arrange only 4-6 items on the tray so it looks intentional.
Seal after the pattern dries 100%. If you seal too early, the pattern can smear.
Don’t overfill the tray. Marble-effect looks best with empty space around the items.
18. Fabric Wall Curtain Panel Behind the Desk for Soft Separation
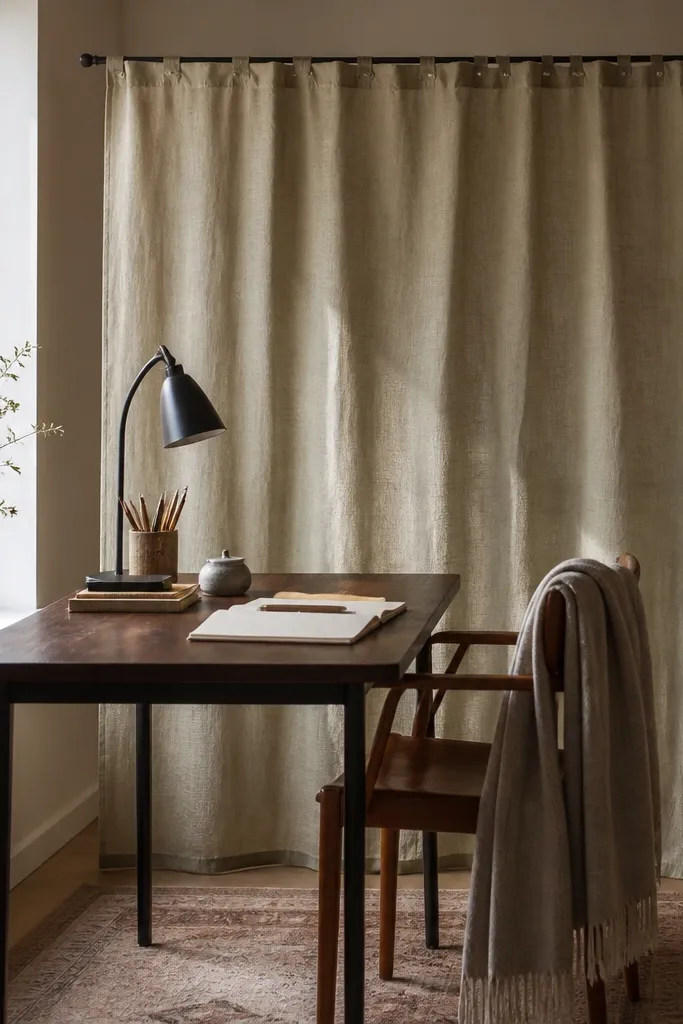
A fabric panel behind the desk makes small-space Study Table Ideas feel calmer and more private, without bulky furniture. It also hides messy wall details and gives your workspace a soft background that looks good in photos. Choose a solid color like oatmeal, light gray, or muted olive so your supplies stay the focus. This works especially well if your wall is bare and you don’t want to drill shelves.
1) Cut a curtain panel to cover the wall area behind your desk, leaving 10-15 cm overlap on both sides. 2) Install a small tension rod or two eye hooks above the desk and hang the fabric. 3) Tuck the fabric edges so it falls in clean folds, not loose flaps. 4) Add one small clip-on light or a single shelf above so the fabric doesn’t feel empty.
Steam the fabric before hanging. Wrinkles show up immediately on camera.
Don’t pick a shiny fabric. It creates glare and looks cheap under desk lighting.
19. Lidded Storage Boxes with Label Tags and Matching Color Tops
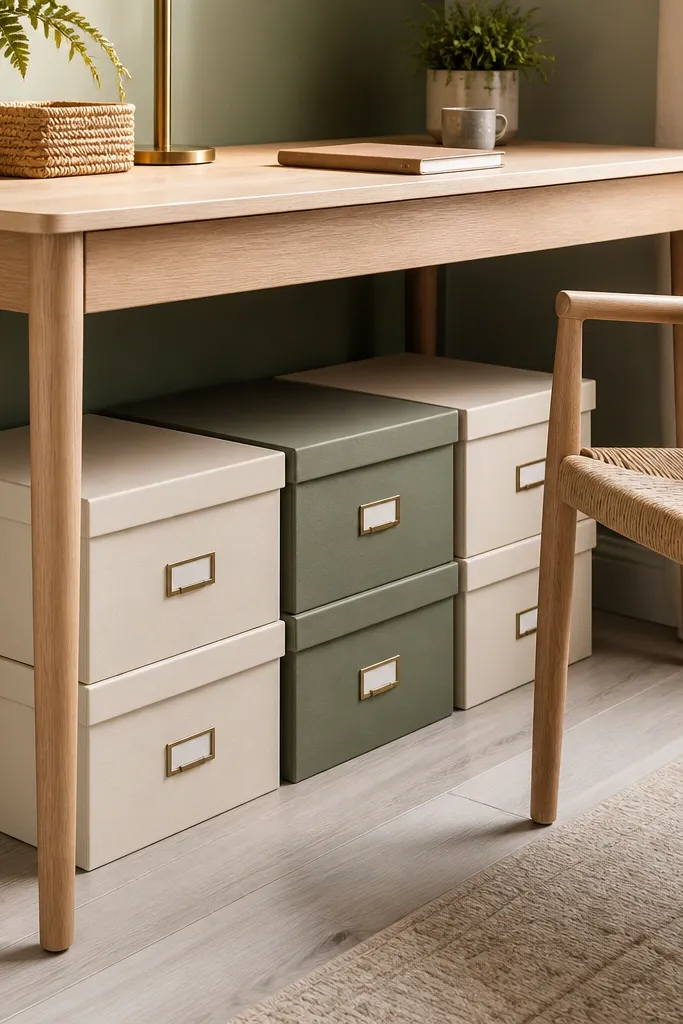
Under-desk storage is where small desks hide clutter. Lidded boxes keep it out of sight while still letting you grab what you need fast. The trick is decoration: use matching box colors and consistent label tags so it looks like part of the study theme, not random storage. This is a strong fit for tight corners because it keeps your legs free and your desk tidy even after long study sessions.
1) Choose two shallow boxes that fit under your desk with at least 2-3 cm clearance so they don’t scrape. 2) Cover box lids with matte contact paper or paint in one or two matching colors. 3) Add label tags using thick black marker on white cardstock and laminate with clear tape. 4) Put small categories inside: one for stationery, one for paper supplies or chargers.
Editor's noteUse Velcro dots on the lids so they don’t pop open when you pull items out.
Skip thisDon’t store loose cables or paper stacks without a divider. It turns into a messy pile quickly.
20. Mini Gallery Frame Line Above the Desk with Two Sizes Only
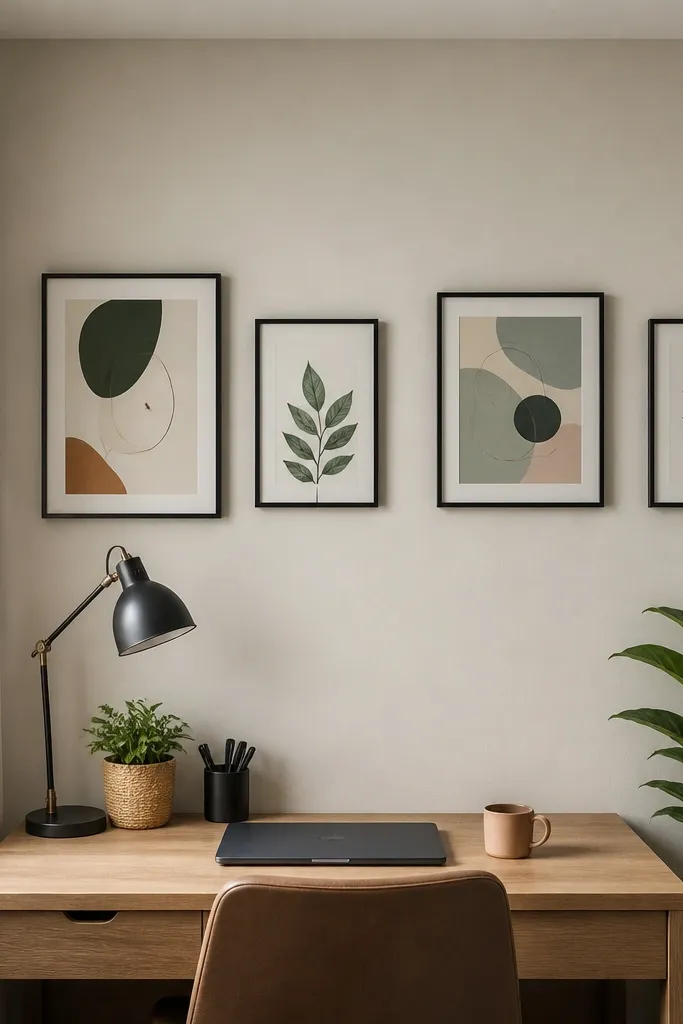
A tight gallery line makes a small study corner look complete. The secret is limiting the variables: only two frame sizes, consistent spacing, and a matching border color. This decoration works because it draws the eye upward and makes the desk feel anchored, even if you have no shelves. Pick prints with study-friendly colors — muted blues, warm neutrals, or black-and-white line art — so the desk doesn’t compete with your reading.
1) Choose two frame sizes, like 8x10 cm and 13x18 cm, and print or buy artwork that matches in color tone. 2) Mark a center line above your desk, then measure spacing so the frames form a straight line. 3) Install using picture hooks or wall anchors, keeping the bottom frame about 20-25 cm above the desk surface. 4) Insert the prints and adjust alignment until the frames sit perfectly parallel.
Editor's noteUse matte frames if possible. Glossy ones throw reflections across your workspace.
Skip thisDon’t mix too many sizes. Variety looks stylish only when you can control spacing.
21. Desk Plant in a Self-Watering Mini Pot with Pebble Top
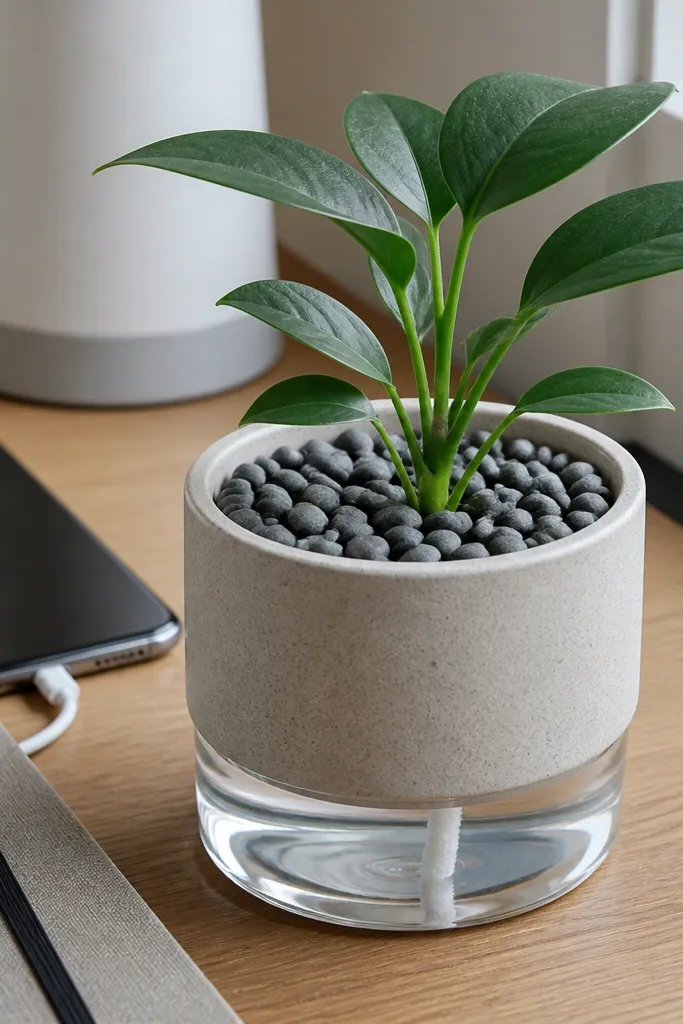
A small plant adds life and helps the corner feel less sterile, but it only works if it looks clean. A self-watering mini pot keeps soil from drying out and reduces messy spills, which is the difference between “pretty plant” and “oops dirt everywhere.” Pebble top looks neat and hides soil texture, so the plant stays photogenic. Put it on the far corner of your desk or on the shelf, not in the working center.
1) Choose a plant that fits your light — pothos or snake plant in low light, mint or basil only if you have strong window light. 2) Use a self-watering mini pot and add a pebble top layer to cover the soil surface. 3) Place it in a corner where it won’t get knocked while reaching. 4) Rotate the pot weekly so leaves stay symmetrical and the plant looks balanced from the desk angle.
Editor's noteWipe the pot rim every week. Soil dust makes it look dull fast.
Skip thisDon’t use big decorative stones that tip. Small pebbles sit flatter and look cleaner.
22. Wall-Mounted Task Board with Clip Track and Sticky Tabs
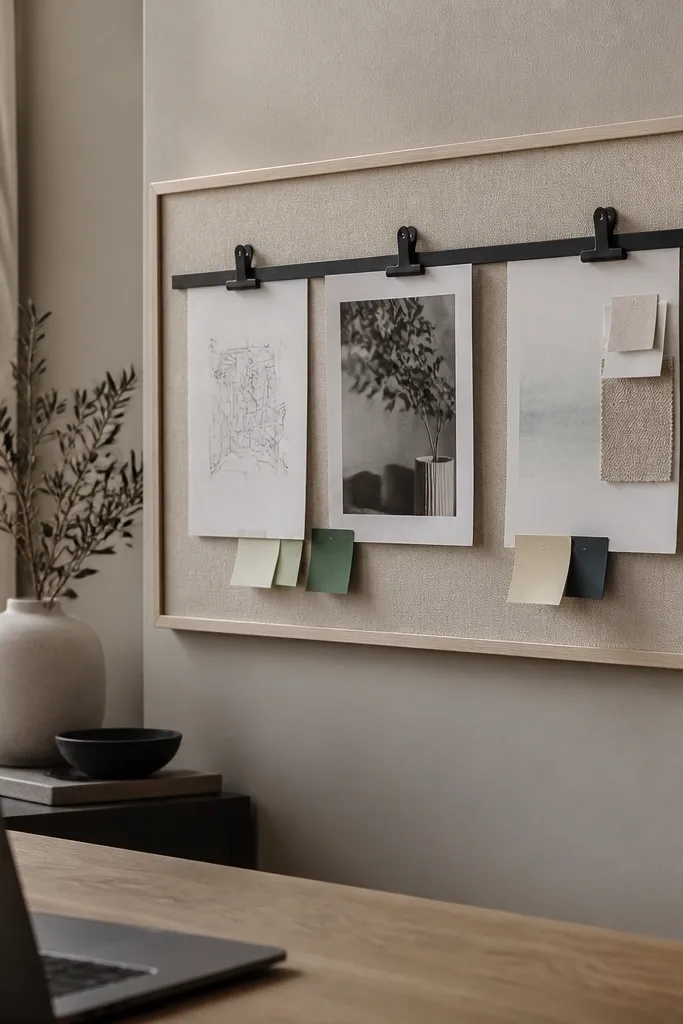
A task board keeps your study flow visible without cluttering your desk. Clip track designs look neat because they line up notes and prevent paper from curling into messy stacks. Mount it next to the desk so you can check it without turning your whole body. This is a decoration idea that also improves your routine: it tells you what to do next in one glance.
1) Mount a slim board or cork sheet about 5-10 cm to the side of your desk, at eye level when seated. 2) Install a clip track or row of small binder clips across the top. 3) Use sticky tabs for daily tasks and clip printed checklists for longer assignments. 4) Add a small marker holder at the bottom and keep only two sections: Today and Next.
Editor's noteUse consistent sticky tab colors for categories so the board reads organized in one look.
Skip thisDon’t add ten categories. Two sections keeps it calm and readable.
23. DIY Desk Shelf Ladder from Scrap Wood and Twine
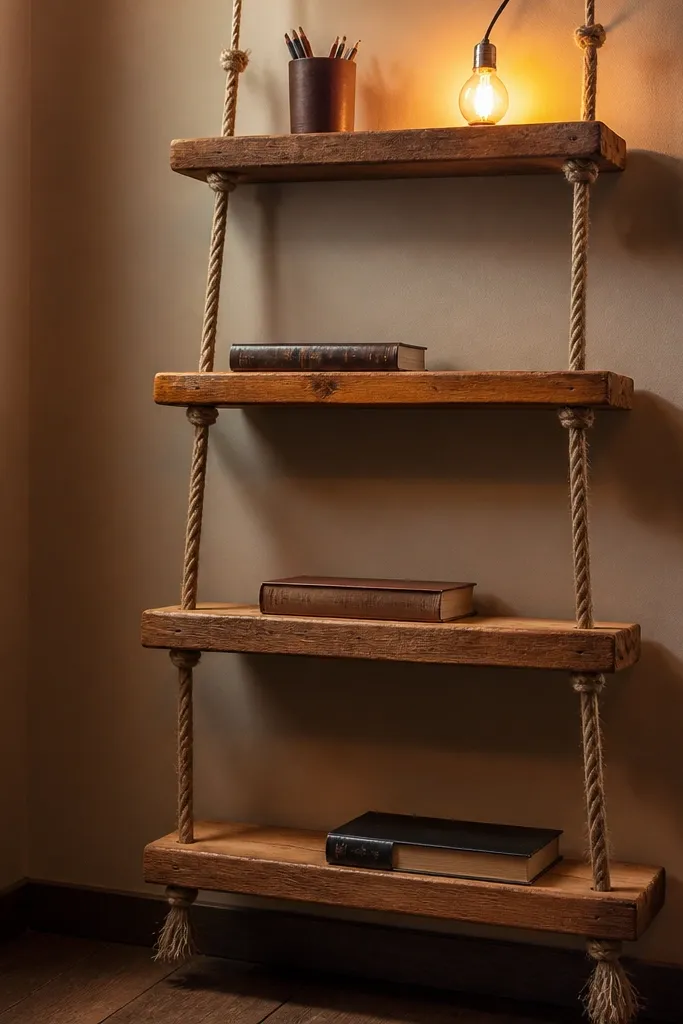
A ladder shelf is a sculptural way to add storage in a small-space corner. It looks artsy without clutter because each rung is separated and you can limit what sits on it. Use it for one or two books, a small light, and a small container for stationery. The twine or rope connection adds texture, which makes the corner feel styled even with minimal items.
1) Cut two vertical side pieces and two to four rungs sized to fit your corner, keeping the shelf width around 25-35 cm. 2) Drill small holes and tie twine through rungs to connect them securely, then knot tightly and seal the knot with a dab of glue. 3) Sand all wood and stain or paint matte. 4) Lean it against the wall or mount the top with two hooks if you need stability.
Editor's notePut the heaviest item on the lowest rung so the ladder feels steady.
Skip thisDon’t load it with too many heavy books. It looks messy and can tip.
24. Tabletop Lightbox Frame for Study Quotes and Schedules
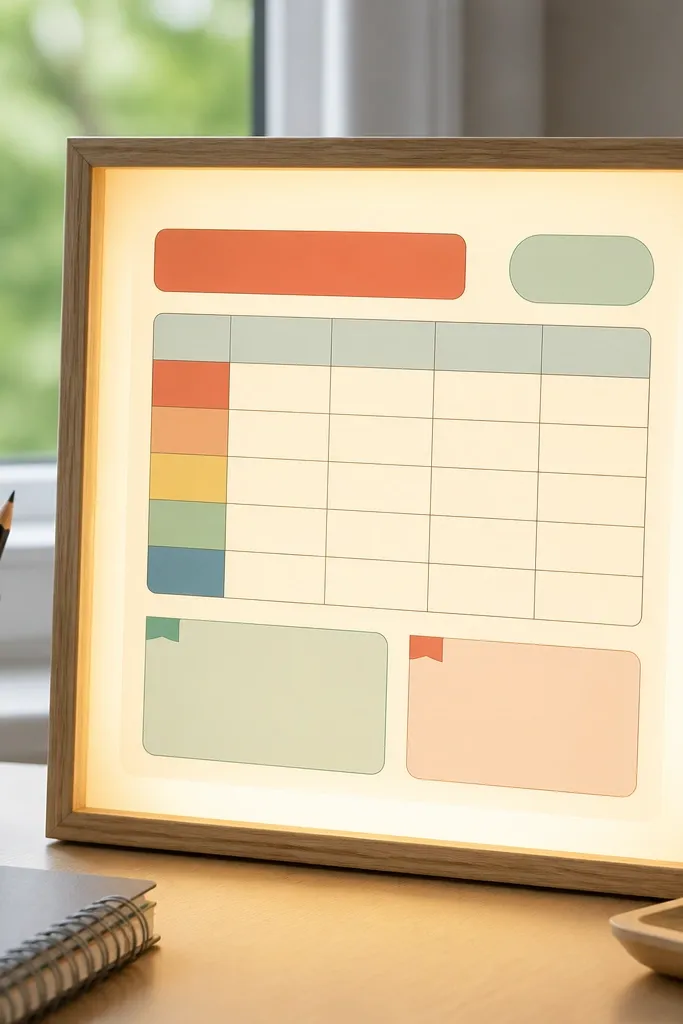
If your desk feels bland, a tabletop lightbox frame adds a graphic glow without adding clutter. You can swap cards weekly: a schedule, a quote, or a single reminder like “Start with 10 minutes.” The frame creates a focal point, so the rest of your decor can be simple. Choose warm white lighting so it feels study-friendly and doesn’t look like a gadget.
1) Buy a small LED lightbox frame or build one with an LED panel, acrylic diffuser, and a picture frame base. 2) Measure your card size so the insert fits snugly — common sizes are 10x15 cm or A6. 3) Insert a printed card on matte paper and secure with clips. 4) Place it on the desk near your notebook, but not where it blocks your hand movement.
Use matte paper inserts. Glossy cards reflect the LED and look washed out.
Don’t use bright blue LEDs. Warm white reads better and feels calmer.
25. DIY Hanging File Pocket for Loose Sheets
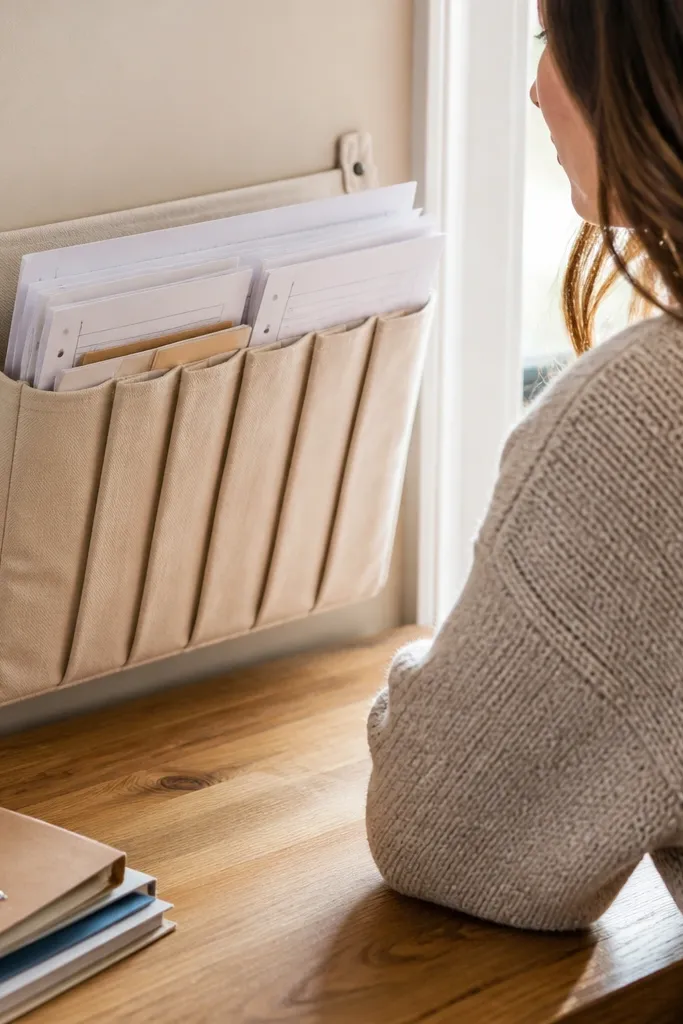
Loose sheets are the enemy of small-space Study Table Ideas because they migrate across the surface and ruin the clean look. A hanging file pocket keeps papers vertical and visible, so you can grab what you need without piling. It also looks tidy because pockets create a consistent shape. Use it for worksheets, draft notes, or a single “to file” stack.
1) Sew or buy a fabric file pocket with a flat backing and a top opening, then iron it flat. 2) Mount it on the side of the desk frame or on the adjacent wall with two hooks so it hangs just above the desk edge. 3) Add a small strip label at the top using iron-on fabric label or marker on tape. 4) Keep only one category inside so the pocket doesn’t become a second junk drawer.
Editor's noteAdd a thin cardboard insert to the pocket back so it keeps its shape.
Skip thisDon’t put it directly behind your chair. It bumps and folds papers into creases.



