
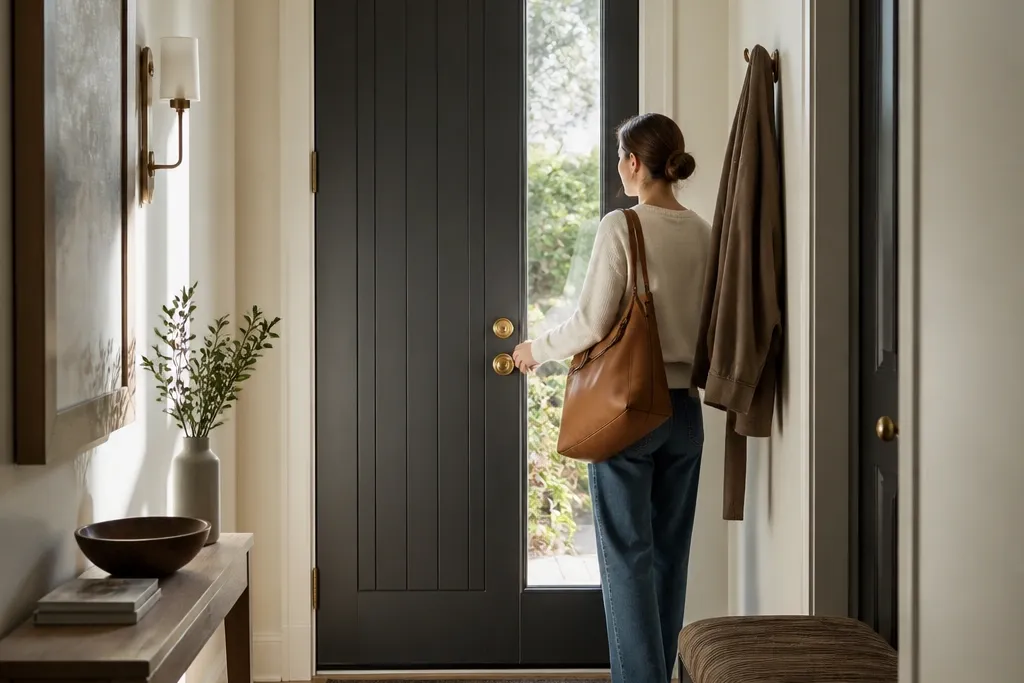
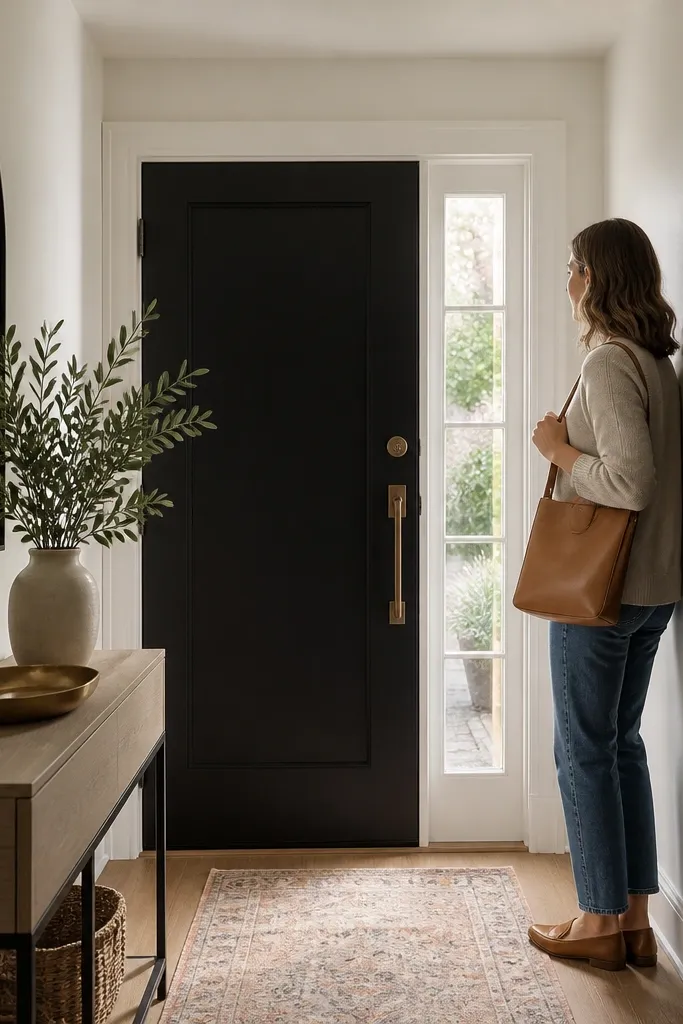
1. Tall Slim Vertical Panel Door in Charcoal
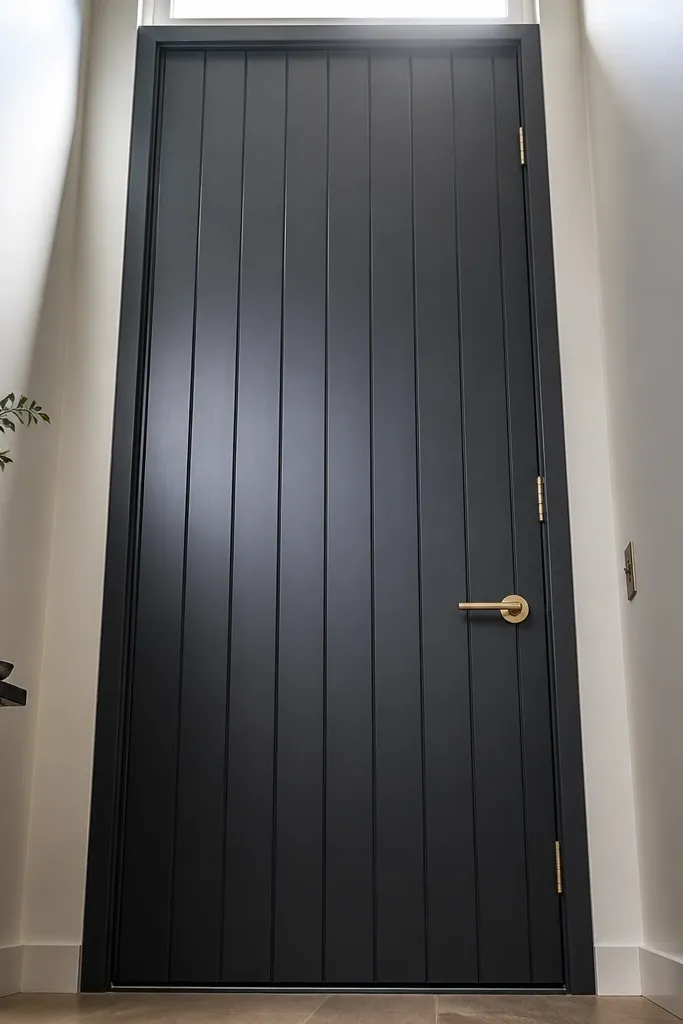
A tall slim vertical panel door is the easiest way to make small-space main entrance door design look higher and narrower at the same time. The long lines pull the eye upward, so even if your foyer is only 3-4 feet wide, the door reads intentional instead of bulky. Go with a charcoal finish because it photographs clean and hides minor scuffs better than jet black. Add warm brass hardware to keep it from feeling cold, and use simple casing so the doorway doesn’t look wider than it is. This is a great fit when you can replace the door slab or when your existing slab has flat or dated panels that can be swapped.
Measure the door slab height and width, then buy a slab with panel rails that keep the vertical spacing tight (look for panel widths around 3-5 inches). Install hinges onto the slab first using your current hinge locations as the template, then hang the door and check even reveal around the jamb. Prime all faces and edges that will see paint, then spray or roll on two coats of charcoal paint followed by a satin topcoat. Finish by mounting a brass lockset and deadbolt set, and add 1/4-1/2 inch casing trim that matches the door’s height visually.
Use painter’s tape to mask the casing reveal line and remove it while paint is still slightly wet for a cleaner edge.
Don’t choose glossy paint — it highlights roller marks and makes the doorway look cheaper in tight spaces.
2. Satin Black Door with Full-Height Glass Lite
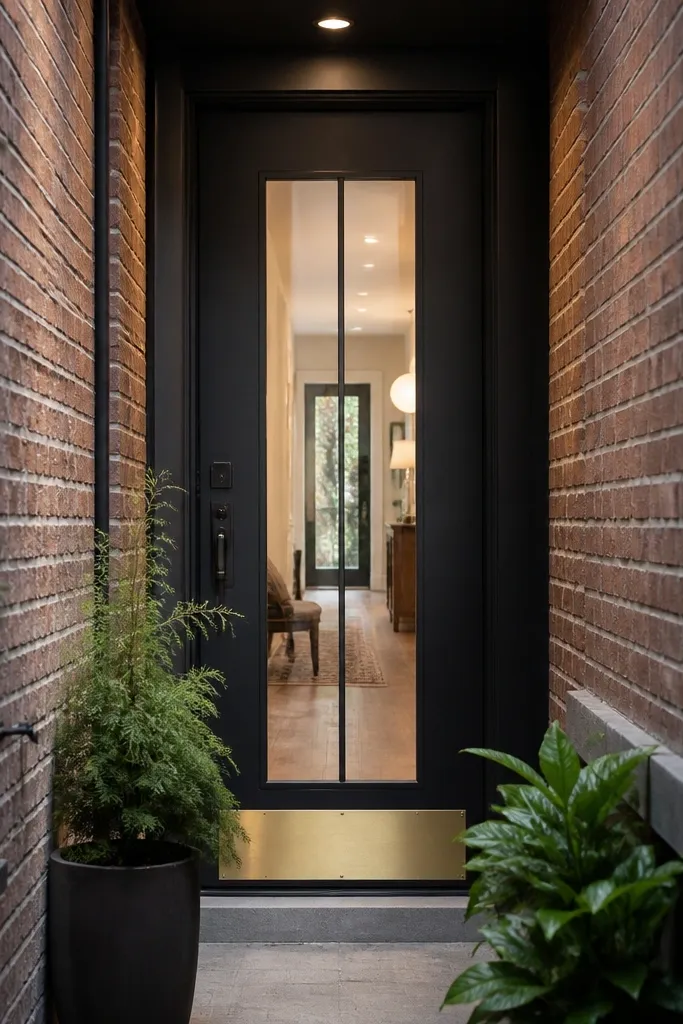
Full-height glass is the fastest way to add light without adding square footage, and it’s perfect for narrow entries where you can’t expand windows. The trick for luxury is keeping the glass layout tall and narrow, not wide. Satin black makes the glass look like it belongs in a modern entry, and the matte finish keeps reflections from washing out your trim lines. Use clear or lightly textured glass so it lets light through but still looks upscale. This works best if you’re replacing the slab or if you can cut in a glass lite panel safely.
Pick a door slab that supports a vertical glass lite insert sized roughly 10-14 inches wide, with a top-to-bottom run that stays centered. Dry-fit the glass insert components and confirm the air gap around the lite is consistent so the glazing stops sit evenly. Install the glass with glazing tape or the manufacturer’s gasket, then secure stops and sand any sharp edges. Paint or finish the surrounding door surfaces satin black, and mount black hardware that matches the stop and glazing color.
Choose glass stops with crisp corners; rounded stops look softer and cheaper when the entry is small.
Don’t go too wide on the glass — a short, wide lite makes a narrow doorway feel even narrower.
3. Warm Walnut Stained Door with Satin Clearcoat
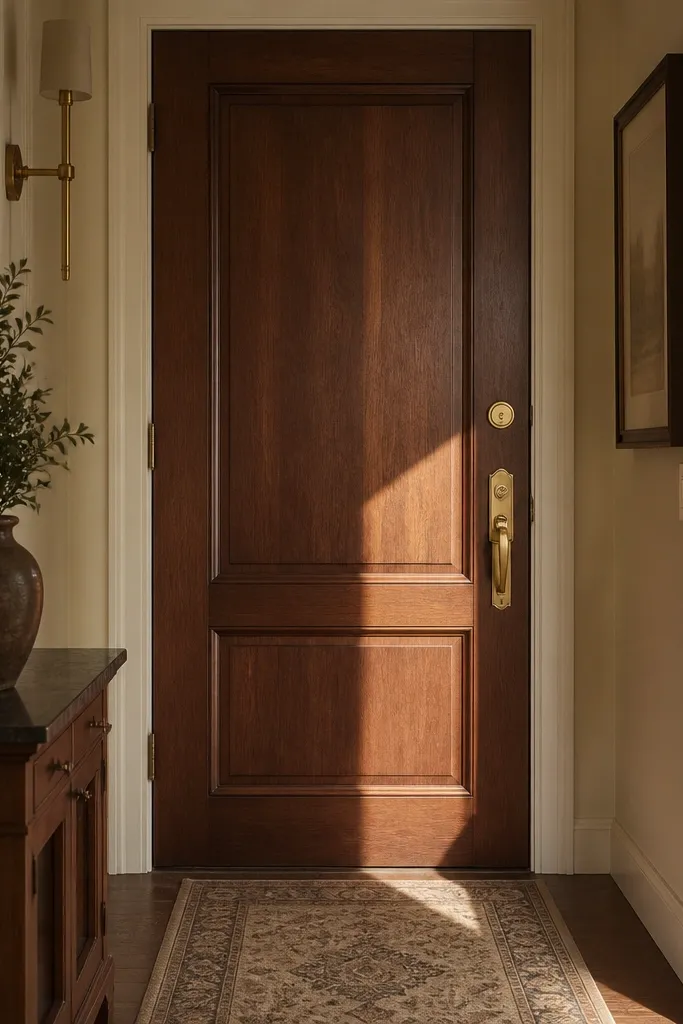
A warm walnut stained door gives you luxury without the visual bulk of heavy ornament. The wood tone adds depth, and the satin clearcoat makes the surface catch light in a controlled way — better than thick lacquer that looks plasticky. In small-space main entrance door design, wood tones also soften the harsh look of narrow hallways. Pair it with warm brass or antique bronze hardware and simple casing for a high-end, traditional-modern mix. This is a smart move when you want the door to look like it belongs in a custom home even if the entry is tight.
Strip or sand your existing door to bare wood or clean, then wipe out dust with a tack cloth. Apply a pre-stain conditioner if you’re working with softwoods or uneven grain, then stain in the direction of the grain with a rag or foam pad. Let the first coat dry fully, then add a second coat only where the grain needs more depth. Seal with a satin clear topcoat in thin coats, lightly scuff sand between coats, then install hardware after the final cure.
Editor's noteStain edges last — the edge grain absorbs differently, and doing it last keeps the front looking even.
Skip thisDon’t skip sanding between stain coats; it prevents blotchy texture from showing through your clearcoat.
4. Two-Tone Door: Cream Slab with Black Liner Trim
Two-tone reads expensive because it looks designed, not painted. The method here is simple: keep the main door slab a light cream, then add a thin black liner trim around panels or along the perimeter. In a small entry, the cream pushes brightness forward while the black lines create crisp structure that makes the door look custom. This works well if your door is already paneled, because you can line each panel edge cleanly for a tailored look. It’s also forgiving — if your walls are darker, the cream door still feels welcoming.
Start with a cream paint base on the door slab and let it cure overnight. Cut thin strips of trim (about 1/4 inch thick) and use wood glue plus brad nails to attach them along panel borders or a perimeter frame. Fill nail holes, sand flush, then paint the trim black with two coats for solid coverage. Caulk the edges where trim meets door surface, then reinstall hardware and tighten all screws after the paint cures.
Use a plastic putty knife to press caulk into the trim seam so it disappears under paint.
Don’t use thick trim — it steals width in a small-space main entrance door design and makes the door look heavy.
5. Arched Top Door with Modern Flat Panels
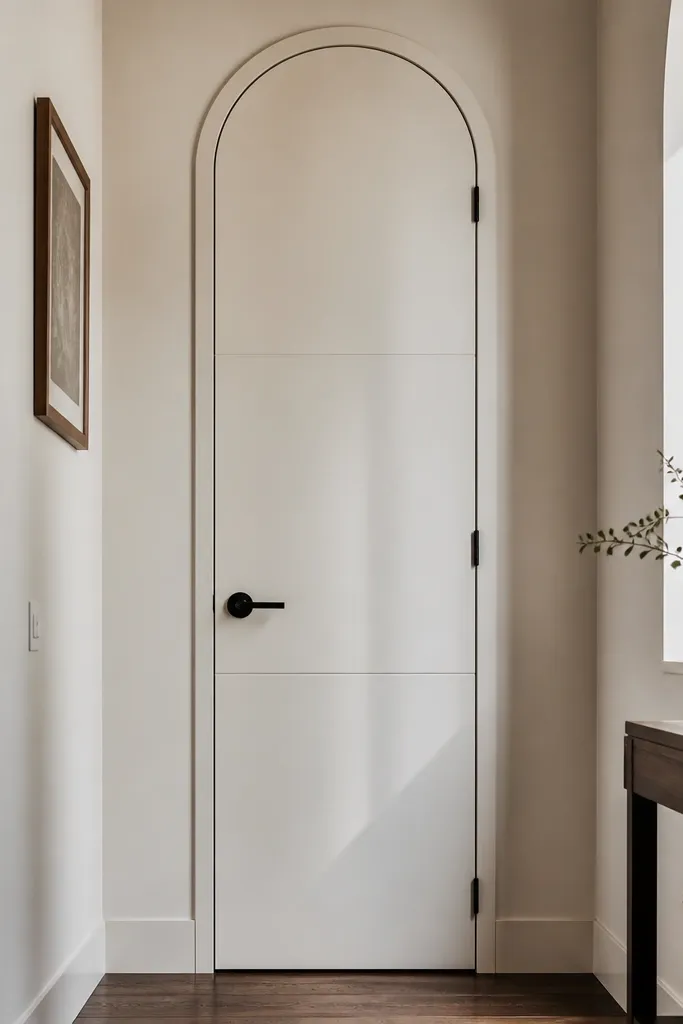
An arched top changes everything in a tight entry because it adds a graceful silhouette without adding width. Keep the arch narrow and the panels simple so it stays modern and doesn’t look like a costume. Matte off-white makes the arch feel airy, and the flat panels keep the door from becoming visually noisy. This design is gorgeous when your ceiling is low or when your entry is a long hallway — the arch pulls attention upward and makes the door feel taller. Choose this if you can replace the slab or if you’re reworking a door with an existing arch frame.
Measure the existing frame opening and confirm the arch radius so the door clears casing when it swings. Buy an arched slab that matches your frame thickness, then test-fit the slab dry before committing. Prime and paint the entire slab, including the arch edge, and install hinges so the reveal stays even along the curved portion. Finish with simple casing and a matching arched transom detail if you have the height for it.
Editor's noteWhen painting an arched edge, use a foam brush for the curve so you don’t get ridges that show under matte paint.
Skip thisDon’t overload the arch with decorative molding — one curve looks expensive, three curves looks busy.
6. Centered French Door Look with Divided Lite Pattern
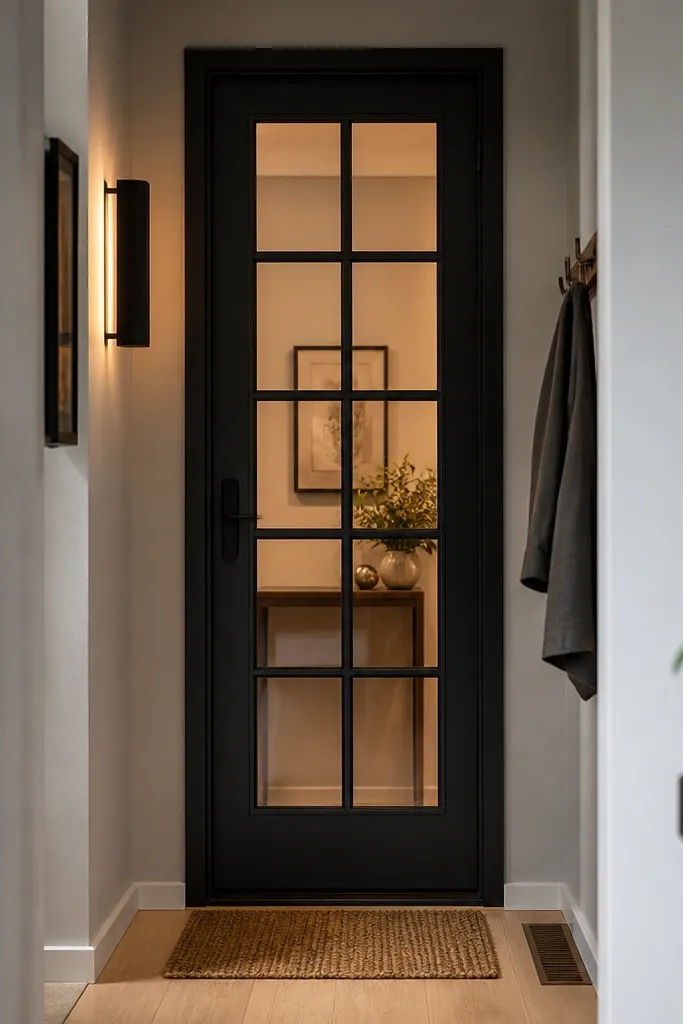
French-door styling works in small spaces when you scale it down. The goal is a centered divided lite pattern that looks like a custom storefront, without the door taking over the entry visually. Use a black door with a grid that splits the glass into neat rectangles, and keep the frame trim slim. This gives you that luxury look people associate with high-end townhomes, and it also brings daylight into a dark foyer. Build this when you can replace the slab or add a glass insert kit with muntin bars.
Choose a divided-lite glass insert kit sized to your door and pick a muntin profile that’s thin (about 1/2 inch or less visible width). Install the glass insert per kit instructions, then attach muntin bars so the grid lines stay perfectly level. Paint the door slab black, then paint the muntins either black or satin nickel depending on your hardware finish. Seal glazing edges with the recommended gasket and check for any light gaps before adding final stops.
Lay painter’s tape guide lines on the door before installing muntins to keep the grid square.
Avoid thick, chunky muntins — in a narrow doorway they make the glass look heavy and dated.
7. Crisp White Door with Shadowgap Casing Detail
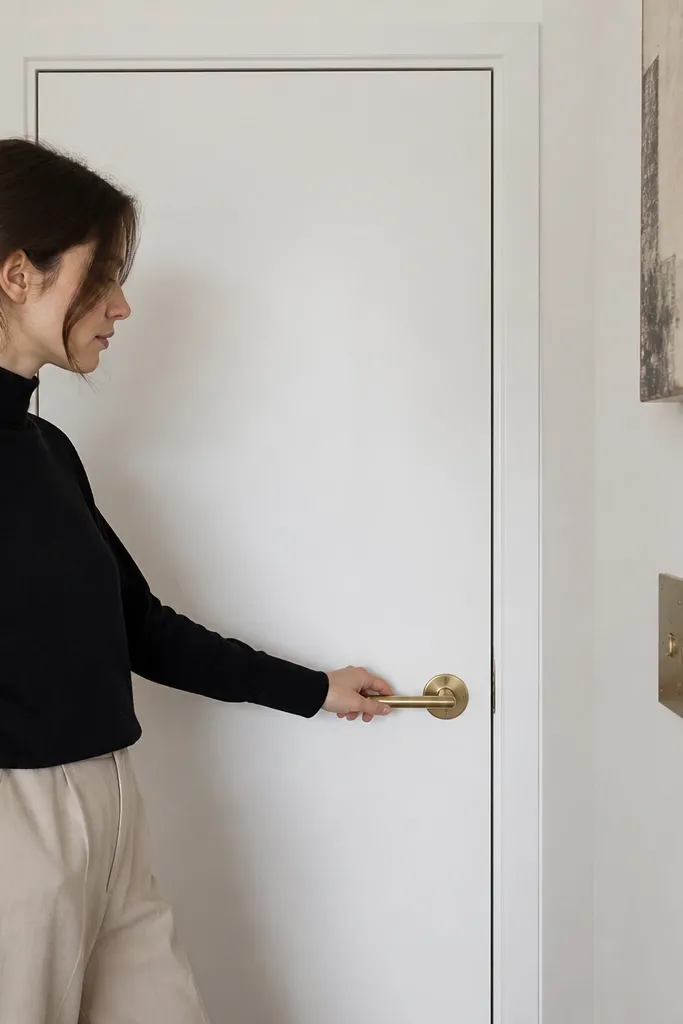
If you want small-space main entrance door design to look expensive without changing the door slab, do the casing correctly. A shadowgap detail — a thin recessed line between the door frame and the casing — makes the doorway look built-in and architectural. White paint keeps the entry bright, and the shadowgap adds depth so it doesn’t look flat. This is a perfect choice when your door is already in place and you’re working with limited width. It also photographs well because the shadow line gives the door a clean edge even in harsh daylight.
Remove old casing carefully and check the frame for flatness. Install a thin backer strip or spacer to create a consistent recessed gap (think 1/8 inch) before attaching new casing boards. Prime and paint the casing and door in a crisp white, then caulk only the paintable seams and sand the caulk smooth after it dries. Reinstall the lockset and add matching brass hinges if yours are mismatched.
Use a level and a brad nailer to keep casing edges straight; tiny angles show up fast in tight photos.
Don’t fill the shadowgap with caulk — it kills the depth line and makes the casing look swollen.
8. Textured Matte Door: Charcoal with Micro-Orange Peel Finish
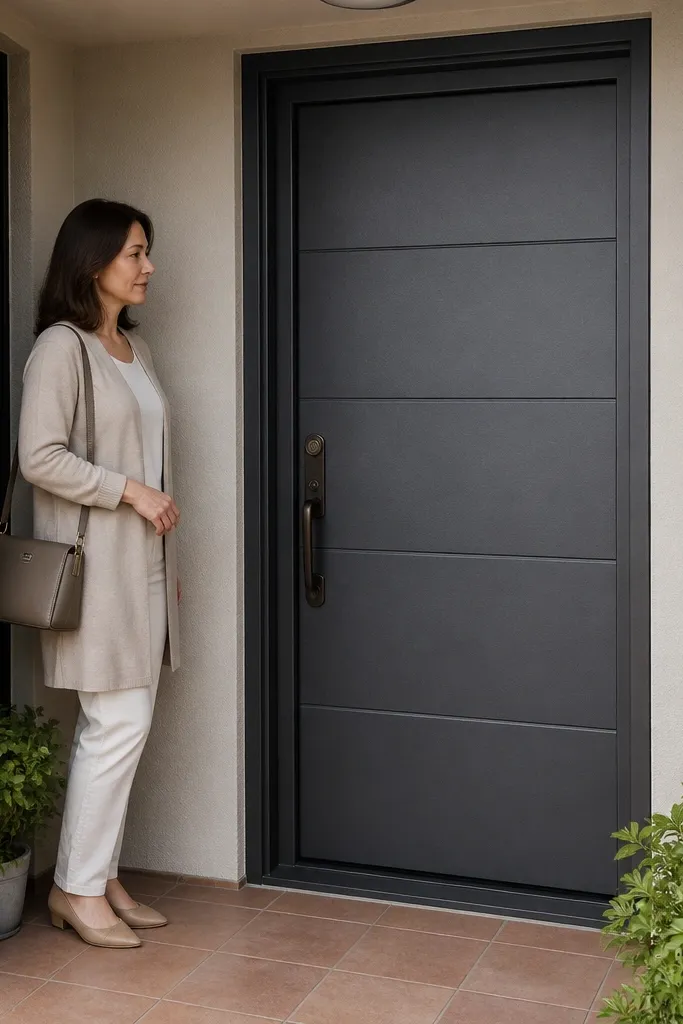
Texture is a cheat code for small spaces because it hides surface imperfections and knocks down glare from sun and porch lights. A micro-texture finish on a charcoal door looks high-end because it reads like a refined powder coat, not DIY orange peel. Keep the design minimal: simple panels, slim hardware, and clean casing. This is useful if your door has minor dents or patchy areas you don’t want to sand for days. Pair it with either black hardware or warm bronze depending on your lighting temperature.
Sand the door to a smooth base and remove dust completely. Prime with a bonding primer, then apply a textured coating system matched to door surfaces (follow the mixing ratios exactly). Spray or roll with a technique that creates fine, even texture — do not chase heavy ridges. Let it cure fully, then install hardware after masking the lock area so the texture stays crisp around the faceplate.
Editor's noteTest the texture on a scrap panel first so you can match the grain size to your door’s lighting.
Skip thisDon’t use texture to cover deep damage; it hides the look but not the problem.
9. Narrow Sidelight Panel with Clear Glass and Brass Bars
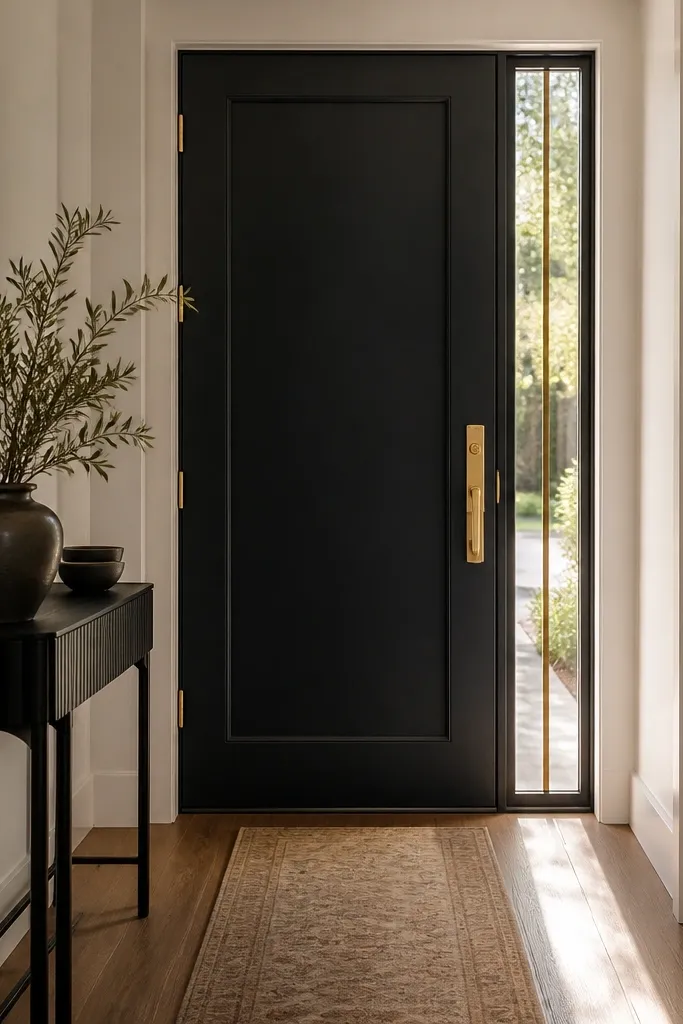
A narrow sidelight next to the door adds light and makes the entry feel longer, which is exactly what small-space main entrance door design needs. Keep the sidelight width slim (around 6-12 inches) and use a single vertical divider bar for a clean, luxury look. Clear glass gives brightness, while brass bars echo warm hardware and make the whole thing feel intentional. This works when you have a bit of wall width beside the door and you can frame and install a sidelight panel — either by replacing the existing frame or adding a prebuilt unit. The result is photogenic because the glass edge creates a defined vertical highlight.
Measure the side opening and order a sidelight unit sized to your rough opening with the correct frame depth. Install the frame level and plumb using shims behind each corner, then fasten according to the manufacturer’s nailing flange or screw points. Seal gaps with exterior-rated foam and caulk, then install glazing and divider bars. Finish by painting trim and mounting brass hardware so the metal finishes match.
Editor's noteUse painter’s tape on the glass edges while sealing so caulk lines stay clean and don’t smear.
Skip thisAvoid tinted glass — it often makes small entries feel darker than clear in the real world.
10. Matte Olive Door with Black Hardware and Flat Casing
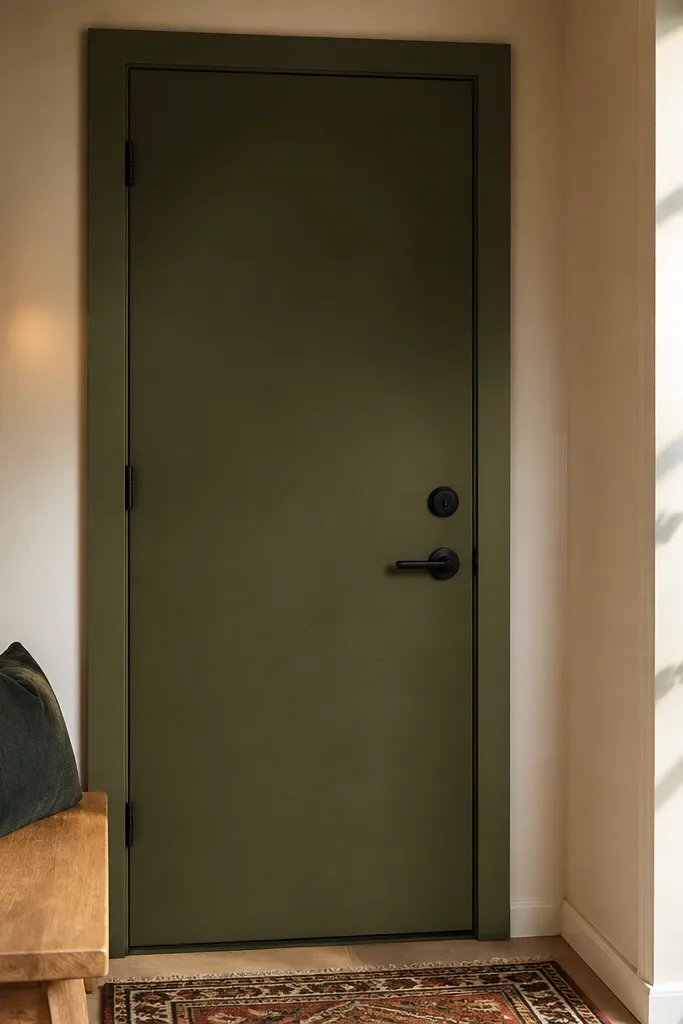
Olive is a luxury color in small entries because it adds warmth without turning the door into a bright focal point that overwhelms tight walls. Matte olive also hides scuffs better than lighter colors, which matters at the entry where shoes and bags land. Keep the trim flat and narrow so the doorway looks streamlined. Black hardware gives you strong contrast and makes the panels read sharply. Choose this when you want something more interesting than gray or white, but still clean and modern.
Sand and prime the door, then apply an exterior-grade matte paint in olive. Use a small foam roller for the flat areas and a brush for edges so the finish stays even. If you’re painting casing too, do it in the same session and keep the sheen consistent across all trim. Install black hinges and a matching lockset, then caulk the casing seams and touch up any paint chips with a fine brush.
Editor's noteMatch your olive to your exterior siding undertone — pull a sample from your wall and compare it in daylight.
Skip thisDon’t pair olive with shiny brass — the contrast reads off in small spaces.
11. Oak-Effect Door with Vertical Slat Molding
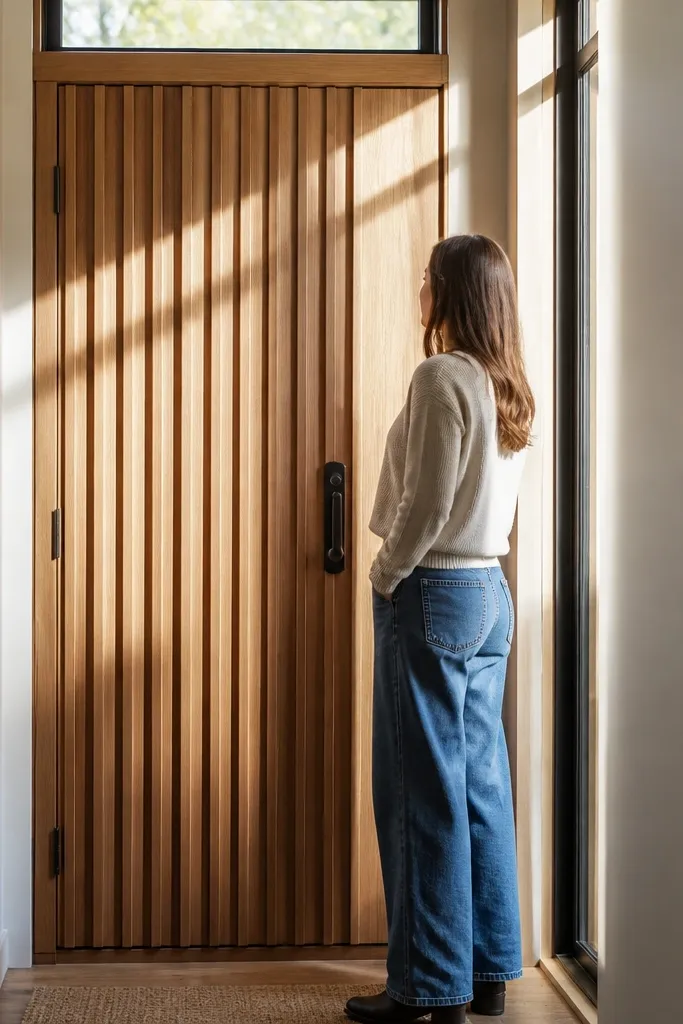
Vertical slats look expensive because they create shadow lines across the face of the door. In a small-space main entrance door design, those shadows add depth and make the door feel custom. You can get the oak-effect look using a stain and clearcoat on real wood slats, even if the door slab itself is simple. The key is spacing: narrow slats with consistent gaps keep it sleek, not farmhouse. This idea is perfect for blank, flat doors or for doors with dated panel layouts you want to modernize.
Start with a flat door slab and sand it smooth, then prime and paint it in a base color close to your oak stain. Cut wood slats (about 1/2 inch wide) and set spacing with thin spacers so the gaps look consistent. Glue the slats onto the door face, then brad nail lightly to hold position while glue cures. Stain the slats after installation and seal with a satin clearcoat, then install bronze hardware and finish edges with caulk.
Use the same spacer thickness for every gap and mark slat positions with a light pencil grid before gluing.
Don’t use wide slats — they take over the door face and make the entry feel cramped.
12. Brass-Framed Glass Insert in a White Door
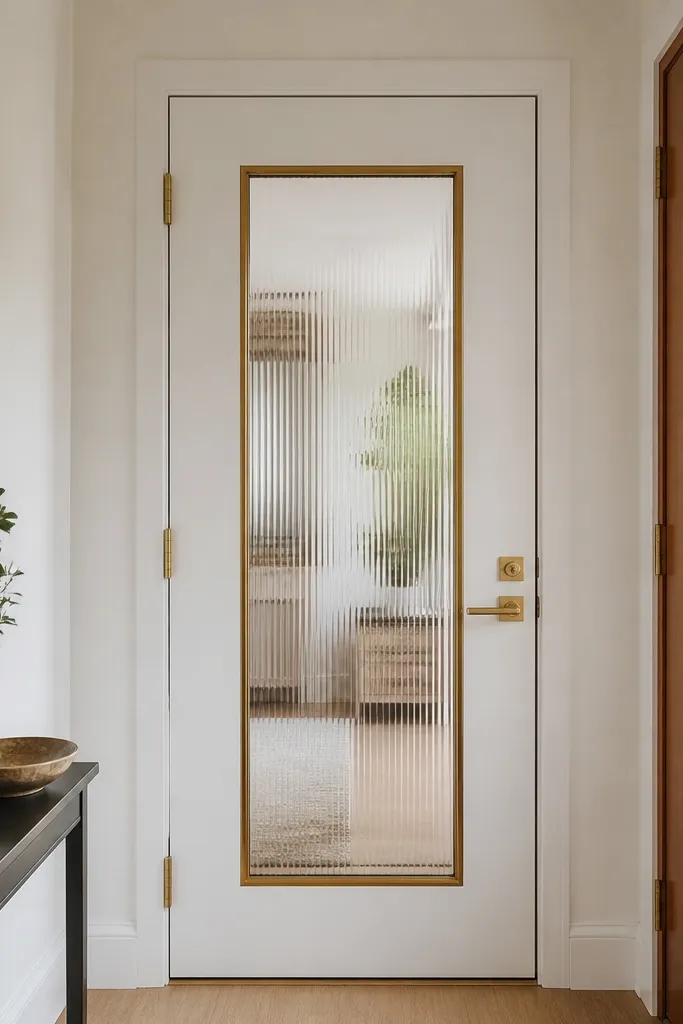
A brass-framed glass insert gives you that “custom entry” look while still staying narrow and practical. Keep the glass insert rectangular and centered, with slim brass rails that echo your door hardware. The white door pushes brightness forward, and the brass frame adds shine without needing a full sidelight. This is a great pick for small foyers where a full glass door would feel too exposed. It also looks great in photos because the brass frame catches porch light and creates a clear focal point.
Choose a door slab that supports an insert kit, or buy a pre-framed insert panel sized to your door. Install the glass insert with the kit’s gasket and secure the brass frame rails using the provided fasteners. Paint the door white first, then assemble the brass frame after paint so you don’t smear finish on the metal. Seal the glazing edges with exterior-rated silicone and verify the insert sits flush before tightening screws.
Editor's noteWipe brass with a microfiber cloth after install — fingerprints show up on photos fast.
Skip thisDon’t skip sealing the glazing edge; water intrusion ruins the frame and makes the brass discolor.
13. Deep Set Door with Recessed Trim Return
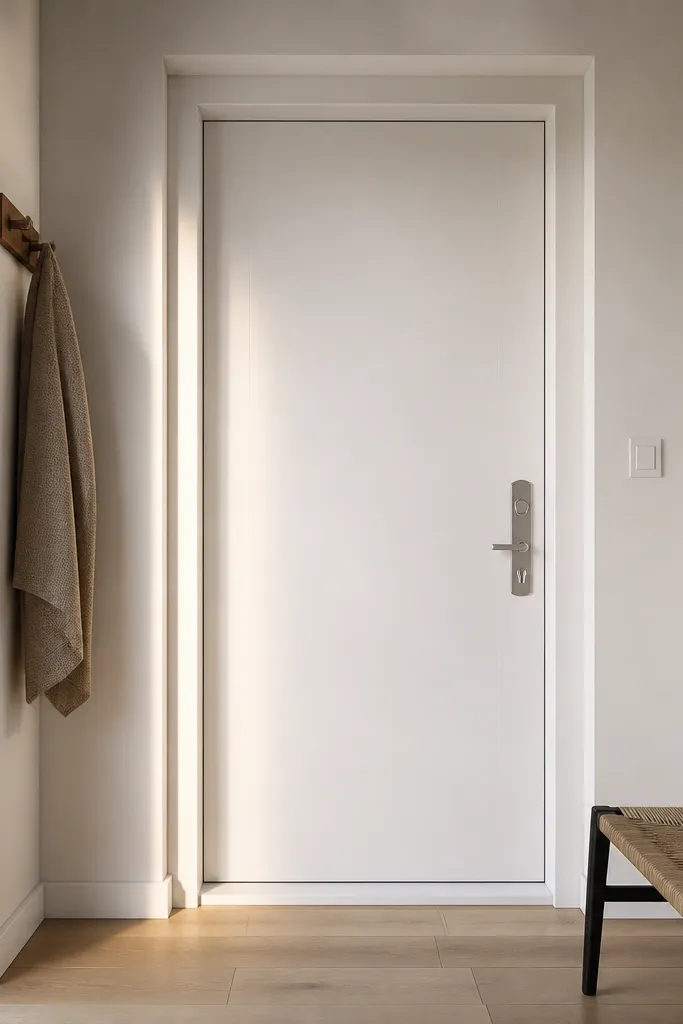
Recessing the door slightly — and building a recessed trim return — makes small-space main entrance door design look architectural. The deeper set creates natural shadow depth around the door edges, so even simple paint looks expensive. This is a strong choice when your entry has a flat, wide jamb that looks unfinished. The look is clean and modern because the trim returns create a defined perimeter line. It’s also practical: the recessed area can hide minor wall imperfections around the opening.
If you’re replacing the door unit, set the new frame so the door slab sits about 1/2 inch back from the exterior plane. Build the trim return using casing boards installed with a consistent reveal gap so the recess line stays even. Prime and paint all wood surfaces, and caulk only the outer seams where water can reach. Finally, install hardware and check the door swing for clearance with the recessed trim so it doesn’t rub.
Use a consistent spacer while installing casing so the reveal doesn’t drift and create an uneven shadow line.
Avoid rushing the alignment — a 1/8 inch reveal difference looks obvious once the door is recessed.
14. Cottage-Modern Door: Black Shiplap Accent Band
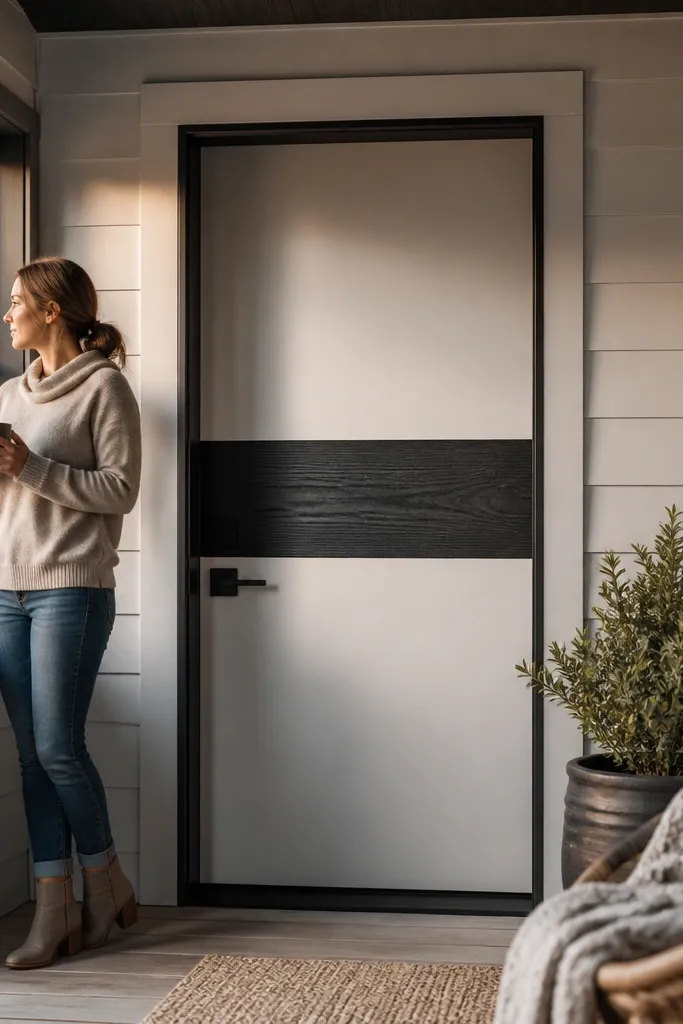
A shiplap accent band is a luxury trick when you keep it narrow and centered. It adds texture and shadow without turning the whole door into a wall of farmhouse details. For small spaces, the band works because it gives a clear horizontal anchor while the rest of the door stays smooth. Choose a black band for contrast against a light base, and keep the trim simple so the door still reads refined. This idea is best for doors with flat faces where you can add a controlled accent area.
Paint the door base color first (a warm cream or light gray looks best) and let it cure. Cut shiplap boards and rip them so the band height is controlled — aim for about 8-12 inches tall centered on the door. Install shiplap with construction adhesive and small brads, then fill nail holes and sand smooth. Paint the shiplap black and seal the whole door with a durable exterior topcoat where needed.
Editor's noteUse a miter saw to keep shiplap edges crisp at the ends; sloppy ends ruin the luxury look.
Skip thisDon’t make the band too tall — a tall shiplap section makes a narrow entry feel visually heavy.
15. Modern Walnut Slab with Matte Nickel Hardware
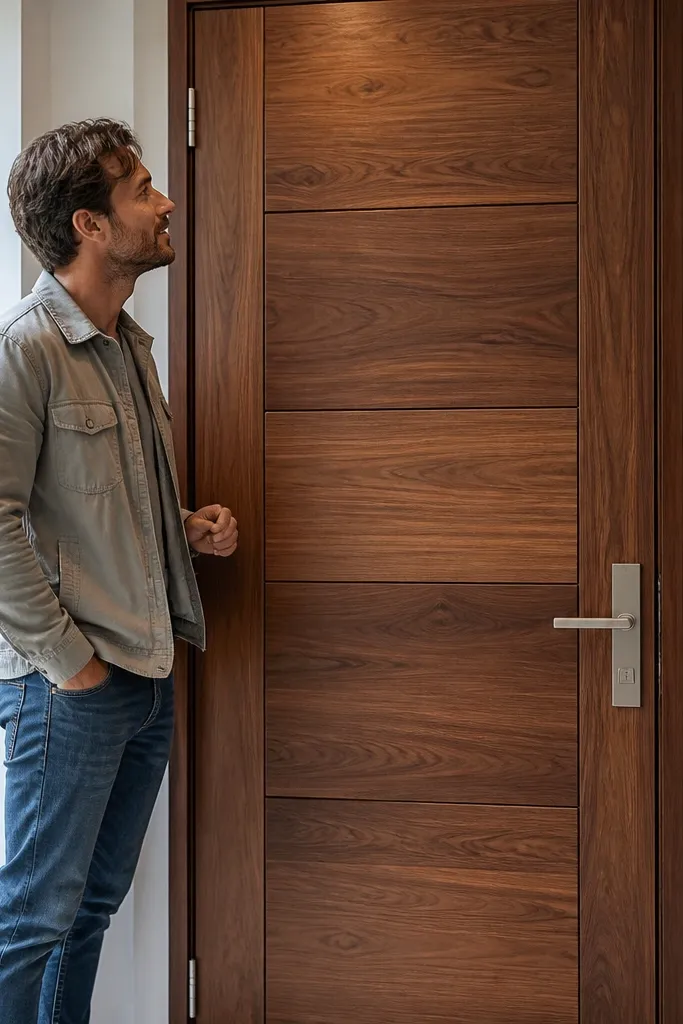
This look is for people who want luxury that doesn’t lean traditional. Modern walnut on a slab door reads warm and high-end, and matte nickel hardware gives a cooler contrast that still feels premium. Keep the panel layout clean — fewer, larger panels — so the grain and hardware do the work. In small-space main entrance door design, this combo looks intentional because both finishes are controlled and don’t compete with the walls. It’s also great for entries with gray siding or stone where warm wood can soften the palette.
Sand the door thoroughly, then stain in light coats so you can dial the walnut depth without blotching. Let each coat dry fully before deciding if you need another round. Seal with a satin clearcoat that won’t go glossy under porch lights. Install matte nickel hardware and hinges after the clearcoat cures, then adjust the latch alignment so the door closes with an even gap around the strike plate.
Editor's noteIf the door has knots, pre-seal those spots with a thin knot sealer so the walnut tone stays consistent.
Skip thisDon’t use shiny nickel or polished hardware — the glare can make small entries look harsh.



